
https://londonmakerfestival.co.uk/well-have-3d-printers-but-then-you-knew-that/
Prusa I3 on a budget
Hi @Dermot
There’s a good chance I can make it along. If I’m free I’m happy to bring it. I could bring my drawing machine too if there’s any space for it? 
1 Like
Anyone up for continuing the builds tomorrow evening?
1 Like
I’ve wombled my way though mine (except the electicals, which have me scratching my head), but at some point would love a ‘tuning and twiddling etc’ session.
Could you please post the link for assembly instructions - the page you are looking at the last group build photos?
You’ll mostly need this: https://manual.prusa3d.com/c/Original_Prusa_i3_MK2S_kit_assembly
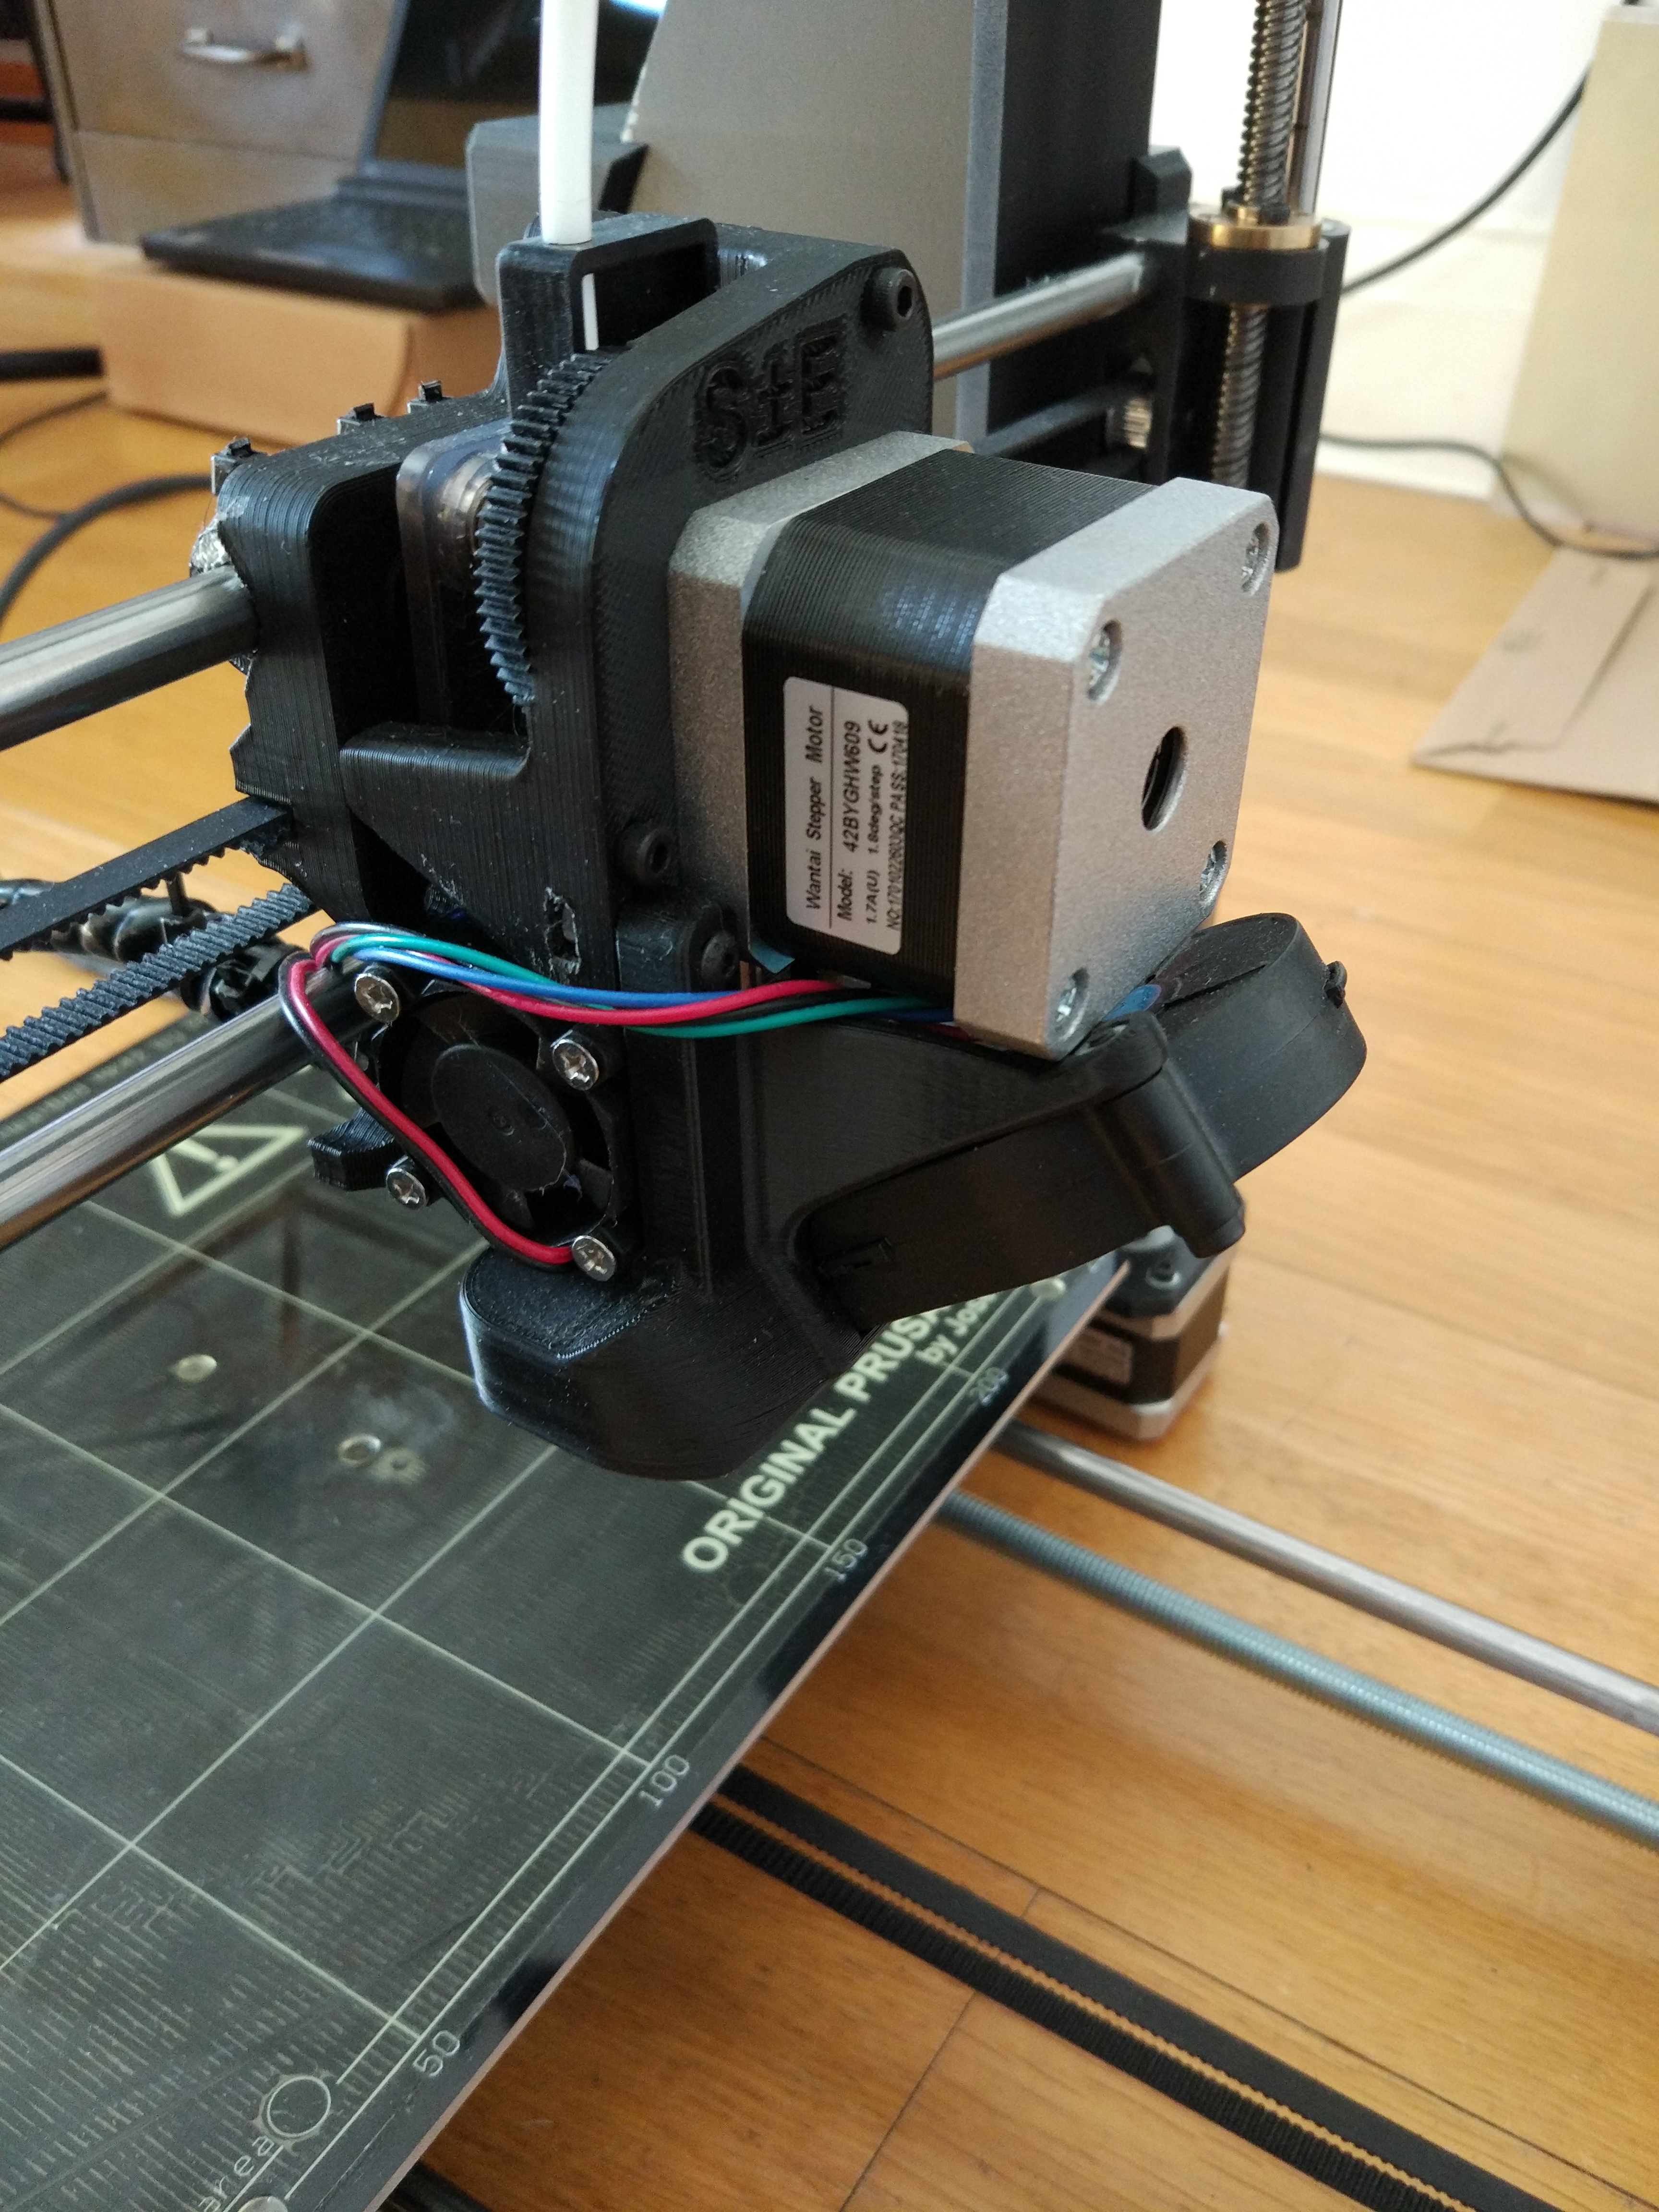
but when it comes to the extruder, its this upgraded titan extruder: https://www.thingiverse.com/thing:2065461
1 Like
oh, and also be careful with routing the cables , dont get ahead of yourself but instead leave it until the last minute! also make sure to get the legs of the frame the right way around!
I also found the nut-traps to be a little loose on the legs so made 6 of these, which combined with a little hot/super glue, you may or may not find helpful
1 Like
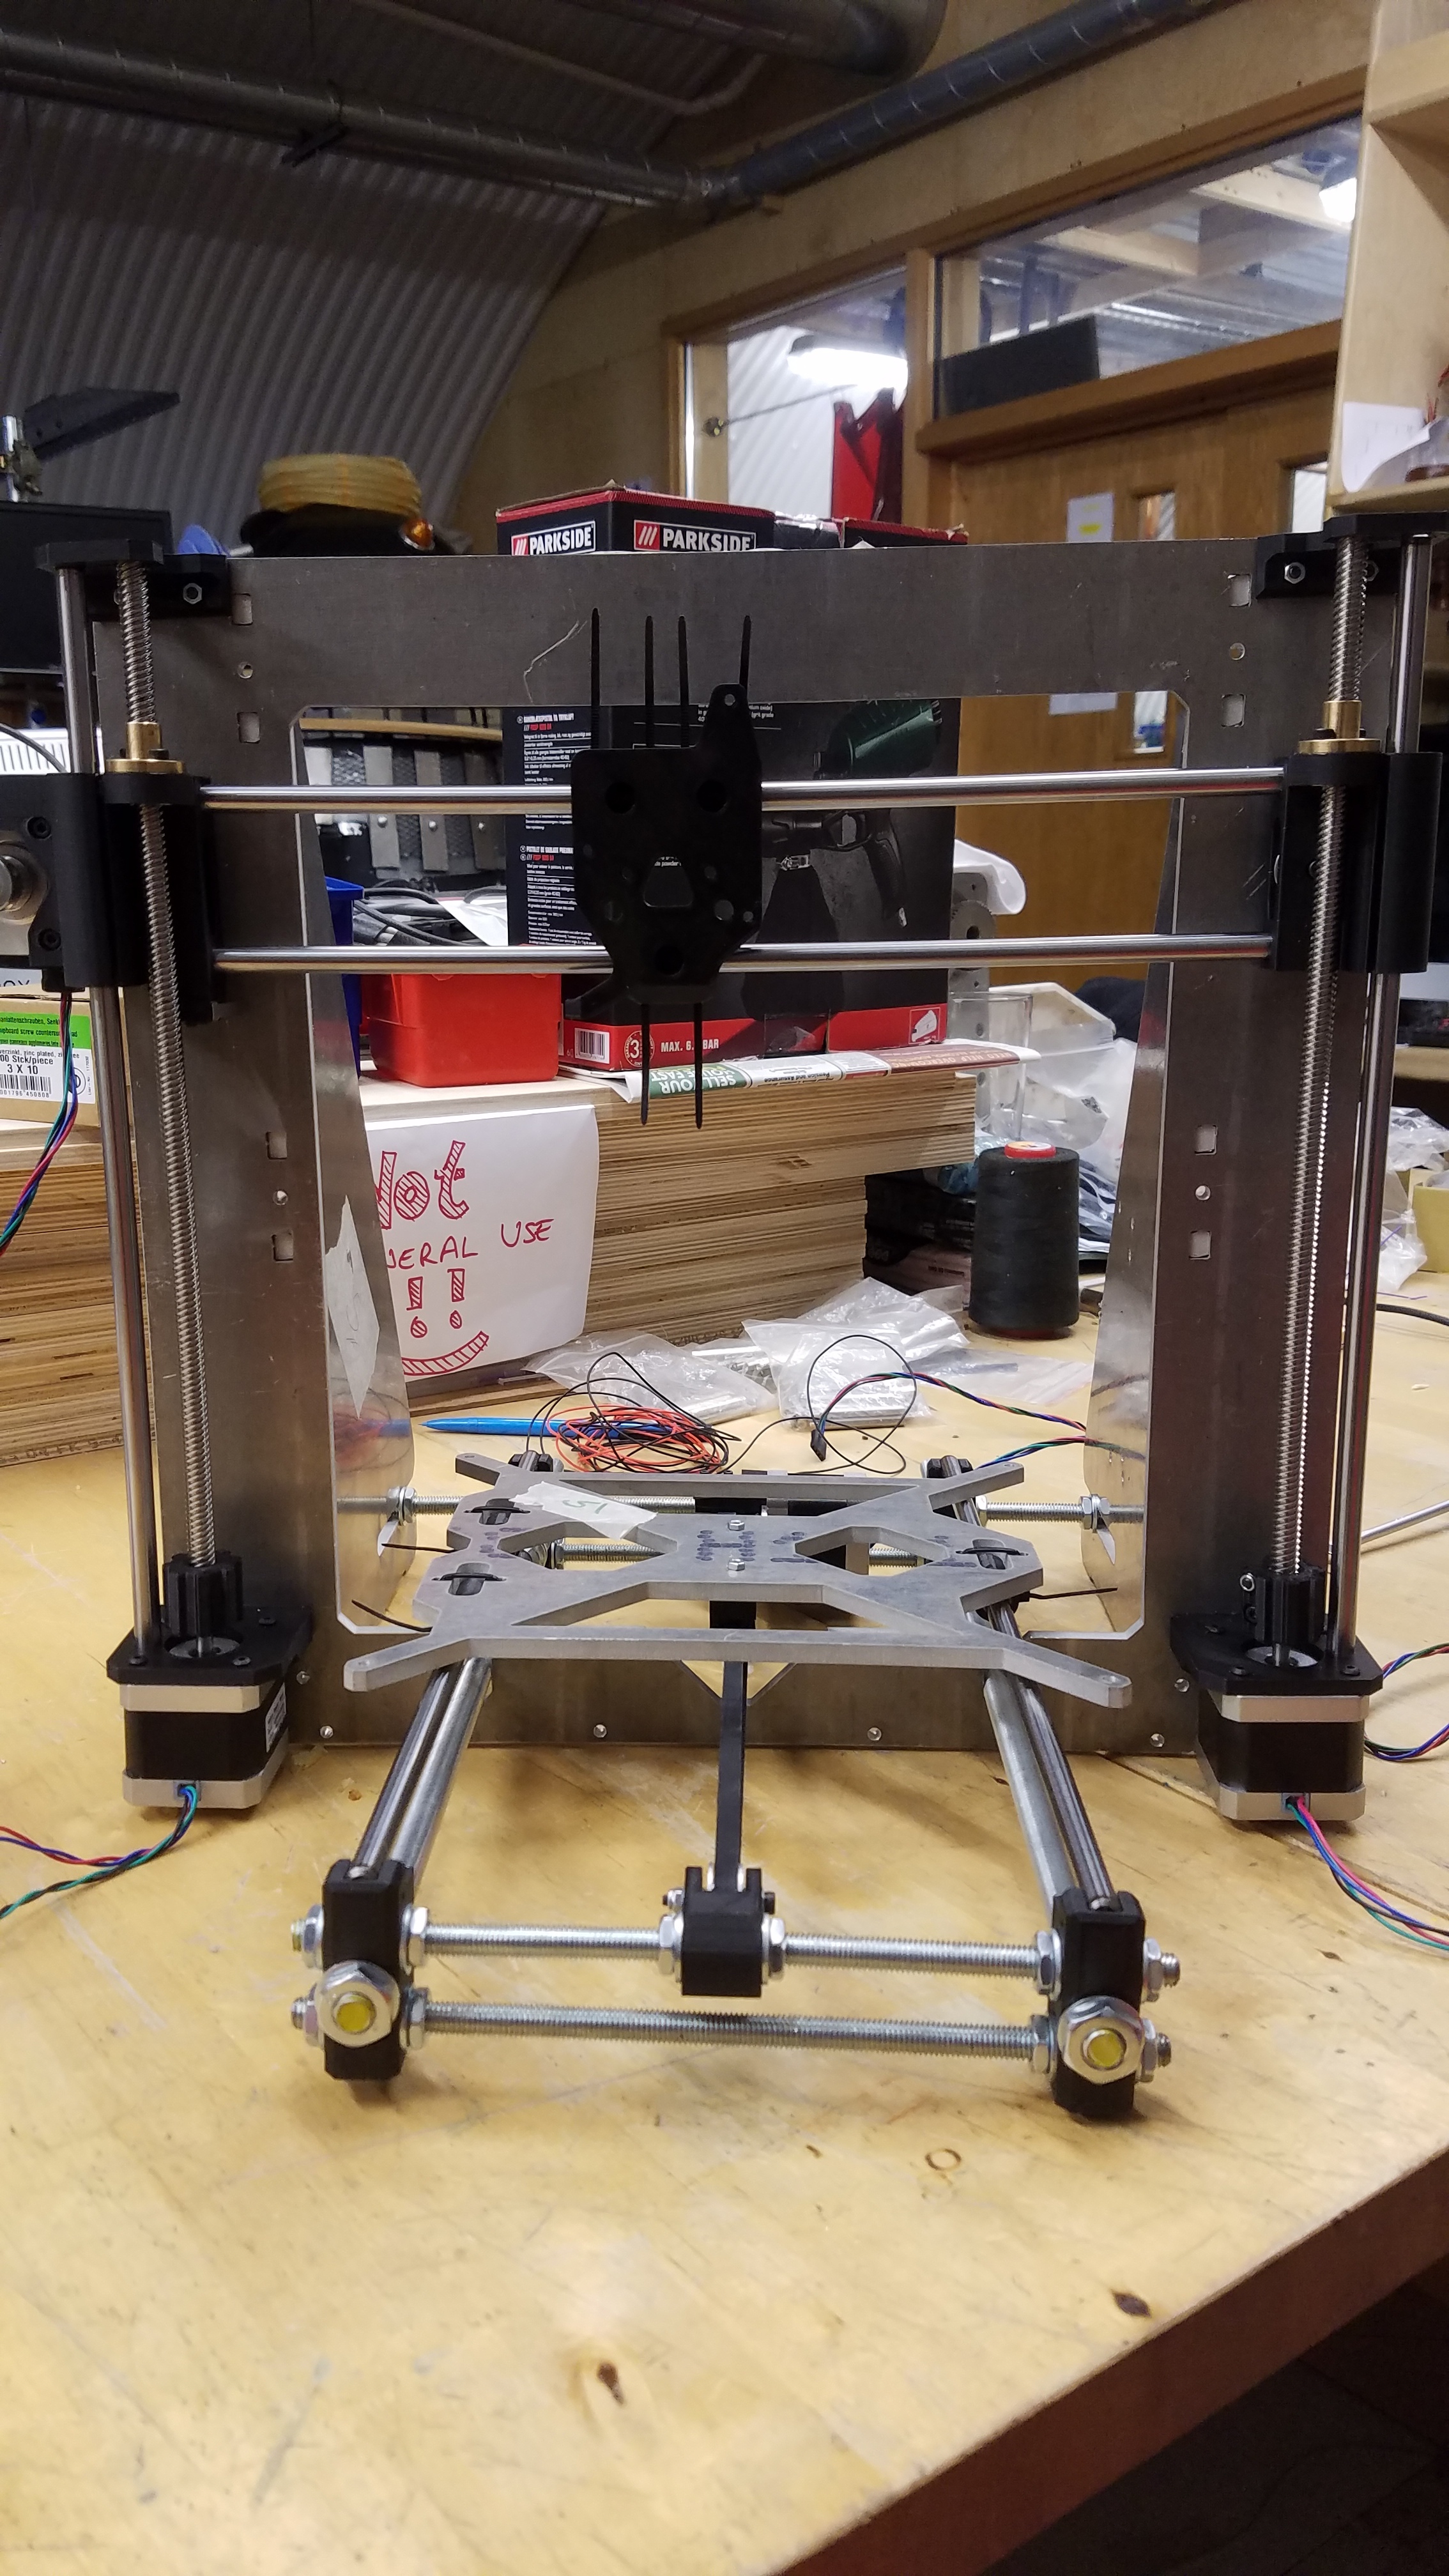
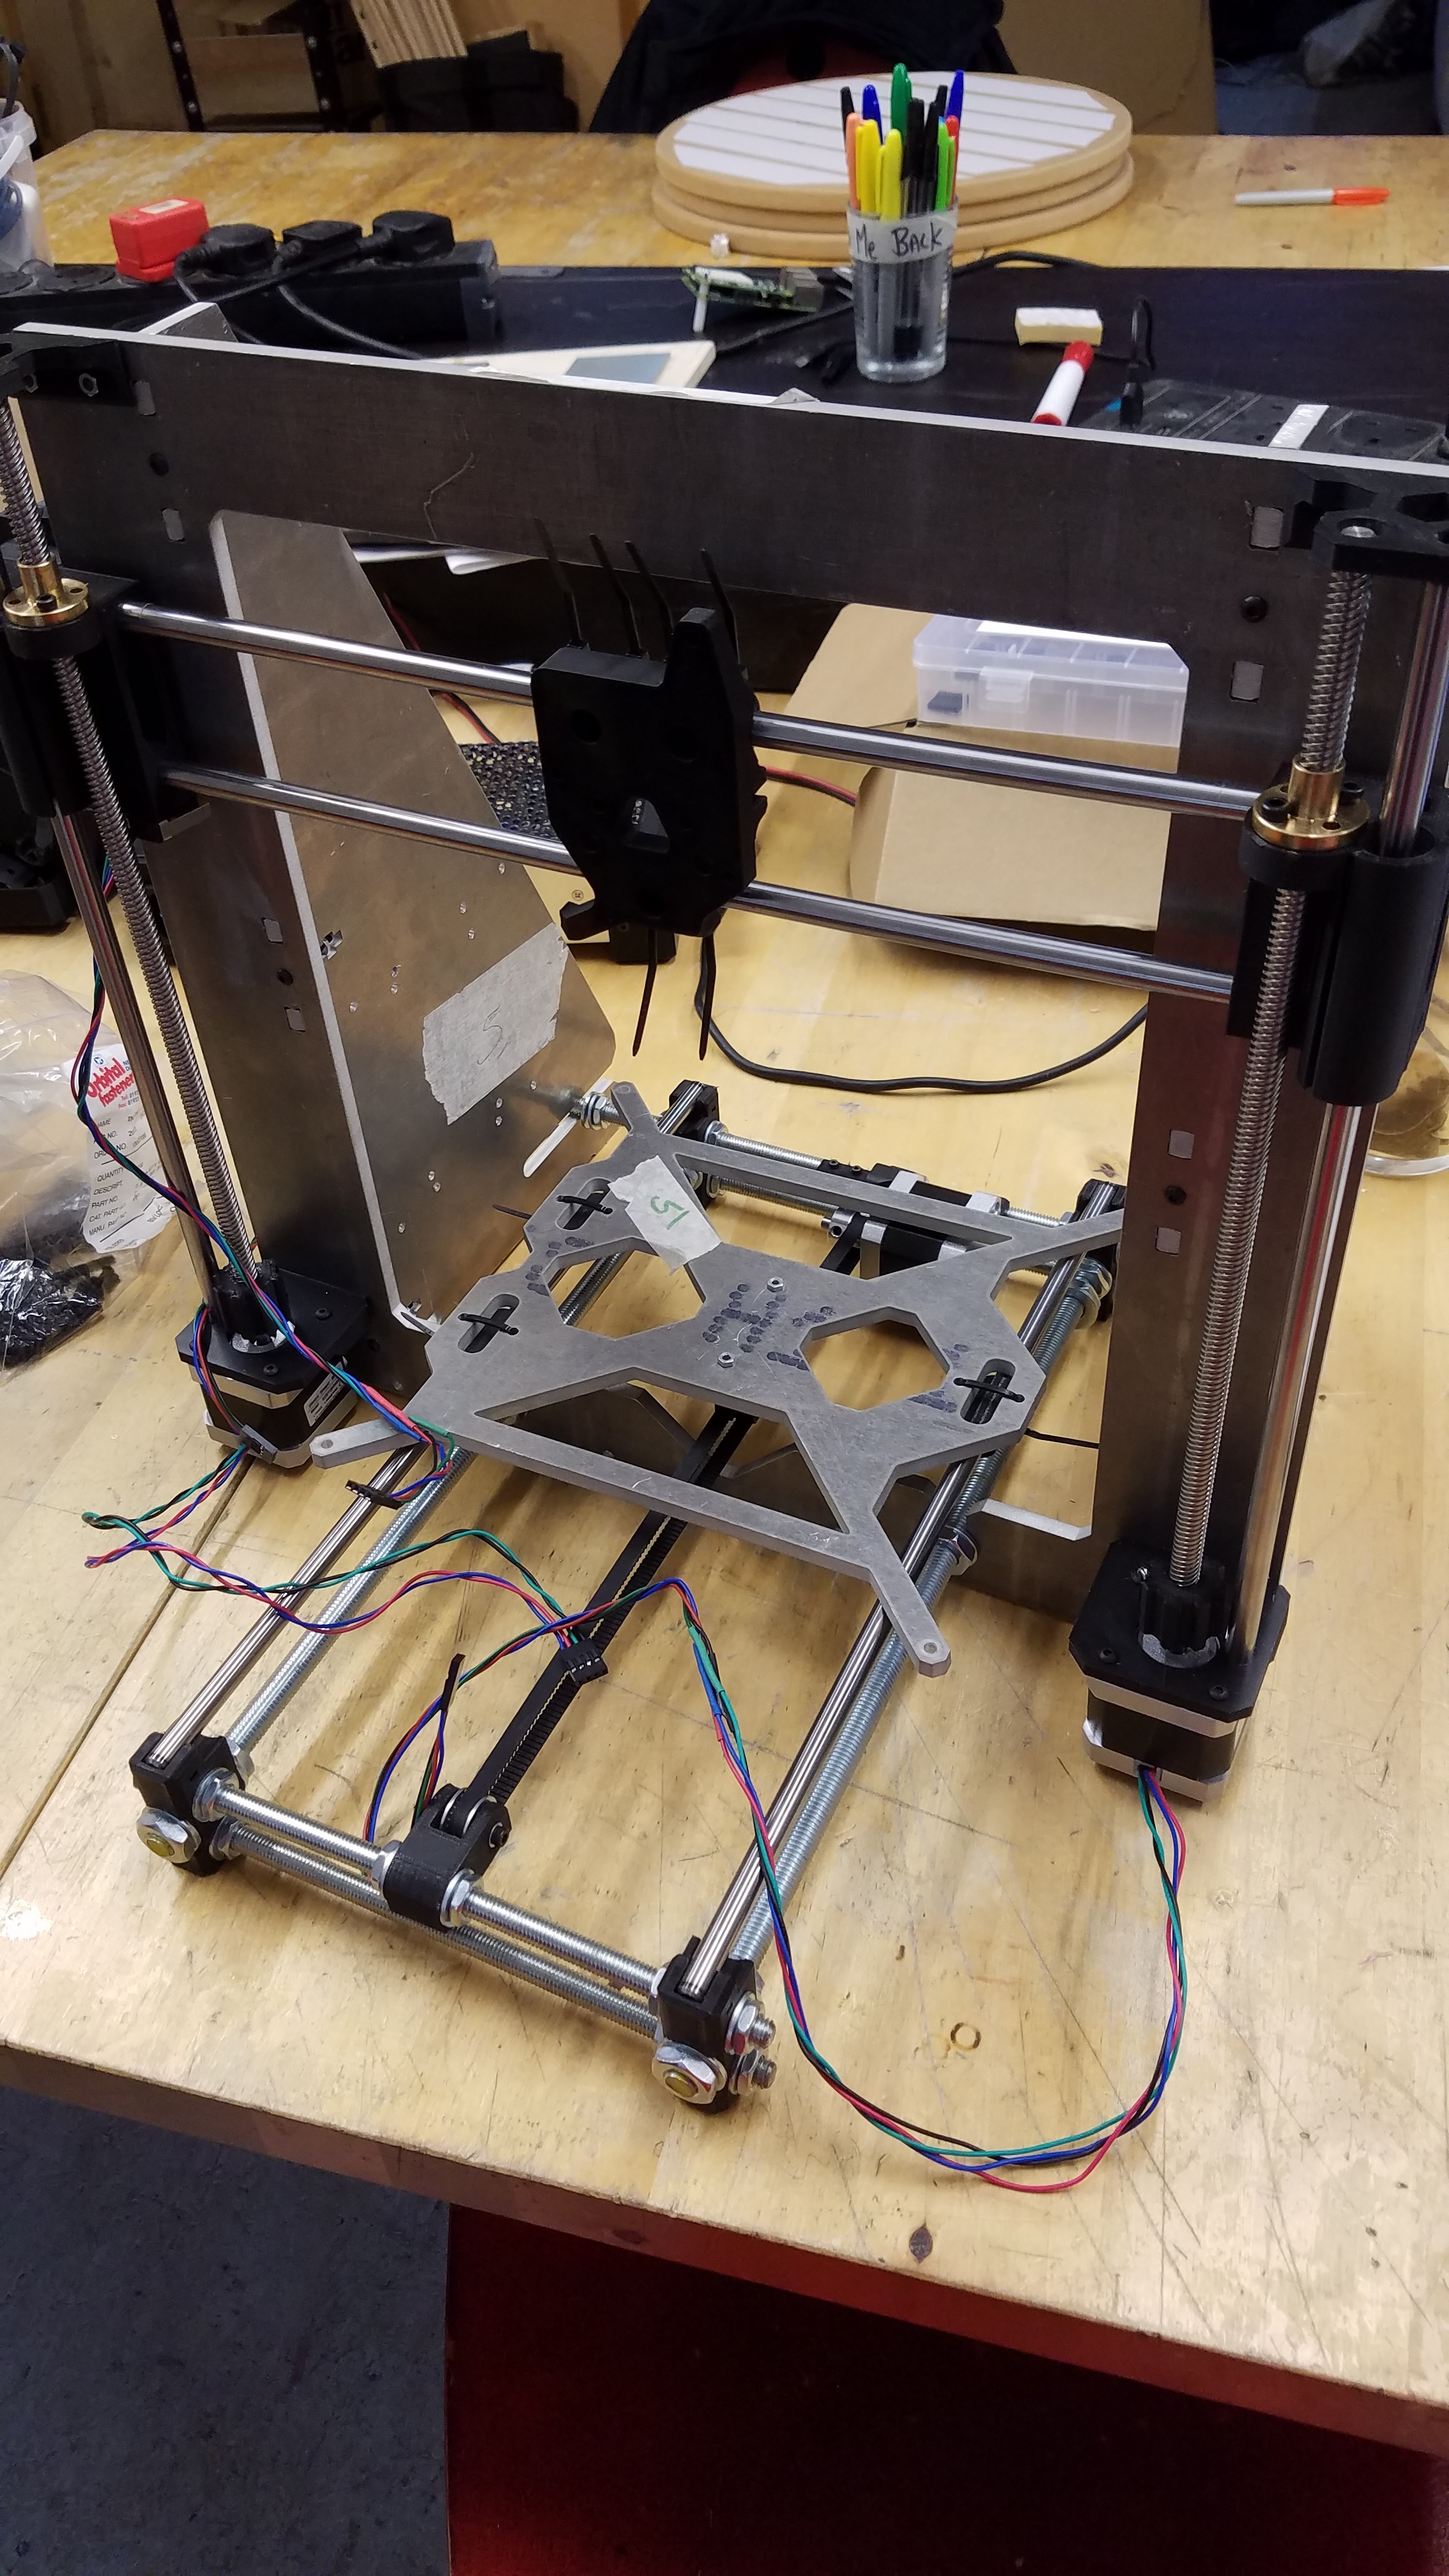
Furthered the build a bit more:
Front view
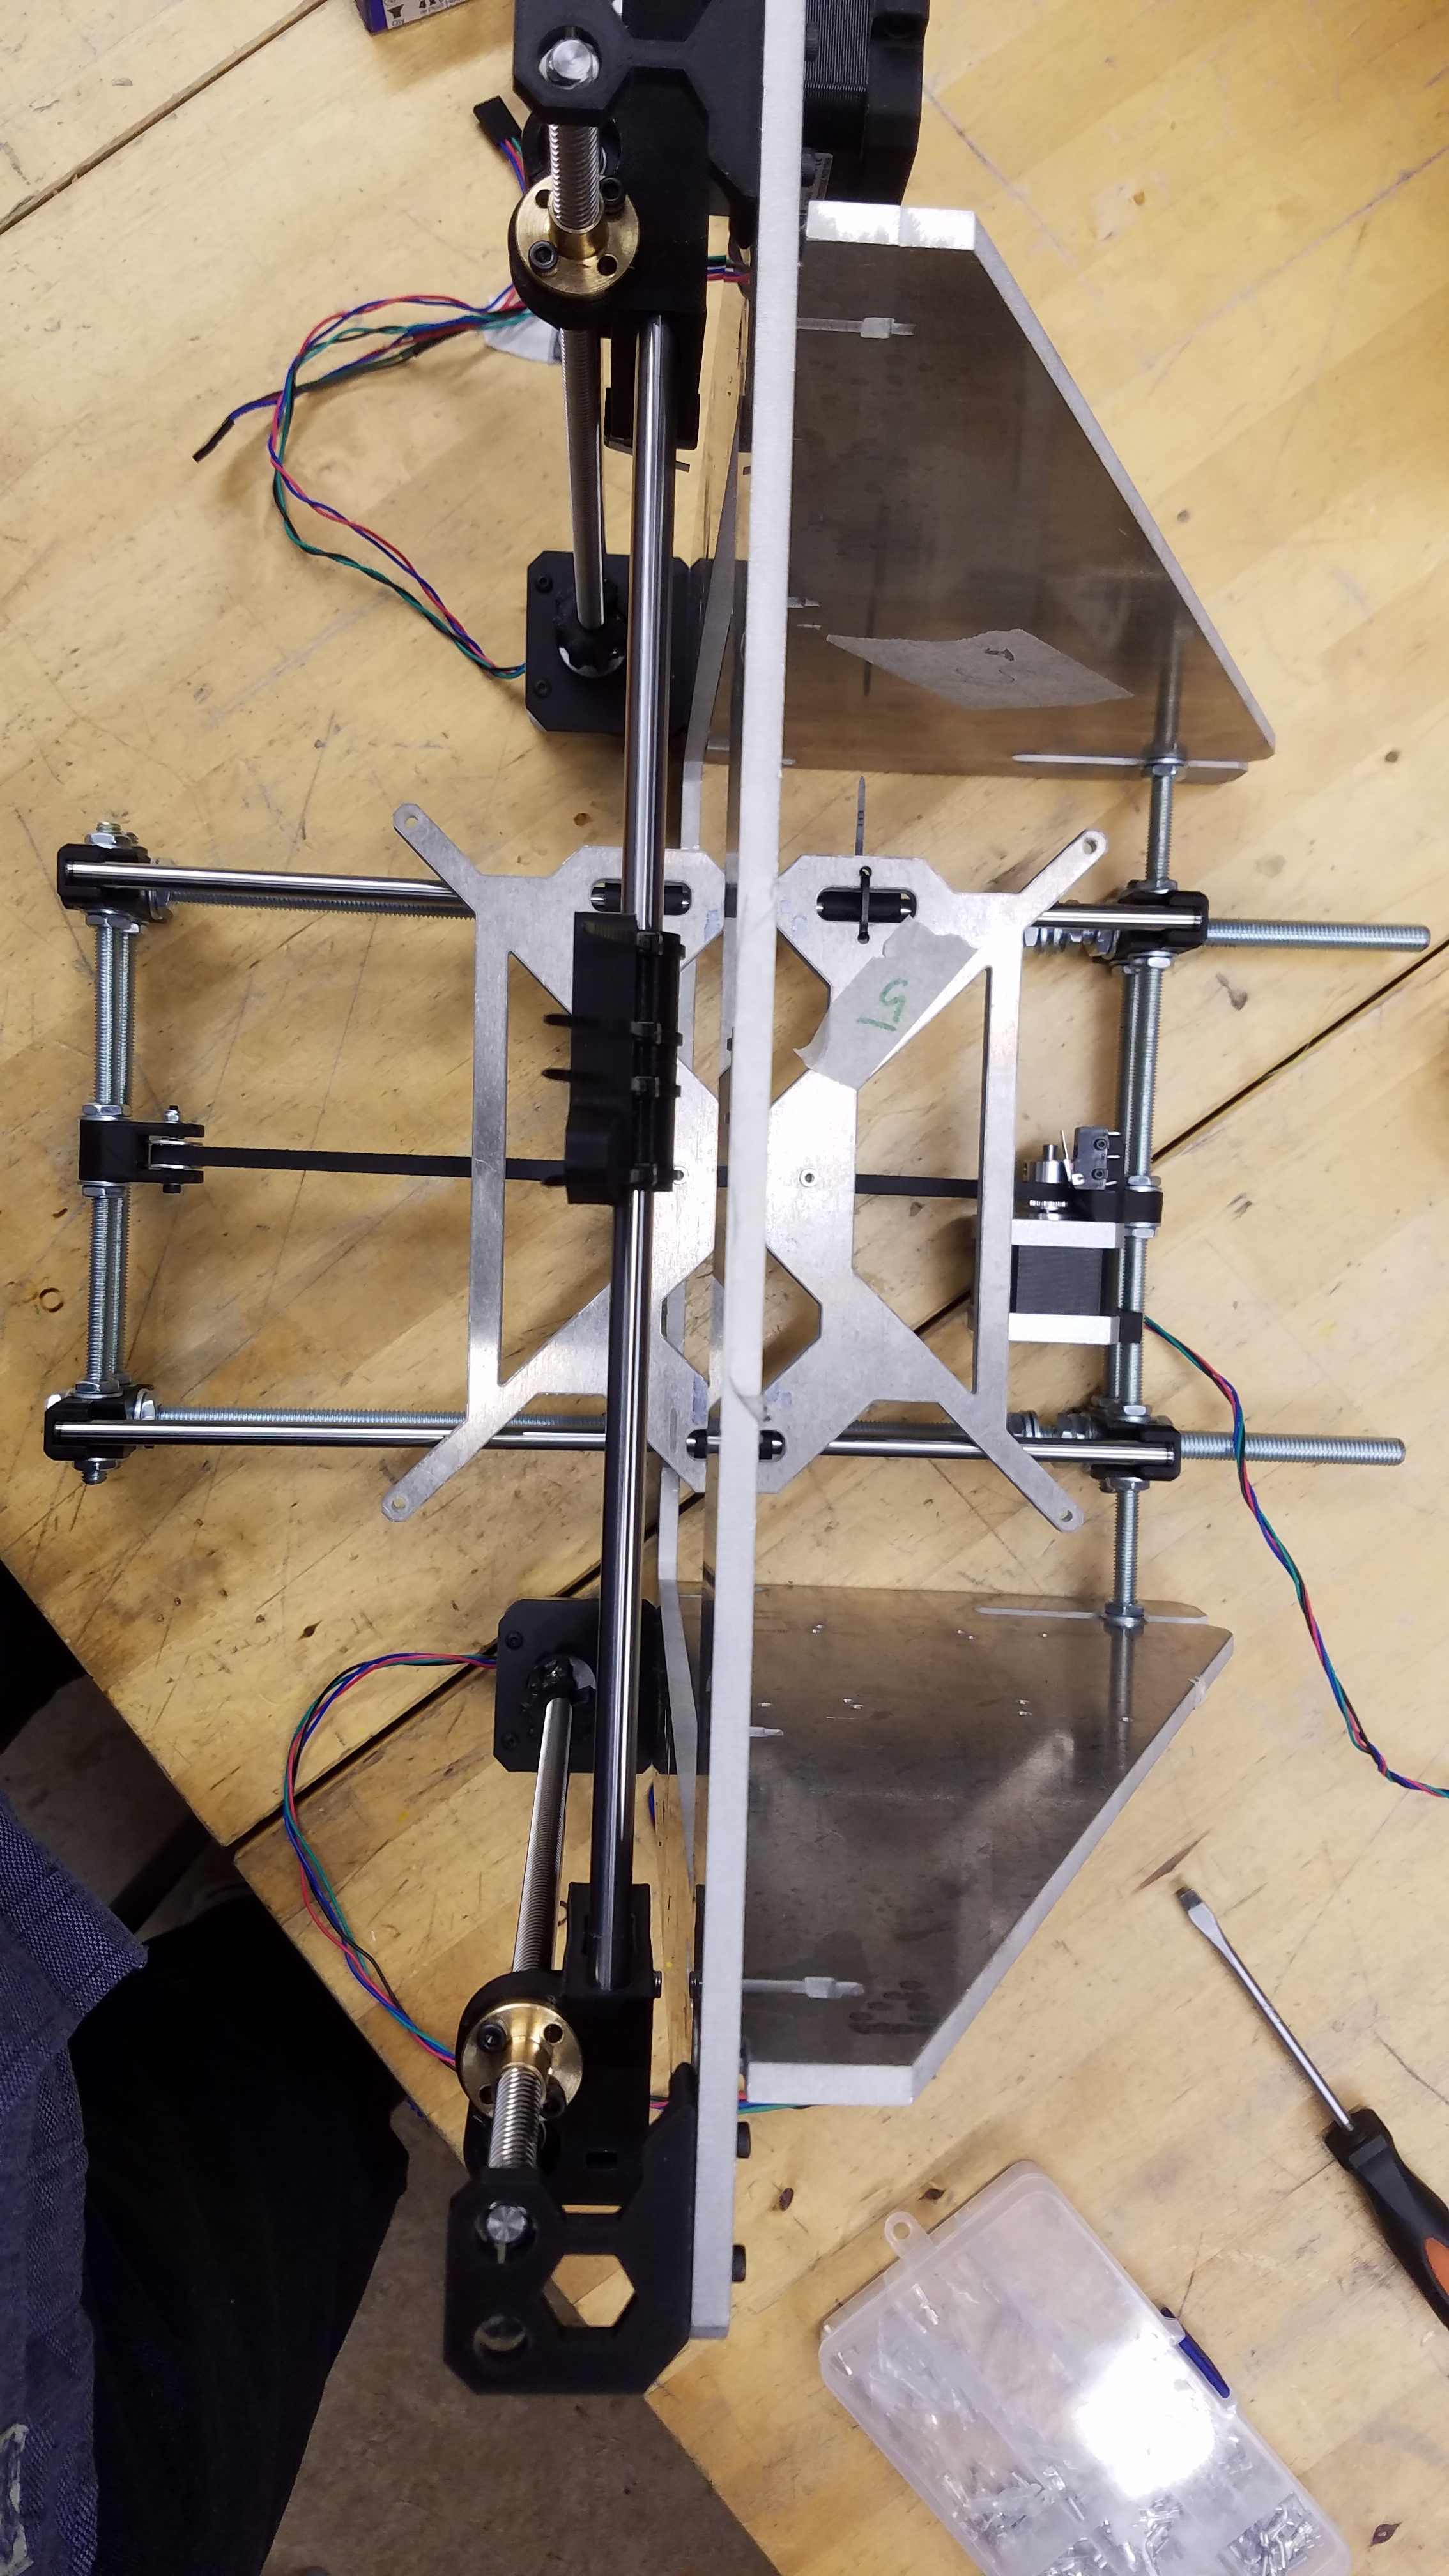
Side view

Top view
Plenty of activity - great to see welding going on !

And Howard fine tuning his dulcimer
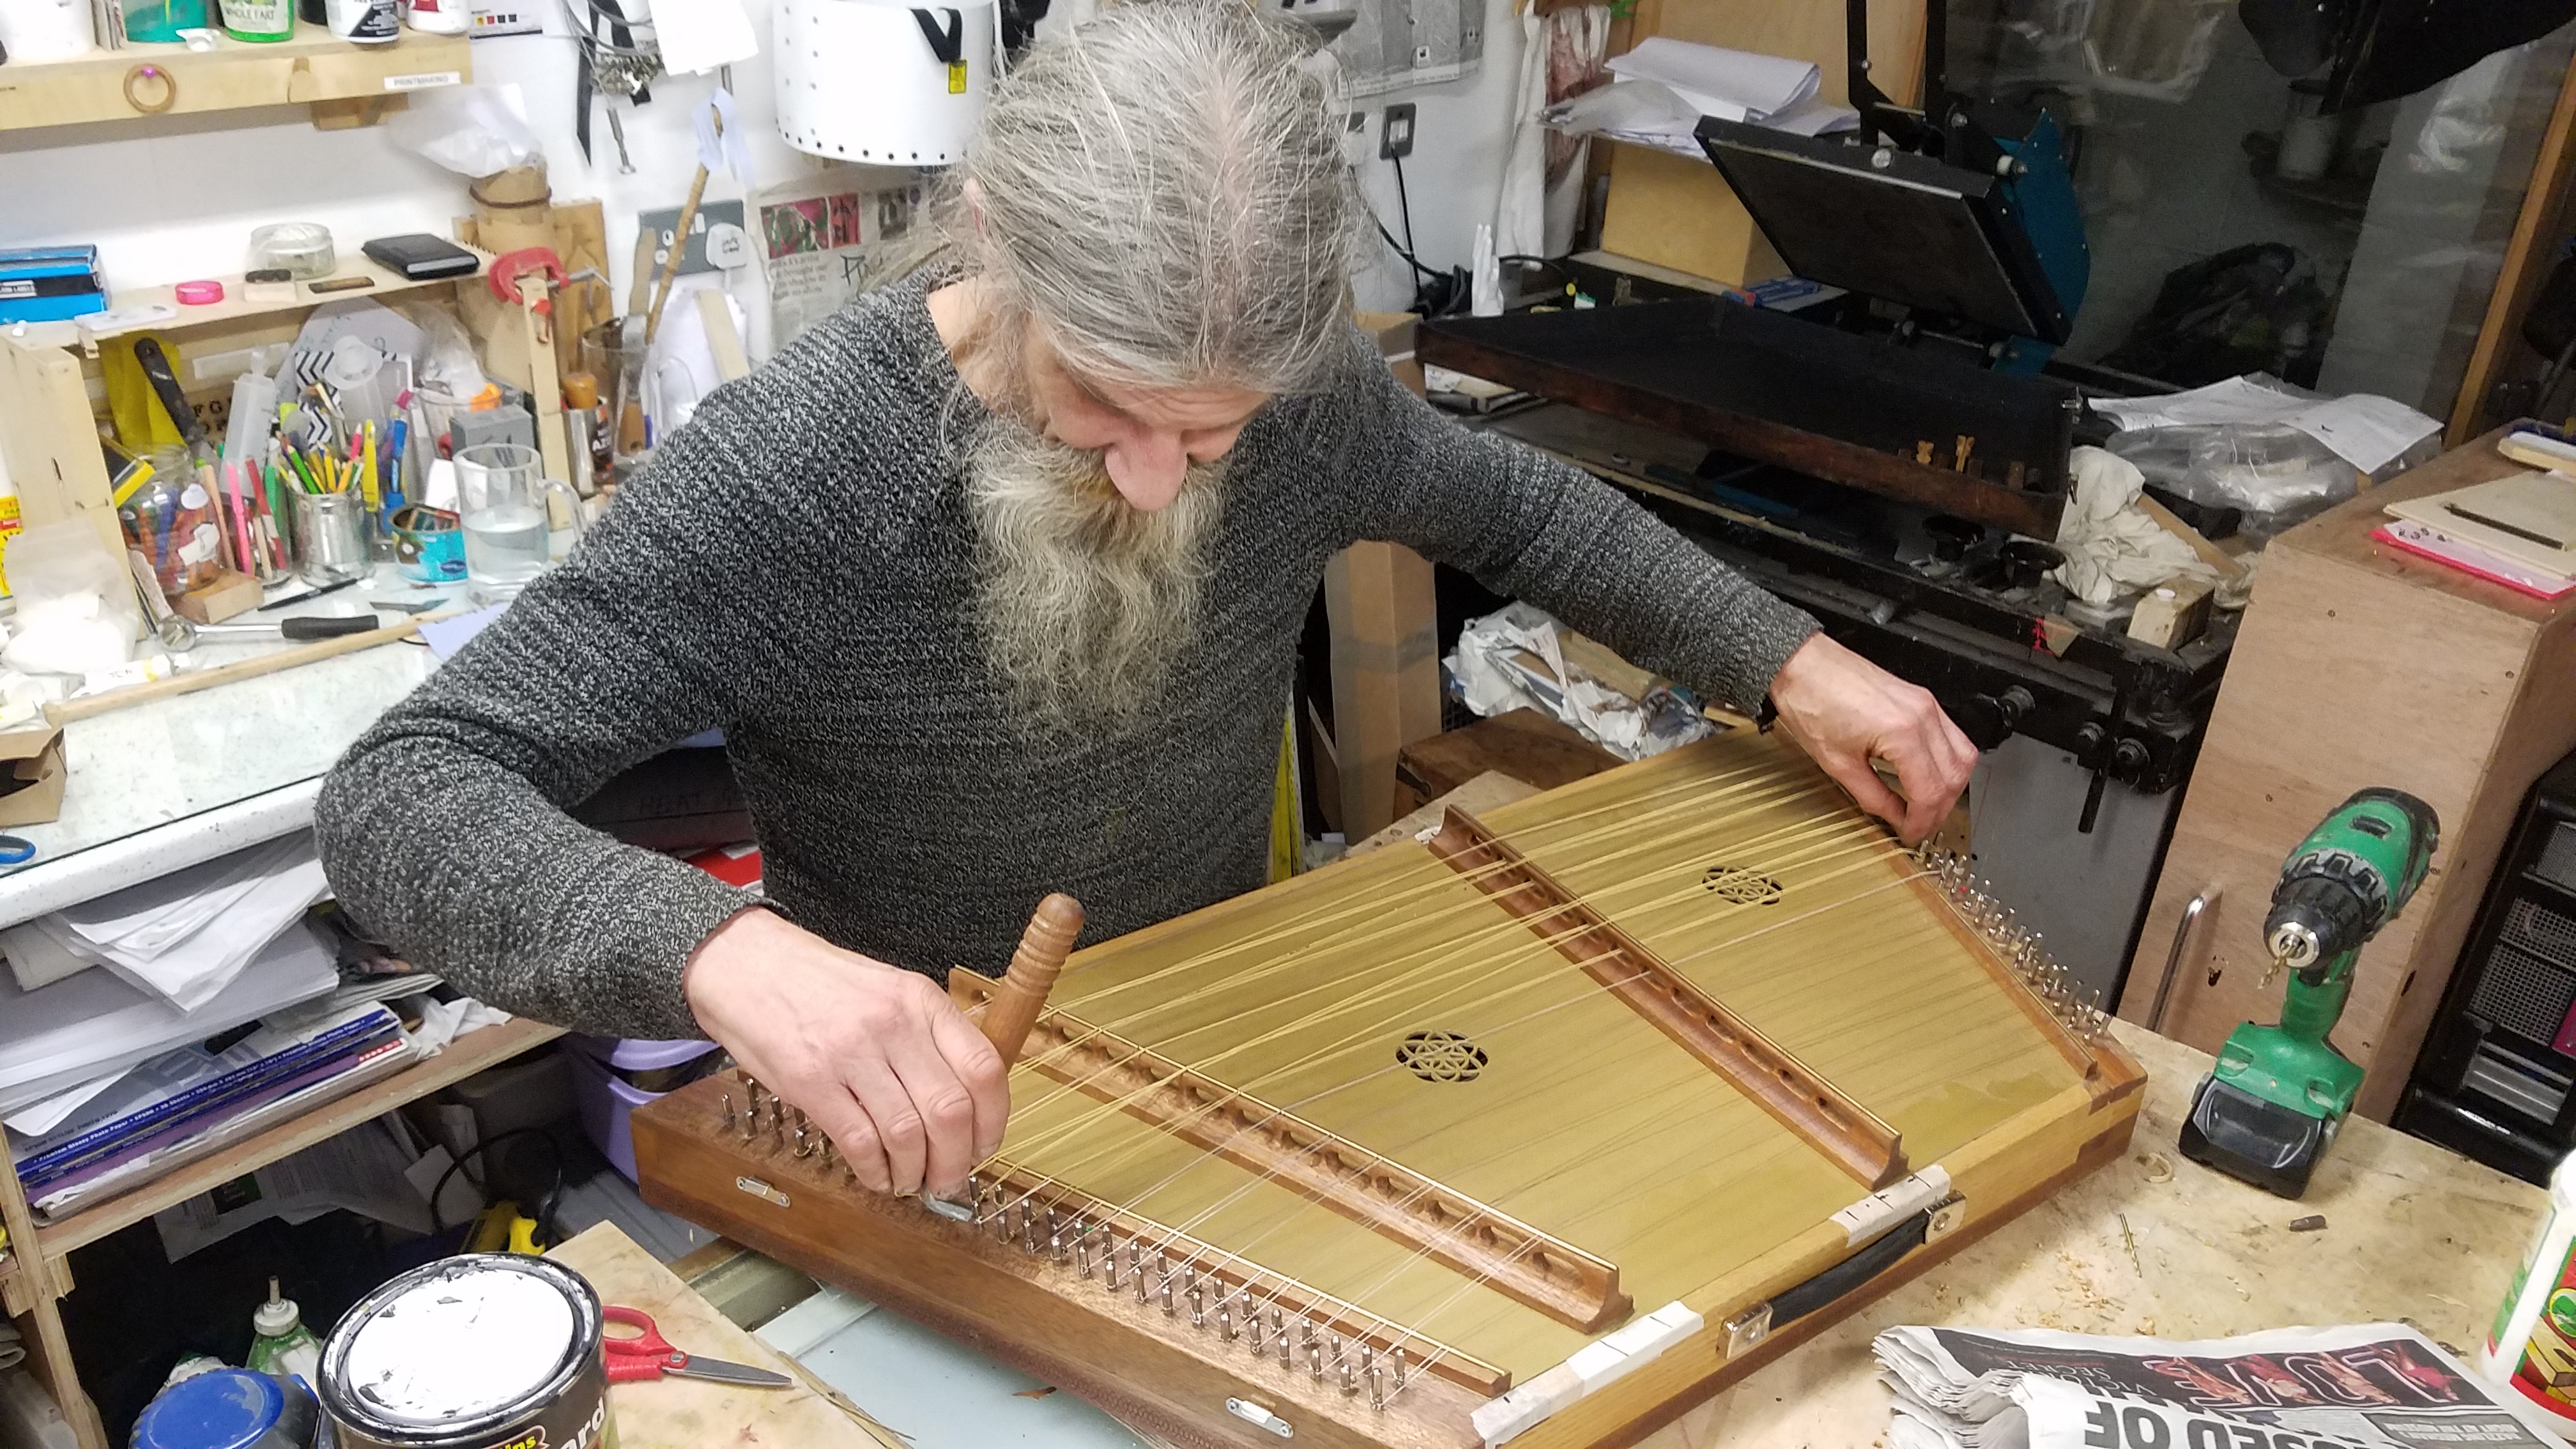
1 Like
No. I had to trim the threaded rods though, the ones used for the y-axis structure.
I’ll post some pics when I get home or tomorrow. Anything in particular you need to see?
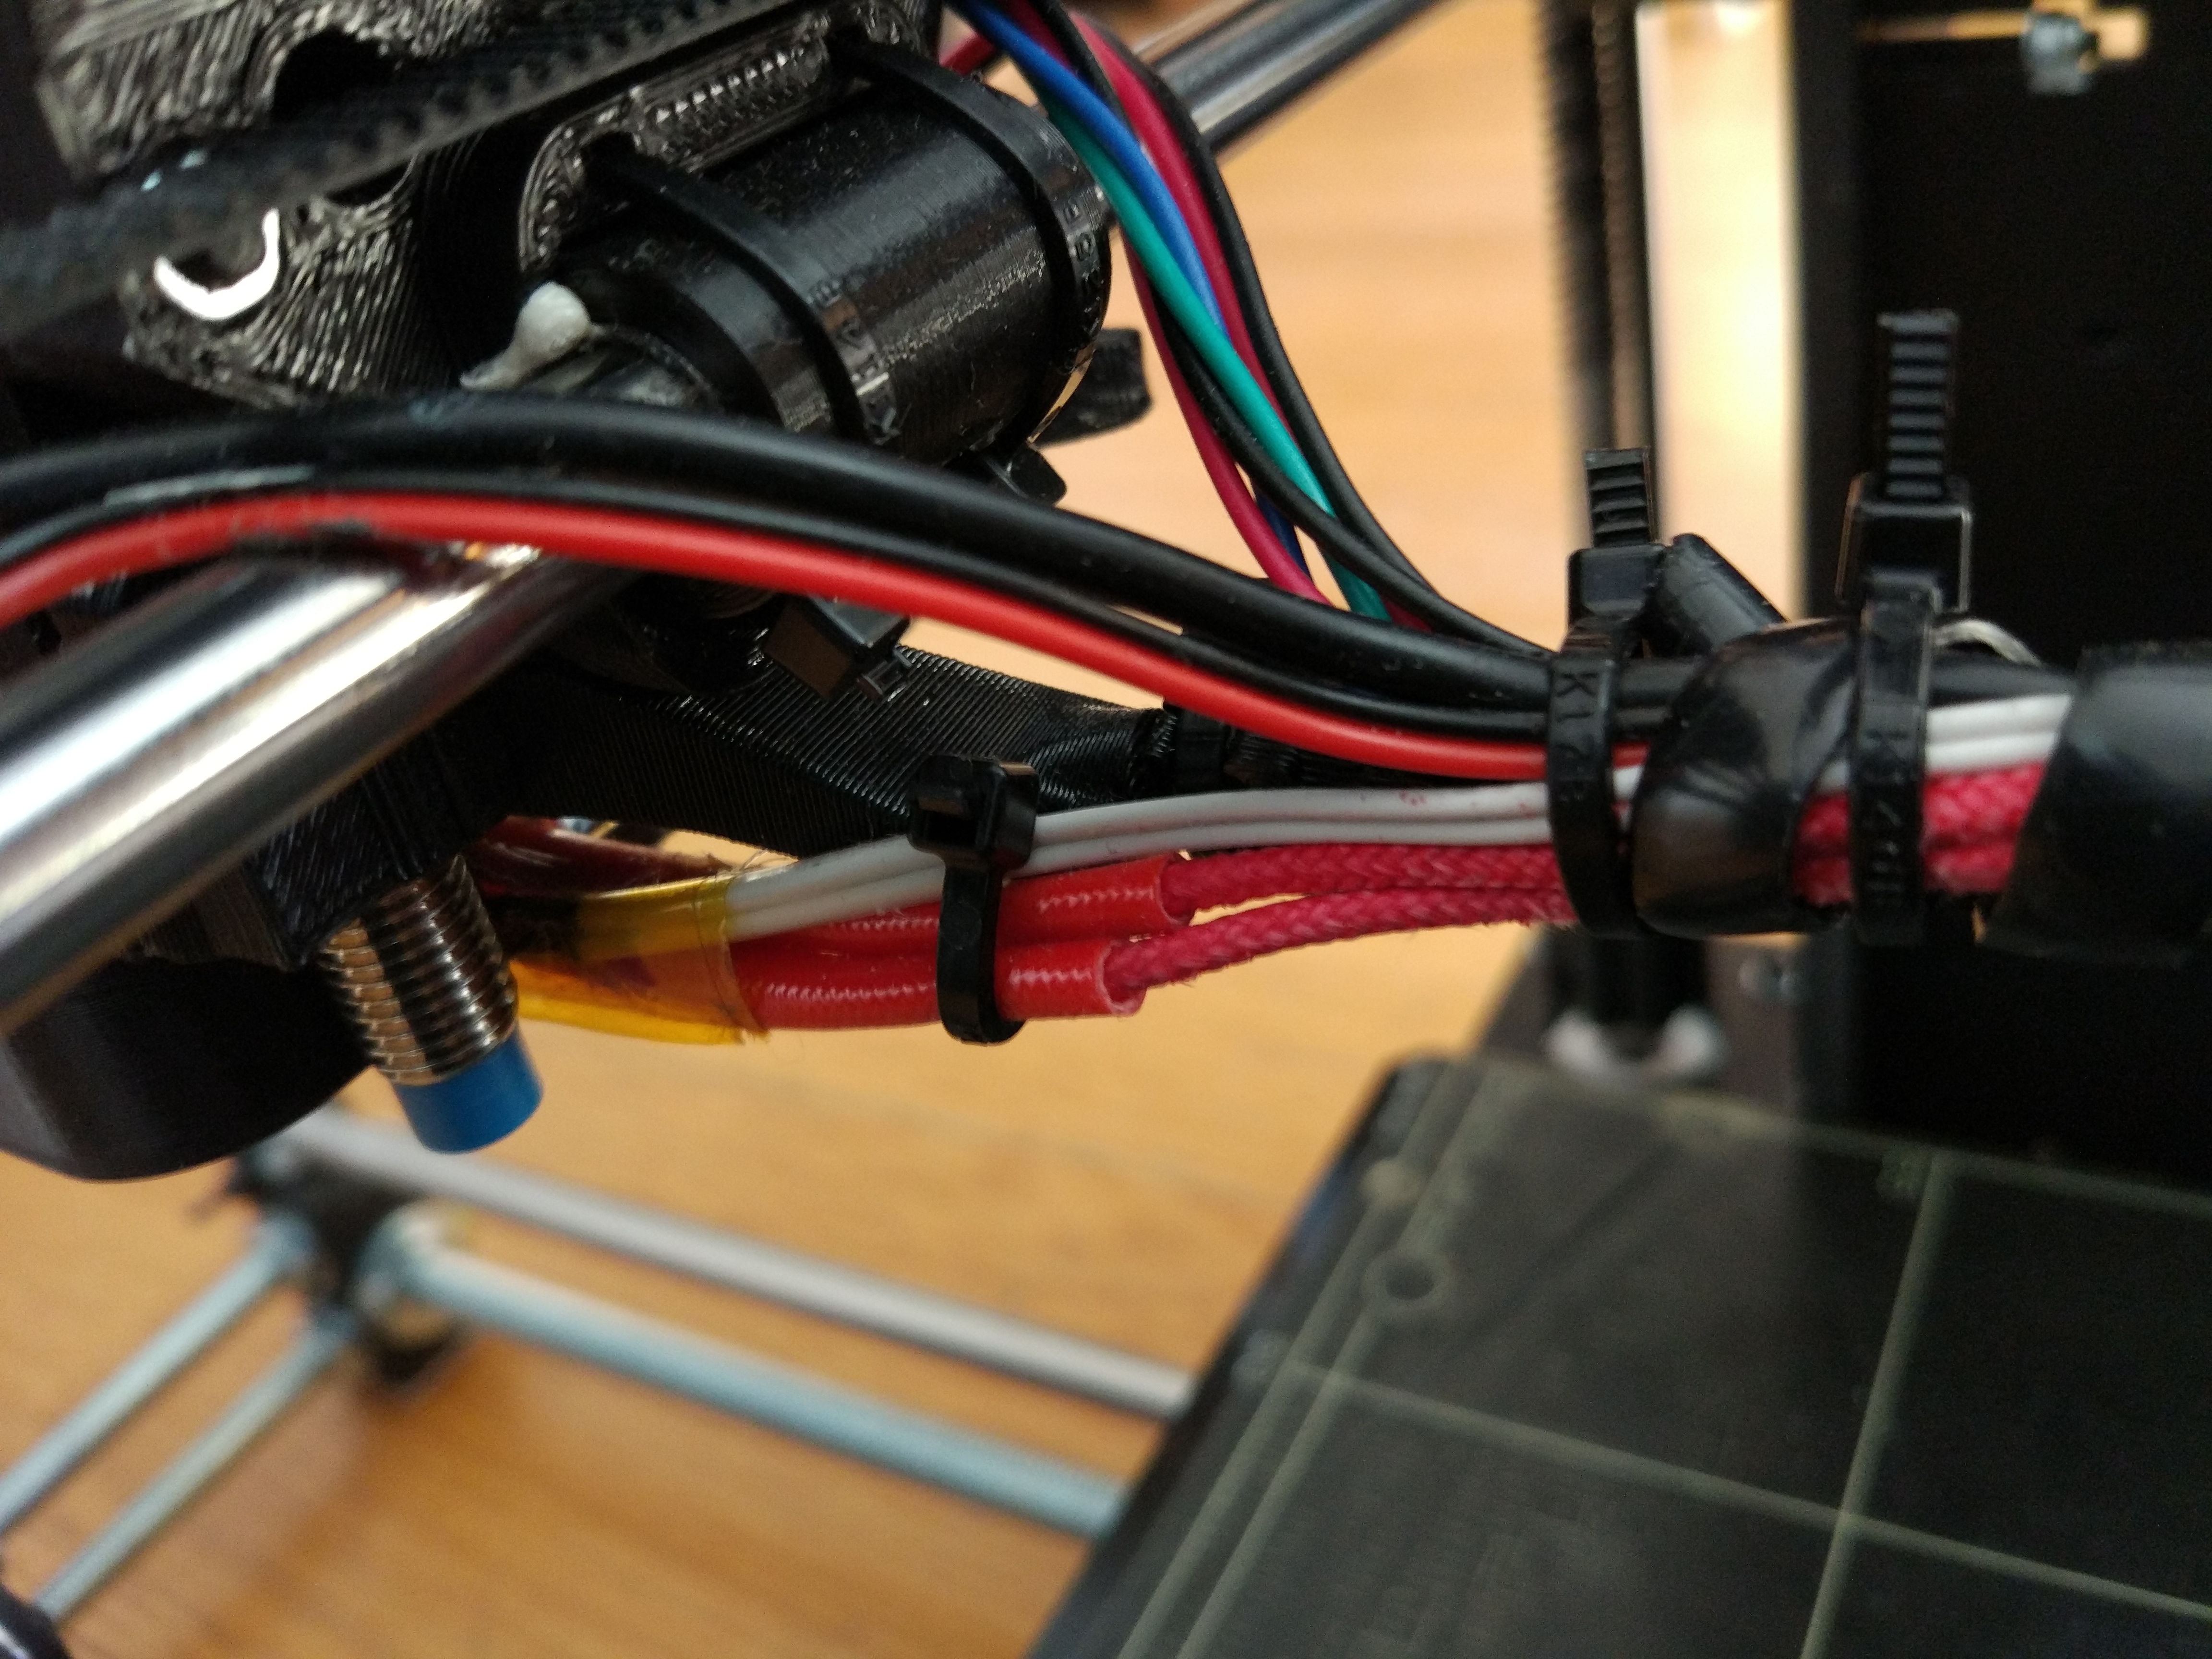
Thanks - I’ve manage to womble frame together. Orthogonal view would be grand to get an idea of your cable management solution.
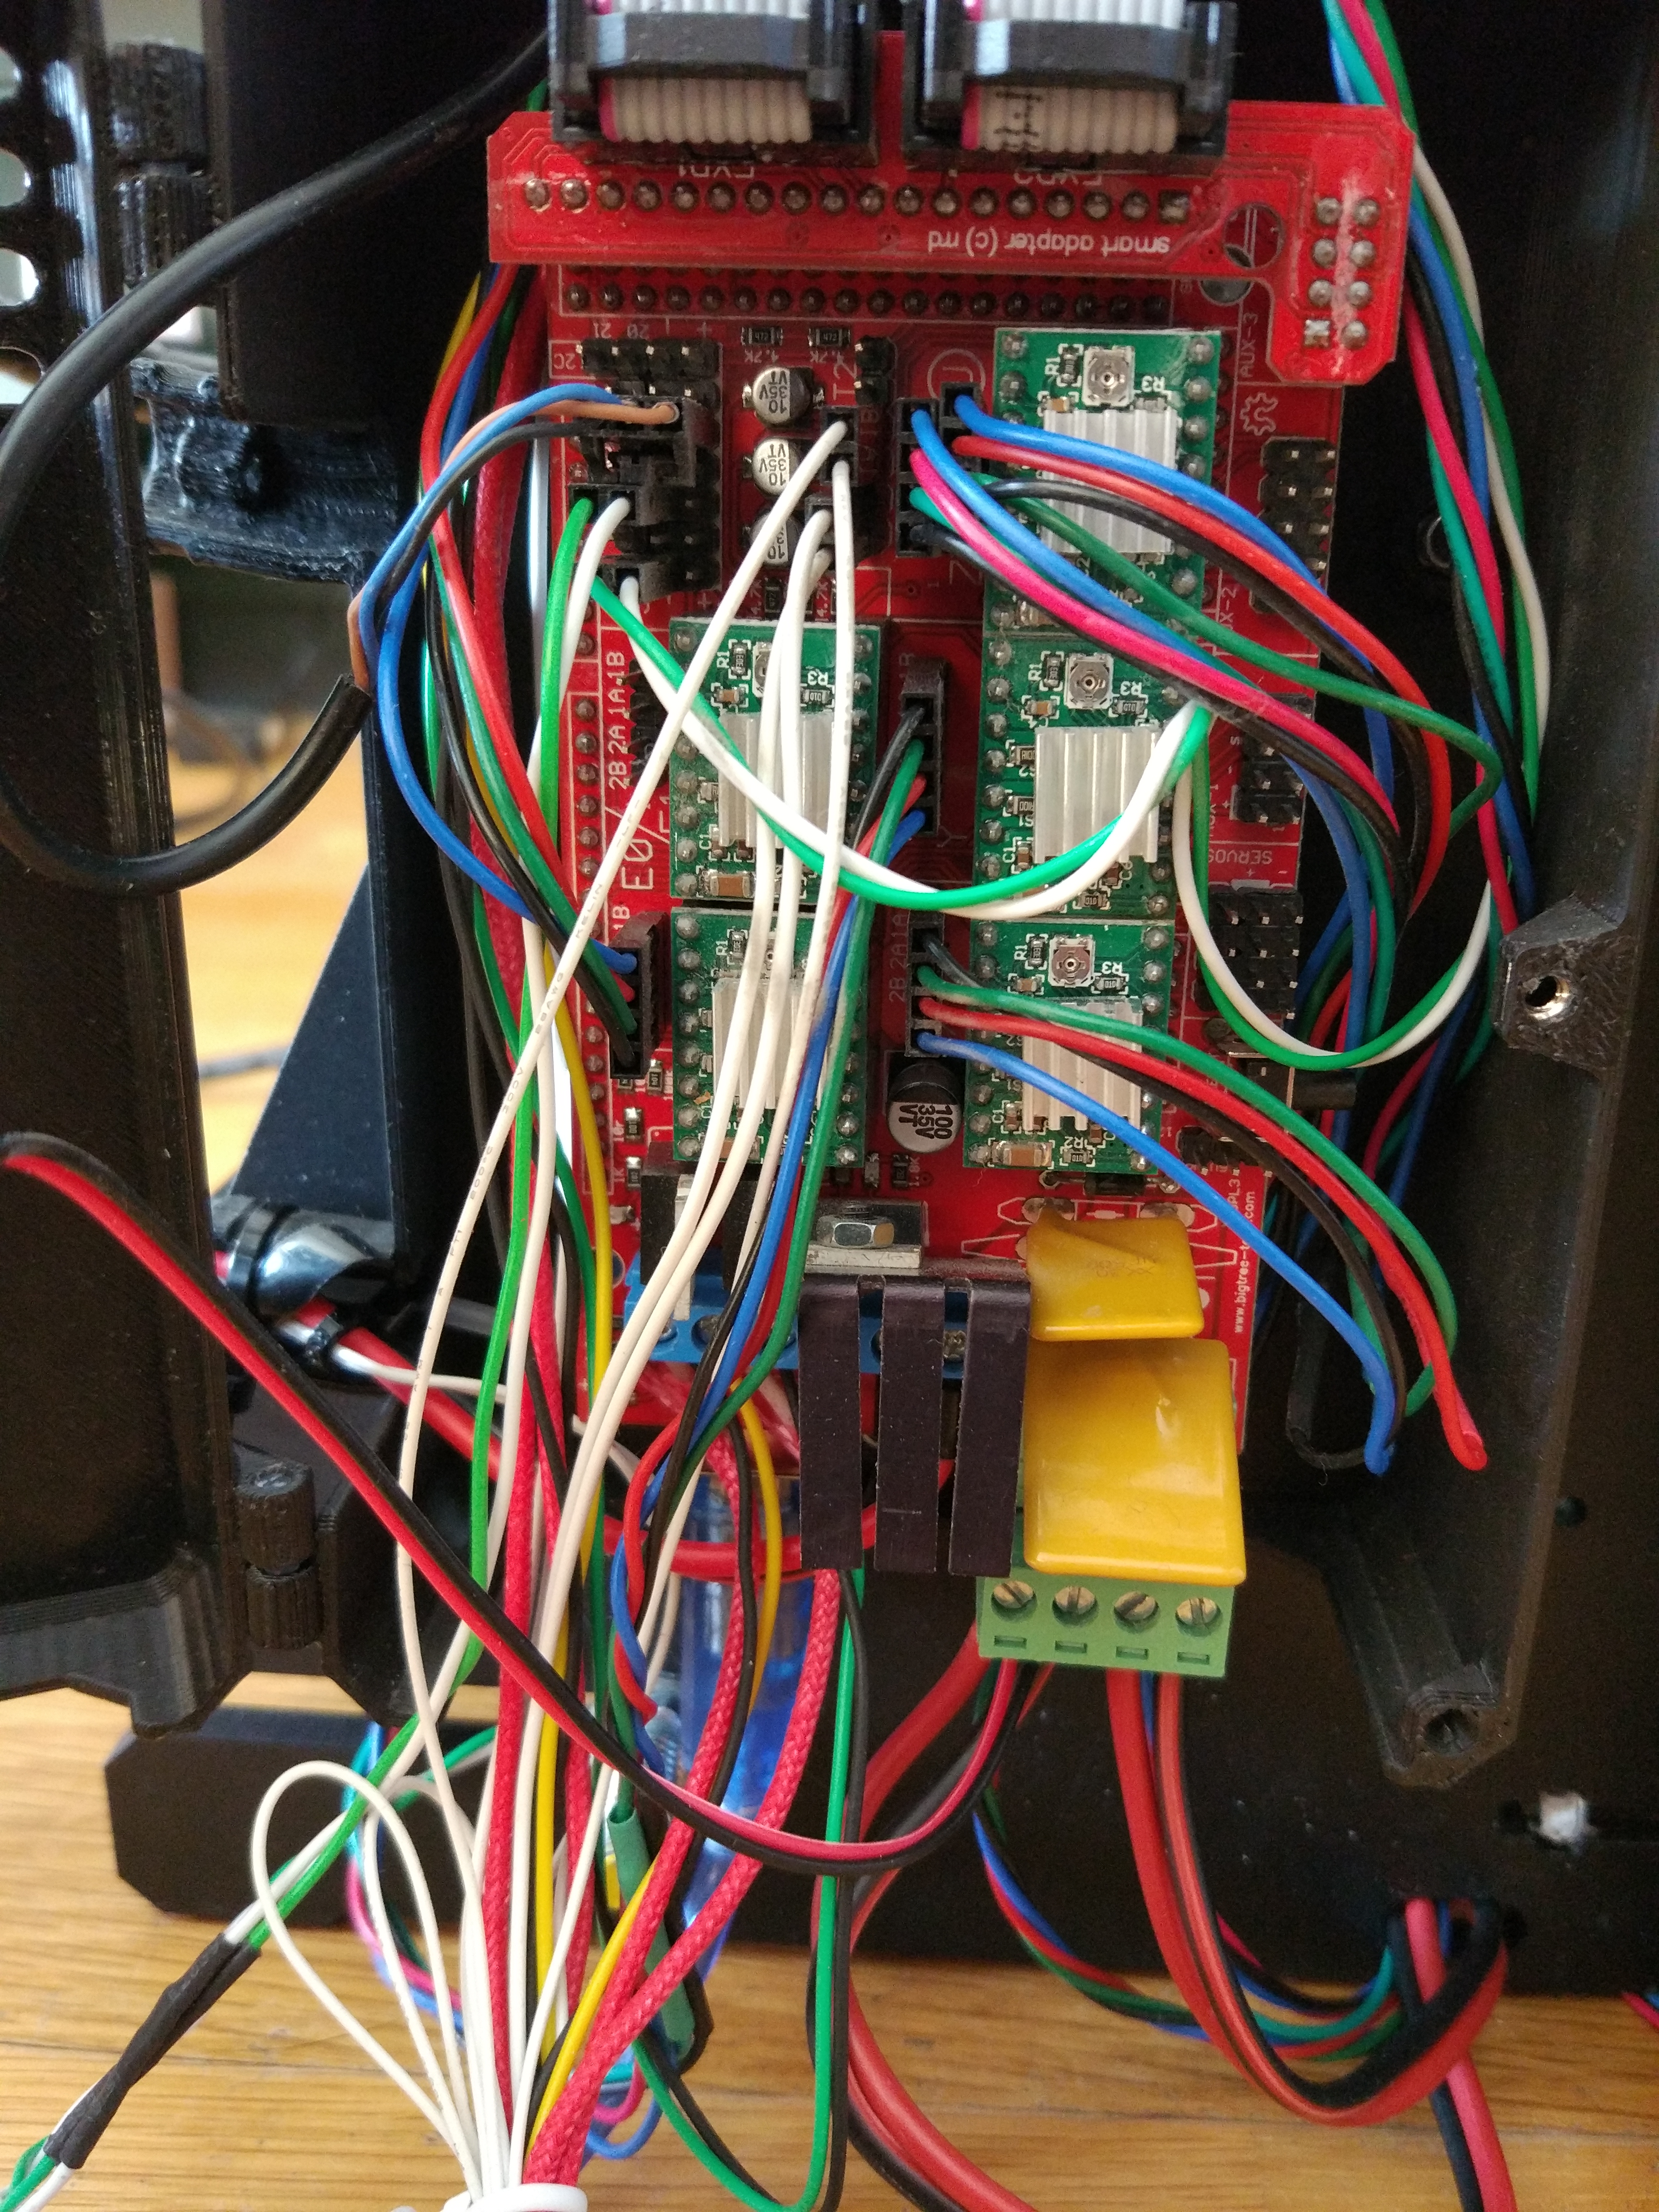
@mikekelly what diagram did you follow for the wiring? I’m having quite a few problems getting the steppers working. Also keen to know how you wired up the endstops and PINDA probe?
@peter_hellyer instructions for generic Ramps 1.4 boards should work. This one for example looks right: https://www.reprap.org/mediawiki/images/0/06/RAMPS_dossier.pdf
See the image after the Contents page.
It is important to get the polarity right with the end stops, or you could damage the board. See my pic below. In our build the Pinda probe is effectively the z-endstop, so that connects where the z-endstop should be.
Stepper orientation doesn’t matter apart from determining the direction of travel. If it moves the wrong way plug it into the board the other way round. On the other hand if your stepper is just juddery rather than turning smoothly that would mean that the poles of the motor are not wired correctly. But i think we tested all the ones we wired up so that shouldn’t be an issue.
1 Like
@dsikar Are these useful?
One thing you might consider doing differently is wiring the cables from the heated bed to the middle entry point in the box which houses the arduino, instead of the one at the bottom. That will stop it dragging against the frame. My wires were a bit too short to do that comfortably.
Also you can see I didn’t trim and rewire all the cables just yet, so they would fit into the box. I just tidied the excess with a cable tie for now. (2nd pic)


2 Likes
one slight problem. When I plug mine in at home, it trips the circuit breaker. Doesnt happen in the space… Hmmm…
Bolted up the frame and trimmed the excess M10 threaded rod. Hopefully next week will start wiring up.
1 Like
Hi all, I’ll be in the space this evening to whoever can come for continuing on the assembly.
1 Like