Sorry I’m really not well enough and if force out this things only going to drag on.
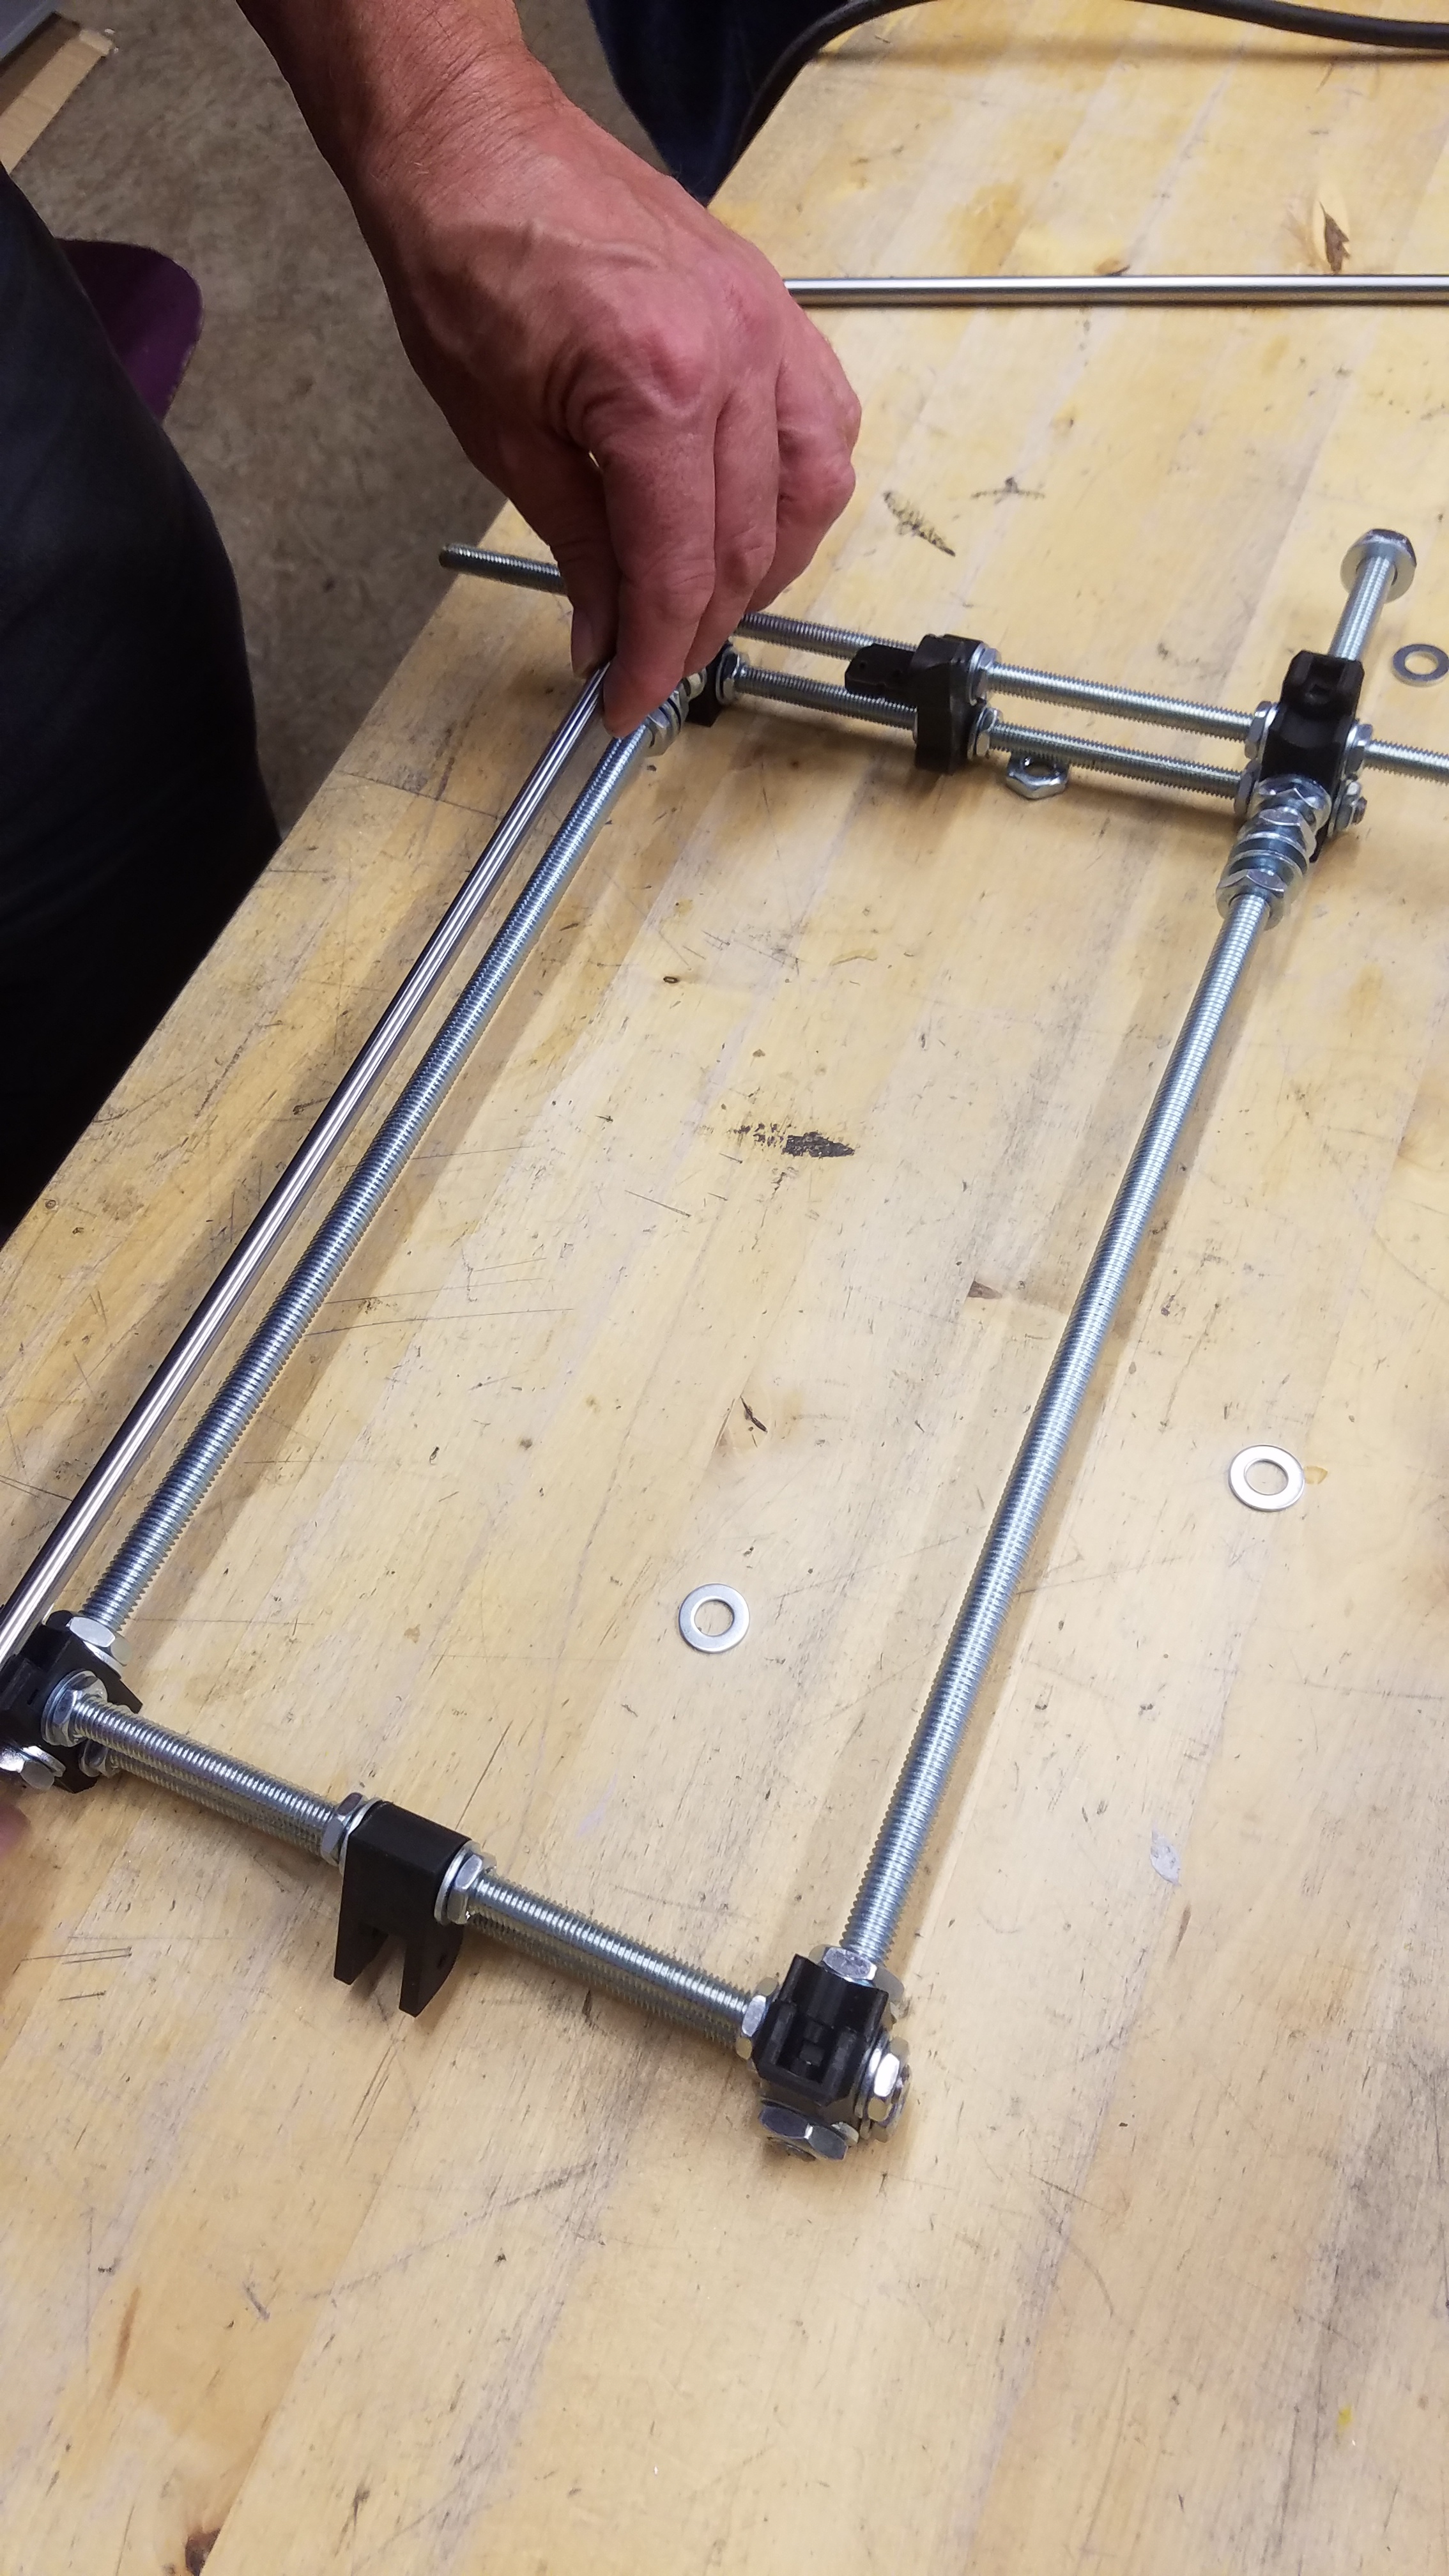
So as said above cut the threaded rod to length we’ll be a good progress
L
Sorry I’m really not well enough and if force out this things only going to drag on.
So as said above cut the threaded rod to length we’ll be a good progress
L
How much tolerance in those measurements? Or exact cuts?
And do we have nuts?
And where does the M3 fit into the scheme of things?
A couple of millimeters should be fine. “Longer is always better than shorter.”
The M5 need to be 300mm 2 per printer only 3 set are needed if my memory serve correctly
NOTE: M5 need to be handled with care when you cut them to make sure they don’t bend.
All cut…the M5 SS was really not straight to start with…
To those of you who didn’t order the lead screw. It looks really good… Am happy to order more if you want…
@laurent_muchacho had a look in the lead screw bag. There aren’t any shaft couplings or anti-backlash nuts in there, is this known?
There should be brass nuts with lead screw the couplers are 3d printed.
Sorry but changing the upgrade options for leadscrew will require me to re-print x-axis parts so please if possible no one upgrade until we have the printer assembled for you to print your own parts.
The picture of print above & below where made from a printer with M5 thread rod (and yes they are not so straight but the quality is great)
Hi All,
Finally feeling almost better, at least I’m back in the office full time.
Assuming we can go into the space, tomorrow plan and schedule is as follow.
In the time I was ill. I’ve made write up about (Build surface consumable, Slicing software and calibration)
y-axis 200mm as promised with at least 5mm play so in theory you could print up to 205mm in practice
I did some research about enabling Marlin advanced feature like M600 filament changed that allow to do filament change from the LCD helping if you are going to run the printer standalone. There seems to be a tiny bug in that experimental feature and it’s recommended to use Marlin 2.0.0 so I’m testing this at the moment.
I’ve also did a bit of electronic and added Auto Hotend fan control based on temperature that video walk through explain it pretty well. I made a little box to house the electronic mini board and shamelessly double sided taped it to the inside of the electronic box.
I use a raspberrypi with octoprint on all my printer and I like to have the PI powered from the printer PSU. Make things much easier as when you turn the printer on the PI initialise and run an initial Homing and display a message to tell you that it’s ready.
Finished product
Image showing every stage of the design phase. Next would be to design a box to integrate the rpi and step down voltage within the same box.
More to come, hopefully see you tomorrow and have a great day.
in-thread fusion 360 parts = 
Looking good Laurent! I hope to come down for a little while tomorrow evening.
I’ll be along for a bit tonight. What’s on the menu, @laurent_muchacho?
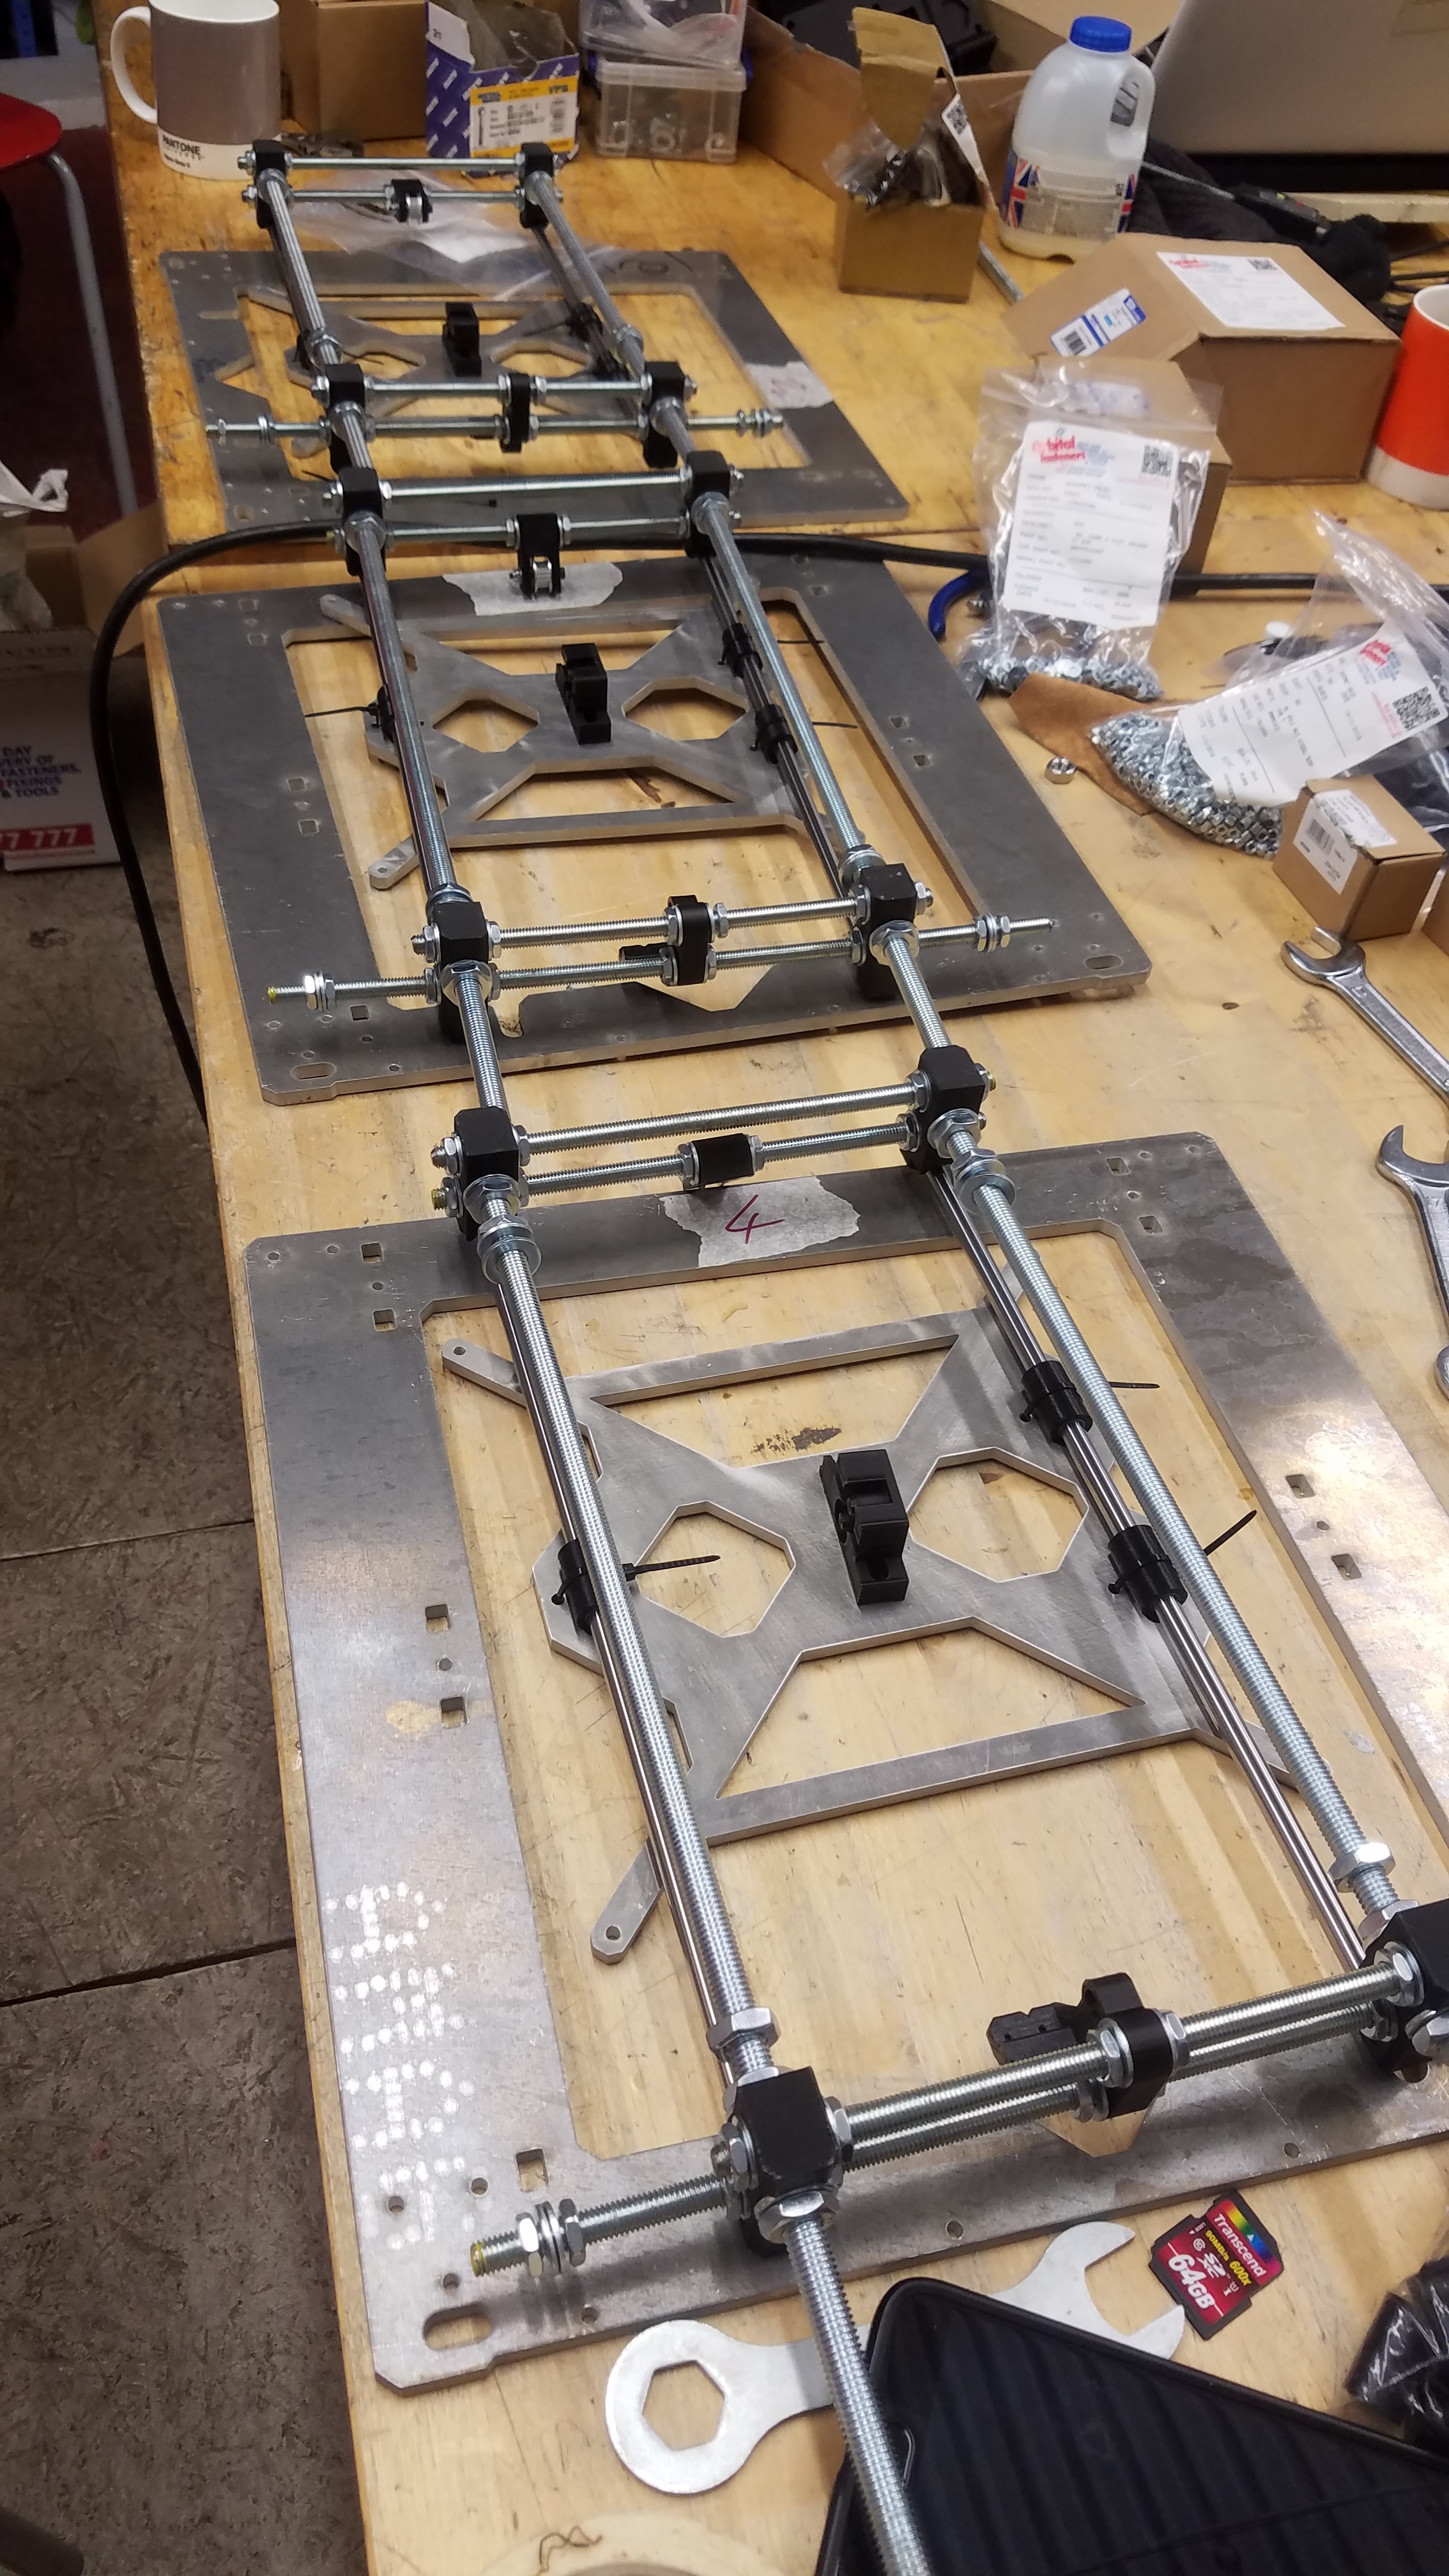
We’ll start assembling the y-axis
I’ll aim to be there for 2100h
anything going on this evening @laurent_muchacho?
Should we also arrange a build weekend, sometime soon? I think @Esther_Gladstone and I are finding it hard to come consistently on a tuesday 
I’ll be able to drop by this evening it will be most likely around 7:30 or 8:00.
Unfortunately we been told by the landlord that the house is for sale and we have to move so we found something and it mean we need to be ready to move in the week of 8/12 to the 16/12 and leaving for France on the 21 so it’s going to be hard for me to do a weekend day long day until then
Really sorry guys but that move is really a pain at so many levels
I’ll be there
I have the smooth rod and the orbital fastener delivery
I won’t make it along tonight unfortunately
I’m in the bus will be there shortly
Sorry, not able to make it tonight, early start tomorrow. Will hopefully be there next week.
Things moving forward - we assembled y axis up to fitting stepper and timing belt. Productive stuff!  @laurent_muchacho could you please post the link you were showing us last night?
Is that the last session for a while?
I would like to get some printing done over the Christmas period, so I’m wondering about bringing my bits home to finish off the build. I would still come along to the build sessions at the space to learn and help with the other builds when they resume.
Do we have everything required for a complete build now, or are there still parts to be 3D printed?