We’d gone too long without a proper coffee table, and it was getting annoying when the cardboard box kept sliding off of the wine box.
Before:

After:

Design
As is often the case with these projects, I spent much more time fretting over, deliberating and redrawing the design rather than the actual build. The first sketch was on Sketchup, as that’s what I was used to. The thought with this one was to continue with some of the themes on earlier projects like my bookshelf or side table, using routing and templates :

I was gently advised by my partner to not go through with this first idea.
After much Pinterest time, I went back to the drawing board with some new ideas, and to a new drawing board in fact. I’d finally read through some documentation for Fusion360 and now much prefer it for its parametric capabilities. For example, after sketching this rendition (with a “floating” top and angled legs):

By changing a couple of parameters, I could play with the idea to get this other sketch very quickly and easily:

This functionality was extremely useful for tweaking measurements to rapidly try out new proportions within the model. When it came to the build, after milling I was able to easily update and tweak the model measurements to what I actually ended up with to help with measurements.
Eventually I arrived at this:

I found a feature of a table from Pinterst, with the shadow line and no overhang between the aprons and table top, a radius on the legs, and chamfered bottom edges. I felt this was a good exploration of some of the elements incorporated in the bookshelf and table, and would further cement some of the skills I’d picked up with template routing. I wanted to add a shelf to the bottom, so matched the curve and chamfer elements from the table aprons and legs:

Project Challenges
Every time I do one of these bigger projects, I design around a couple of key challenges to expand and reinforce my skill set. With this design, that was going to be:
- Resawing. Since the table is 40cm wide, I could book match the tabletop.
- Spindle moulders. Rather than doing the tenons on the router table, we have 2 spindle moulders. I’d used them once for my picture frames, and they seemed pretty powerful and versatile
- Long thin pieces. When you cut wood into thin strips, it relieves internal tensions within the board and tends to go wonky.
- Getting away from chunky.
- more complex template routing
Acquiring wood, Milling and Dimensioning
Huge thanks to @duncank for letting me tag along to SL Hardwoods on Zipvan rental day. I picked out a beautiful 2" thick, 2.7m long (why are those the units I use…) American walnut board. I went for 2" thick to give myself some wiggle room when resawing the first meter for the tabletop, and triple checked my plans that I’d be able to get all of my pieces out of the board. Here it is cut in half on the far left:

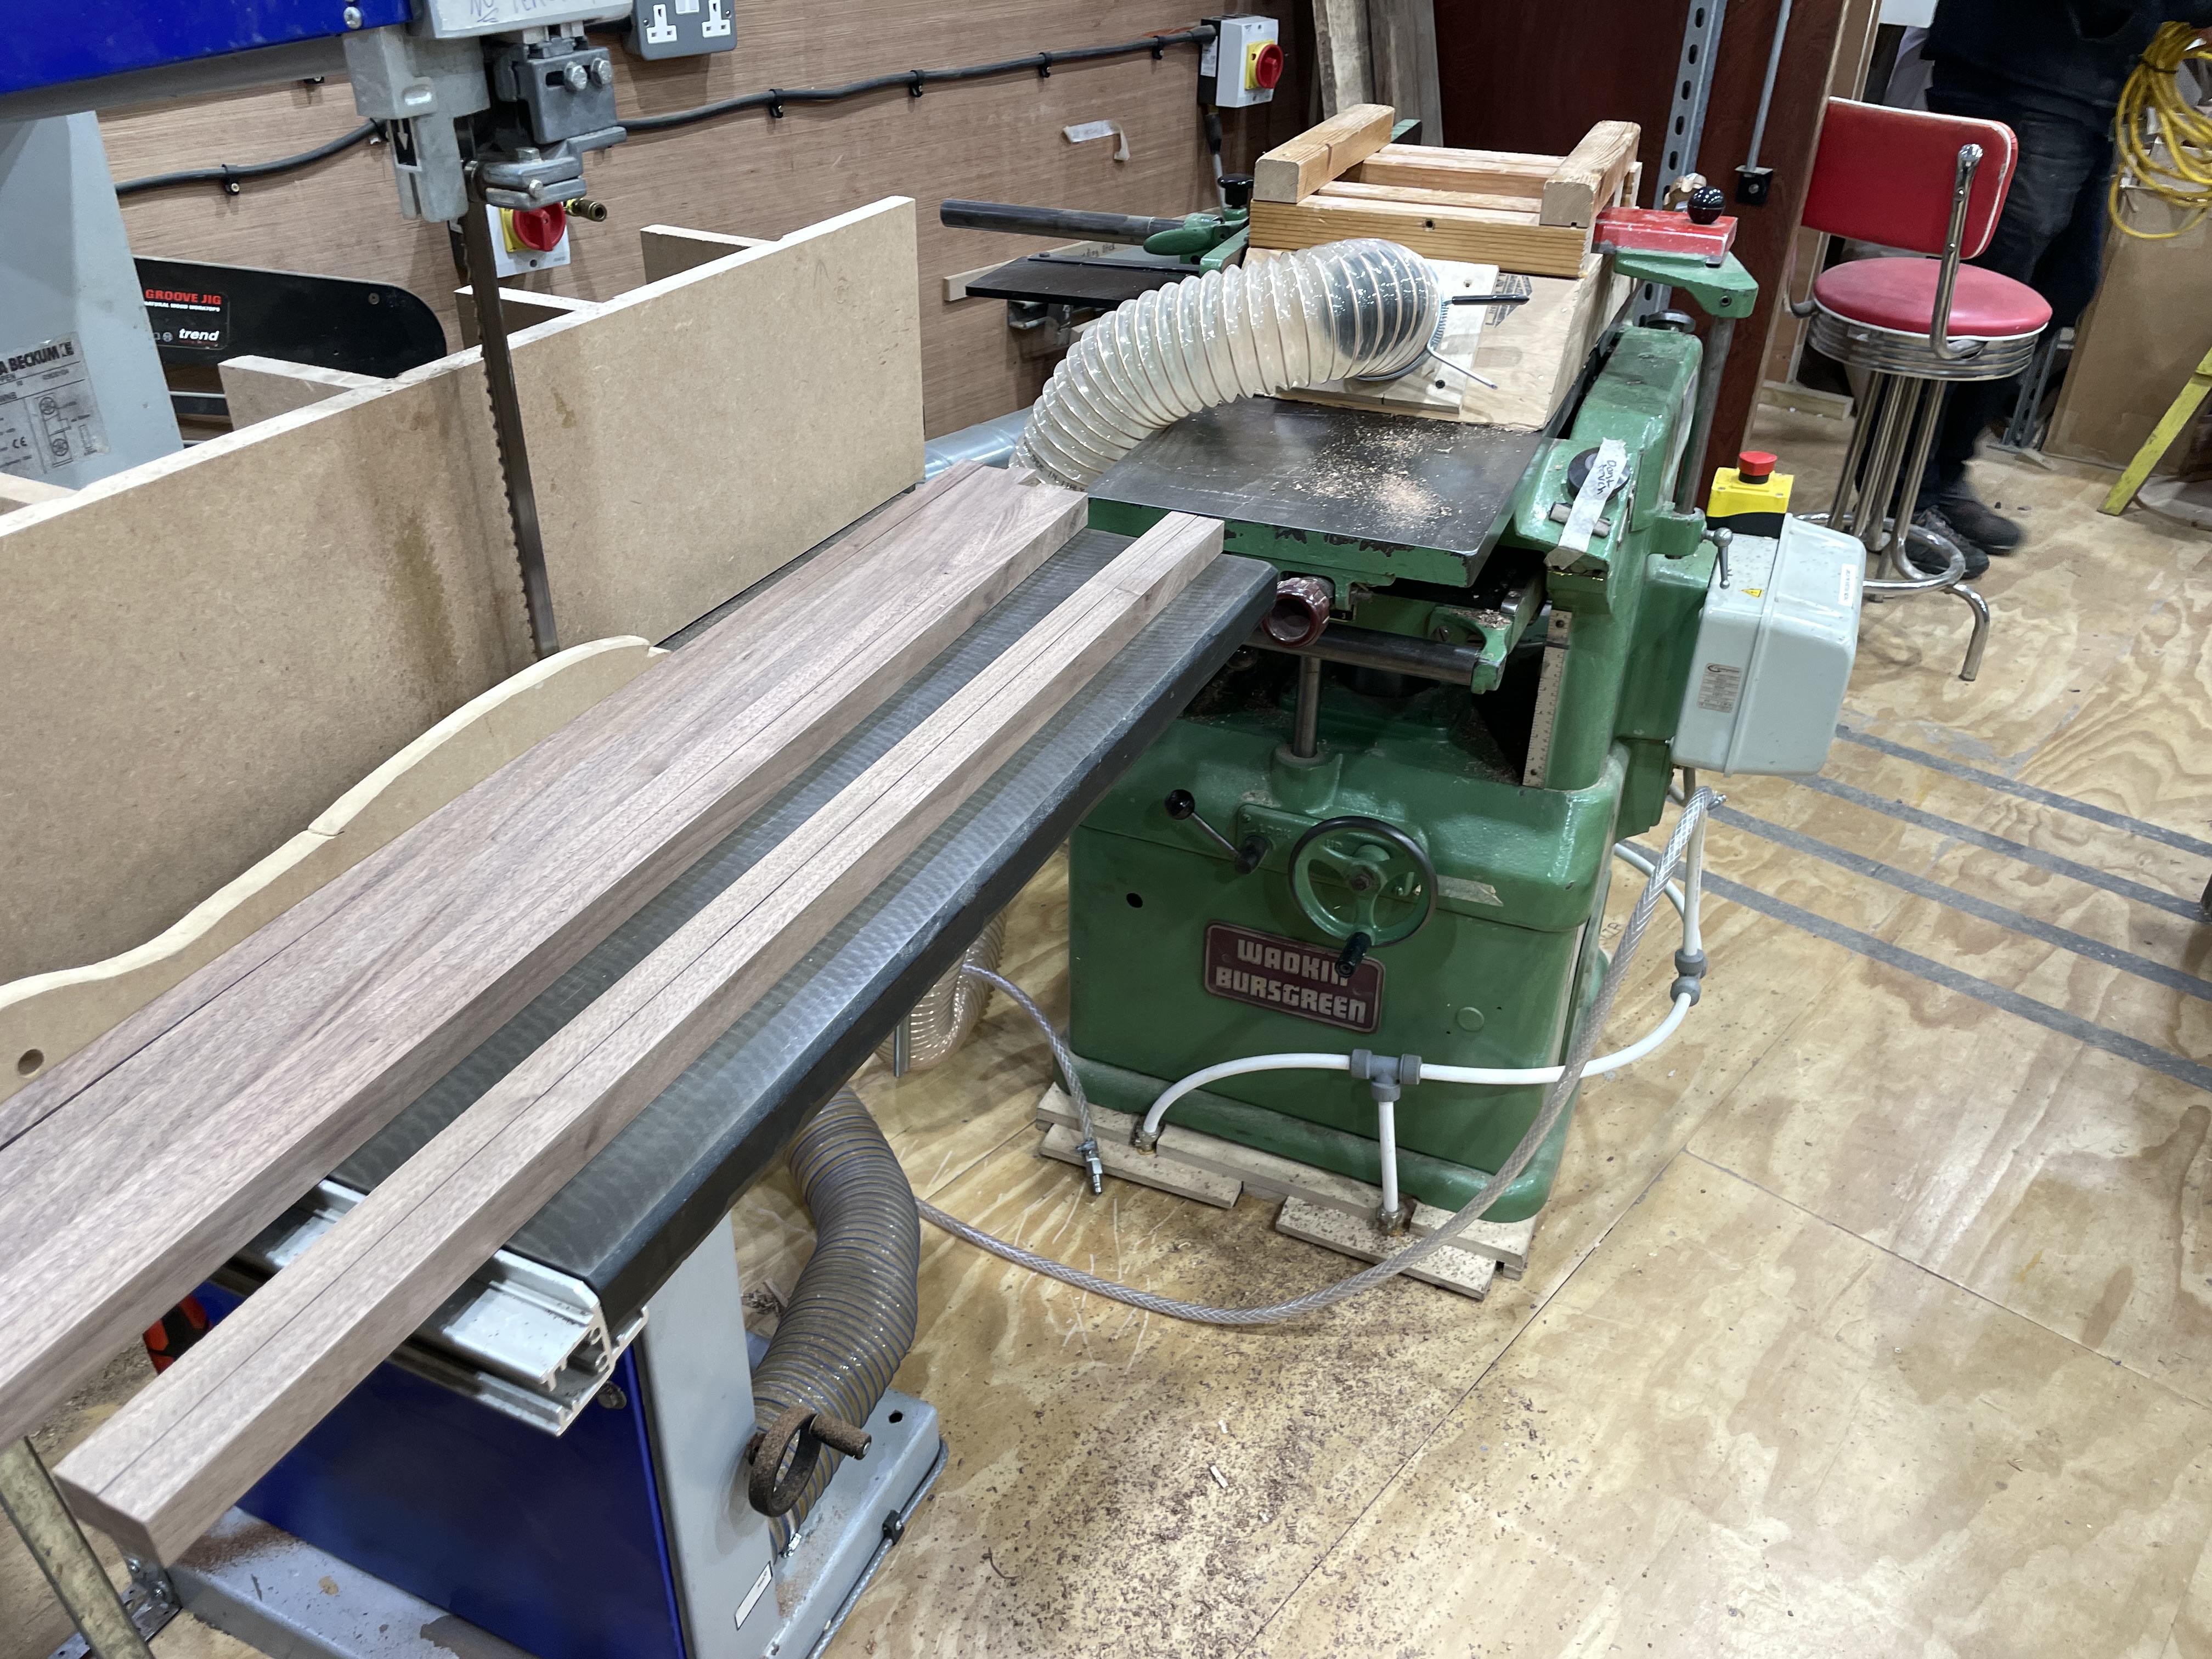
I don’t have too many pictures of the milling process, but I did make sure this time to let each piece sit a day or two after ripping the board down before milling to the final dimensions:
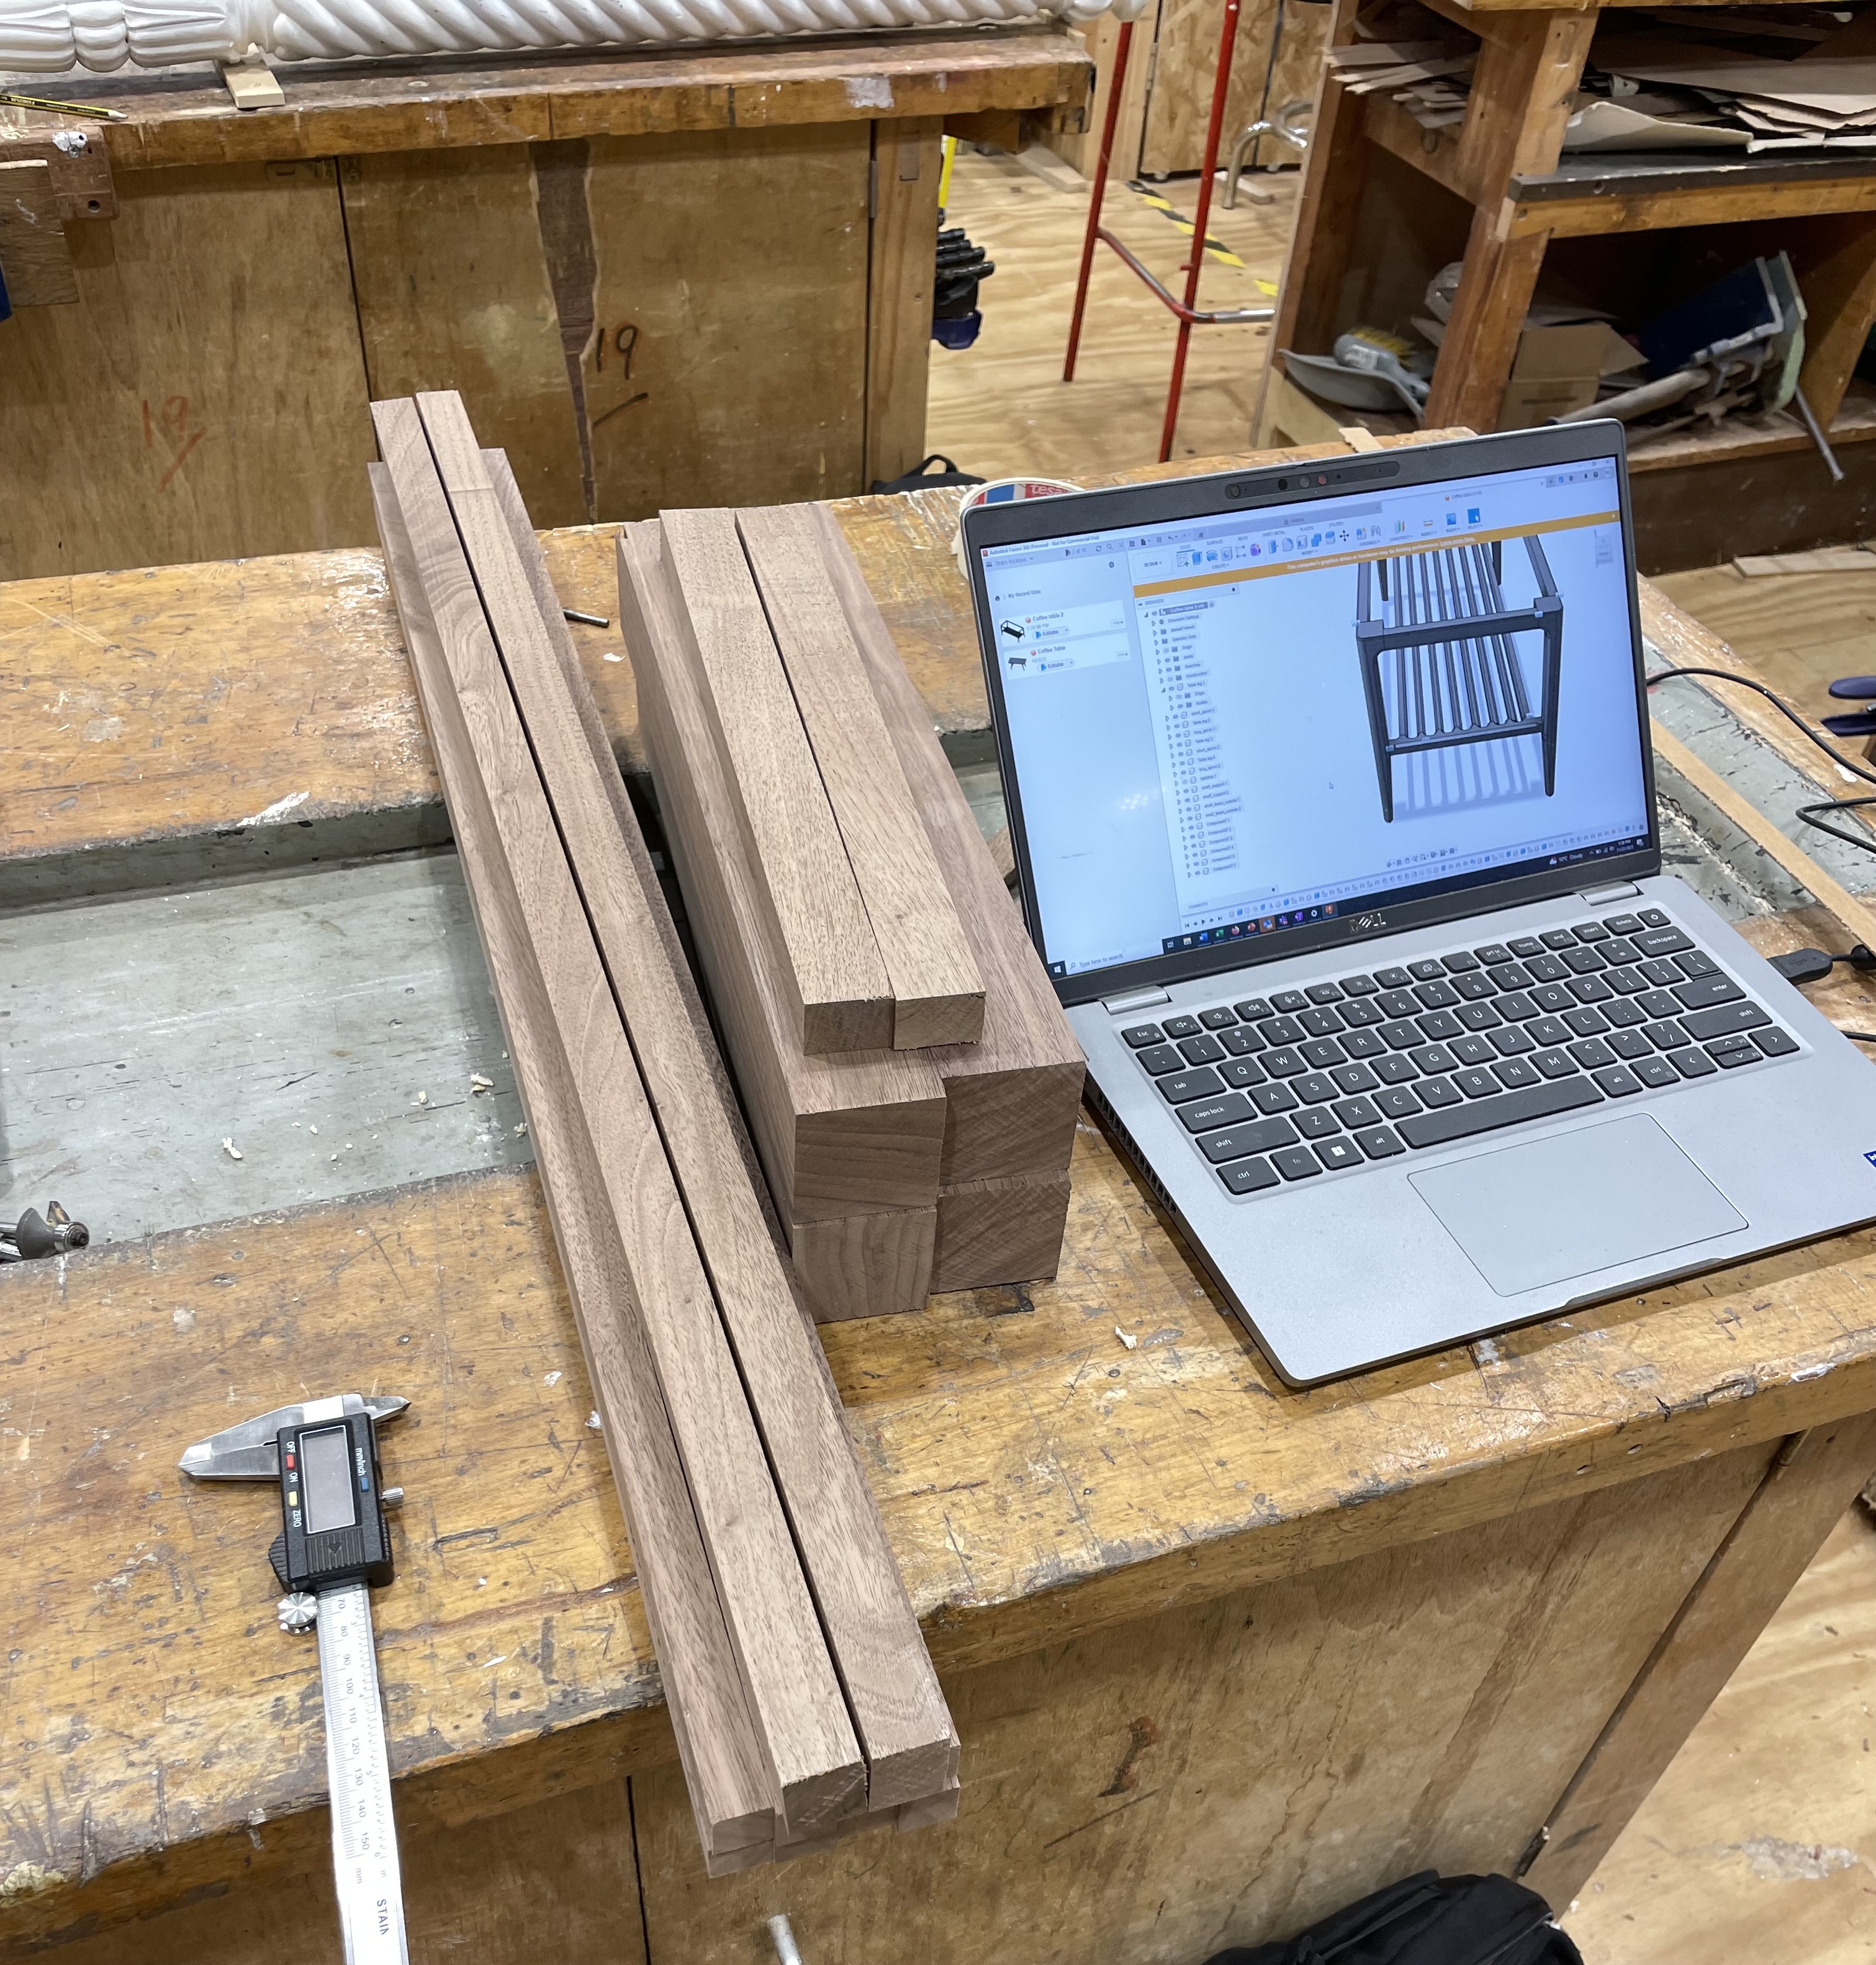
Once I had all of my pieces, I took a set of measurements and updated my model to get the final measurements I needed to cut the pieces to, leaving room for the tenons. This was a new process to me, as usually I stick to relative rather than absolute measurements. However, because of the complexity of the integrated shelf, I needed to target specific lengths.
And here I’m using the cross-cut sled, stop block, a ruler, and the backing boards to get nice accurate cuts.

Making the shelf
Using the spindle moulder was quite fun, It’s a very accurate and fun machine. Here’s my setup for the tenons. After dialing in the height of the cutting edge, I set my stop block and cut all of the tenons for shelf.

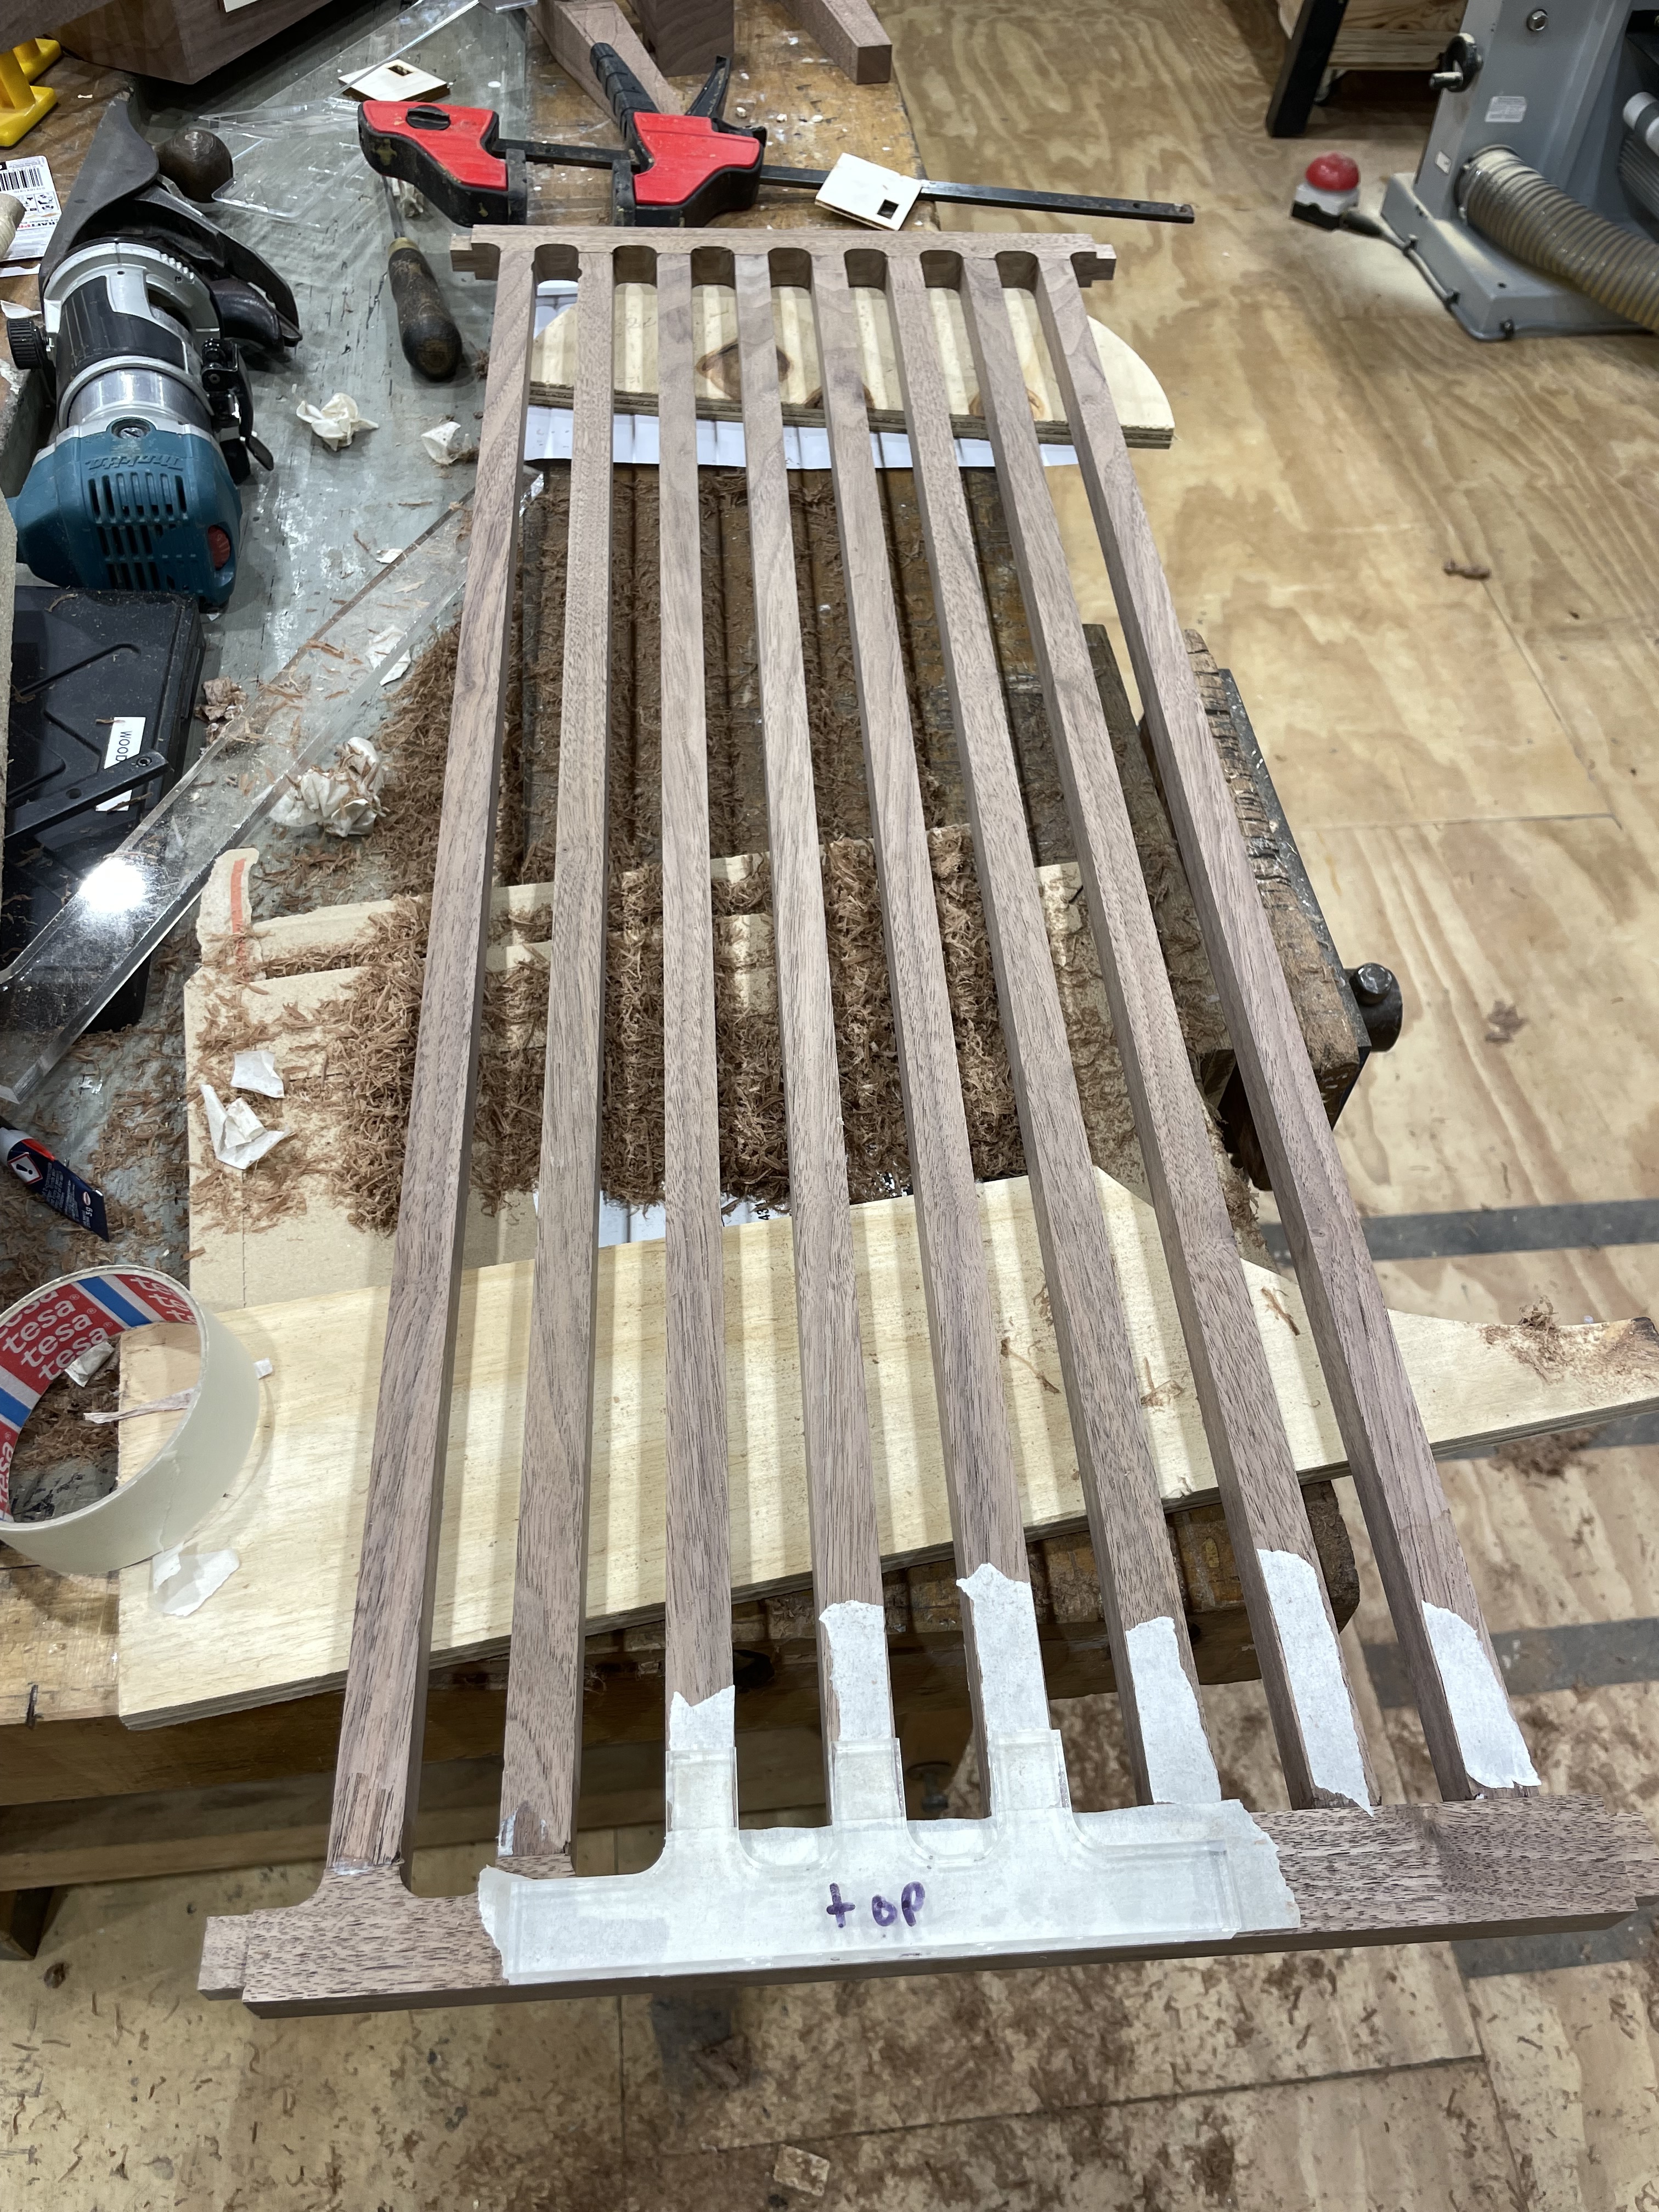
Instead of measuring where all of the mortises should go (I’ve messed that up before), I quickly cut out a template on the laser cutter and taped it to the top of each piece:

After tweaking some of the tenons with a chisel, here’s the dry fit ahead of the glue up. Thanks @ianvas for the tips on using the bench dogs and fence to get everything nice and square.

Routing out the curves in the shelf. The template was cut on the laser cutter:
Routing the curve chopped off the shoulder of the tenon. Here I am cutting it back


Routing out the chamfers. I made sure to do the bottom first - and I’m glad I did as I ripped a bit out due to trying to take too much in a single pass.

Making the legs and tenons
Templates for cutting the the mortises:

Legs routed using a lasercut template:

Dry fit. This helped confirm the final measurement for the aprons:

Cutting the tenons, using the clamp this time:


Ripping the rail for the clamps that will hold on the table:

Dry fit:

Gluing the table frame


Mistakes!
Here’s my recovery from a few mistakes made along the way:
Somehow this shelf beam slid away from my stop and cut a bit too much out when cutting this tenon. After teh glue dried, the excess was cut off with a chisel:

I spent literally 2 hours referencing my model and doing calculations to make sure I cut the mortises for the shelves in the right place. I cut it in the wrong place. Here you can see the template I was going to route against; it comes right up to the edge of the mortise. If I cut against it, I’d have an extremely thin wall that would almost definitely split and expose the tenon. to fix this, I cut a small piece, planed it square, and glued it onto the edge. After the glue dried, I re-cut the mortice leaving enough material to support the thin piece of wood left. You can see the final result above in the picture showing the routed legs:


I had a bad router setup initially when cutting the curves out of the shelf and gouged the side. I cut it out on the mortiser:

And planed and cut a small piece to fit in there:

Making the table top
I unfortunately don’t have any pictures of the resawing process, but it was fun and stressful! I actually had to abort my first attempt and buy a new blade. When cutting, the board actually closed up and had to be wedged to complete the cut. The two pieces became very un-flat very quickly. Over the next couple of days, I planed and thicknessed the boards gradually until I was left with something that seemed to stay flat. Here I’m finding the arrangement of the boards I want to join them to.

After jointing on the planer, touching it up to reduce gap between them as much as possible:


I hadn’t actually used the Domino on a project yet, it was really easy to use and gave a very tight alignment:

Gluing the tabletop:

More routing
Routing the chamfer:

Touching up with a plane:

Routing the rounded edge:

Attaching the tabletop
Clamps made from a long stick on the spindle moulder and miter saw:

Drilling the holes in the clamps. Notice the push stick and blocks:

Drilling the holes in the underside of the tabletop for threaded inserts:

Drilling recesses and inserting the threaded inserts:

Screwing on the claps to hold the tabletop firm:

Router table setup using a trim bit to get the tabletop flush with the aprons/legs. Notice the fence covering most of the bit - this guards against accidentally feeding in too much material:

After routing flush:

After routing the shadow line. This was done using a similar setup as for trimming the table, but without a bearing bit:

Finishing
Finished using a hardwax oil:

Thanks again to @ianvas @joeatkin2 and @DuncanK for your help and advice throughout this build!!


