MUST. BUILD. MORE. ASH. FURNITURE. Maybe I’ll move onto new types of wood in the near future, but not quite yet.
Last year I made a nice beech desktop for a standing desk frame, this is a very similar project, just made using ash instead: Beech desktop for standing desk frame
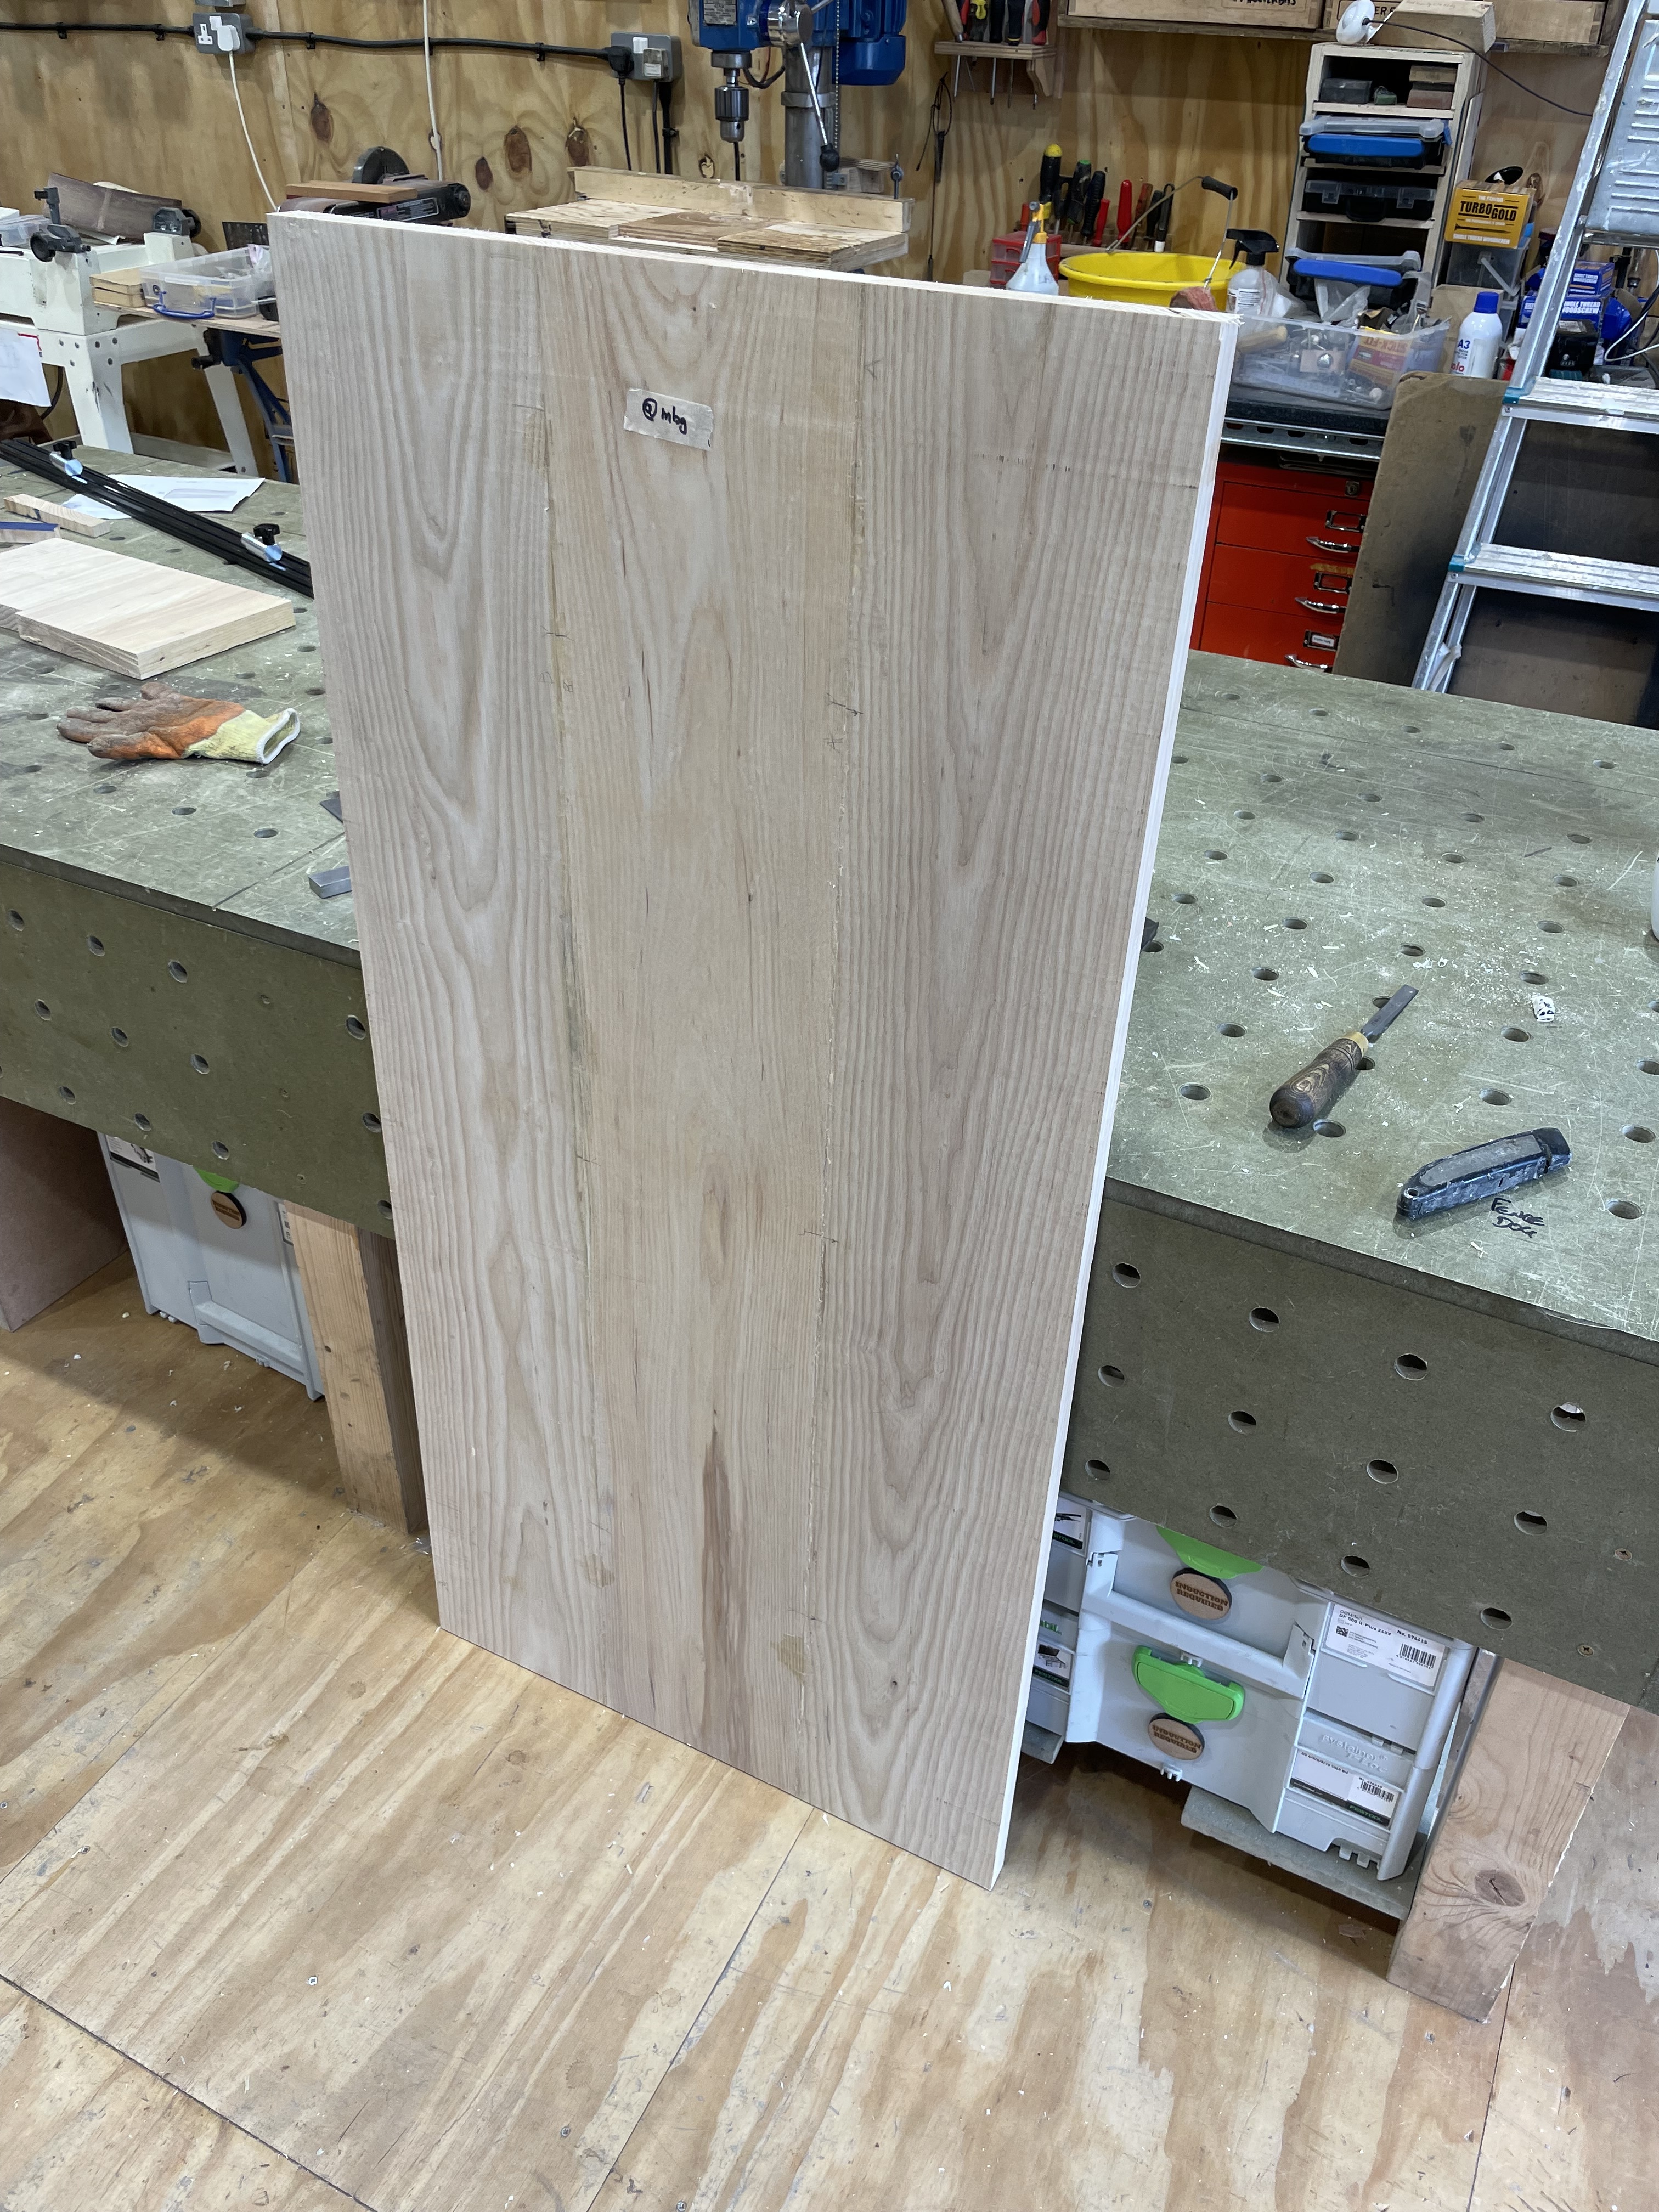
Selecting timber from the yard:

After cutting the boards in half and running them through the planer/thicknesser, I touched it up by hand. Panel joins are particularly hard, as you need the touching edges to be as perfectly flush as possible. This process was putting the touching edges on top of each other, making a few strokes with the planer, then checking again, over and over:
Once that was good, I used a biscuit joiner to help assist with edge alignment for the glue up. The biscuits also help take out the tiny amount of bow in the boards:

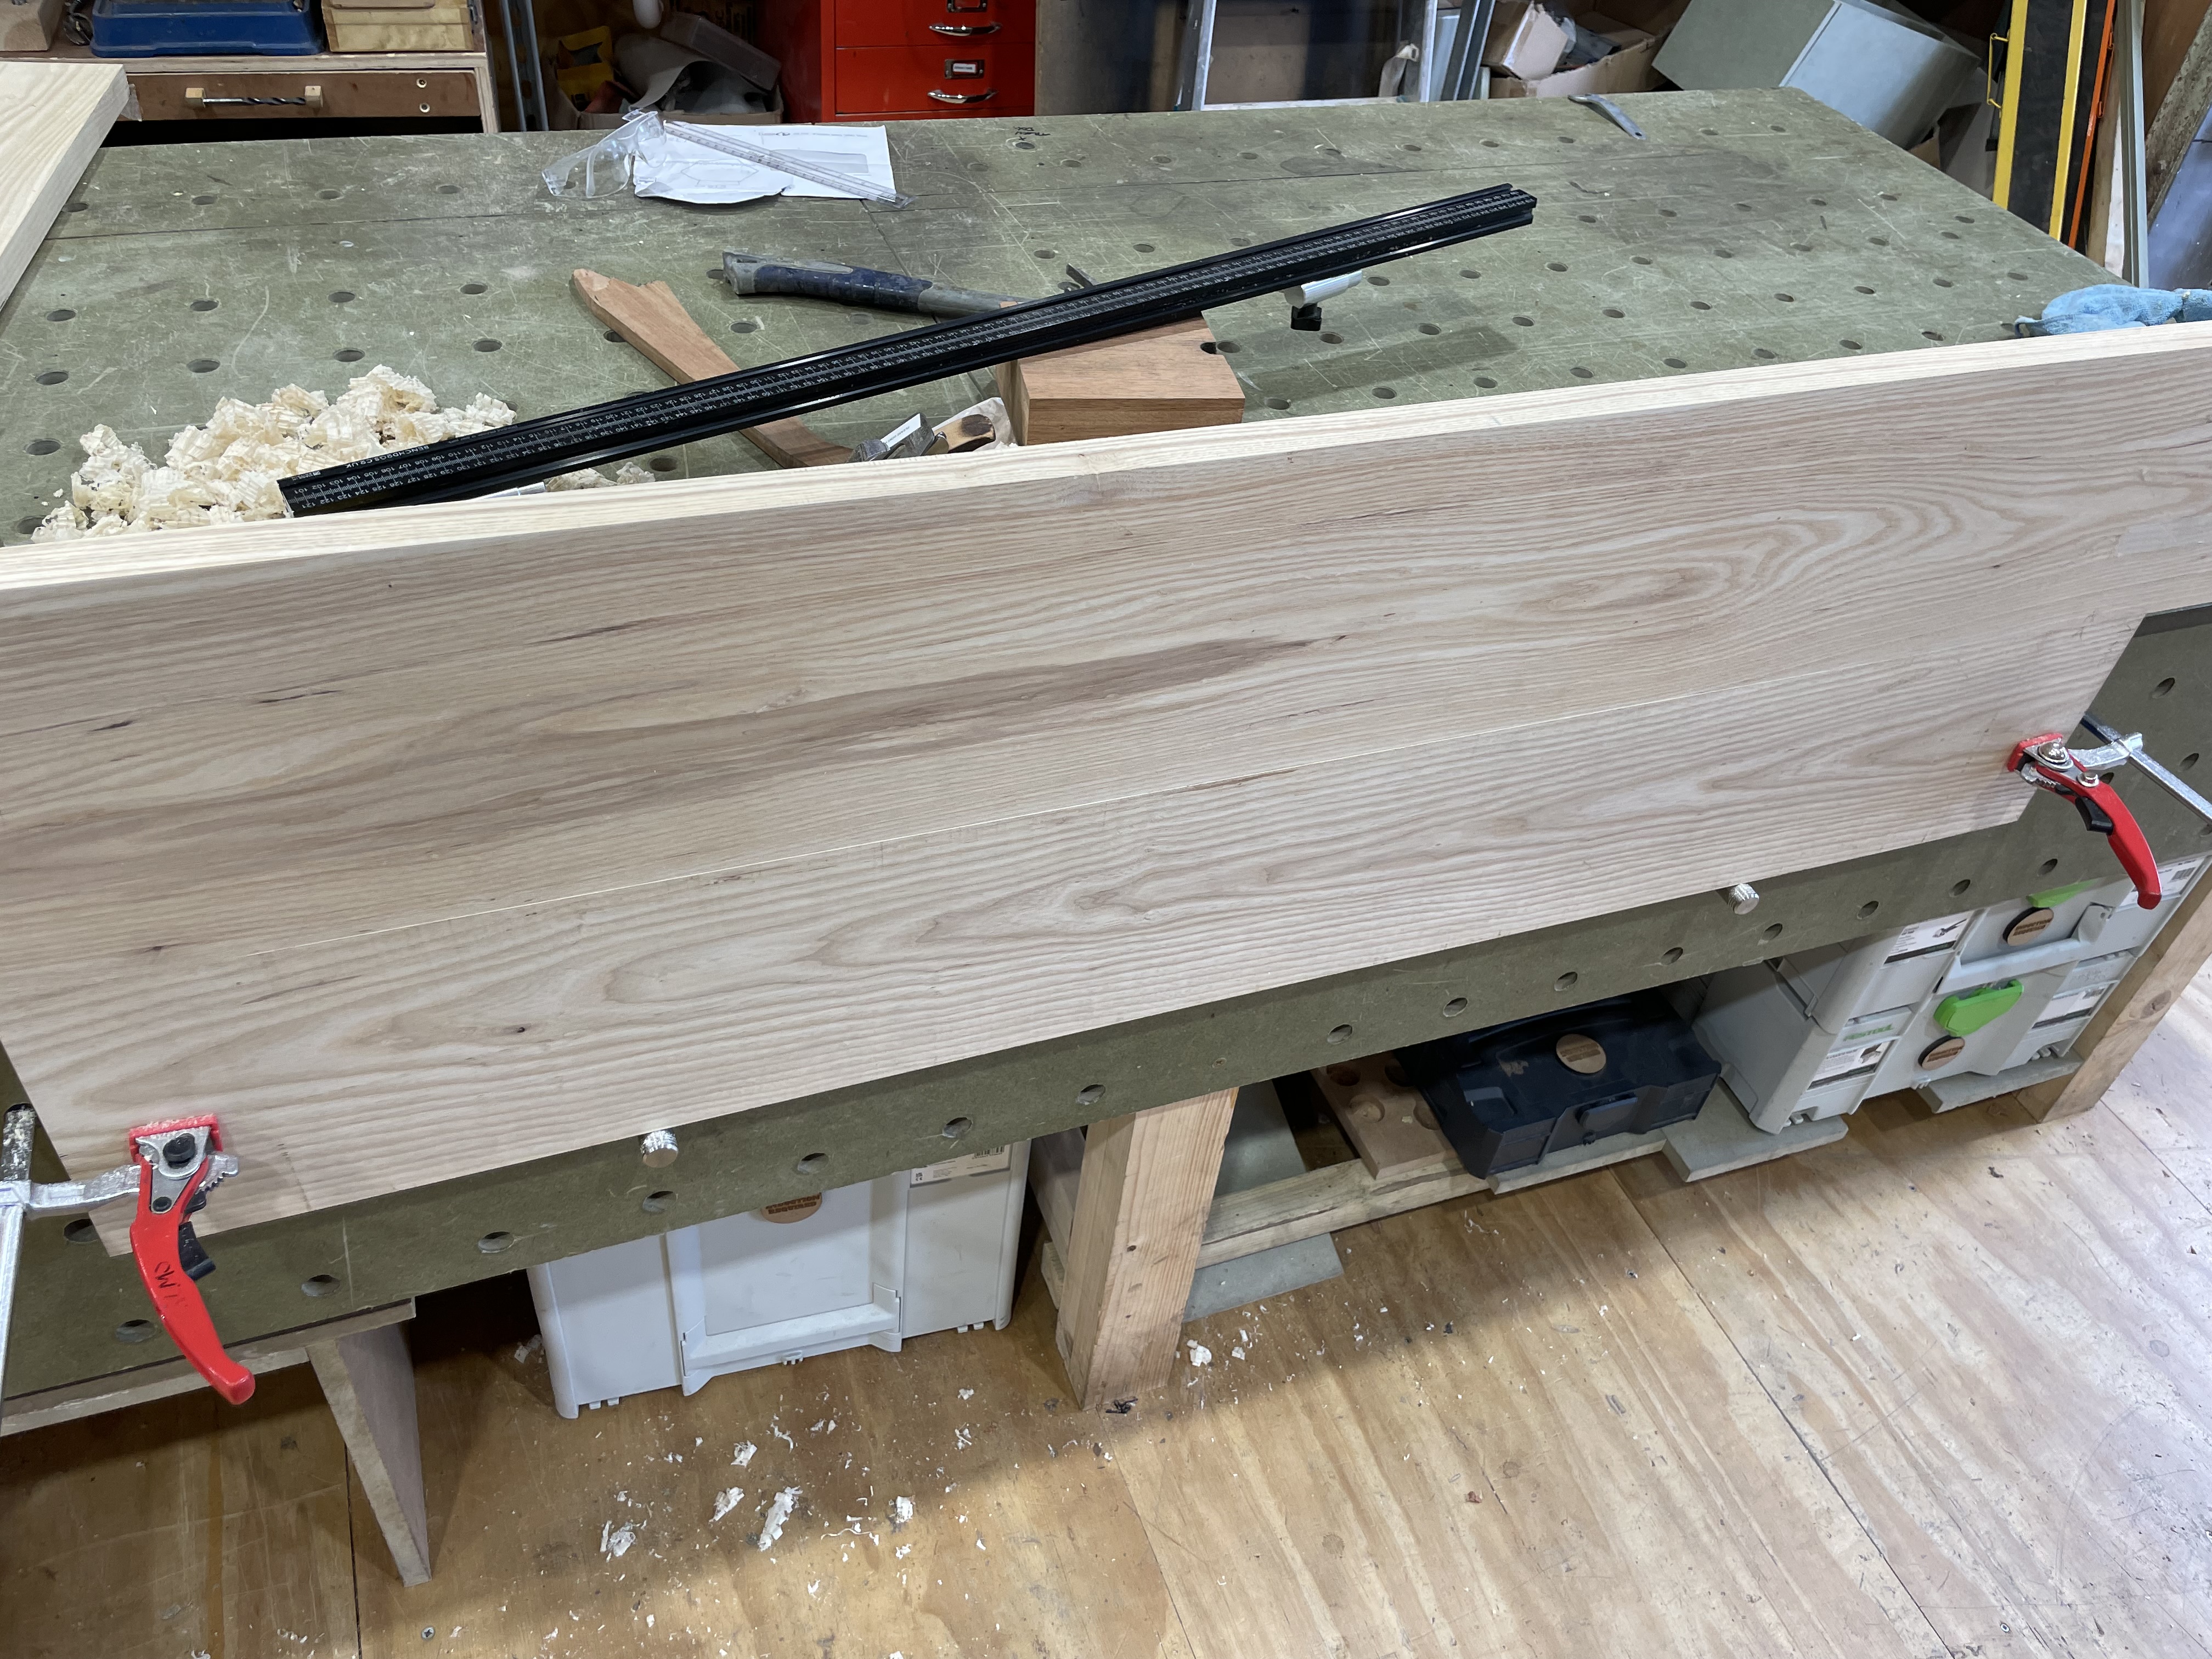
Here’s the panel post glue-up:
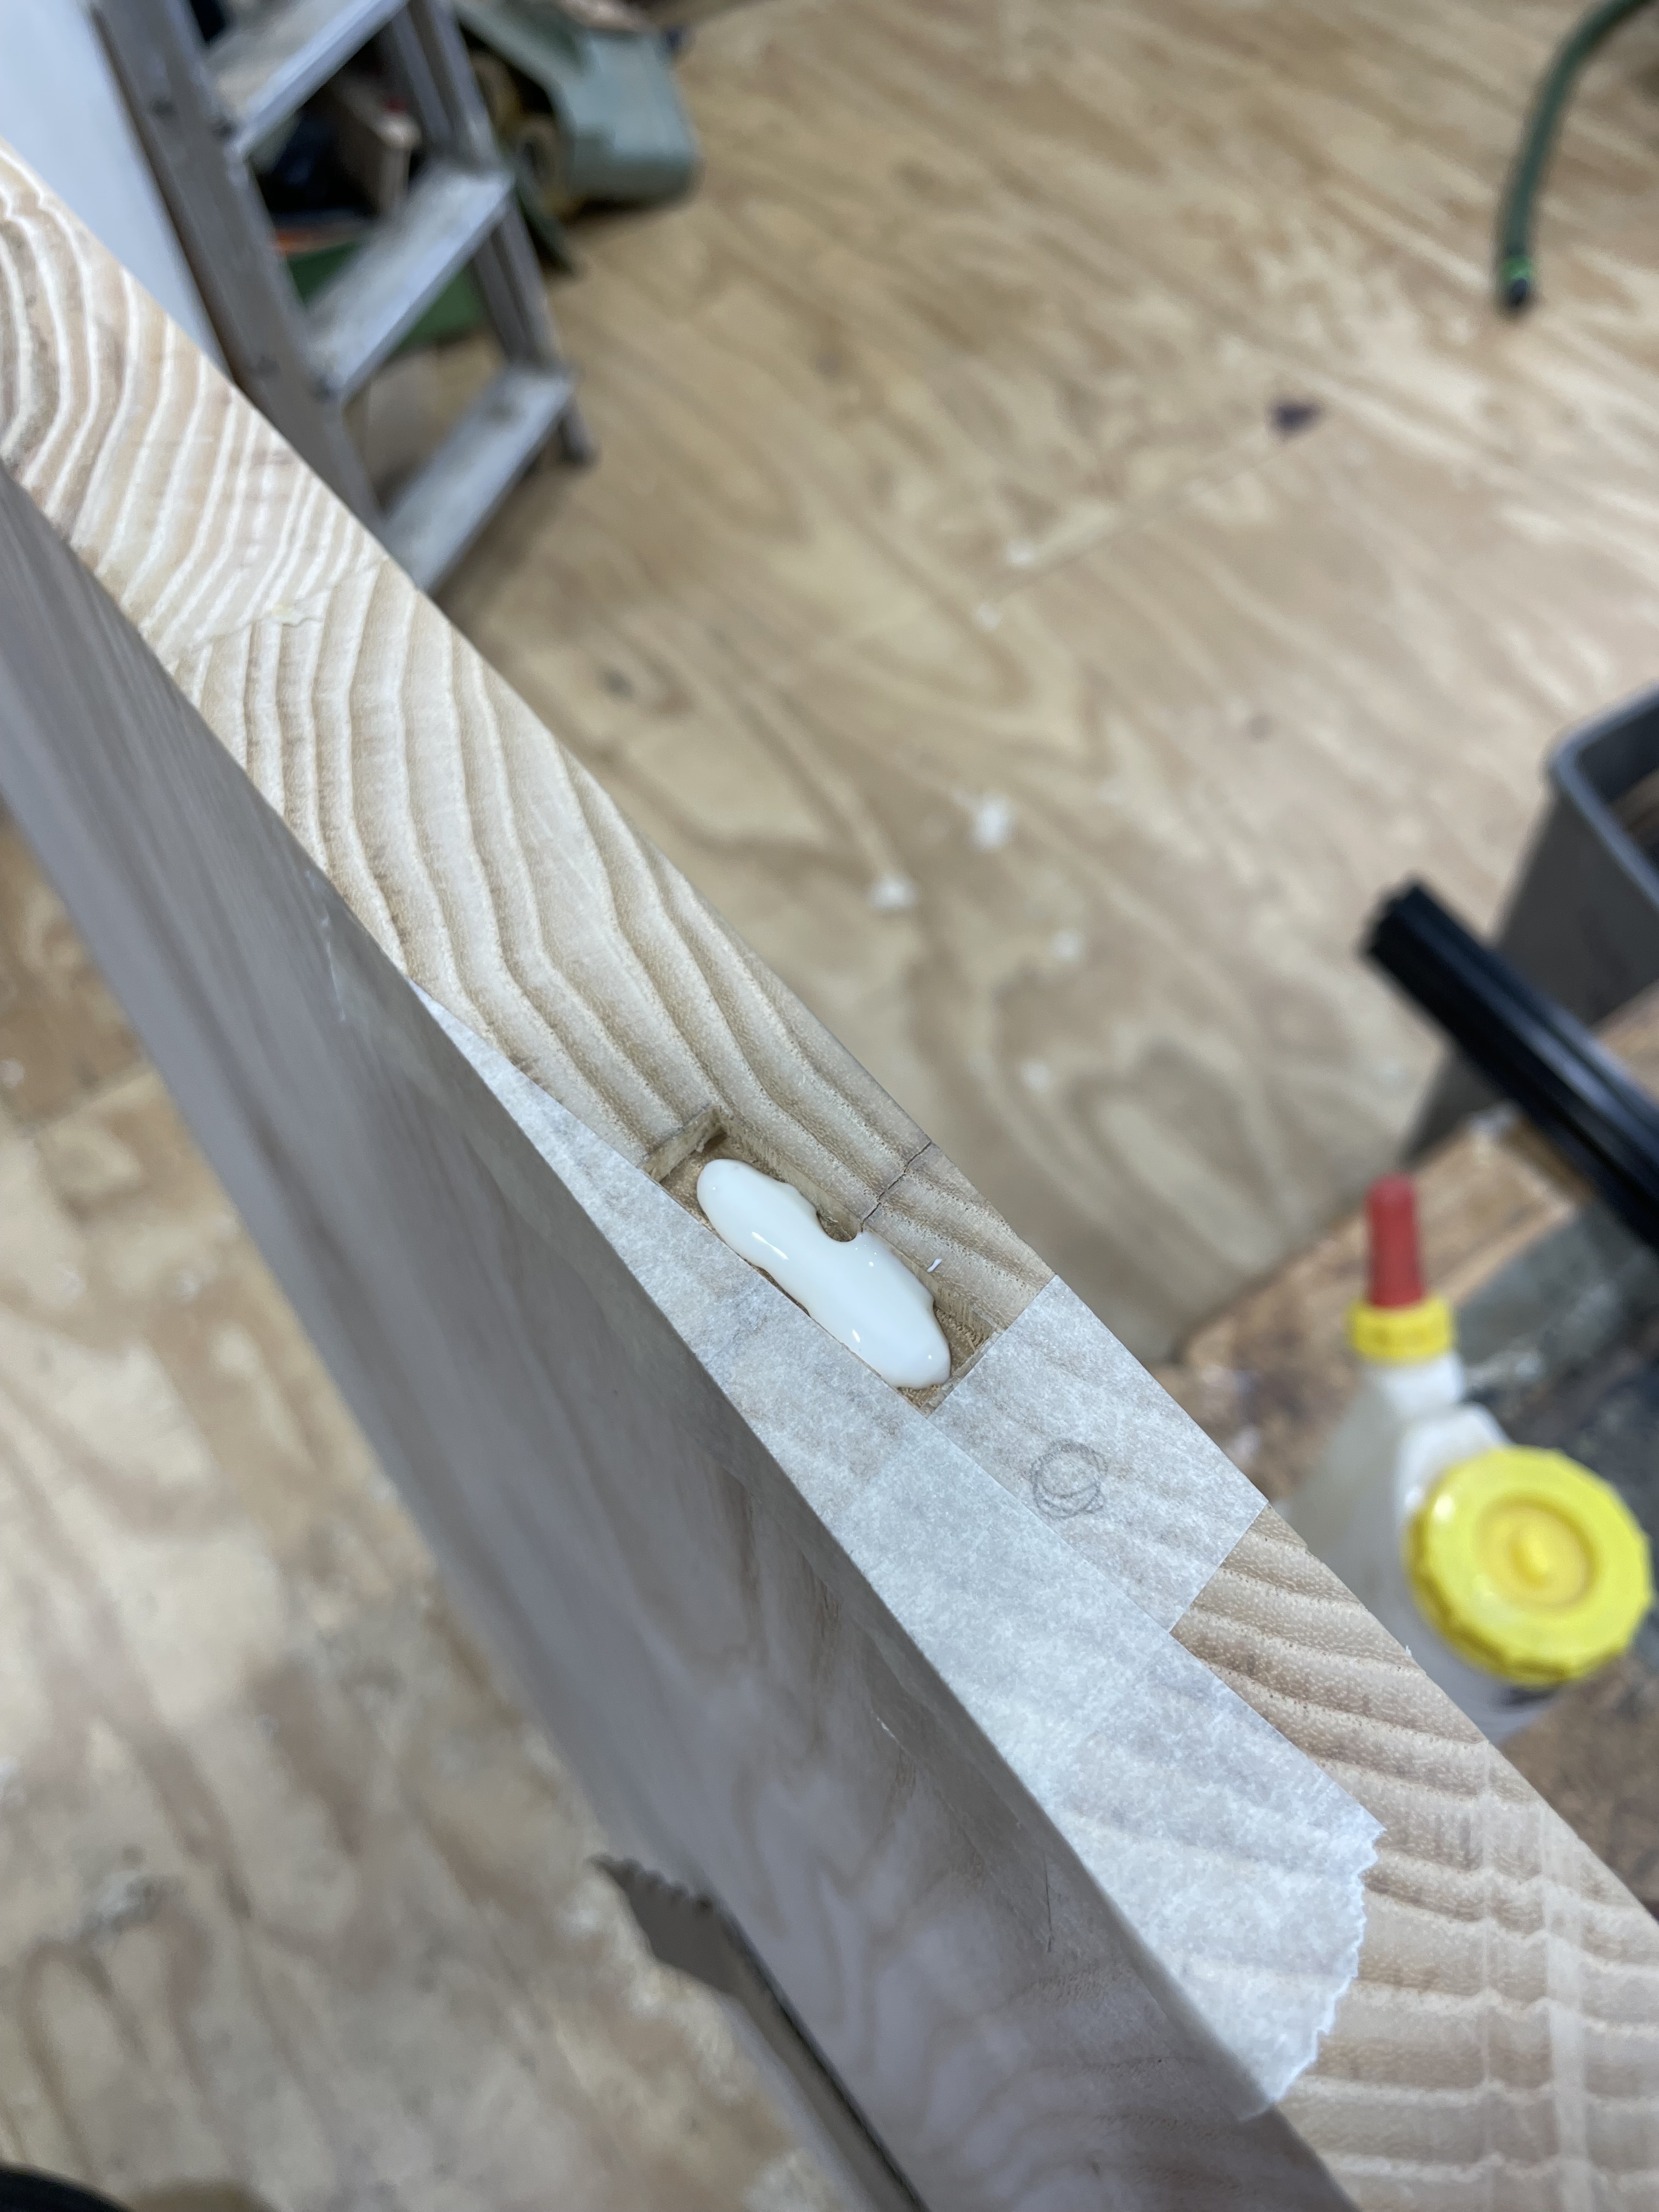
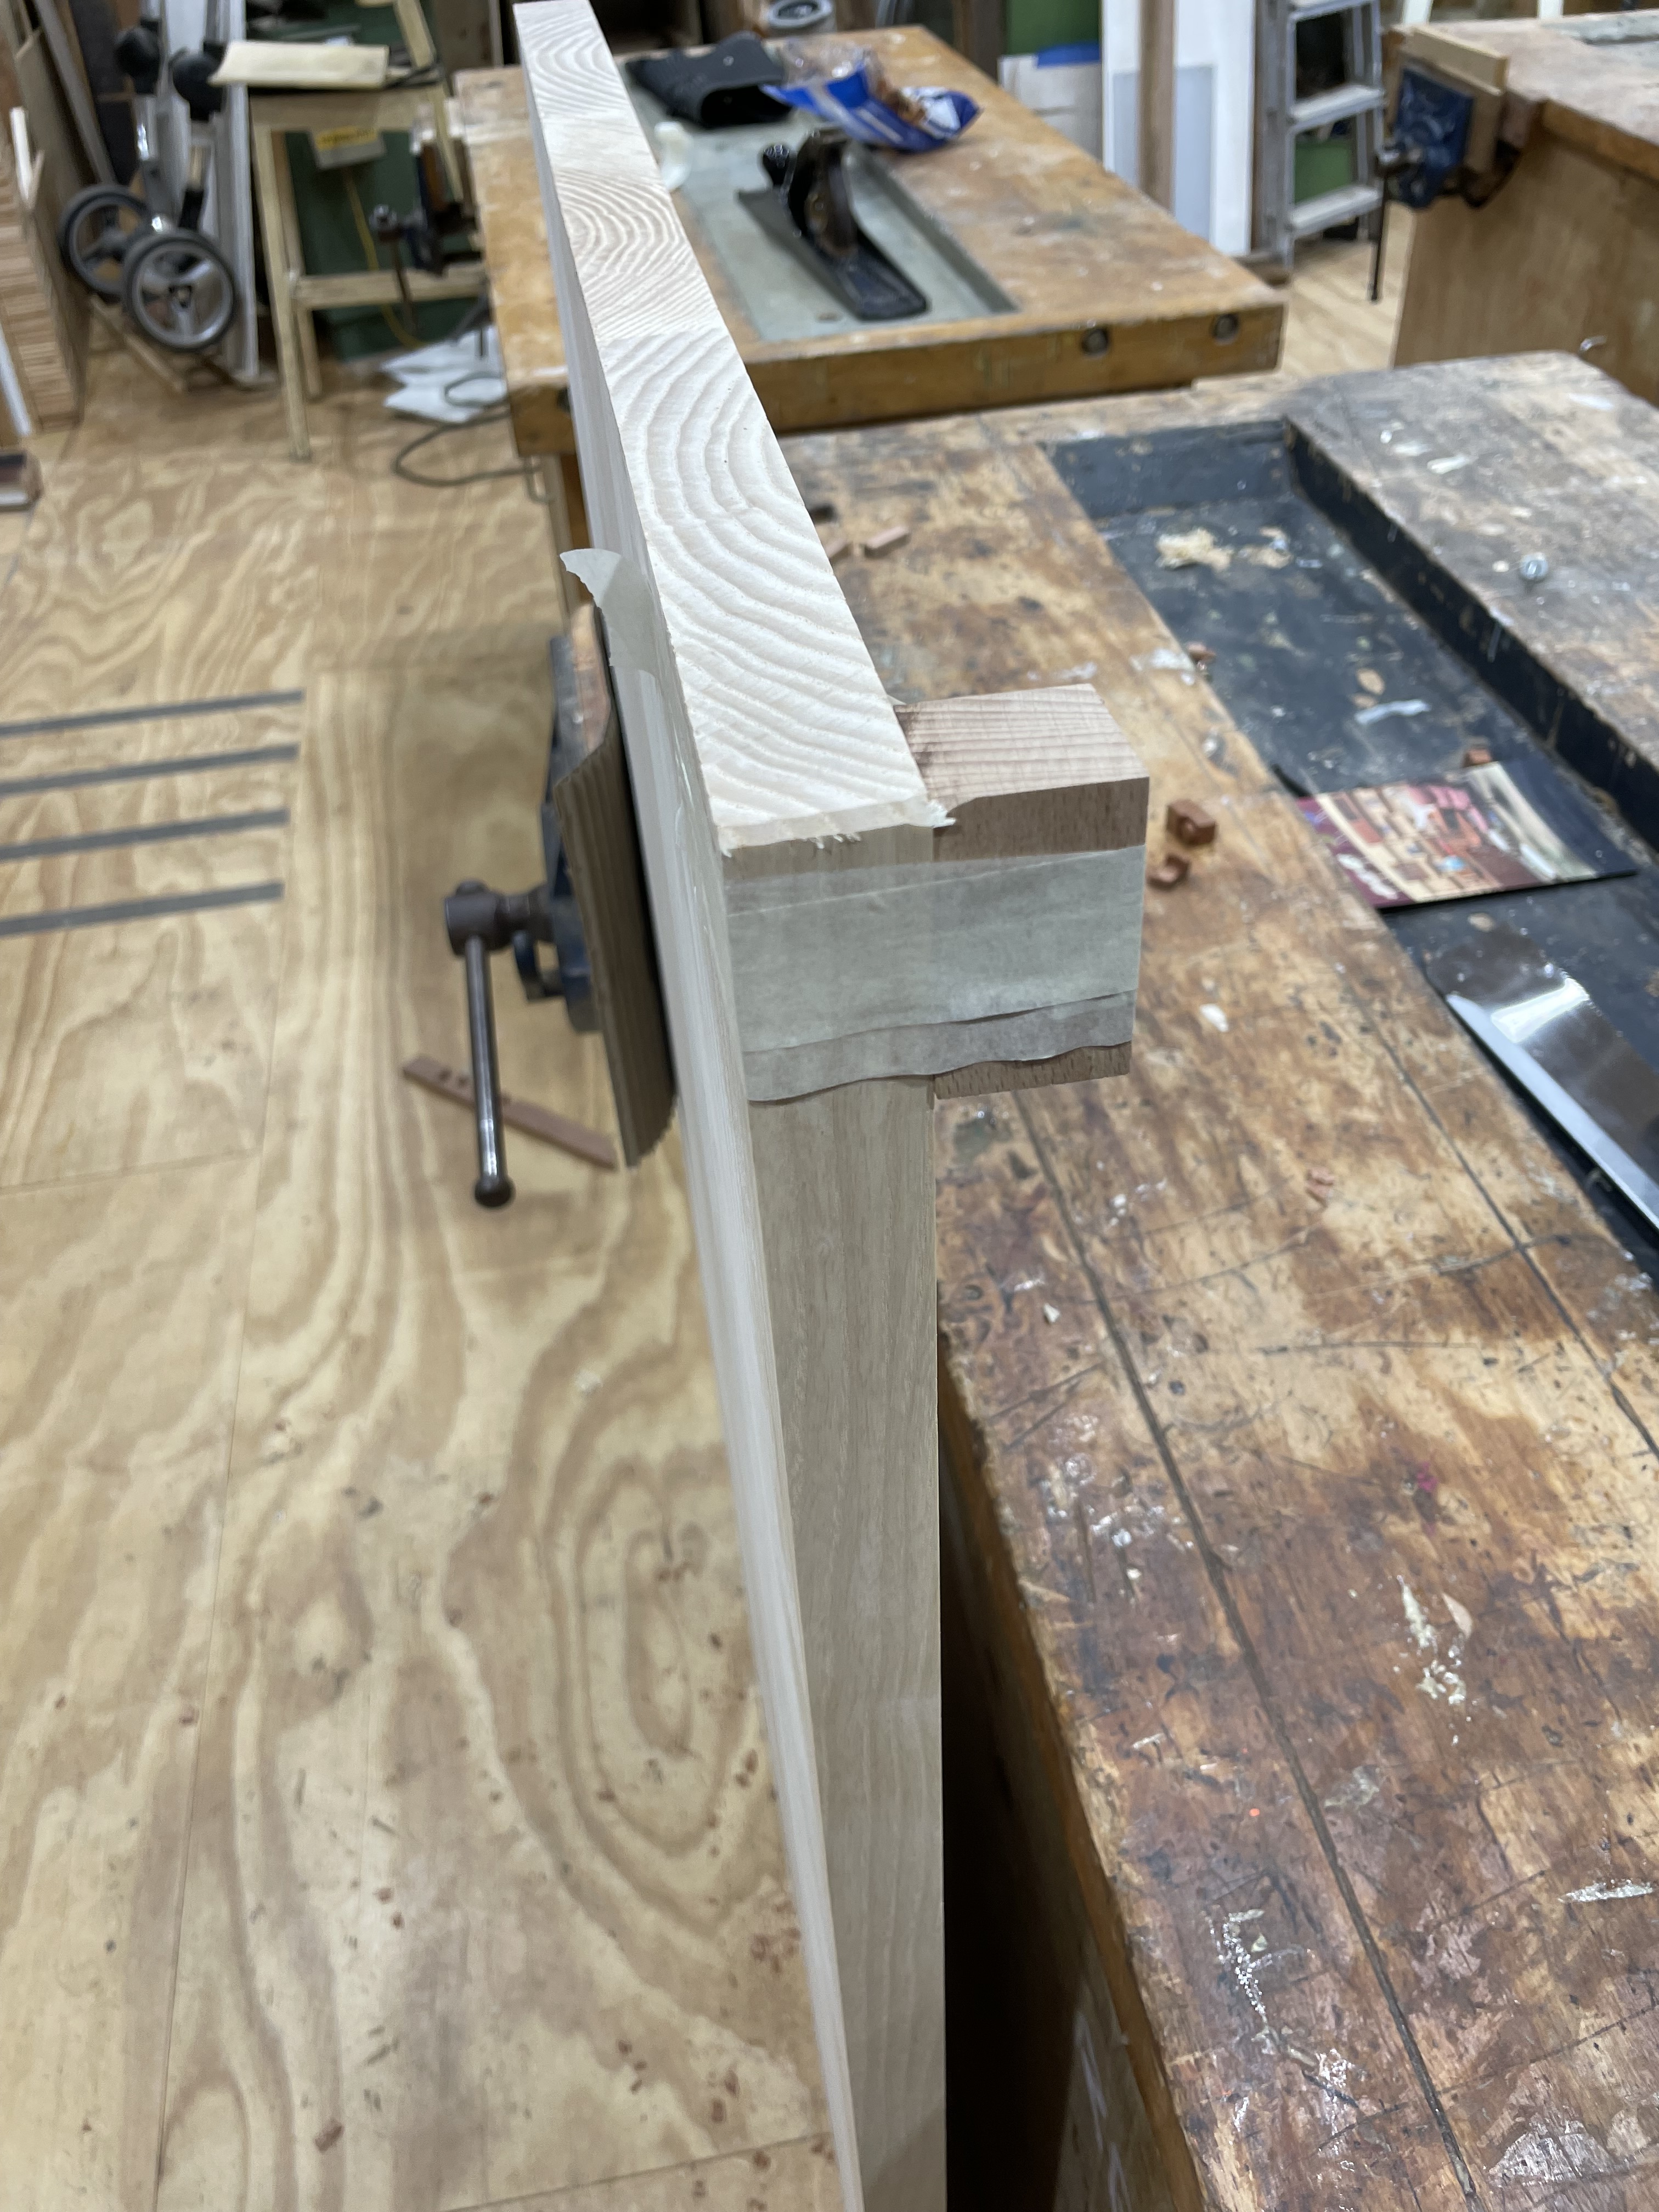
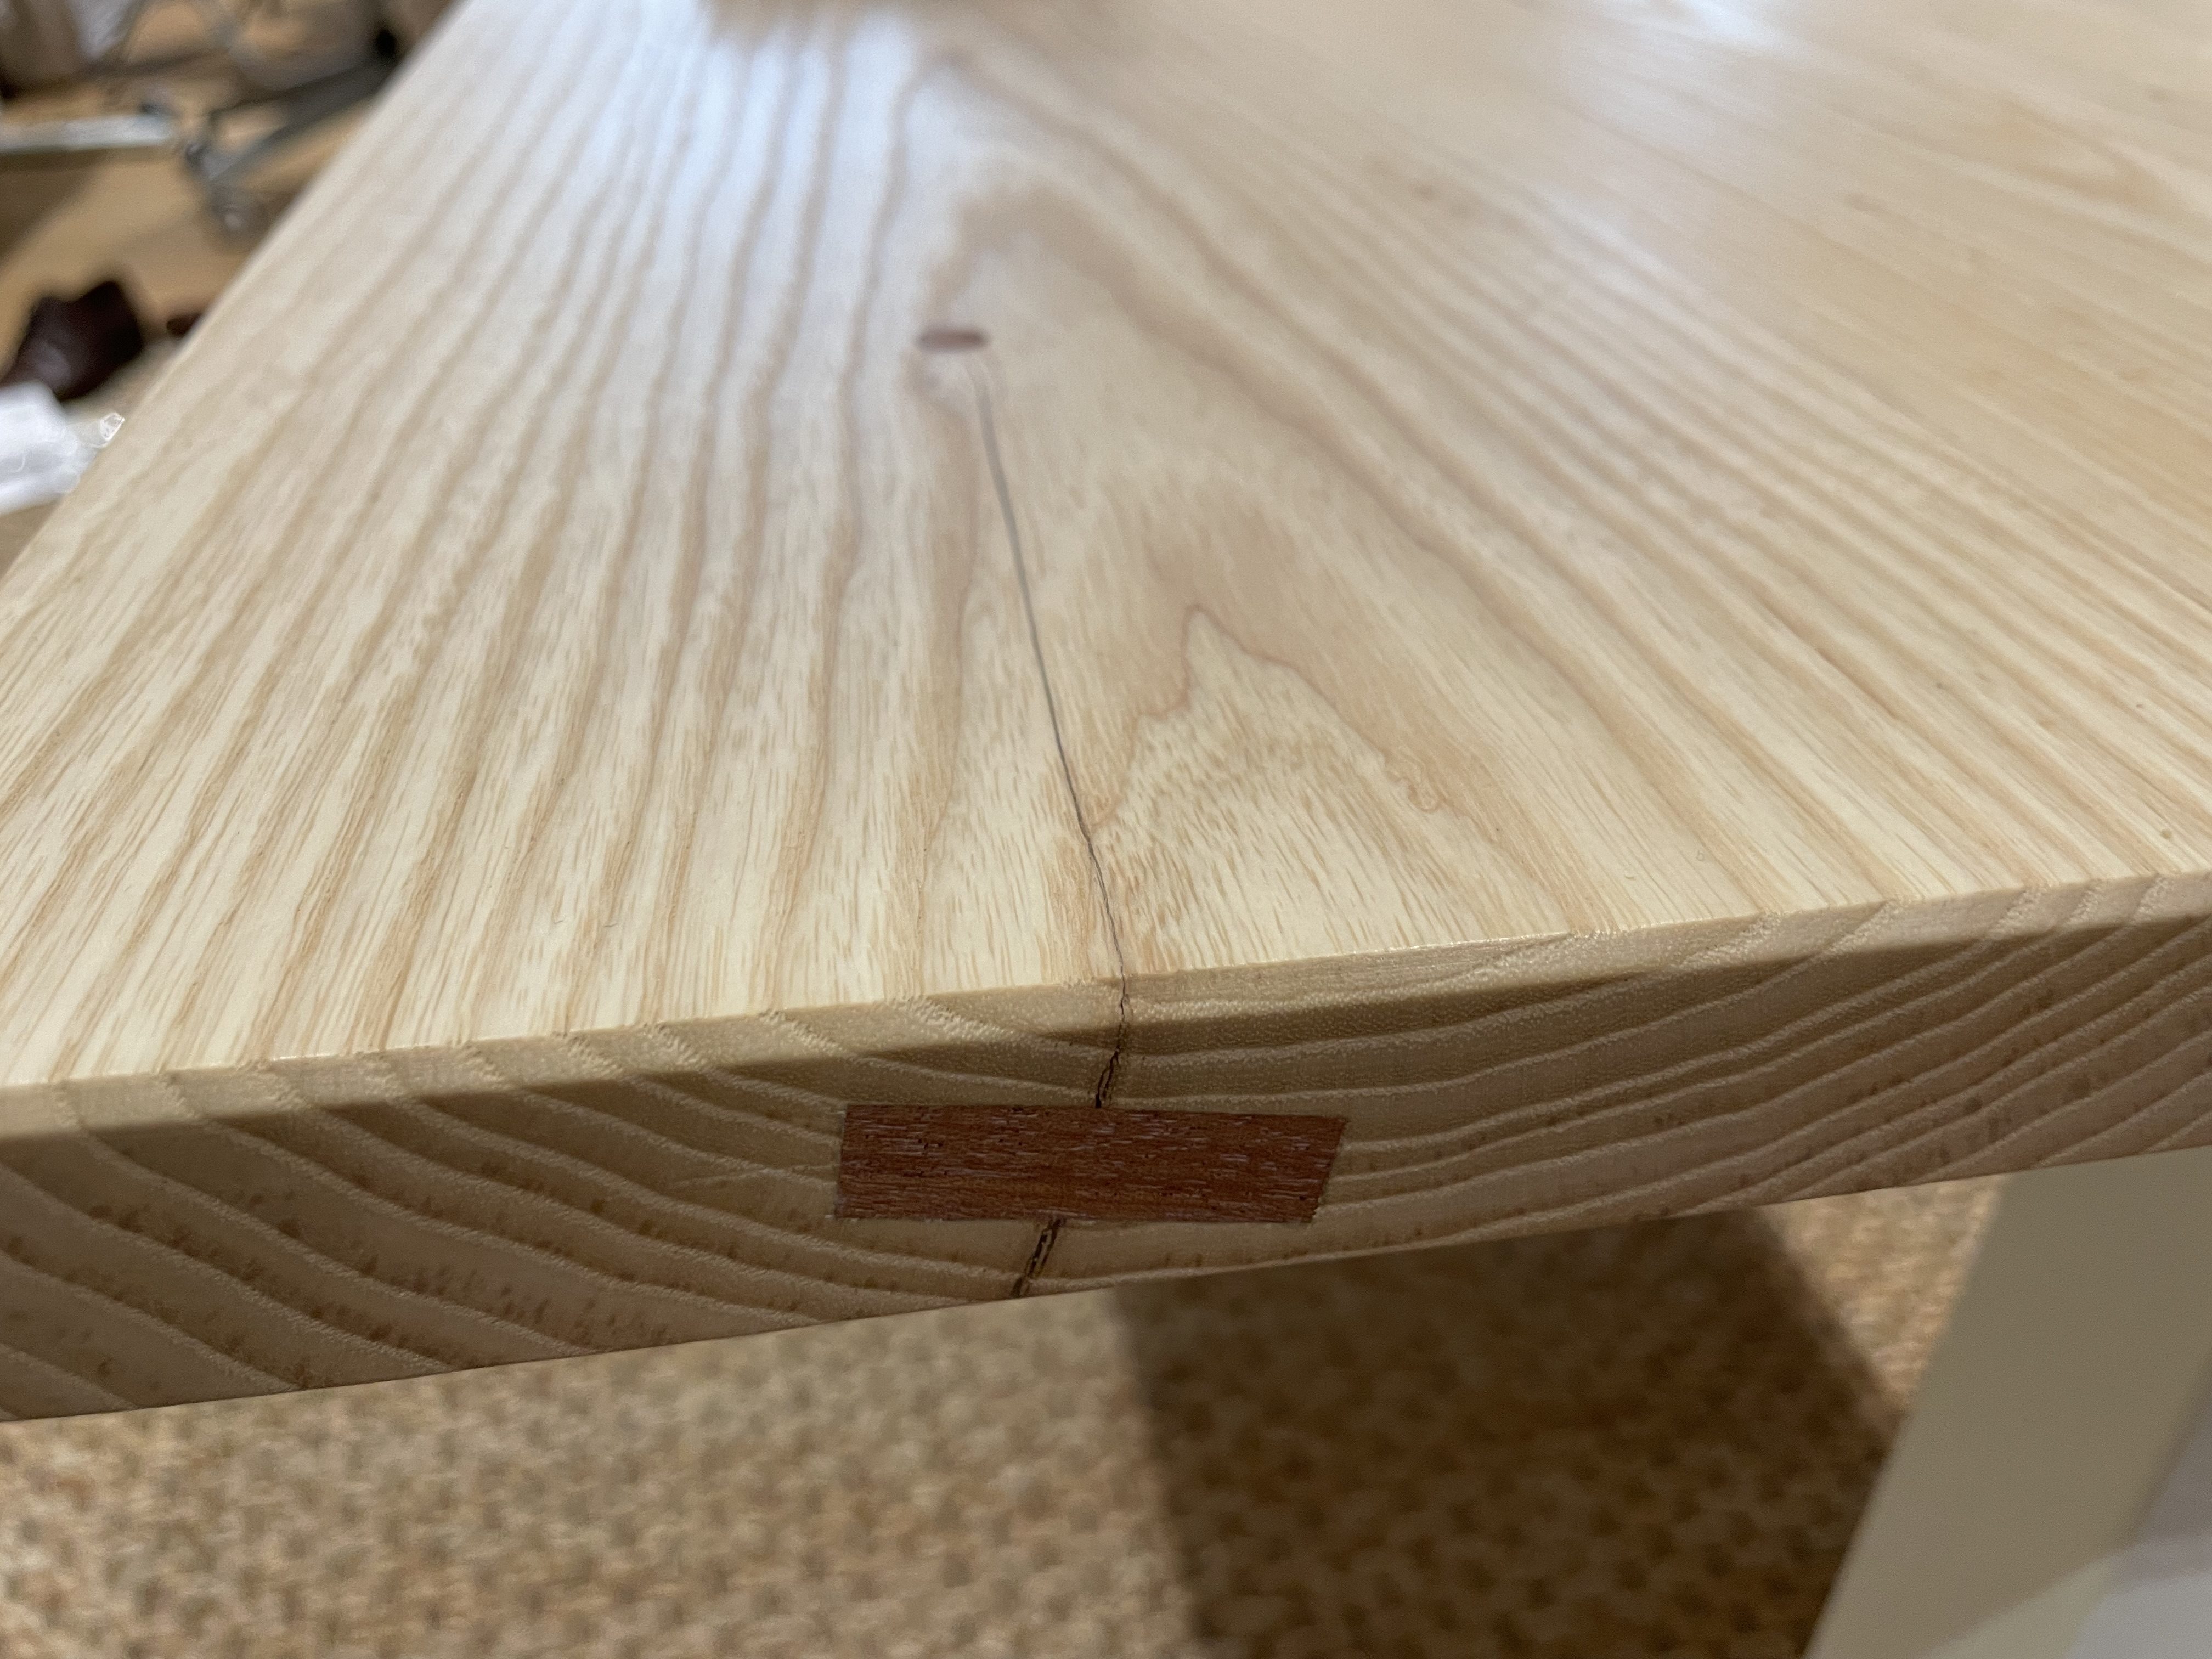
I stabilized a small crack with resin, then did a not-bow tie bow tie. I tried getting creative and placed it into the end grain. While I like it, don’t do this; it’s essentially driving a wedge straight into the crack. The resin should keep it together though. Hole with glue in it:
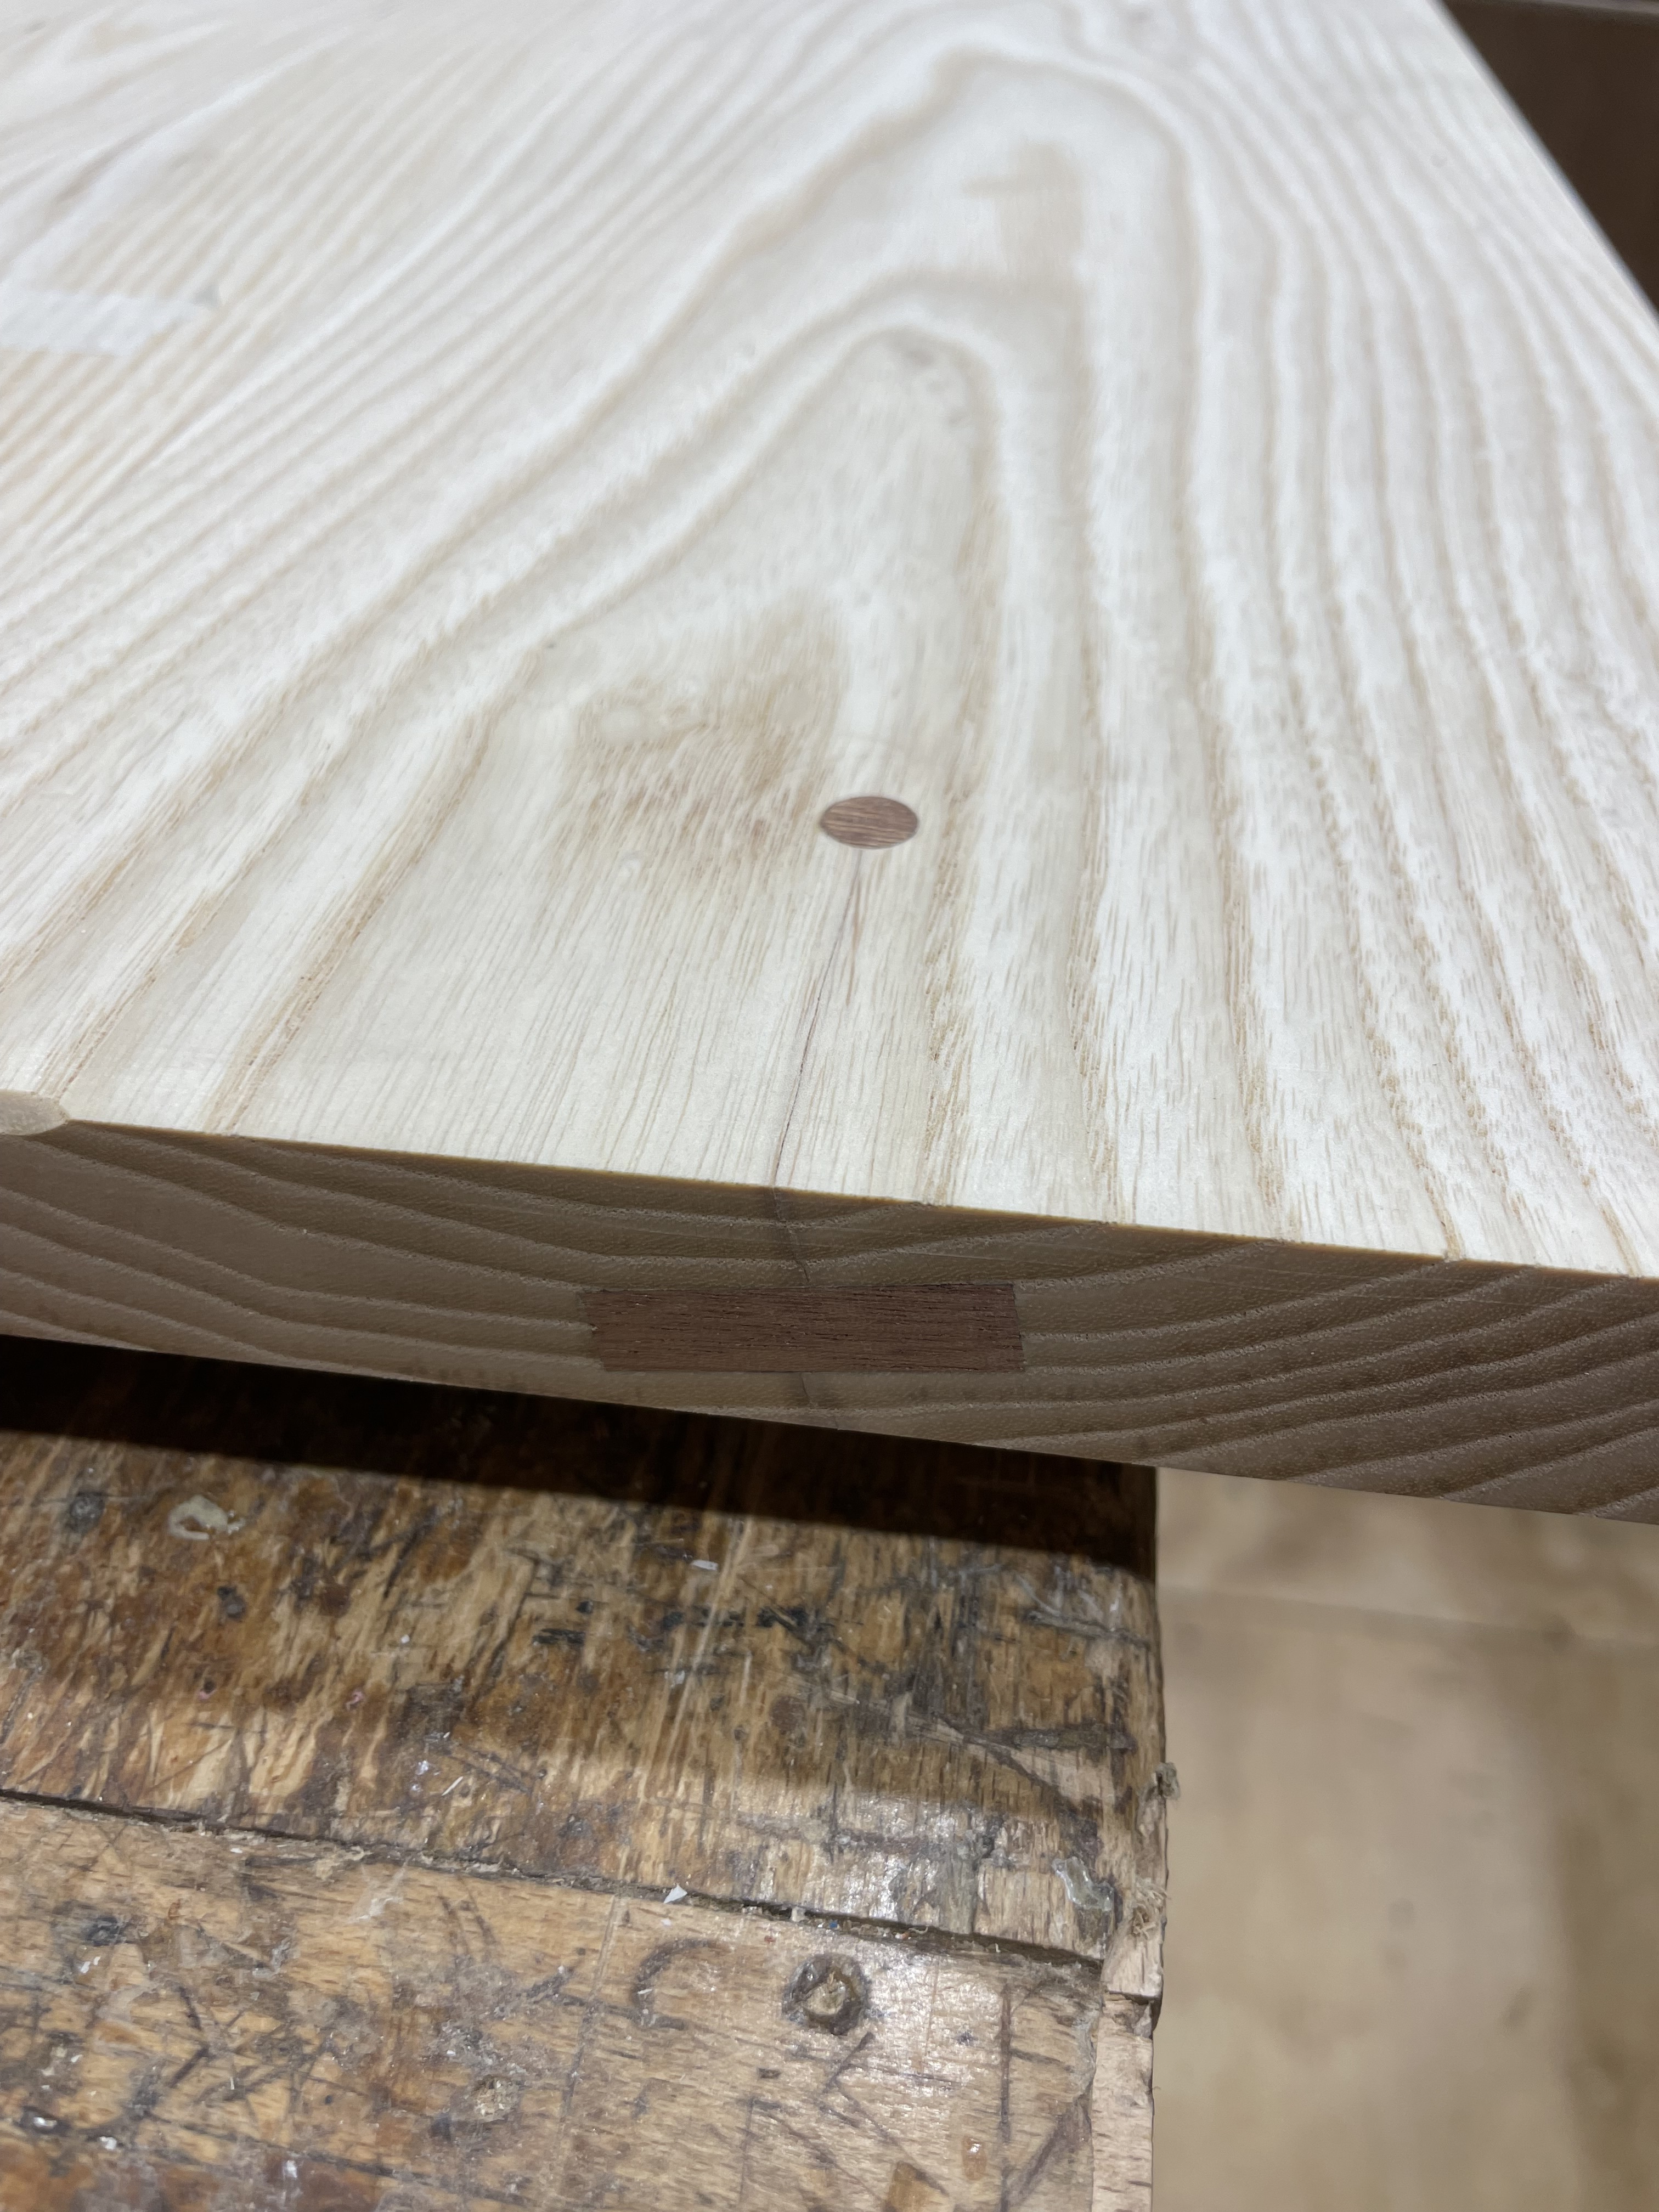
And planing down the inlay the next day:
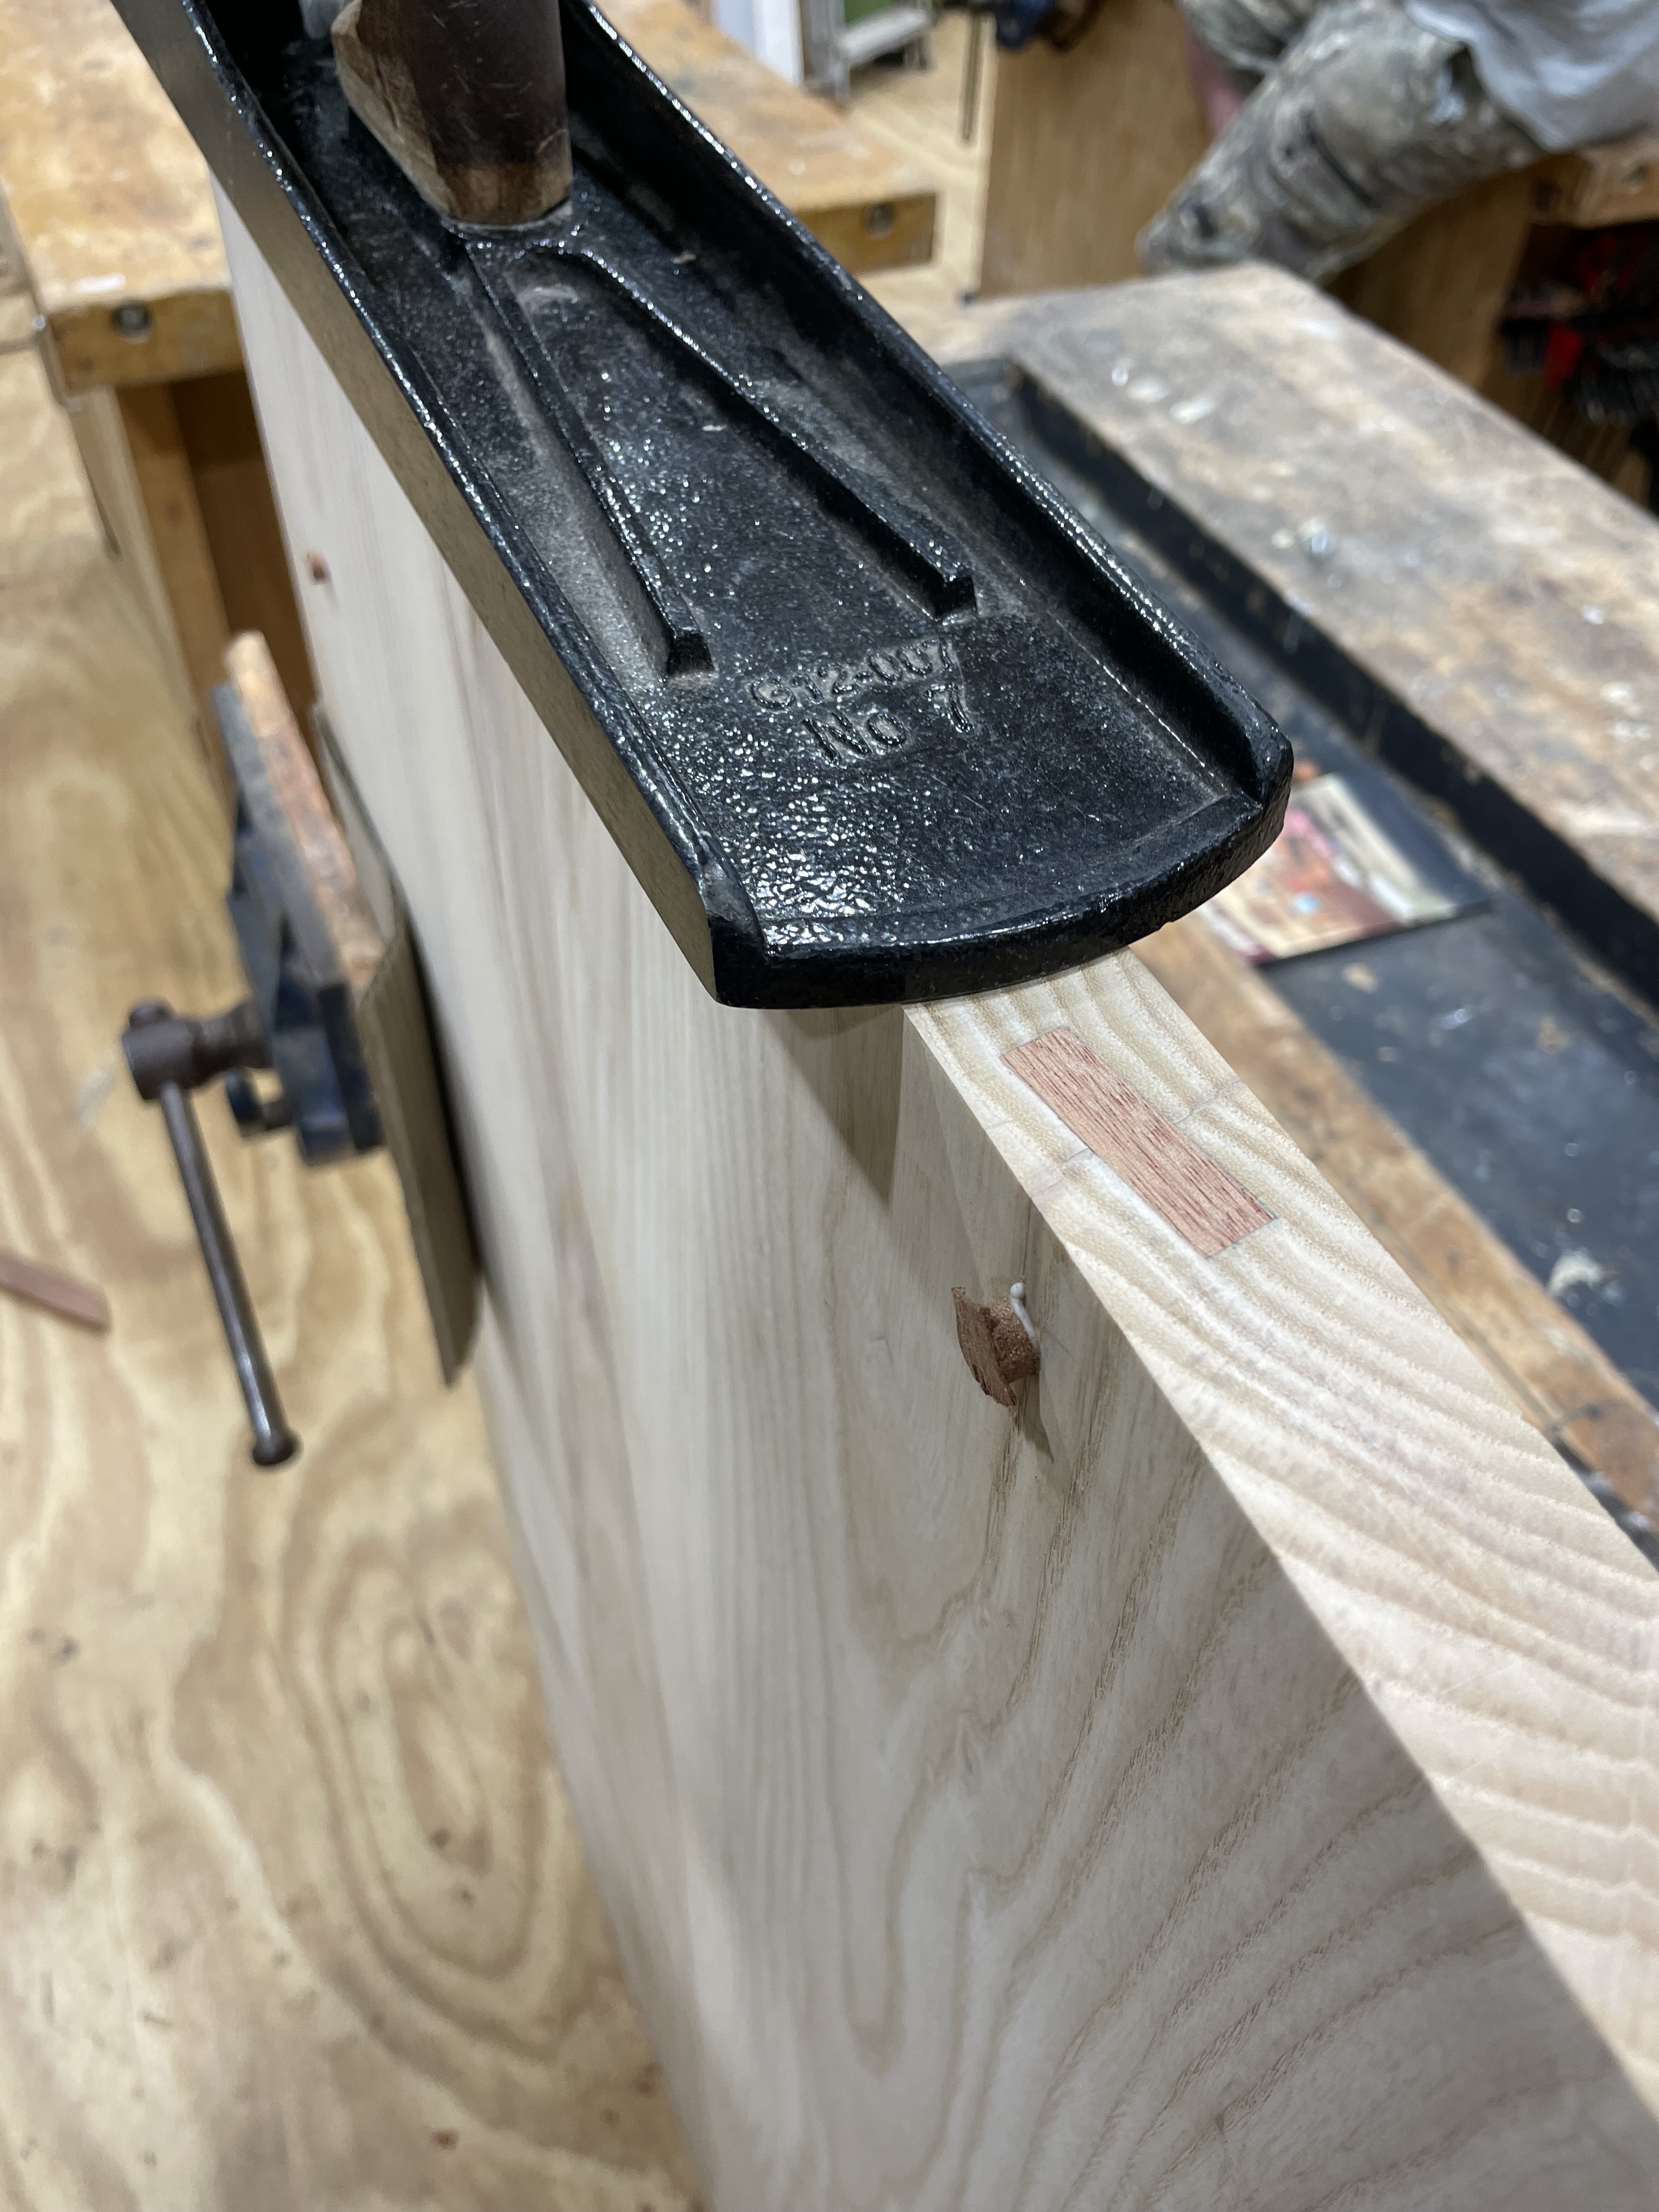
I also added in some plugs at the ends of the cracks. These are pretty easy to do with a plug drill cutter bit (no idea what it’s actually called) and a drill bit of the corresponding diameter. This is how it looked when planed down:
Next up was chamfering all of the edges. Here’s a picture of using a block to help prevent tear out:

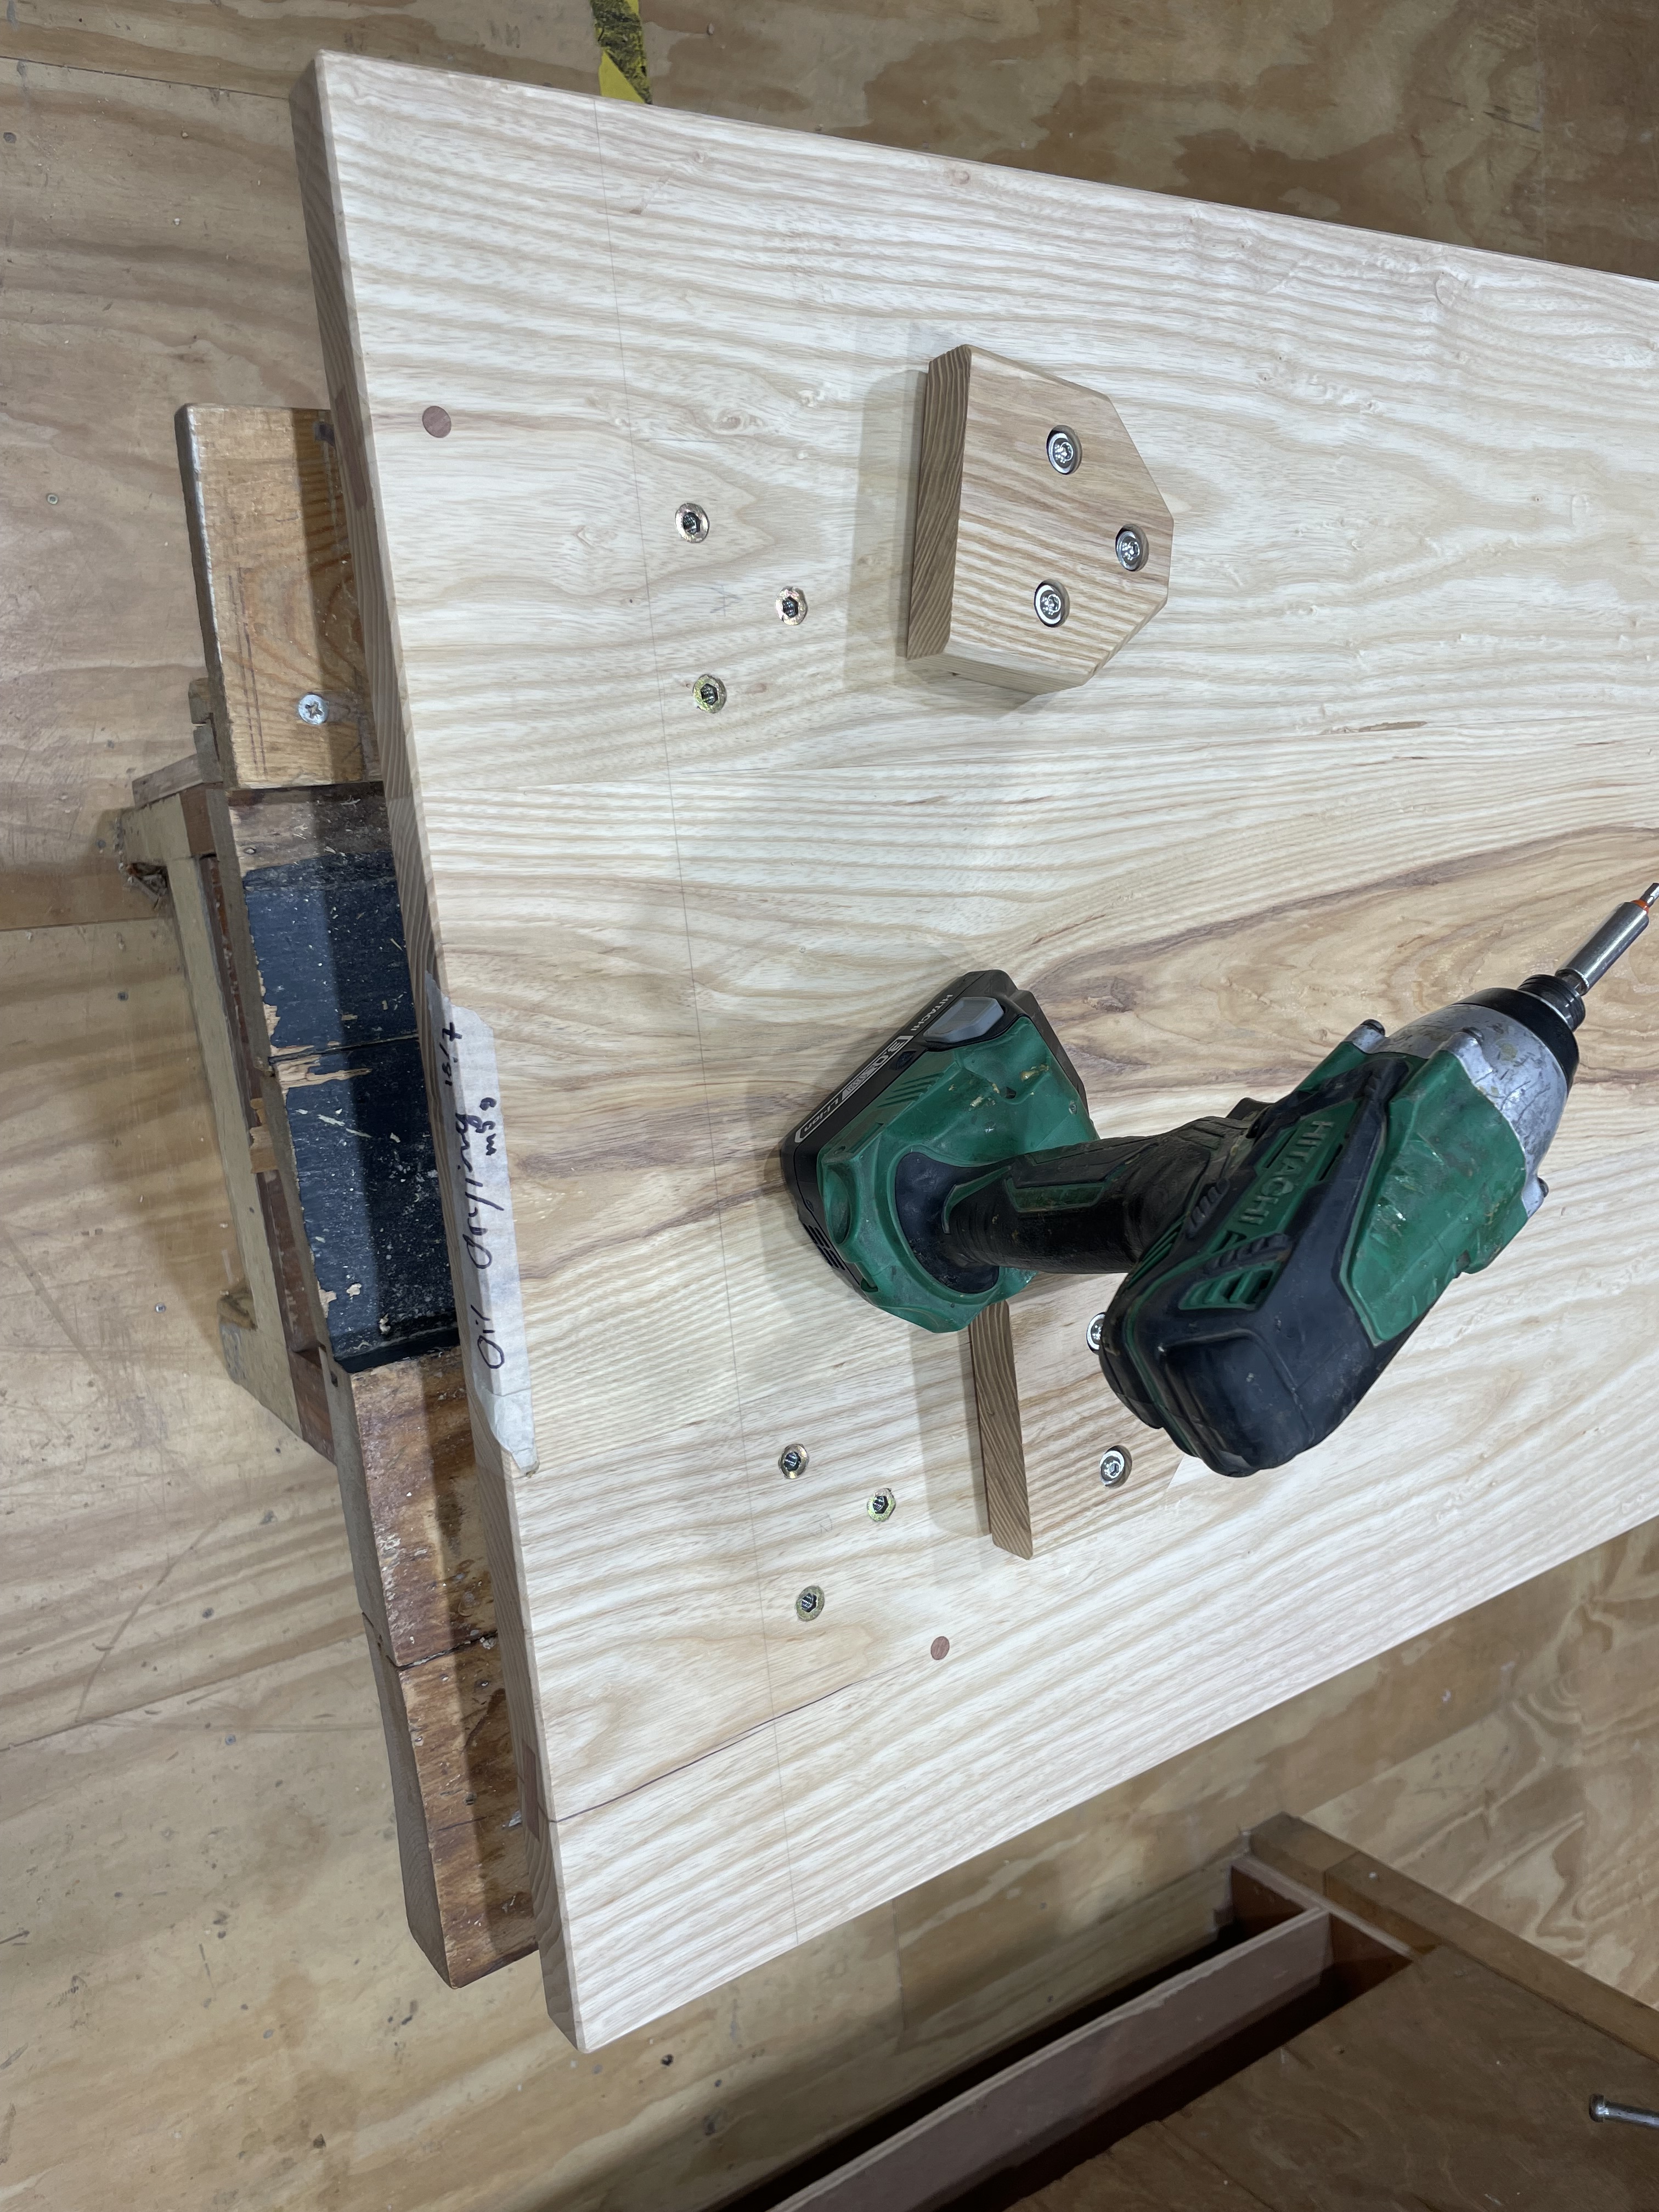
Next up was making the clamps that will hold the desktop to the frame. I used scraps from the desktop build. One edge was already fly and square from the table saw, I and rough cut them to size on the band saw, then made them square-ish with a hand plane. Since there was no real joinery involved with these, the exact size didn’t really matter. The 45 degree cuts were traced out, cut free hand in the band saw, then planed flat. The chamfer along the top was done with the trim router. The slight recess on the clamping edge was done with the router table. Next up was drilling holes with the drill press:
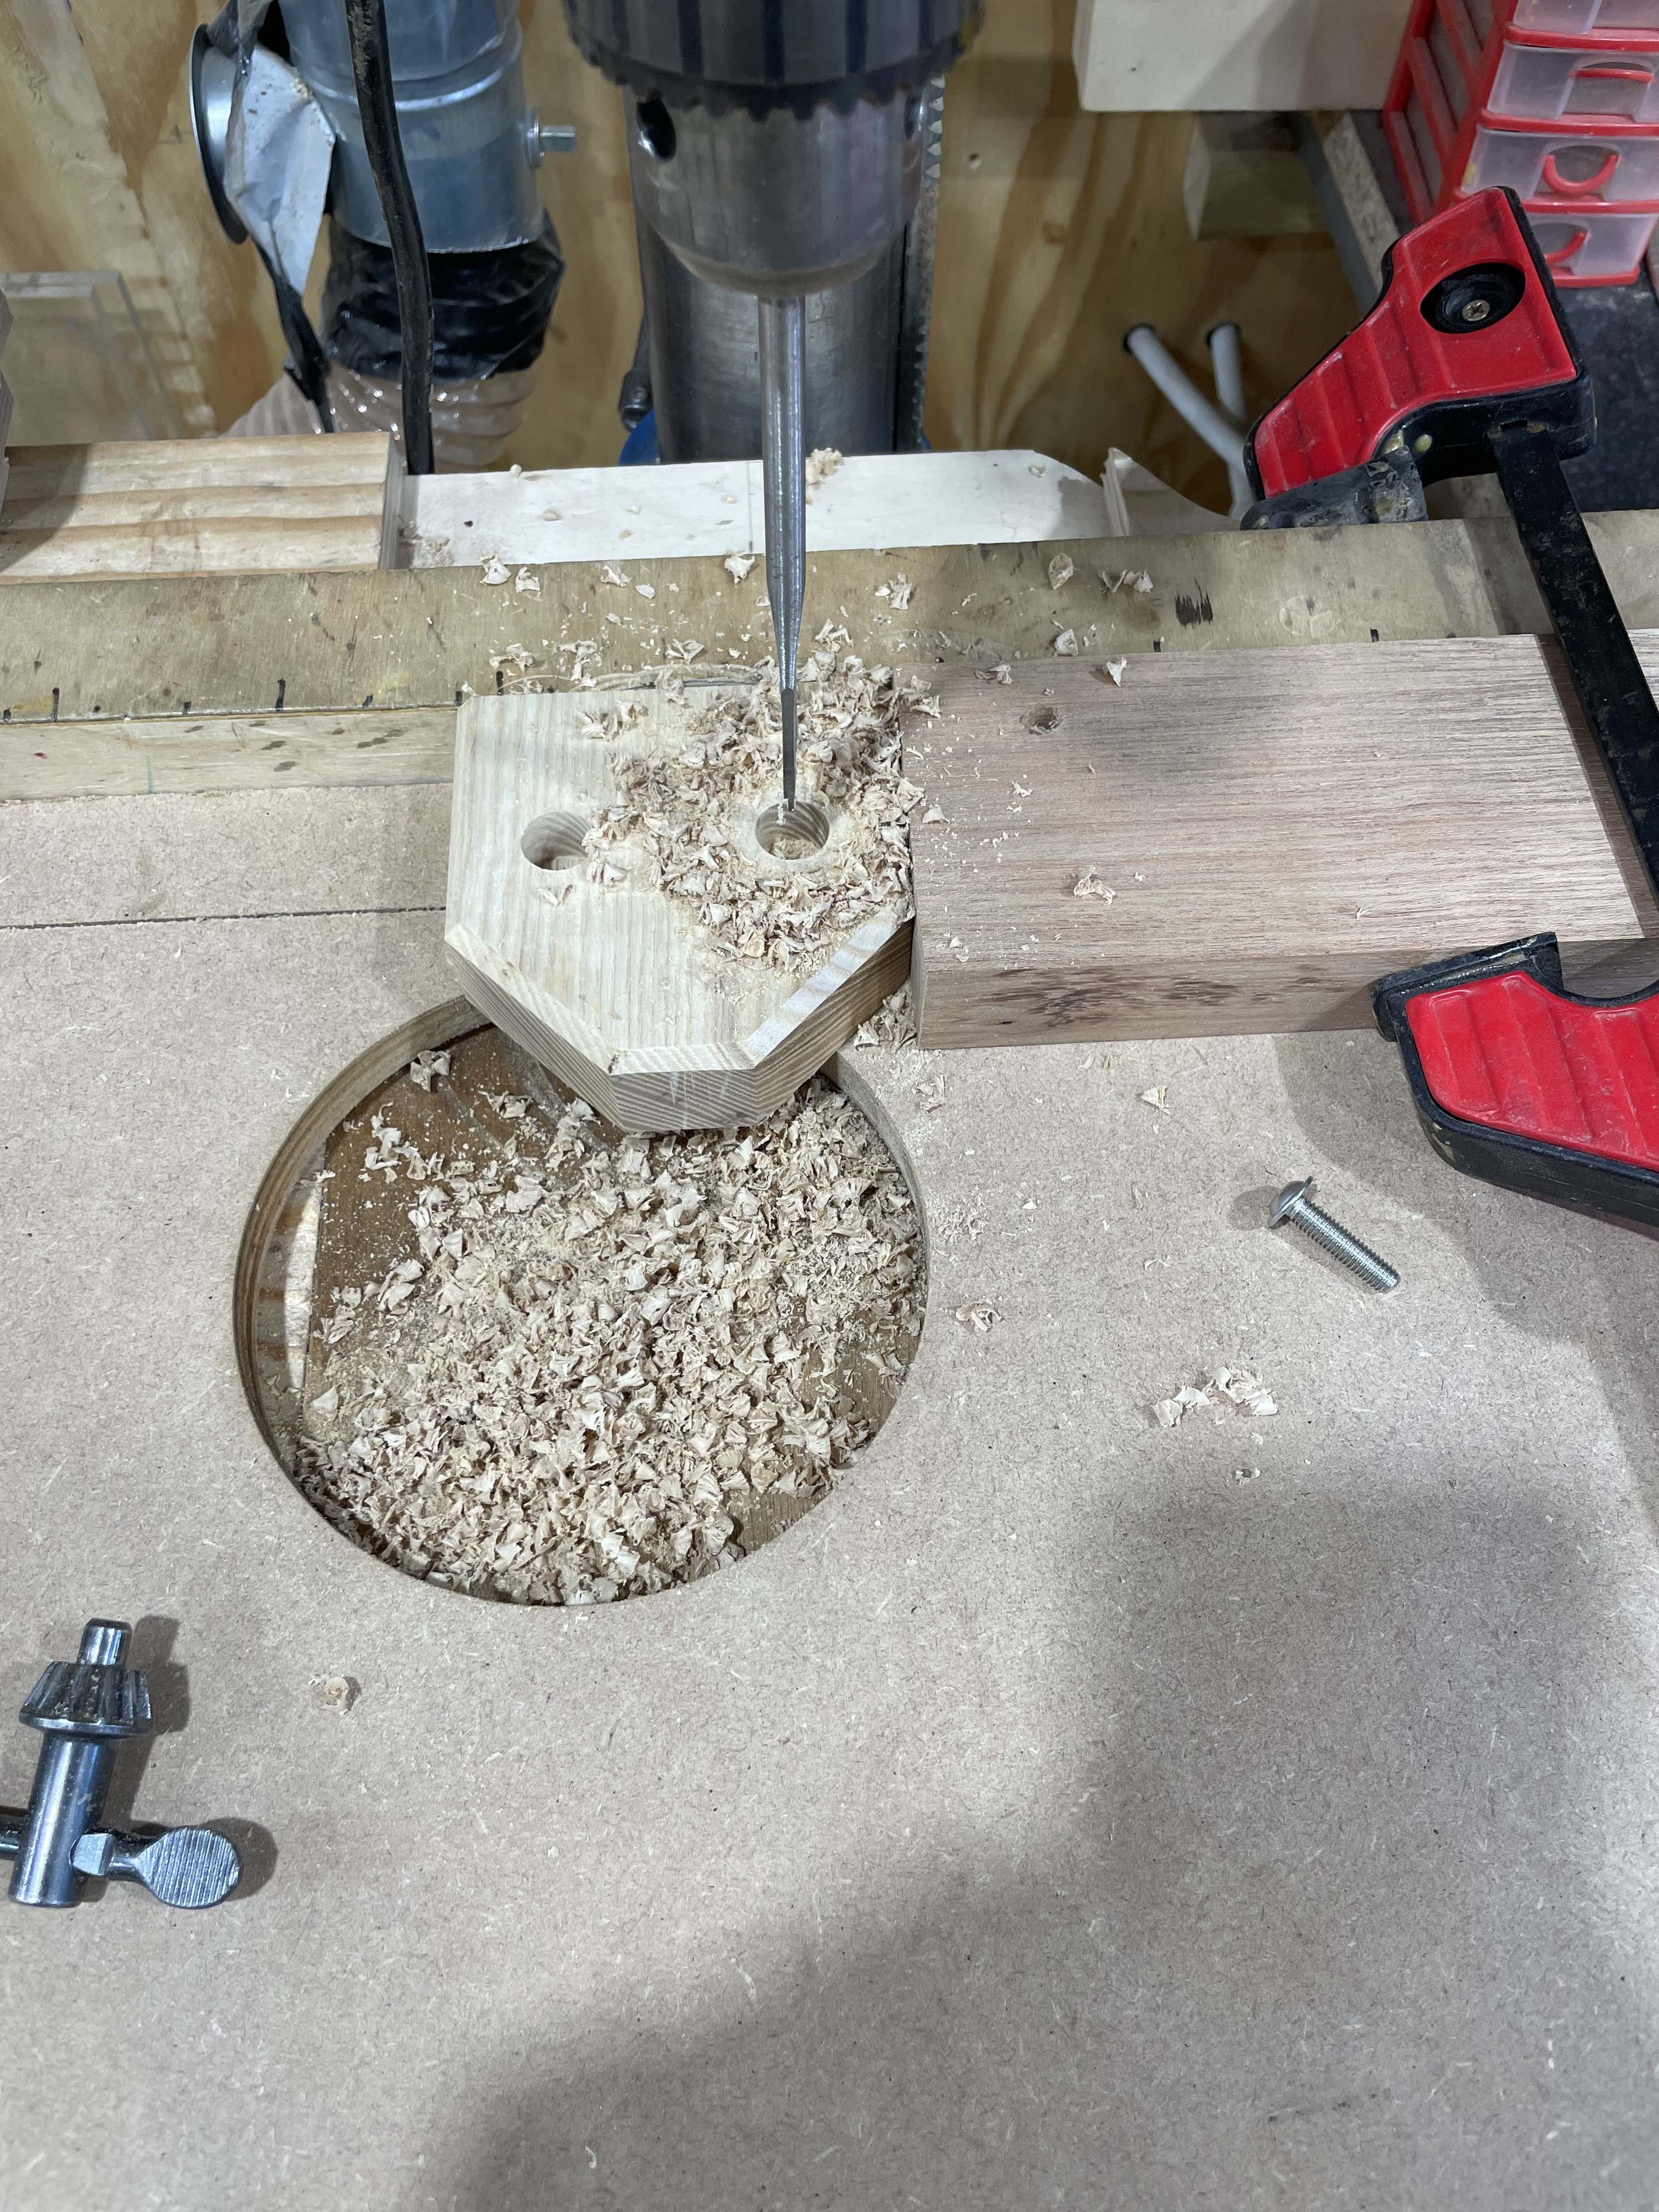
After measuring my bolts and threaded inserts, I used the depth stop and a stop block to drill large holes with a spade bit, then smaller holes with a diameter a few mm larger than the bolts all the way through the block.
After knocking those out, I placed the blocks where I wanted them and used a few drill bits with the same diameter as the holes in the clamping blocks to mark where to drill holes for the threaded inserts.
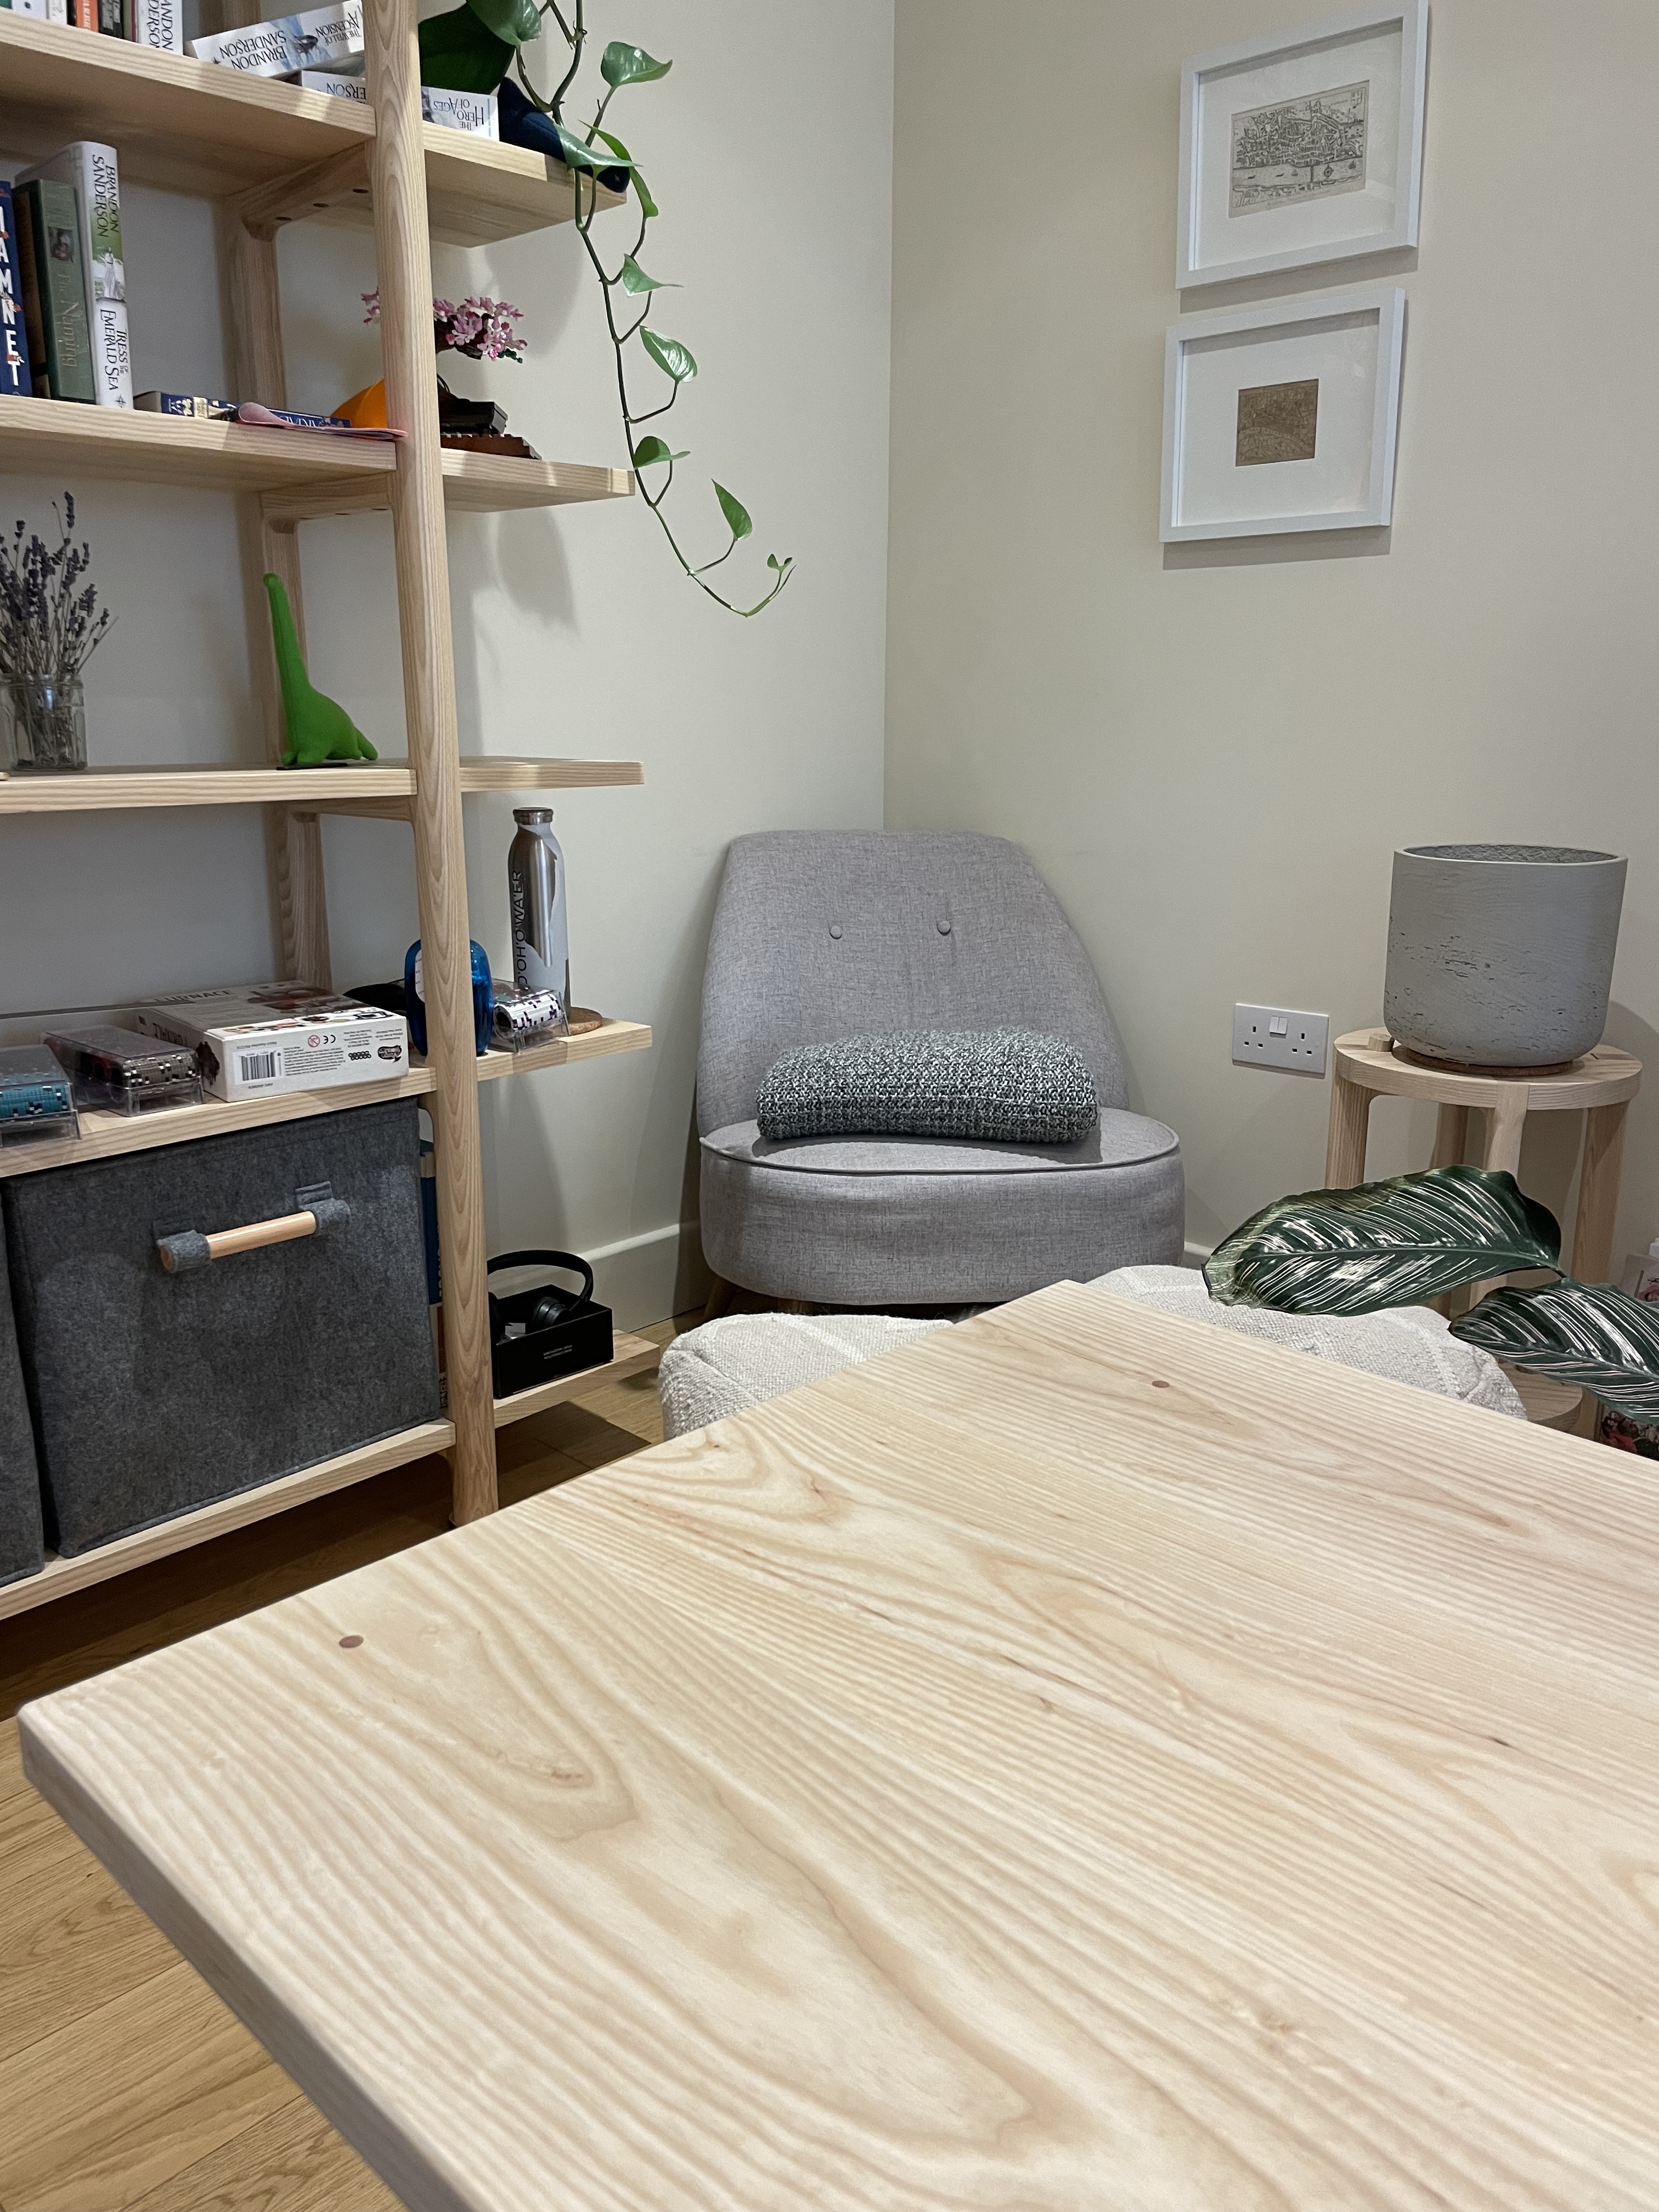
I finished with Osmo Raw.
The table has been existing in the living room of my flat for a couple weeks leading a double life as a coffee table, I’ll update when I return with some more pictures of it in its natural habitat. Here you can see how American Ash is taking over the flat: