Details
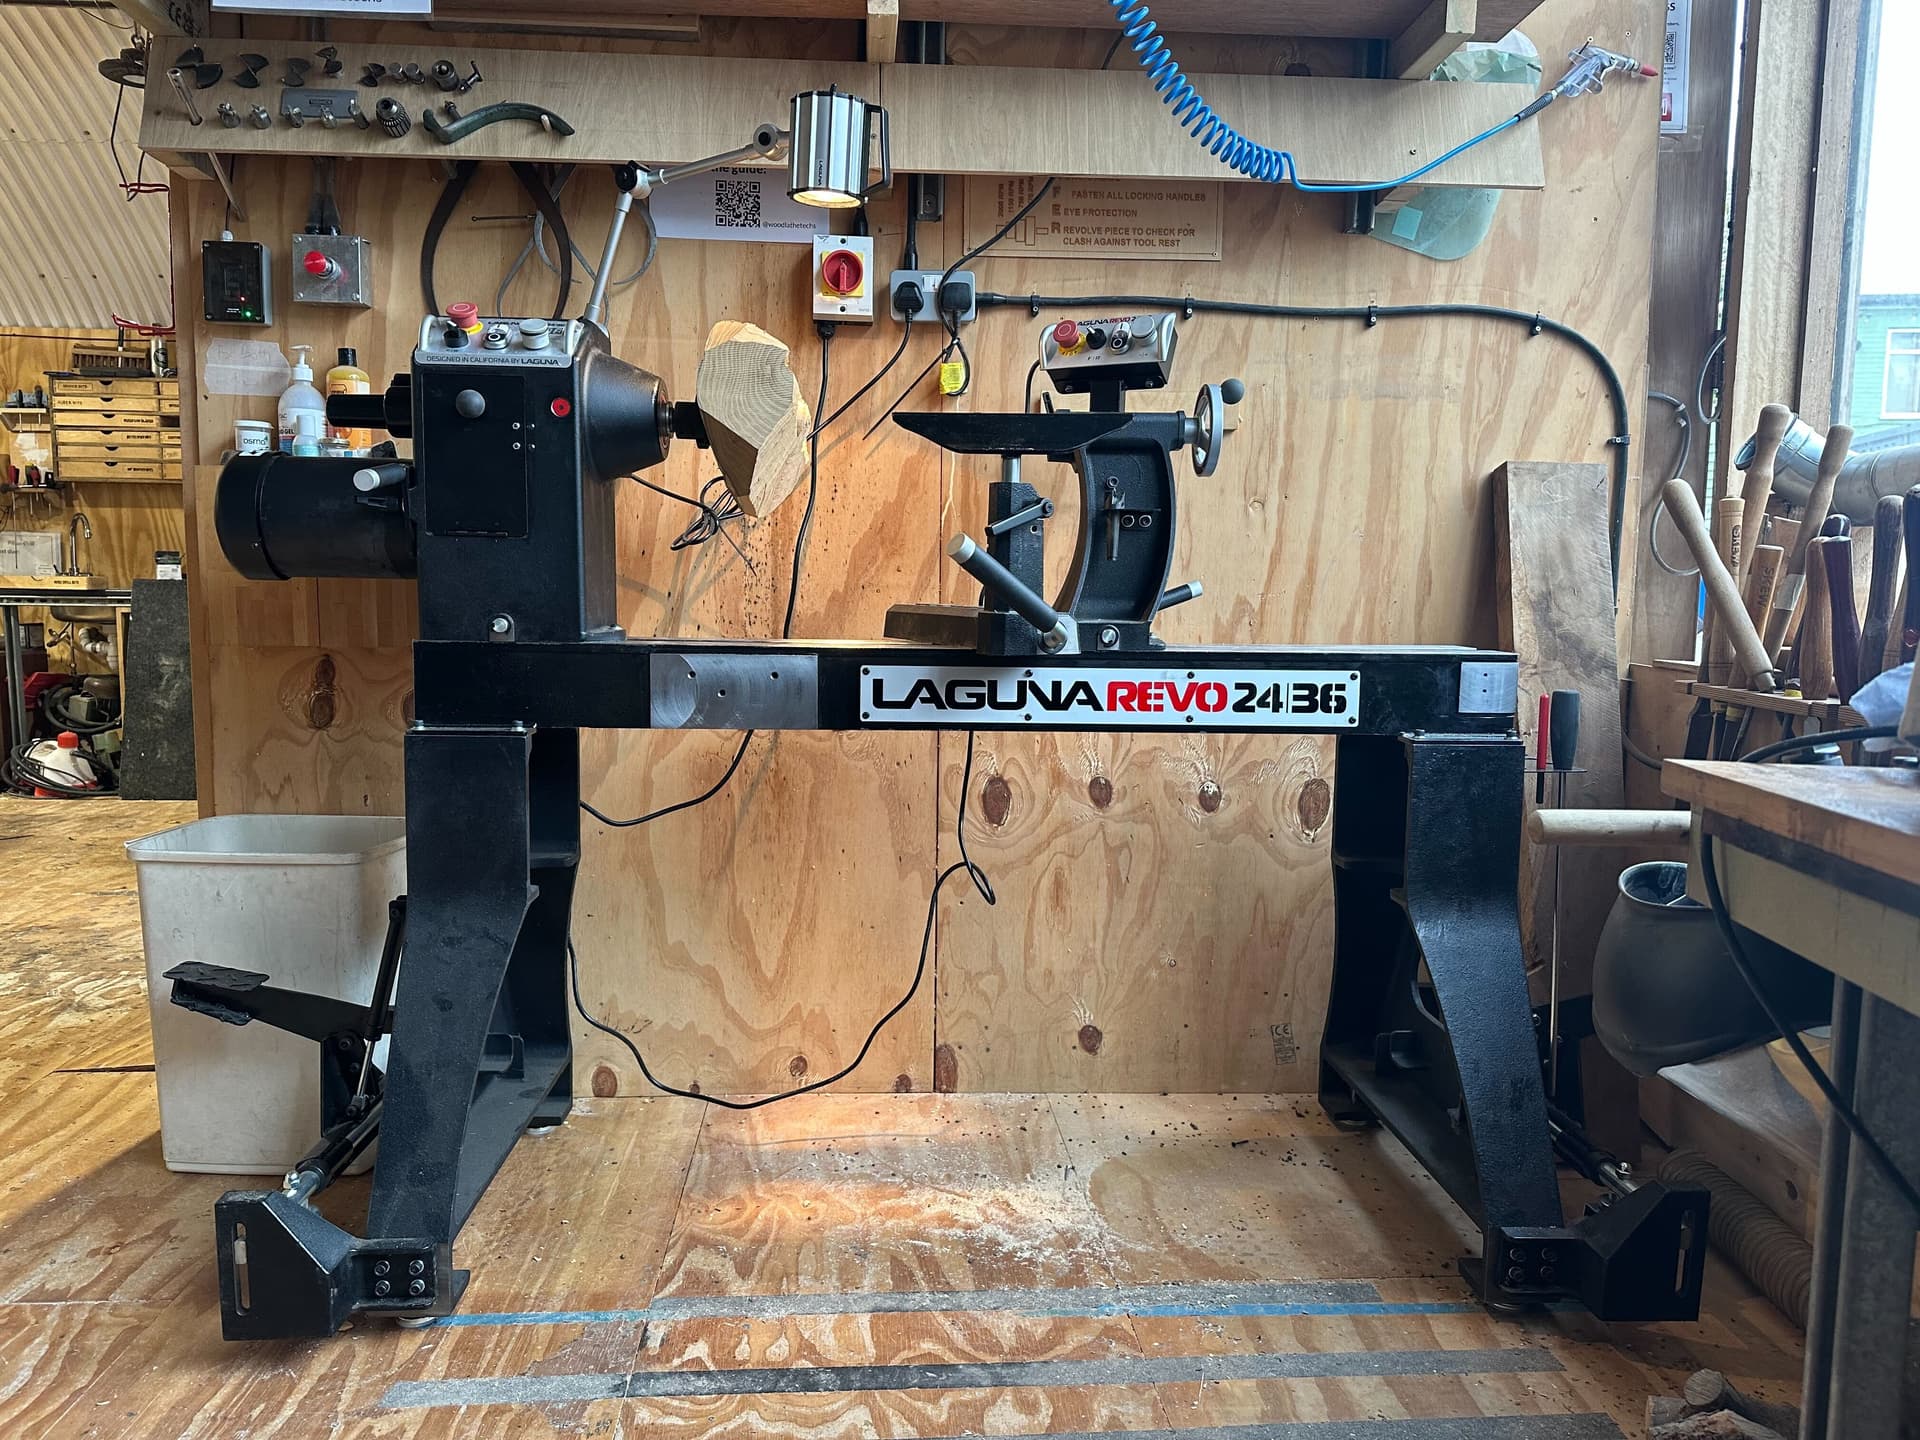
The Laguna Revo 24|36 is a professional lathe with:
- 24” swing , 36” between centres
- 3 HP motor with VFD (strong torque at low RPM)
- 50– 1300 rpm usable range
- 2-step pulley system (rarely needed)
Purchased new in 2025 following a successful pledge drive.
Access Requirements
Tool Control
You must sign into tool control before use and sign out after.
Induction Levels
The latest induction on Laguna L1 – Turning Between Centres or L2 – Faceplate & Chuck Turning is required.
Assessment
Members previously inducted on the old wood lathe must complete:
- Reading this page
- Scoring 100% on the online quiz
- A practical quick assessment with @woodlathetechs
Practical assessment includes part identification, safe setup, startup/extraction and simple troubleshooting.
Maintainers
1. Main Lathe Components
- Headstock – Houses spindle, motor and primary control panel
- Tailstock – Supports work between centres; includes quill and handwheel
- Banjo & Tool Rest – Adjustable tool support system
- Lathe Bed – Steel rails for banjo and tailstock travel
- Dual Control Panels – One at headstock, one at tailstock
- Emergency Stops – Two red E-stops (always active)
2. Power & Startup Controls
Startup Sequence
- Tap into tool control
- Turn on wall isolator
- Use Start/Stop button on the active control panel
Dual Control Panels
- Headstock control panel
- Tailstock control panel
- Only one panel is active at a time
To switch panels:
- Lathe must be stopped
- Use the key behind the headstock to toggle the active panel
Control Panel Features
- Start/Stop
- Speed dial (350–3000 rpm)
- Emergency Stop
- Forward/Reverse
- Brake (for removing chucks/faceplates)
3 Rotation & Speed Management
Forward vs Reverse
Reverse rotation:
- Lathe must be fully stopped before switching direction
- Reverse is for sanding only
- Chuck/faceplate must be locked with grub screws
- Prevents the chuck from unscrewing
Speed Guide
| Task | Recommended RPM |
|---|---|
| Large bowls (>10”) | 100–300 |
| Medium bowls | 300–600 |
| Small bowls (<6”) | 600–1000 |
| Spindle turning | 600–2500 |
| Detail work | 2000–3000 |
| Sanding | 25–50% slower |
Principles:
- Bigger = slower
- Smaller = faster
- Always start at low RPM and increase only after confirming balance and security
Pulley Changes
- The lathe has two sets of pulleys for high (135 - 3500 RPM) and low
(50 - 1300 RPM) speed ranges.
Adjust between the speed ranges as follows.
- Disconnect the electric supply to the lathe.
- Open the pulley cover.
- Loosen the motor lock handle and lift the motor to the highest
position with the motor adjustment handle, then lock the motor lock
handle. - Move the drive belt to the required set of pulleys.
- Loosen the motor lock handle and with the motor adjustment handle tension the drive belt,
then lock the motor lock handle.
4. Work-Holding Components
Banjo
- Lock gently but securely
Tool Rest
- Lock firmly but not excessively
- Keep 6–10 mm from workpiece
- Rotate workpiece by hand before starting the lathe
Tailstock
- Unlock → slide → lock gently
- Extend quill with handwheel
- Lock quill lightly and retighten occasionally as wood compresses
5. Drives, Chucks & Faceplates
Compatibility
- Laguna accessories are stored in the holder on the right side
- Some Tyme Avon accessories are compatible (e.g., chuck jaws, drive centres, drill chuck)
- Faceplates generally not compatible
Removing a Drive Centre
- Retrieve knockout bar from right-side holder
- Insert bar through hollow spindle
- Hold drive centre with free hand
- Tap gently to eject
- Do not let it fall on the bed or floor
Removing Tailstock Centre
- Fully retract quill → centre self-ejects
Removing a Chuck/Faceplate
- Ensure all locking screws are disengaged
- Press and hold the Brake
- Pull the top of the chuck/faceplate toward you
- Use hook wrench or hardwood strip if needed
Installing a Chuck/Faceplate
- Clean spindle and accessory threads
- Thread on by hand
- Snug using Brake (hand-tight + firm turn)
- Do not overtighten
6. Spindle Index
- Locks spindle for drilling, indexing or maintenance
- If engaged, the lathe cannot run
7. Dust Extraction
- Extraction unit is located near the old lathe
- Use duct switch to route suction to Laguna
- Turn extraction to full power before sanding
- Position the hood close to the workpiece
- Turn extraction off after use
Checklist
Before Use
-
Tap into tool control and turn on the wall isolator
-
Ensure rotation is set to Forward and pulley is on standard speed
-
Select the control panel closest to your working position
-
Manually rotate the workpiece to check for clearance
-
Confirm:
-
Tool rest is correctly positioned and locked
-
Chuck/faceplate is securely attached
-
Tailstock (if used) is locked and quill lightly tightened
Troubleshooting – Chuck Will Not Remove
-
Check that all locking screws (grub screws) on the chuck are fully disengaged
-
Press and hold the Brake button while unscrewing
-
Use the hook wrench (or hardwood strip) for added leverage
Troubleshooting – Lathe Will Not Start / Turn
-
Check that the spindle index is not engaged
-
Check that both emergency stops are released
-
Ensure the speed dial is above zero
-
Verify that tool control and the wall isolator are on
-
Confirm the correct control panel is selected
During Use
-
Stand to the side when starting the lathe
-
Maintain a firm grip and full control of tools, especially when turning wood with knots or voids
-
Keep tools in constant contact with the tool rest while cutting
-
Keep hands and fingers away from all moving parts
-
Never leave the machine running unattended
-
Use the correct tool for each task
-
Do not reach or stretch over the rotating workpiece
-
Do not adjust the tool rest while the lathe is running
-
Turn the lathe off before using calipers or measuring tools
Sanding
-
Turn on dust extraction and wear appropriate PPE
-
Reduce speed
-
Position hands under the workpiece (avoid placing hands on top where they can be pulled in)
Finishing
- Protect the lathe bed when applying oils or finishes to prevent corrosion
After Use
-
Turn off the lathe
-
Turn off dust extraction
-
Tap out of tool control
-
Clean:
-
Lathe bed
-
Tool rest
-
Surrounding area
-
All tools used
-
Brush down the lathe bed to remove dust and chips
-
Wipe the bed with a cloth lightly moistened with mineral spirits / white spirit
-
Apply a light spray of WD-40 and, optionally, dry PTFE lubricant
-
Clean the tool rest top edge with fine (0000) steel wool
-
Return all tools to their correct storage locations
Safely using the wood lathe
This tool requires suitable PPE:
-
Eye protection is compulsory, face shield is preferable. Multiple face shields are provided.
-
Dust masks are recommended, and compulsory during sanding.
-
Suitable footwear (workshop appropriate with must have strong heel) must be worn.
Attach your workpiece, and make sure it will safely resolve following the guidelines below. -
Personal safety
- No loose clothing, jewellery, gloves, or neckties.
- Long hair and beards tied back.
-
Machine safety
- Clear machine bench of any loose items.
- Ensure the spindle index is not engaged.
- Check lathe and tools for damage. Be safe, do not use any tools that appear to have damaged components.
- Select the correct drive, chuck, or faceplate for the task; and ensure it is tightly attached.
- Where possible, select and engage the appropriate tailstock.
- If the tailstock is not in use, ensure it is locked in place at the far end of the lathe bed.
- Ensure the speed is correctly set (see Setting the speed).
- Ensure the tool rest is set to the correct position (height and distance) from the work. Rotate the workpiece manually.
- Ensure you have adequate space for the cuts you intend to make.
- If you are sanding or finishing, remove the toolrest.
-
Material safety
- Check your stock fits within the safe working dimensions for the lathe, according to the task you are performing.
- Ensure your stock is not cracked.
- Ensure your stock does not contain metal.
- Remove any loose bark or knots.
Risk Assessment
References
Revo 24 36 Instruction Manual (5.3 MB)