Hi Makers!
@Kyle, @Julia and I fired up the vinyl cutter for a bit tonight!
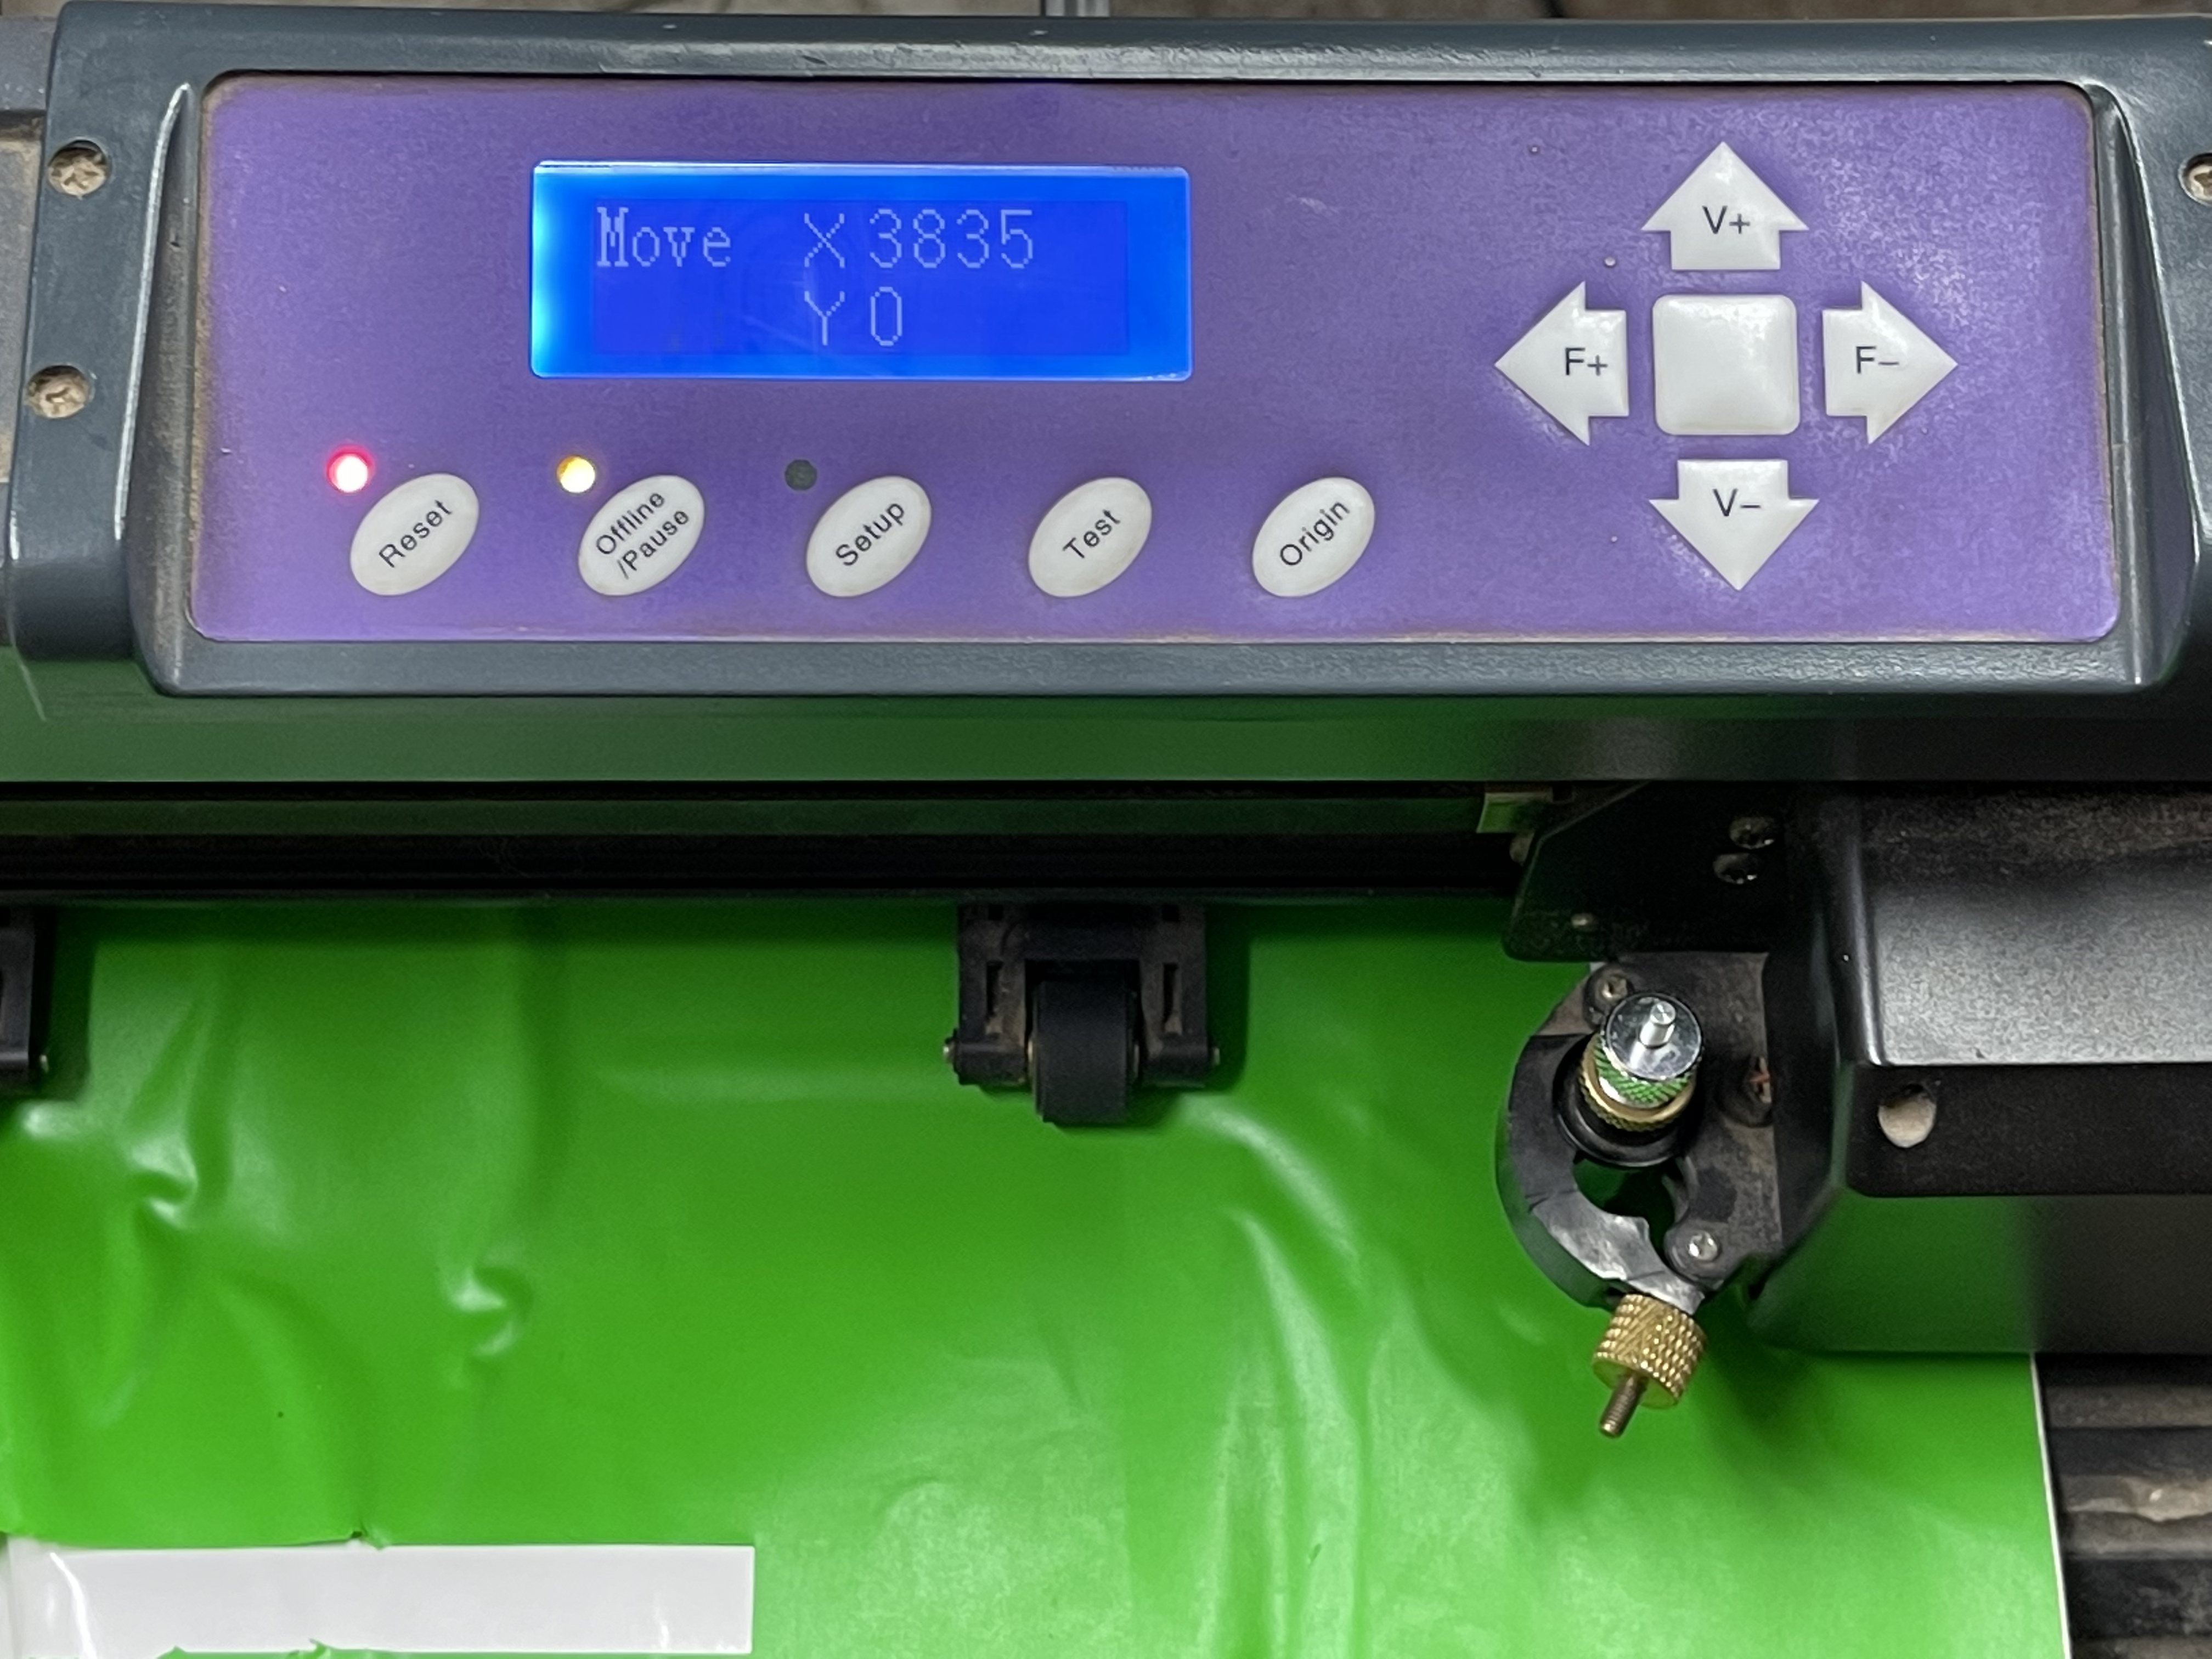
A bit of work to do, put pretty close!
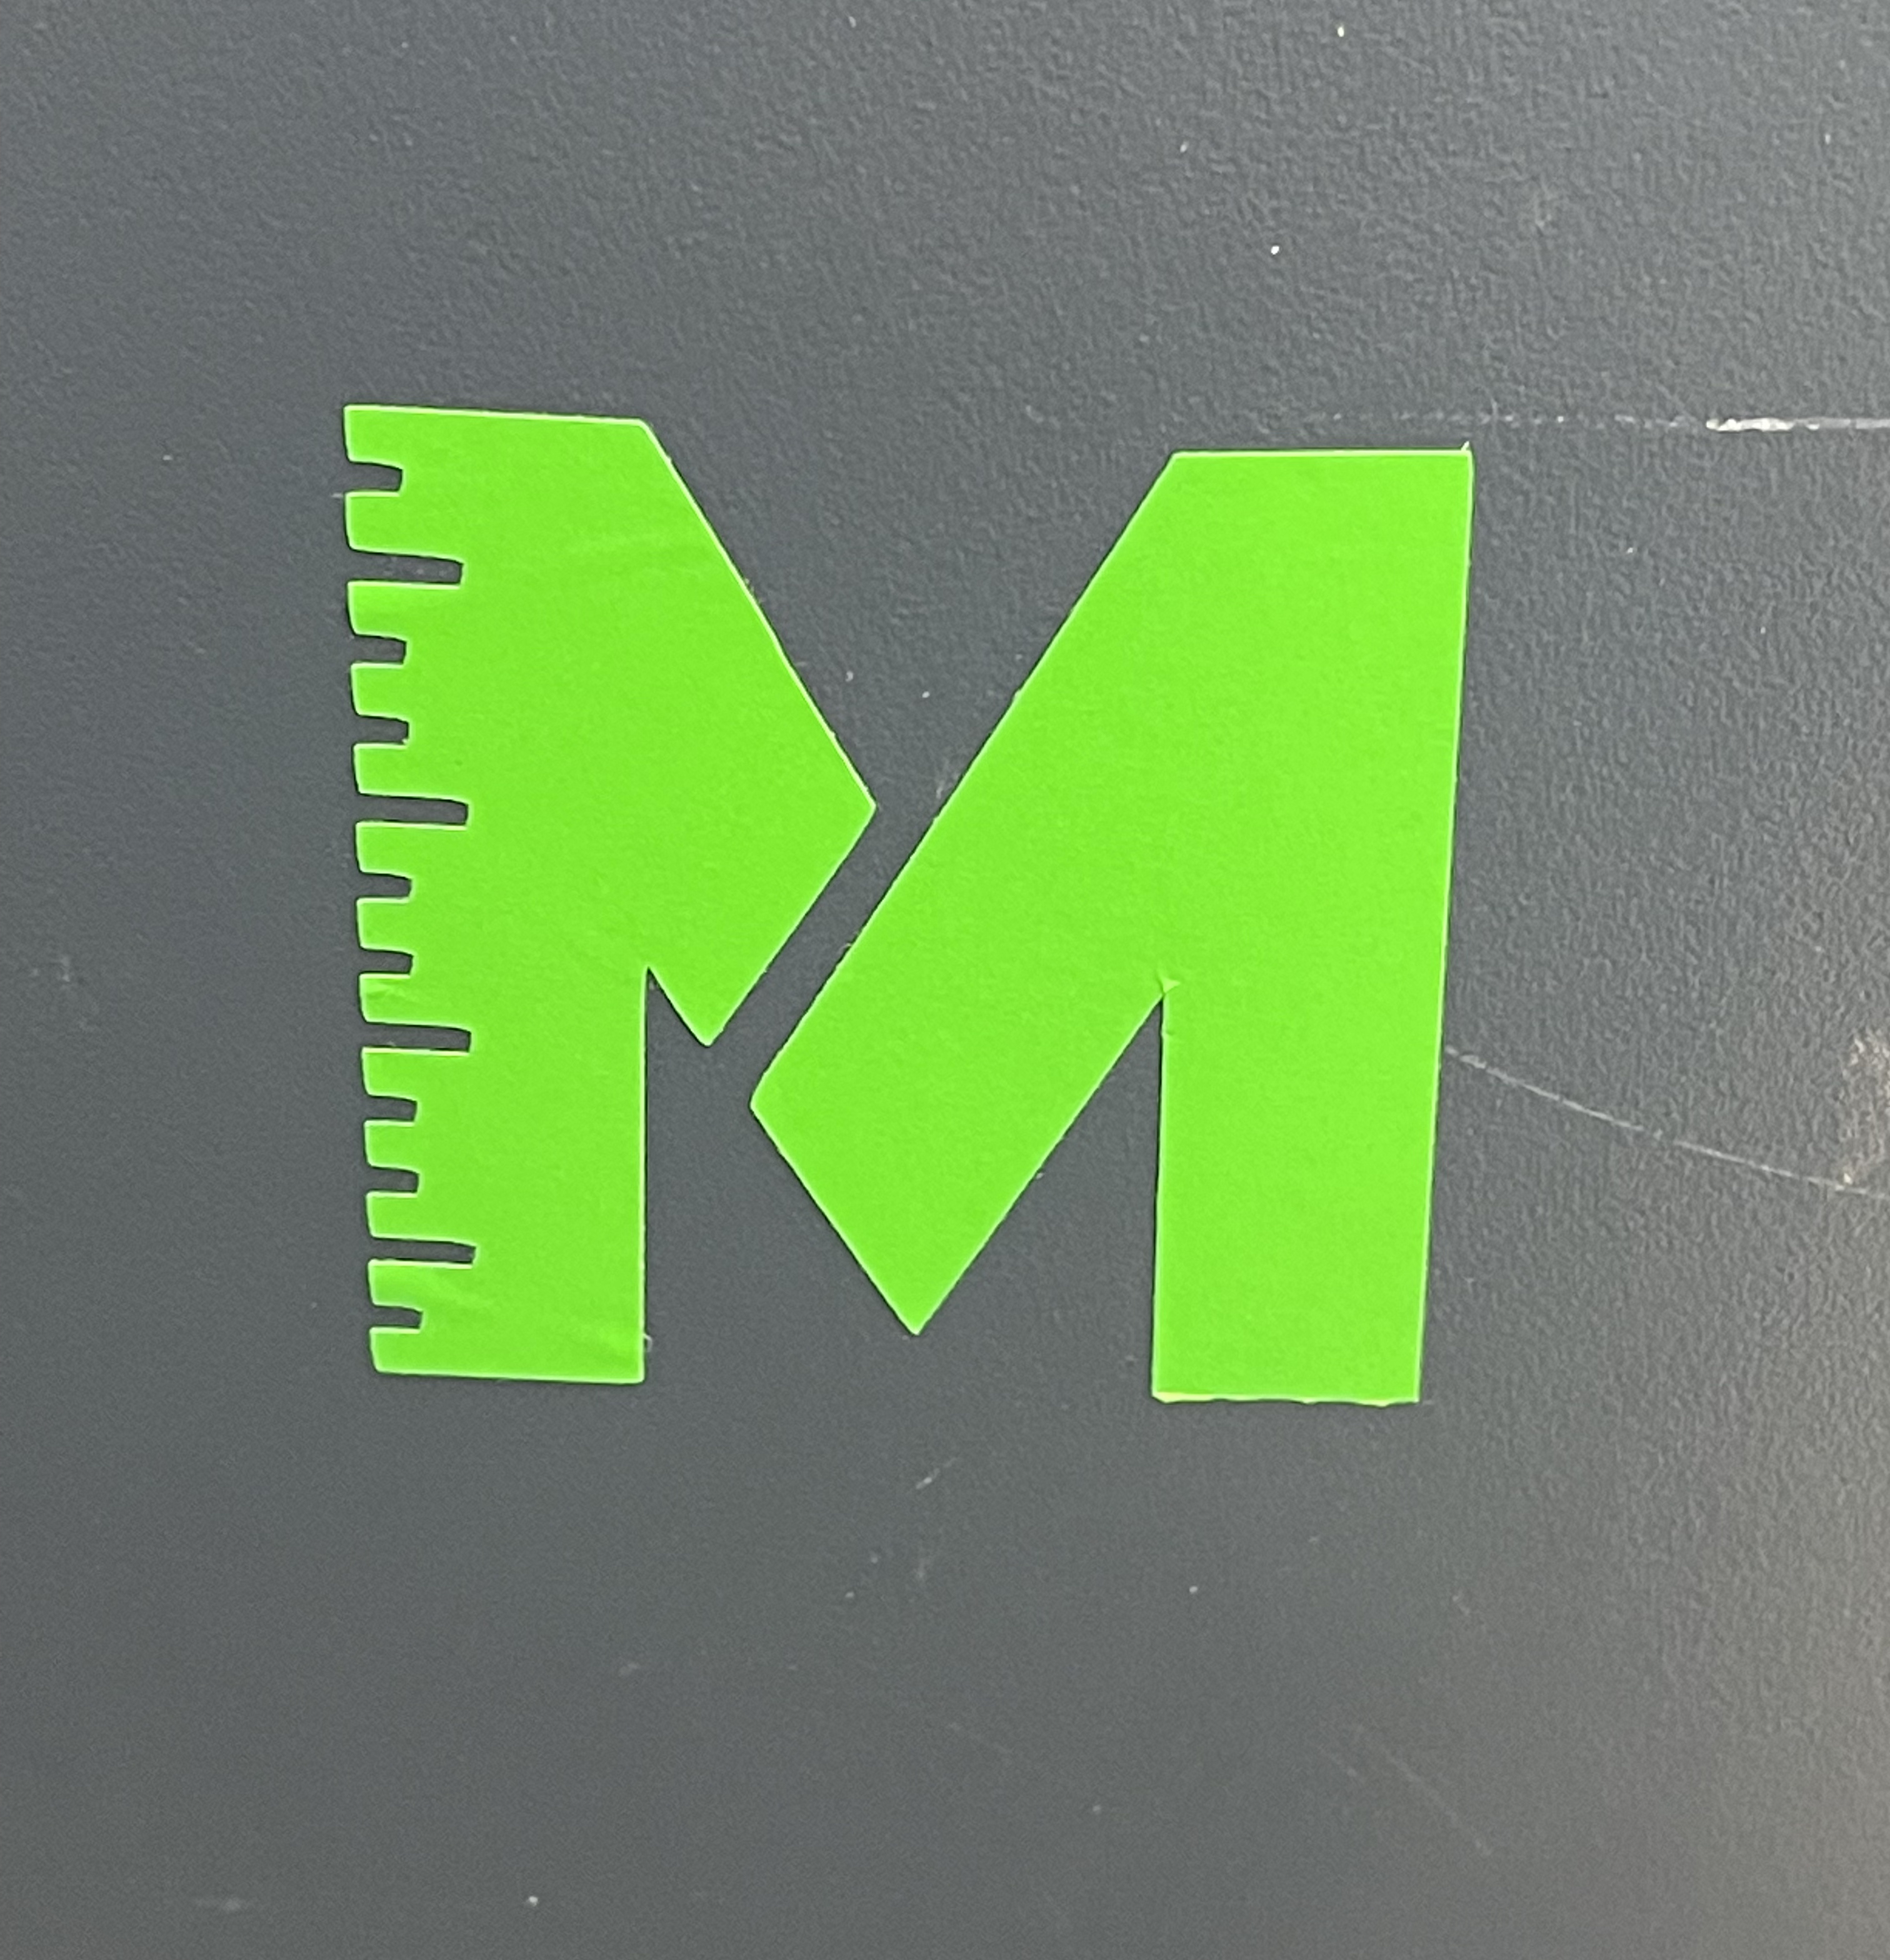
Will update the tool page with our findings…
Hi Makers!
@Kyle, @Julia and I fired up the vinyl cutter for a bit tonight!
A bit of work to do, put pretty close!
Will update the tool page with our findings…
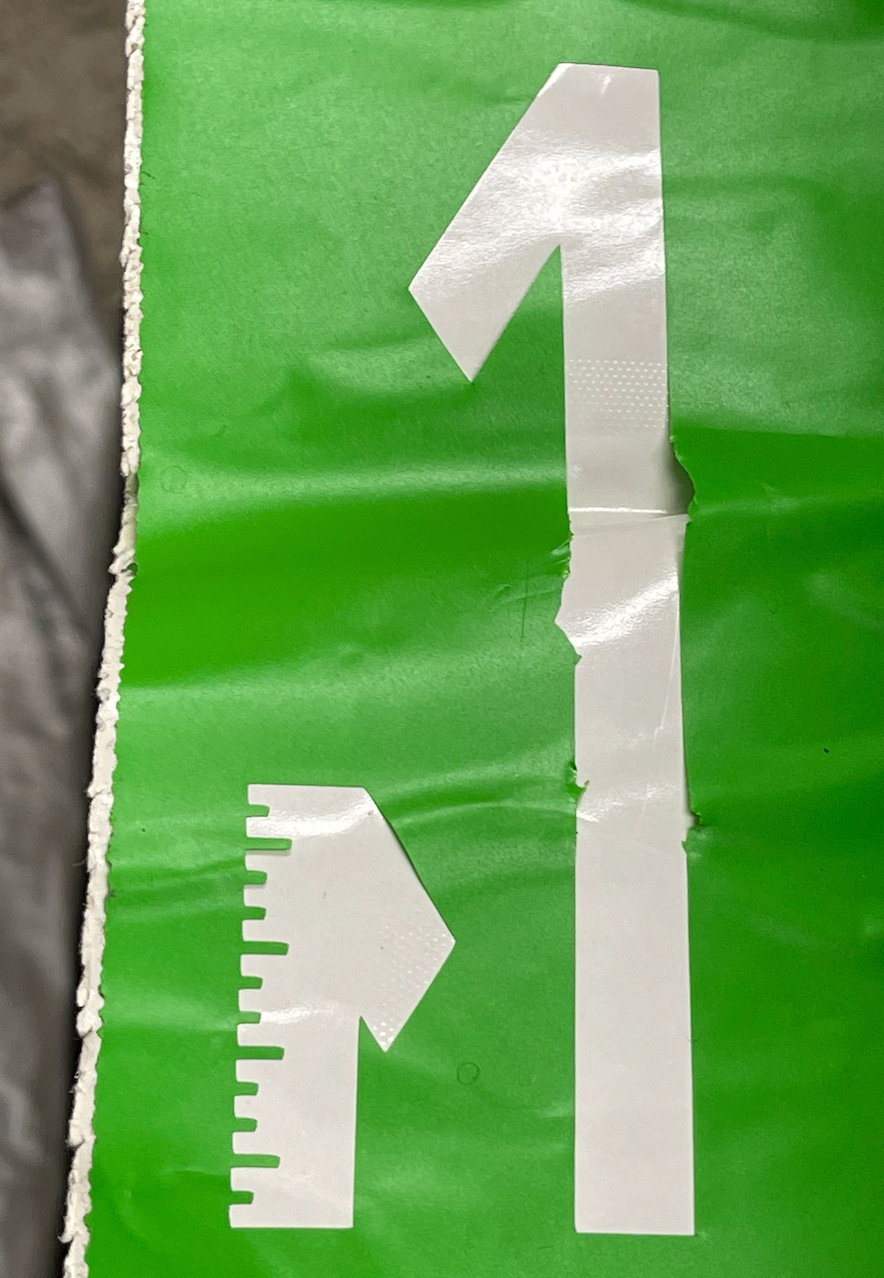
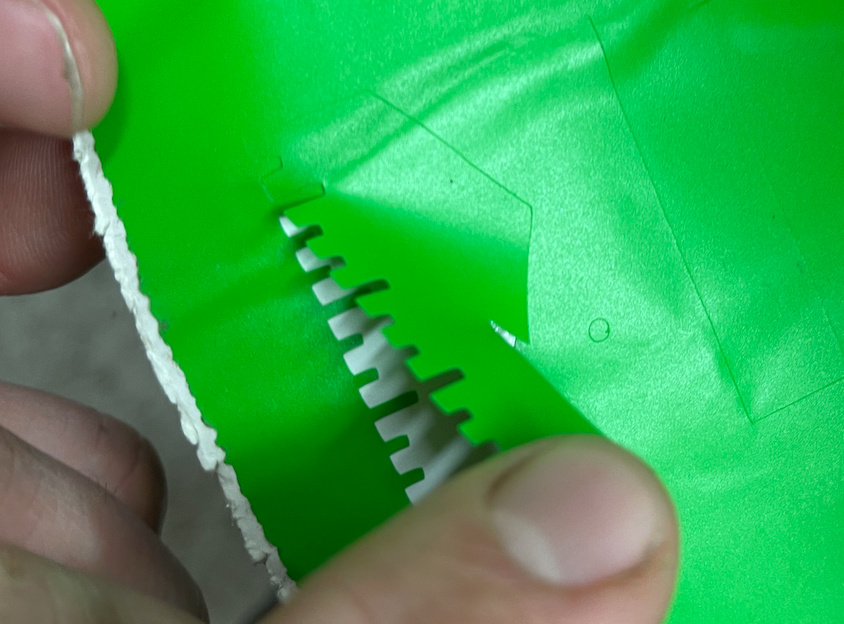
What happened to the edges of no.1?
Looks like it didn’t cut right through.
I think someone’s adjusted the rollers…they were set up just right, but last.time I looked they’d been messed.up and were not feeding vinyl correctly (or it may be you started with a horrible piece of vinyl?)
Worth looking at whether the latest version of Inkscape works with this now as we always had to do the workaround with Linux before, which is fine,.but a barrier to many
London Hackspace have a good WiKi on this generic
‘Roland’ cutter IIRC
Yea! The vinyl was terrible, looked like someone crinkled it all up… this was not a quality test!
None of us had ever used it, just wanted to try it.
Works fine from my Mac, will setup the Space’s iMac for it so everyone doesn’t need to reinvent the wheel.
The space’s Linux laptop is dead… and not worth fixing - we tried it. You said we had some other laptops or PCs? Where are those?
Thanks!
Cool, It’s a fun bit of kit!
@Edd will bring the laptops in imminently
https://beta.sharecad.org/viewer shows the issue was with Inkscape HPGL export. Turns out 1.0 had a regression and 1.1.1 includes the fix.
Ya! Explains so much!!!
Just wanted to add in - I tried out the vinyl cutter today, and it works! @Kyle’s web service made it super easy to get a file onto the cutter. Inkscape didn’t like exporting to .plt, but .hgpl was fine. The clamp that holds the cutter was missing a nut to keep it closed, so I took a piece of scrap vinyl and added on a new nut. I do think the rollers and cutter height need to be adjusted.
Very cool!!!
We just found the nut again. 
Nice work! It’s great that this is now much more usable!!
I made some adjustments on the cutter - loosened the wheels a bit and reduced the cutting pressure. It seems to be much better now.
What material and pressure did you use? It would be cool to start a chart on the tool page.
The red vinyl and 90 (forget what the unit was). Looks like the tool page is locked and I can’t edit.
I believe the red vinyl is unbacked. If that’s the case, my understanding is it should be cut on a mat but I don’t think we have one in the space. The pressure (in grams) should be dialed in for each material to cleanly cut corners but not mark the backing. The cutter should stick out just under half a mm.
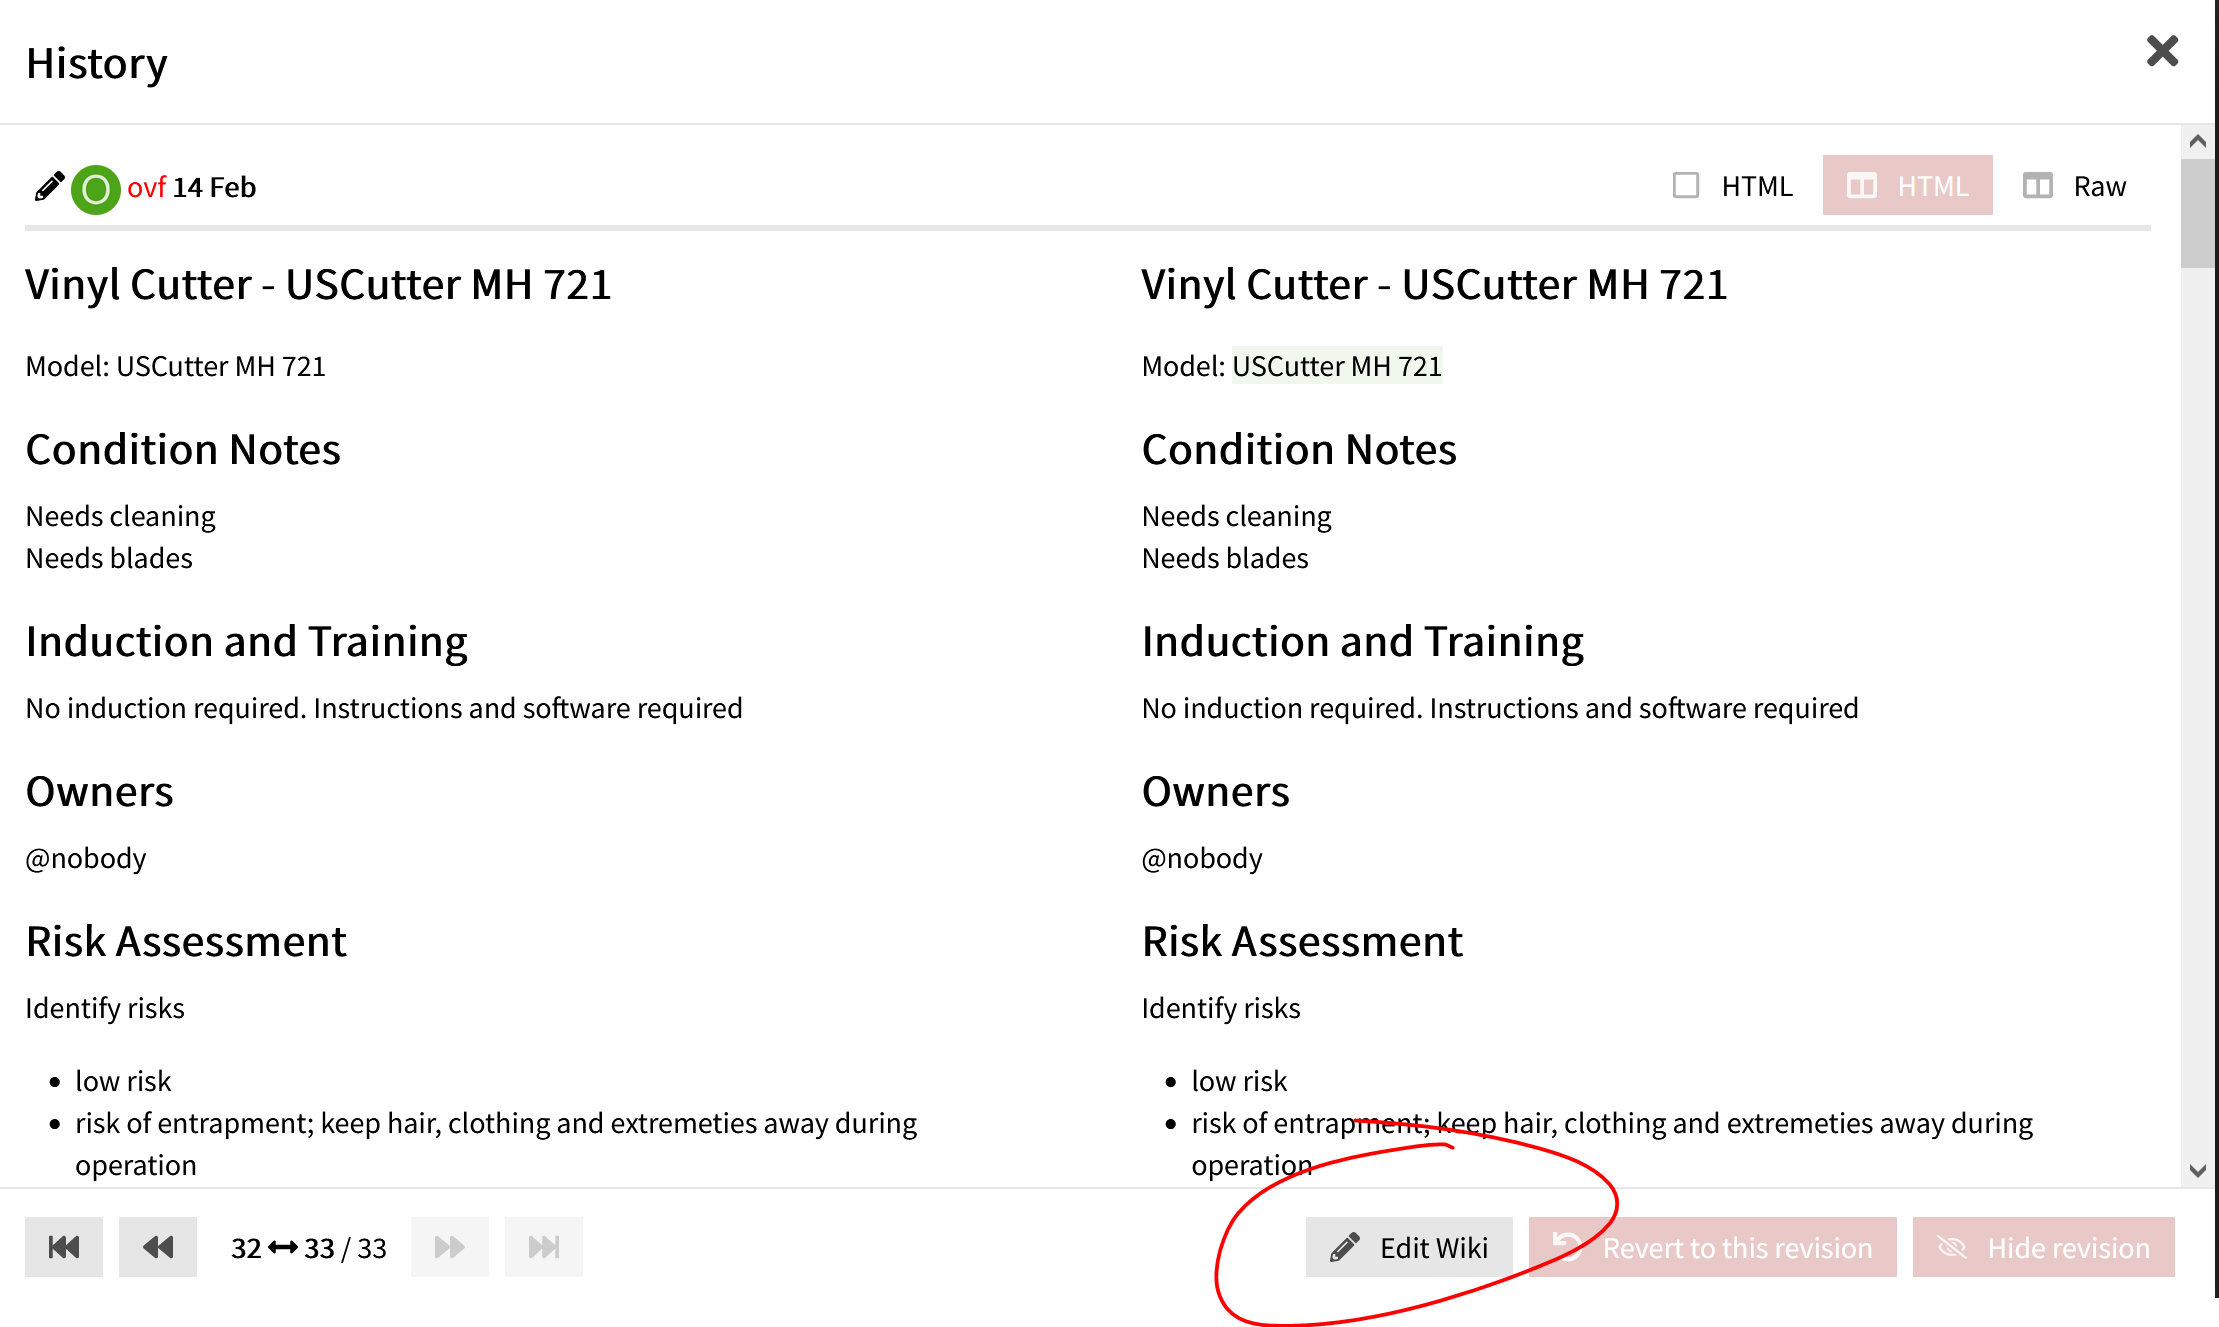
The edit button is a bit fiddly sometimes. Are you able to follow these steps?
If by backing you mean the white paper underneath the sticky stuff, the red vinyl on the cutter does have it! Next time I’m in there I’ll do some more fine tuning, but on the default settings it was punching a hole through the back paper. I think the wheels are a bit too tight as well, as they make a bit of a mark into the material, though it’s not as bad as before.
Each material is different, it’s good to run a few tests to dial it in. Julia was having luck on her thicker retro reflective material at 120g but that’s too much for thinner stuff. Another variable is the cutter rake angle. Not sure what’s loaded in now. I have replacements of the common angles at home if folks need one in particular.
Are you able to edit the tool page?
I did! I added in a section at the bottom for people to add in the settings and materials they used. Next time I come in and use the cutter, I’ll add to it.
Would anyone be willing to show me how to use this? I tried a while back but had no idea what I was doing and got nowhere, I still don’t think I really get how it works with backing etc.
Hi Gilbert.
I tried it out recently, I’d be happy to show you what I know. I’m hoping to make it along to the open evening on Wednesday as I can’t make the next couple of electronics nights.