I made a box from a single piece of wood using only our hand tools
There were a lot of steps for the lid (these can be skipped if you don’t want a box with a lid)

Start with a piece of wood 5X Longer than it is wide (7X longer if you want a lid)

Use a marking gauge to mark off one square that is the same height as it is wide

Cut it square with the help of a tenoning saw and a bench hook

Repeat until you have 5 (or 7 for lid… or 9 if you are having fun and have the wood)

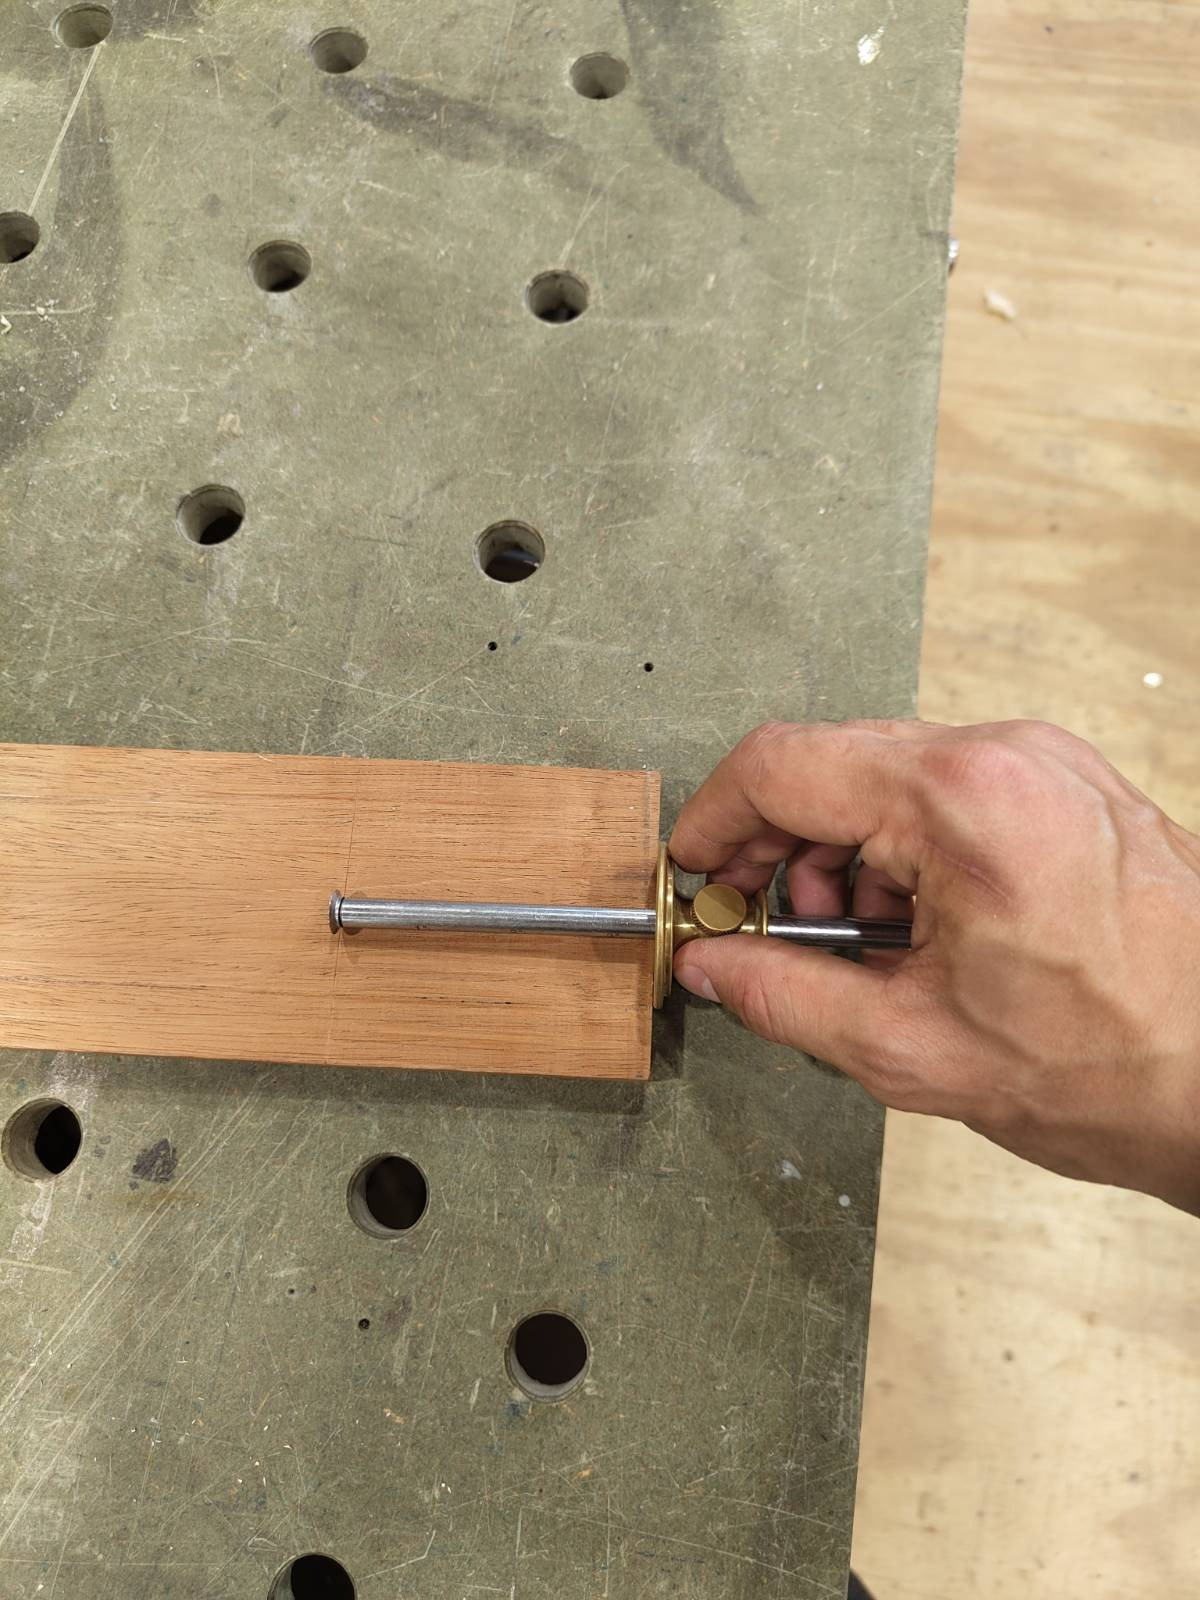
Use the Thickness of your wood and a marking gauge to make your joing thickness (we are aiming for finger joints)

Mark roughly 1/3 and 2/3 along the joint

Use a square to line these marks up on both sides of the piece

Clamp piece

Cut out the first piece
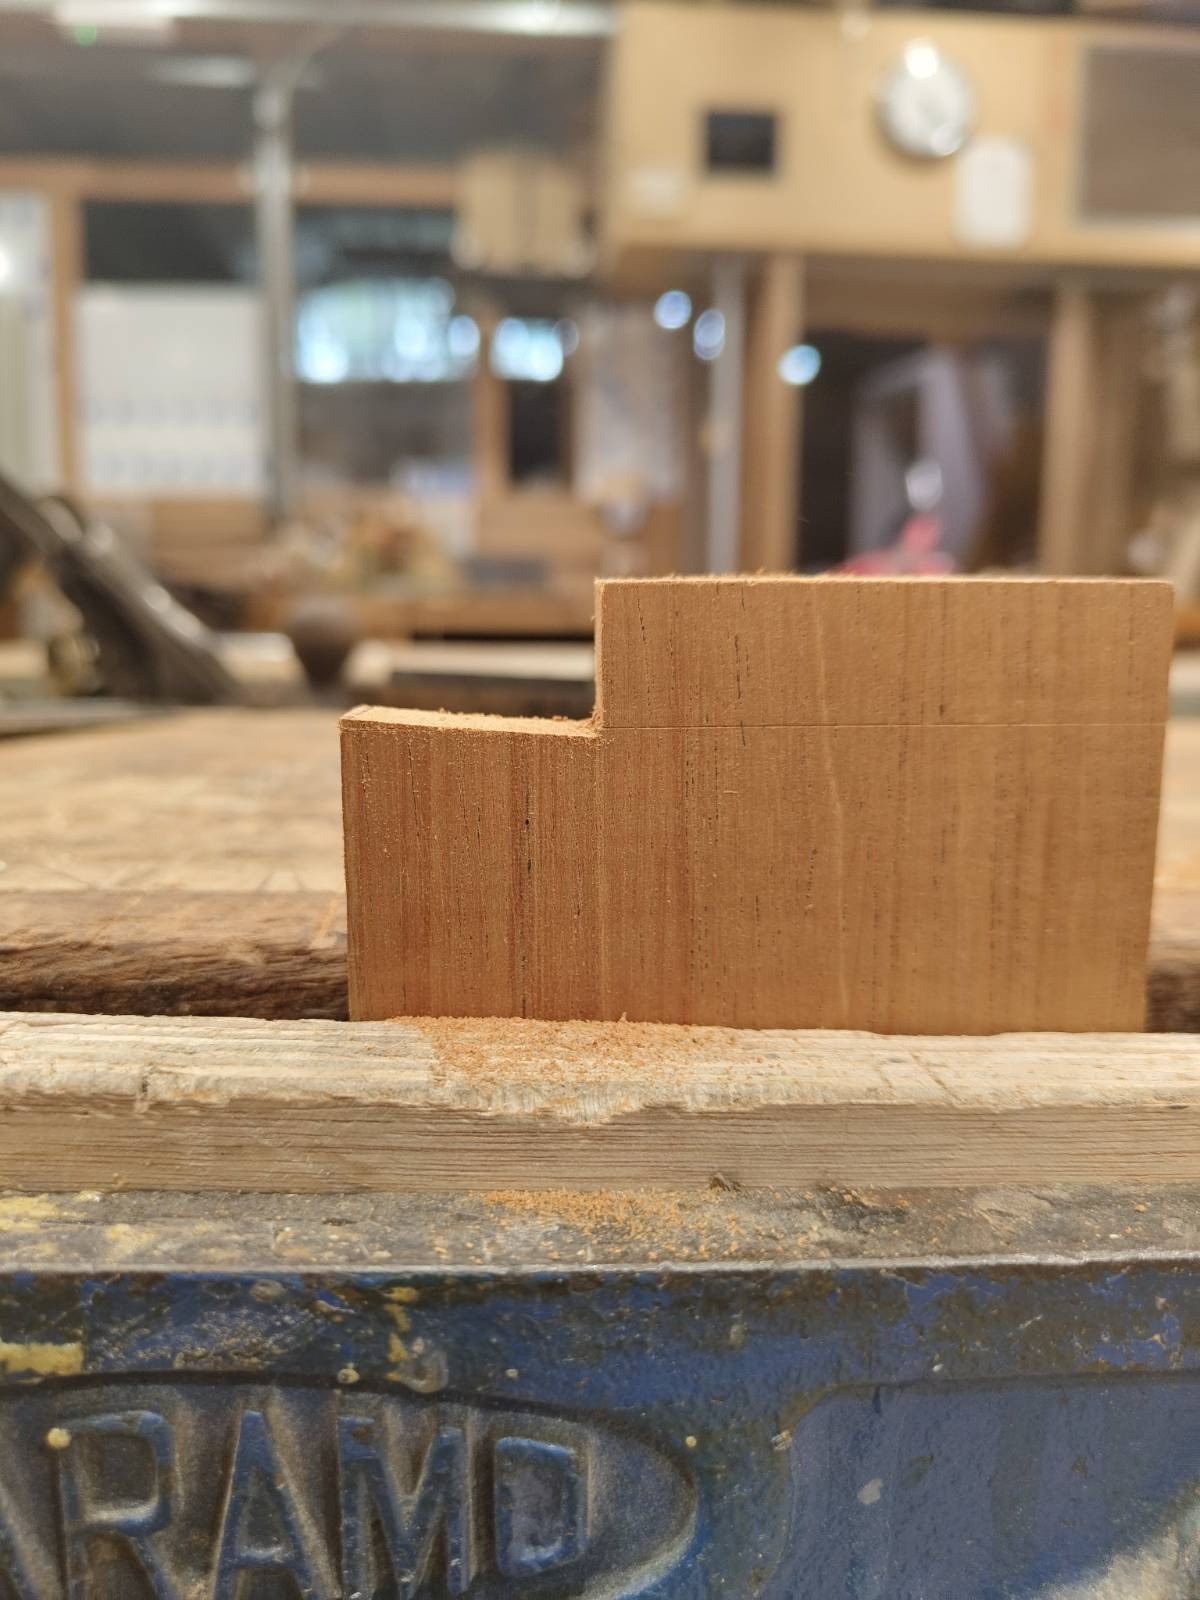
Realise you cannot cut straight and clean up with a chisel

Repeat on side 2 cleaning up as needed

Use the marking gauge and the first piece to mark the second half of the first joint.

Cut the teeth out of the joint with a saw cutting slightly in from your marking to make sure the gap isn’t too big.

Clam the piece down with an sacrificial piece underneath, using a chisel knock the teeth out. My method makes a wall and cuts down. Some people prefer to work back from the outside to the wall


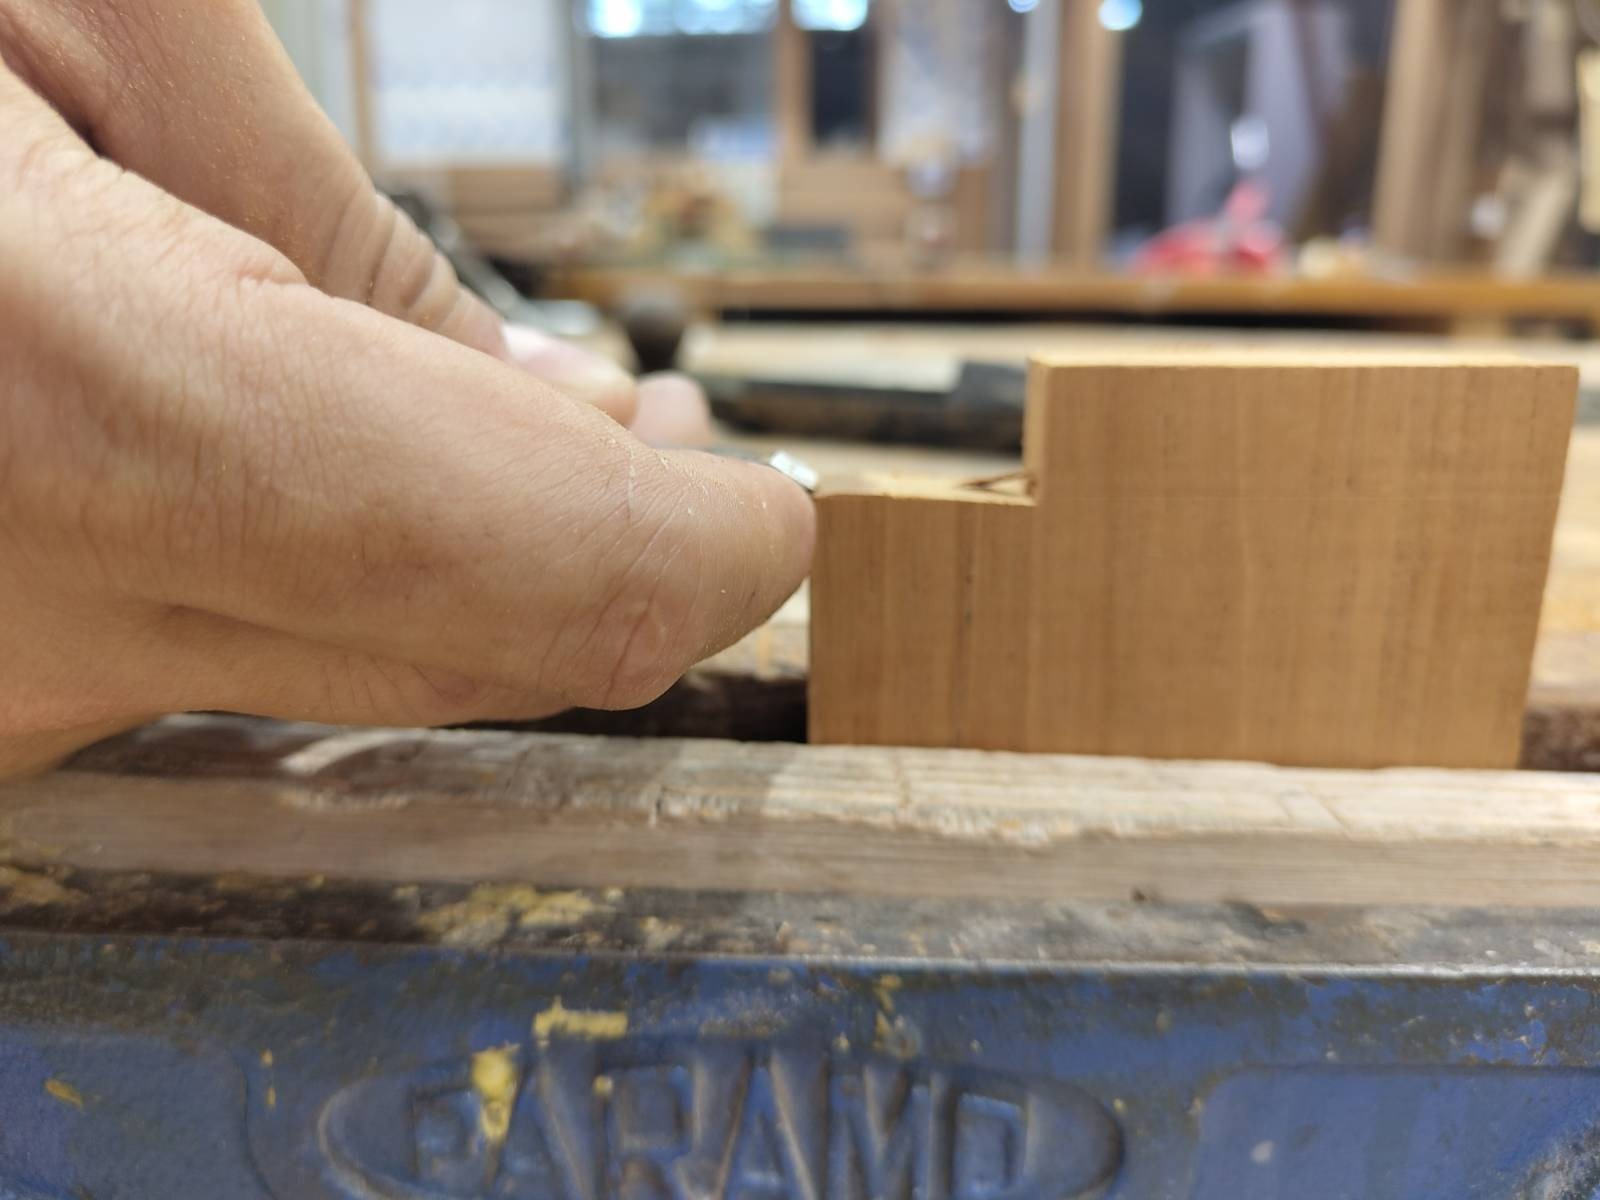
Check how close the joint is


Tidy up until they fit together

Measure the other end of your first finger using the marking gauge and a square


Repeat process for first finger

Make 4 sides for your box

Fit them together

Check your base is still the right size

Next I used a plough plane (learn what one is from Rex https://www.youtube.com/watch?v=DVssyHgqsf8)
Find a blade that is the closest possible that isn’t thicker than the walls of the box

set the blade in the plane to just below the fence

Set the depth stop

Set up the piece, making sure to clamp on a sacrificial piece.

Cut and turn until all 4 sides are done

Practice fit
If at this point you are making a lid, repeat the base trimming with the lid.

Trim inwards on the base/lid as needed.
Turn the box into a porcupine (glue and clamp)

Plane down the high edges

Sand next (with glue if your joints are as bad as mine)


If you are not making a lid skip to the finishing section
For the lid:
Make a mark with the marking gauge where you want the lid to go

Mark this depth on all four sides of the box

cut the corners with a saw

cut ever gentler angles from the corners until they are flat (ish)

Repeat until the top falls off

Use the big sanding surface to square the parts that meet


use the marking gauge to make a square baton


Plane the edges if it looks like mine
Use wizardry to work our how deep the lid pocket is


mark where the main box sits on the baton, add the pocket depth


cut off the top, just above the line, test fit

Sand as needed until it sits flush ( a shooting board could be used)
Use the test piece to get your height for all of the batons


cut to height then cut the other 3 batons

Test fit

sand until it closes

sand a chamfer on all of the batons. This should go from the height of the baton to the height of the box line

Glue in (I used sacrificial pieces to protect the work)

make sure it closes

sand through the grits ( I started at 100 and worked up because of earlier sanding ) clamping the lid in place so it’s where I want it to sit

Danish oil and blue towel to apply (I didn’t have microfiber like a good woodworker)

apply until it looks damp taking off excess

wait for it to dry

