I have just sanded the second coat with 320 stearated silicon carbide abrasive. If anyone wants to know about real milk paint I will happily answer any questions.
The paint is very much alive from the moment you add the lime to the curds, the clock is ticking. The finish is IMO not achievable with any other paint. General finishes milk paint doesn’t contain any milk, the powdered milk paints which simply require the addition of water, use a similar chemistry and from what I have read and seen appear to be good. This paint can be disposed of down the sink. Milk paint is a very basic long chain
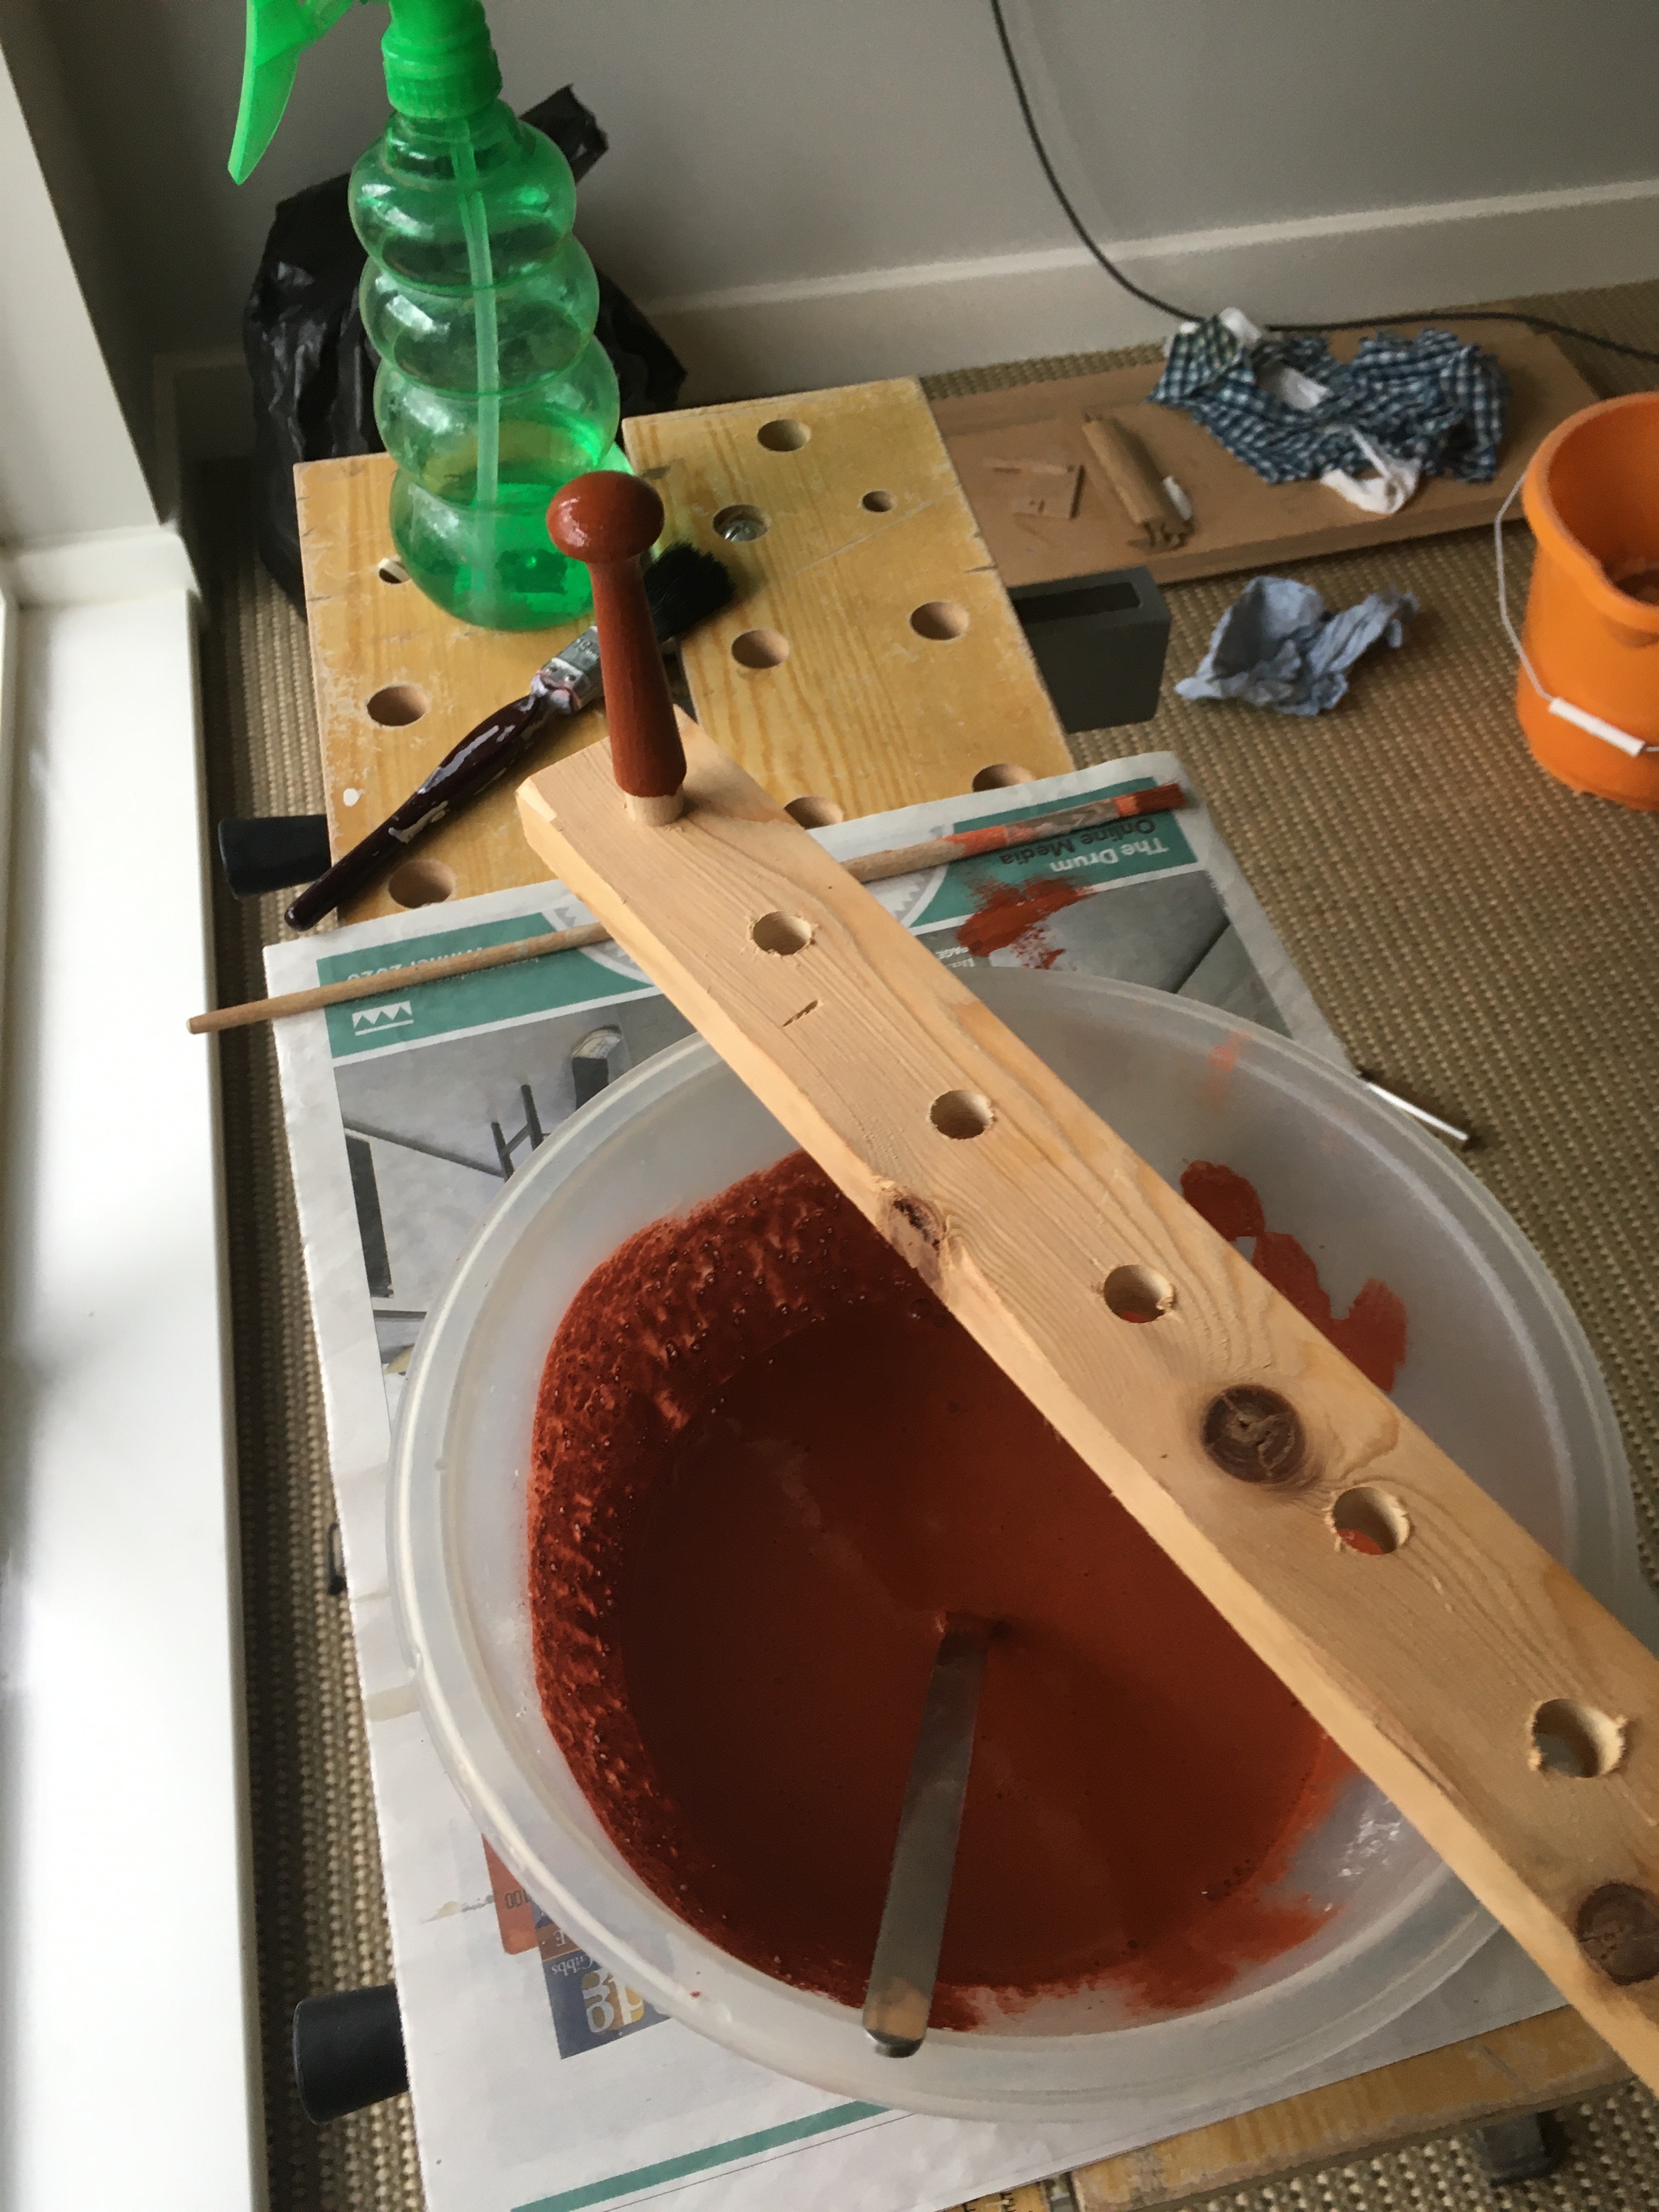
polymer, weirdly so is plastic, I believe. Real milk paint is,however, environmentally friendly, it decomposes no problem. Application requires good technique, if you don’t know how to paint correctly this paint is not a good choice. For good results you need to get a fully loaded brush onto the surface, cover and lay off in less than a minute. Then onto the next section, repeat and lay off into the previous section in one go. The water wicks away fast so you end up with pigment stranded on the surface if you don’t work fast, no retouching previously painted areas, just a smooth fast repetition of the three phases. If you paint by painting a bit here and a bit there and then a bit more over there I don’t suppose the finish would be that good. Three or four coats is standard, depending upon the opacity of the pigment. The brush needs to be a bog standard bristle paint brush, definitely not an acrylic or nylon brush with fine bristles. The paint cures really hard and can be exposed to water. It ages in a really beautiful way, totally worth the effort and it is cheap. I spent about three quid. Two pints of milk made enough to paint at least 100 pegs. I actually think that is a very conservative estimate. If the dead flat finish is required it can be left as is. For a little extra protection Danish oil is the way.
Looks great!
I have always wanted to try milk paint. I need to give it a go. Can it be used without any pigments? Or are they needed?
You need to add some pigment of some sort, you can use some chalk too. On it’s own the paint wouldn’t be opaque so definitely add a pigment. You can check the opacity, it’s written on the container. The pigment needs to be on the heavy side ( actually heavy) earth pigments work very well too. Some pigment is incredibly light in weight, these don’t work because they resist mixing. They separate from the liquid, faster than they can be mixed back in. Great art in Shoreditch is a great place for pigment. They have a huge range.
Would this be a similar product to traditional casein distemper? I use it at work a lot but we just use it ready mixed from Farrow&Ball, pretty pricey stuff but a lovely finish! Would love to have a go making it from scratch. Thanks for posting the pegs look great 
Yes exactly, it’s a casein paint, it tends to go off after a while. I presume the stuff you buy has something in it to stabilise the chemicals. I sometimes add chalk too. It’s a very nice finish with unique properties. No primer needed, sanding between coats is not needed for adhesion, painted over pine the grain is still visible ( topography not translucency) so it’s very much wood still. Authentic to early American furniture. And probably British too.
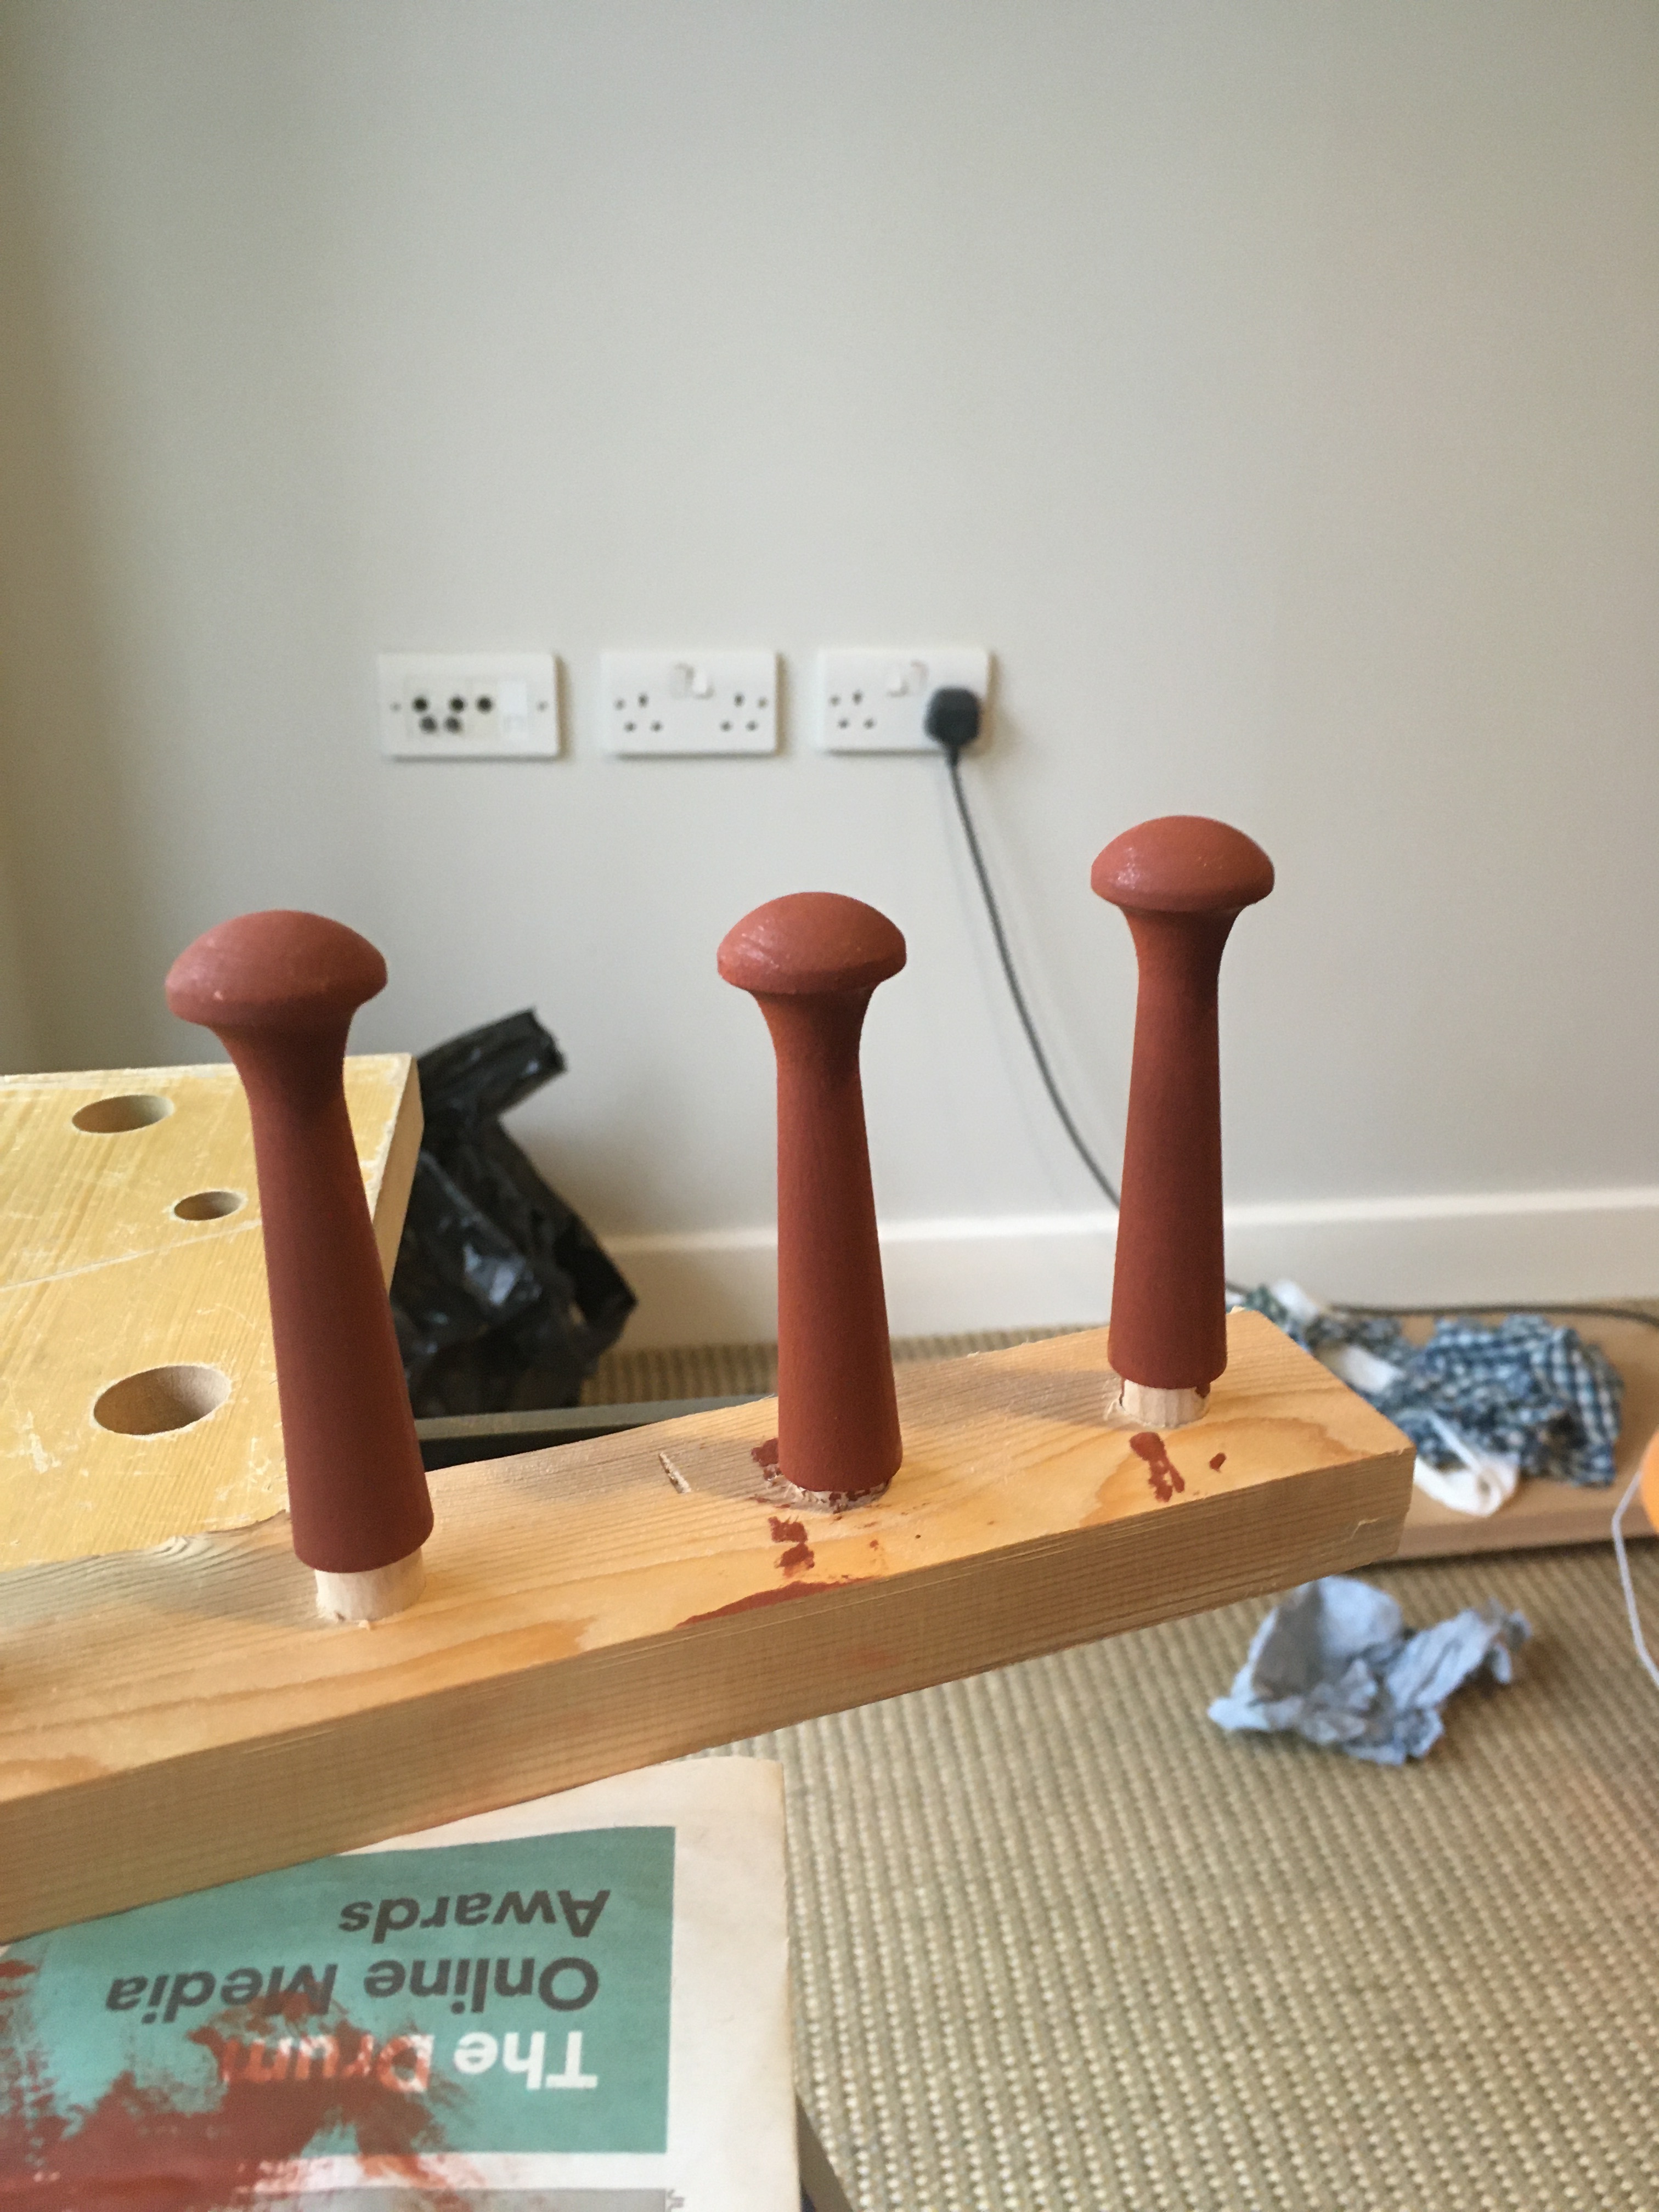
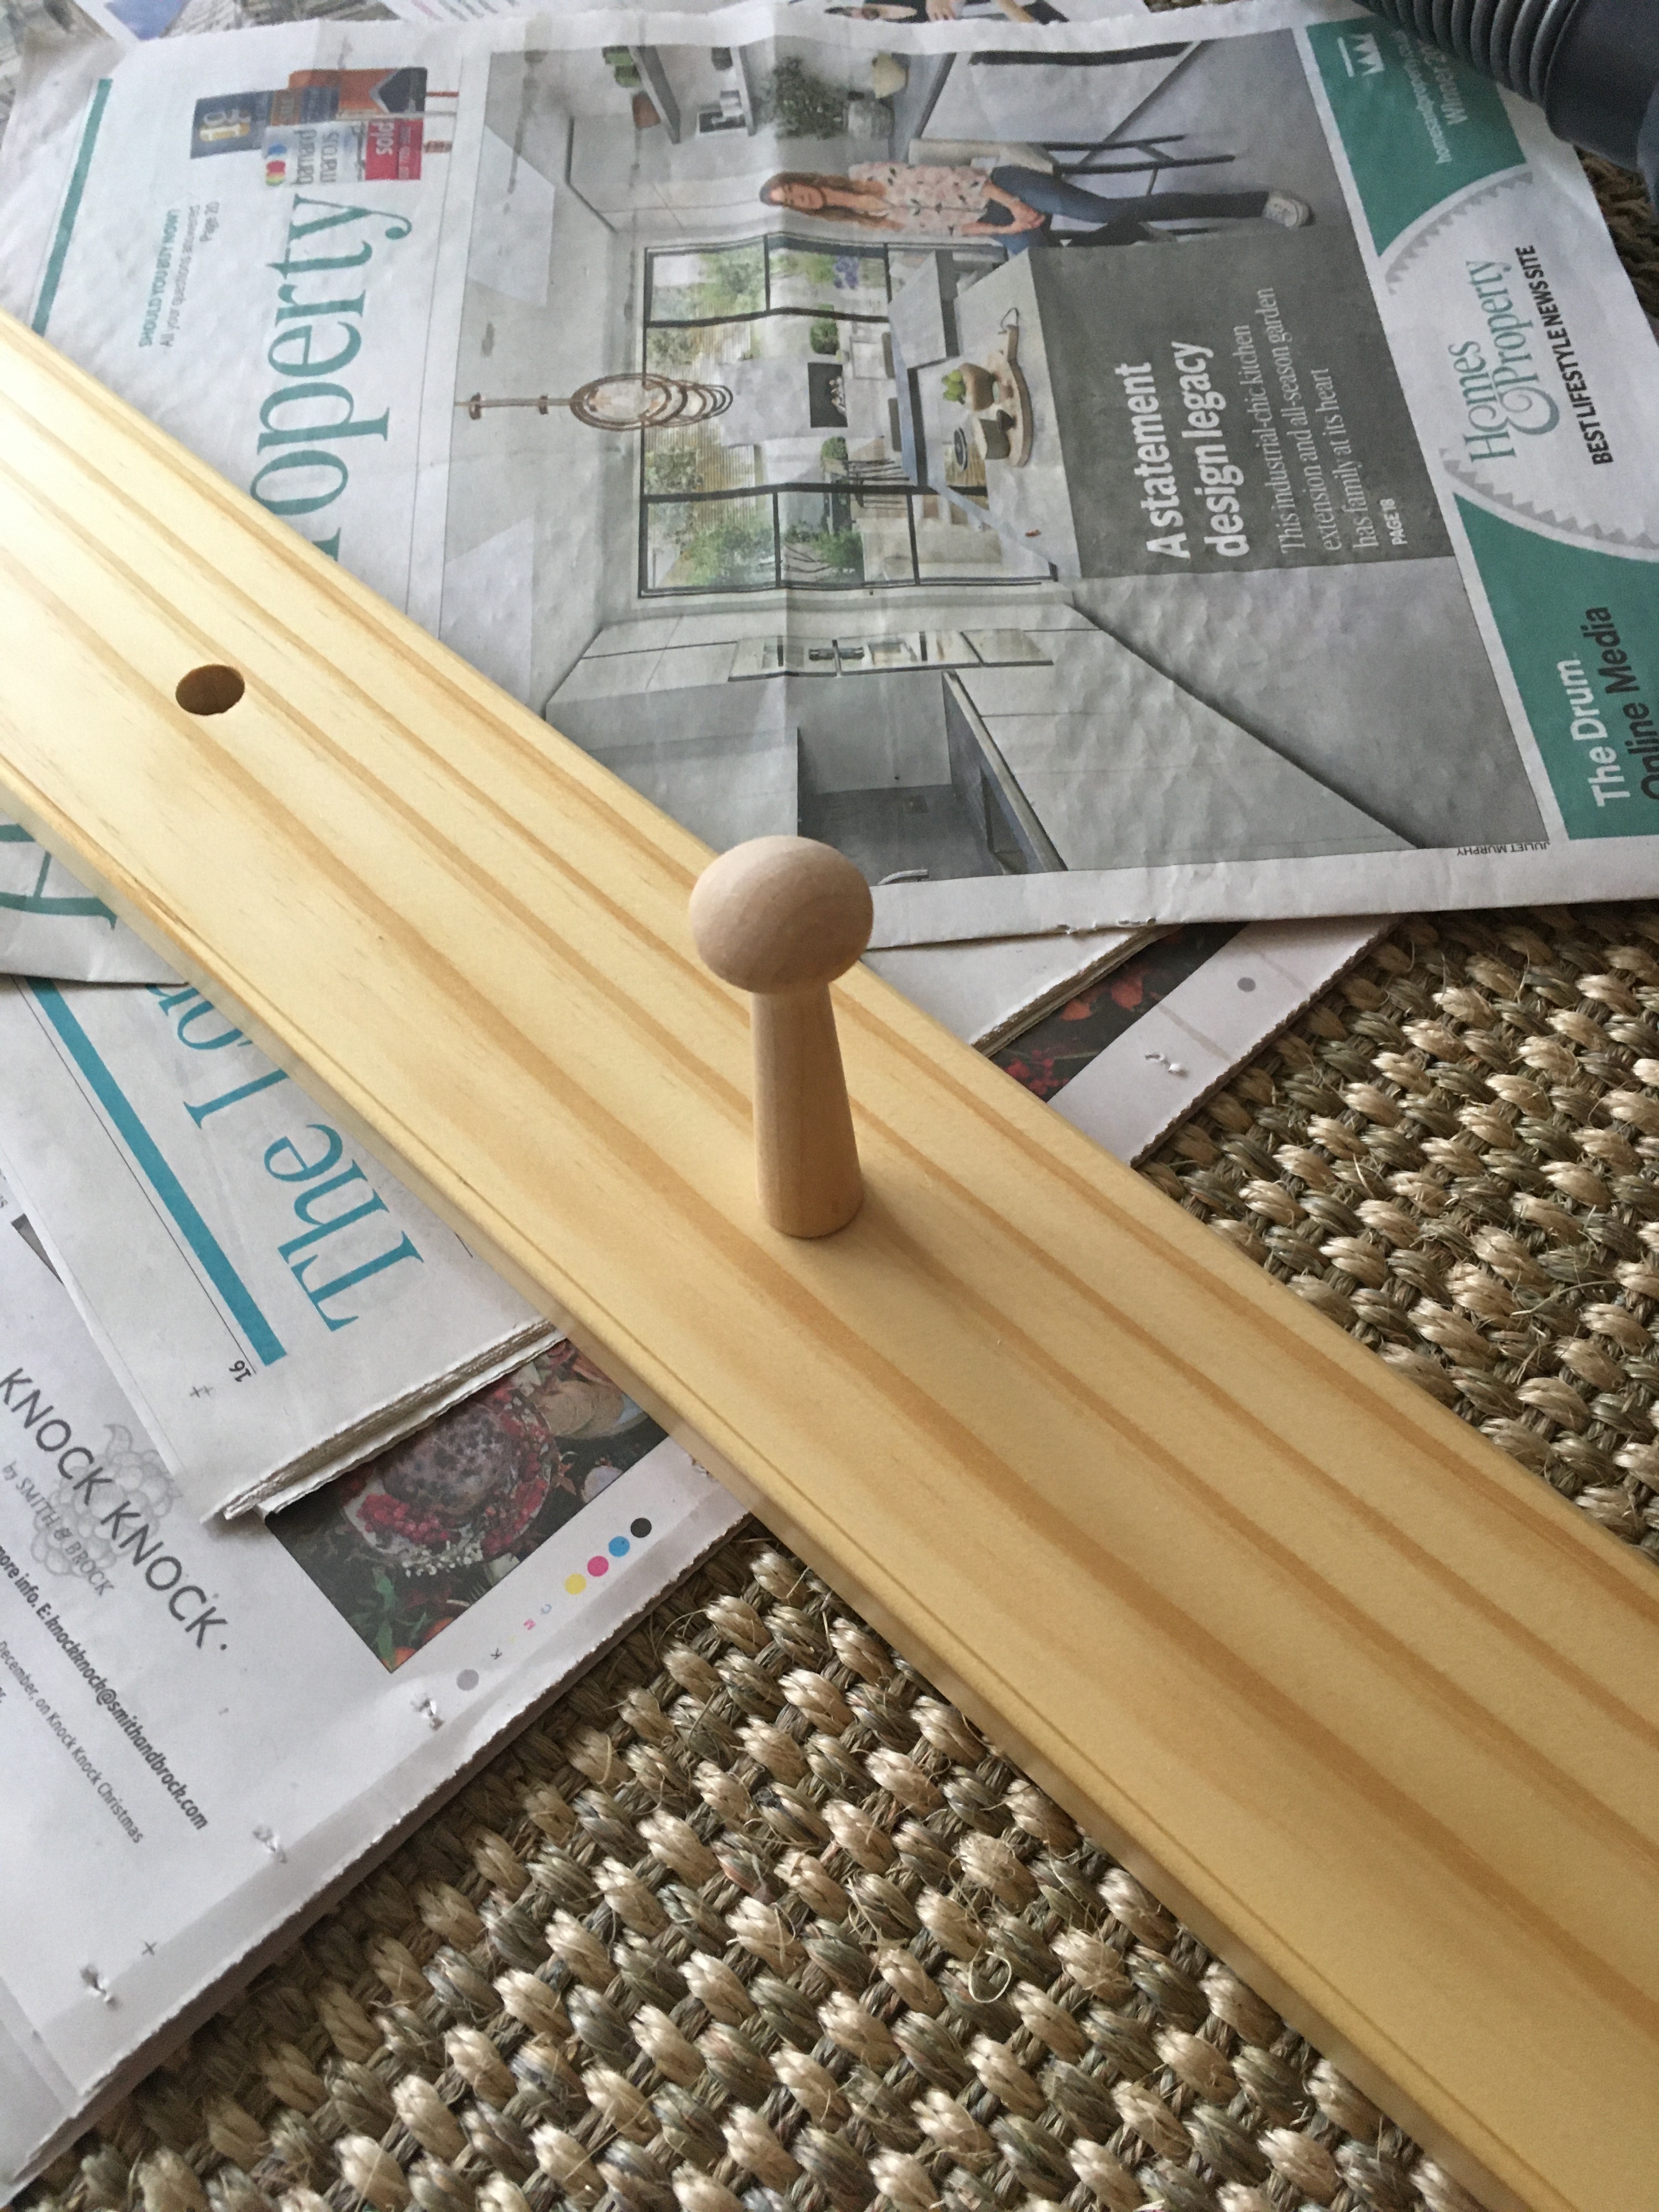
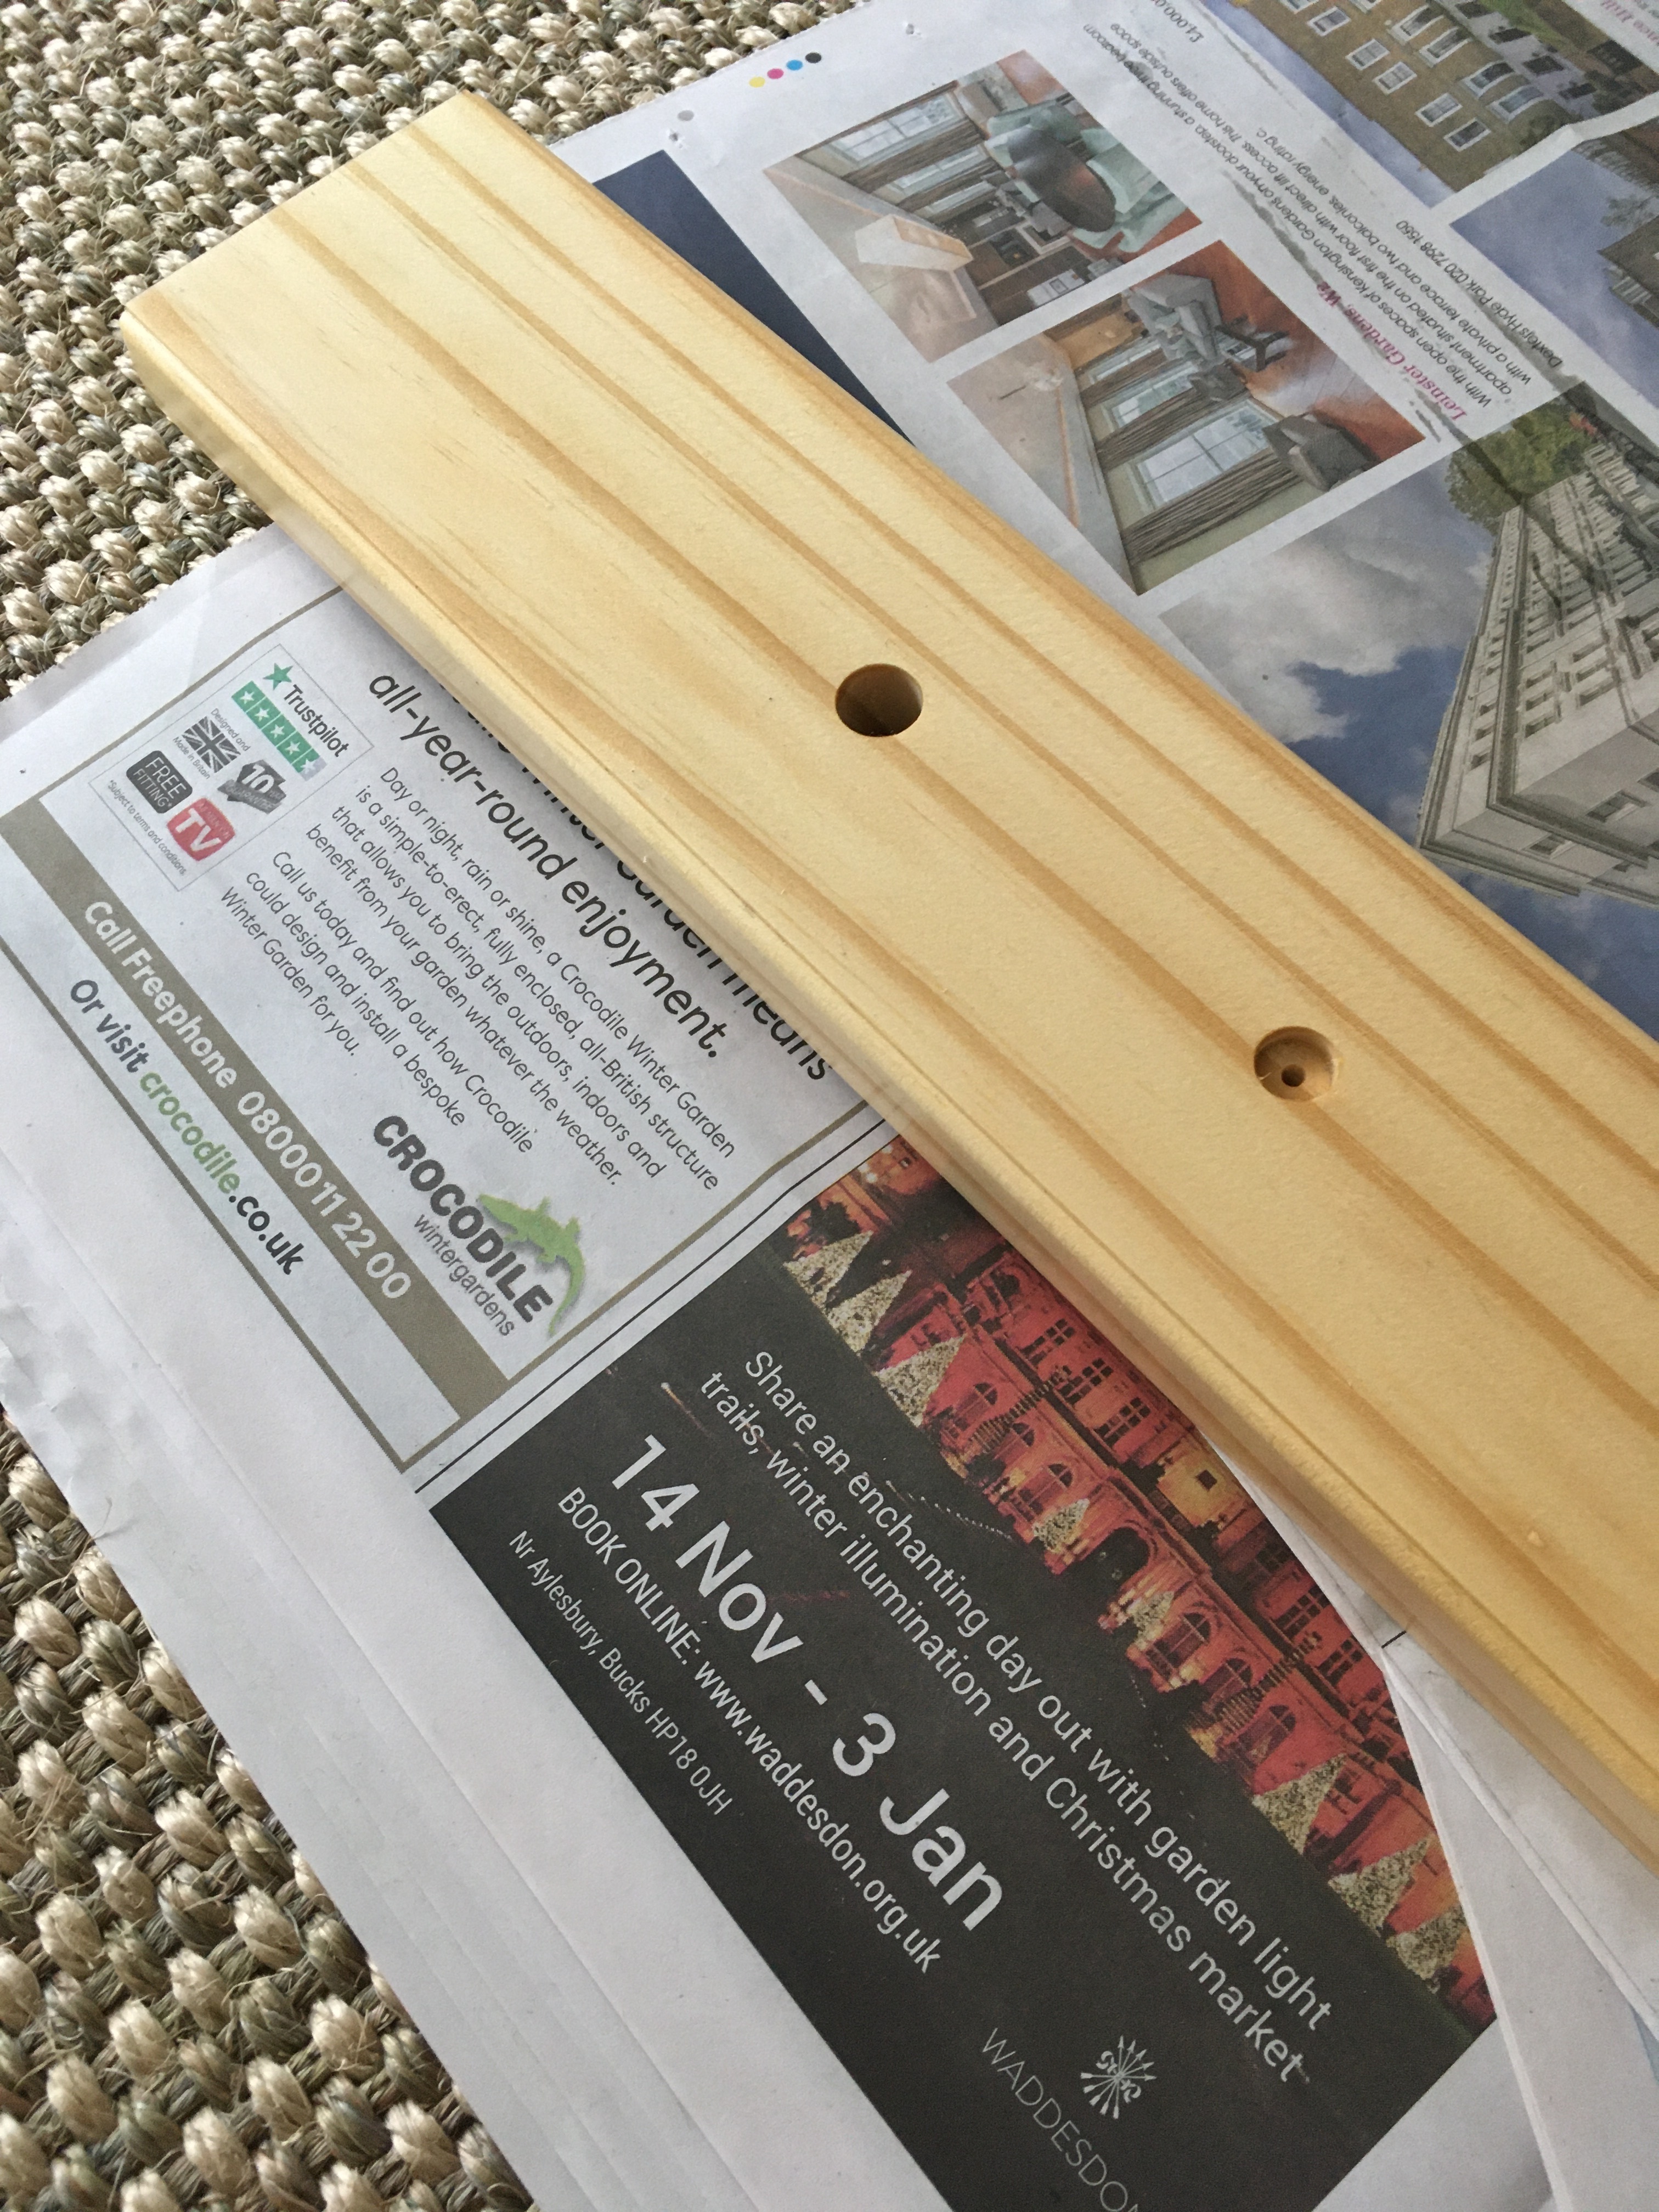
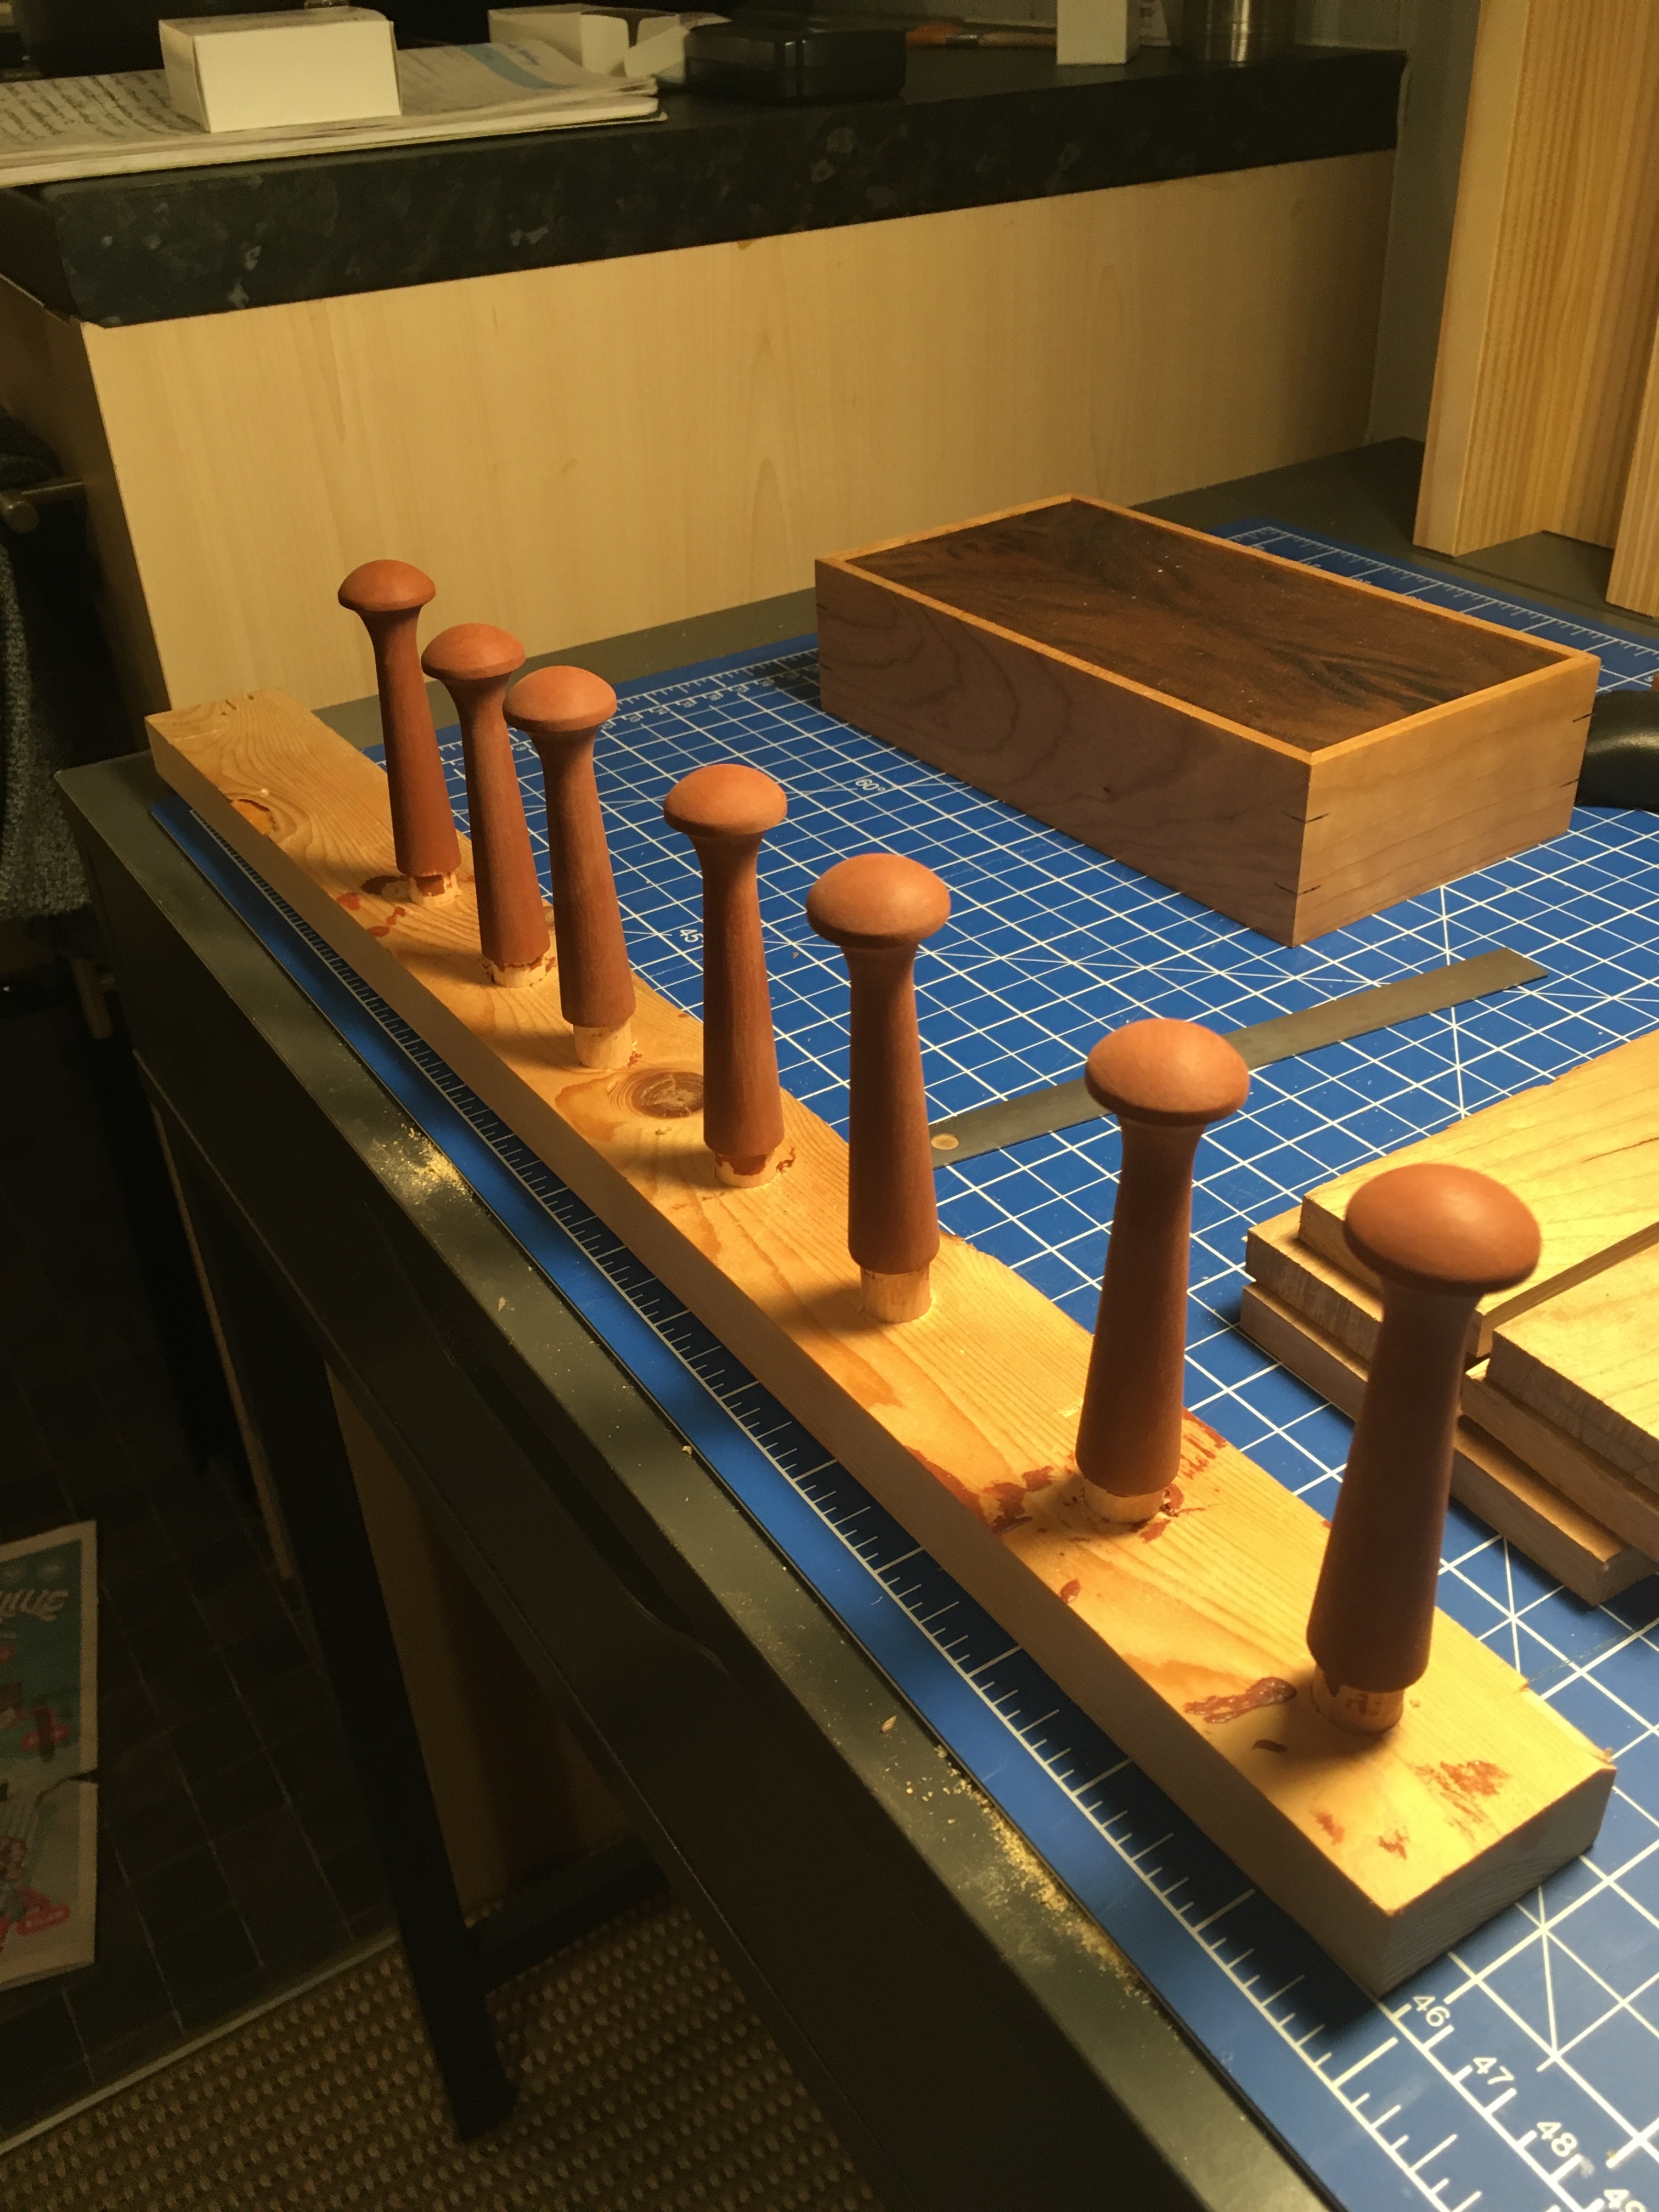
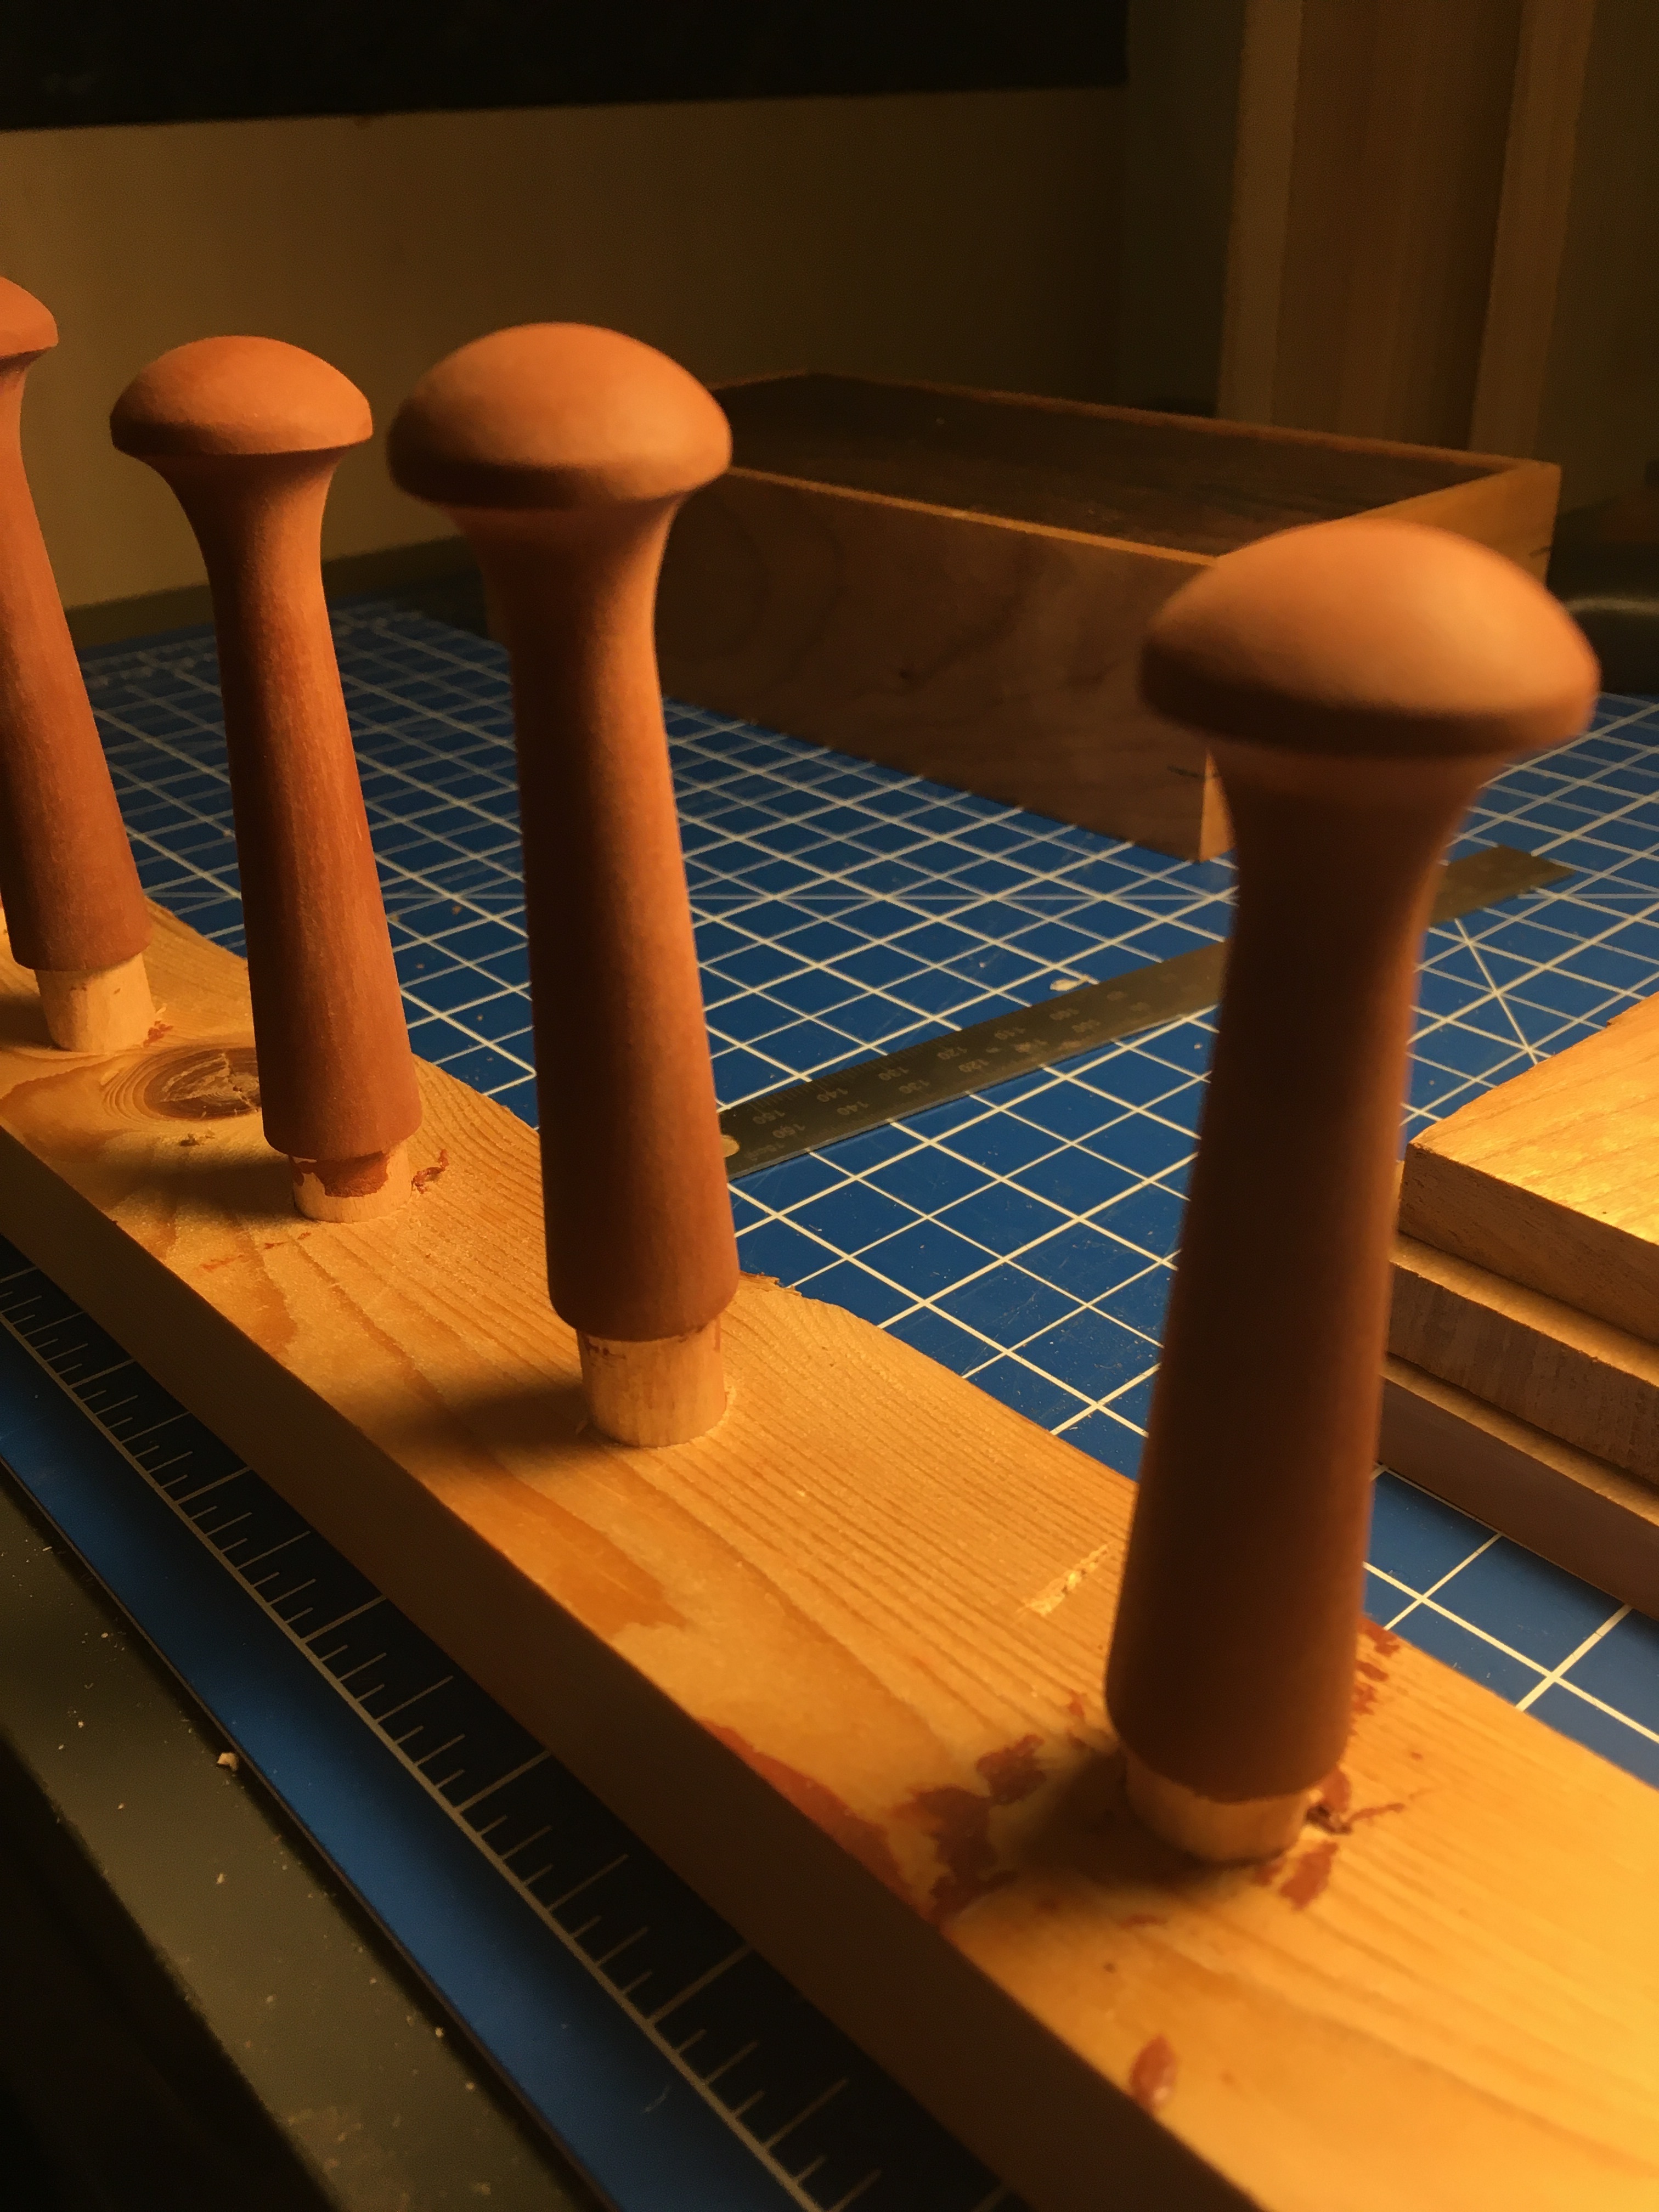
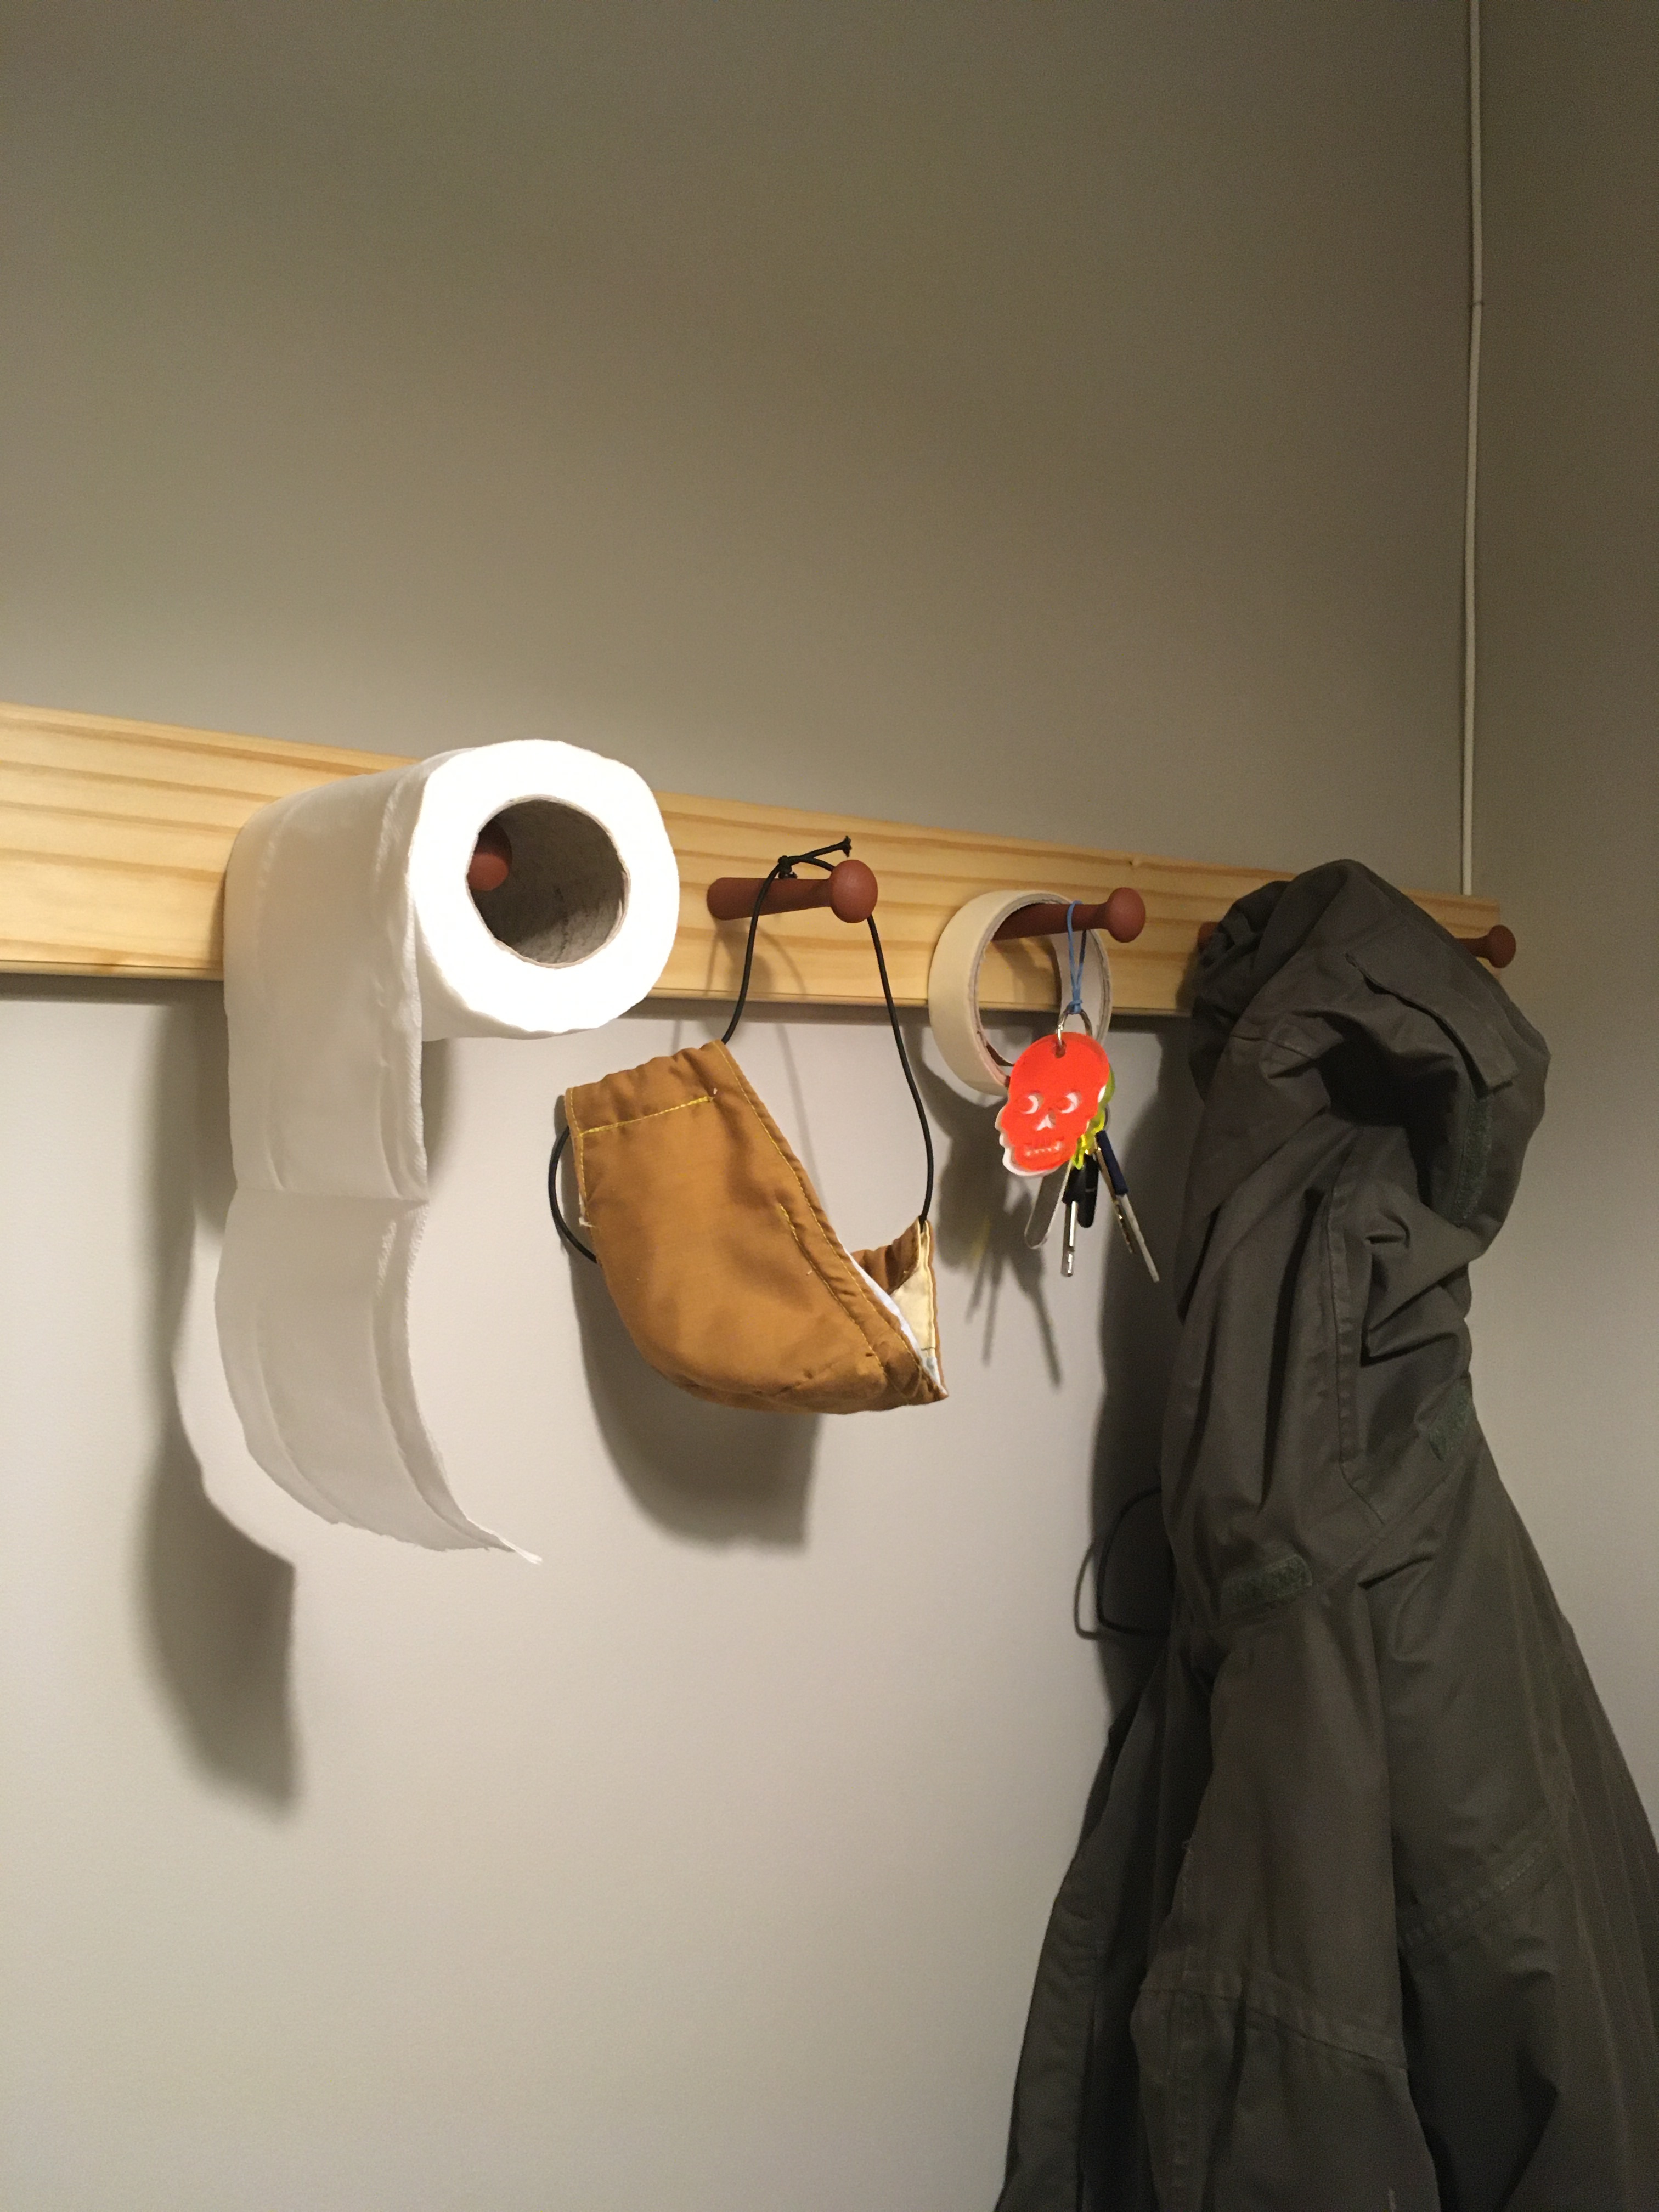
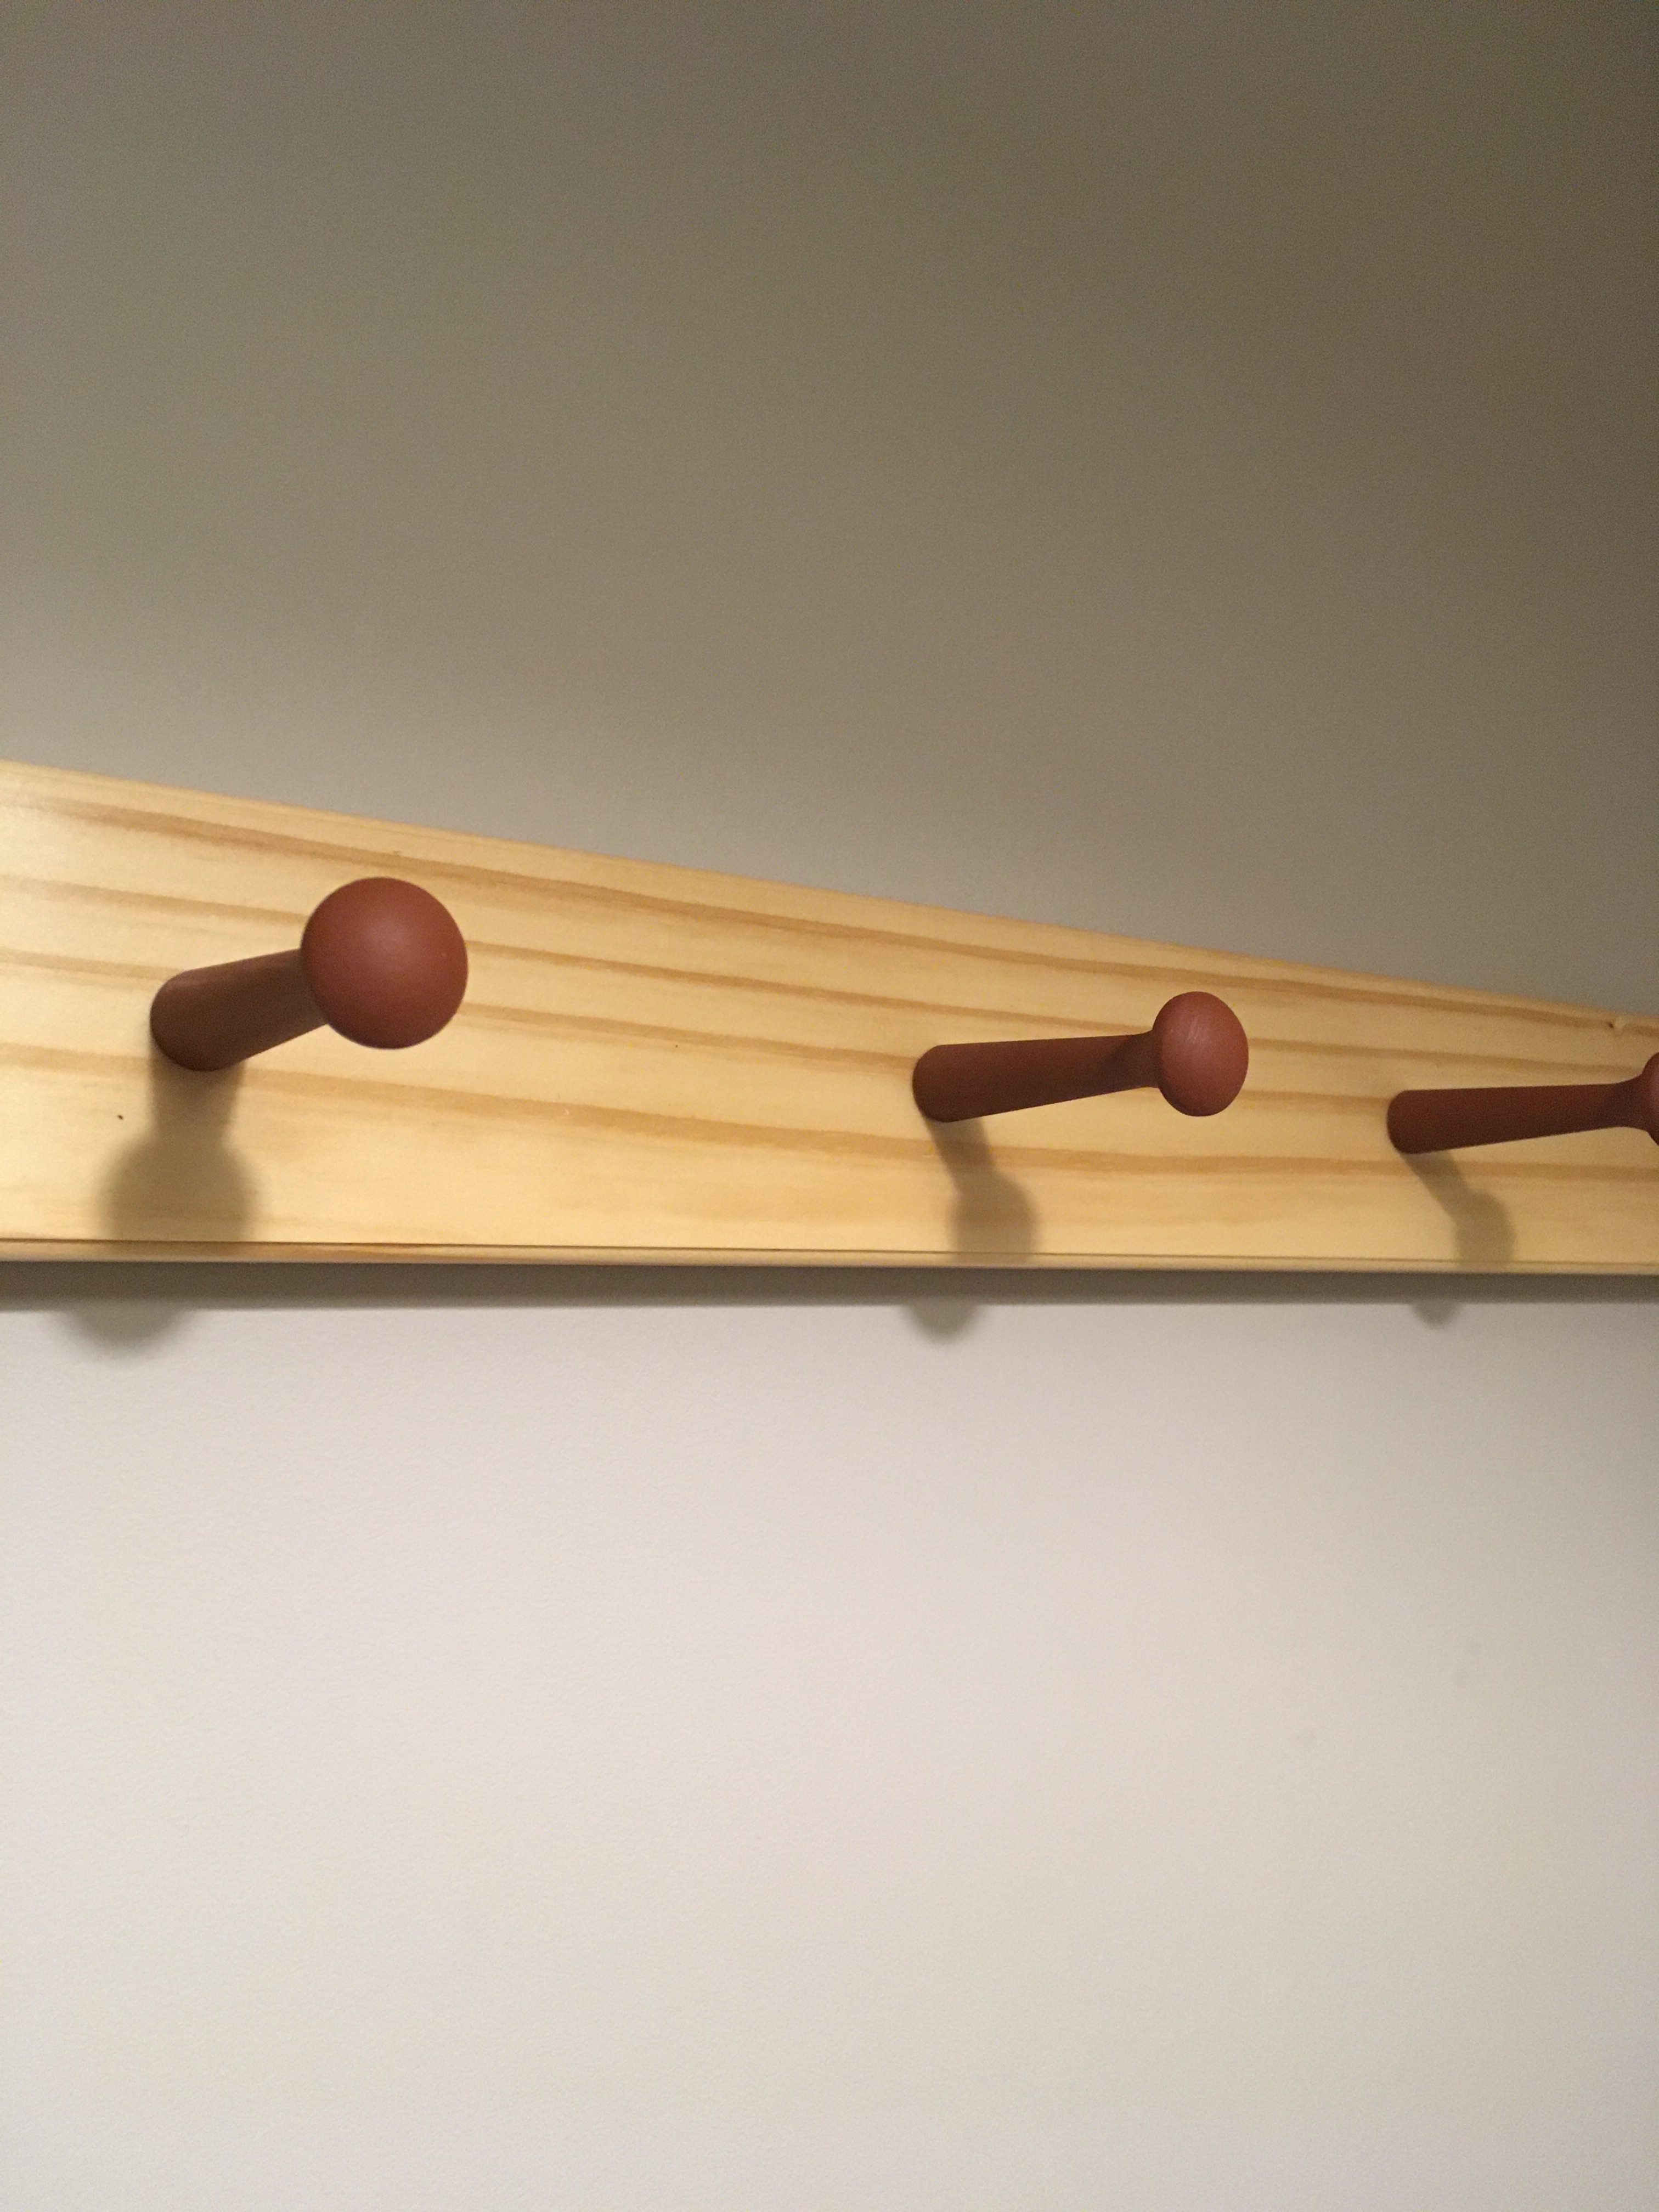
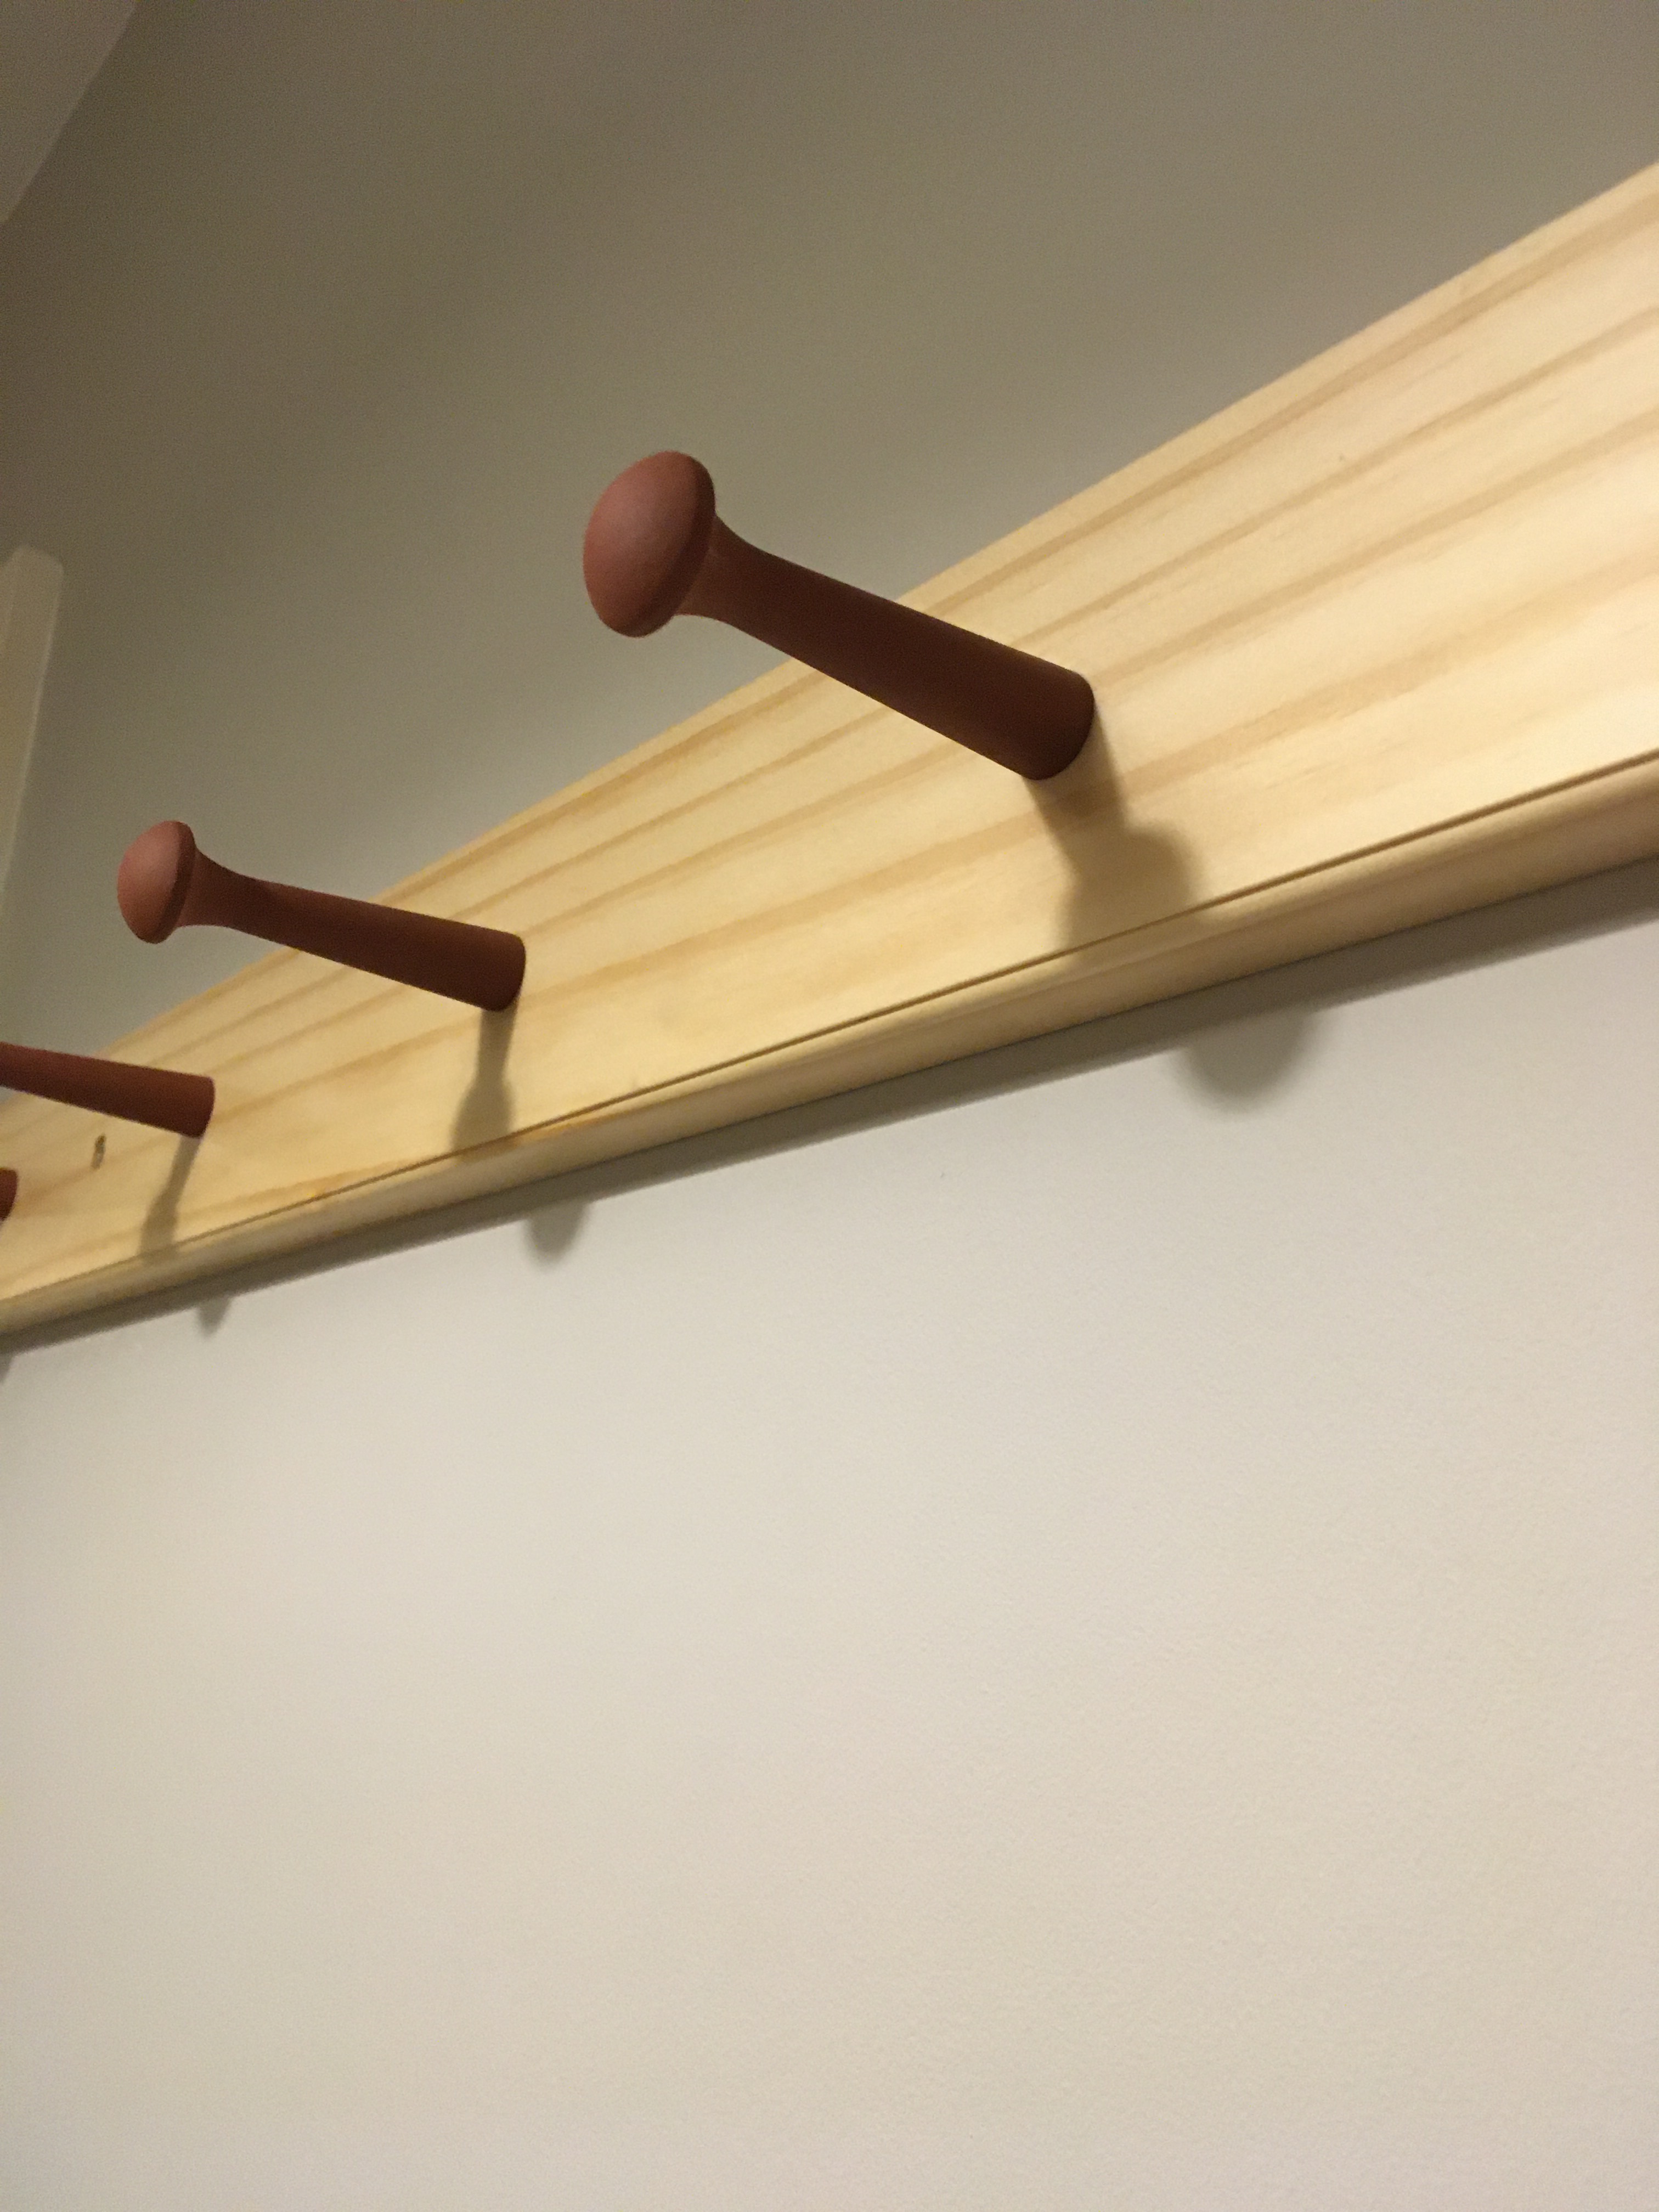
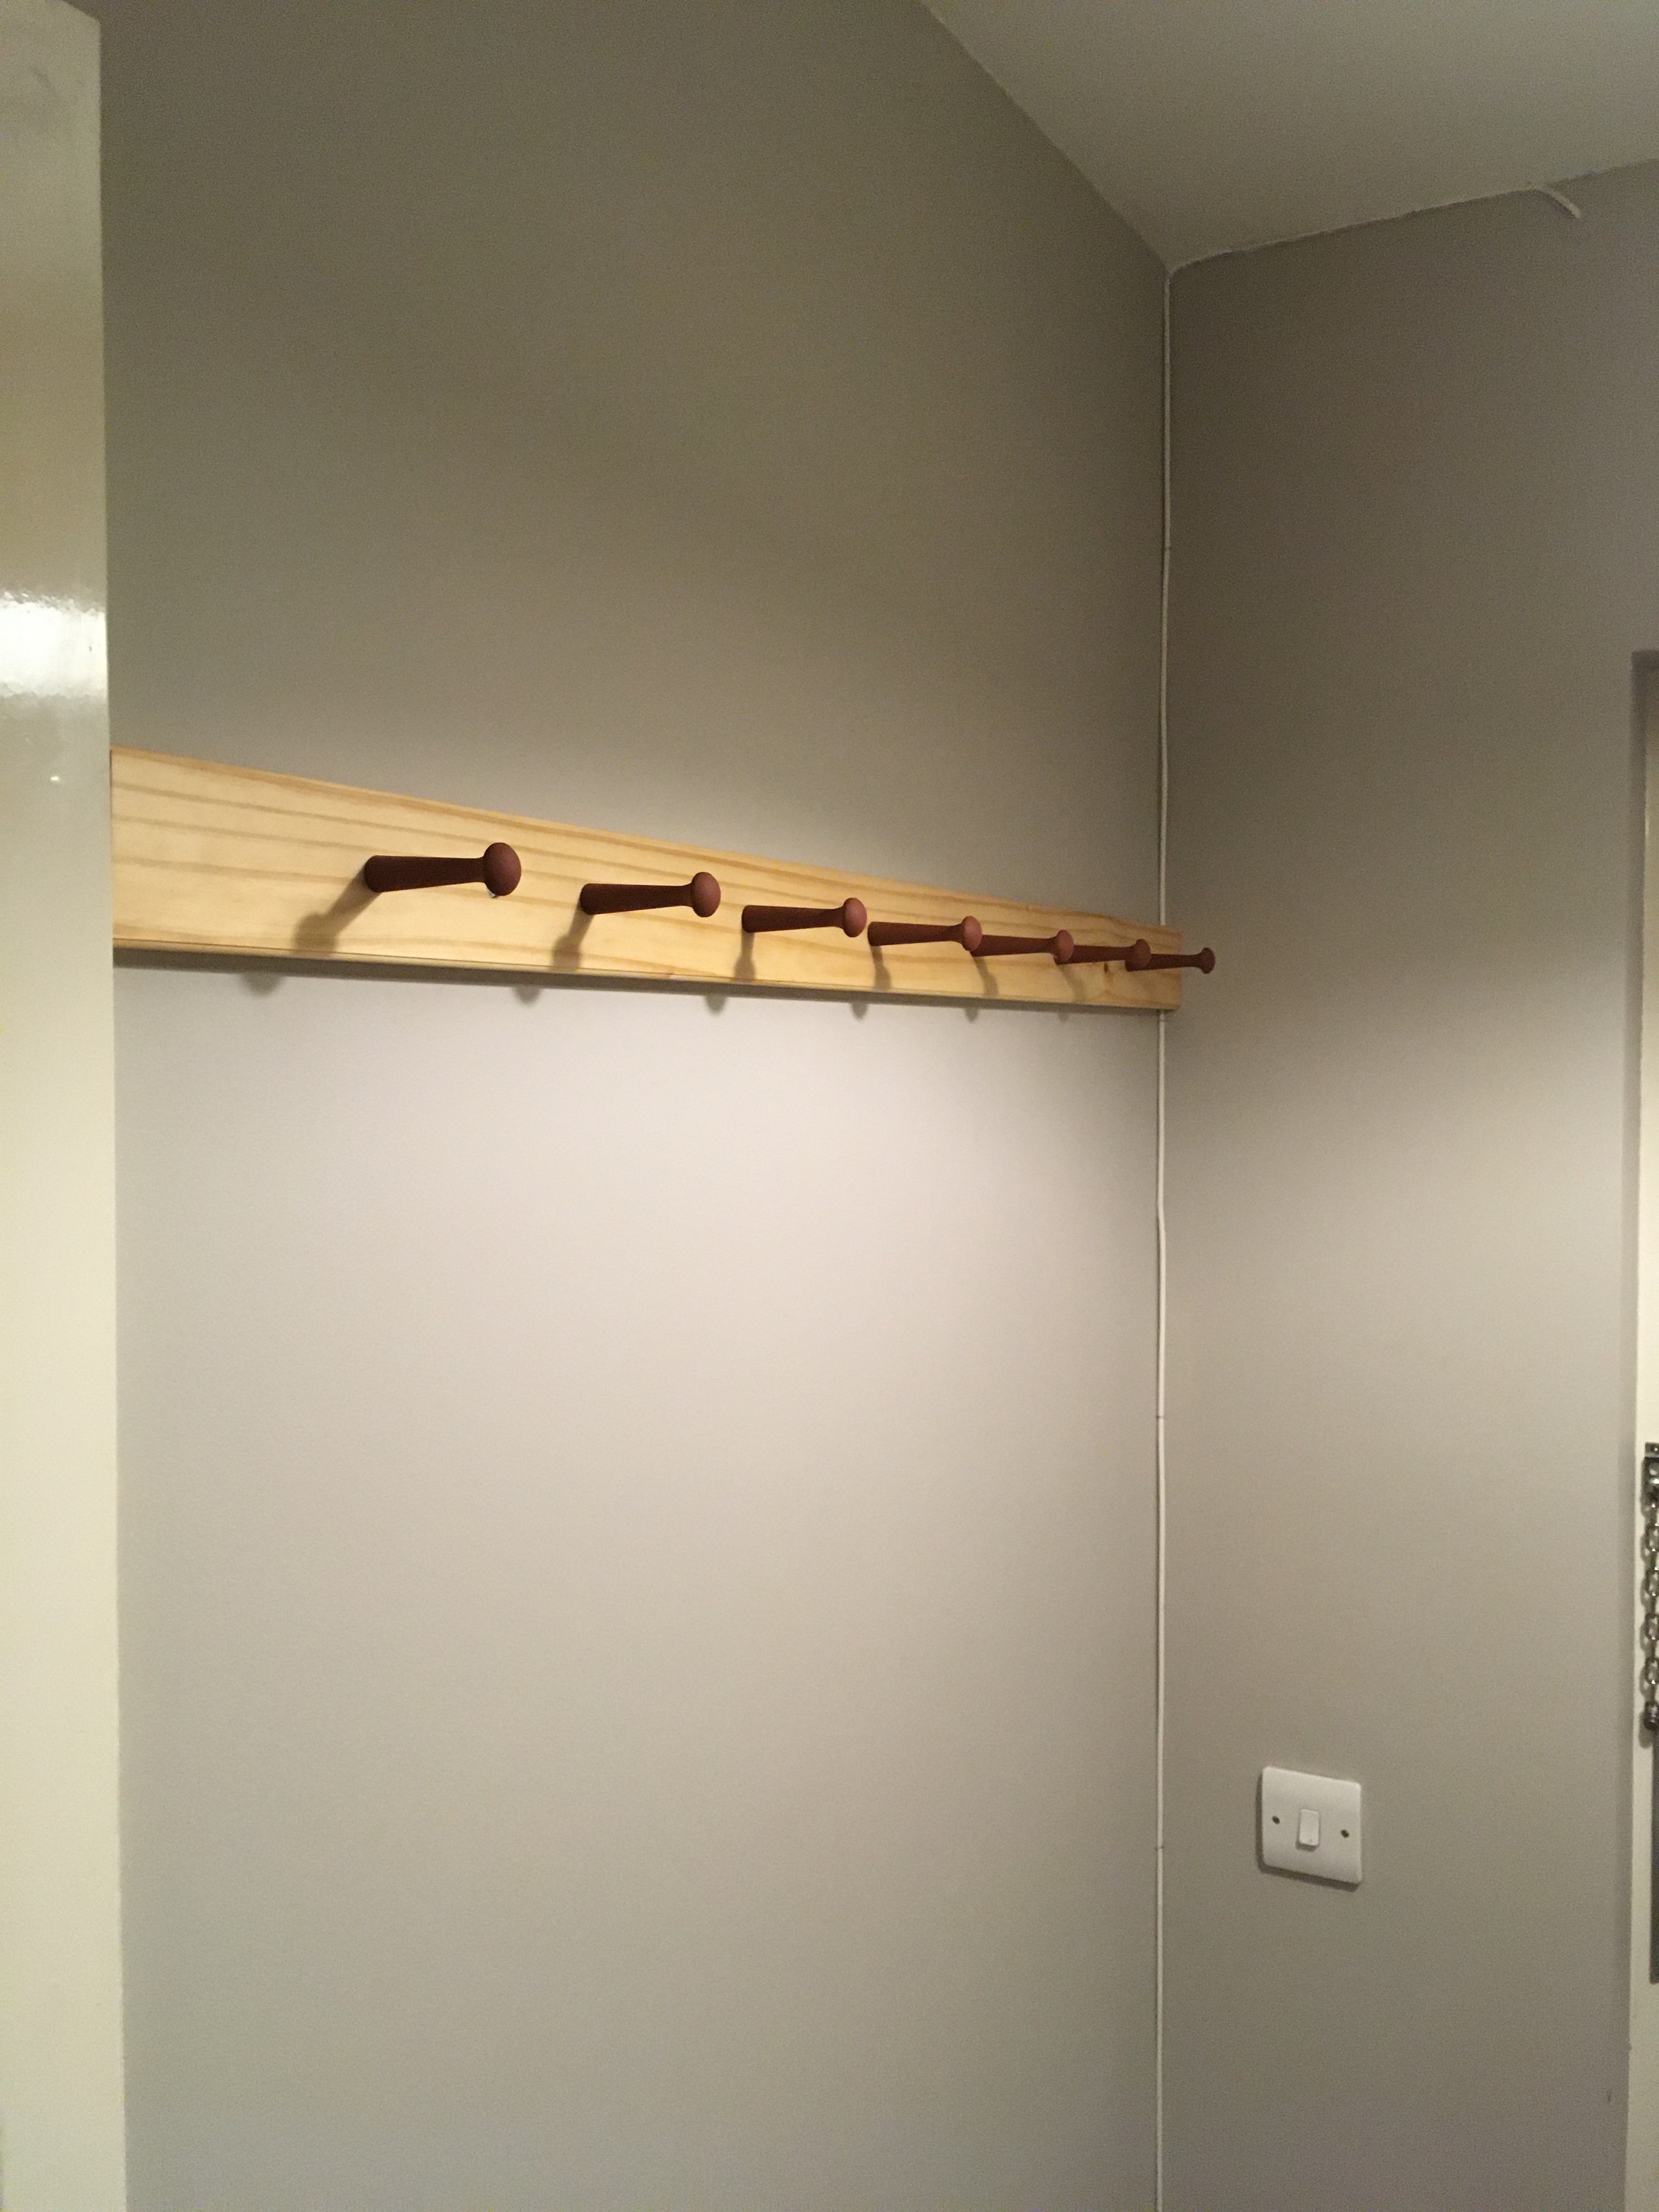
Finished and permanently fixed with snap toggles. I lost one in the wall. A dab of super glue stops them rotating whilst screwing them up if, you happen to have a slightly tight bolt. I am really happy, I have transformed a previously dead space and turned it into something incredibly functional and the perfect location. It looks pretty good too, the rail is a piece of fly tipped timber. I have made three shaker pieces, all using cruddy timber. I have always wanted a peg rail, I now understand why they were used to hang chairs, candle sconces, shelves, cupboards. These pegs are 3 inches long, they can support large objects if needed. The milk paint is lovely, it really adds to the overall effect. I put a fair amount of effort into this, I don’t suppose anyone except for me will ever
appreciate the effort that went into such a simple object .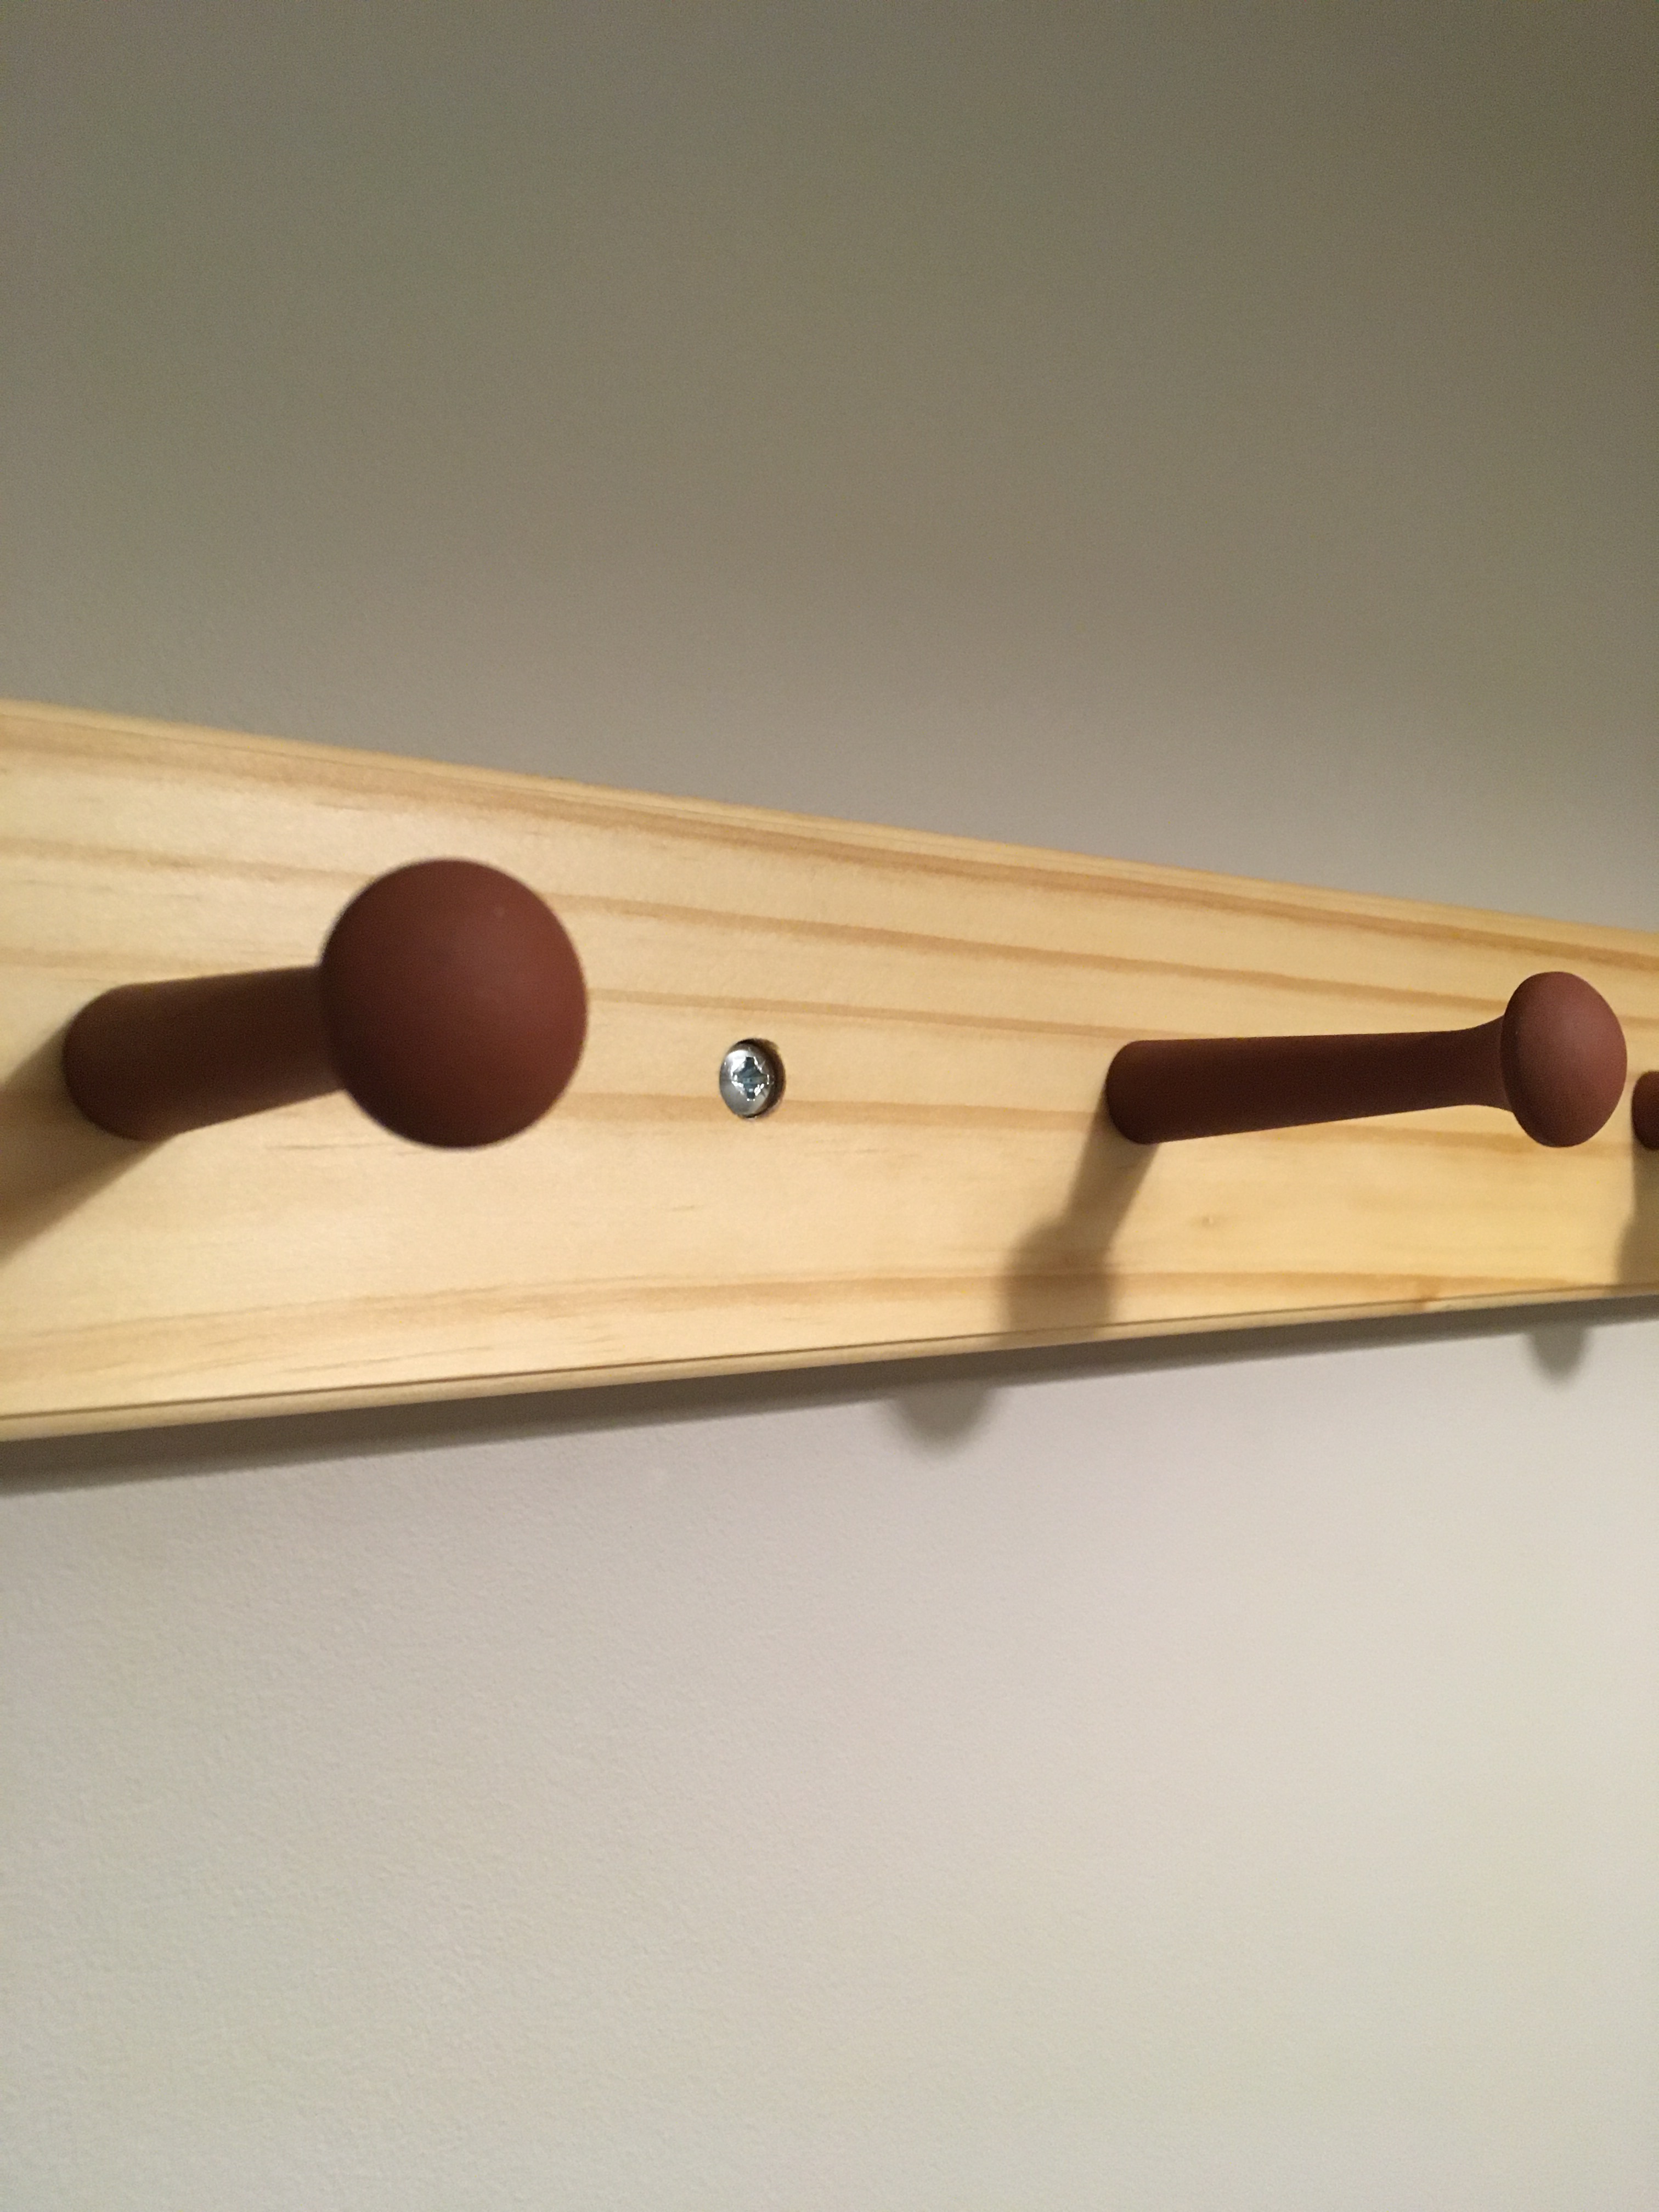
Looks great, crisp simplicity. The milk paint makes for a great (but complimentary) contrast
I am gradually realising some nice things. I need a bench now, then I can make some furniture
Yes not sure what is added but it will keep in the tin indefinitely, unless you thin it with water in which case it will foul in a couple of days (and then you’ll really know about it!  )
)
What’s you’re recipe for the milk paint Giles. Online I found different versions but not sure how good they are.
8 pints skimmed milk
472ml white vinegar or white wine vinegar
112g hydrated lime
200gm pigment or enough to make it opaque which can be less than 200
You can reduce the recipe
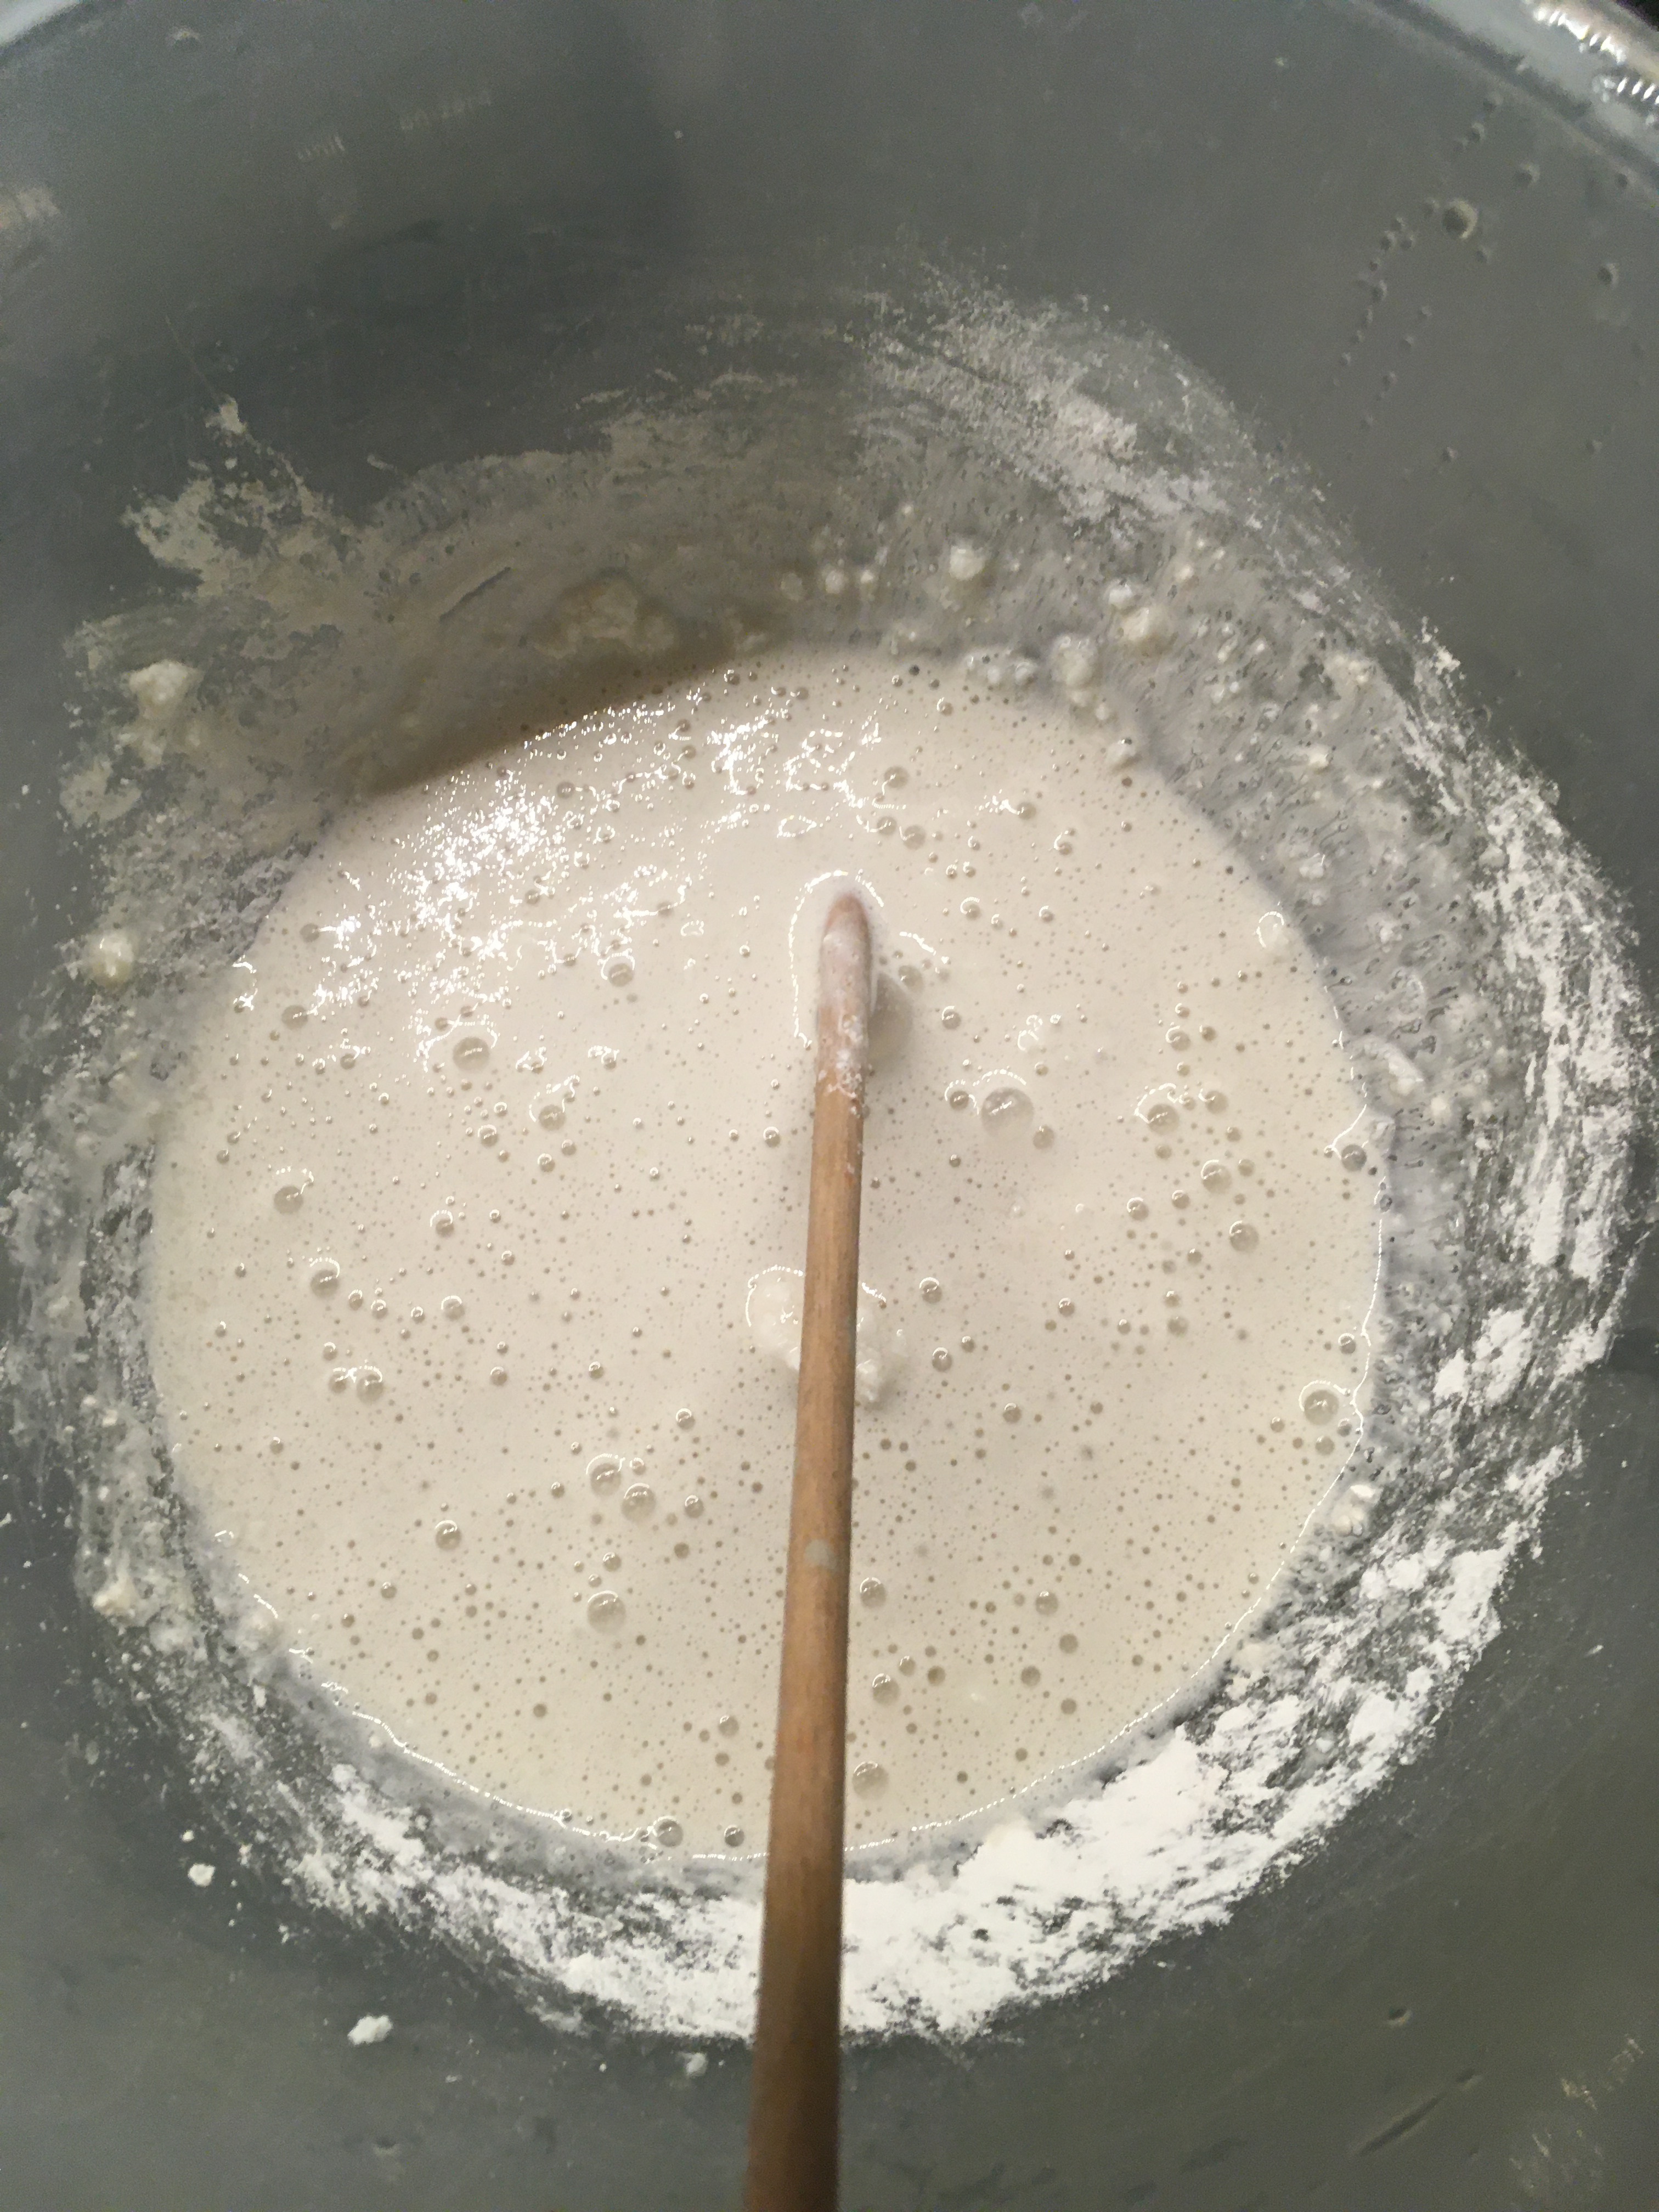
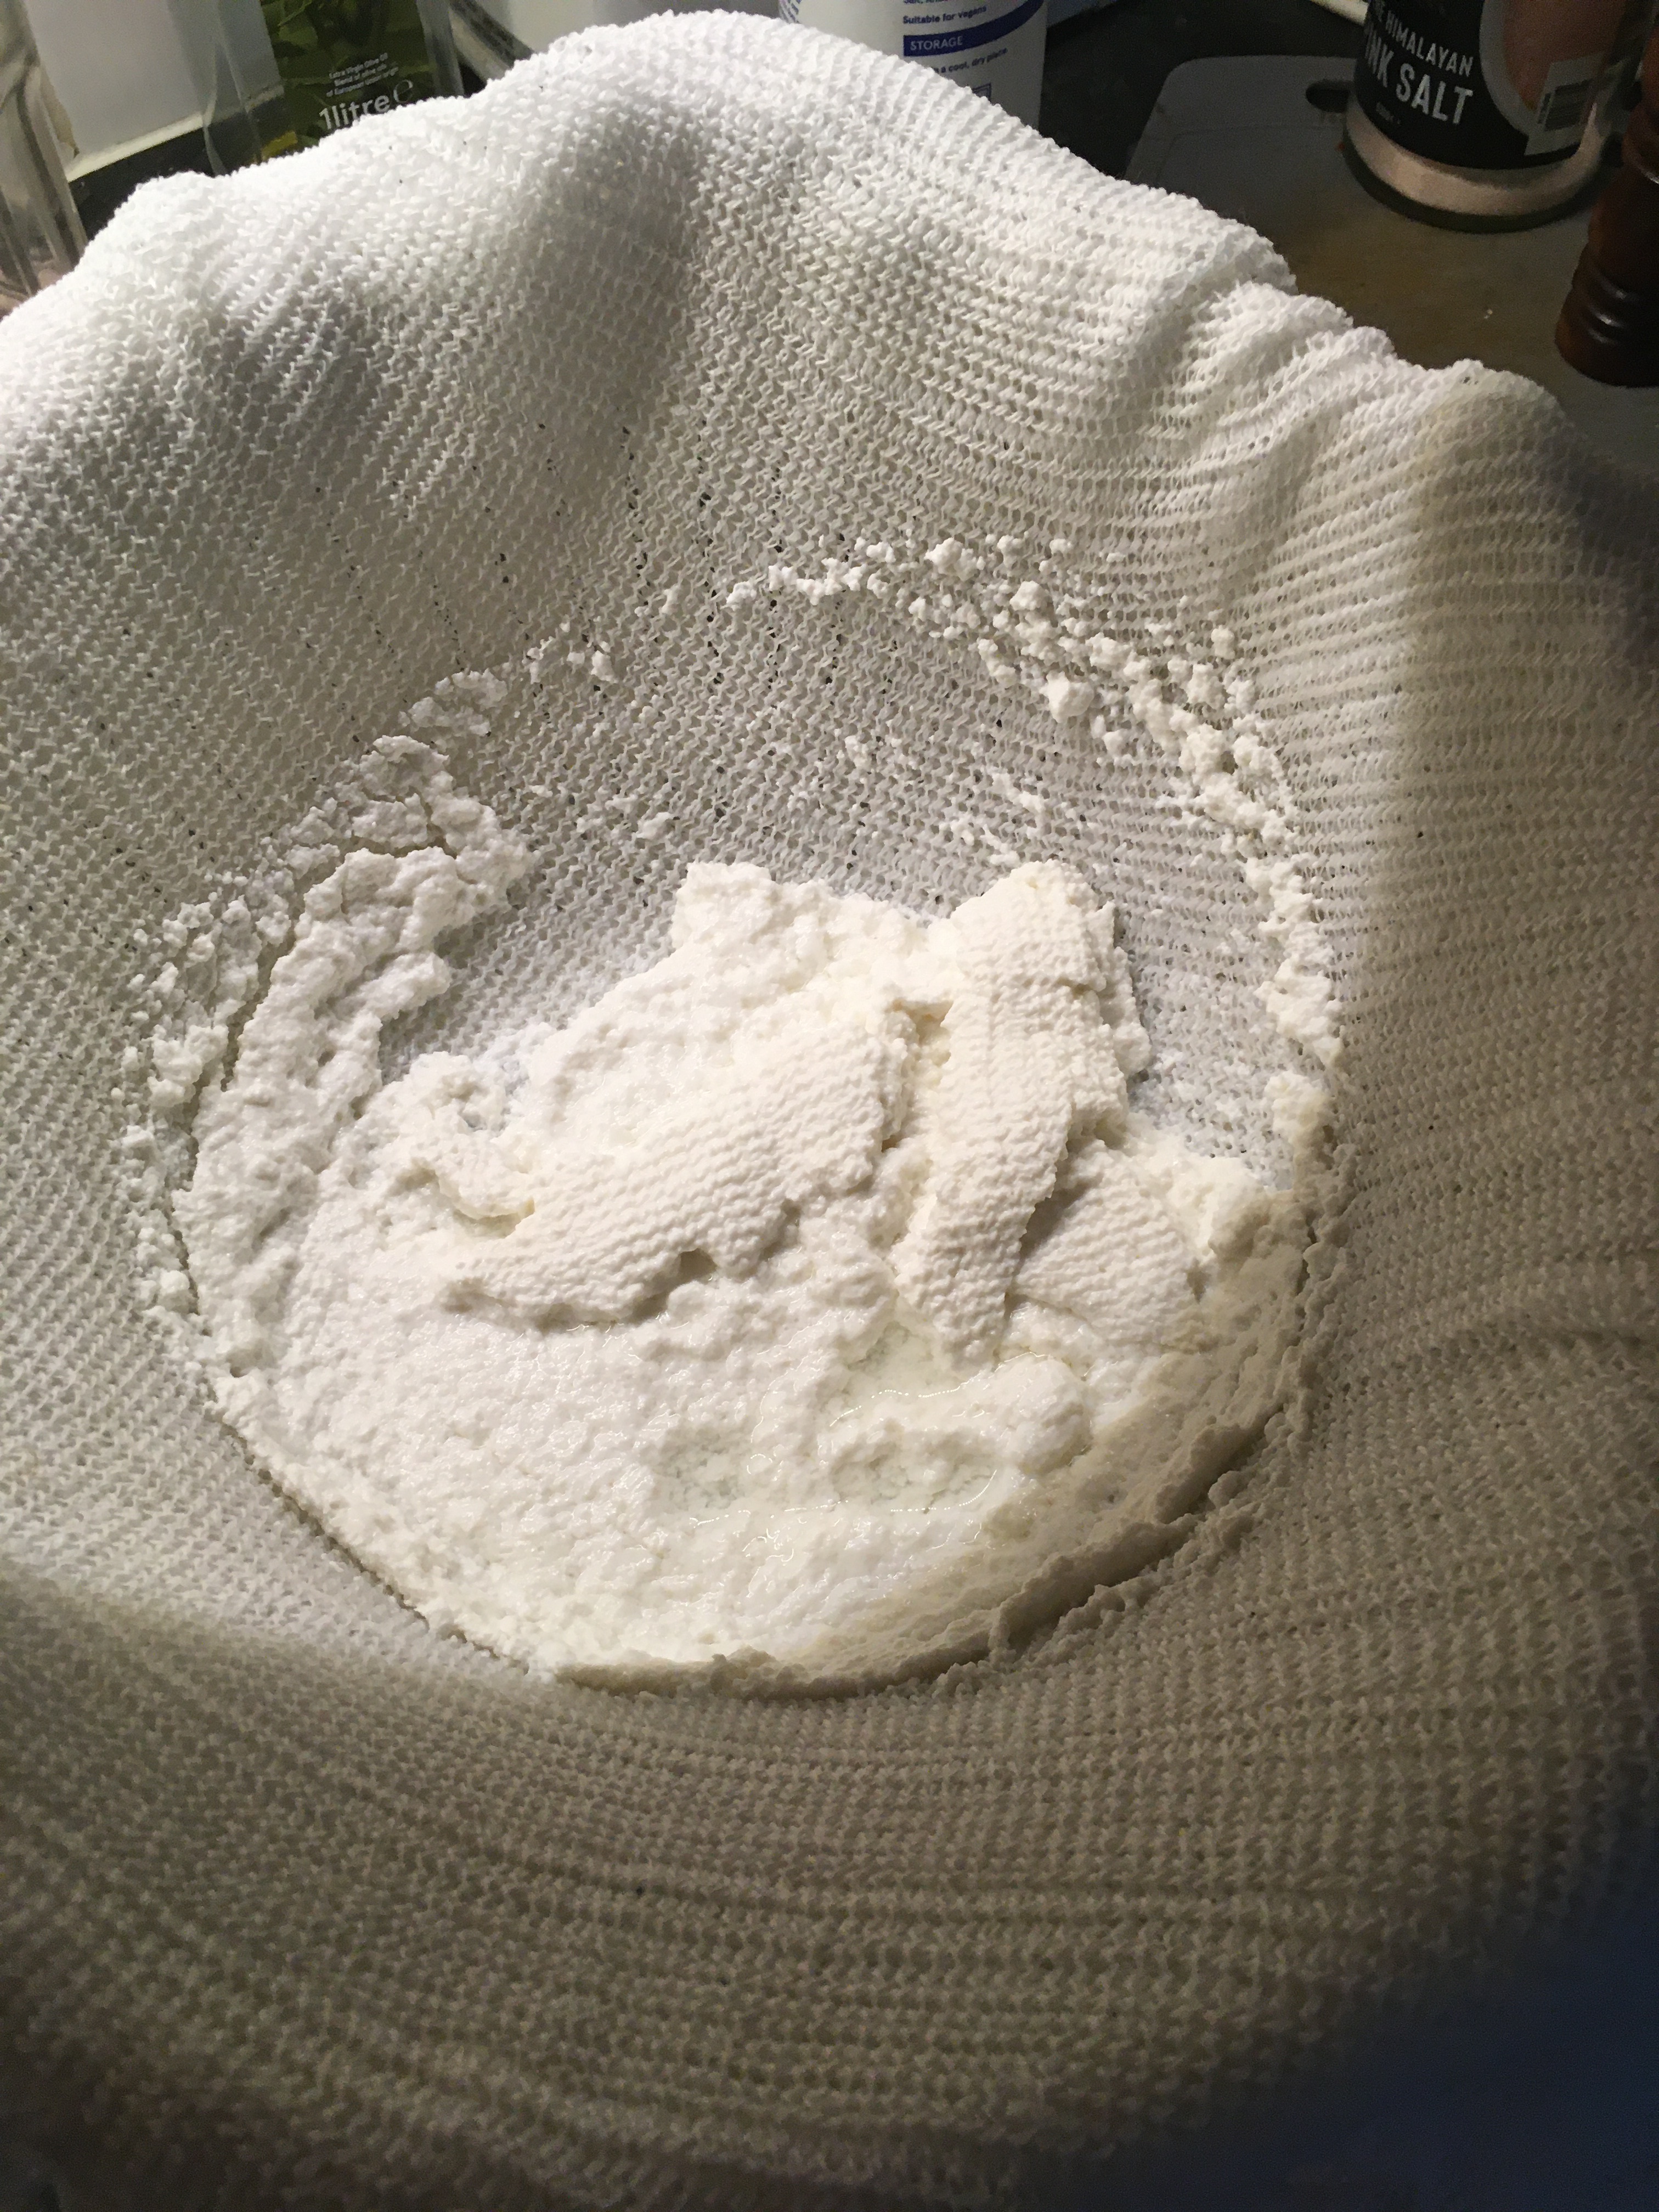
Skimmed milk at room temp pour the vinegar and milk into a flattish container simultaneously. This means you don’t have to stir which will break up the curds. Pour together and leave overnight. Strain through cheese cloth. Rinse with cold water three times until vinegar smell is gone.
Leave to drain for a bit, squeeze out a bit too if you like.
Put in container, add lime and stir, the curds will dissolve.
Add pigment and water you want a double cream consistency ish , it needs to be paintable don’t thin it too much.
Use fairly promptly. Keep in the fridge
It forms a crust in the fridge just stir it in.
You can strain the paint after combining all the ingredients. The pigment is heavy so it needs stirring. You can add additional coats after an hour. Once cured it’s hard as a rock. It may get thicker over time you can add a touch more water. Best to just get it painted . The first coat tends to look awful. If it’s used over wood only sand to 120 max. No sanding is necessary between coats unless you are removing blemishes etc,
Great! Thank you! I will give that a try!
Enjoying the milk paint, do you know if it can be used for exterior work?
For another project we’re just starting to experiment with iron acetate wood stain, and are looking for anything that might be used for exterior work, ideally using natural pigments and materials…if you have any experience/knowledge of this stuff?
I have no experience of using it outside but I am fairly sure it was used to paint the outside of houses in the states. It doesn’t wash away once it cures. They added chalk to it back in the day, very considerable quantities. There are original recipes online from 1800 or so. If you do add chalk you will need a stirrer, it drops to the bottom in minutes and seems like a solid mass until you get it moving. I am sure it has thixotropic qualities. You will have to do some research or just make some and paint a shed door or something similar. If you do a test panel I would imagine you need to keep one side dry if that’s the intended use.
This is a bench top I painted with milk paint you can still see the wood grain through the paint. It’s not really showing in the picture although you can see half a knot in the foreground.You wouldn’t want a crackle finish for exterior use but this has a crackle finish which, is what you get if you wait for the paint to get old for the last coat .

Hey @Giles ,
I’m looking to use milk paint for the tool chest I’m starting. Will go with 2 coats red, 2 coats black then oil and wax.
Given lockdown I’m looking for pigments online but am lost. Do you have any suggested options? Any idea where you might get the lime in a small quantity? Googling hydrated lime just have massive 25kg bags of the stuff!
Trying to work out if I can do it significantly cheaper than just buying powdered milk paint
Thanks in advance,
Matt
Maybe I’m in business… How about 100g each of red and black from here.
Plus 1kg of hydrated https://www.ebay.co.uk/itm/APC-PURE-Calcium-Hydroxide-98-7-1Kg-Hydrated-Lime-A-/162674812770?_trksid=p2349624.m46890.l49292
I think pigment (and postage) + lime + milk + vinegar would put me at c.£23 Vs £38ish for the powdered stuff.
Sorry
I didn’t see your email. Are you sorted? Great art in shoreditch sell a big range of pigments.
You will need to follow the recipe and method I outlined exactly. Get in touch if you need to.