Im hoping to make a start on the neck. This will involve cutting the wood to the right thickness and rough shape. I was then hoping to use the router table and my template to cut the profile of the neck before finishing the shaping by hand.
Ive currently just done the basic woodworking induction but Im thinking some of the jobs will involve using the machines Ive not been inducted on.
Would any of the @woodtechs be available at some point to discuss the best way forward with this project
I’ve been making some progress on the neck, here are a few picks of the process.
Howard helped me cut the neck blank down to thickness. I then used the Lazer cutter to mark out the outline and fret positions on the blank. I then roughly cut the outline of neck using a jigsaw.
Then I cut the fret slots using the Lazer etching to start the slots, this works really well!
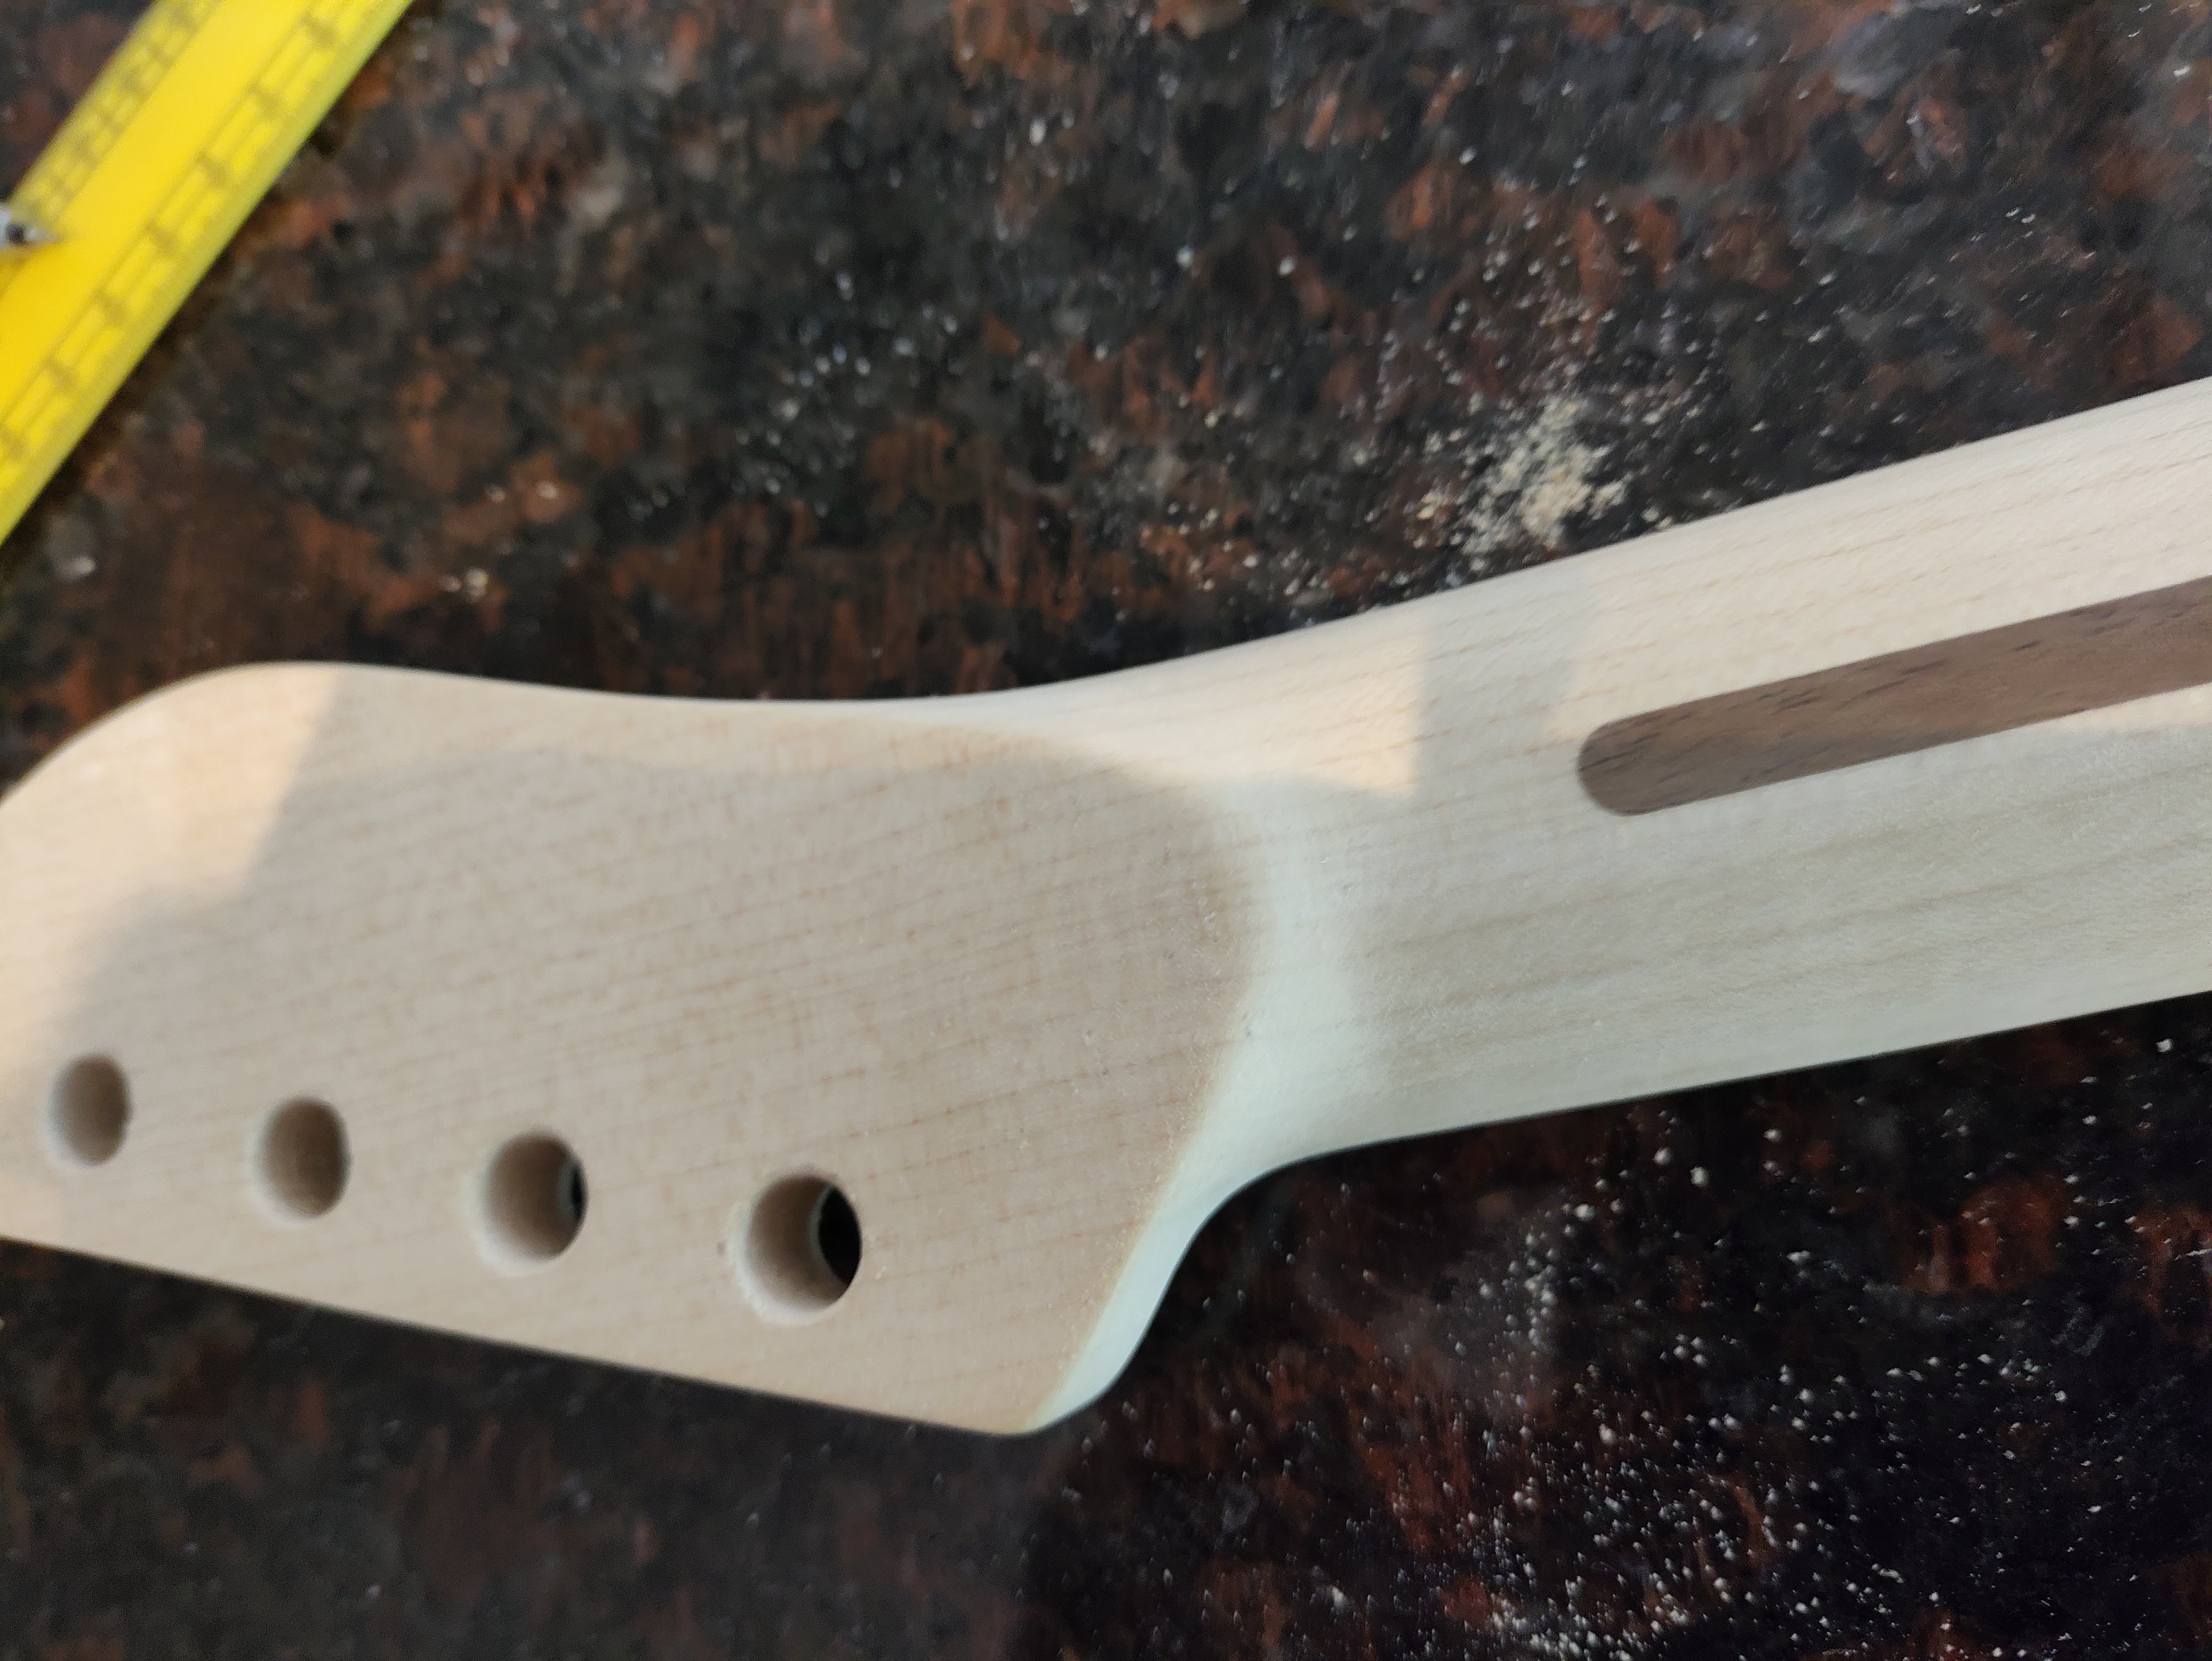
I put in the fret dots, and cut the head stock to thickness. The madcat has a tear drop shaped walnut flourish on the headstock so I made a round wallnut rod and glued it into the headstock at roughly the right spot.
I forgot to take photos of the carving process, which was basically a cases of marking and rasping out facets along the length of the next to get the back of the neck profile, and then blending the heal and head stock using a rasp/sandpaper. The fretboard was shaped using a radiused sanding block.
Ive been making some progress on the body and its looking good, Ill post some pictures soon.
In the mean time here is the ‘finished’ neck. I stained the neck amber with water based stain and then used a brush to apply some water based polyurethane top coat.
I then level sanded the finish with some high grit sandpaper and buffed with a cloth buffing wheel in my drill/driver.
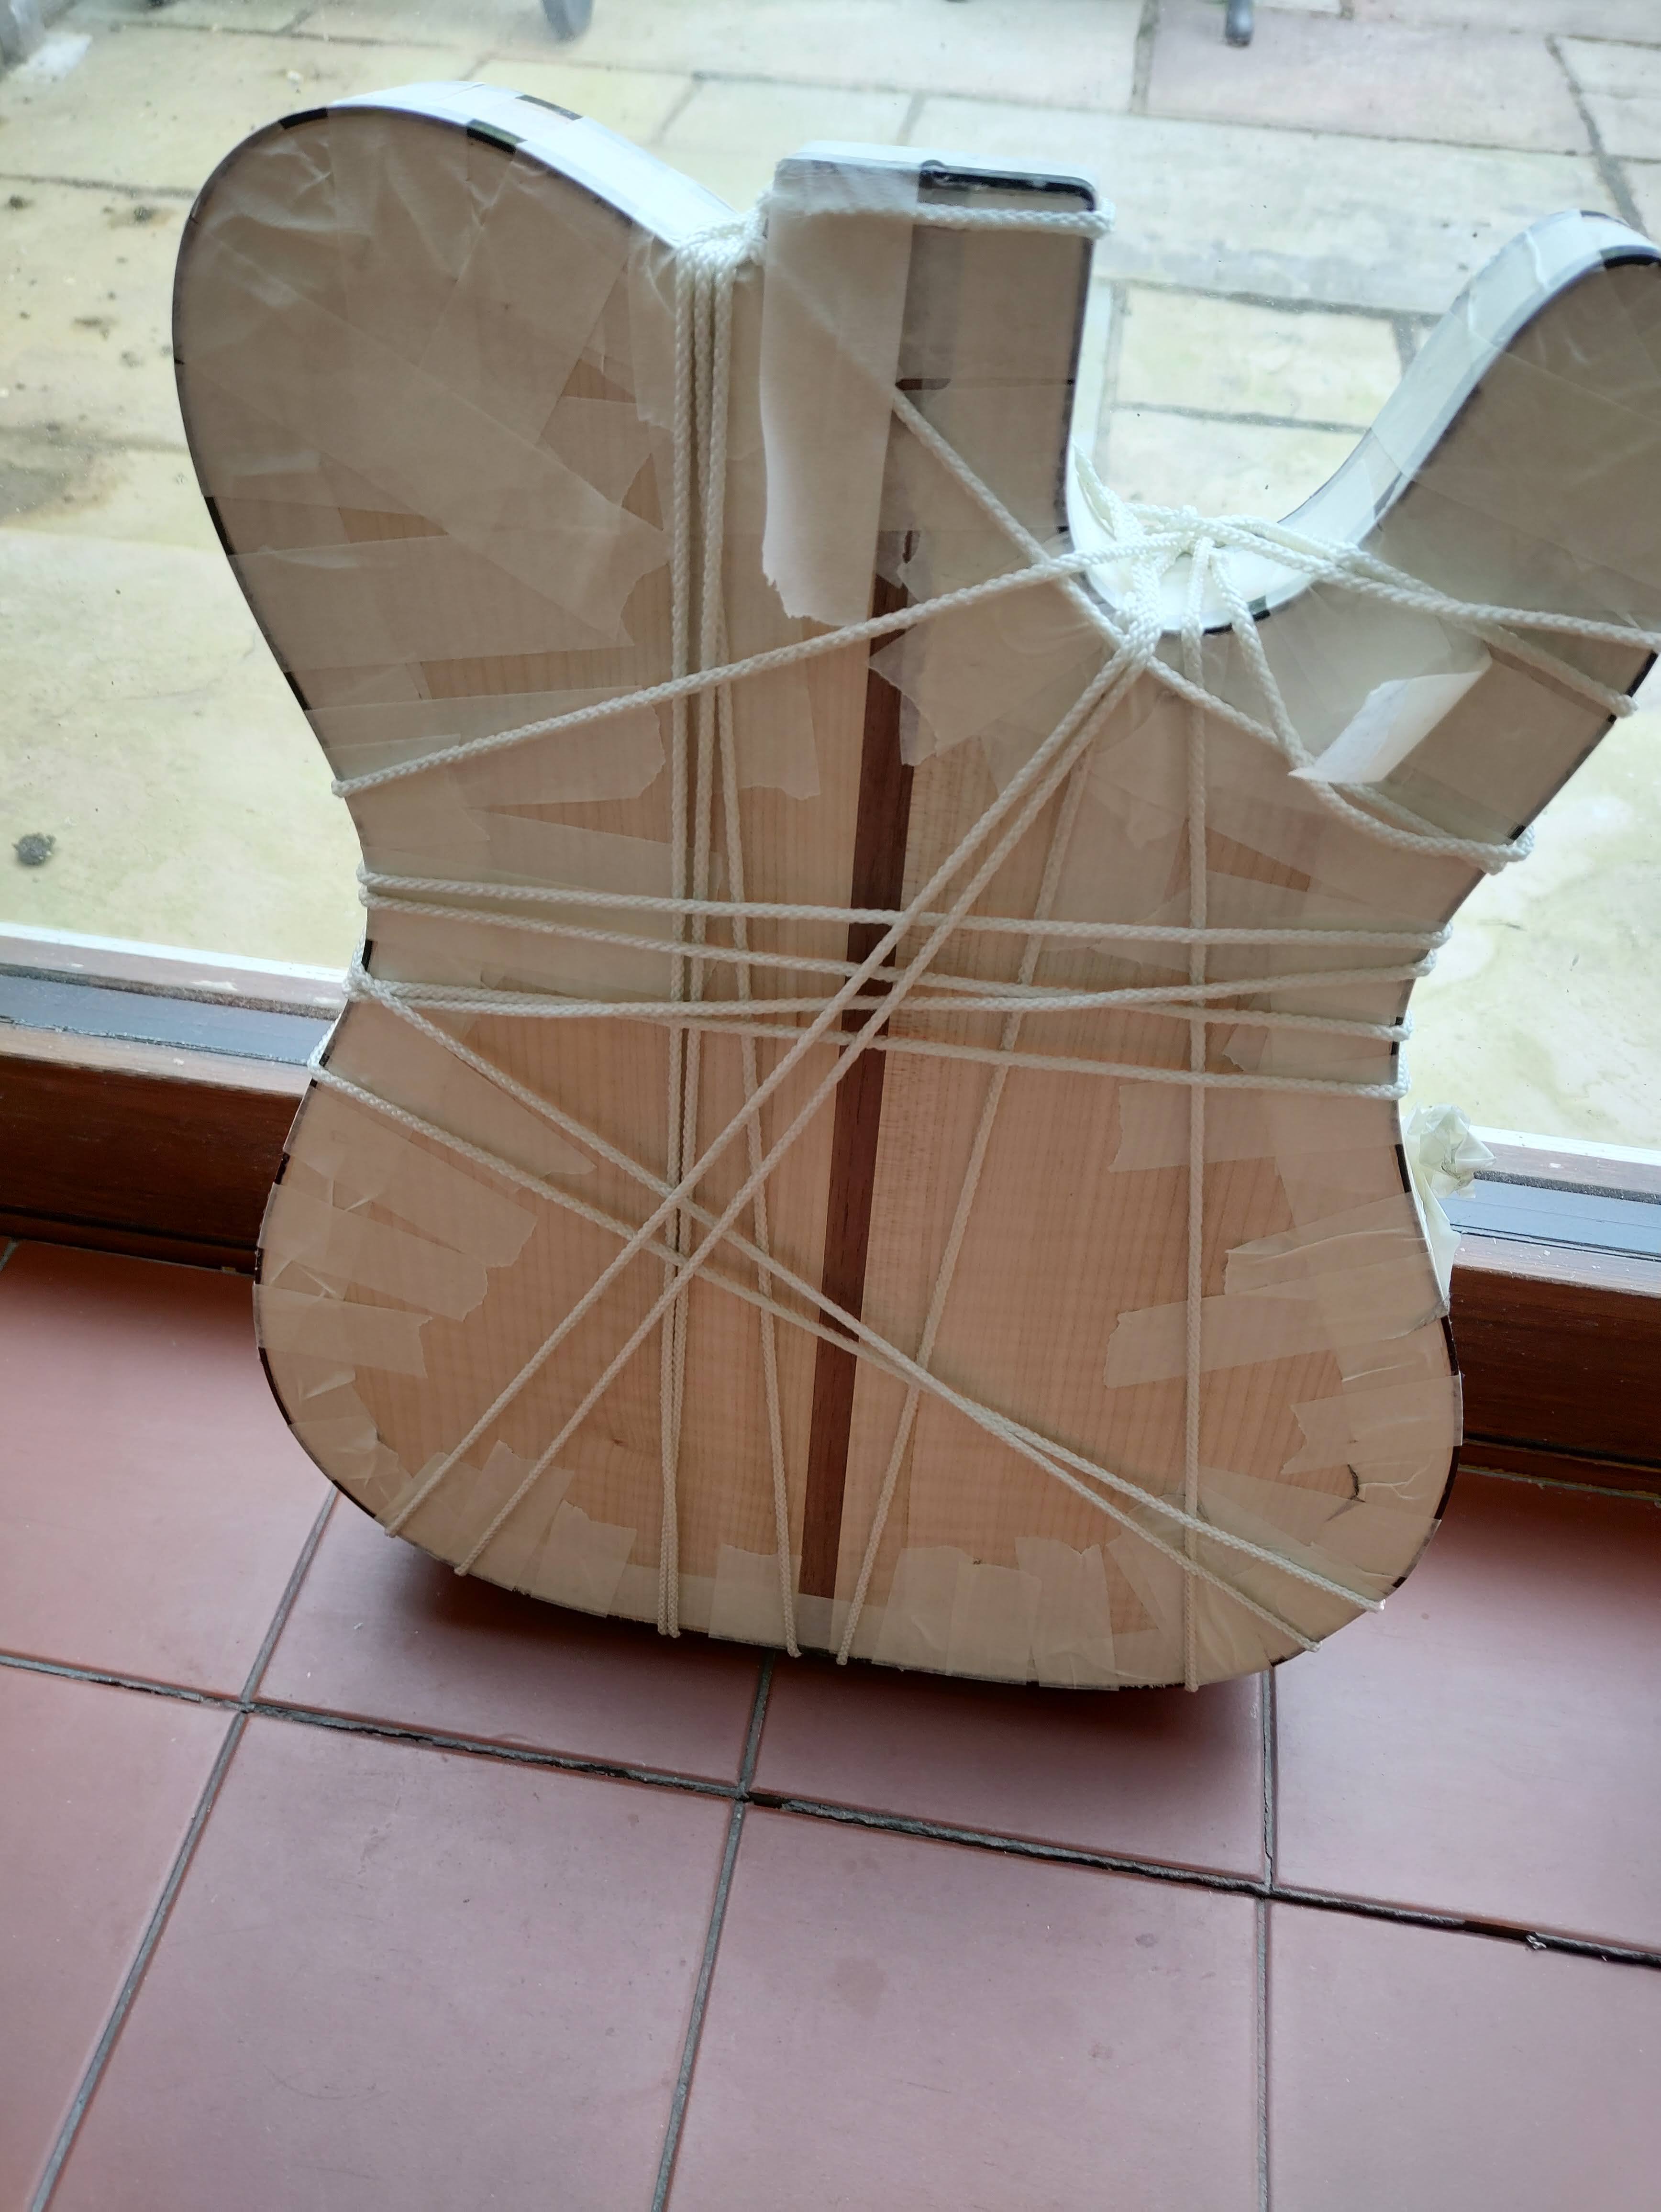
Despite my best efforts with the jointing plane the glued up body wasnt completely flat, so I went at the top and bottom surfaces with the jointing plane and surprisingly they came out pretty nicely.
Ive never really realised what a great tool the card scraper is, it fills a gap between planing and sanding. I dont think there would be a better tool for working on this binding.
I drilled out all the various holes for the wiring and sanded everything for finishing. Im feeling pretty pleased with the results
Im currently battling with getting the finish right, and the last piece in the puzzle is to cut the various acrylic scratch plates. Then its just a case of screwing it all together
I’ve been having a problem where the finish is dissolving the water based dye out of the wood and leaving ugly splodges and spreading the dye onto the undyed bits.
I’m thinking if I was spraying the finish it wouldn’t be a problem.
In the short term I got some aerosol cellulose sanding sealer to seal the dye in before brushing the poly over the top. Looks like it might have solved the problem.
If anyone has any wisdom around this aspect of finishing I would be super interested in hearing about it😁
Maybe do a test with paraloid b72. It’s used by conservators for fixing/sealing, including e,g, delicate paint on wood panels. It’s clear, and can then coat over that if needed - but might not be. Probably dissolve in 80% acetone for a protective coating.
Oil based sealer is a good way to solve the problem. However, compatibility between finishes is something which doesn’t always accord with what one imagines. It’s always best to test or check with the manufacturer.
It’s too late now but, using oil or spirit stain beneath water based finishes largely solves the issue. Or of course you could use oil based finish over water stain.
Interesting, I’m guessing I would need to spray that as well, ie the water based stain would probably dissolve in the acetone and get mushed around if you were brushing/rubbing it on?
If I had a spray gun I think I could just spray a thin coat of watered down top coat which would be ideal I guess for compatibility reasons.

 Im going to attempt making a Madcat inspired guitar for my self.