I have been thinking about making a large / very large Cutting board. At Christmas I purchased a XL Big Green egg and have been practicing cooking large pieces of meat i.e. Brisket. I have found that I now don’t own a large enough chopping board to cut such things on.
I have some experience with wood and a have made things like Speakers ect. however I have never made a chopping board and will have to research things like the correct woods to use and correct things to use to seal the board.
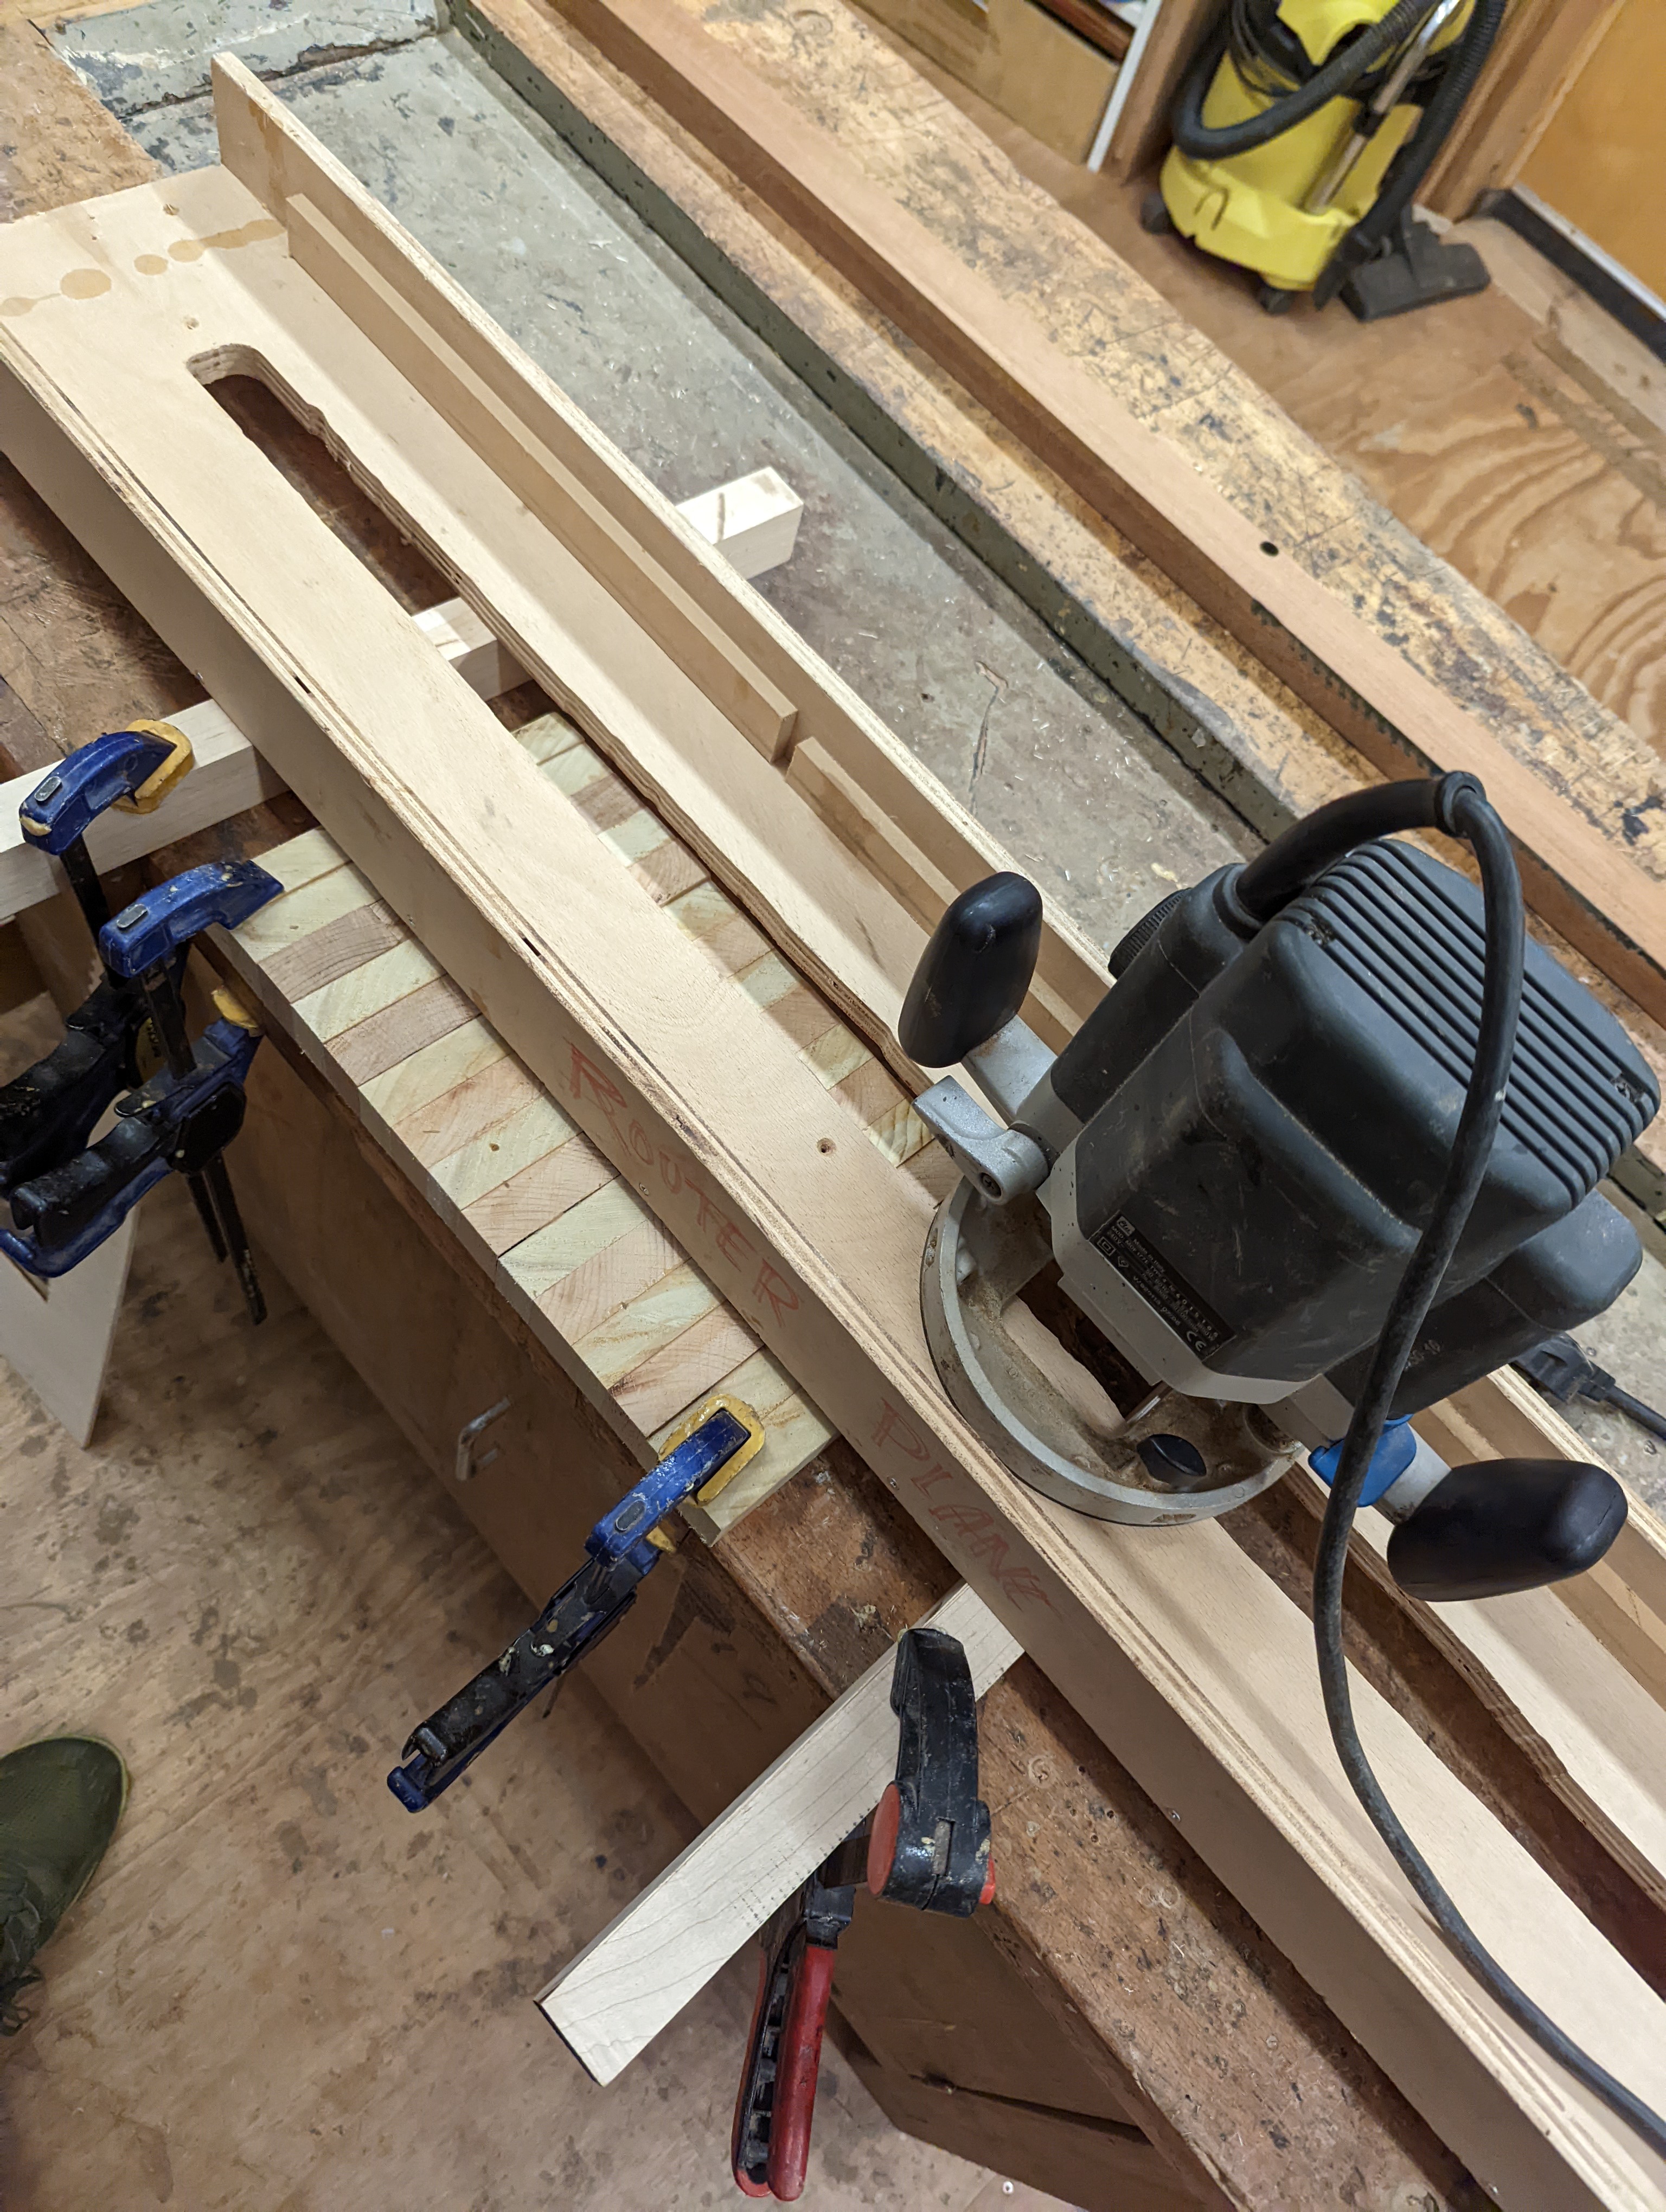
At the minute I am picture something fairly think and square in Shape, with a routed gutter to catch all of the juices.
I welcome any ideas and suggestions that anyone has!
I’m halfway through making a small one of these at the moment!
Once / if the planer thickenesser is back up and running it’ll be a lot easier.
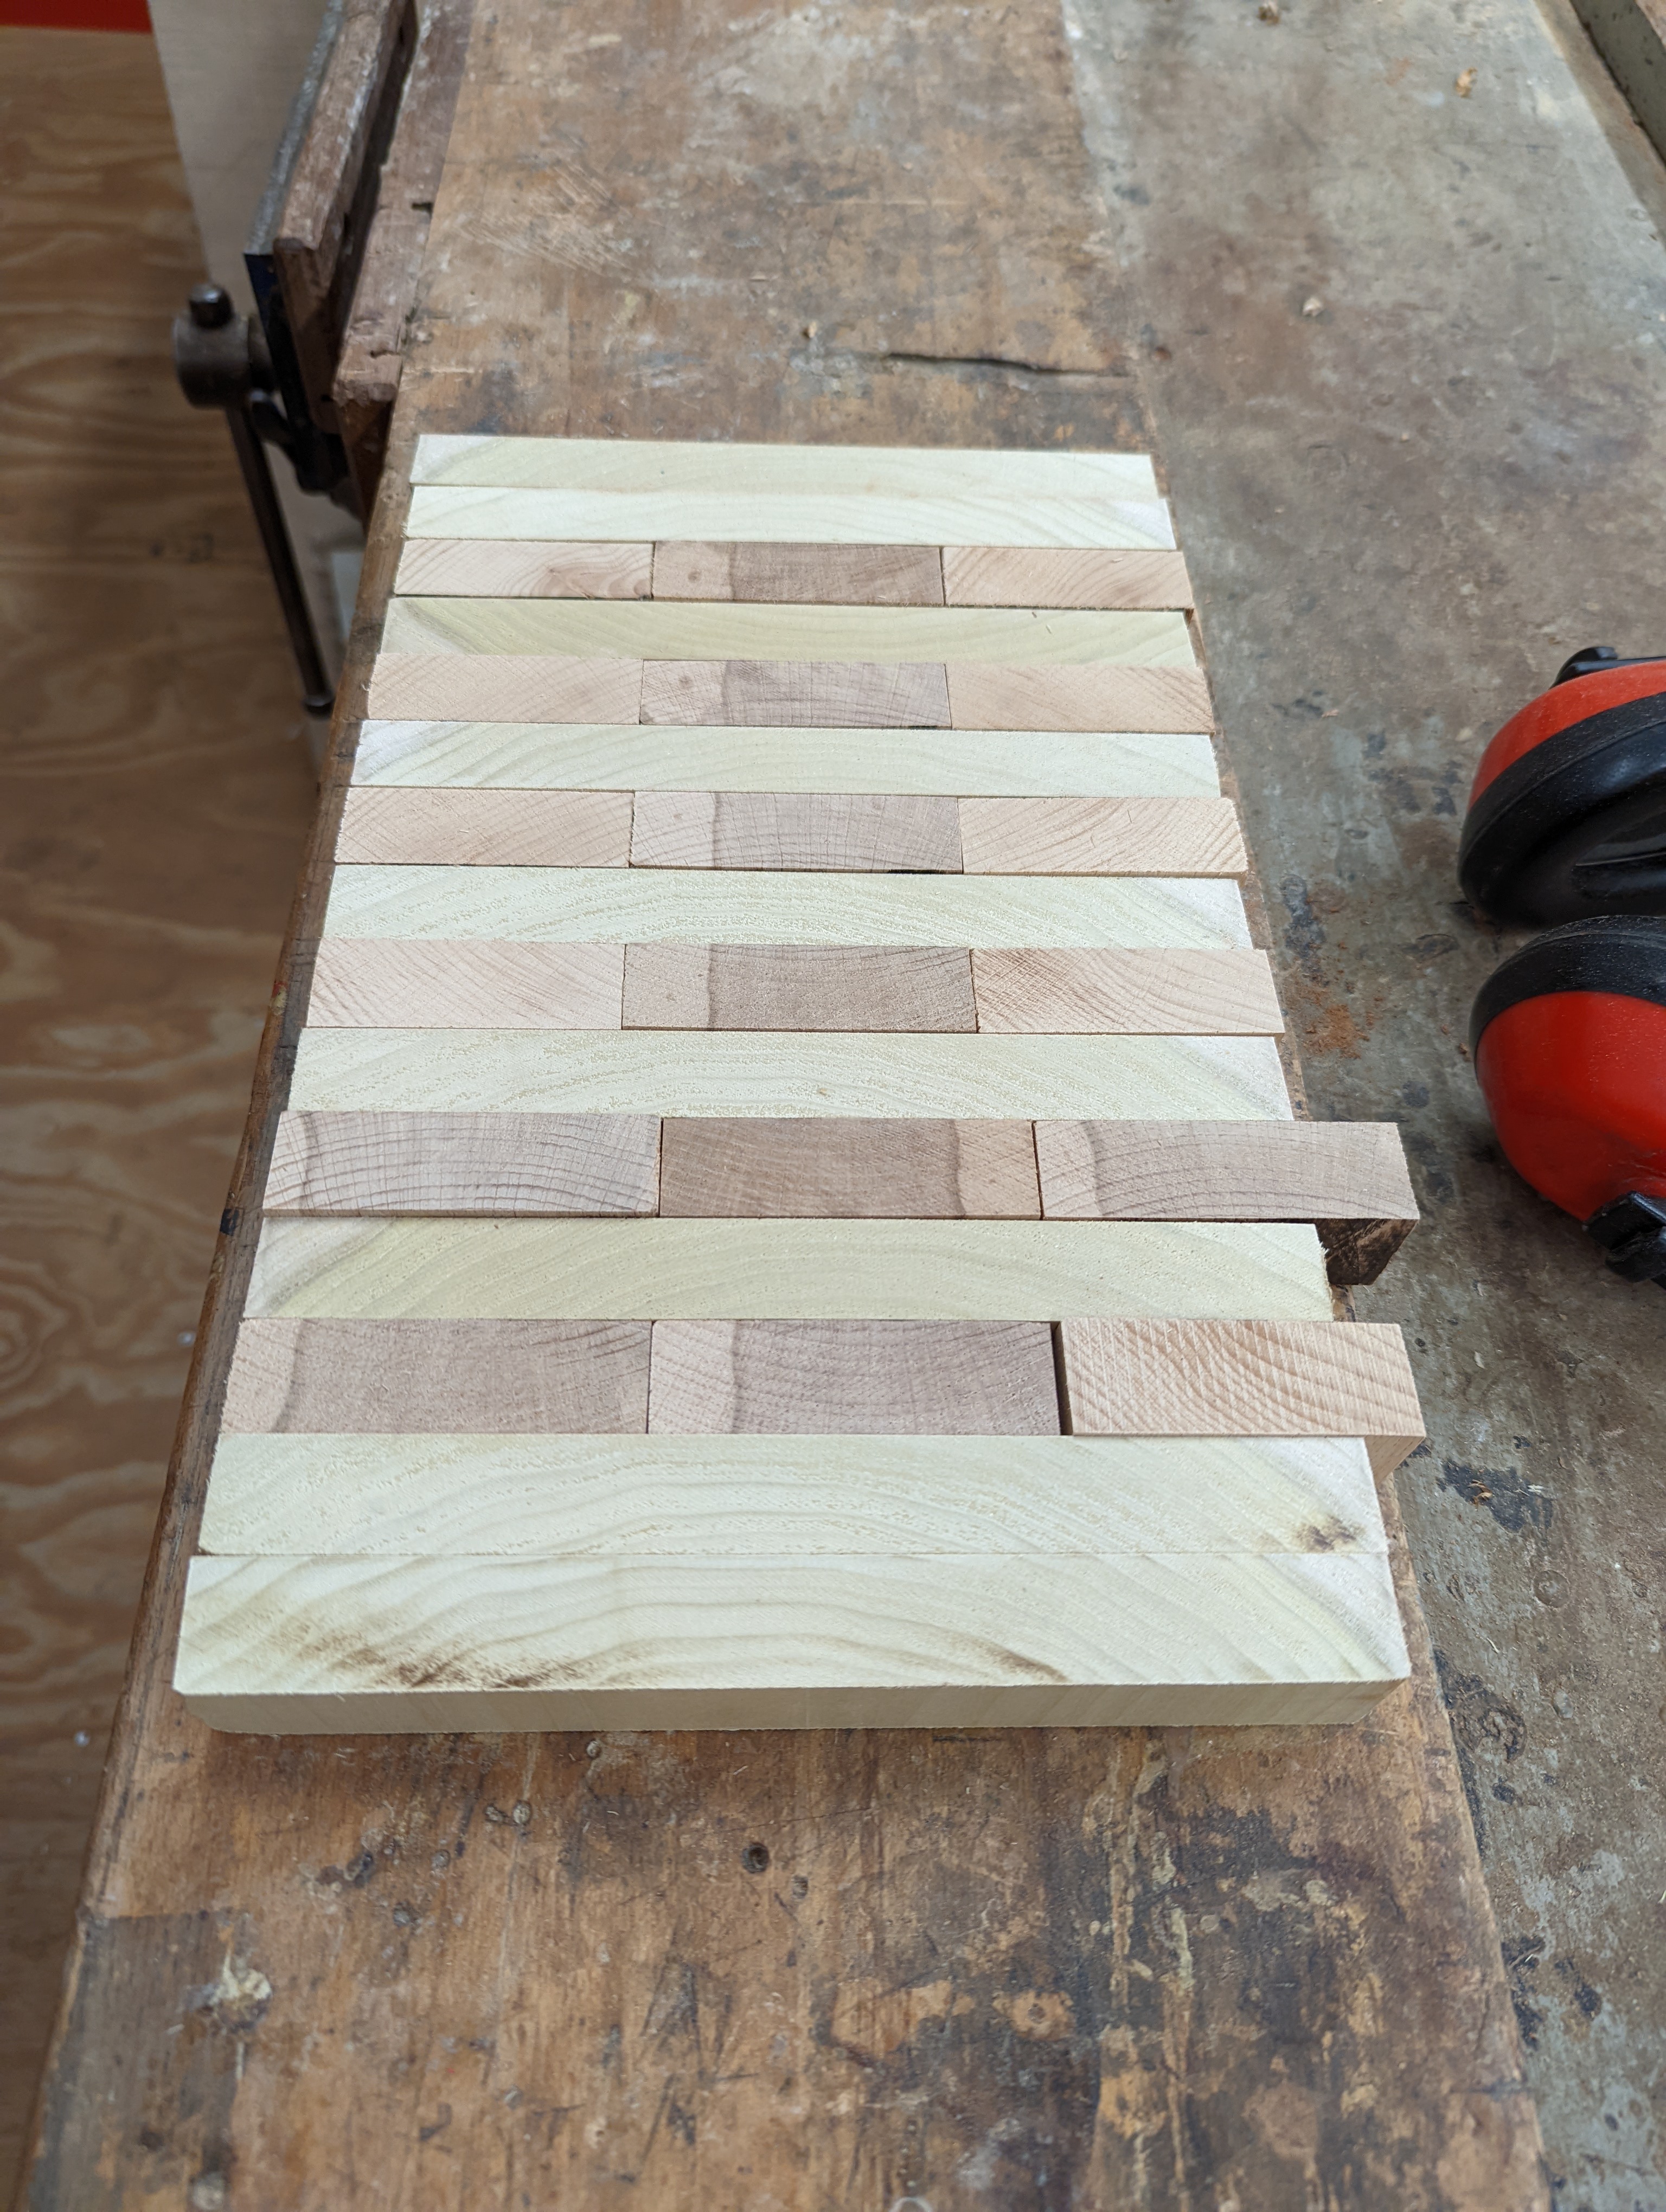
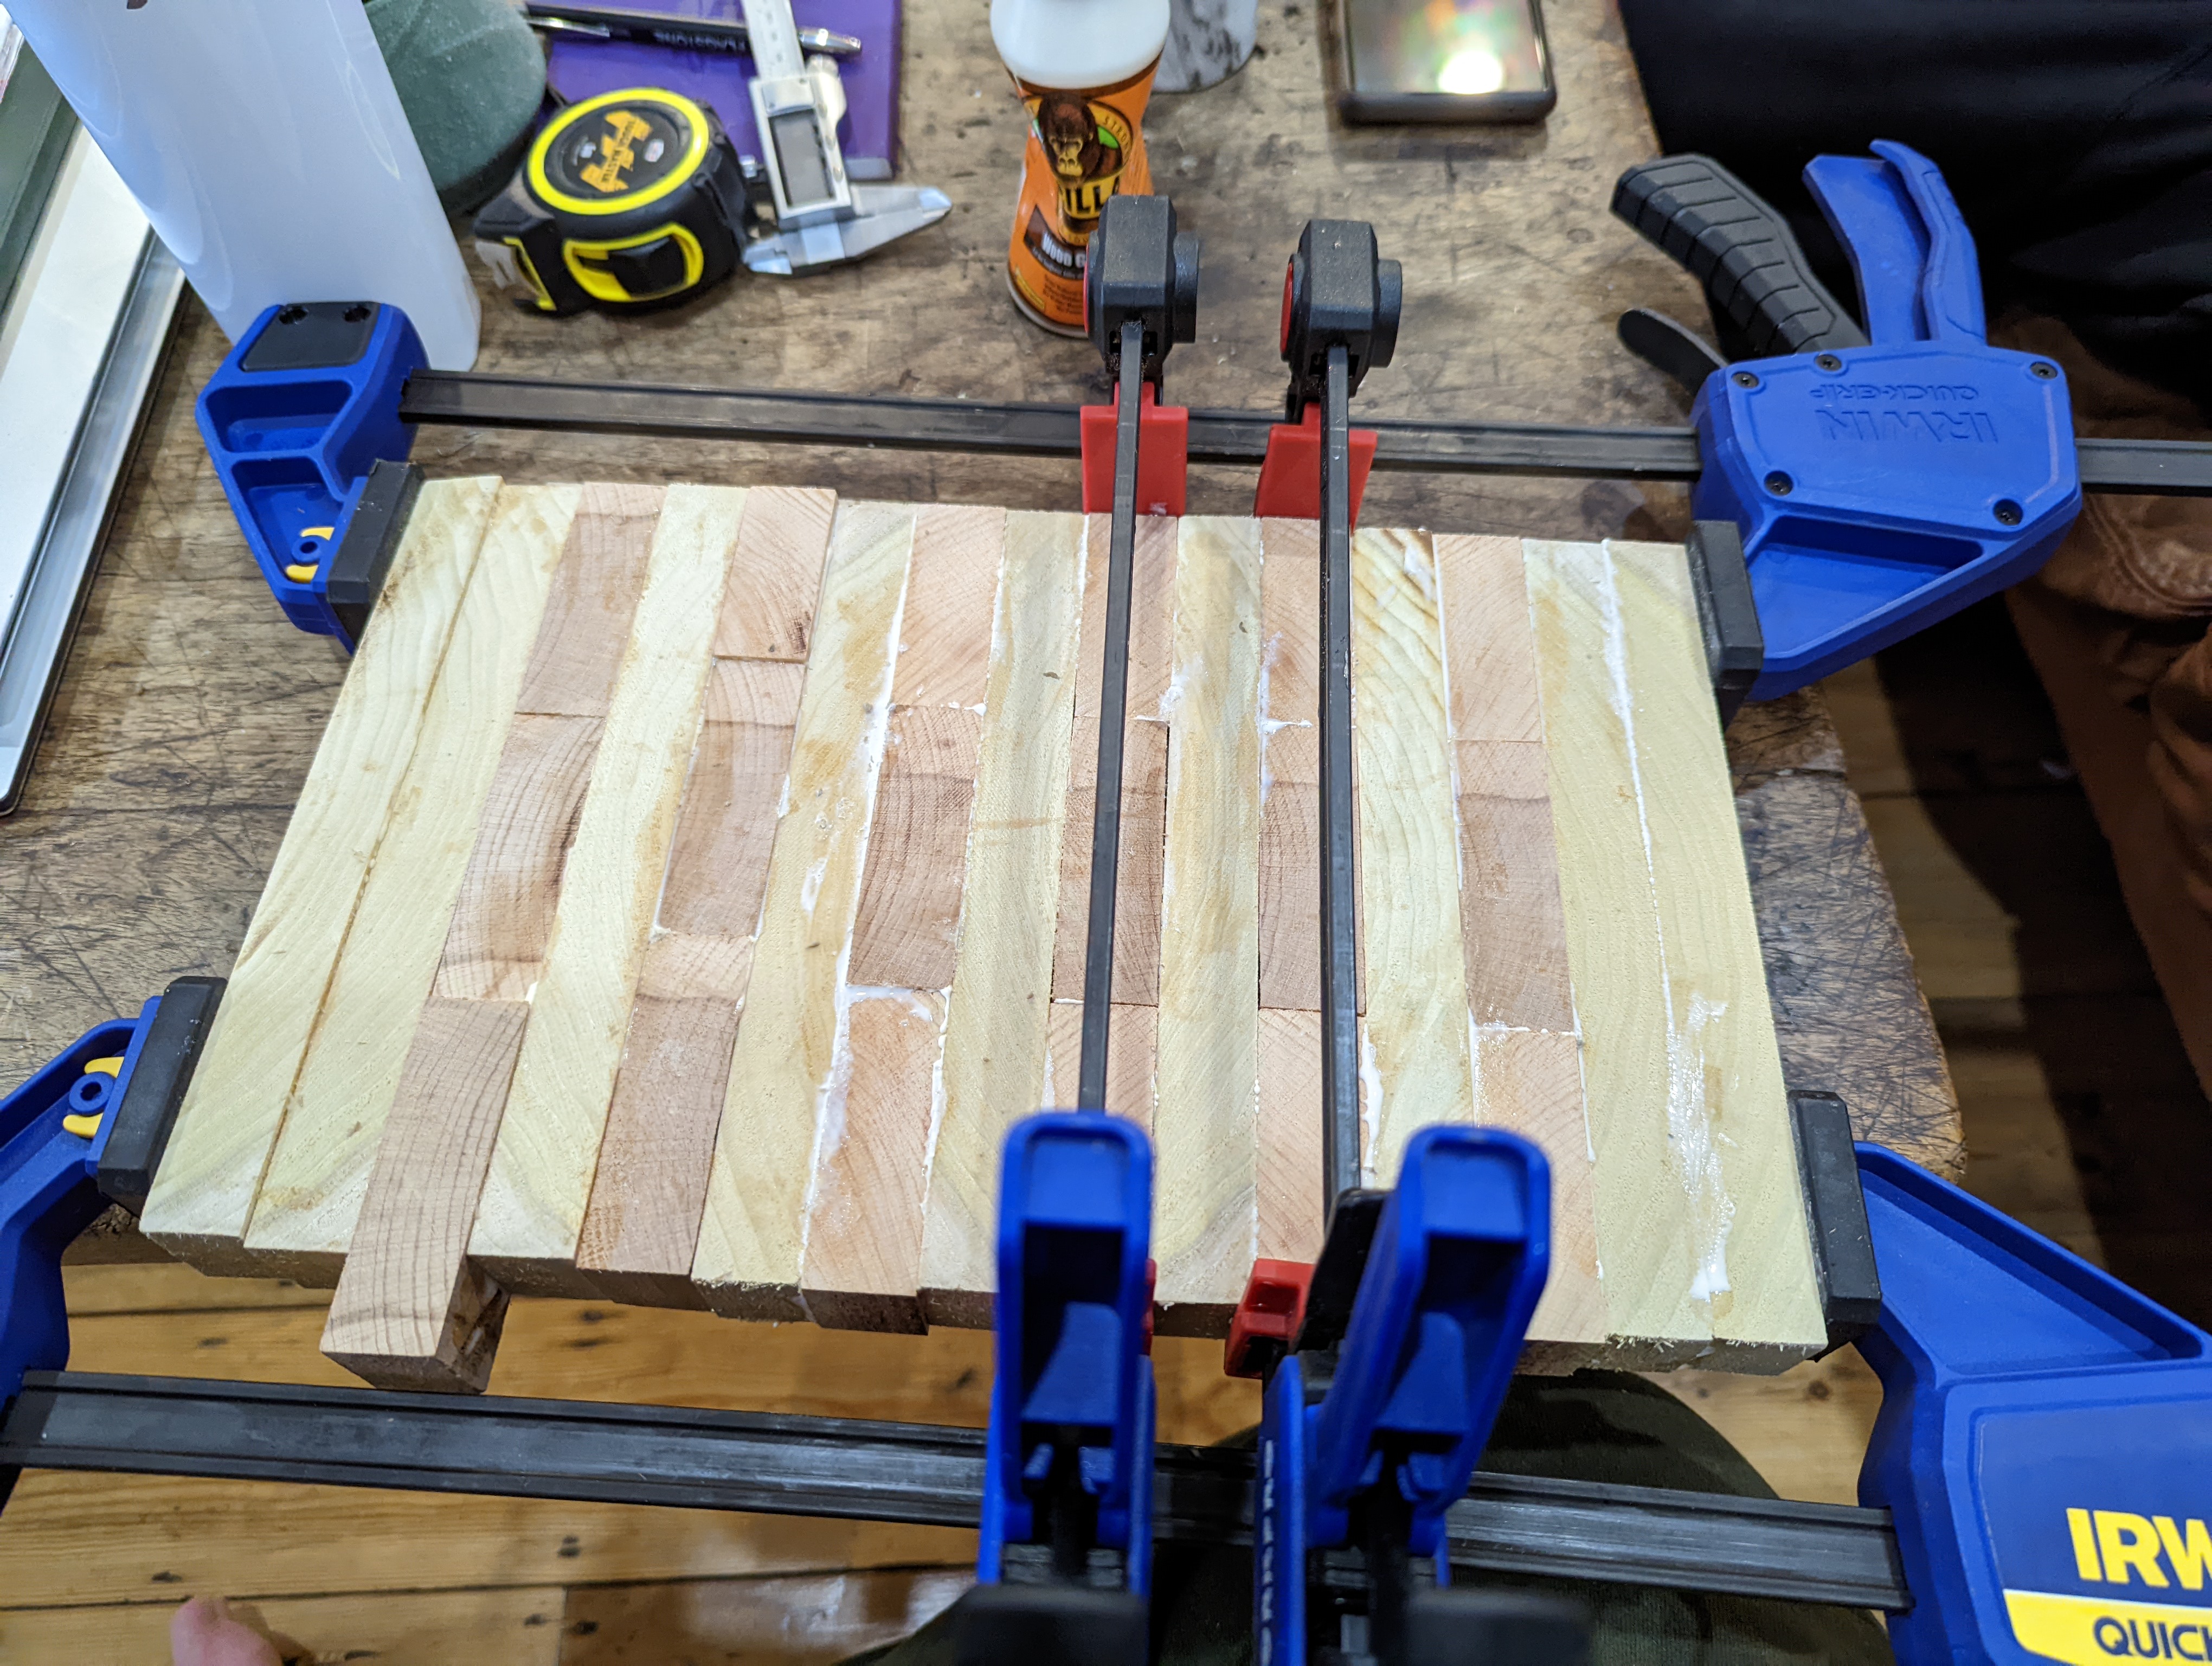
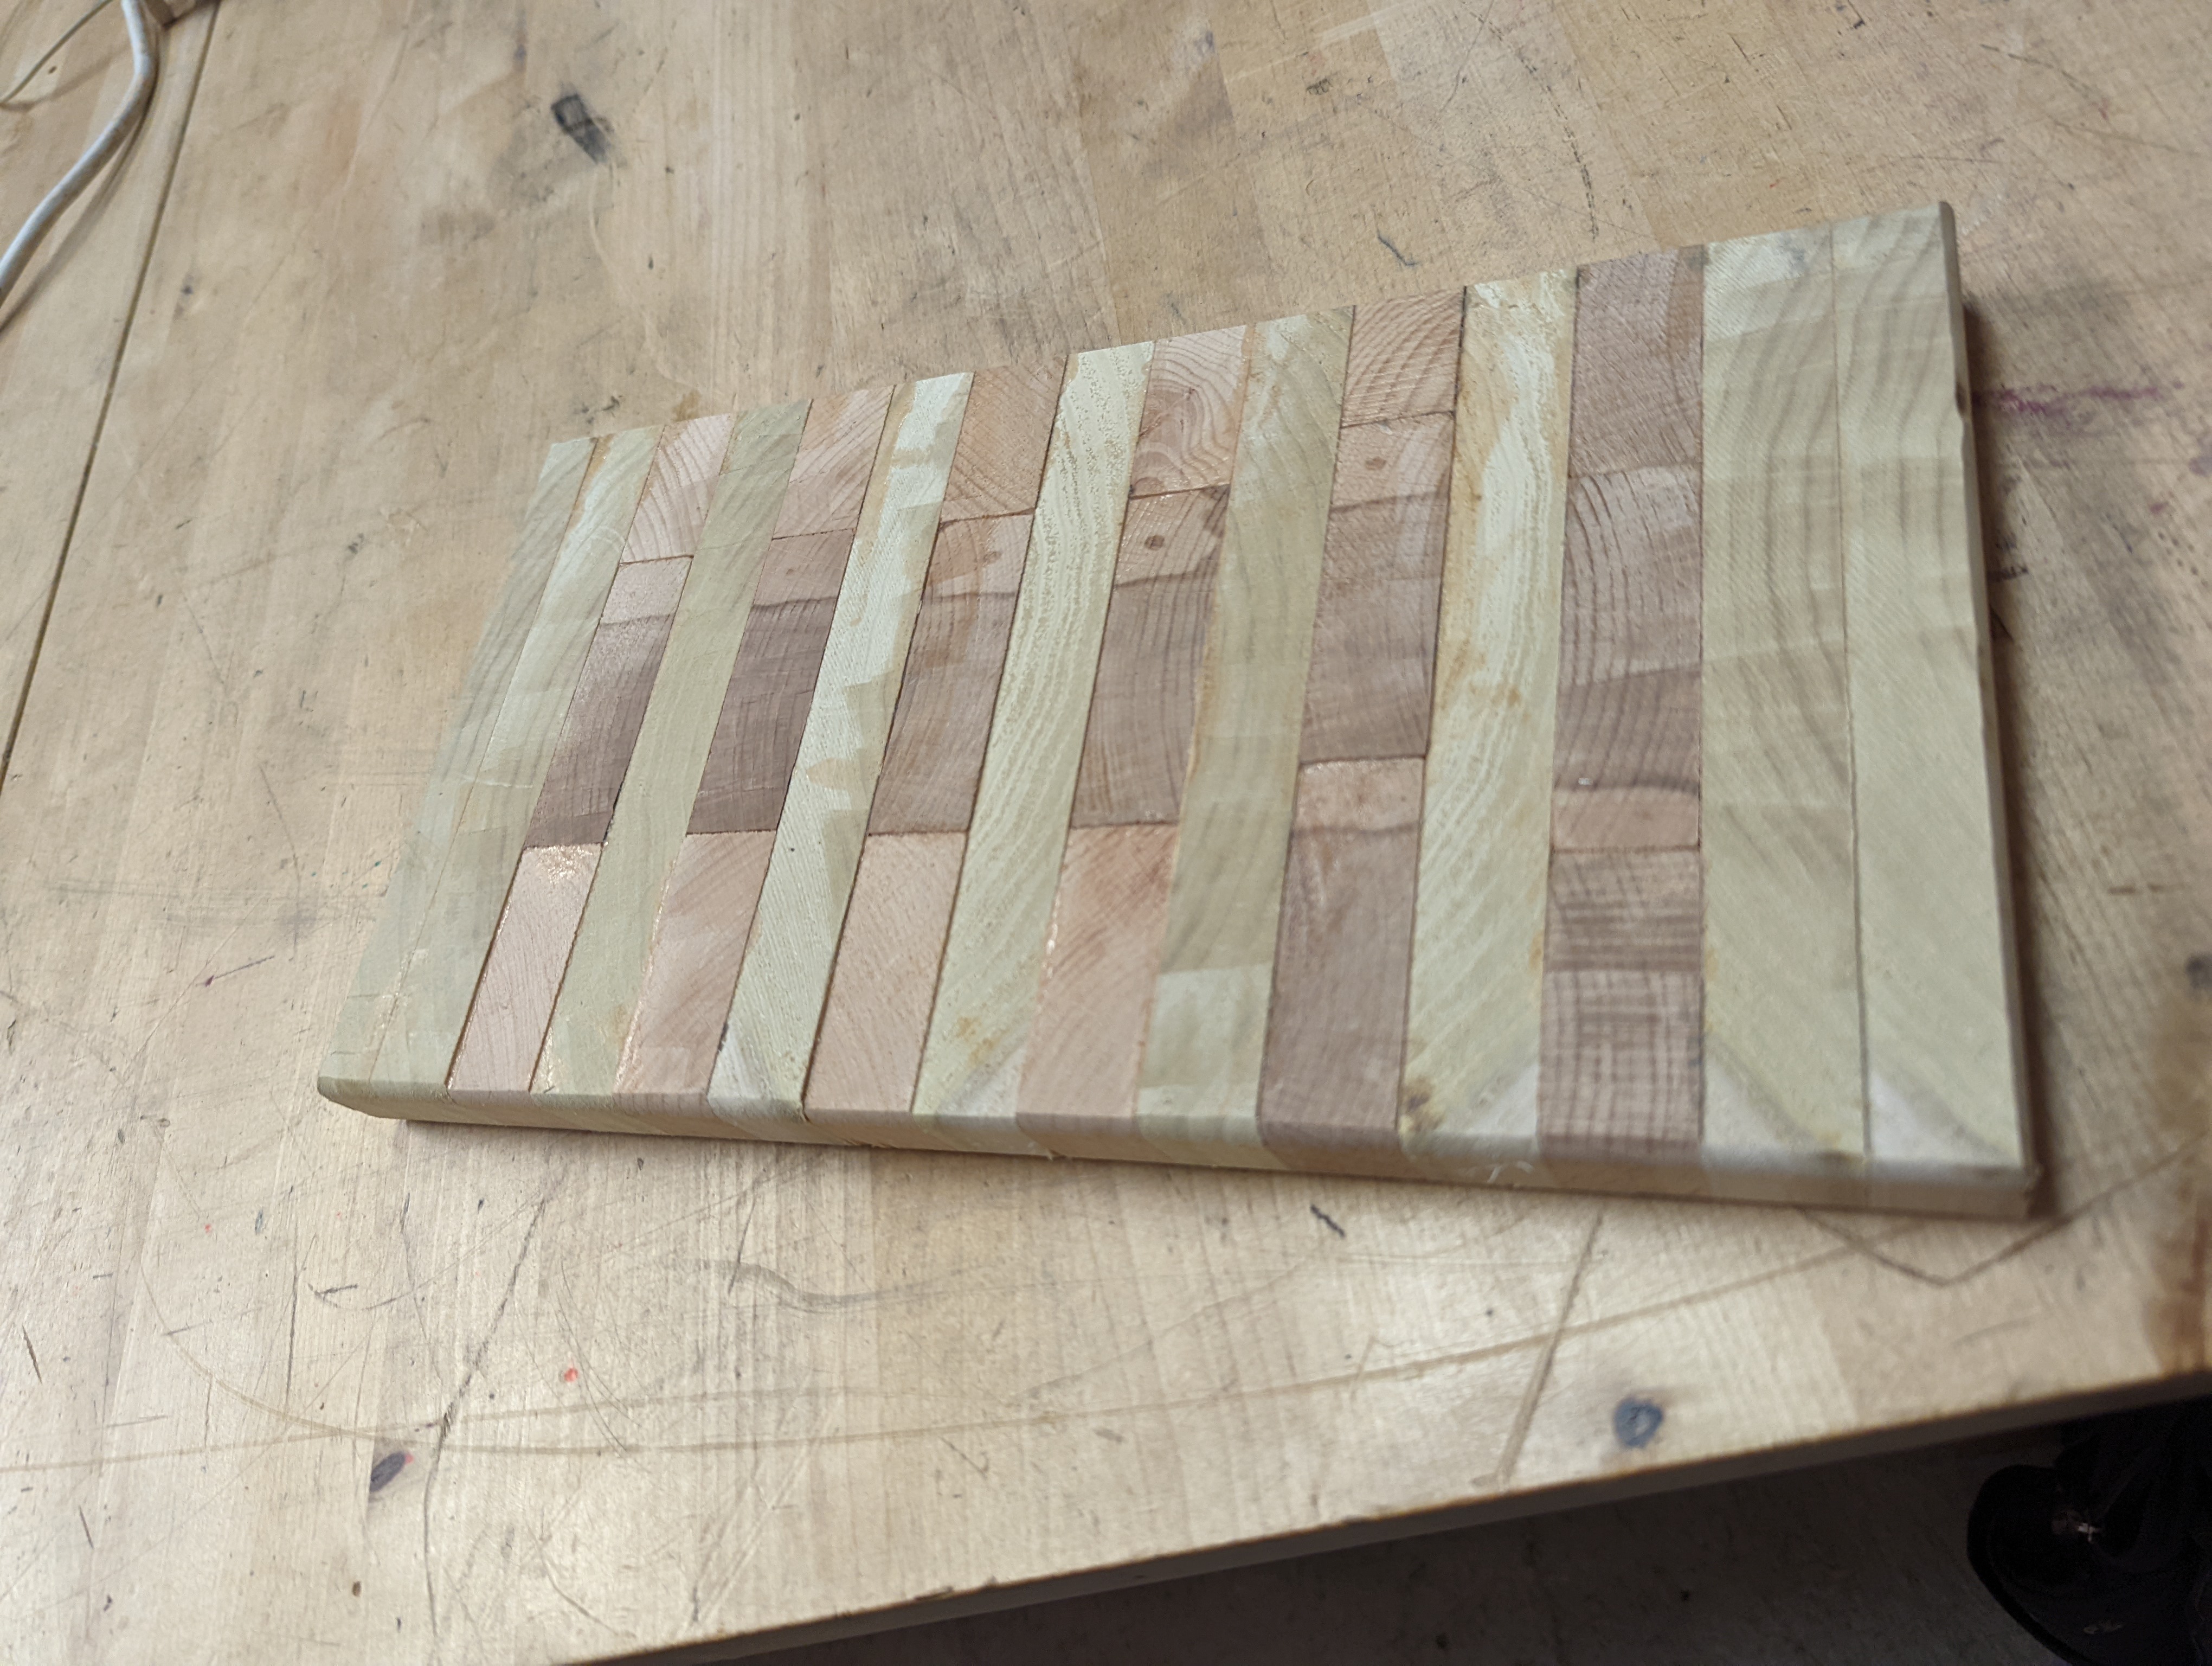
I’ve done it with strips of oak, ash and some walnut that I had left over. I’ve used Cascamite to glue it all together.
That looks awesome! And Andy’s video… drool. But I don’t understand why the top and bottom were both hit w/ the 15 degree angle one… isn’t it near impossible to align correctly? I thought you only hit the top w/ the angle and the bottom was straight-walled.
Oh, maybe they usedsomething I don’t have… “talent”. Is that how he gets the plug to be exactly right?
I’ve seen more aggressive tapers in the past. The idea is that the angles match but you can cover larger linear offsets. You want to maximize glue surface area and present the most seamless edges.
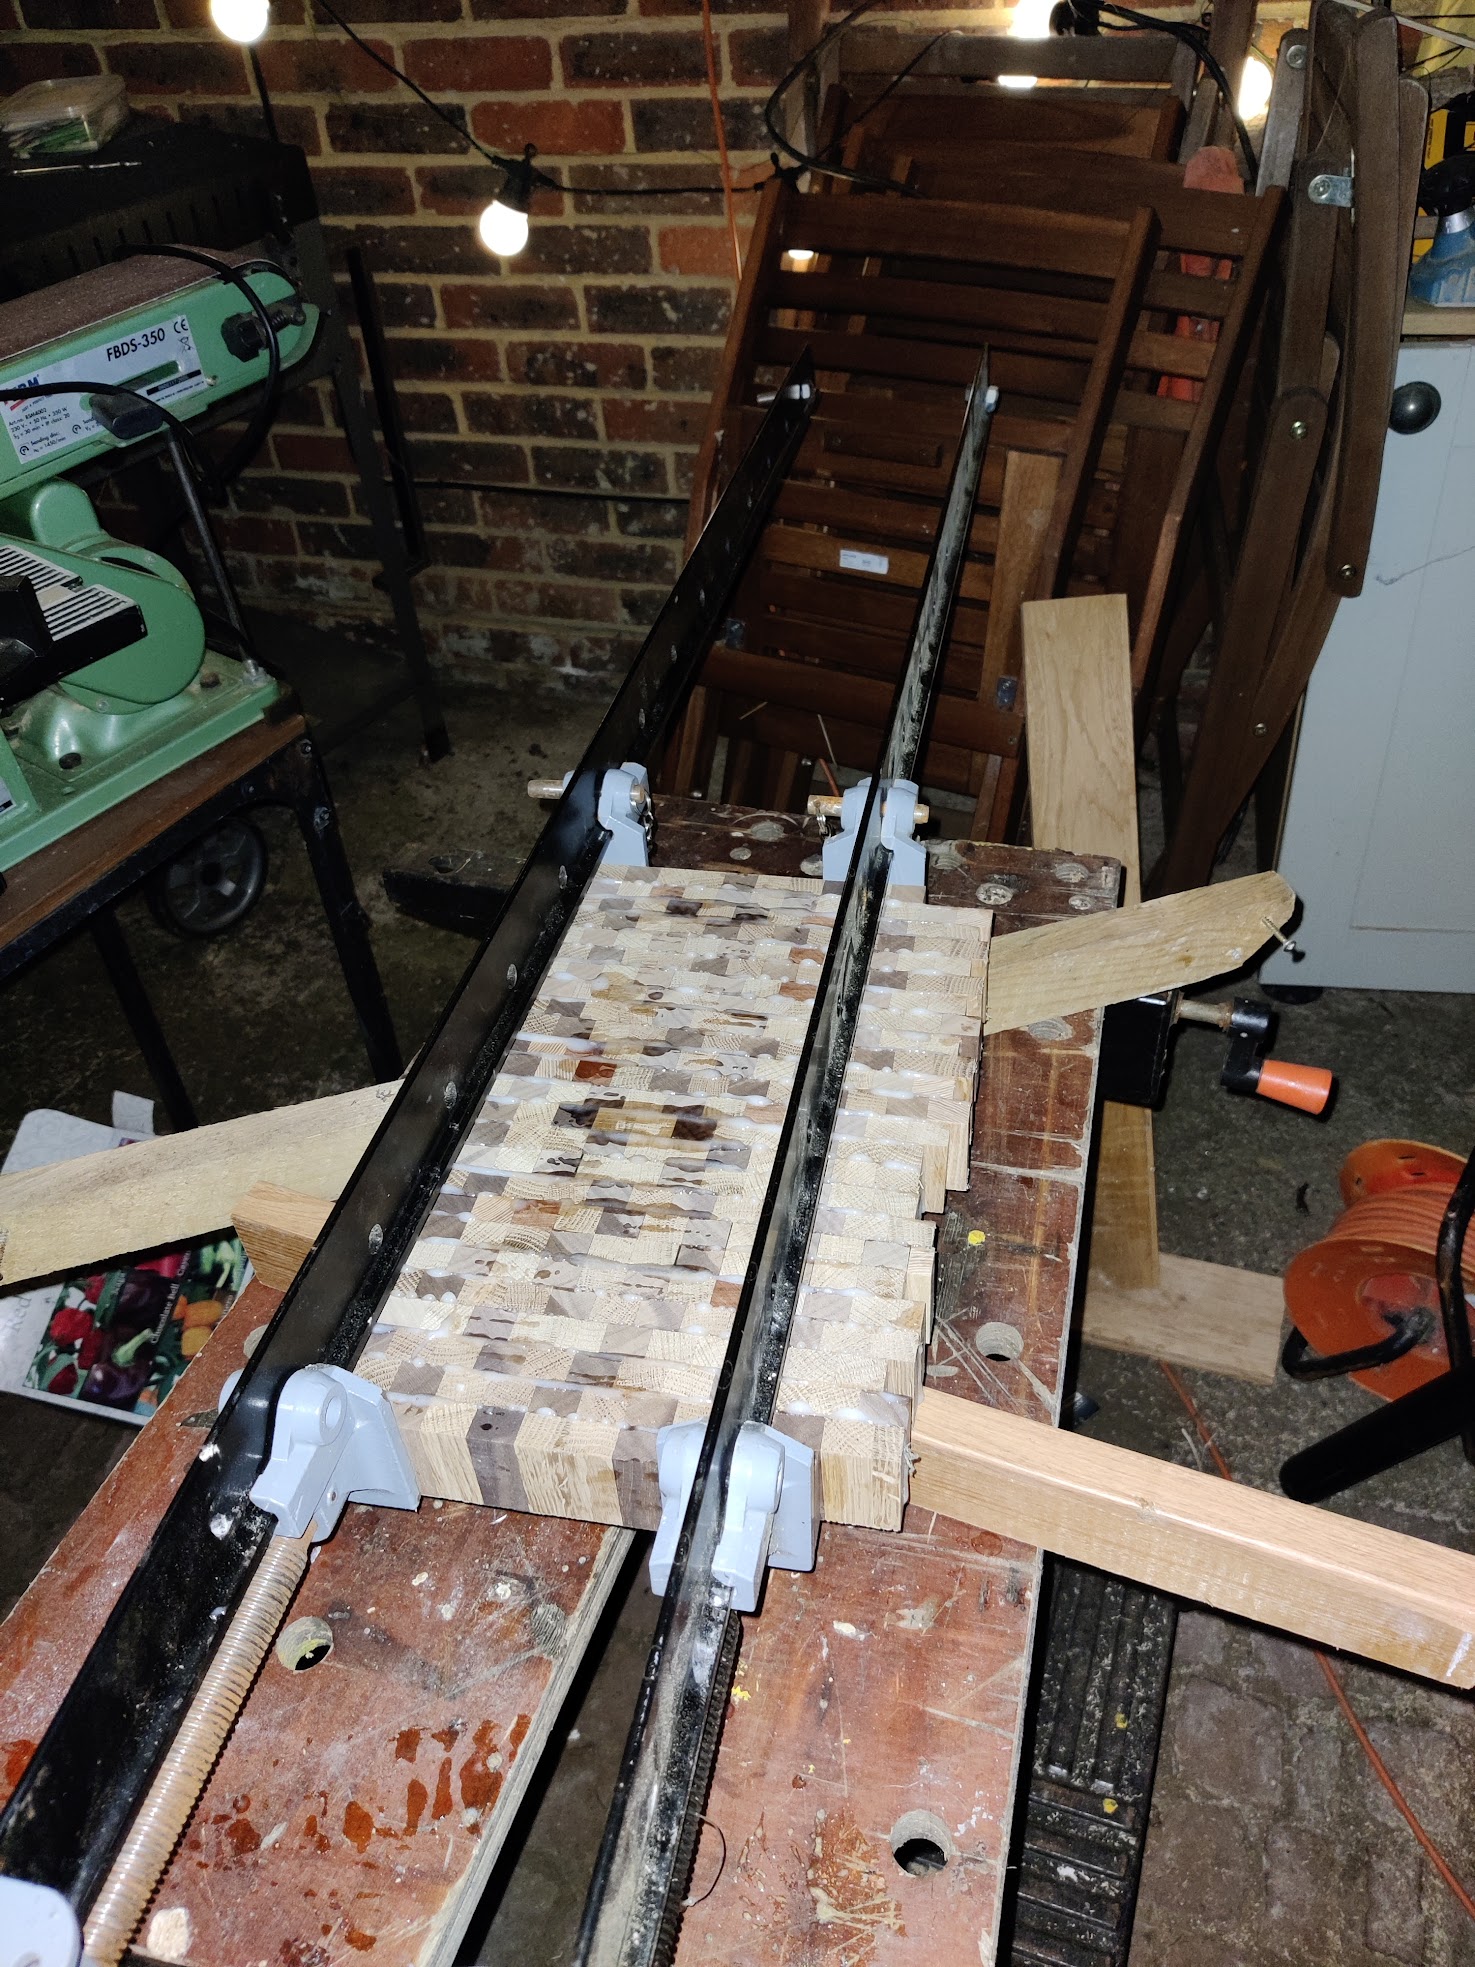
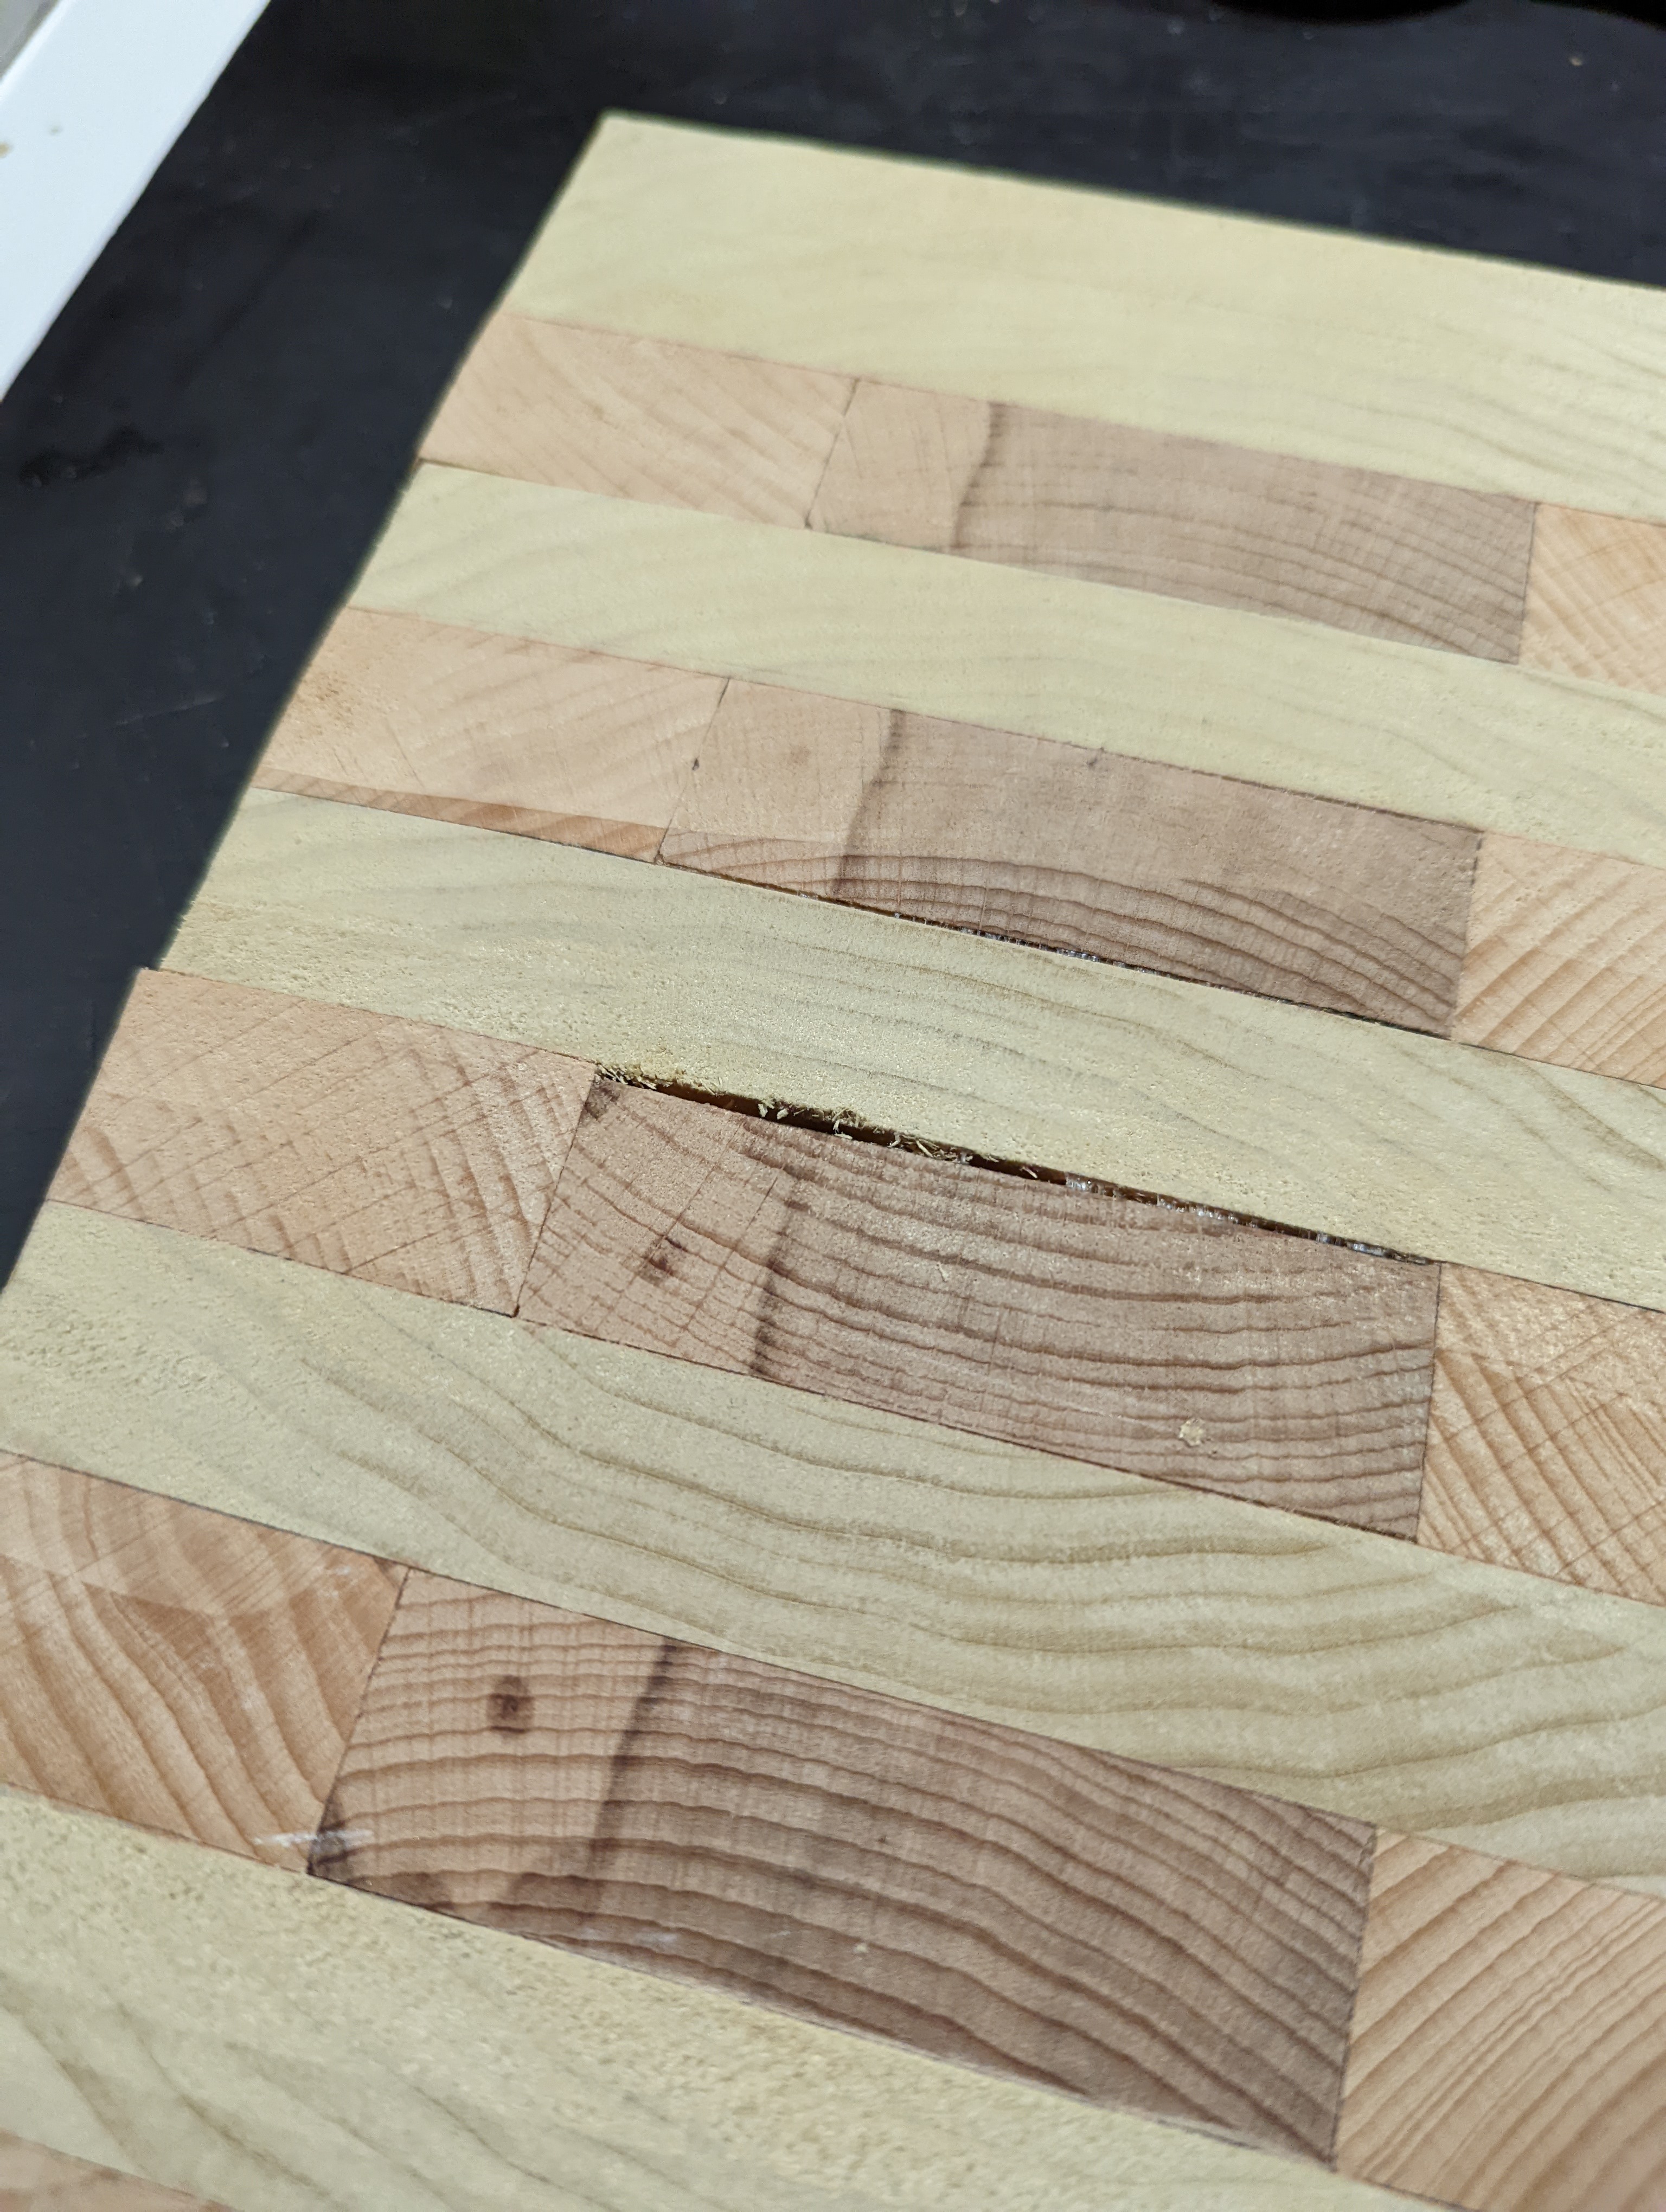
There have been a few issues along the way however much is Being learnt, after wetting it, some parts have started coming apart, I will keep you all updated
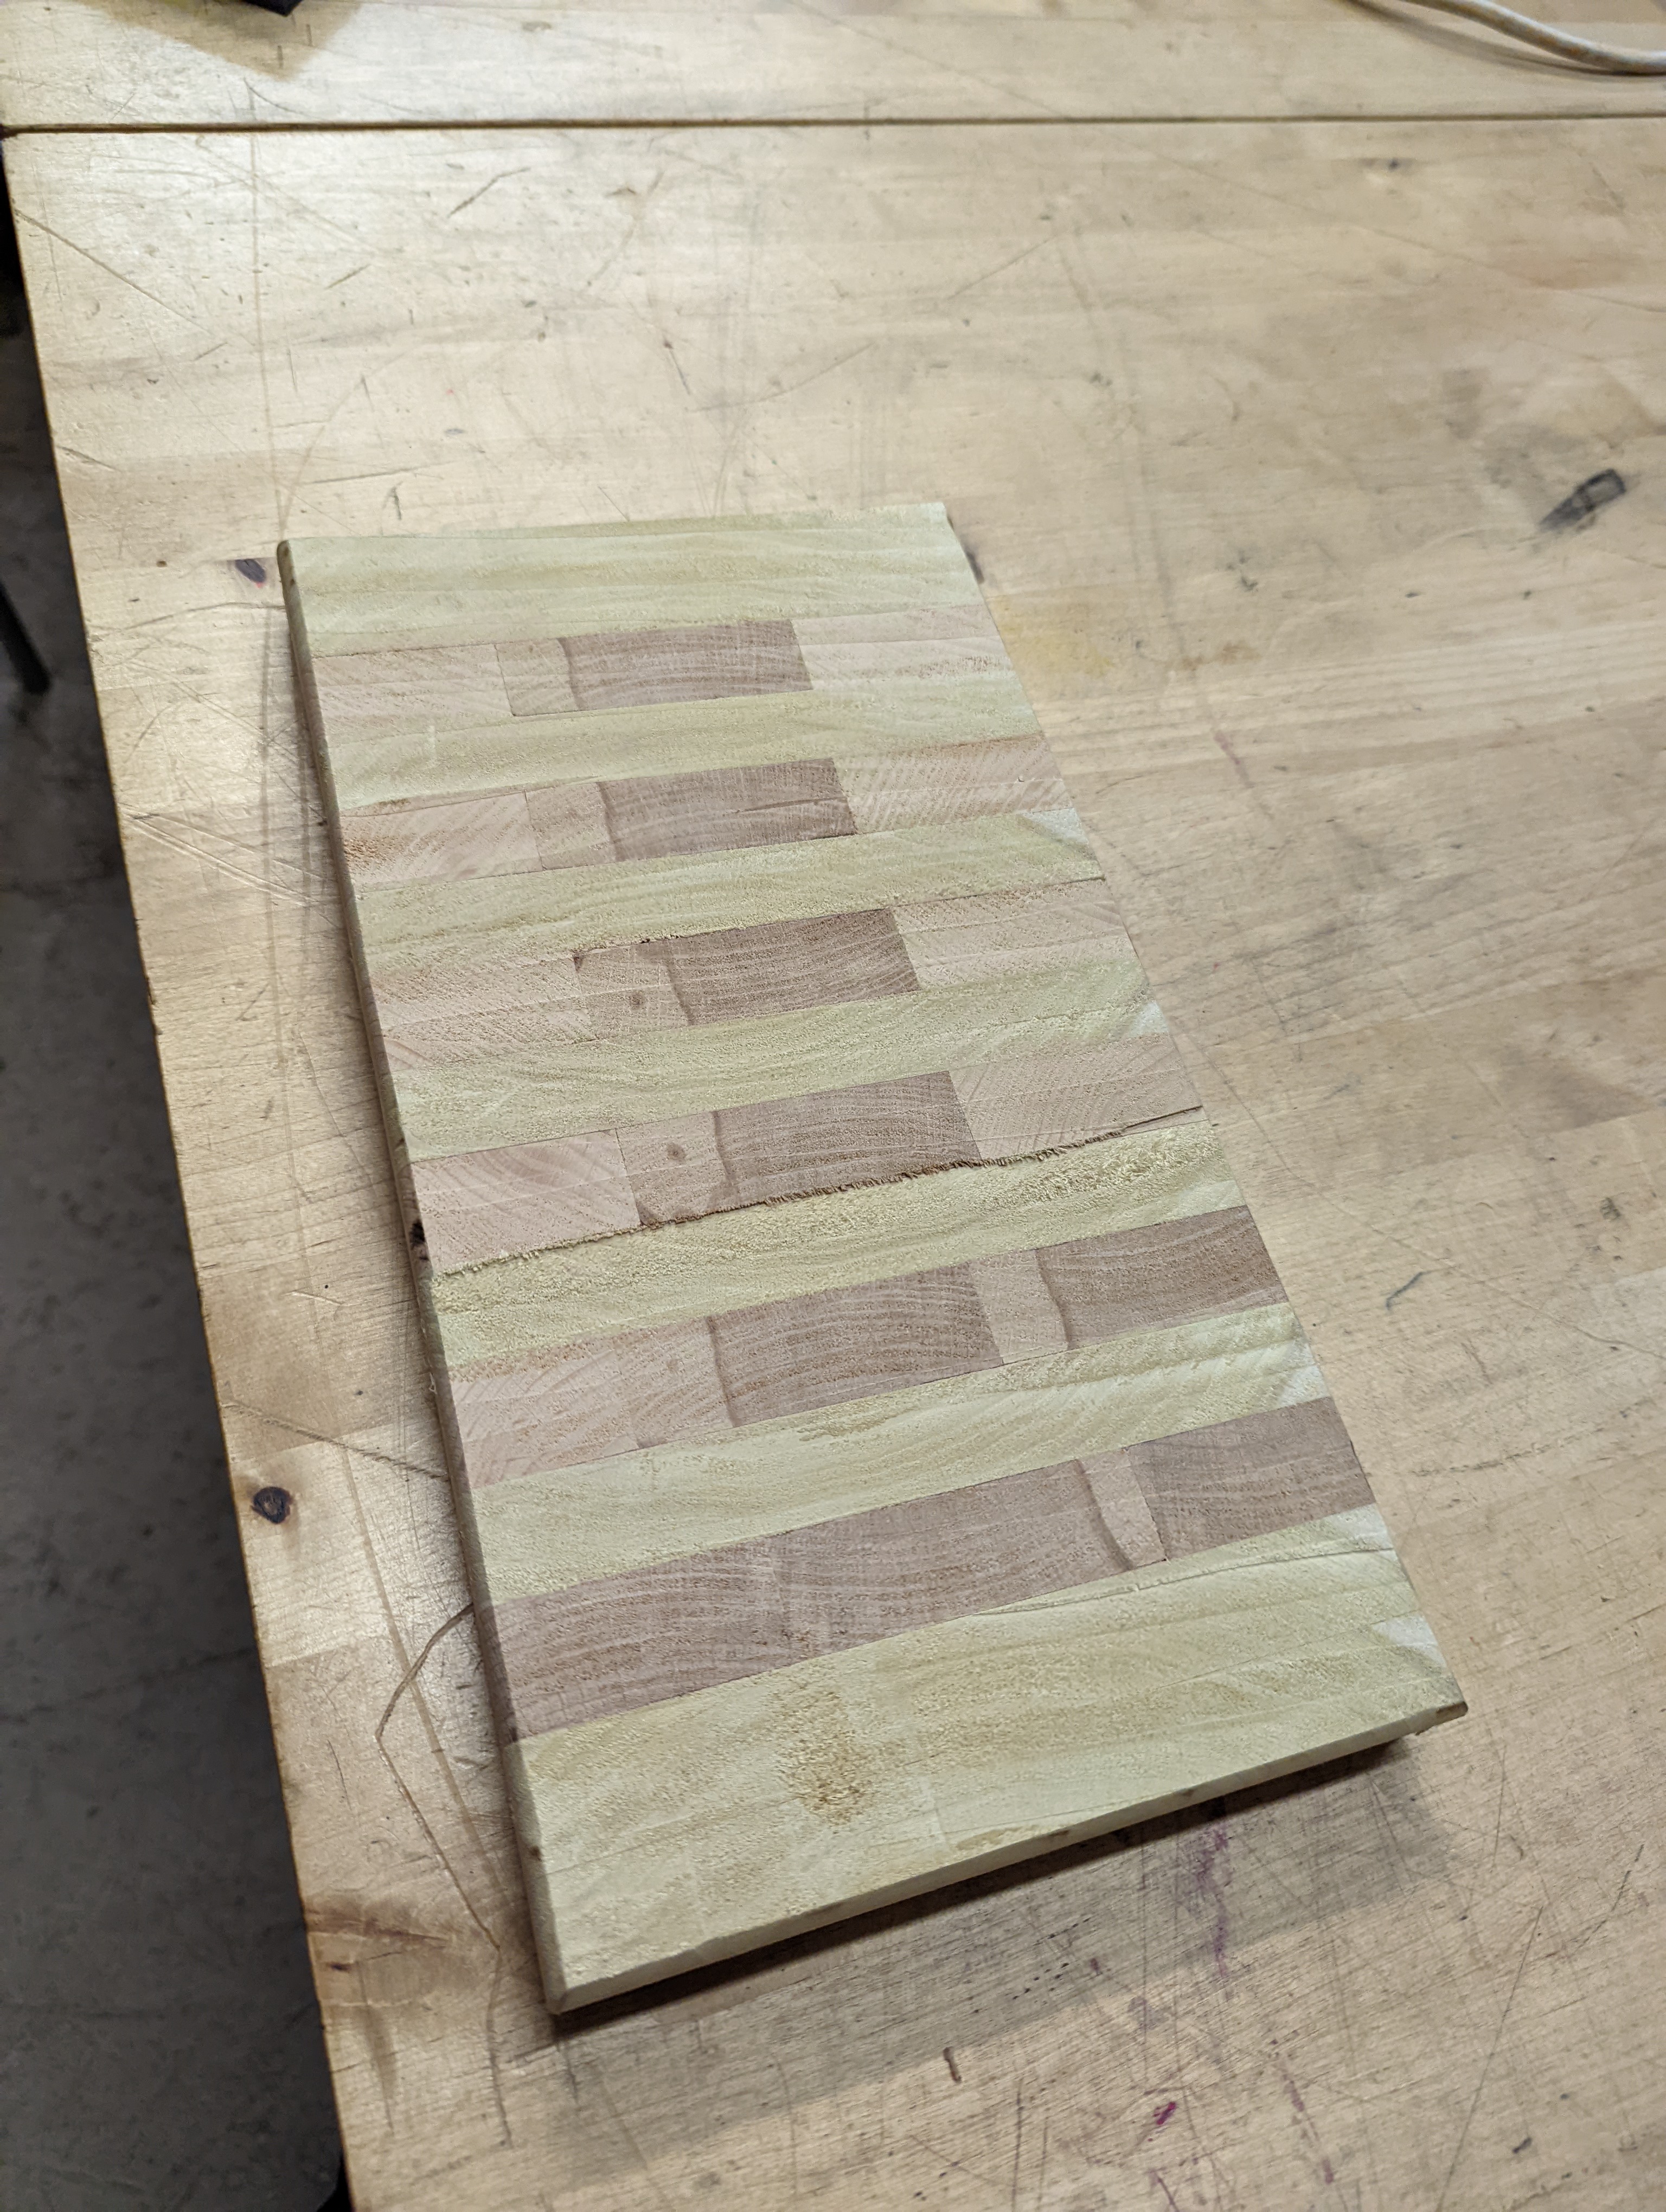
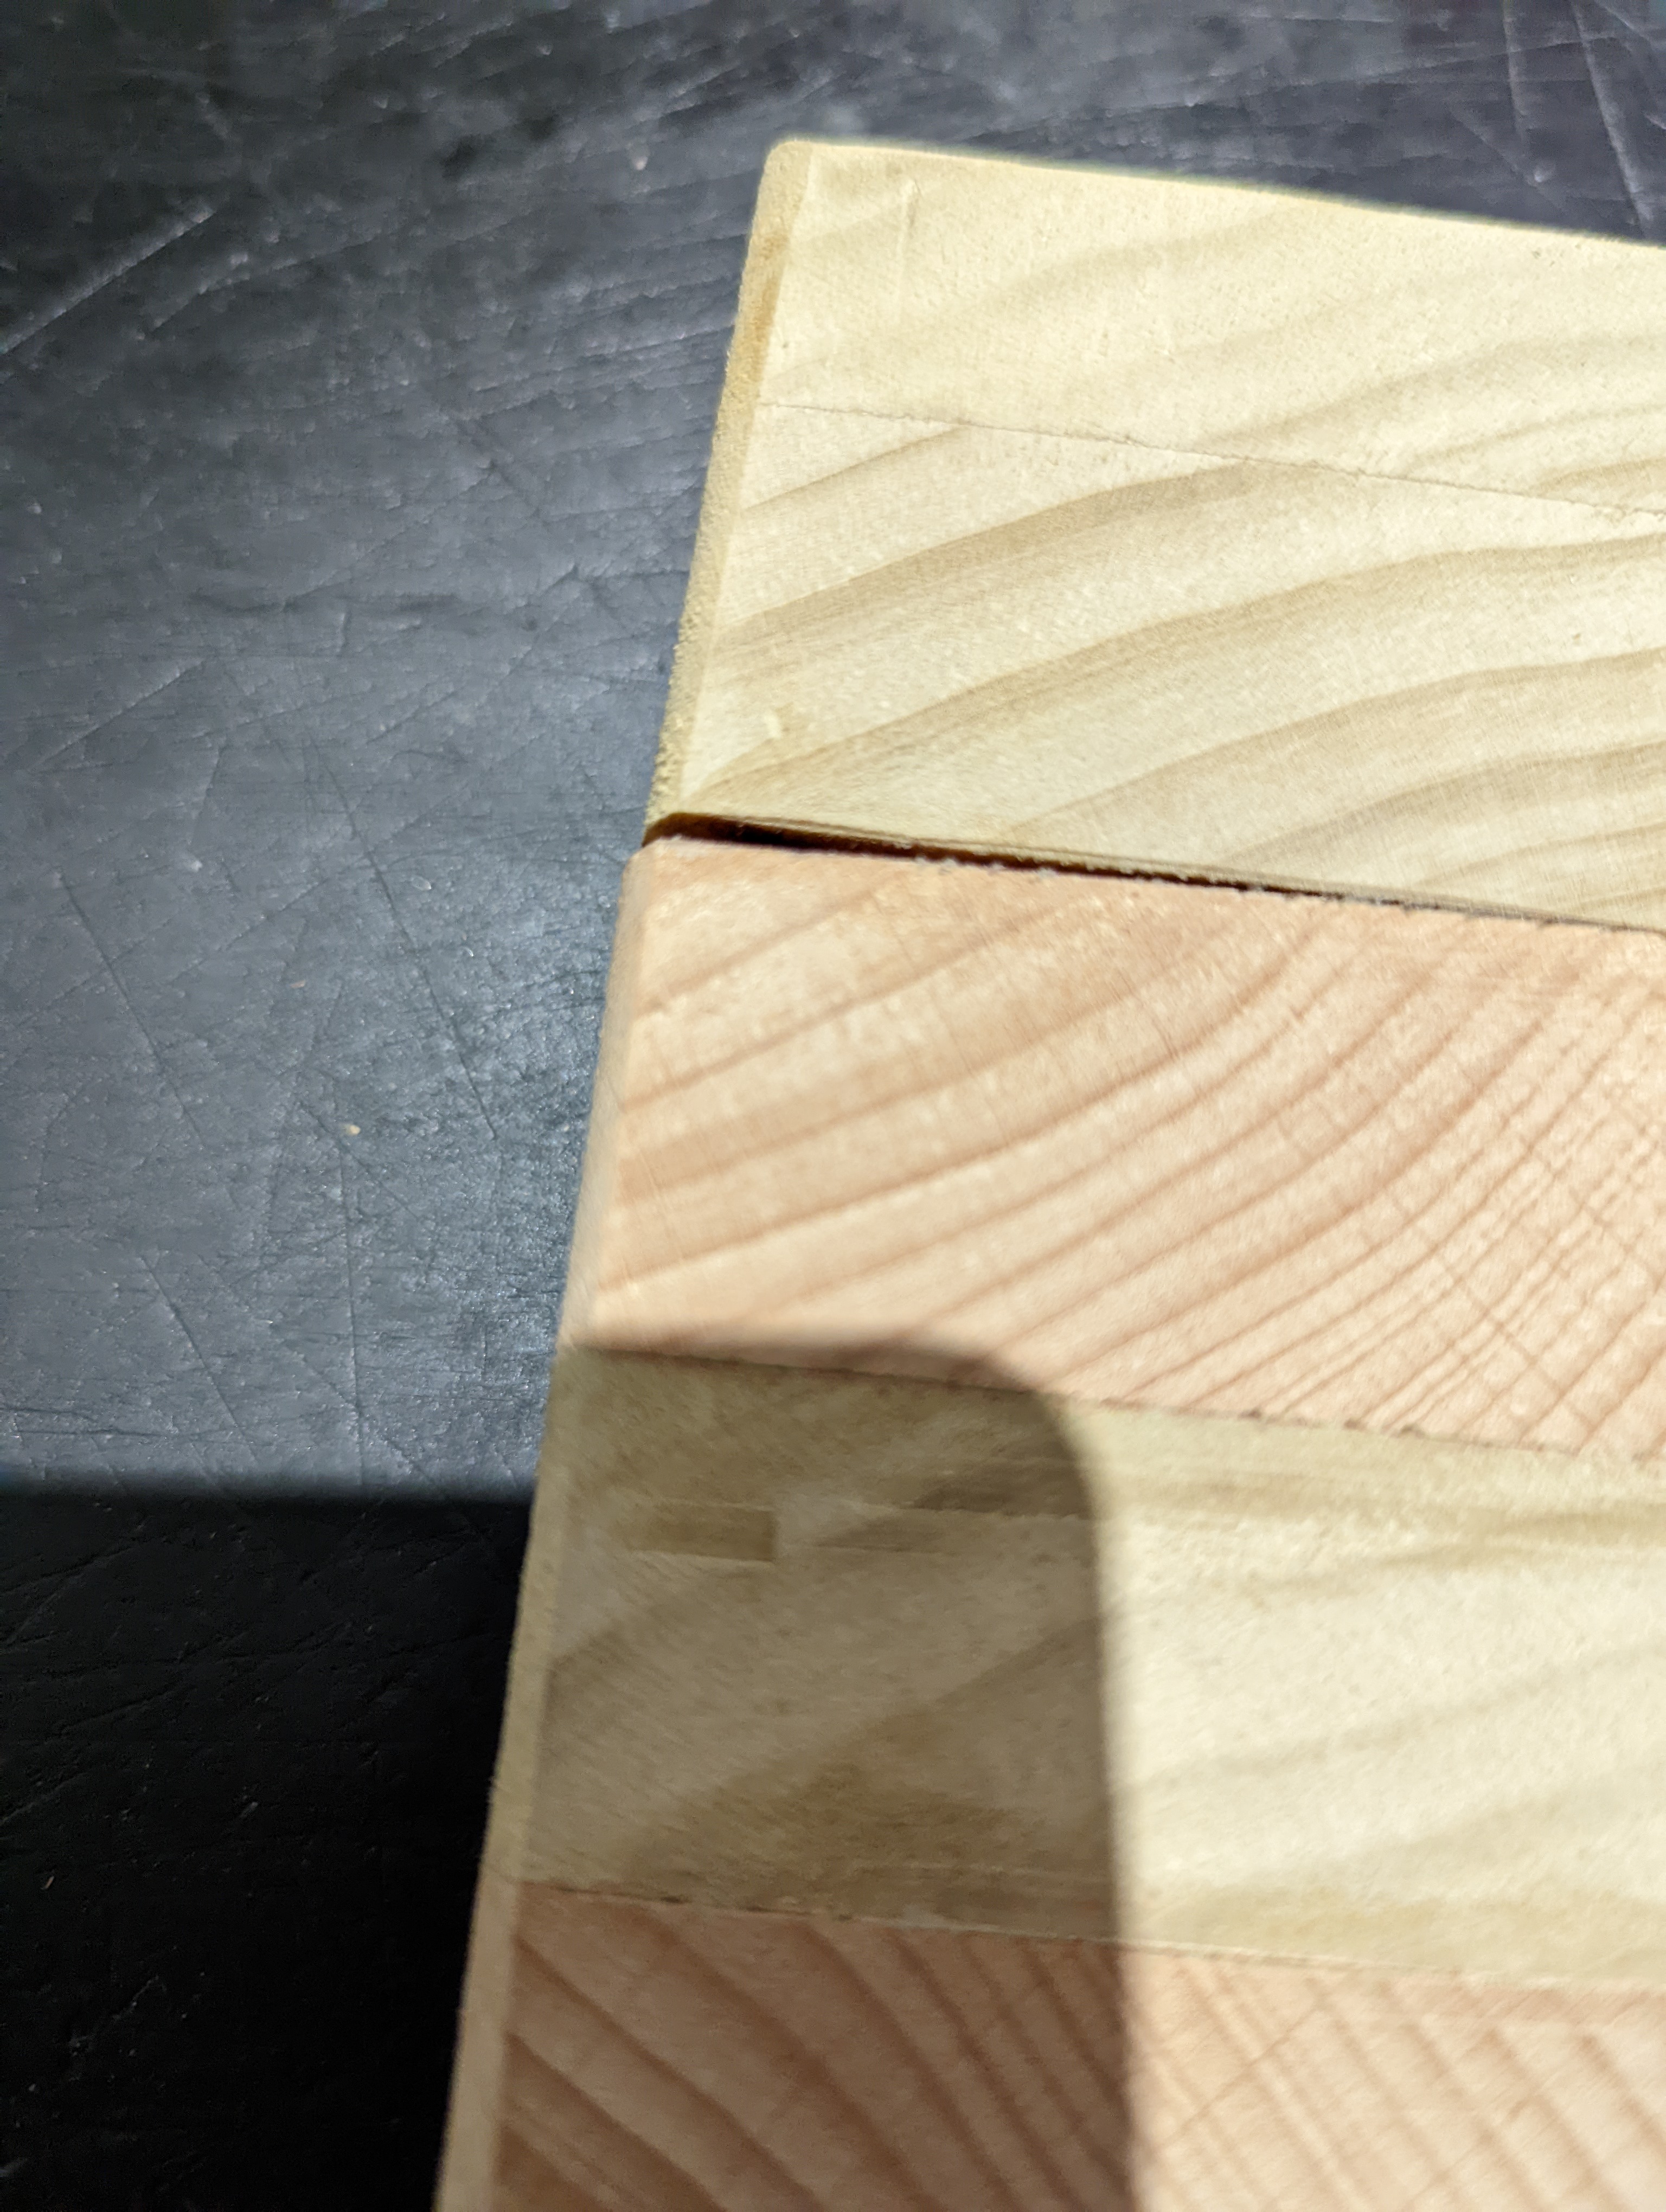
after Sanding then wetting I have had the above changes in what was a very straight and square board. I understand that having all the pieces Thicknessed to the exact same width before gluing will have helped some. But I find the growth of some pieces more than others interesting.
I was wondering if it was the ones I clamped sideways stayed straight, but it looks like they are the ones that have blown out. At the minute I am putting it down to the pieces not being put through the thicknesser to ensure they are all the same thickness / Square before gluing.
I have sanded it down this morning and am giving it an oil and condition, I will post more photos
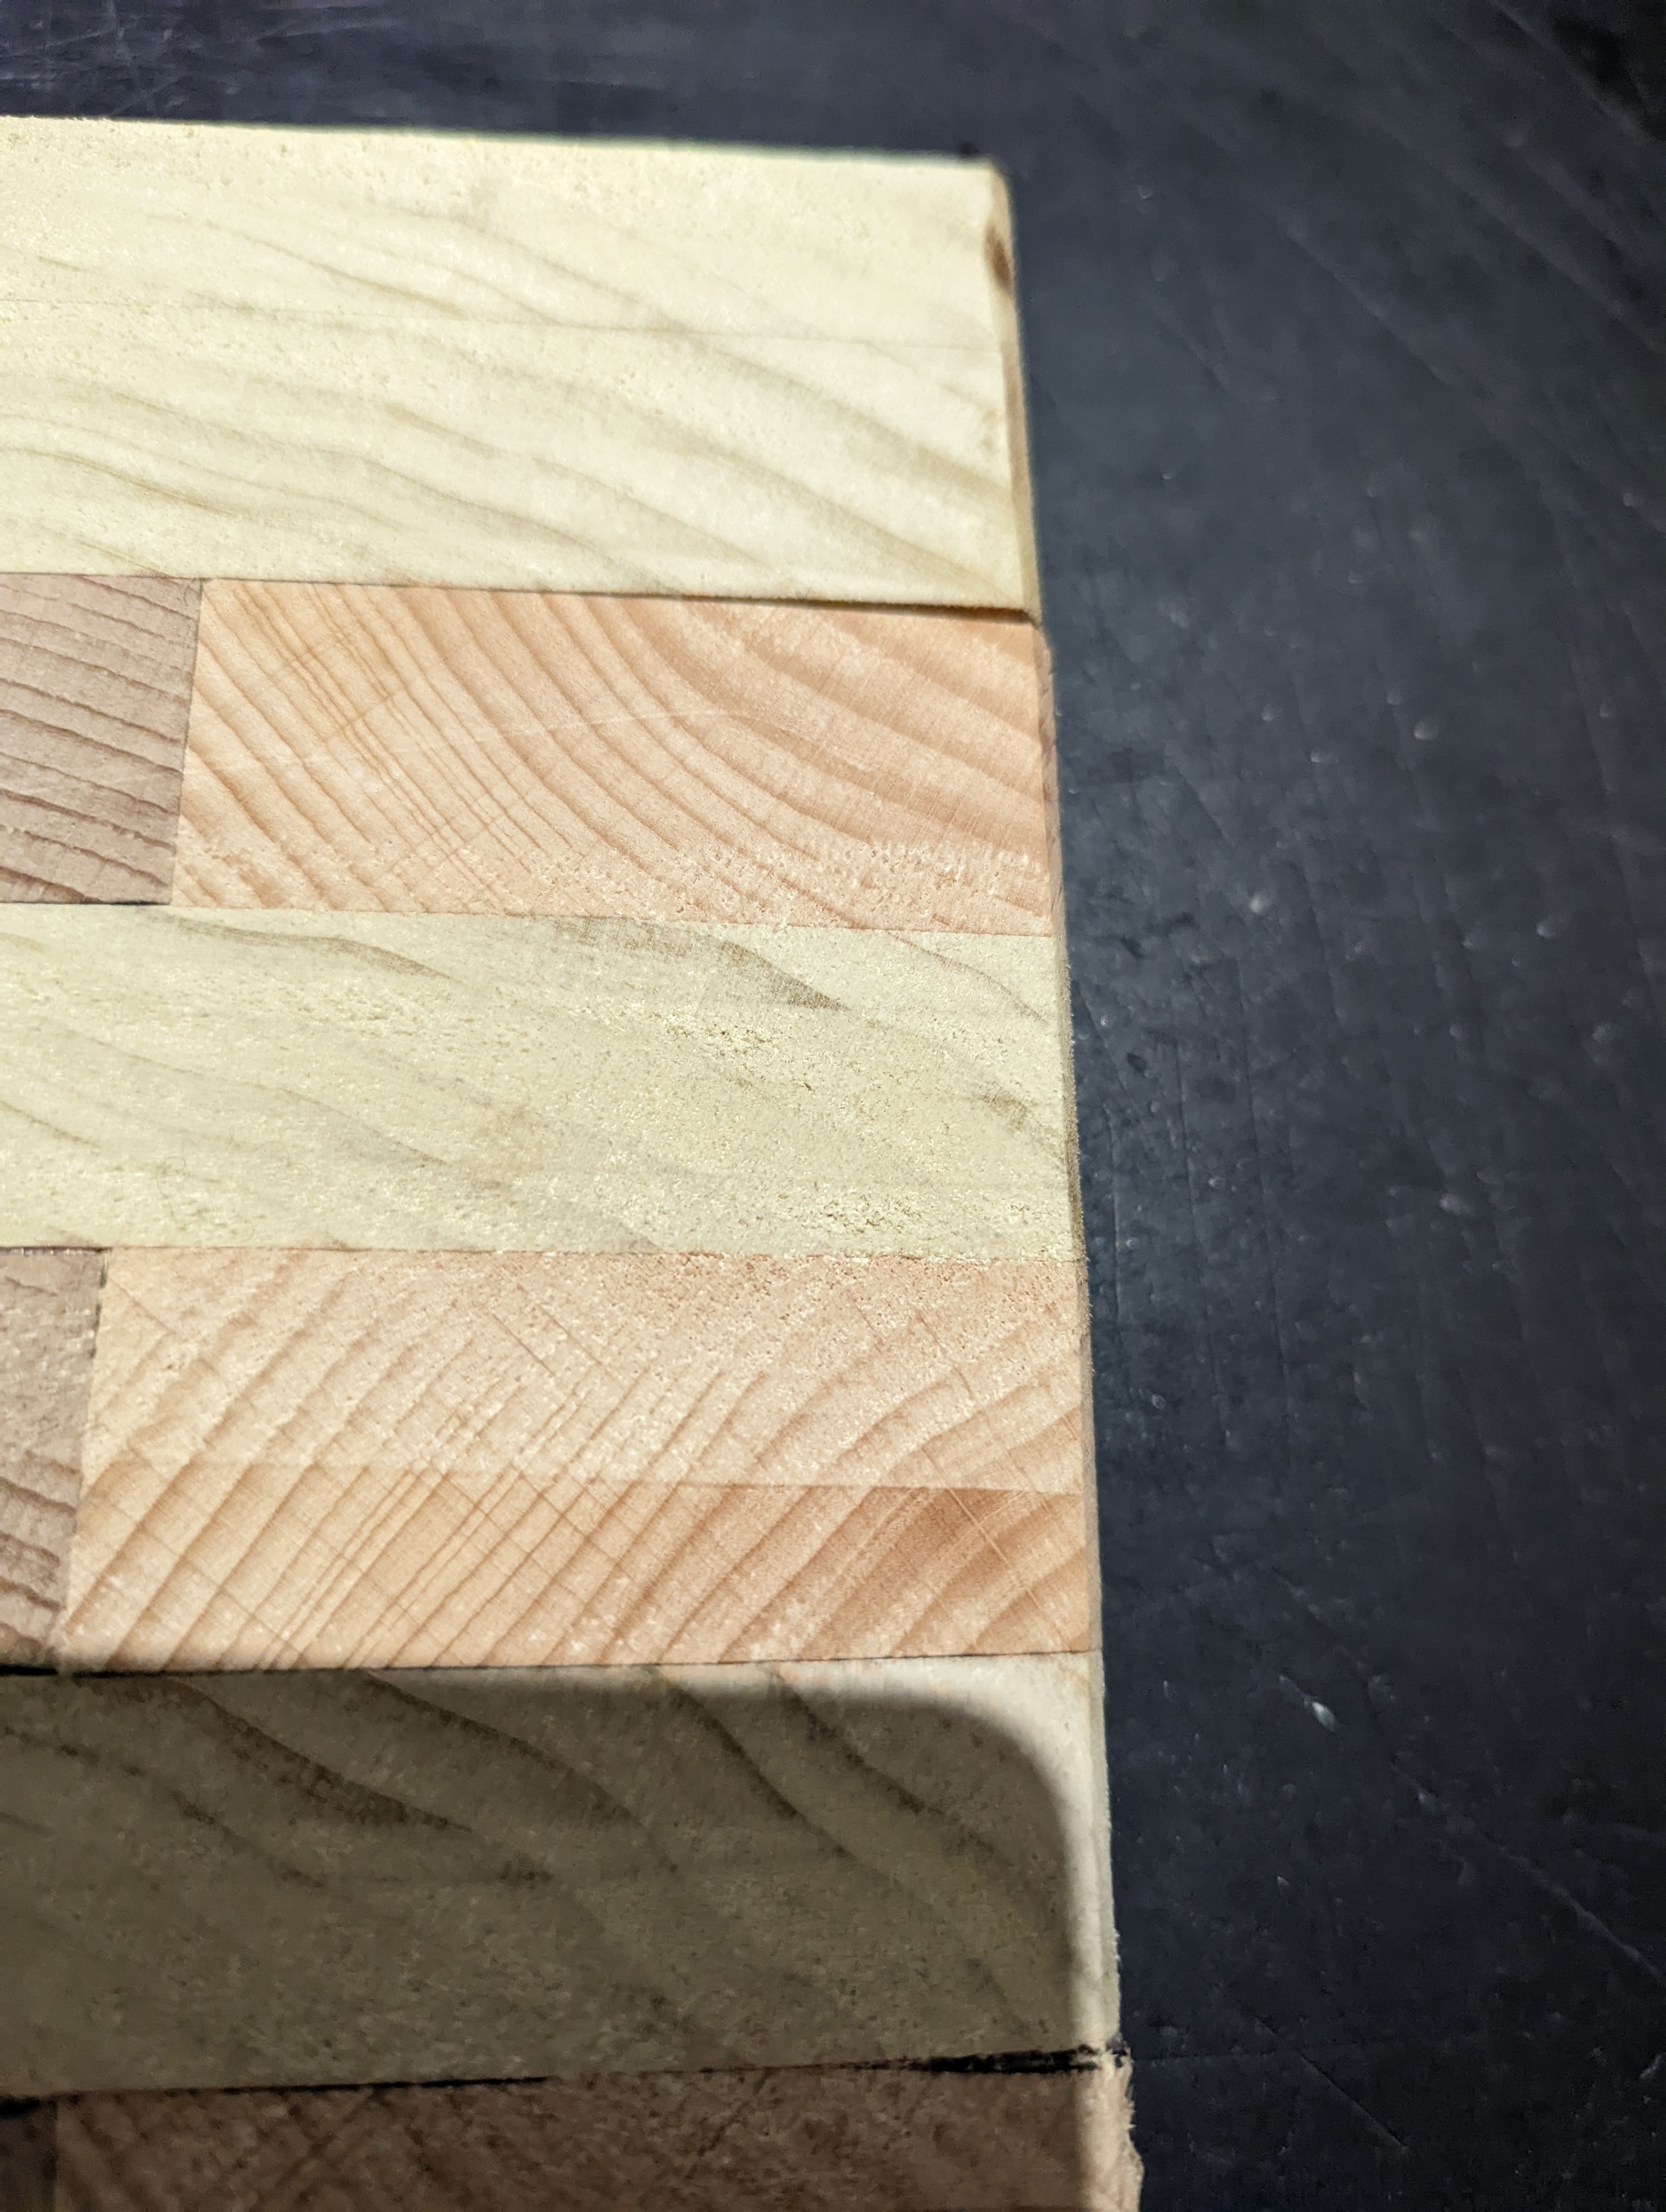
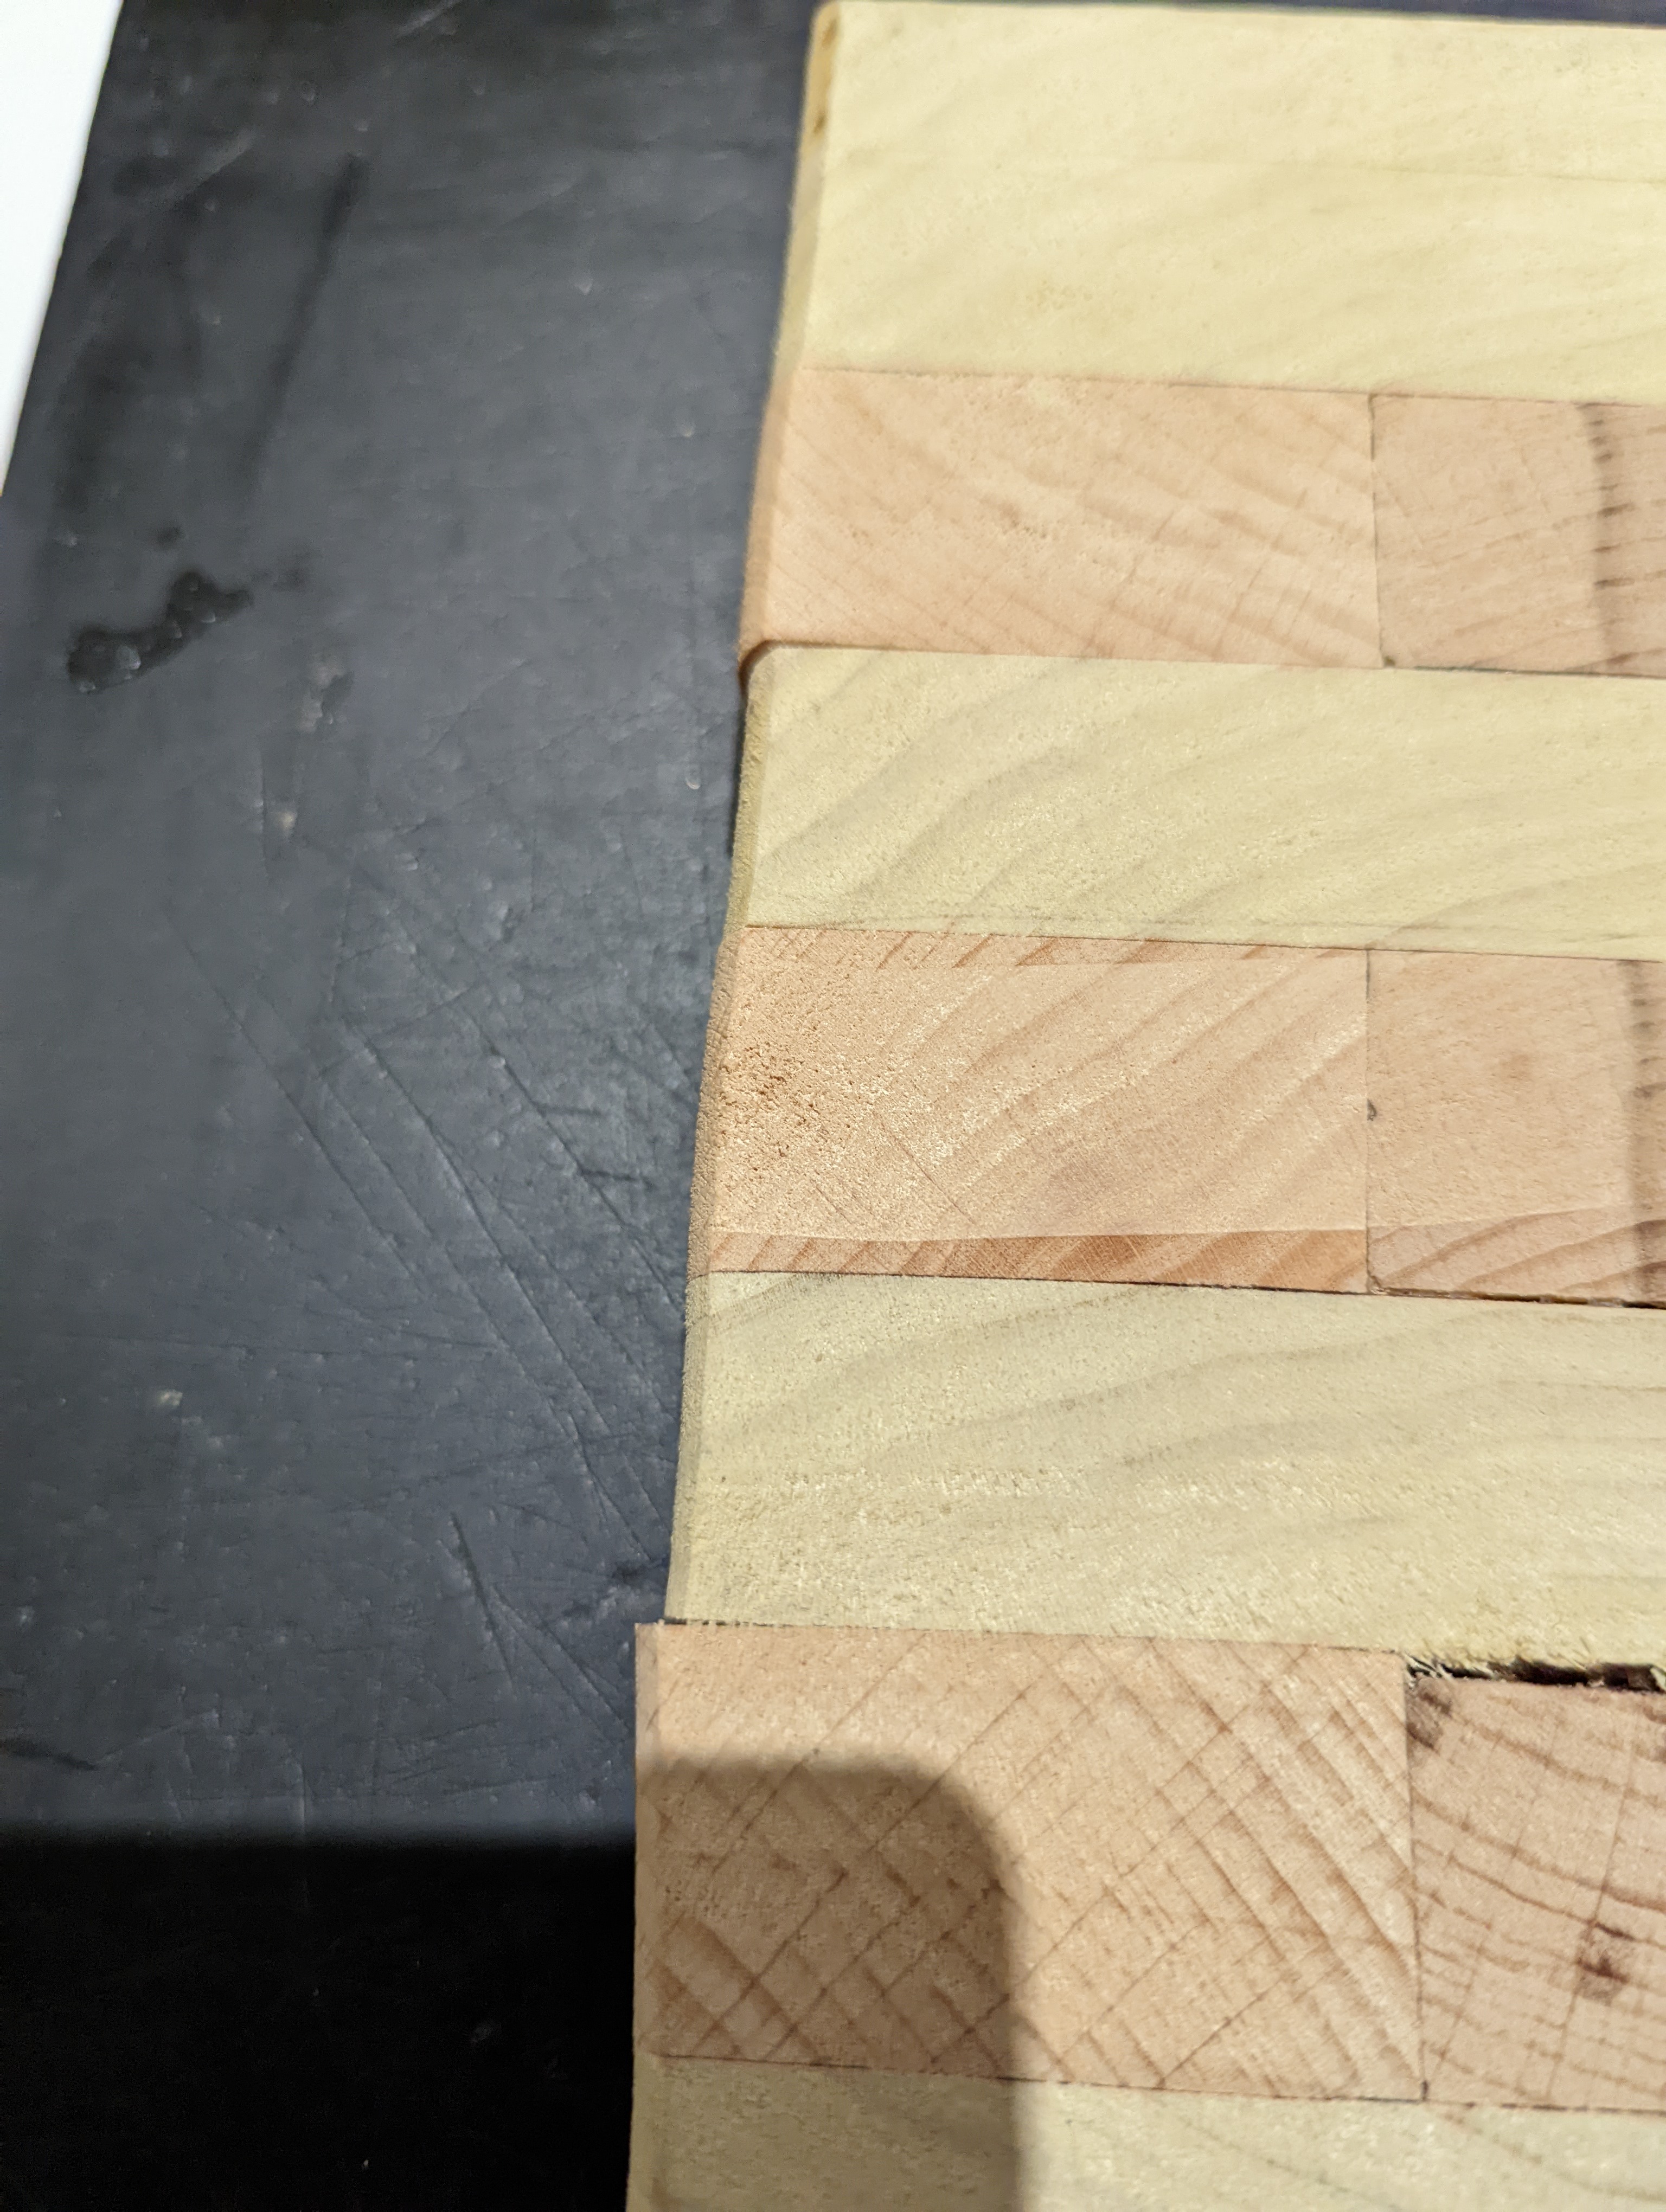
You’re right, thicknessing would have gone a long way to have alleviated some of gaps between the pieces. The gaps do look like the glue has failed, this is probably just too much space between the pieces when glueing or not enough glue was applied.
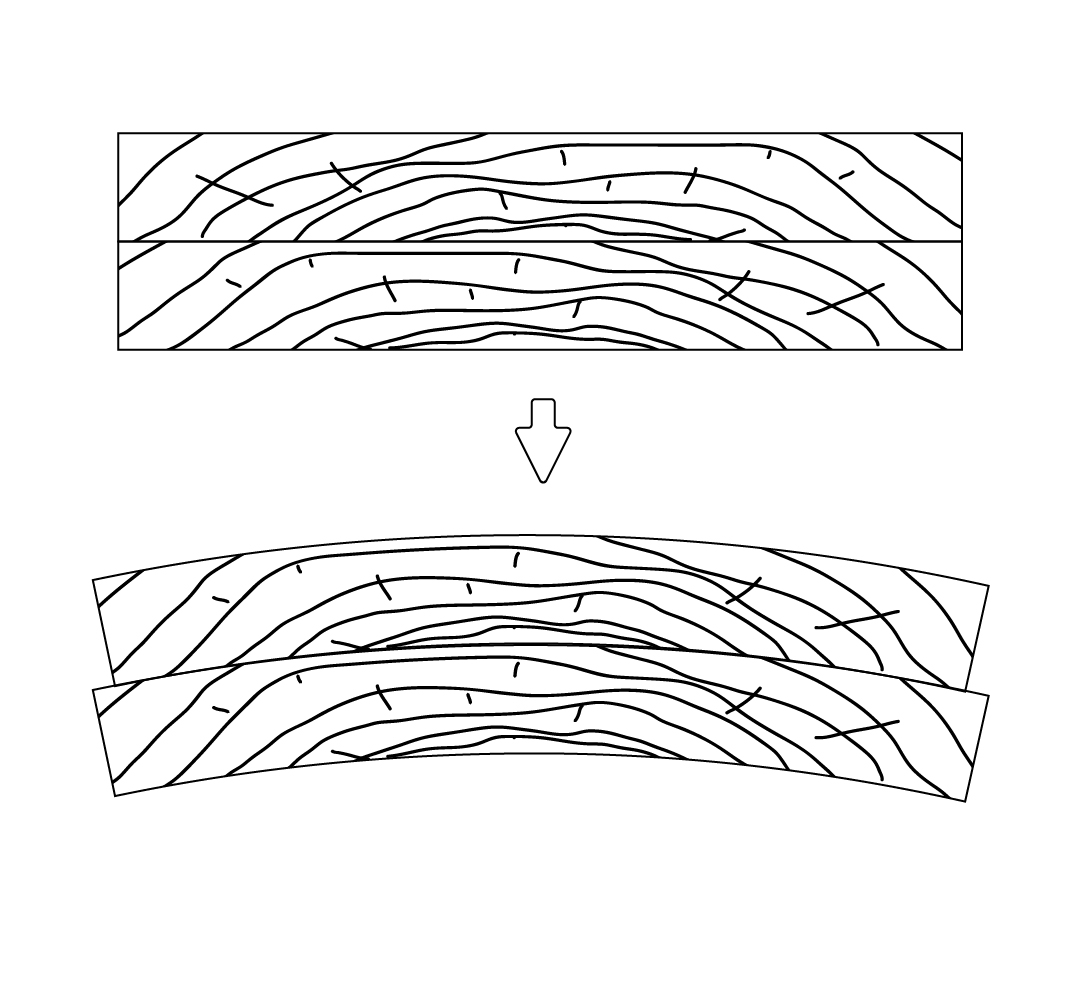
How thick is the board? Ideally you’d want it around 2", which will give more clamping surface and reduce the amount of movement through the boards. I noticed both your end boards have the grain direction the same way. Because you’ve cut the boards, you’ve released some tension on the fibers, having both grains pointing downwards will double the amount they want to cup. If it’s glued properly, this won’t be an issue, but could still pose a problem for you.
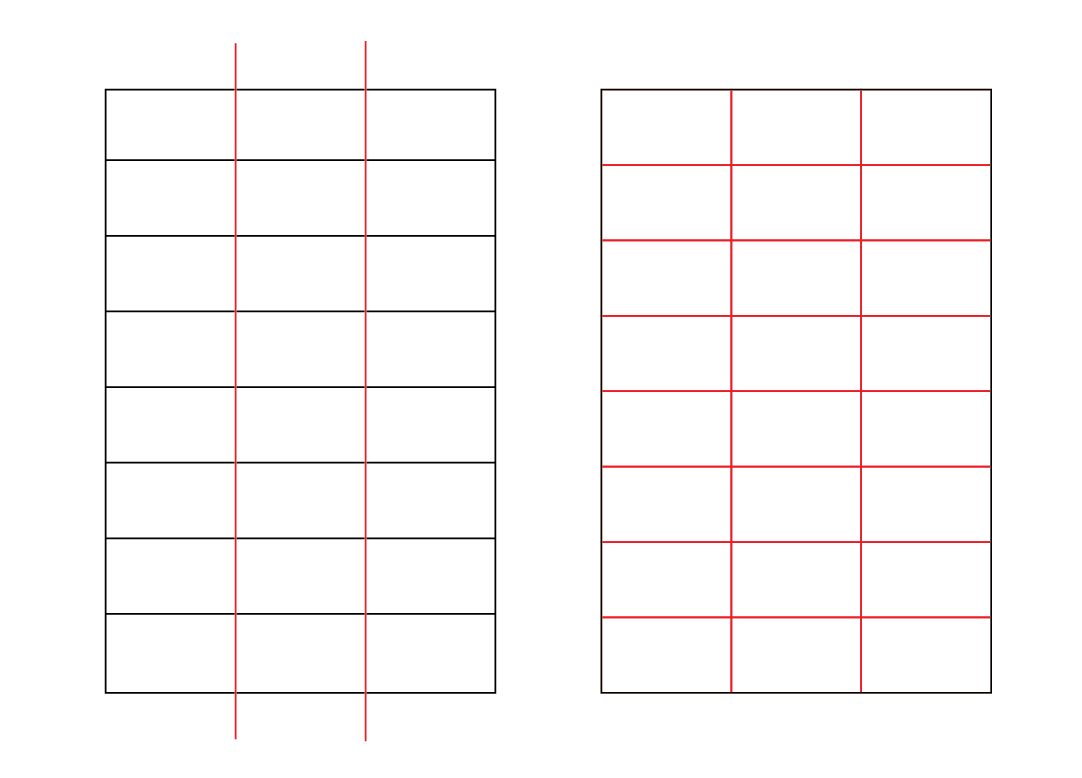
What you could do, which may or may not give you more of a headache, but will allow you to clean up the edges a bit, and make the grain pattern more wavy, is it cut the board into 3, rotate the cente piece and glue it back together, it’ll add a bit of randomness to the board as well, you could go further and rip the board into 4, but for every cut you’re losing 3mm.
To finish the board, have a look at this link. He outlines how to make your own cuttting board butter using beeswax and mineral oil. https://www.instagram.com/p/Cc5sJTjFaHU/
The grain is going to look amazing once it gets an oil on it though, looking forward to seeing that part.
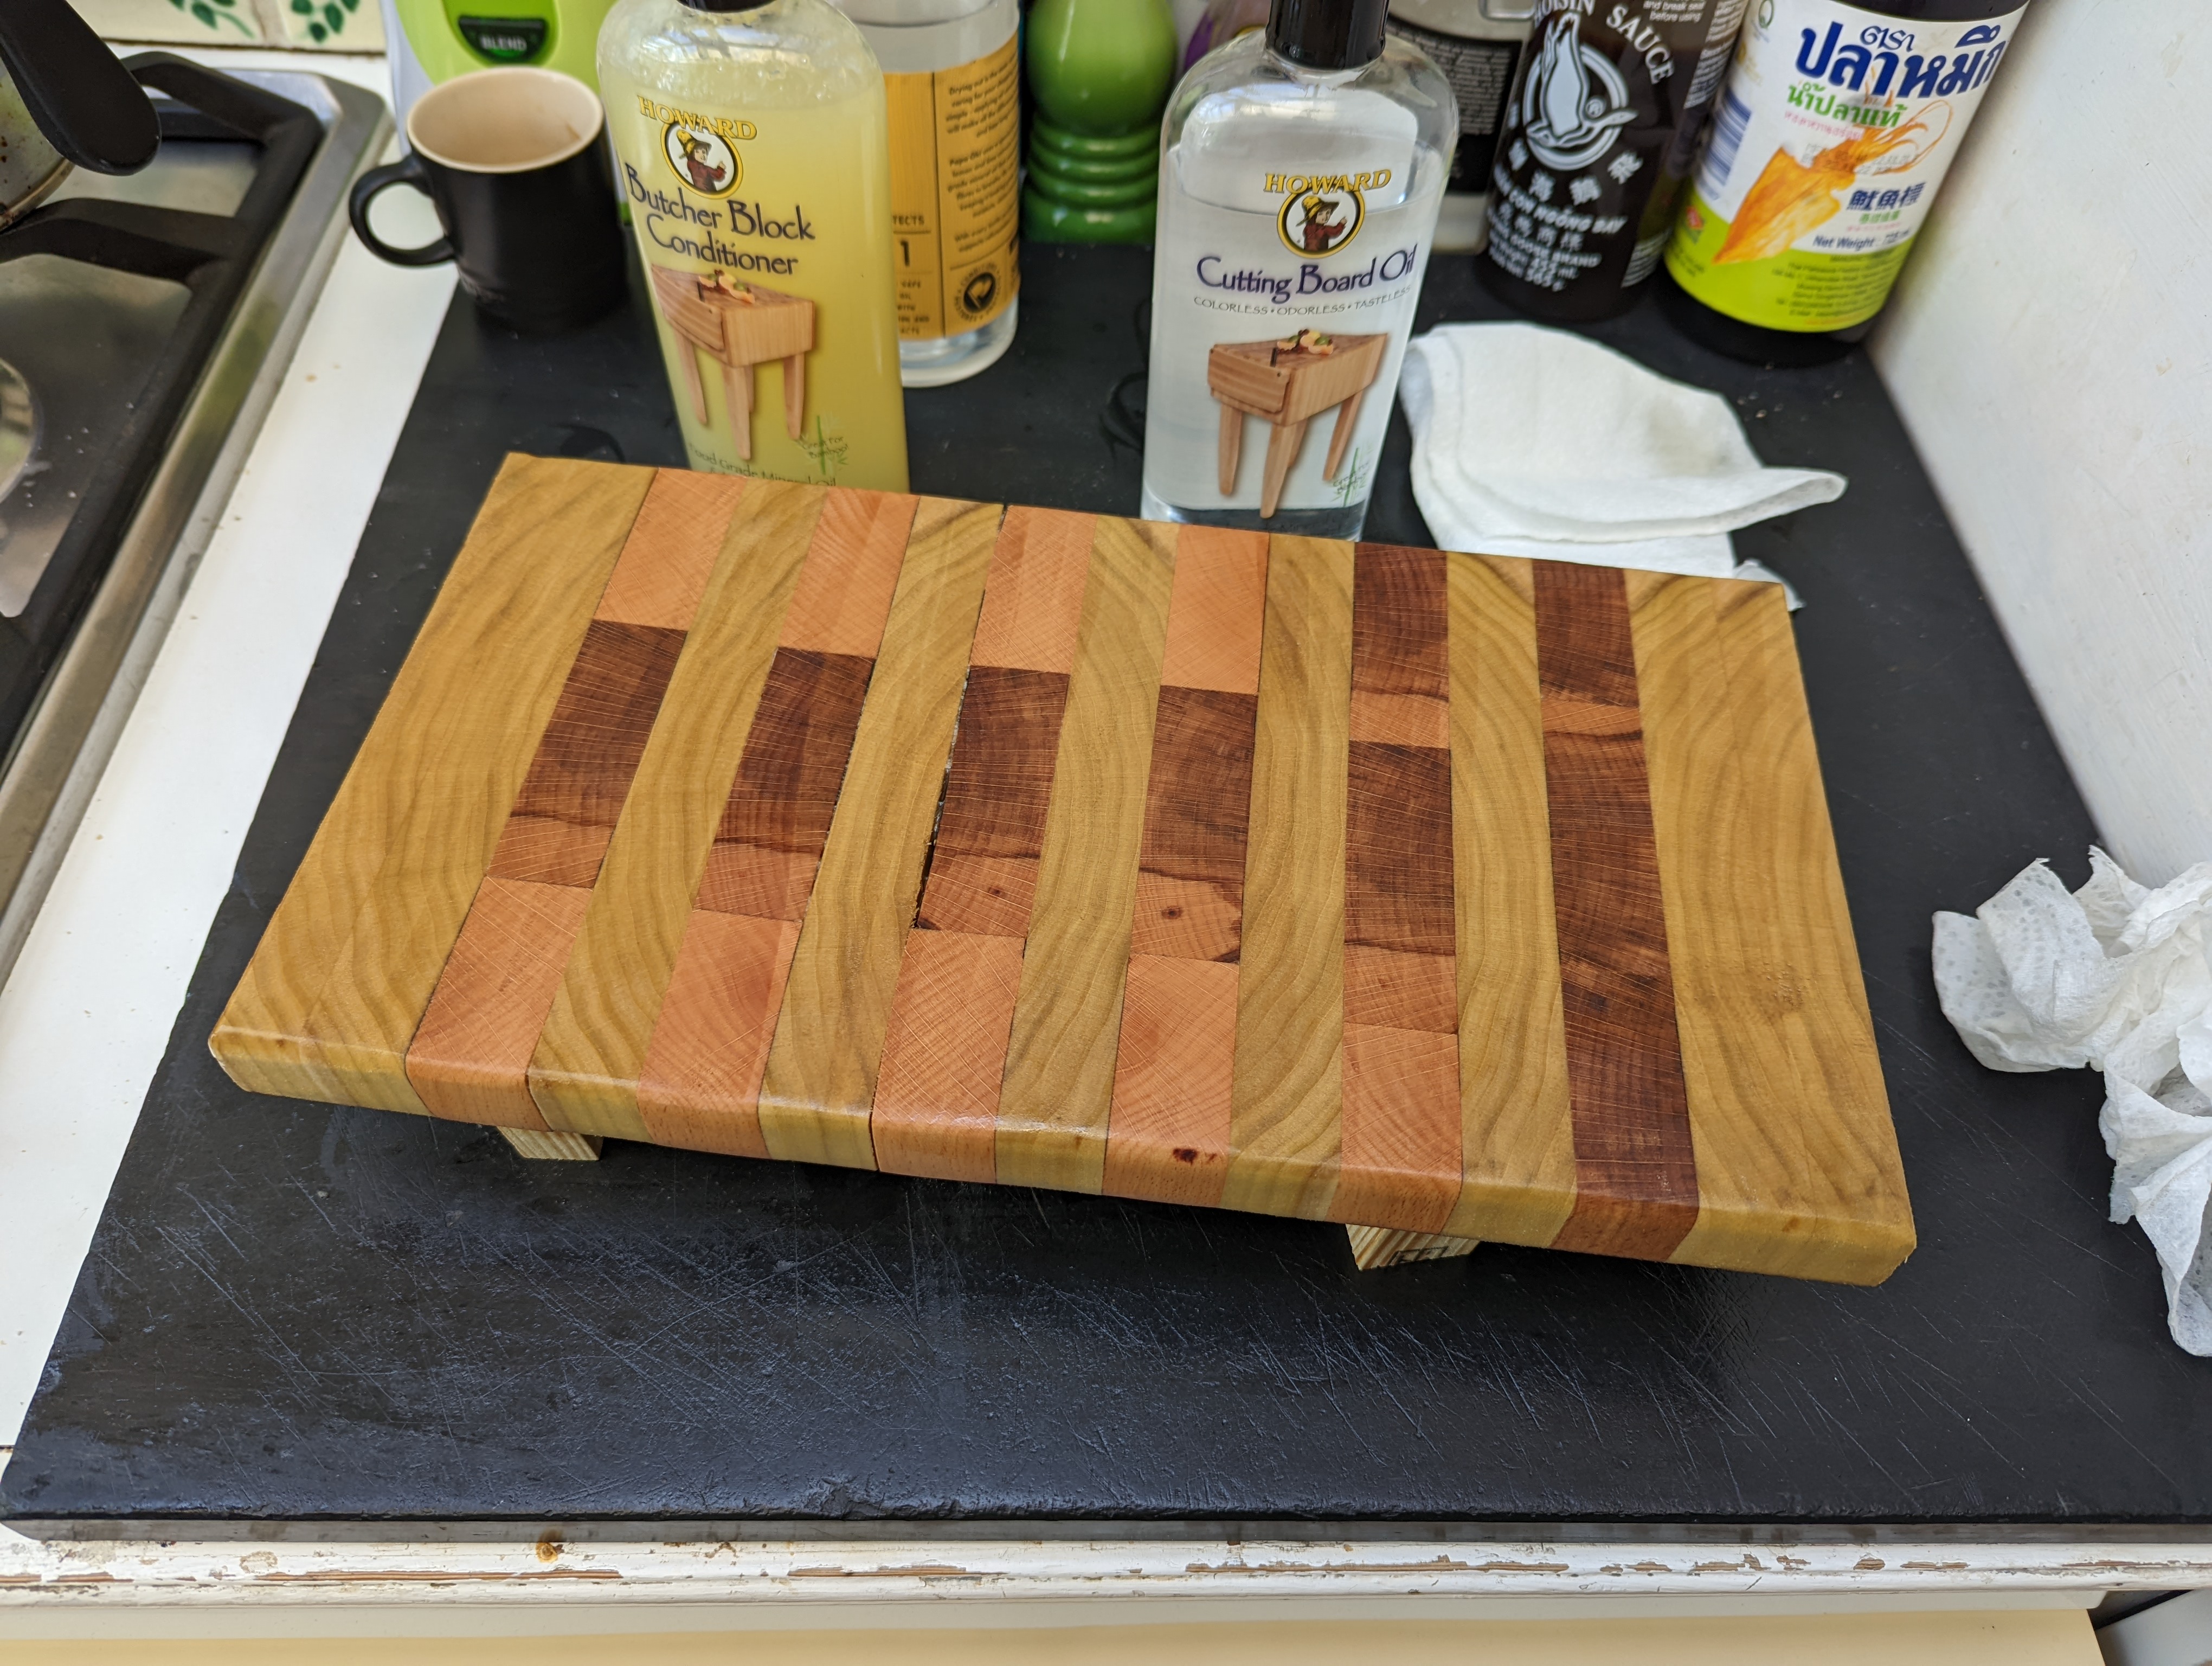
This is my test board, cut on the table saw to ~25mm from memory, to Learn on so I’m not too fussed how this one turns out as its all about the learning, the next one I will definitely want to use the Thicknesser and all the other Lessons I’ve learnt alone the way.
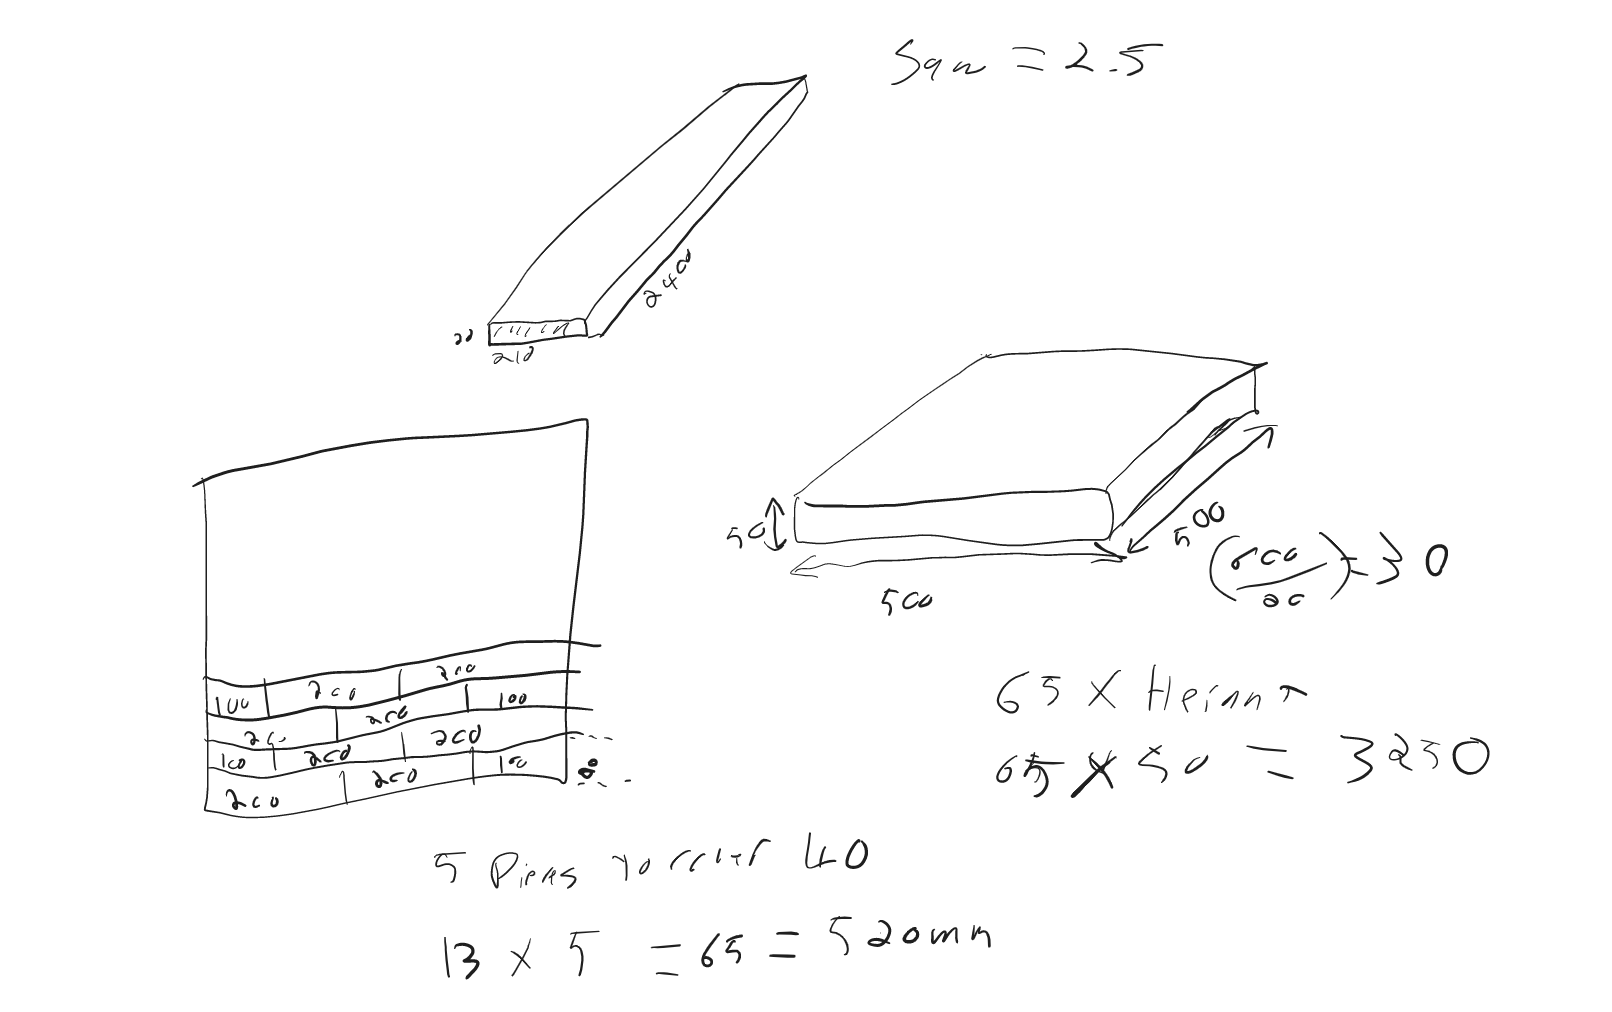
For the next board that I want to make I was thinking of getting ~3.3m of 210 mm x 20mm PSE Beechwood and cutting at 50mm intervals (47mm after the saw blade) to make a 510mm x 510mm x 47mm Block.
here is the current status after 3 coats of oil and 1 of wax
I was going to go as far as to put adjustable feet (My Kitchen isn’t level), a Moat and a drain in it so it will be a fixture in my kitchen, by my math it should come in at a little over 11kgs
Please excuse the following Scrawl, however this is the current “Plan”