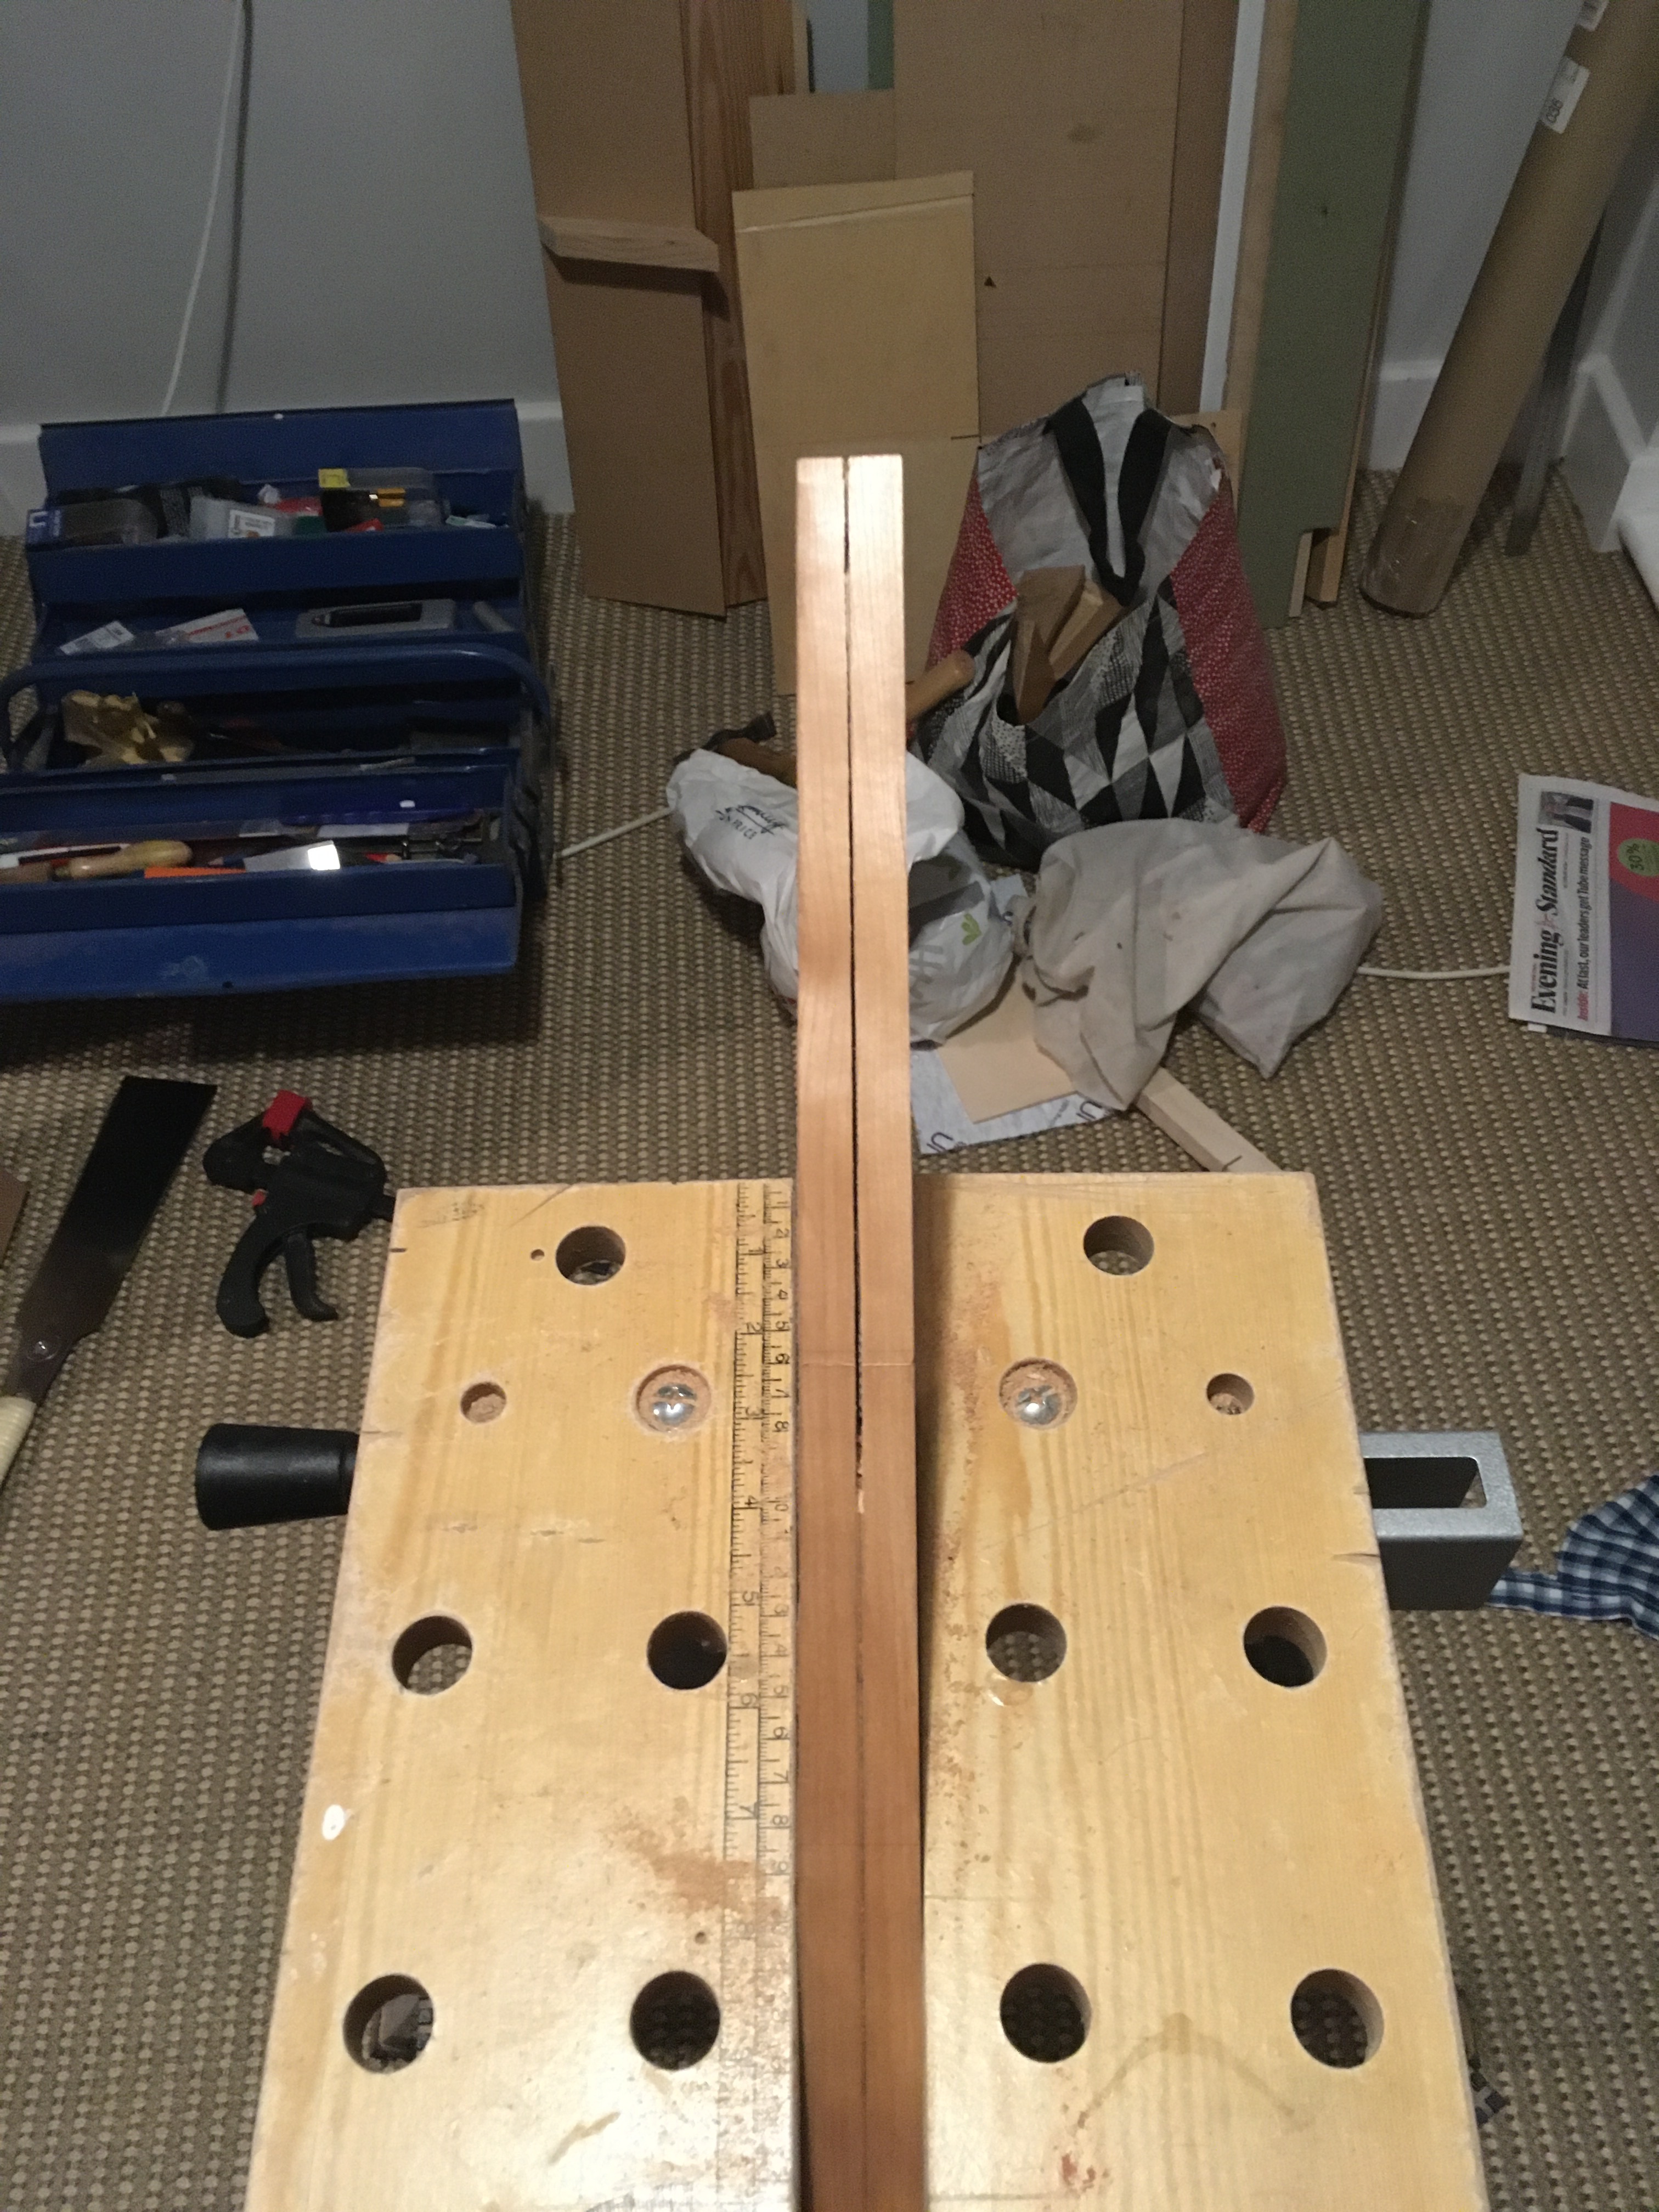
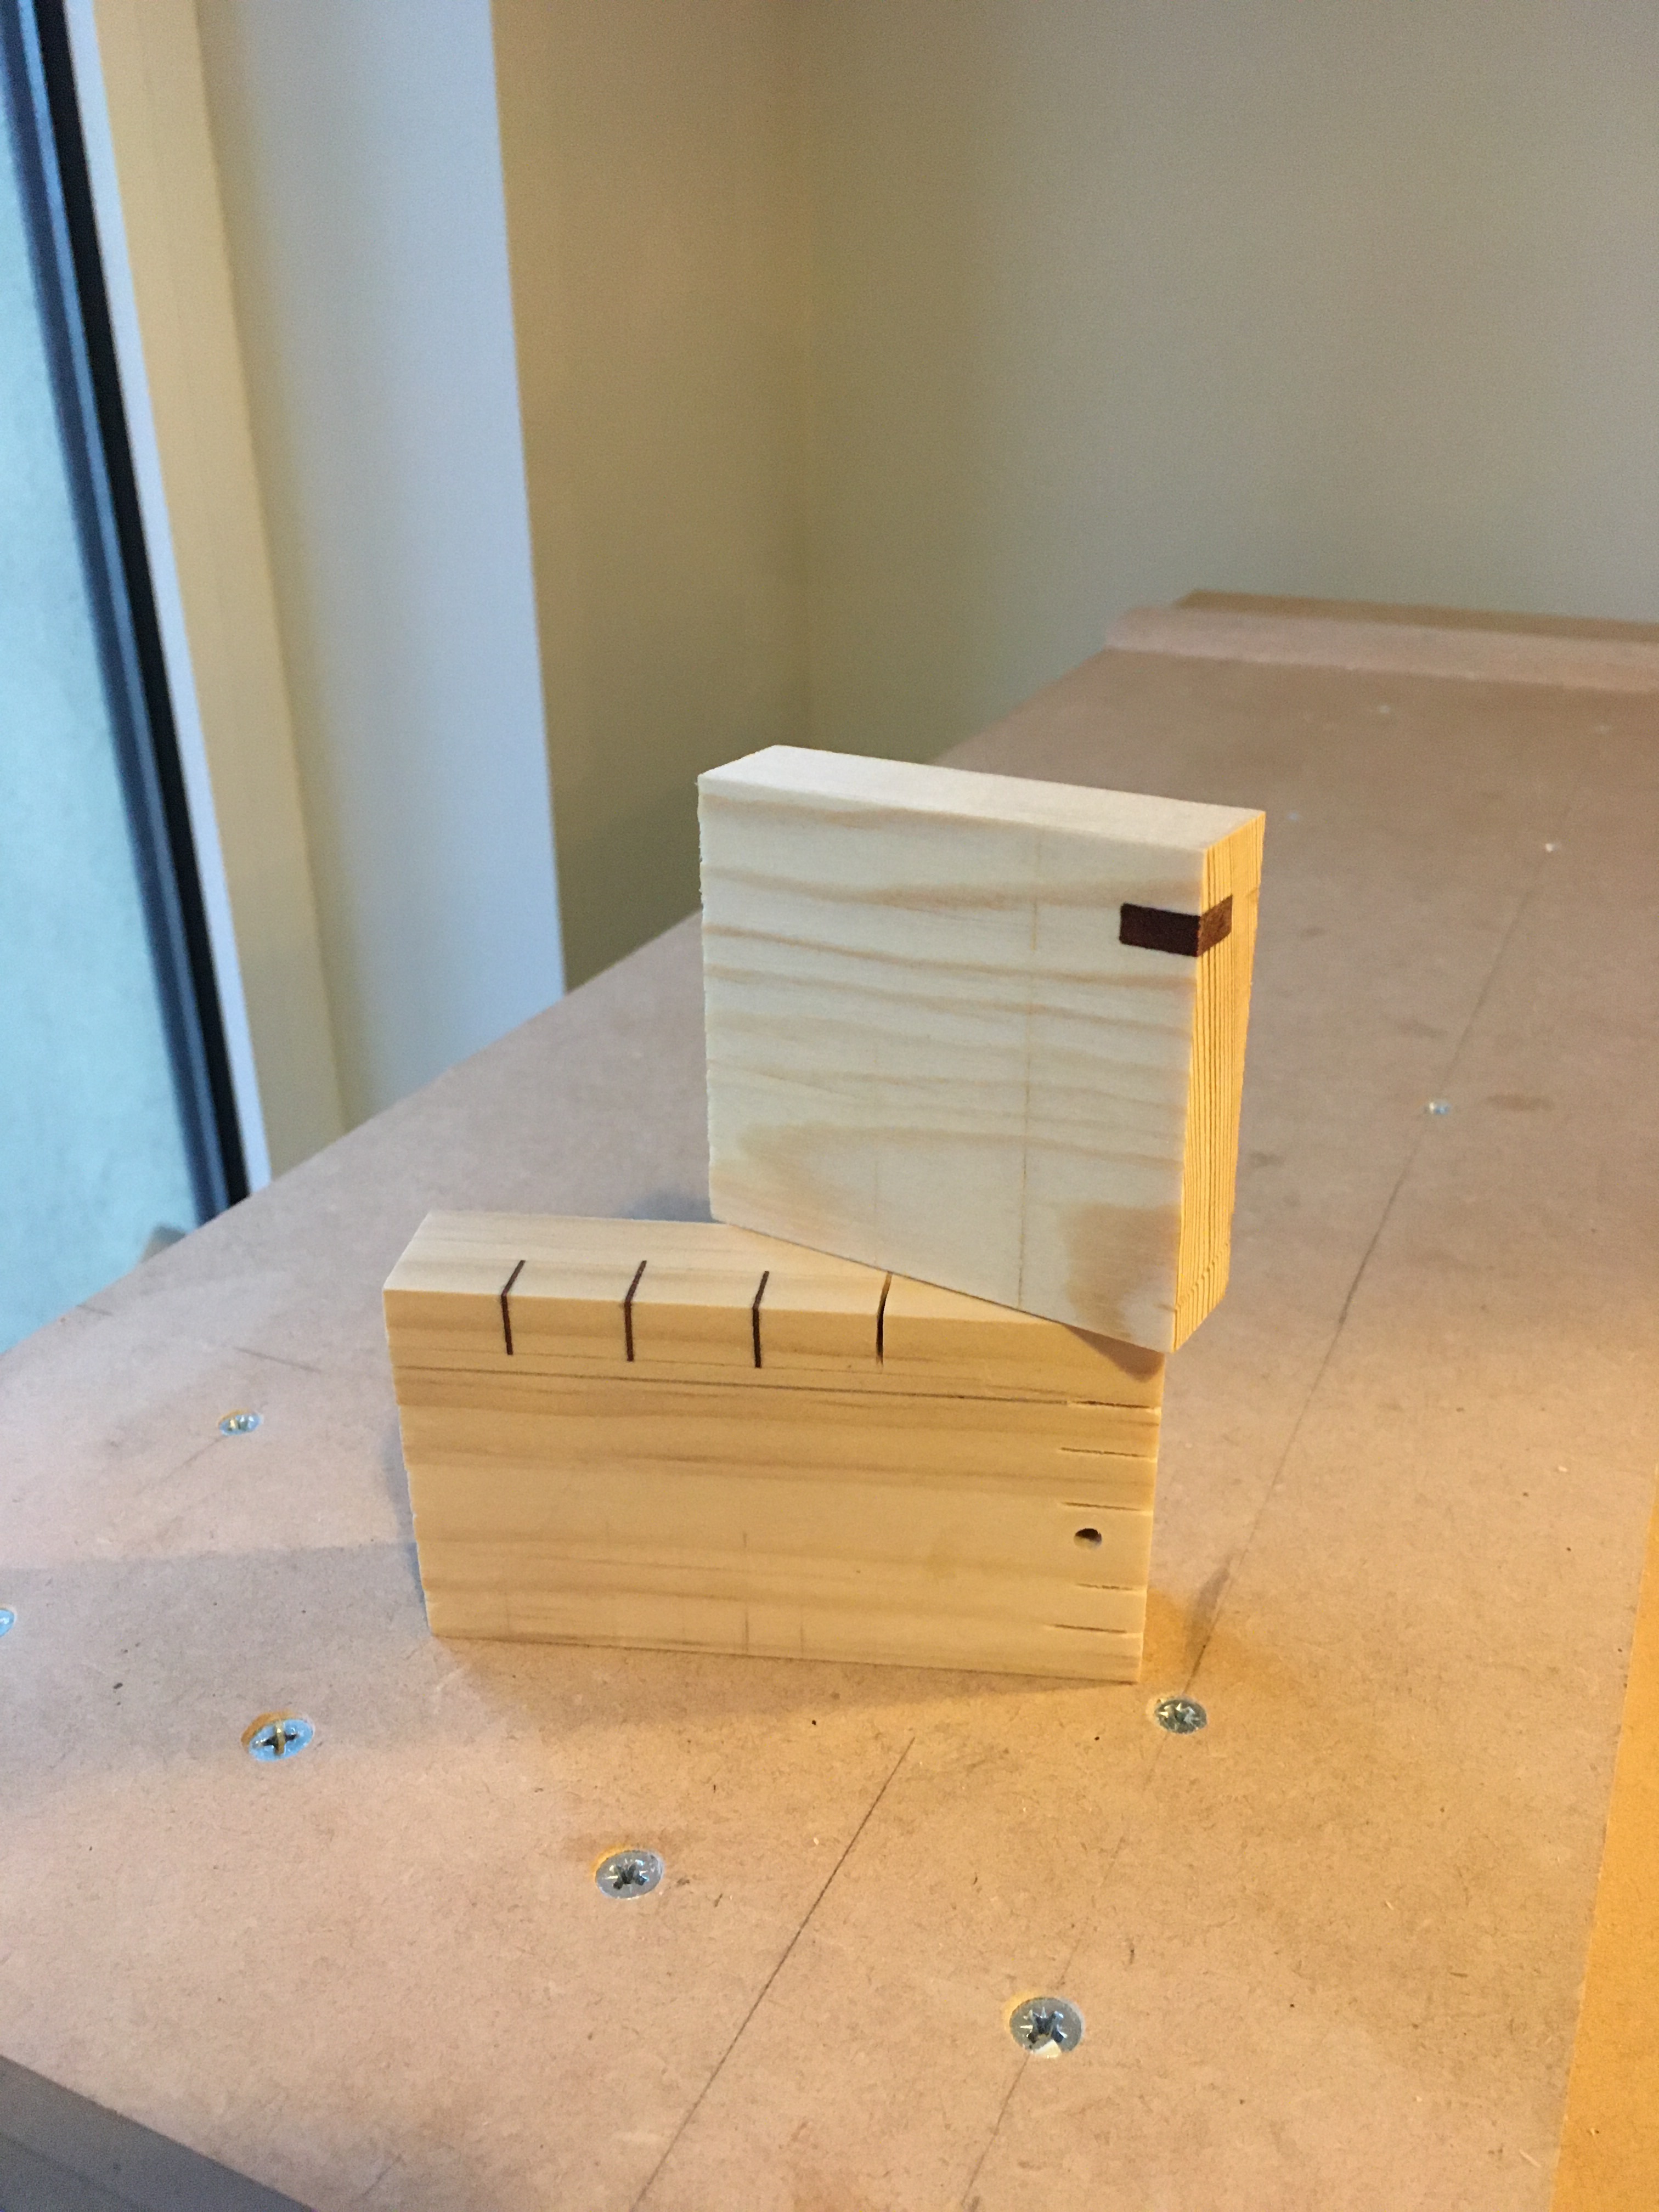
I am making a box. I am thinking of using mitres. I am using veneer too; I am looking to get eight boxes perhaps. I expected to get my choice timber for the sides and lid of the boxes but it has been held up until next weekend. This will be my first project since restarting woodworking where, I am using timber I have chosen for aesthetic reasons. As I am waiting for the solid timber I am using the time to catch up on my veneering technique. I am really hoping the timber pans out. The whole thing is dependent on the wood. So far I have the splines I tried out. I had to match a kerf with the veneer. It is a great way to illustrate just how rubbish white glue is as a gap filler. Anyway my gyokucho s303 is a good fit. .
Not to keen on any softwoods For anything but construction, at a push if I had to choose I would work with cedar as it smells nice when working with it!
Mind you not too keen on the colour it goes if used outside!
Some people love the grey! Don’t see it myself
Yes
Definitely a big fan of the smell. It’s a beautiful place to be,in a workshop when you work resinous woods.
As I have to wait until next weekend for my chosen wood for the boxes, I decided to crack on making the bottoms.
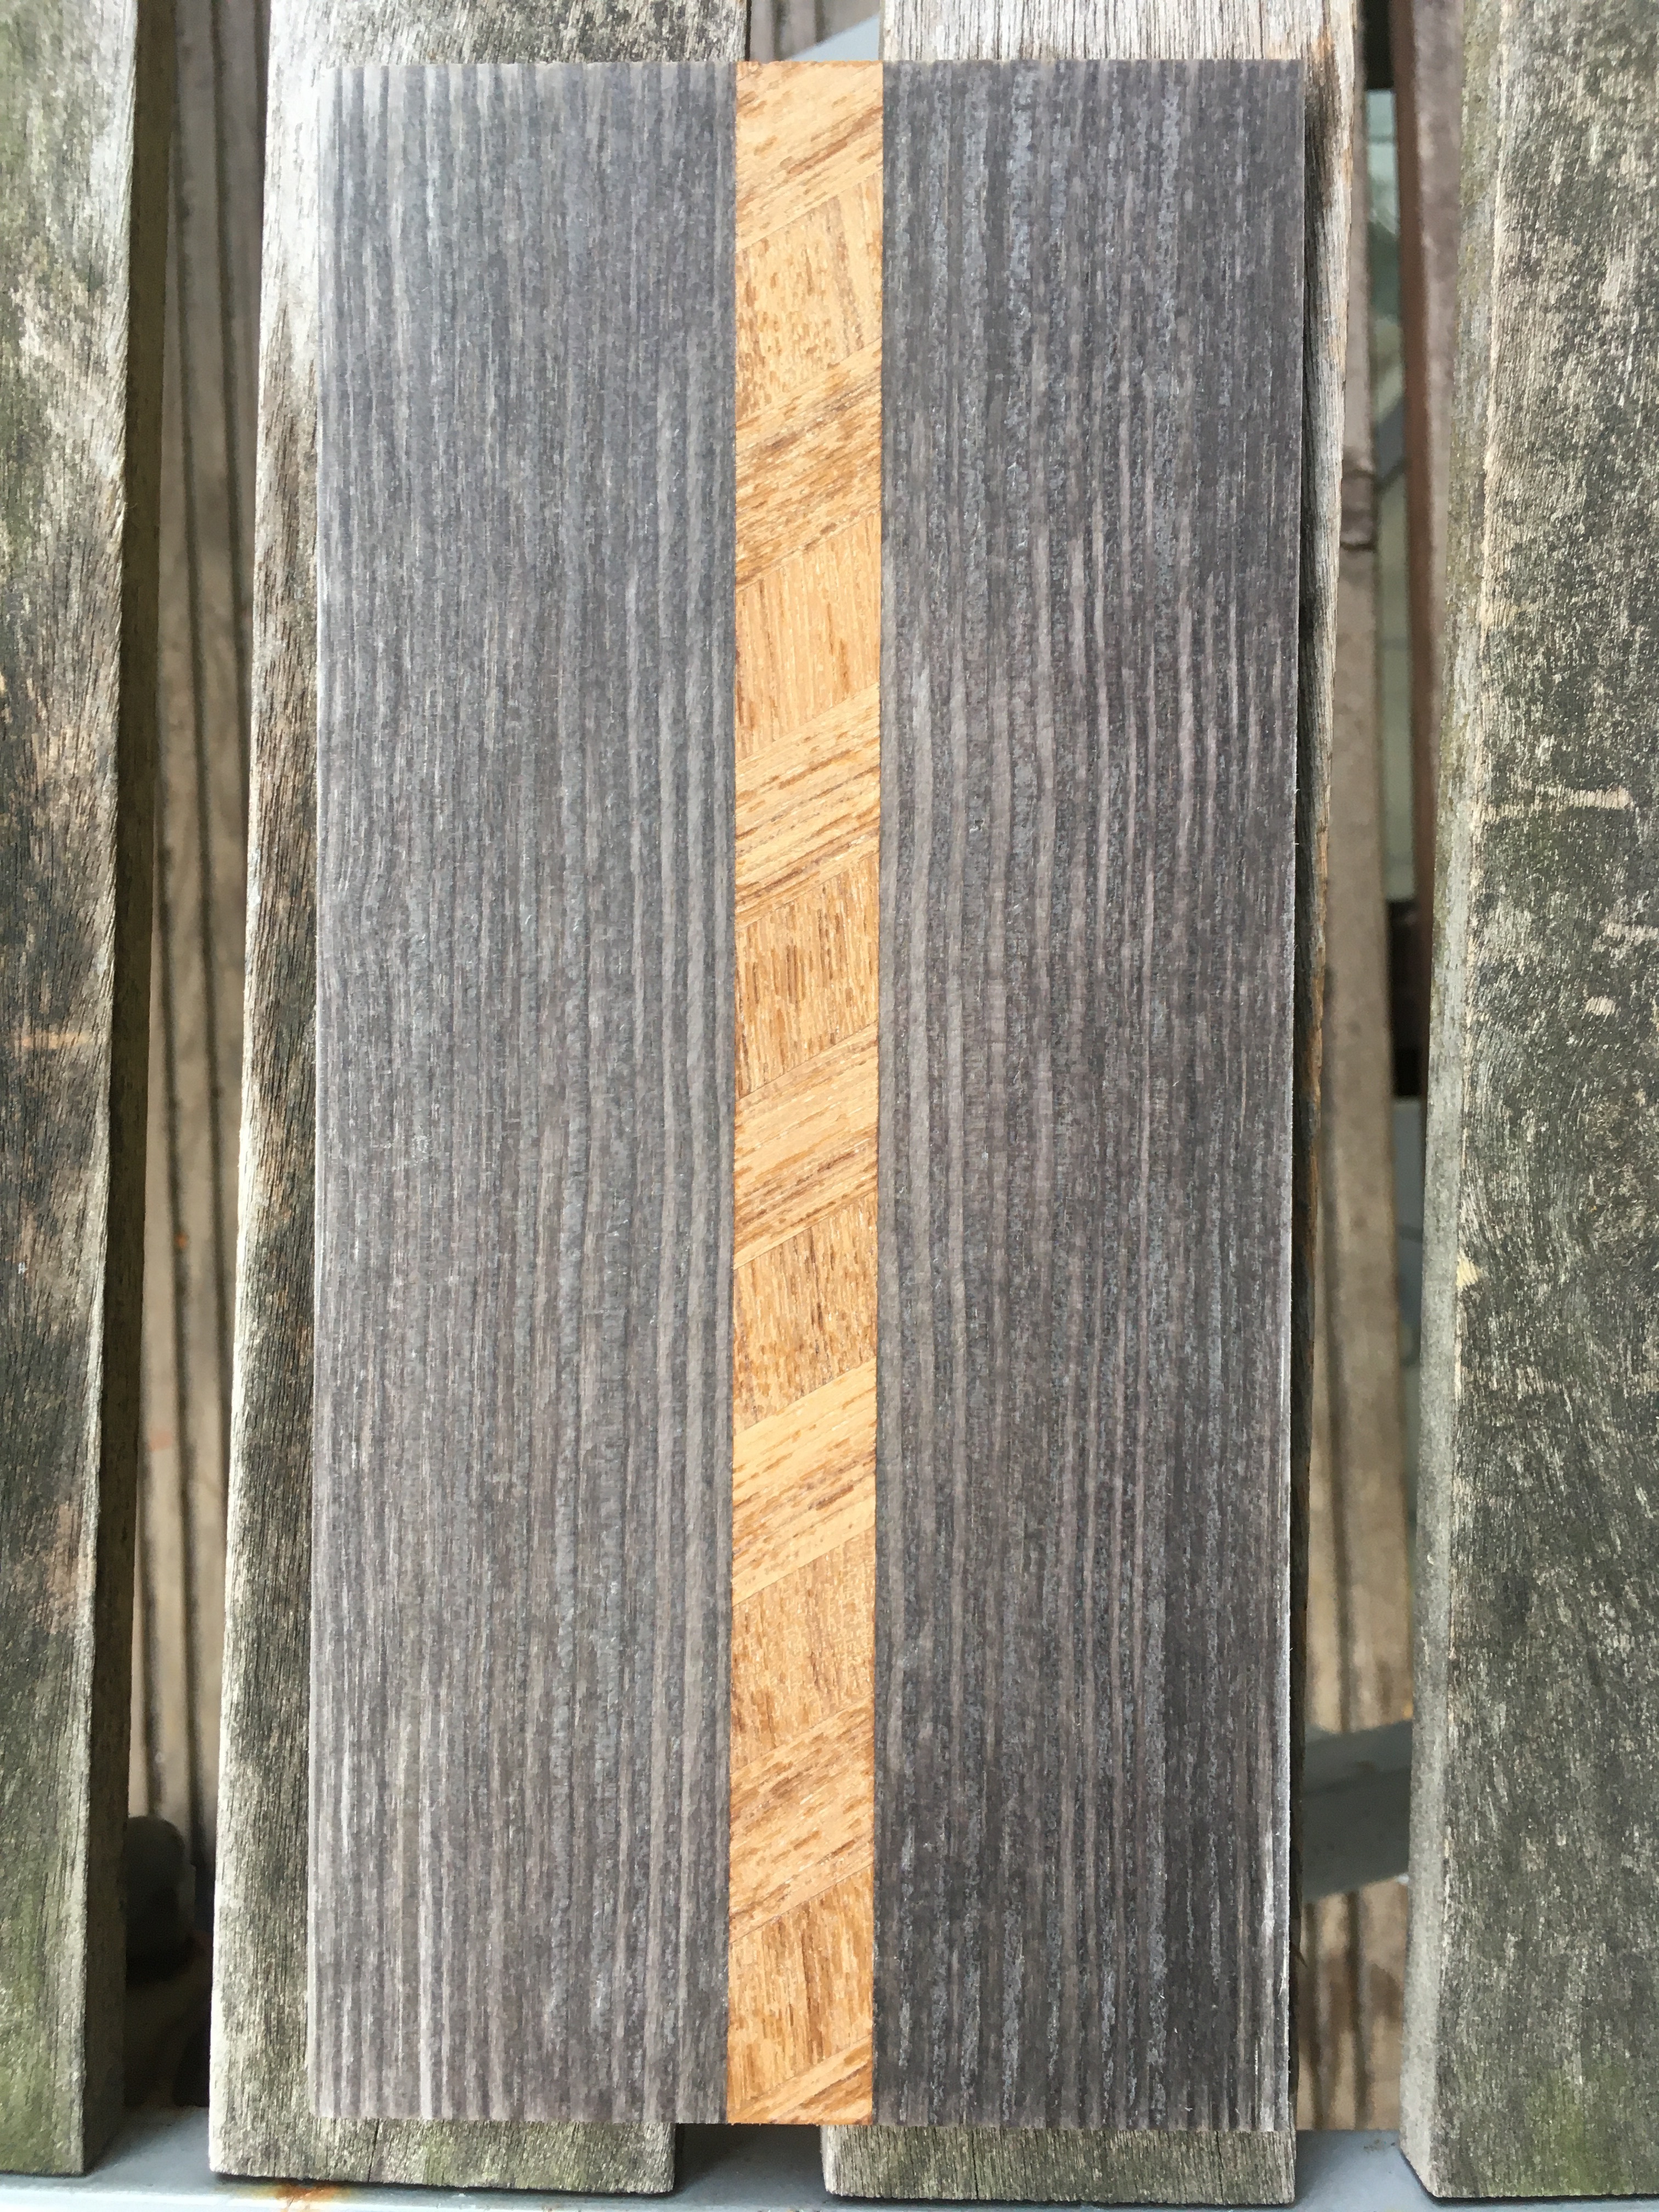
I am using veneer for the bottoms. As I haven’t done any major veneer work for many years, I decided to make different versions of the bottom, incorporating a basic version, a book match and maybe a simple lozenge or maybe some diamond shapes made into a line. This gives me the opportunity to reacquaint myself with veneer. I have been using a generic version of cascamite, it’s great for veneer because it doesn’t slide around like white pva style glues and it’s got a long open time. Of course the long open time is a pain when I am excited to view my results but I still think it’s a good glue for this and complicated glue ups. When I start working with the solid timber for the sides and lid I will post some more.
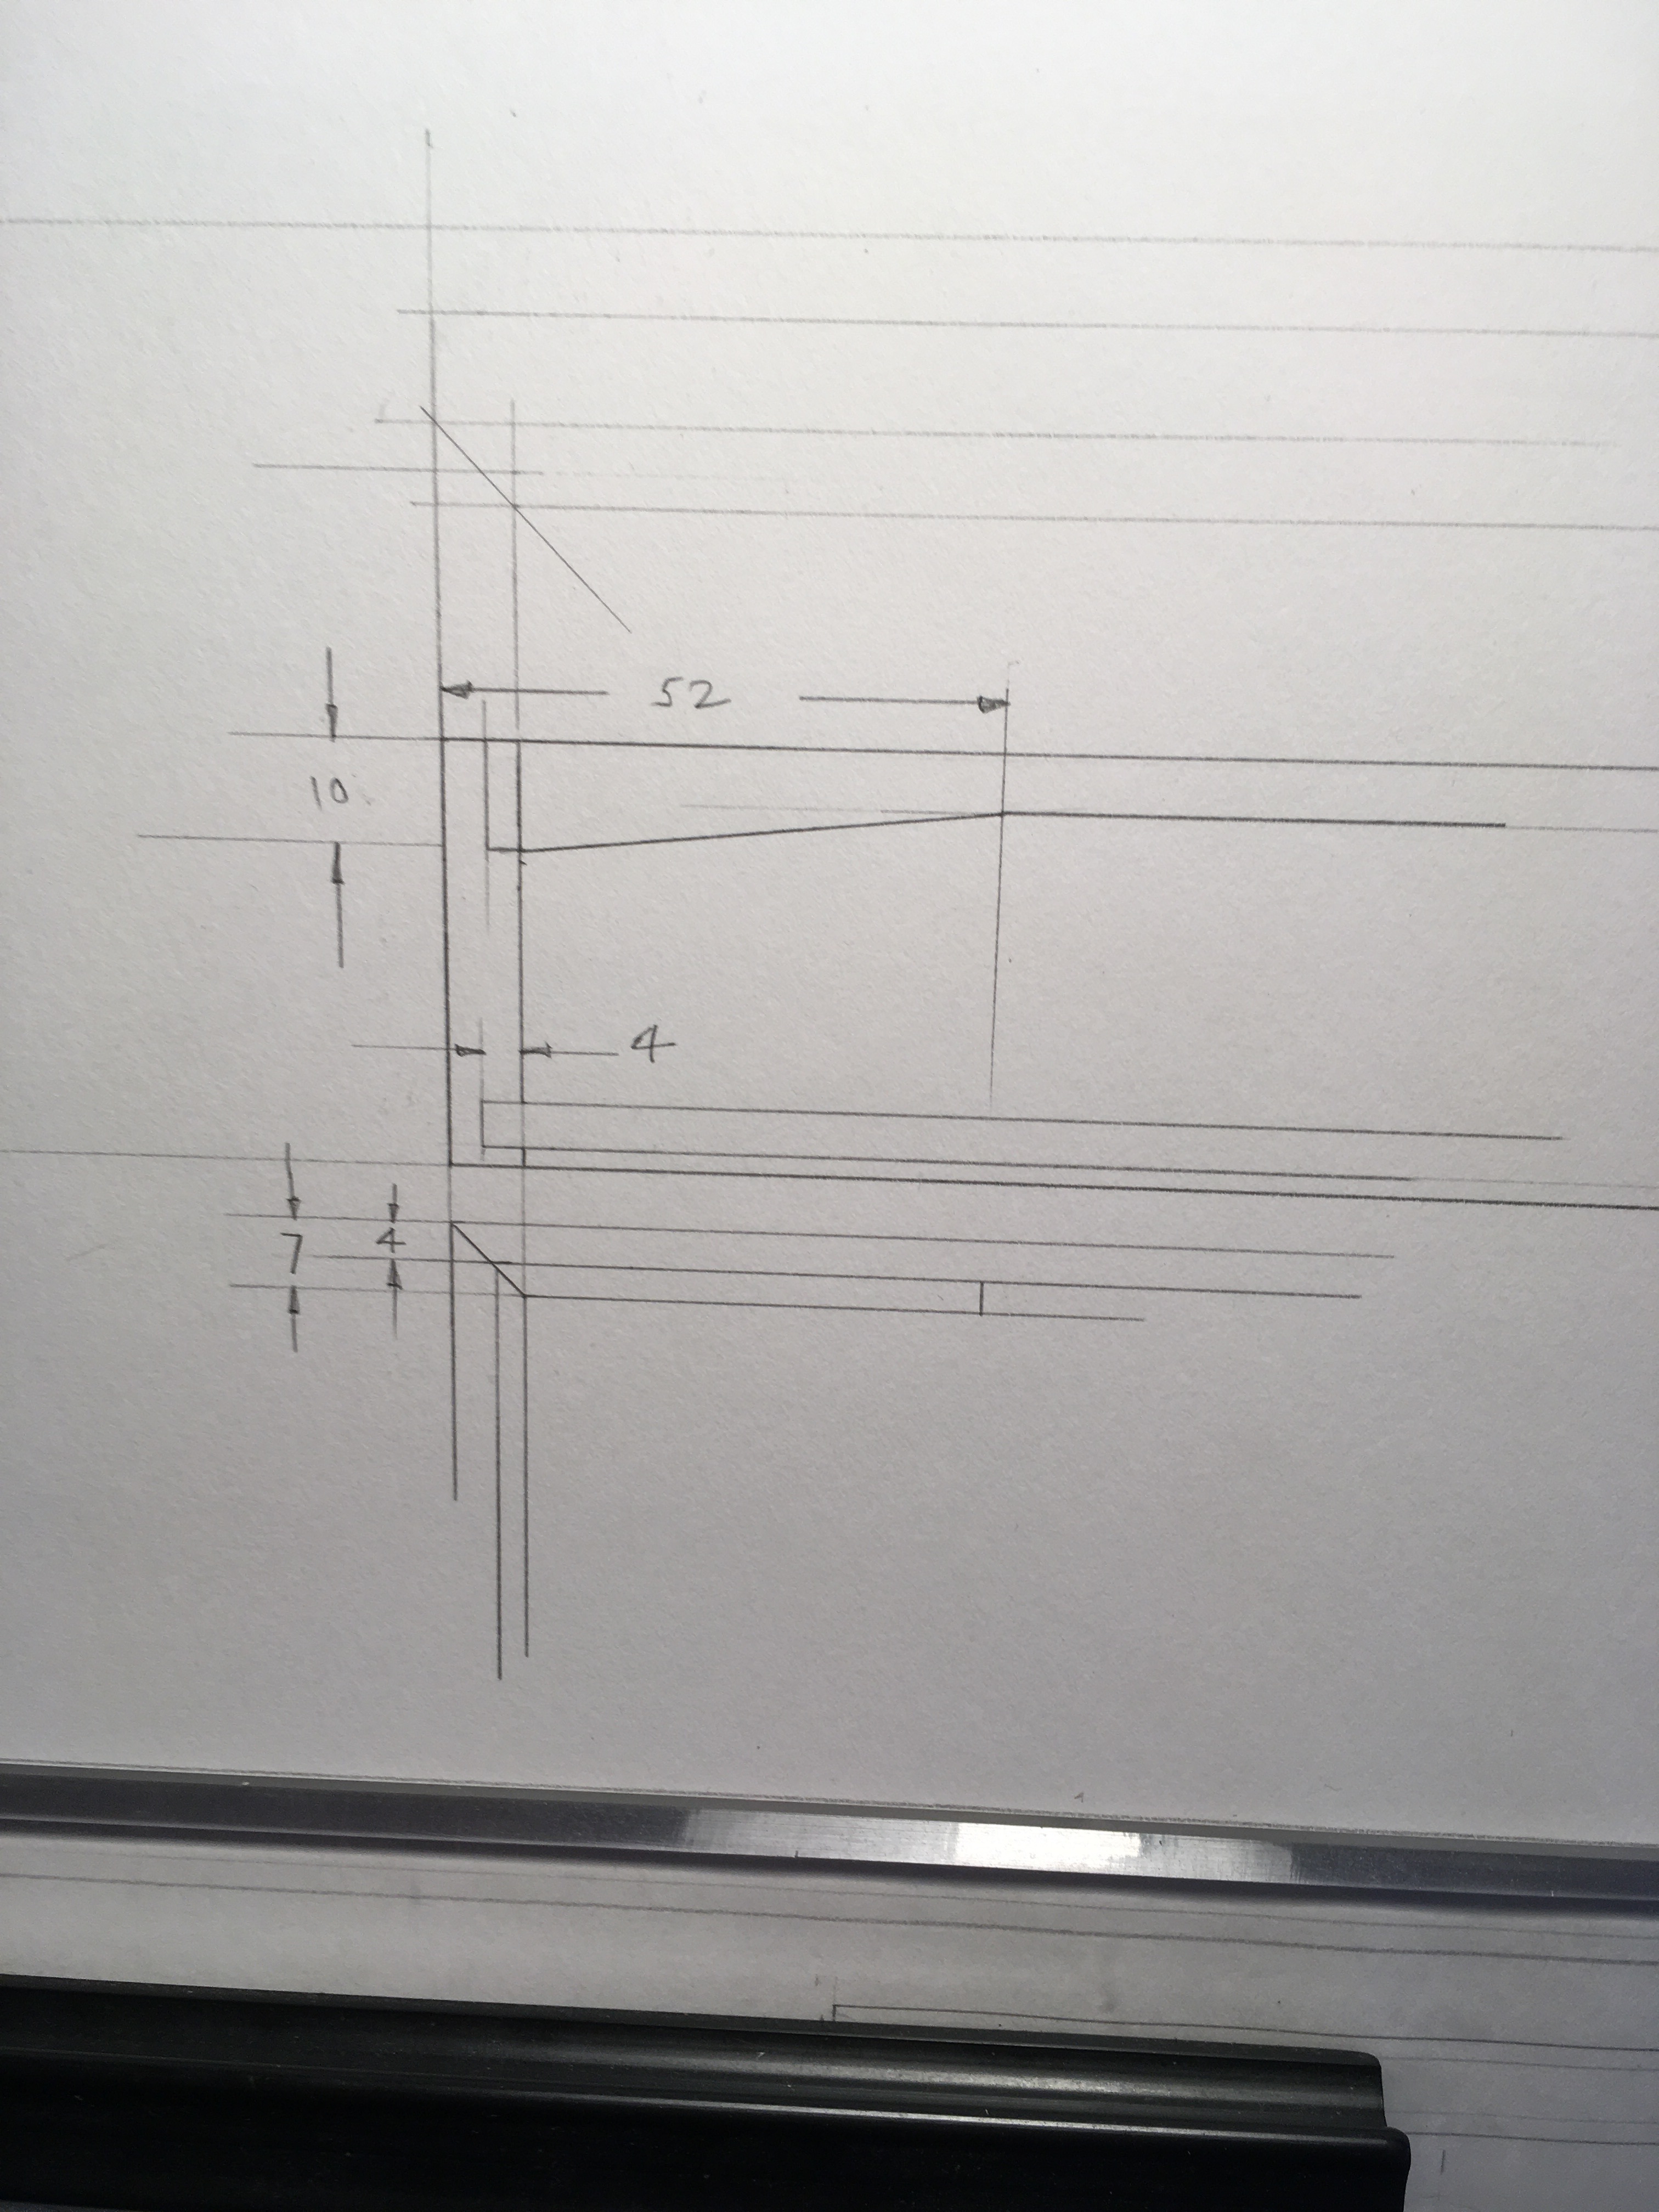
I used my drawing board to nail down the design of this box. It’s not complicated but I like to have a firm idea of what I am doing and how accurate I am working. I find a good drawing helps. I actually realised I had not decided concretely about one of the measurements because of the drawing, I corrected it. It’s still in the drawings I posted though? It perfectly illustrates why a drawing can help me tune in and decide on dimensions . I am going to

1 Like
What’s the veneer? its very nice. And appears different in the photos, i assume that was the lighting rather than a finish.
Walnut and pine. Yes it was with a bit of alcohol sprayed on it.
So it wasn’t the lights
Okay
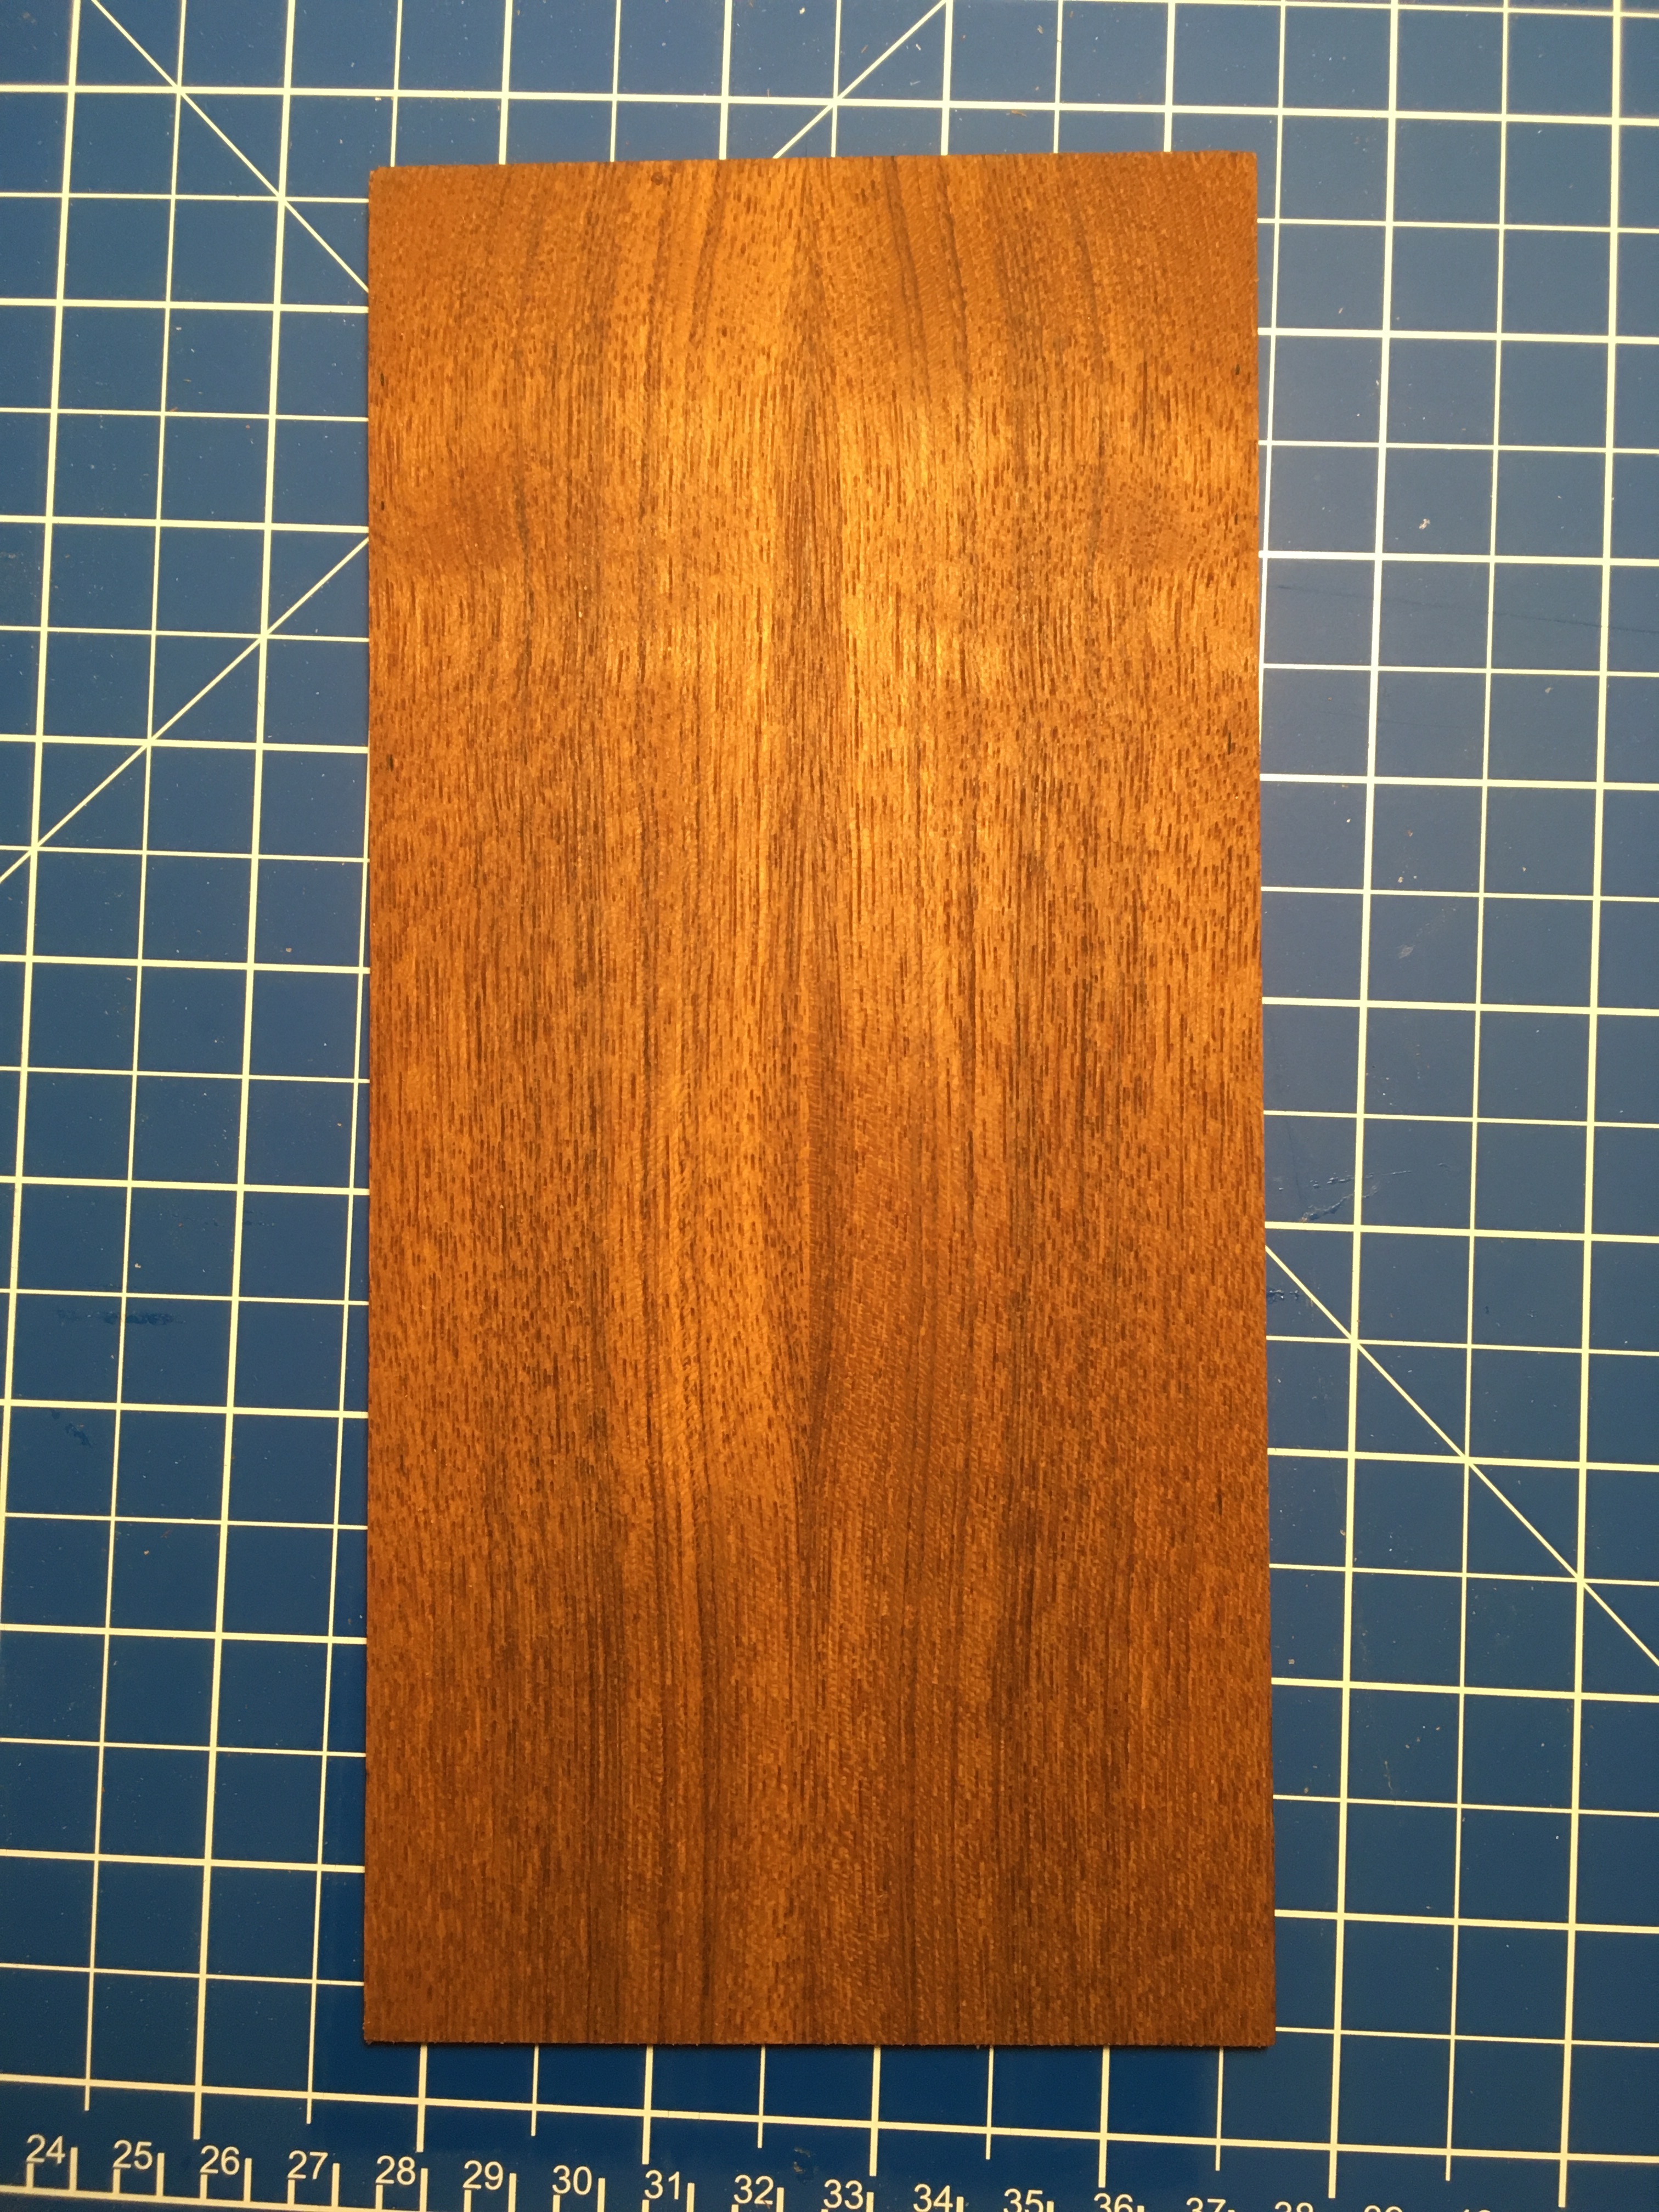
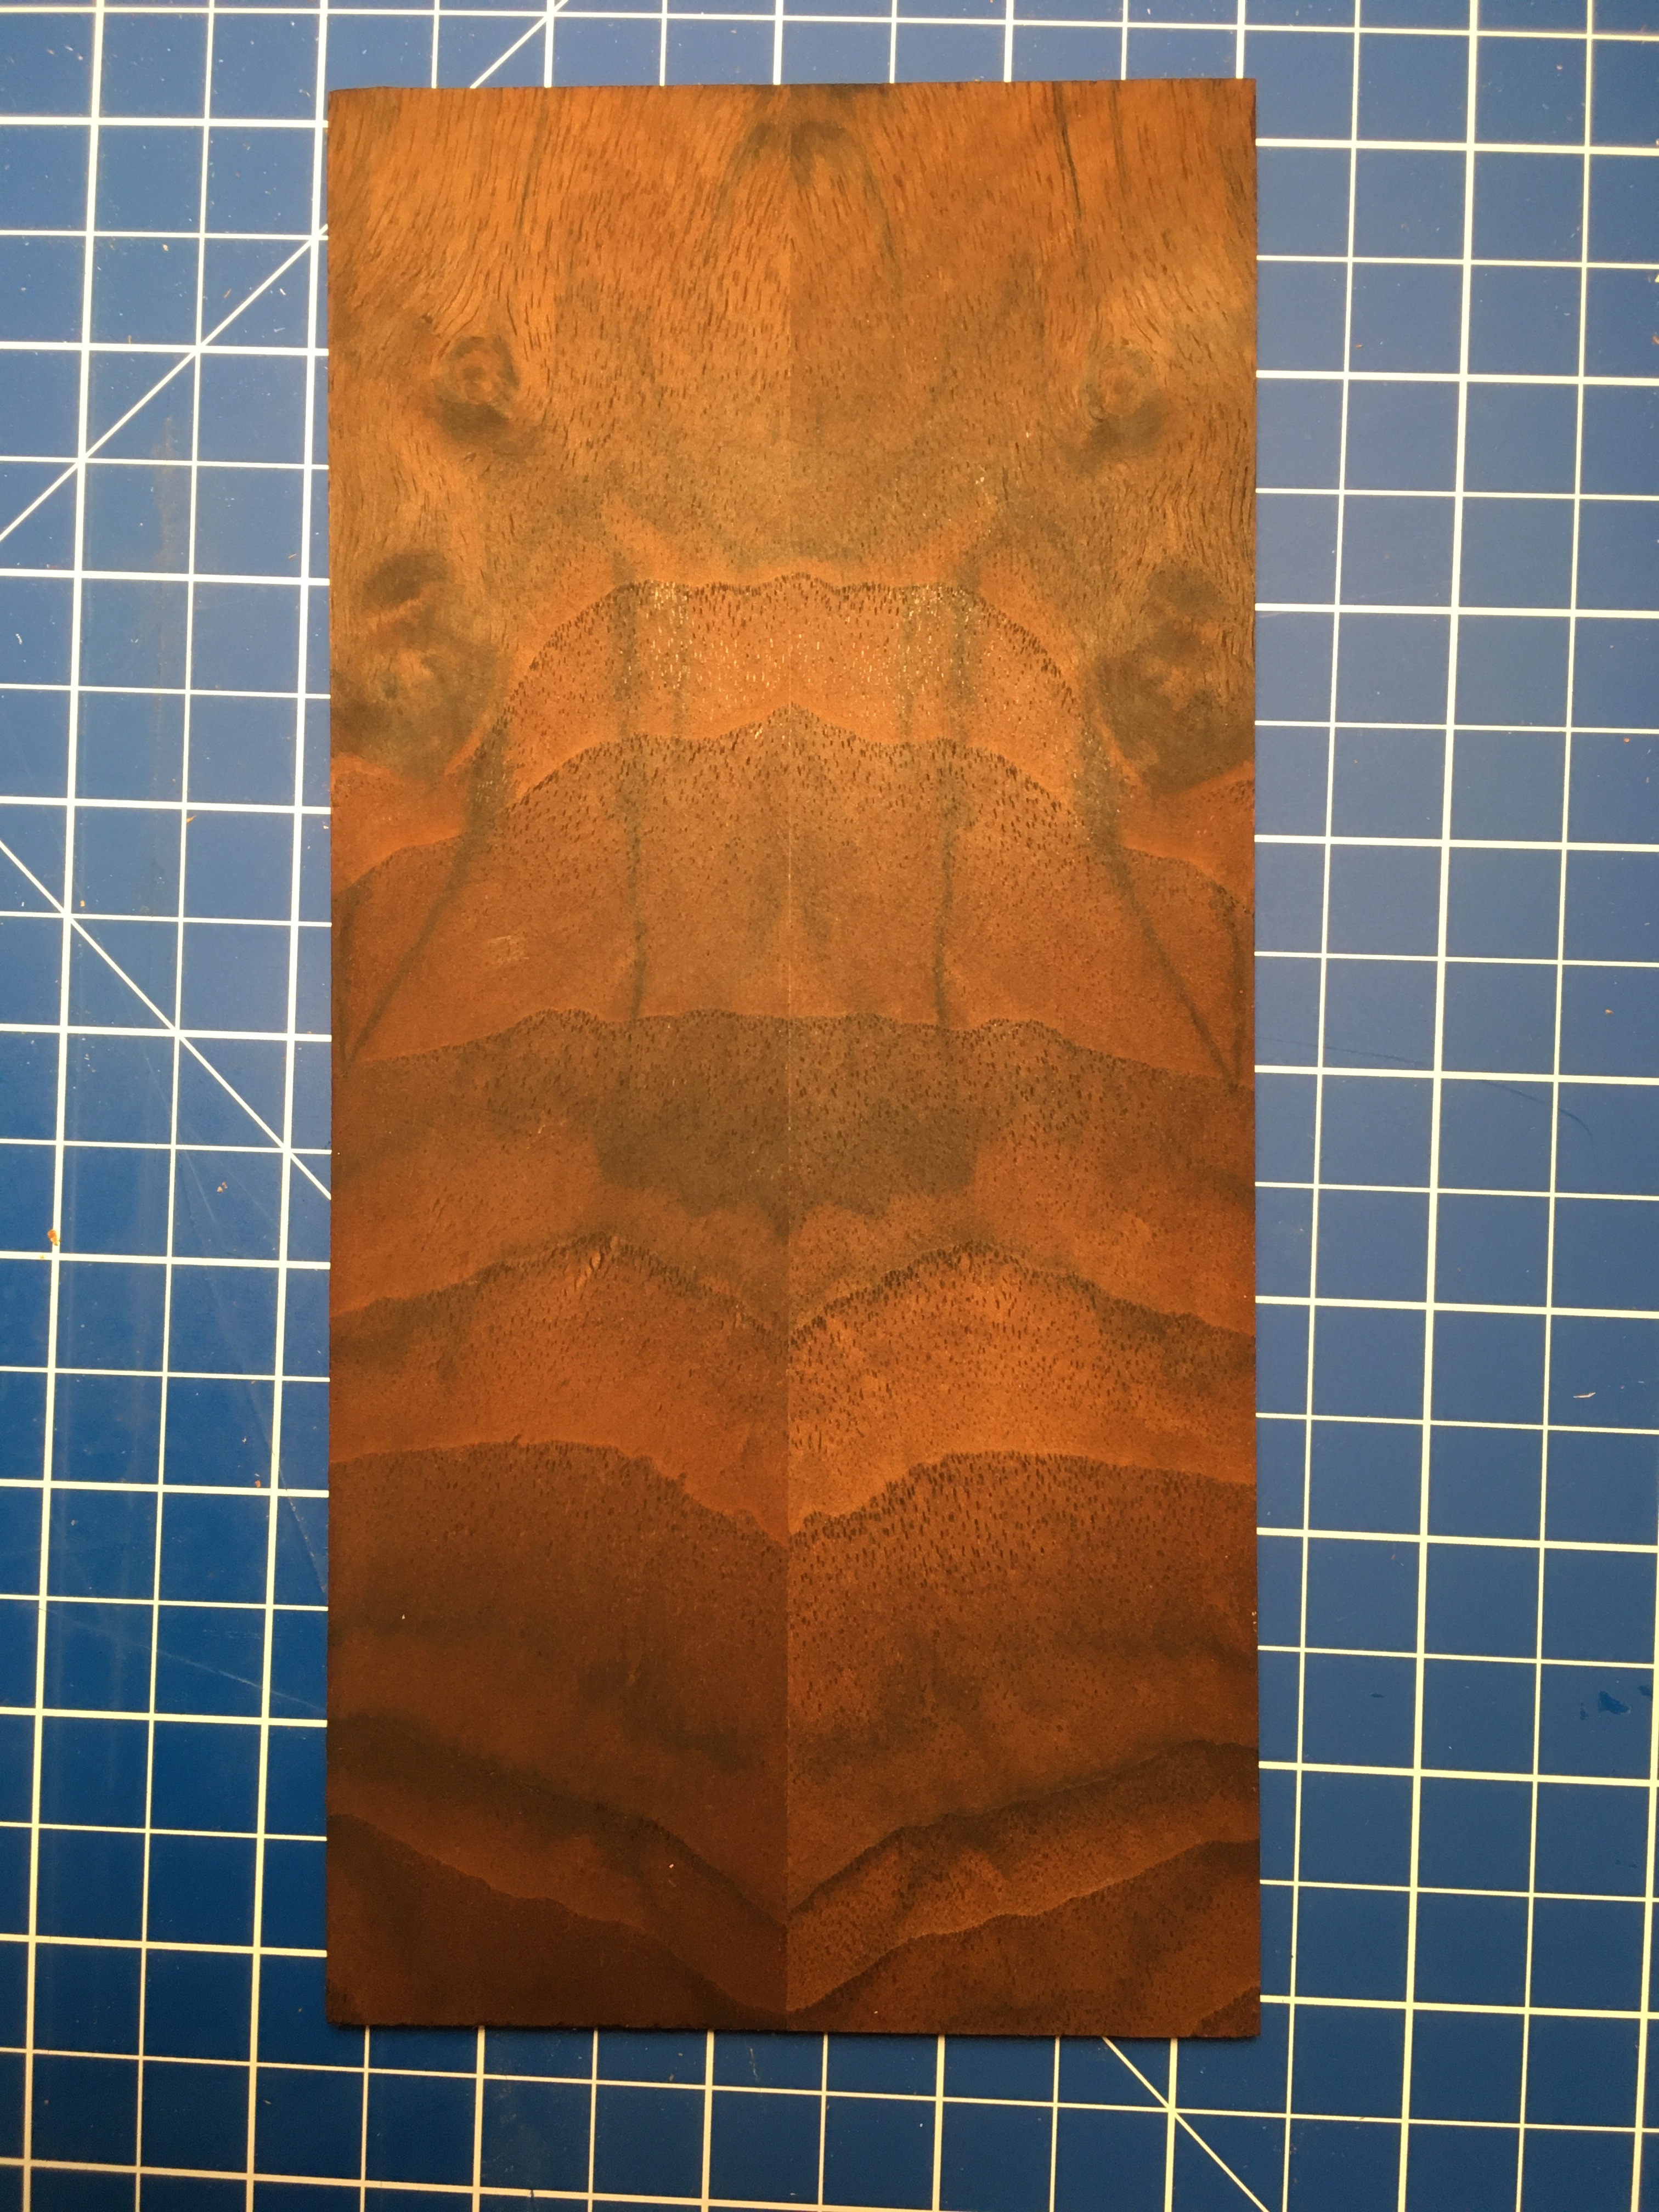
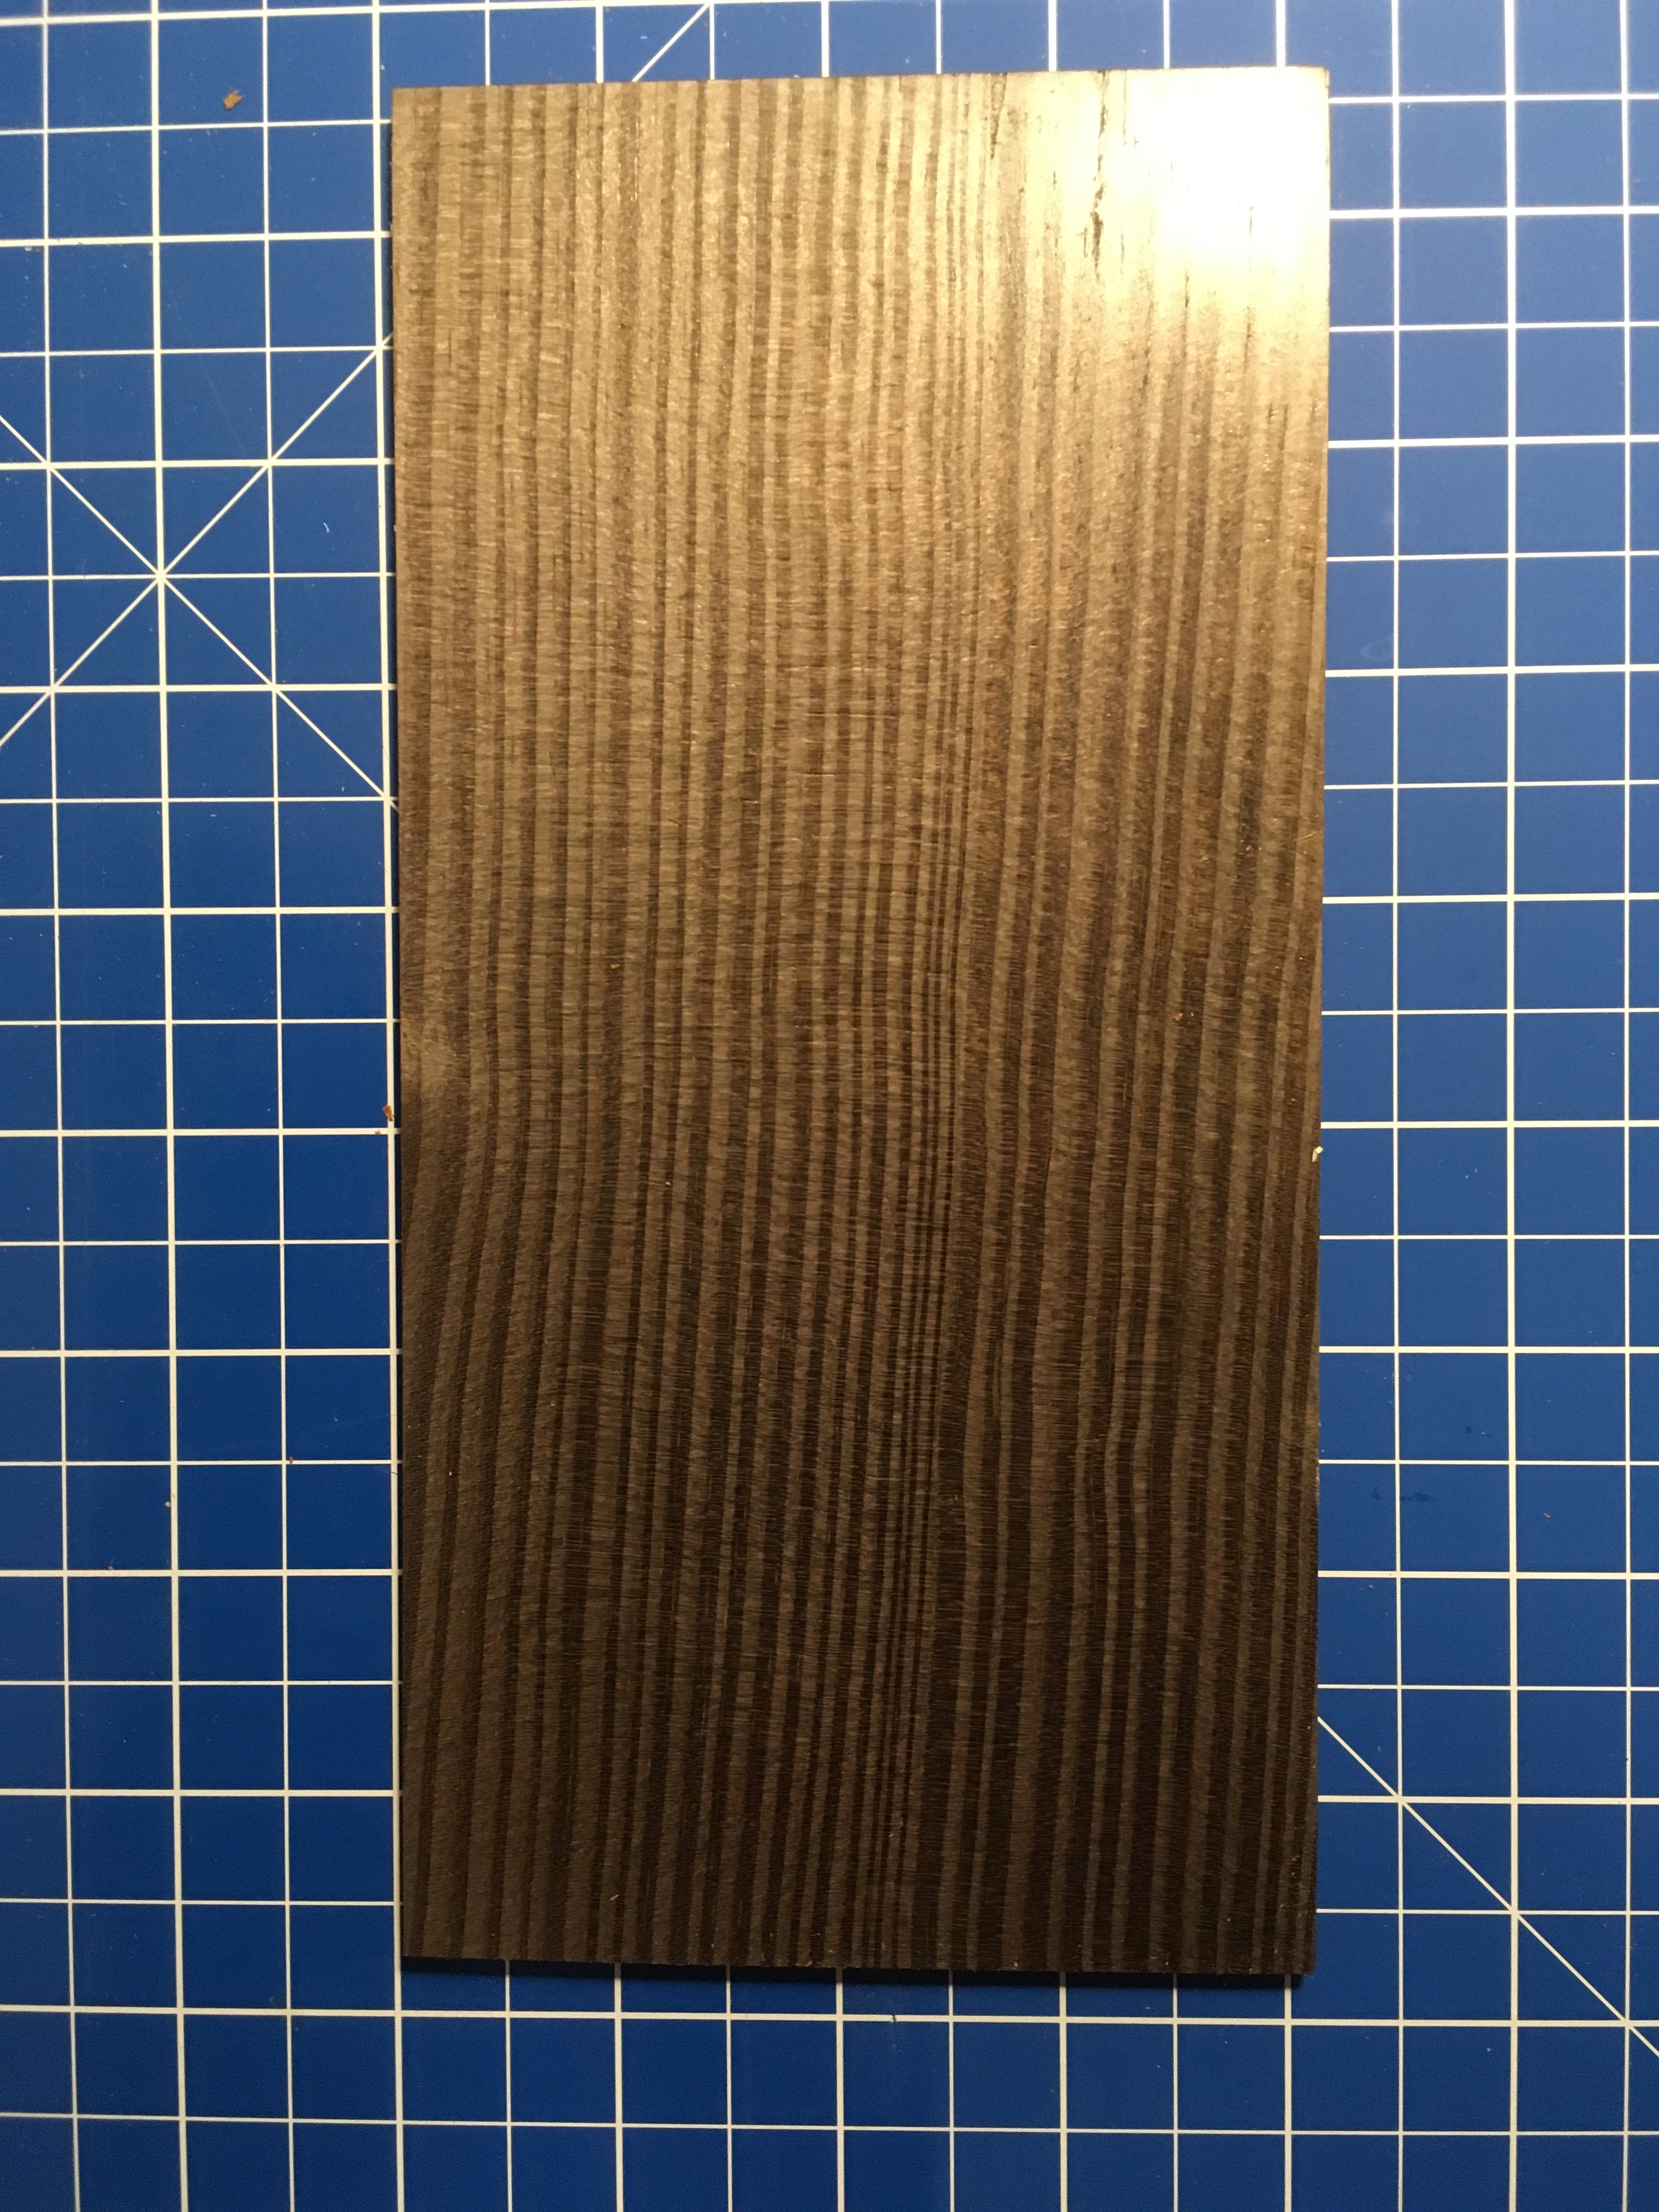
I am buying the wood for the sides and lid on Friday. I am excited as it will be the first time in three years of woodwork that I get to choose a timber specifically for its aesthetic. It would be easier to use a hardwood as it can be scraped. I may get some glass if I need to scrape the softwood. I have been experimenting with the veneer panels. I can get lovely seams with my shooting board. I added a little bit of parquetry? I really don’t feel drawn to embellishments because I prefer the wood to do the talking. I don’t believe it needs anything extra in most cases. I have been learning a lot about finishing whilst doing this. The burr veneer needs pore filling and I didn’t want more expense or complication. Yes I could have filled the pores with a finish but it takes repeated sanding and finishing. I chose to wet sand danish oil. I had sanded the wood to 180. Normally this is fine for most wood but not the burr walnut. I could see scratches in the finish. I bought some 240 grit aluminium oxide paper (only £ 3.80 for ten metres at tool station it’s silverline but it’s a good paper and is on Amazon for ten pounds a roll. It’s open coat which is not an issue at this grit size) and sanded wet in small circles and this corrected the issue. The pine was scratch free at 180 grit and so was the teak. The wet sanding works really well and requires just two applications to fill the grain. I am told wet sanding walnut with oil finish of some sort is an age old method of finishing walnut. The greatest plus I can see is that I don’t have to buy or then sand pore filler. Expensive, time consuming and dusty. I am pretty happy with the teak although I feel it would look better if the figure either side of the centre was plain ( I should have positioned the outside of each sheet of veneer next to the centre, now I know)Check out the pine it’s got three coats of oil, exactly the same finish as the walnut, has no grain to fill and as you can see, without any effort to make it so, it is very shiny. No wax yet. I am learning so much from this very simple project and wood finishing is a vital part of any project.
1 Like
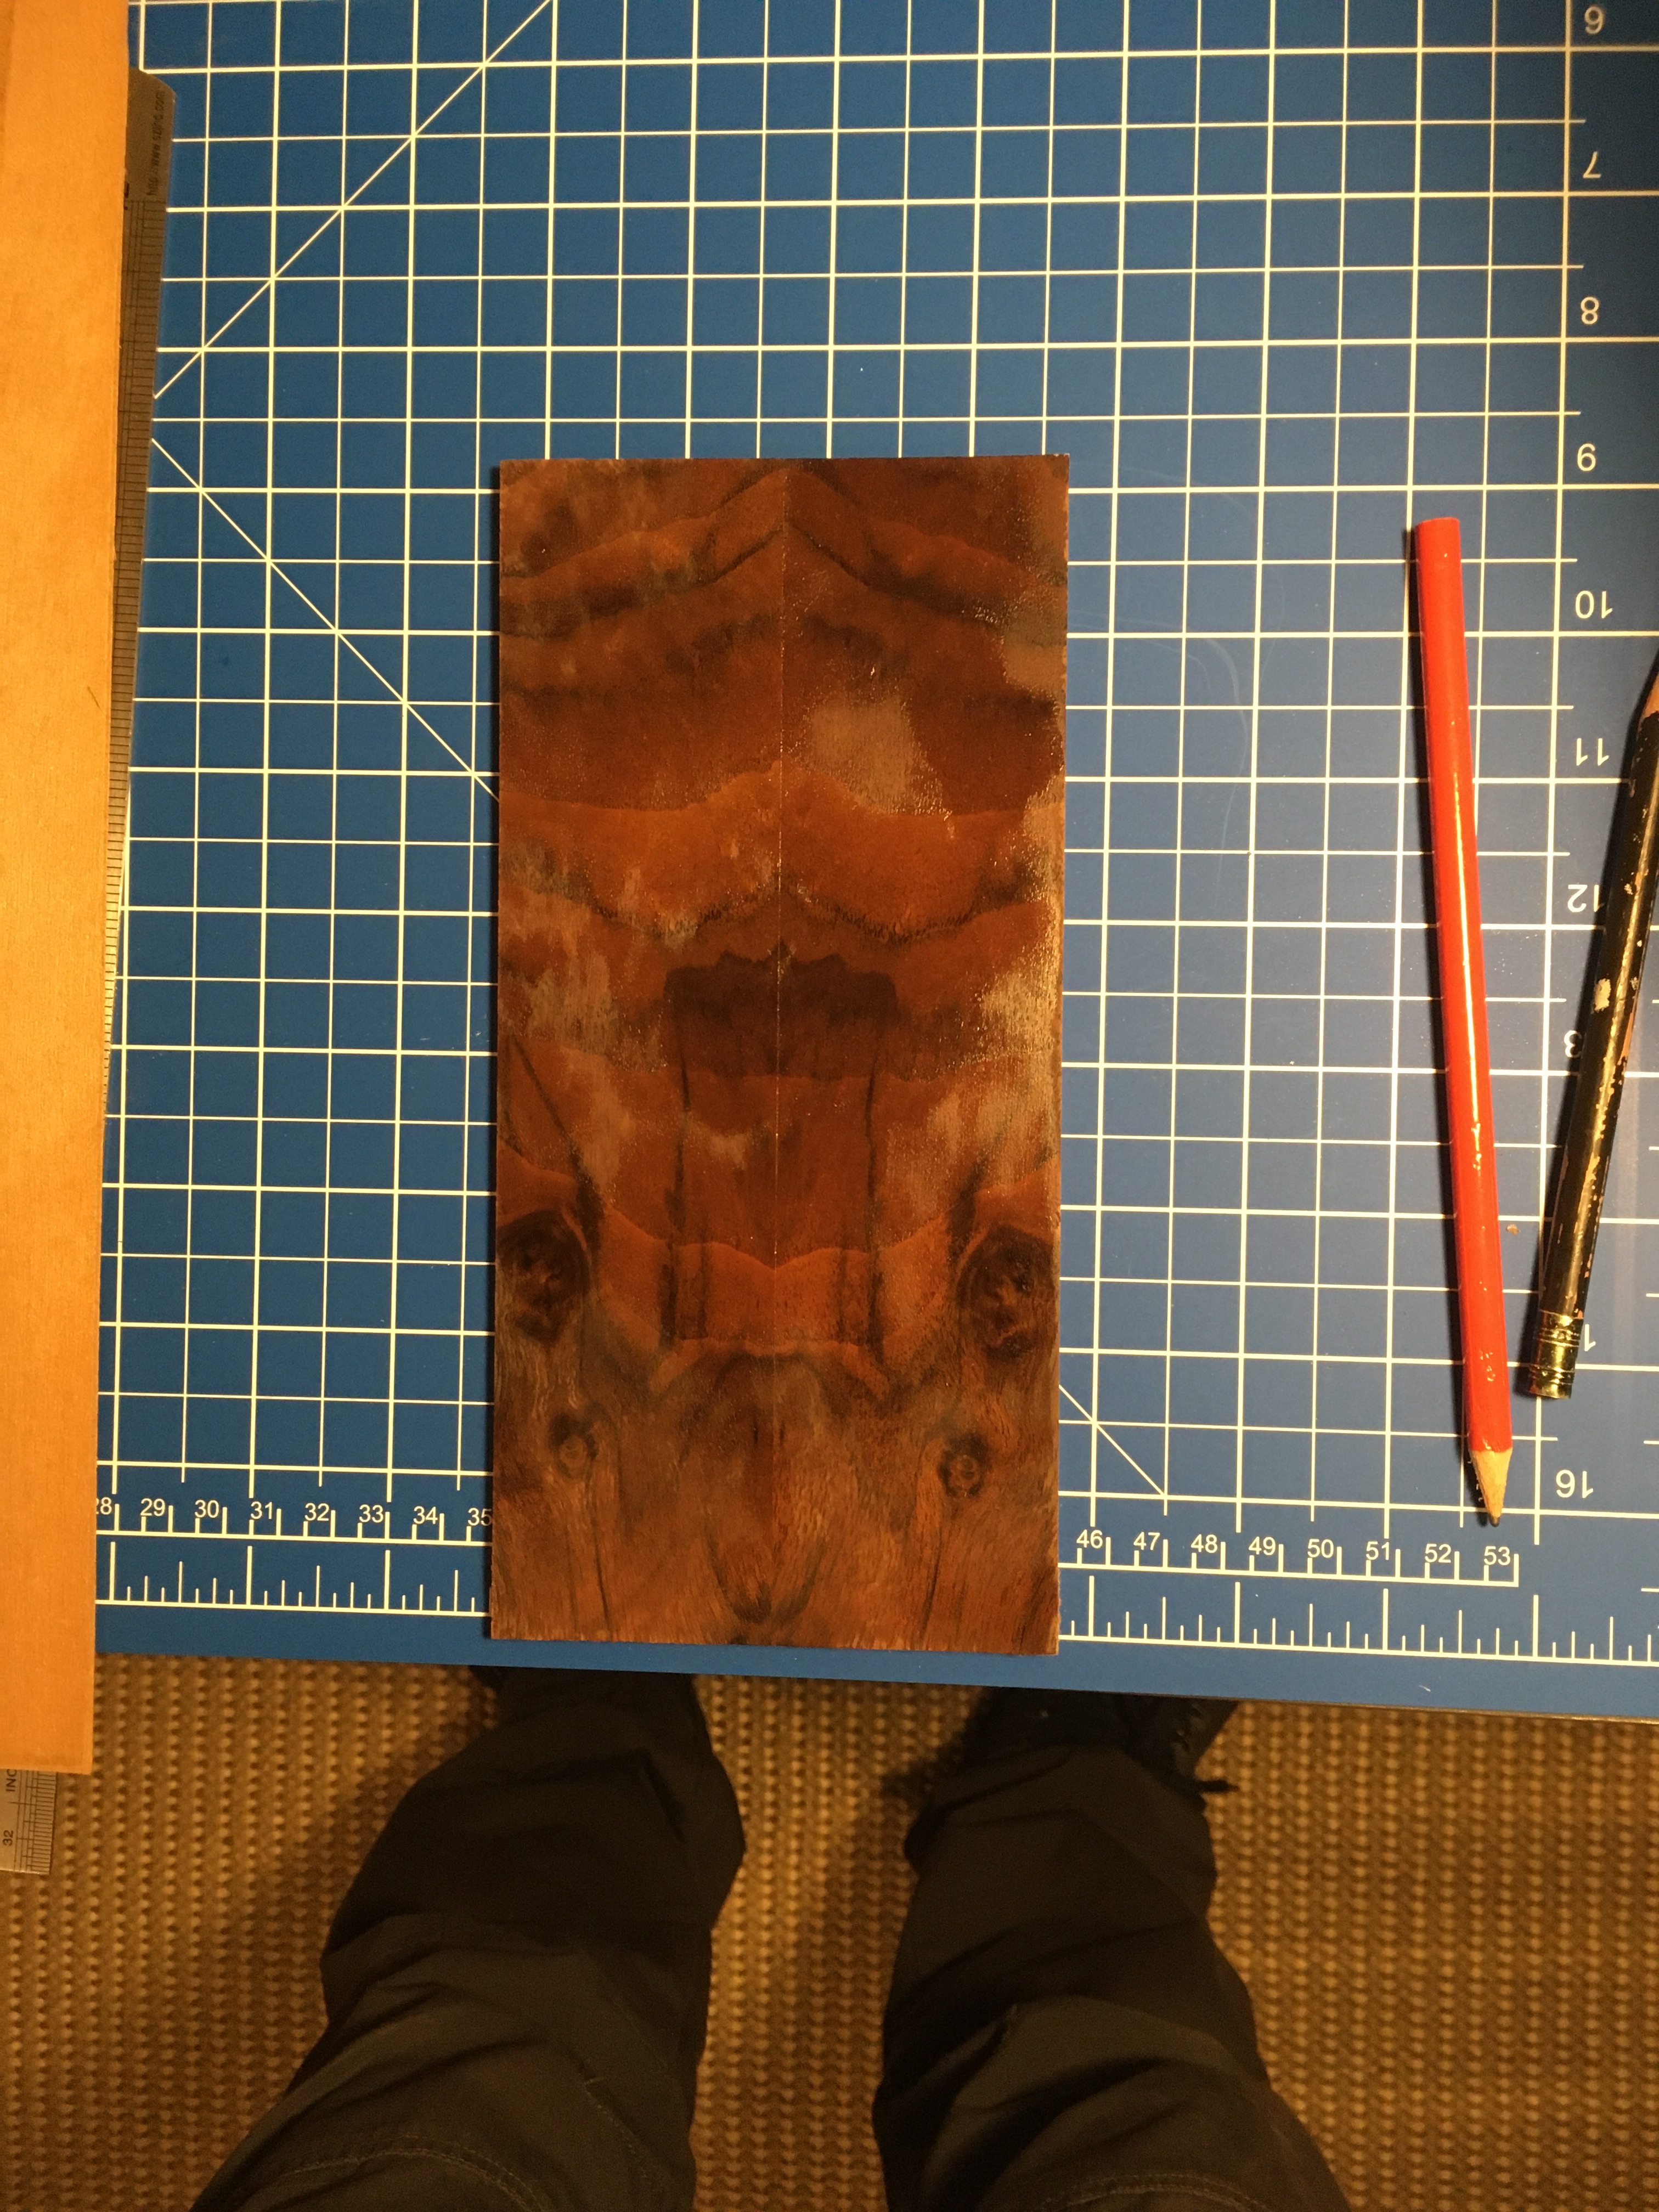
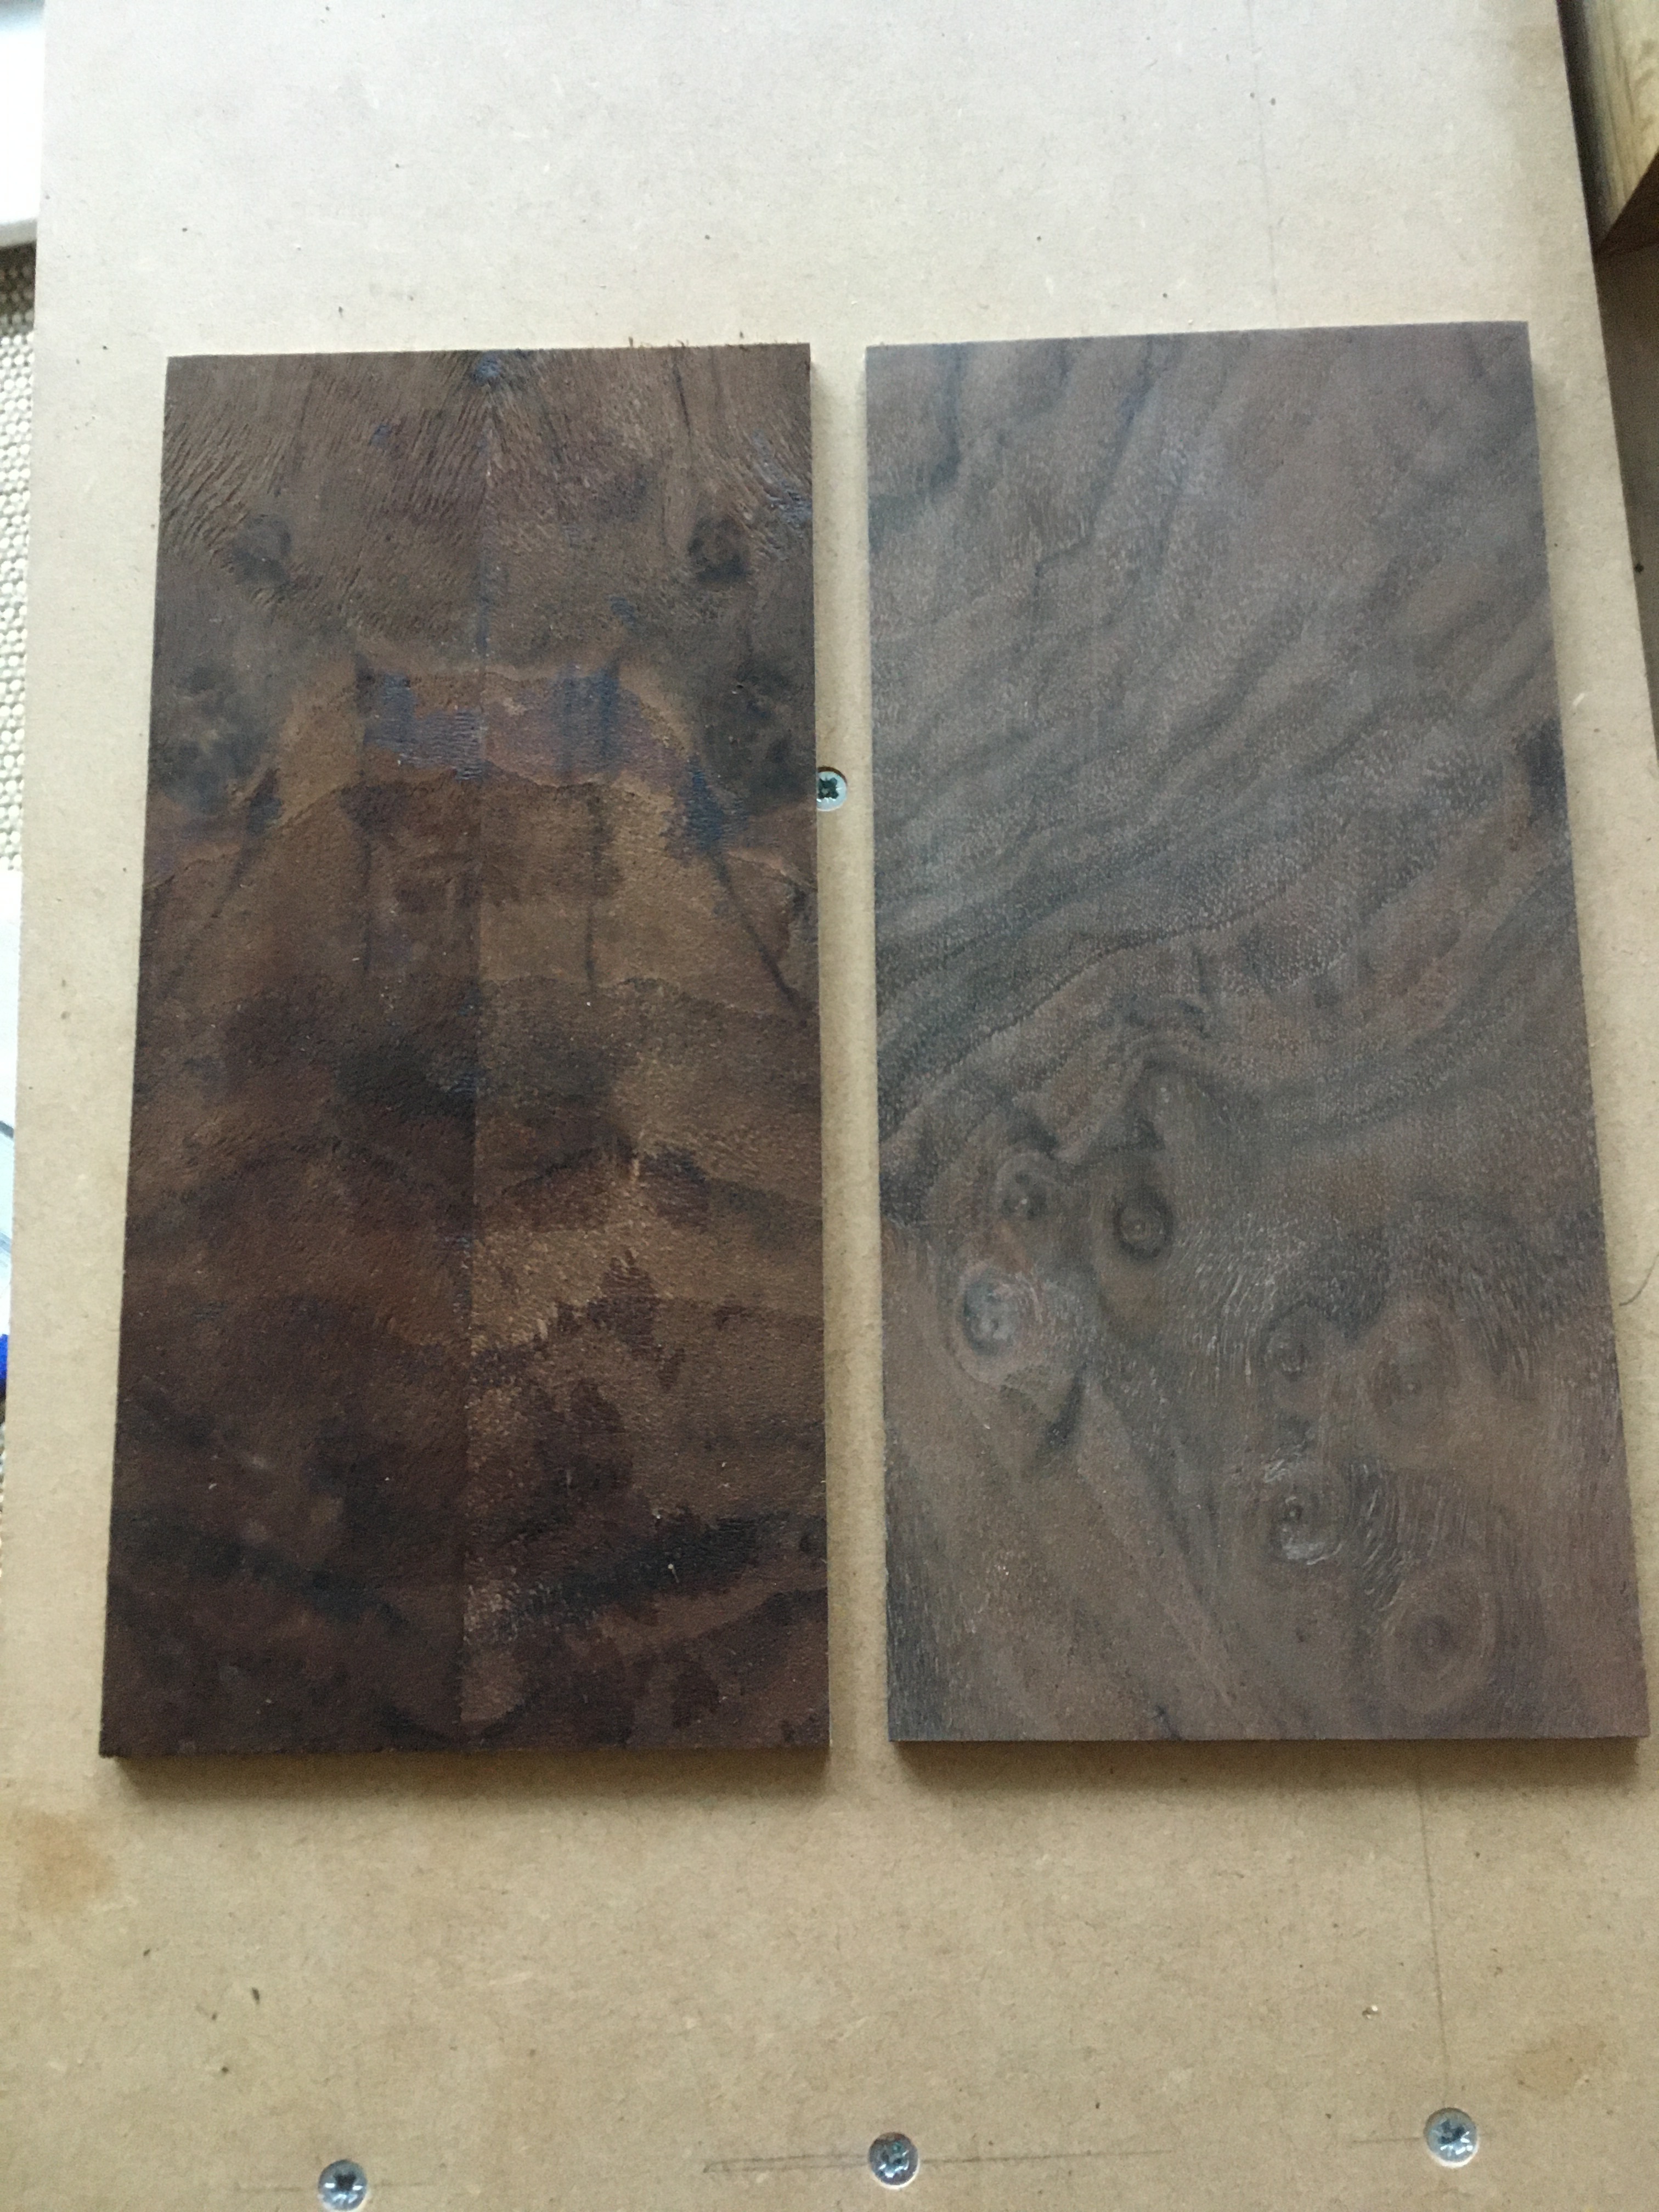
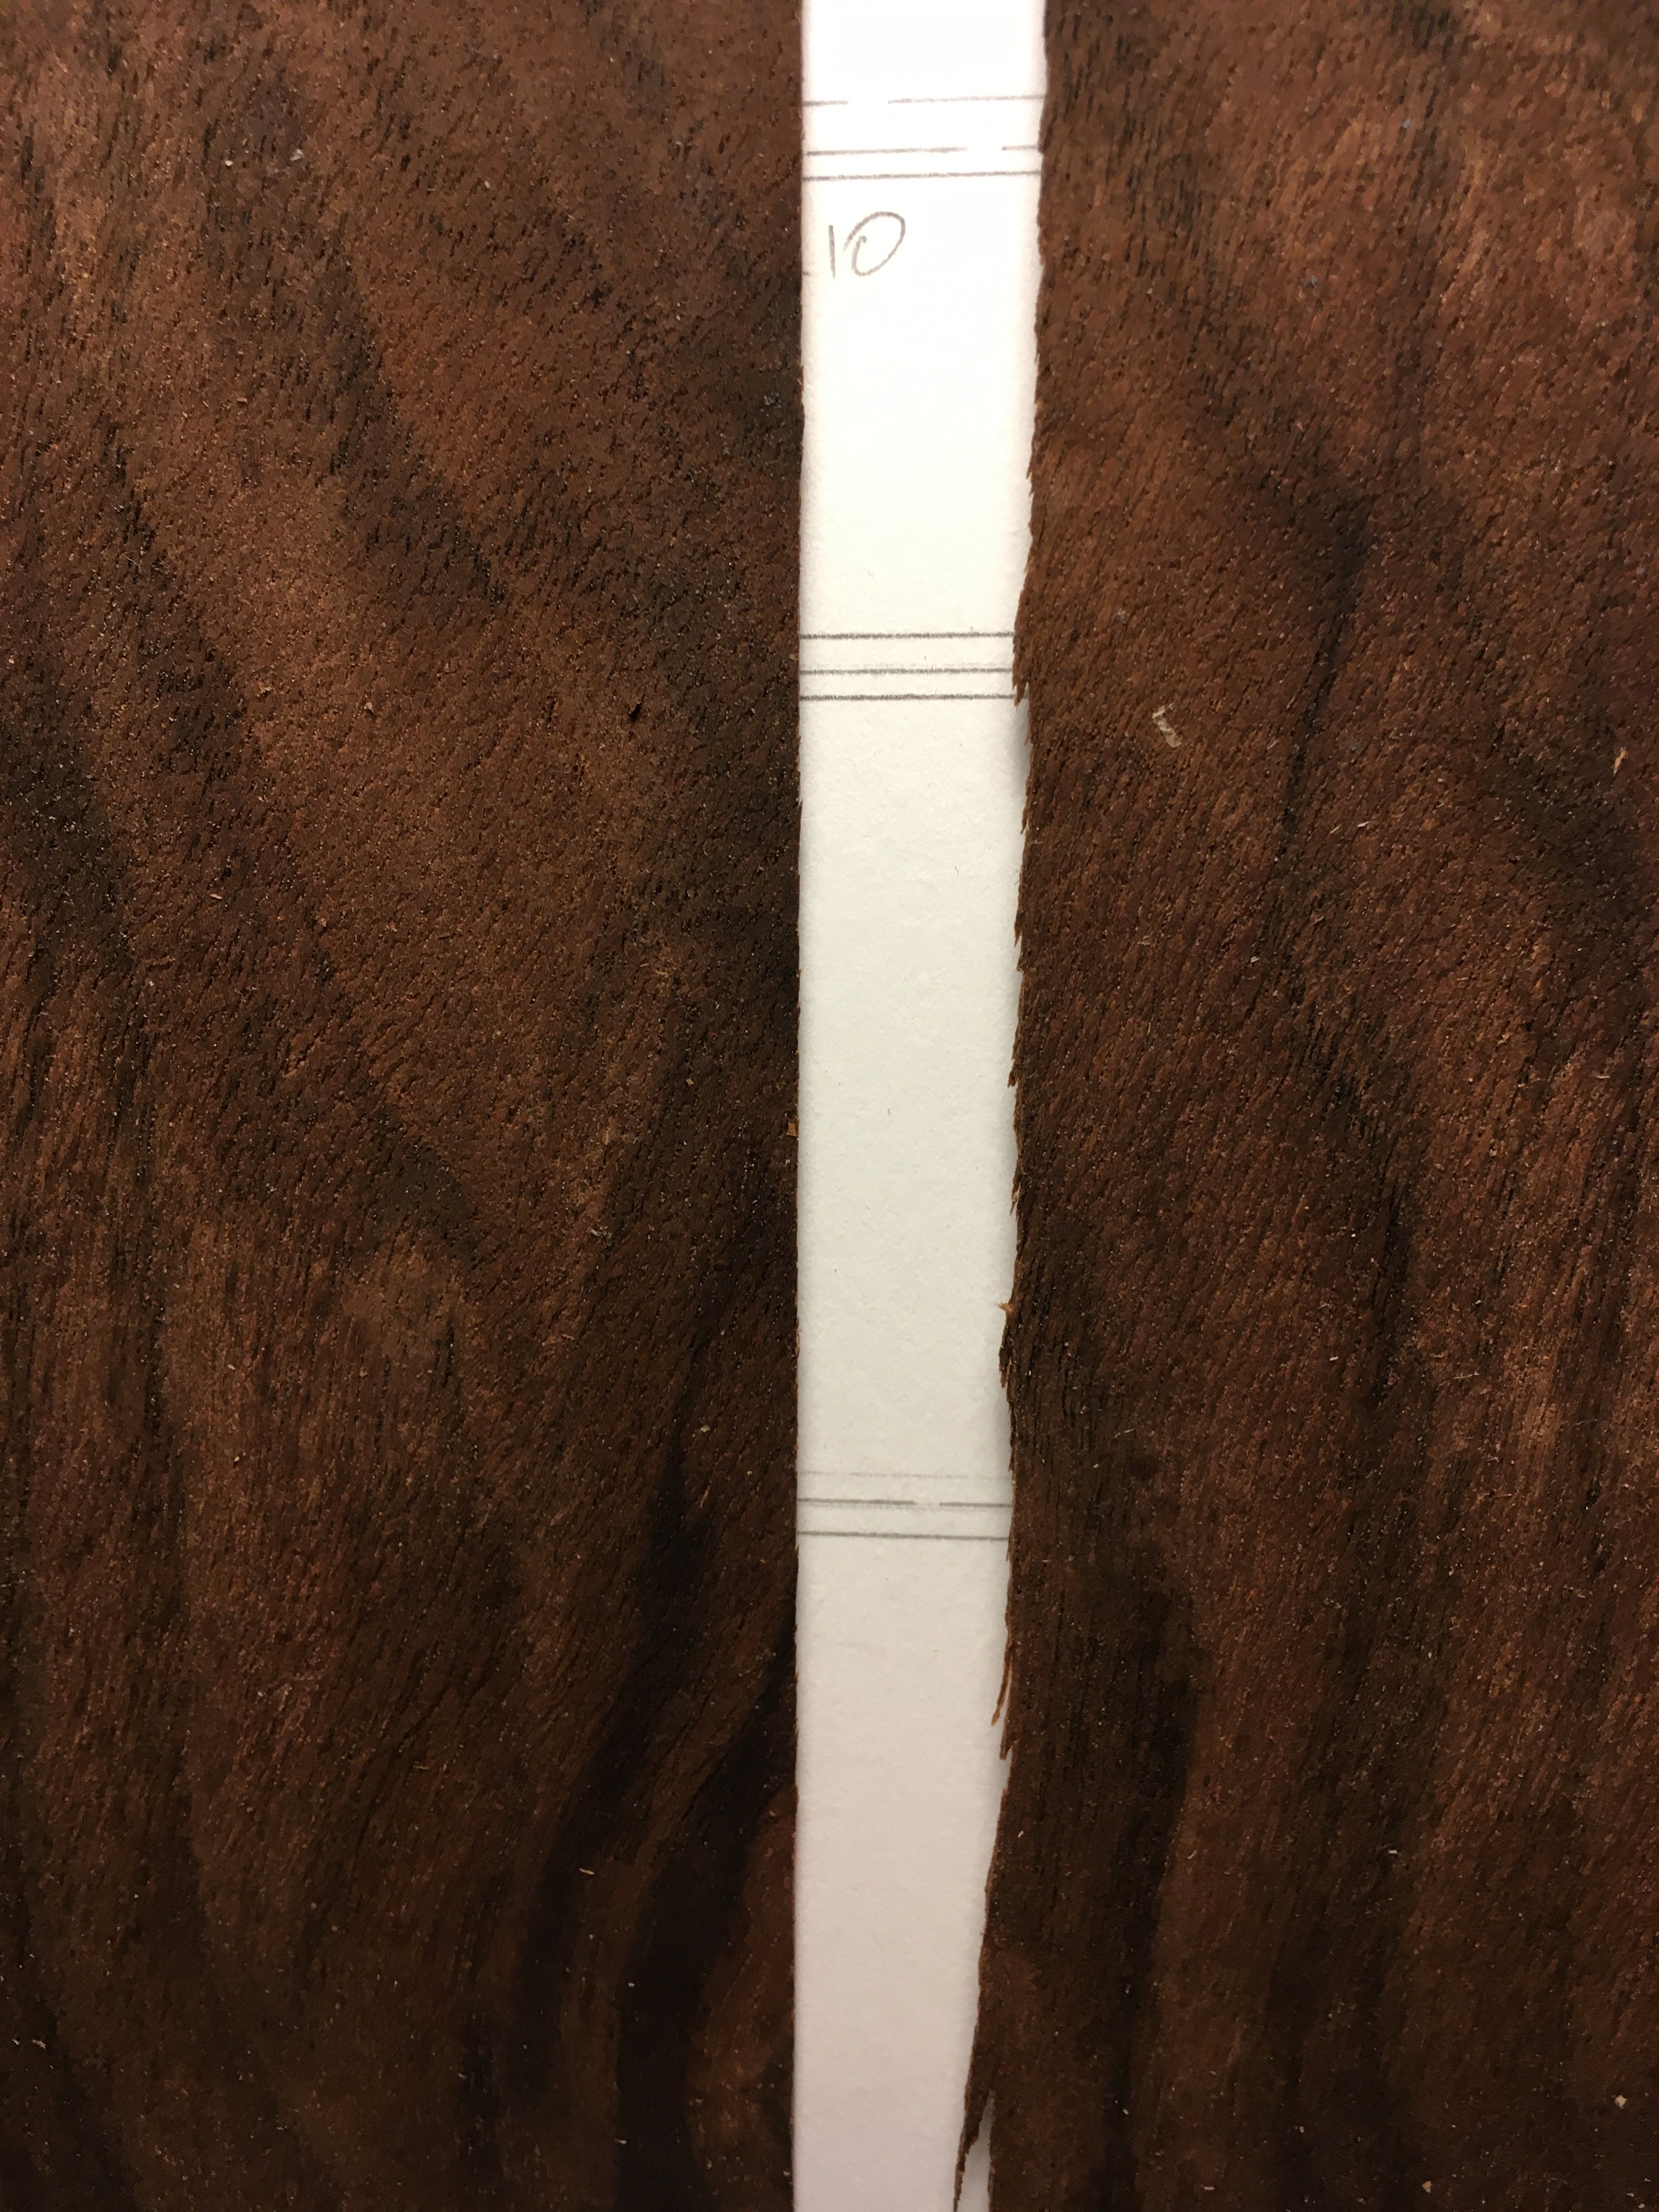
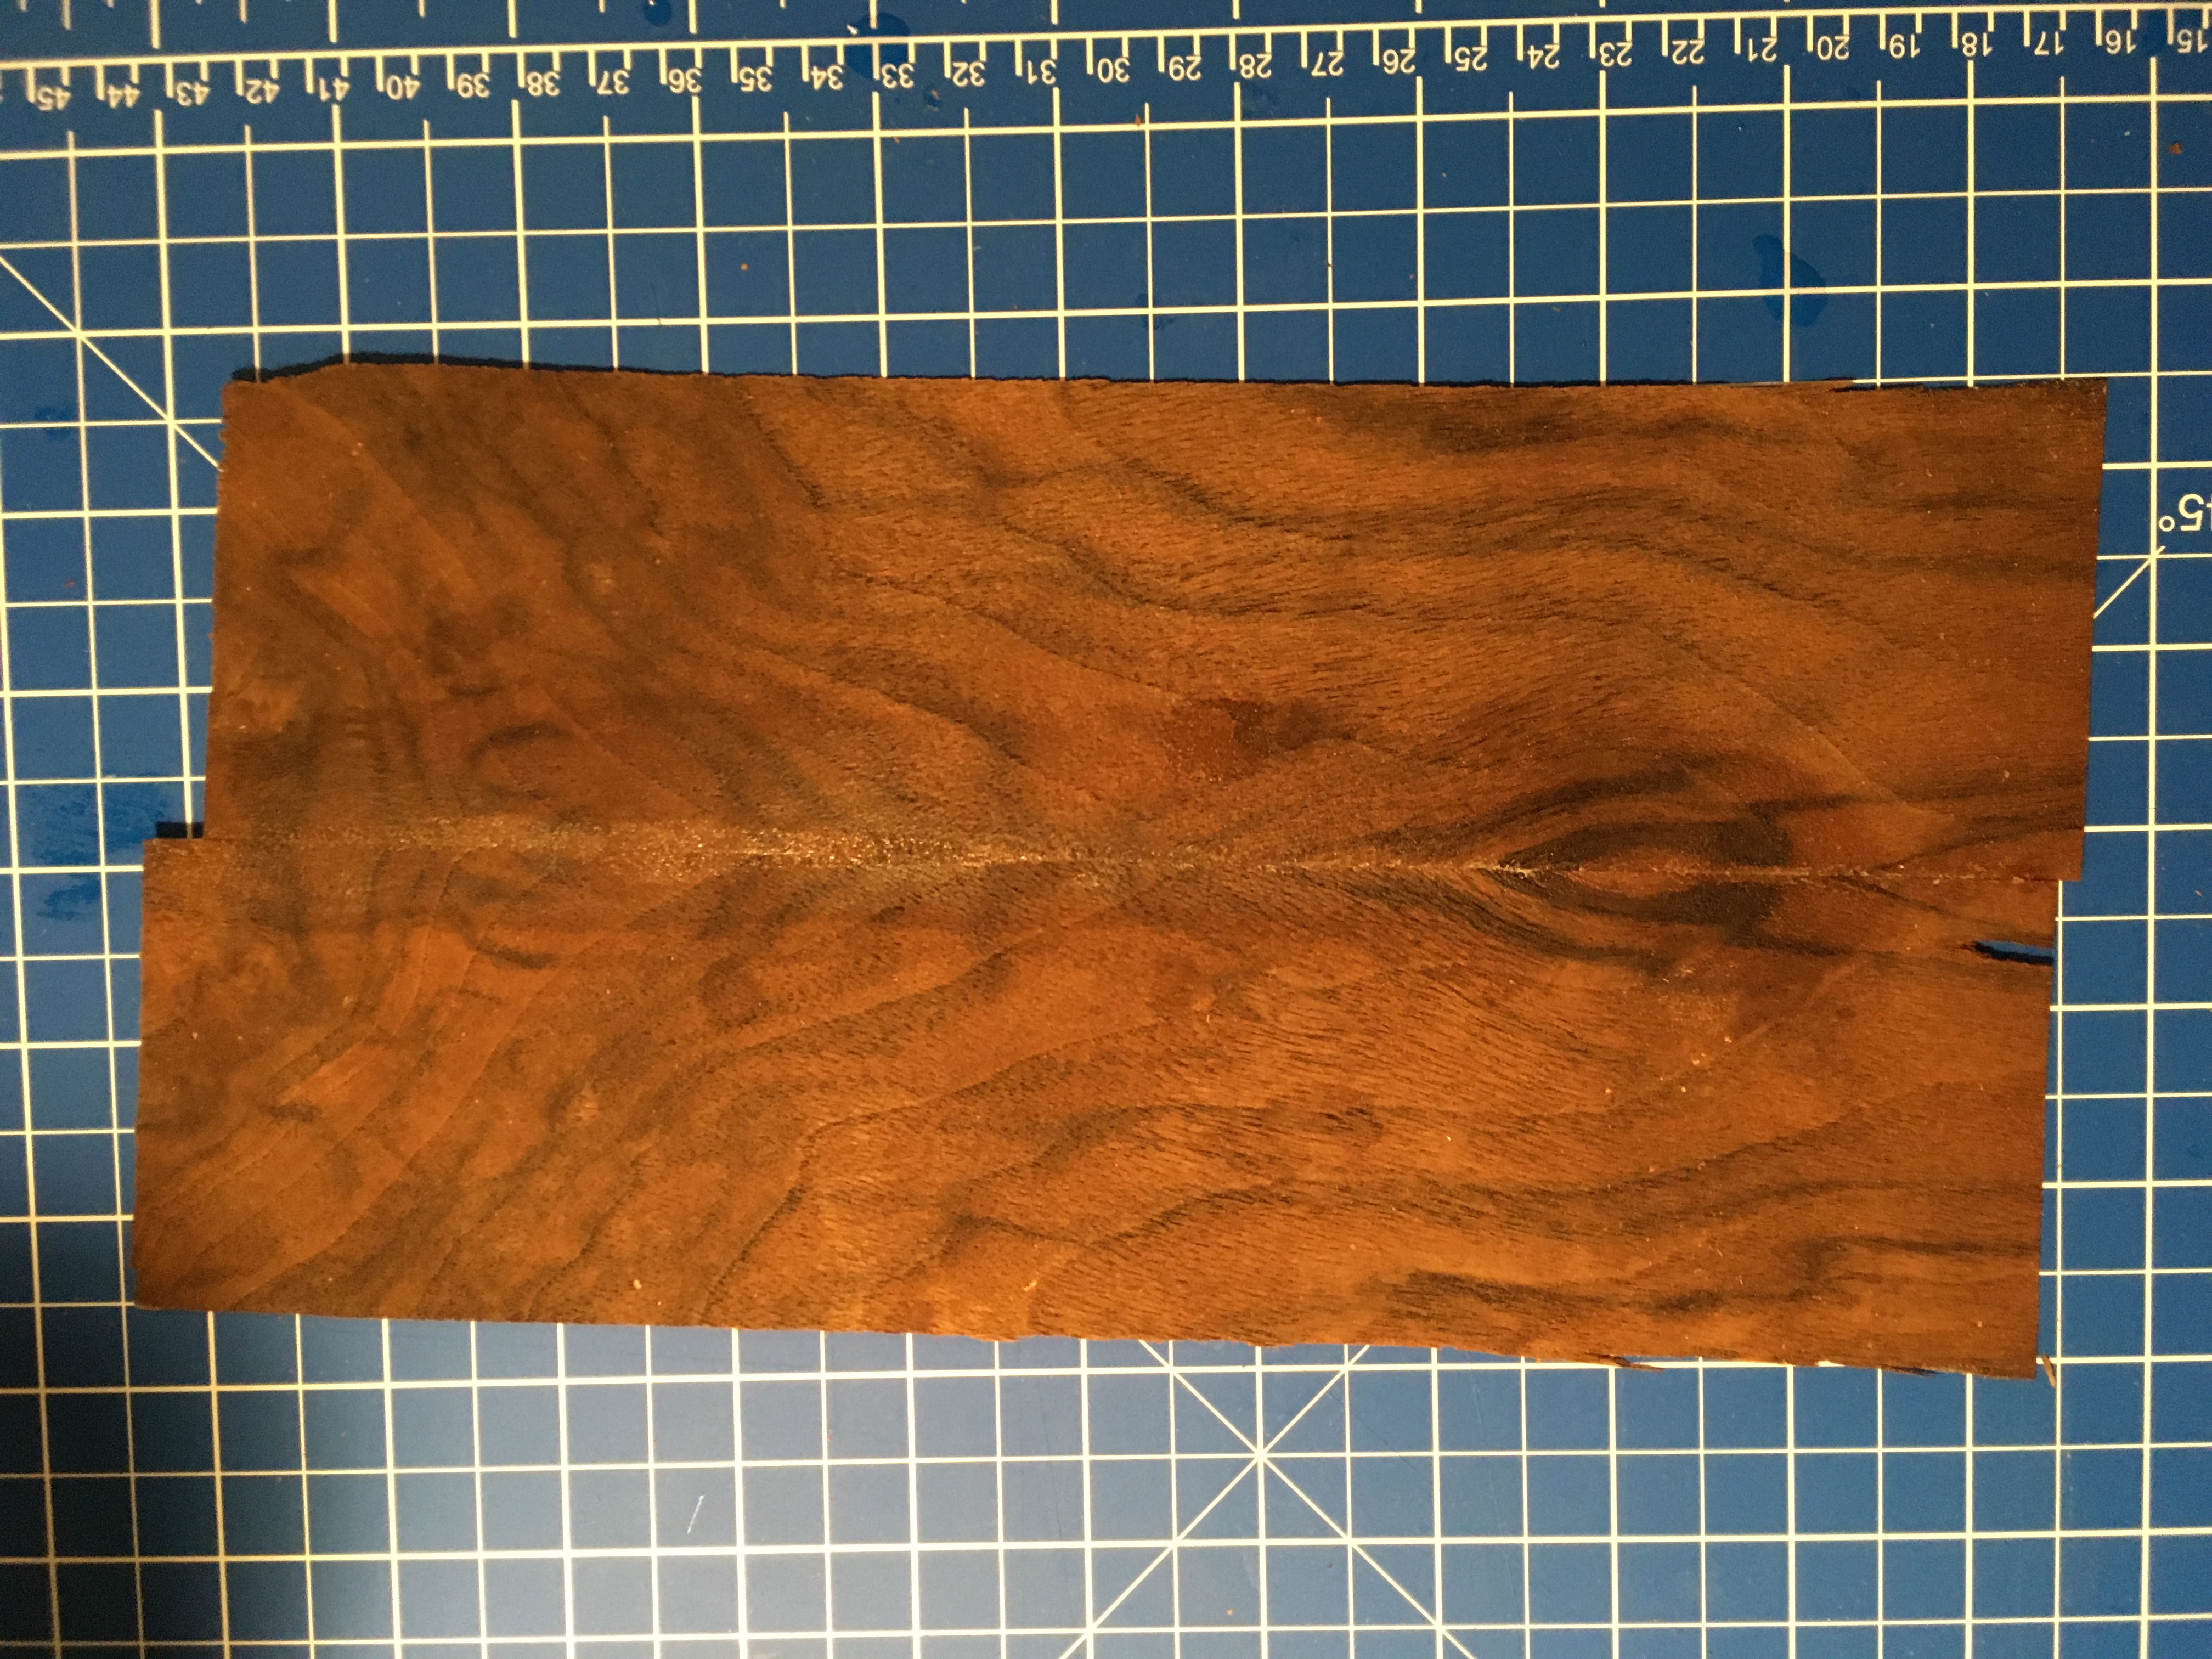
Here is a couple of bits of veneer which I have just flattened with homemade flattening solution. It’s made of alcohol, water, cascamite and glycerin. The teak and the burr walnut are junk shop finds. The walnut is very dry and crumbly, unless it’s rejuvenated with the flattening solution it is impossible to work. Now I will match up the grain and cut with a knife to get the match and then I will shoot it. Once I have shot the edge I will tape it together, fold it back glue the edge and leave it to dry under a board. Then when I come to glue it to a substrate it is very unlikely to come apart at the seam. I had forgotten a lot of my veneering skills and thought I would be racing through it. I realise now that unless I am veneering a single plain piece, it is quite an involved process. You don’t have to glue all your seams but if a seam comes apart then you either have to add stringing etc or start again so I am happy to glue the seams. It is a very enjoyable and methodical process, I still believe it is a little faster than thicknessing solid wood by hand obviously .
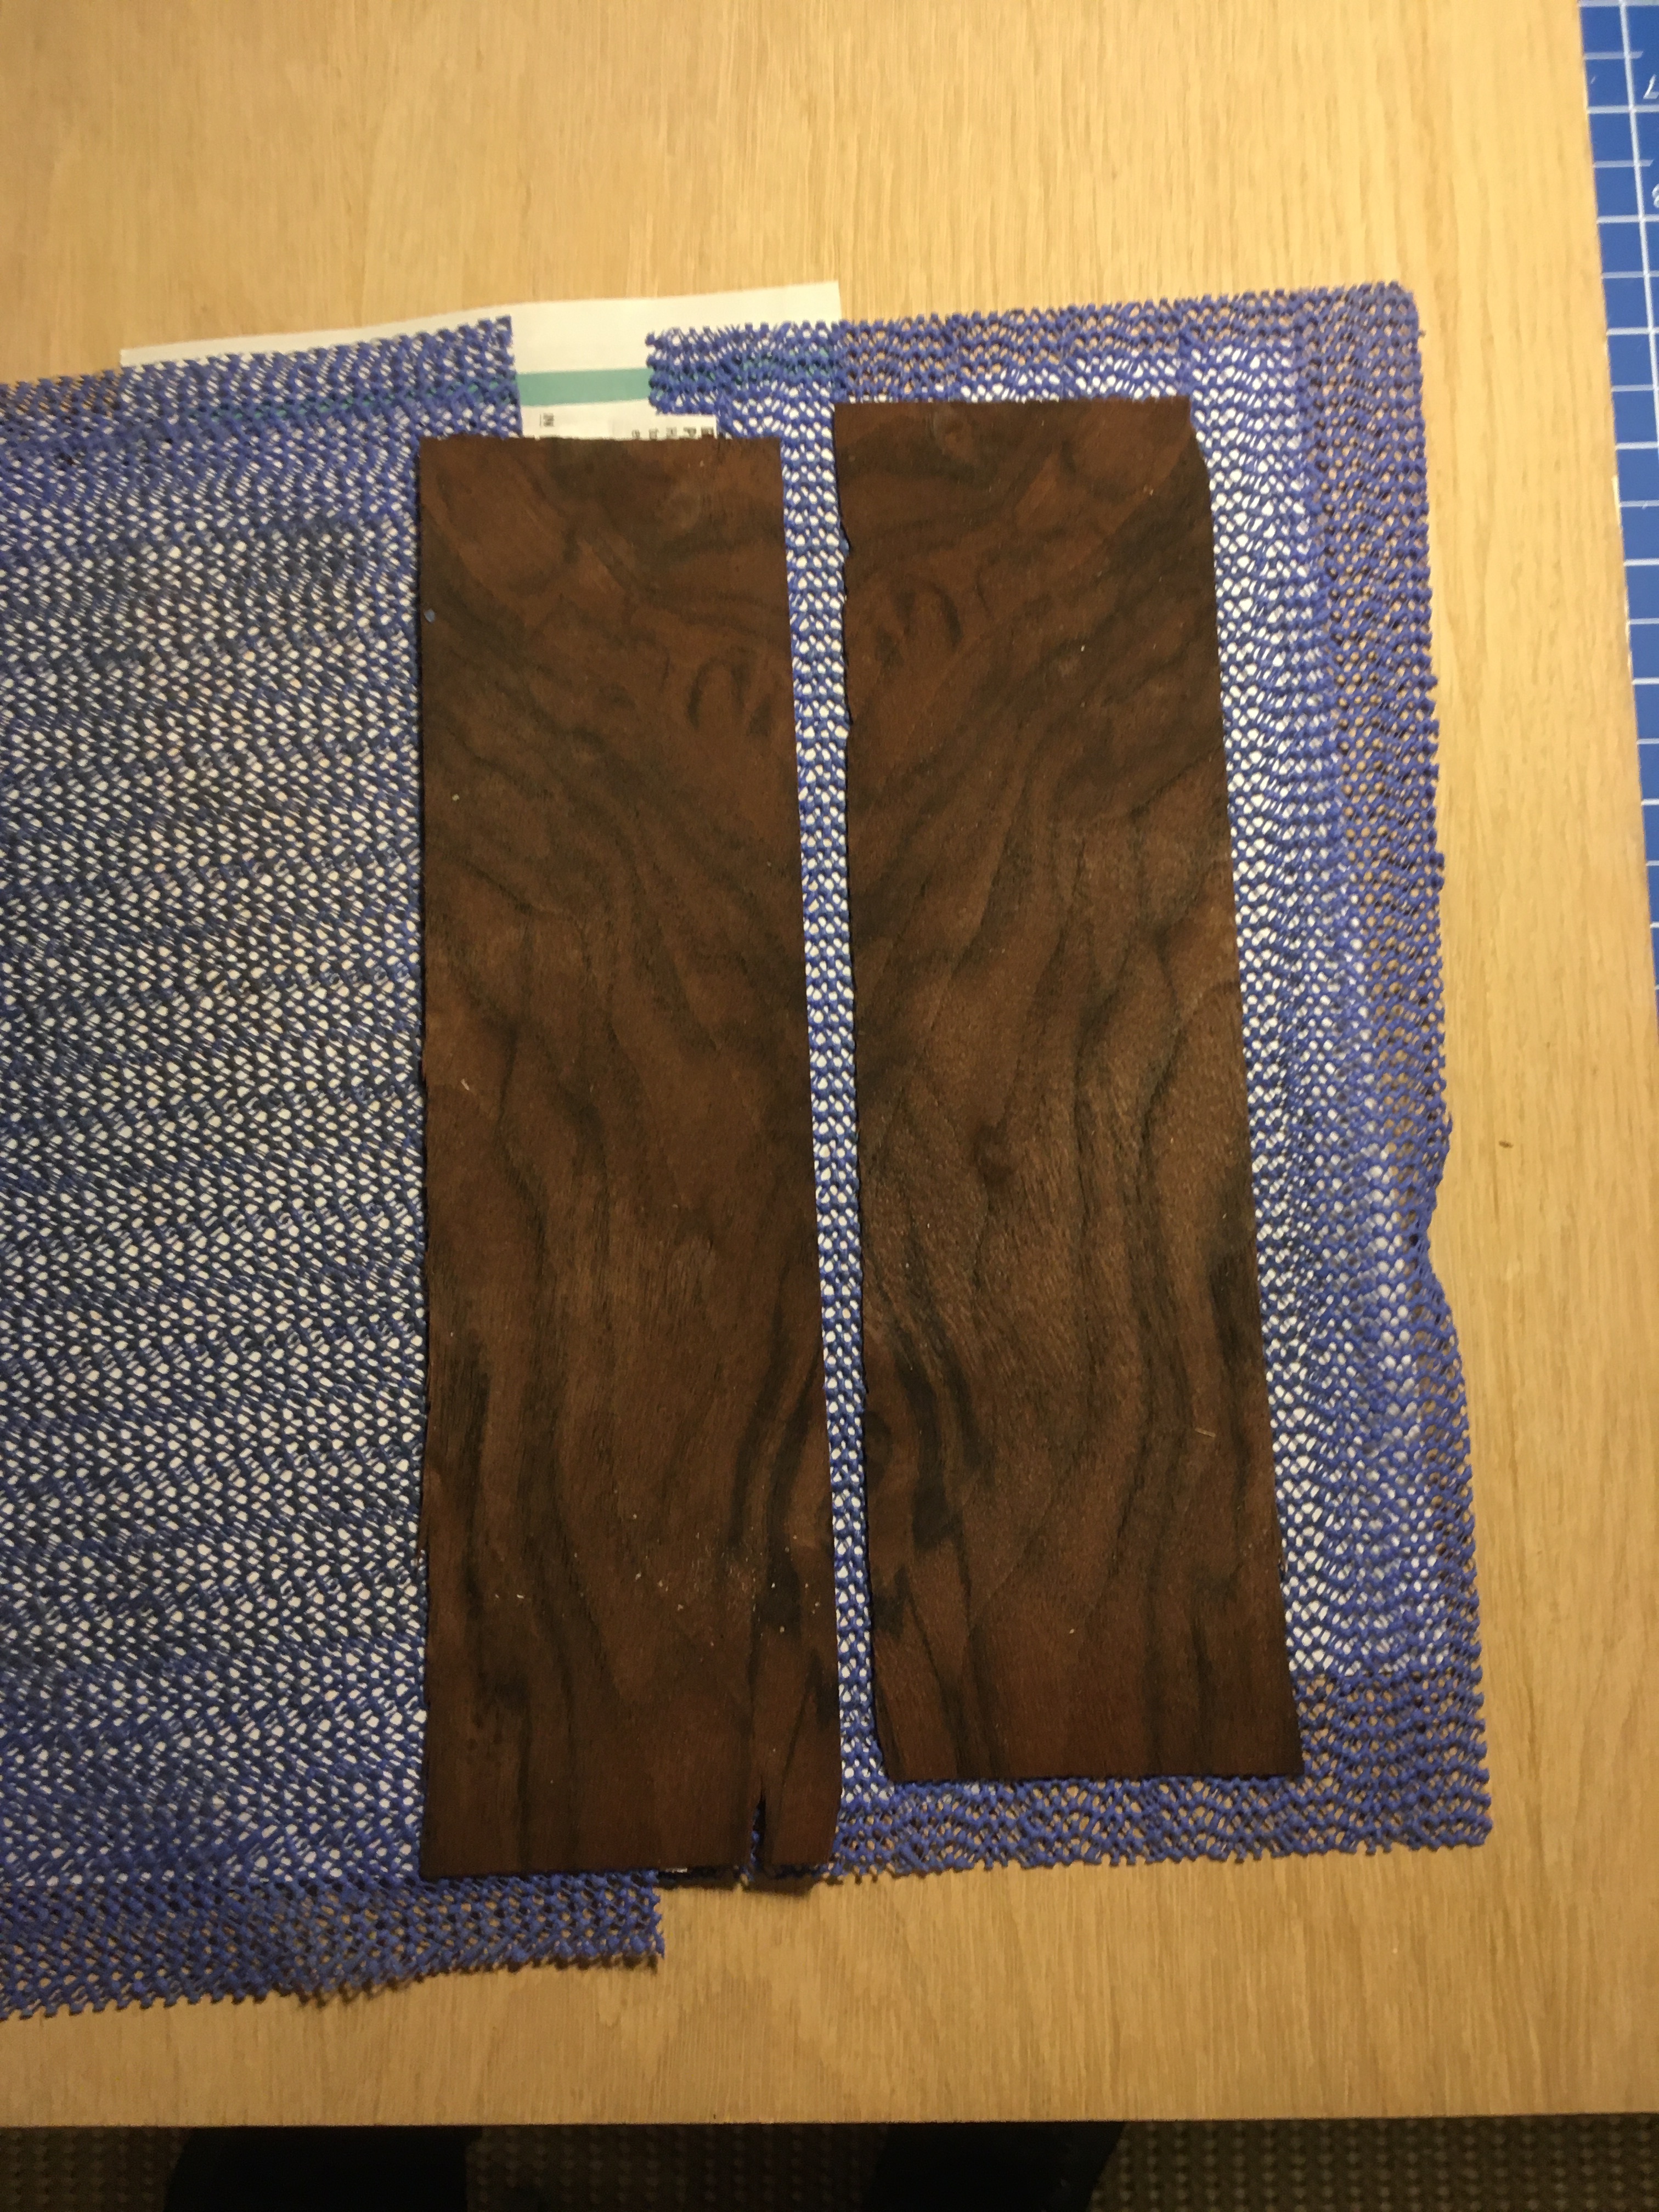
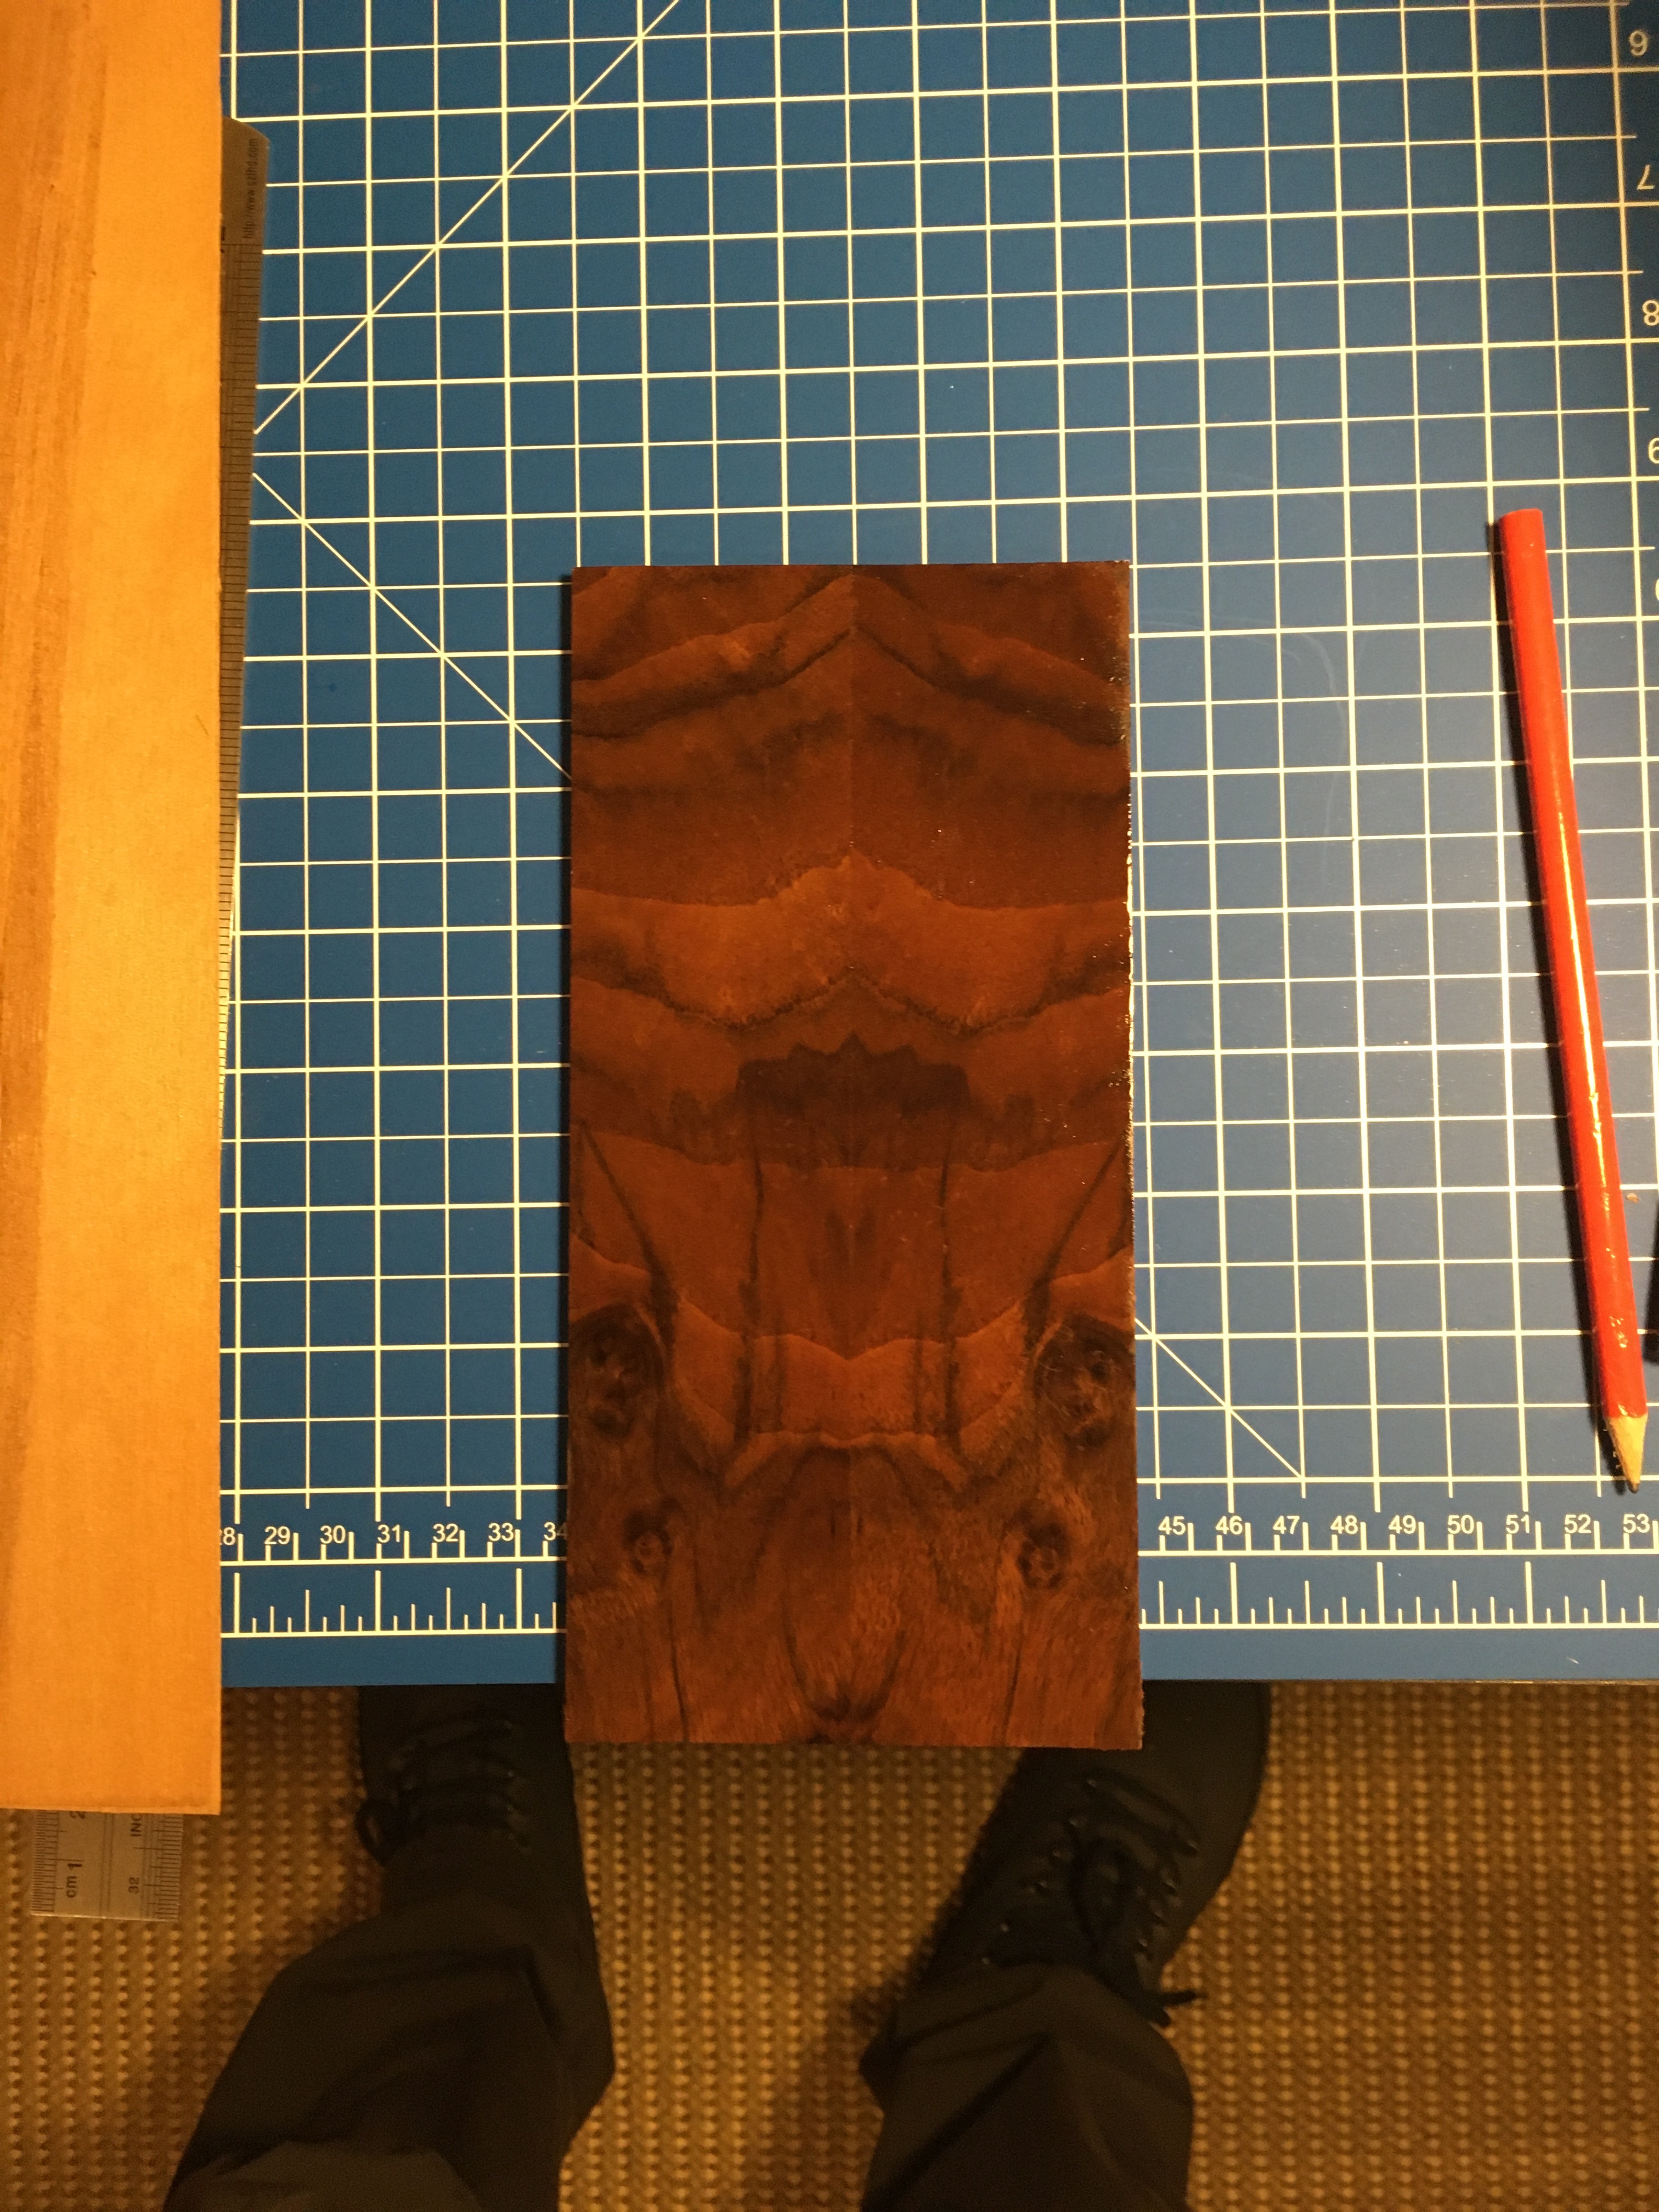
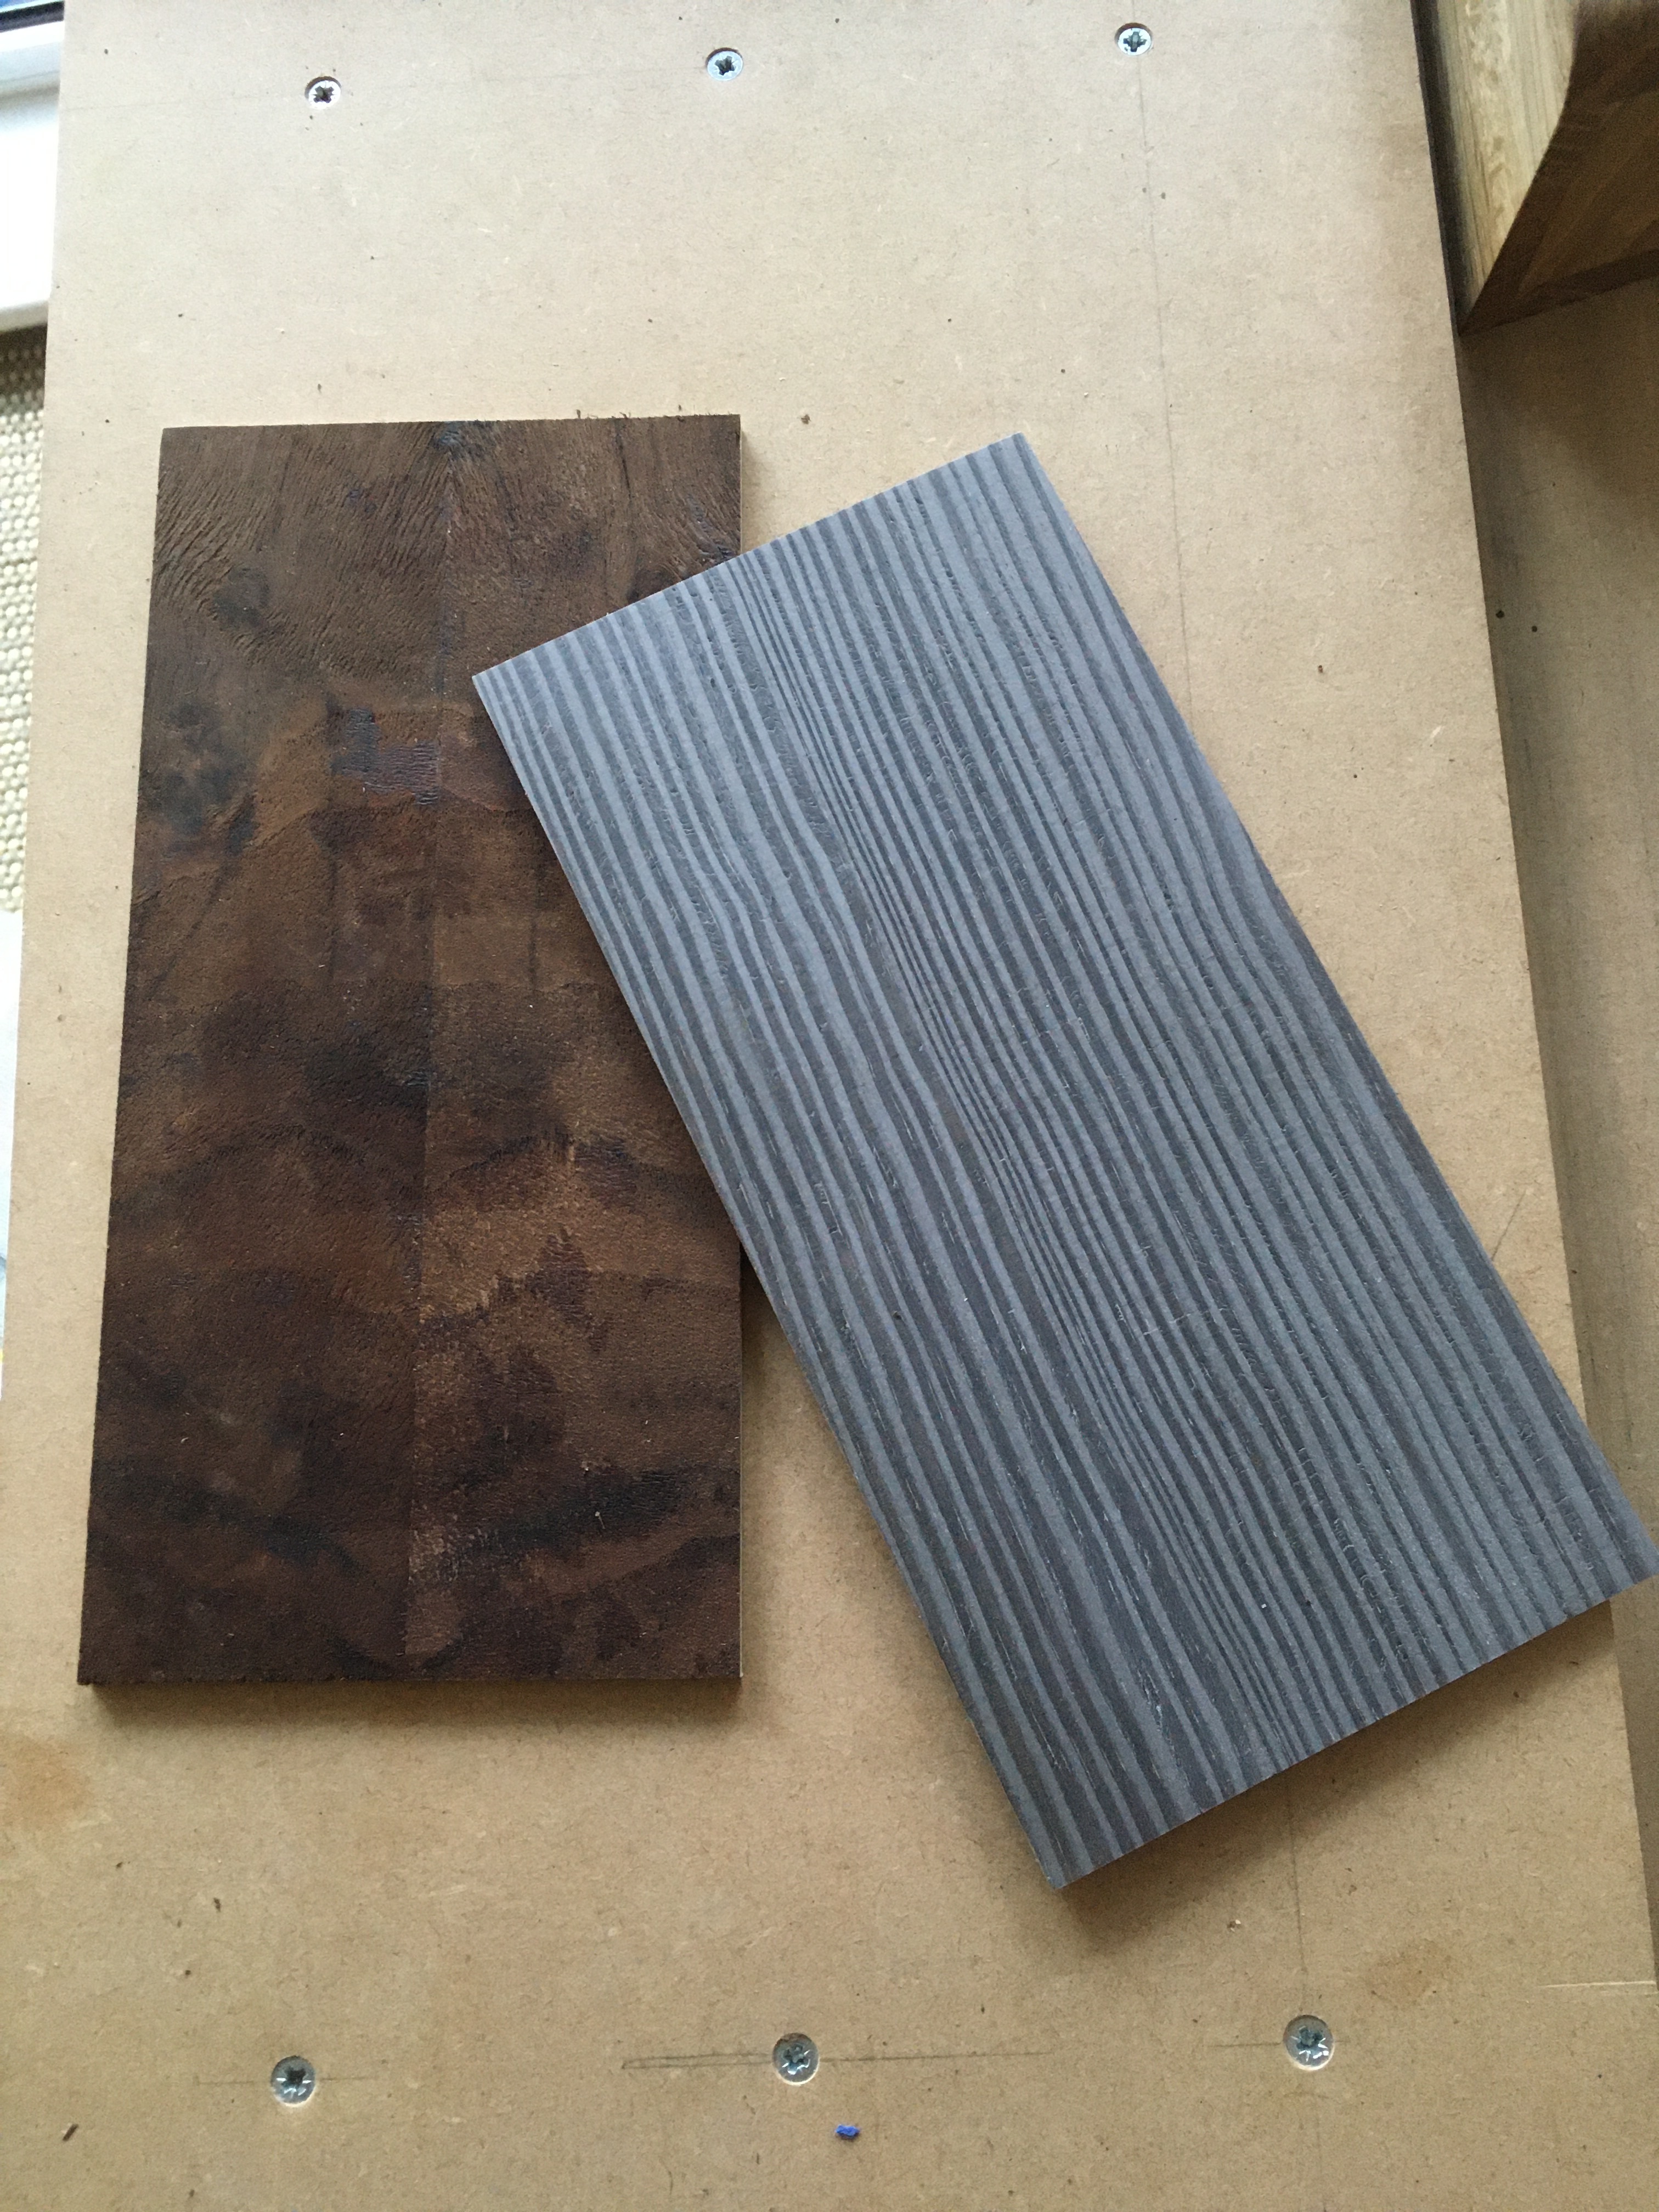
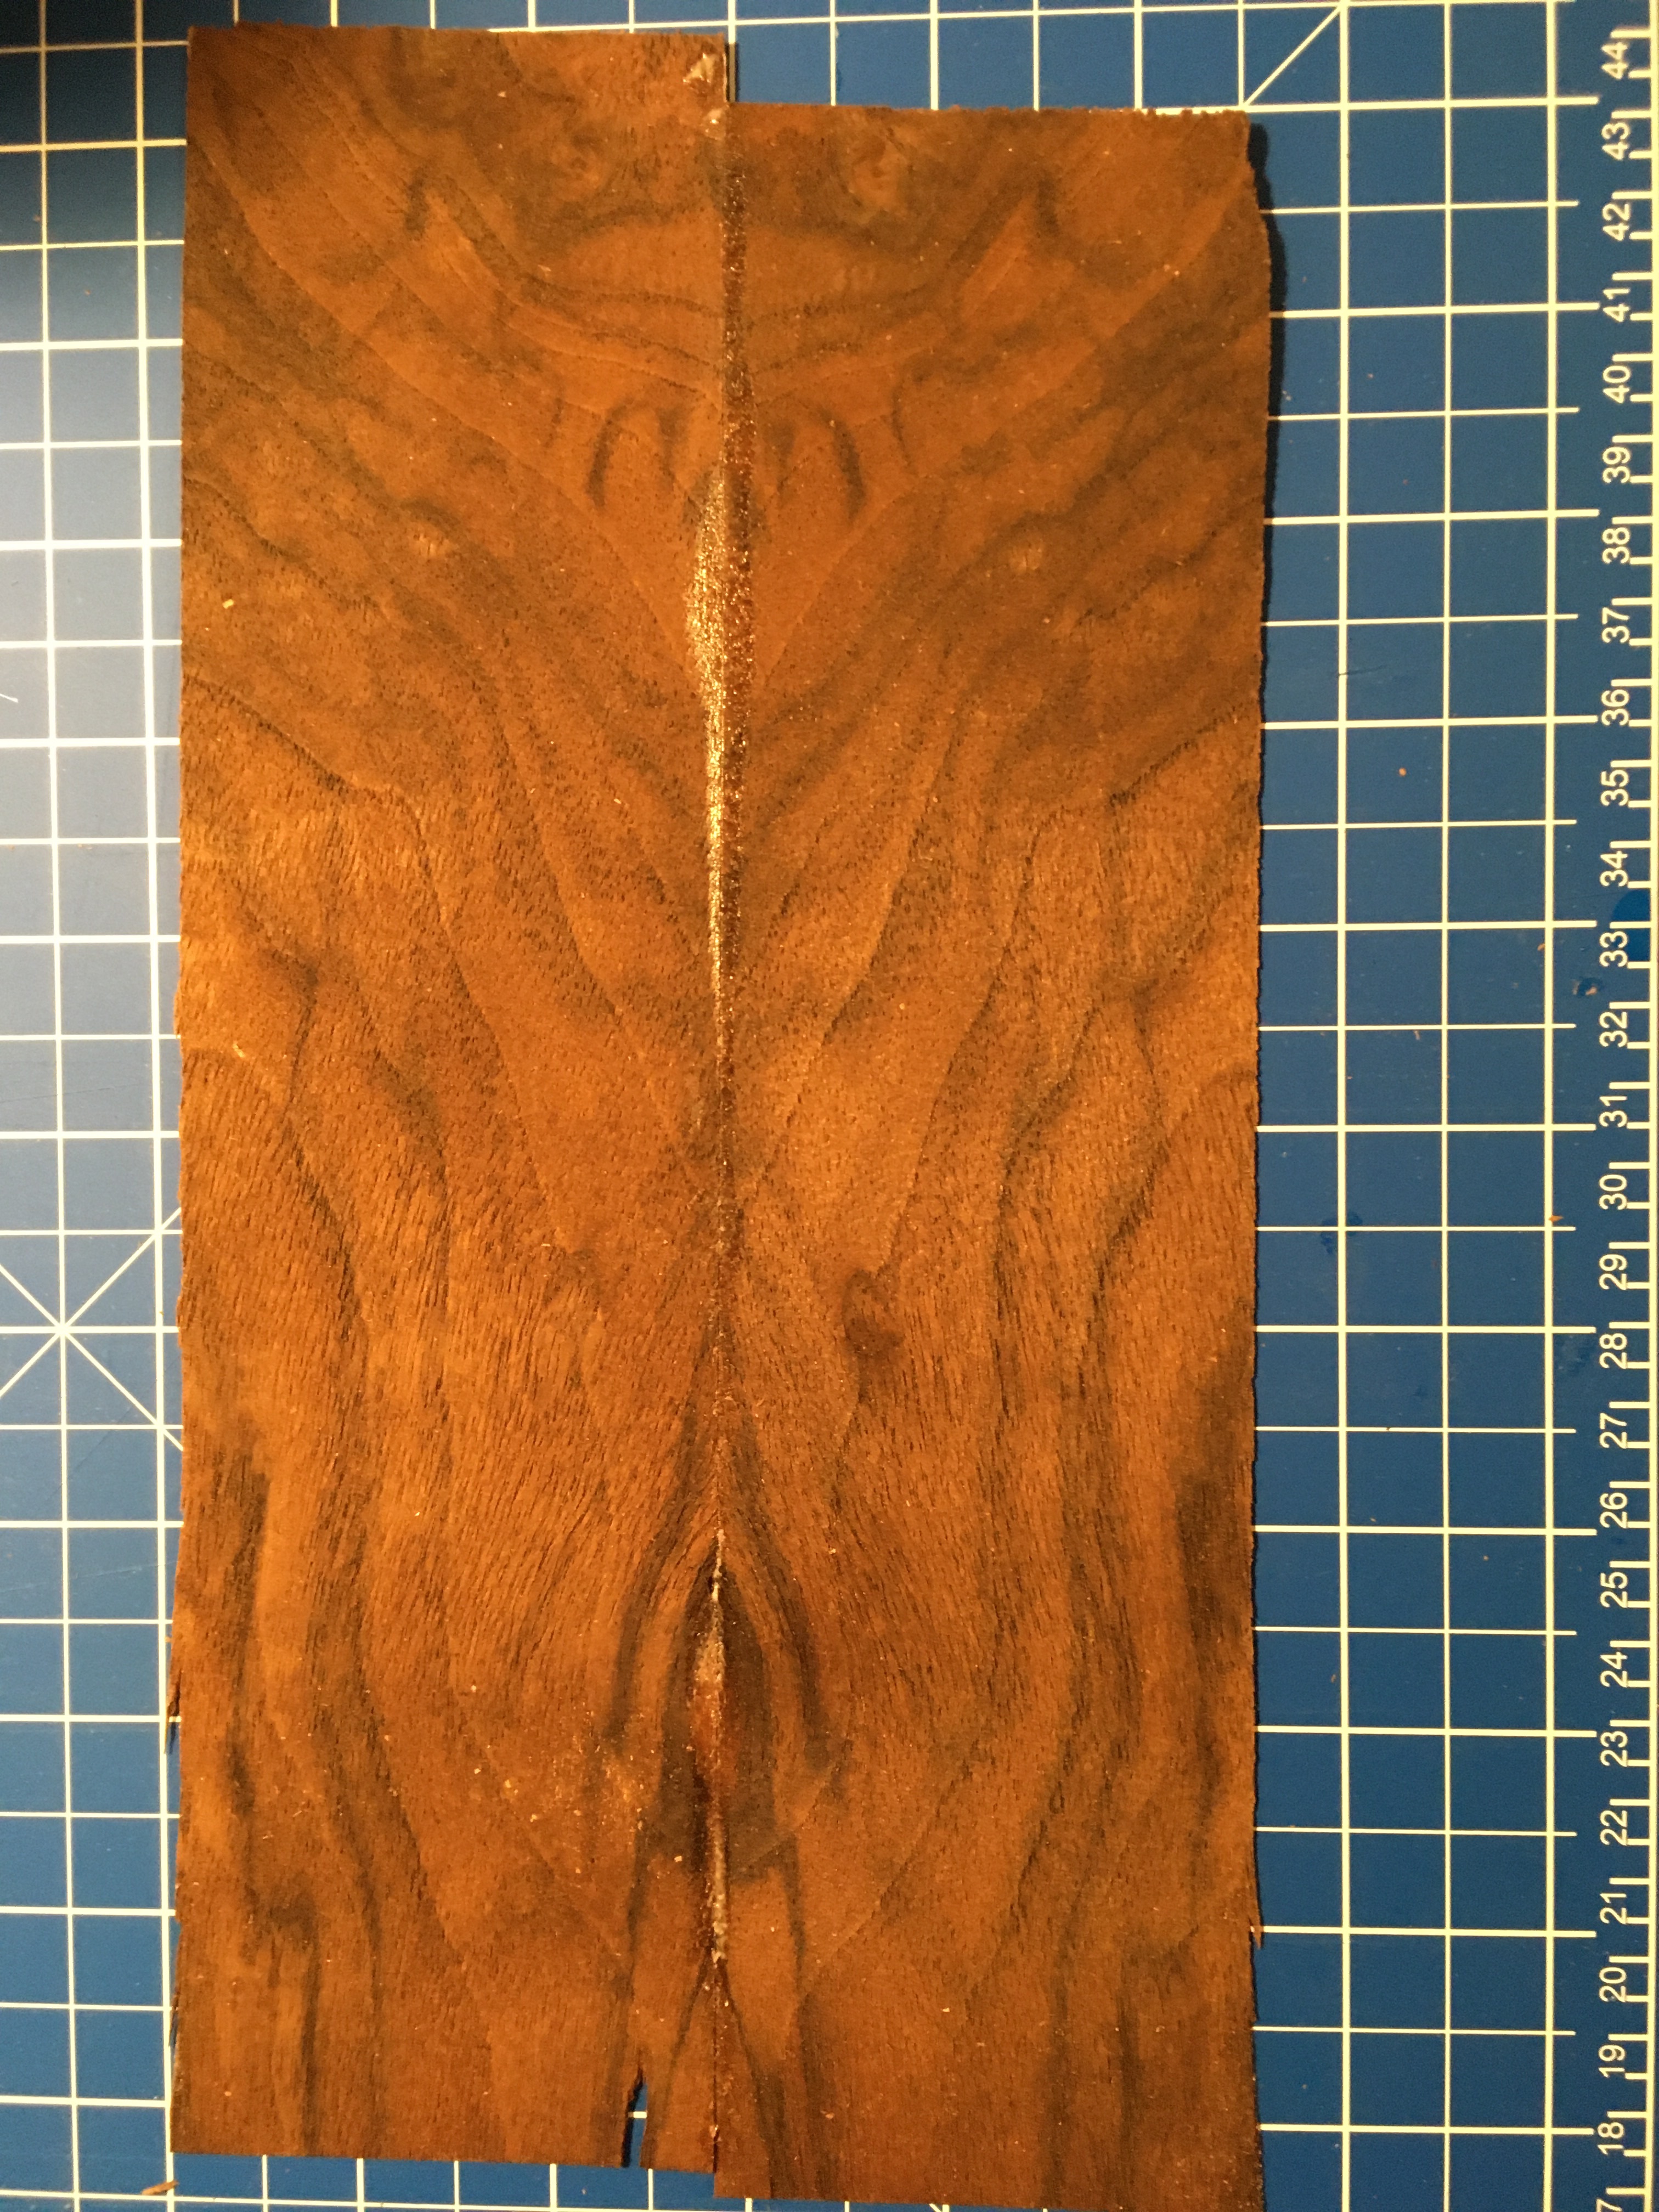
This picture demonstrates just how big a difference some conditioner/ flattening solution can make. The veneer on the left has been trimmed with a knife after being wetted with the solution and pressed until dry. I think it can be seen that the result is acceptable. The other piece was trimmed in exactly the same way before the solution was applied and it is clear that the veneer was so brittle I was unable to get a decent cut. The veneer fractured and cracked and the cut ran into the grain. There are many types of veneer which are crumbly and brittle, especially old veneer is often hard to use. With a little bit of effort I can now get most veneer workable. The burr/ curly walnut was very cheap and it would have been a shame to see it go in the bin. Back in the day it was common to see job lots of veneer in the classified ads of woodworking magazines. If anyone is sitting on some beautiful old veneer which is as brittle as a potato chip, find a chair or at the very least a cushion and then try some flattening solution. It really does work wonders.
1 Like
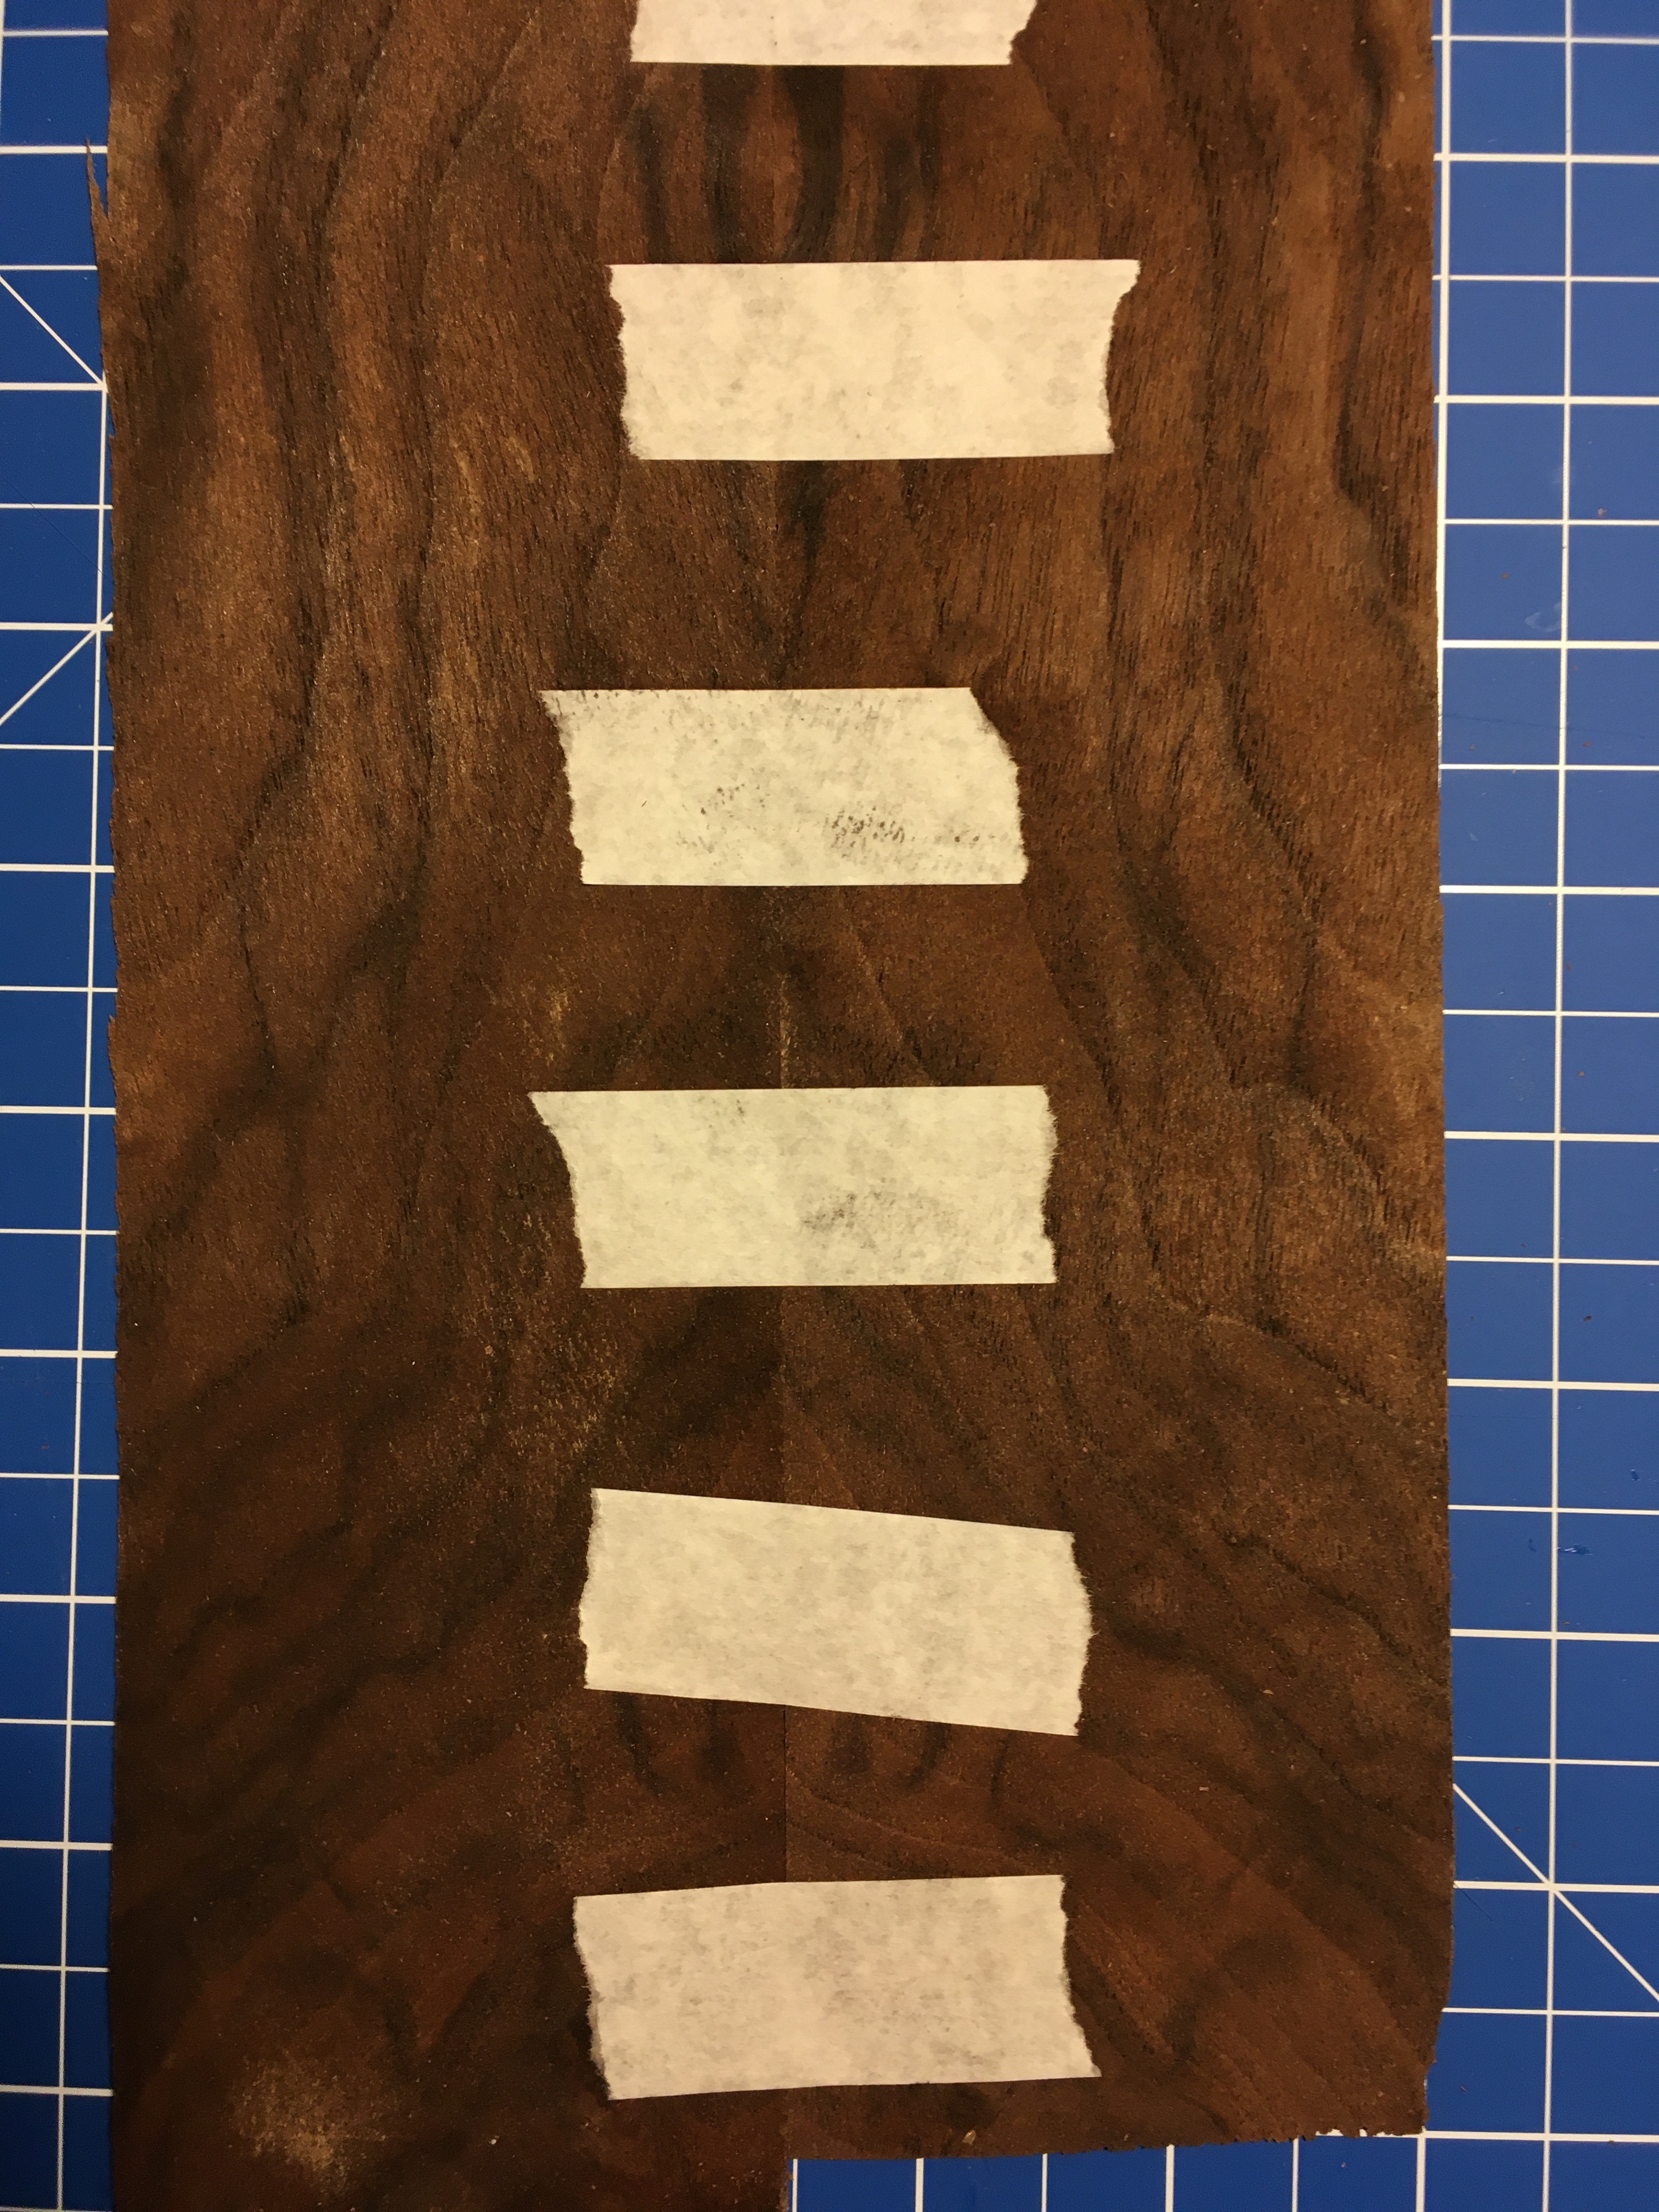
Here are the veneers after shooting them with a very sharp blade. A little bit of spring is acceptable. Then I tape, some say you need clear low tack tape. I am really liking this traditional tape from the wood veneer hub. It’s got lots of gum on it so it sticks really well and requires a spritz of water to remove. You can see that a finger is the perfect applicator for a thin edge. I then close it up wipe off the excess glue and put it under a weighted board for an hour at which point it is virtually like a single sheet of veneer. . o
2 Likes
Loving this documentation of your process 
Hi
Oh I am happy you said that because I had literally just been wondering whether I was being ridiculous posting such things. Thanks. I have a lot of time recently.
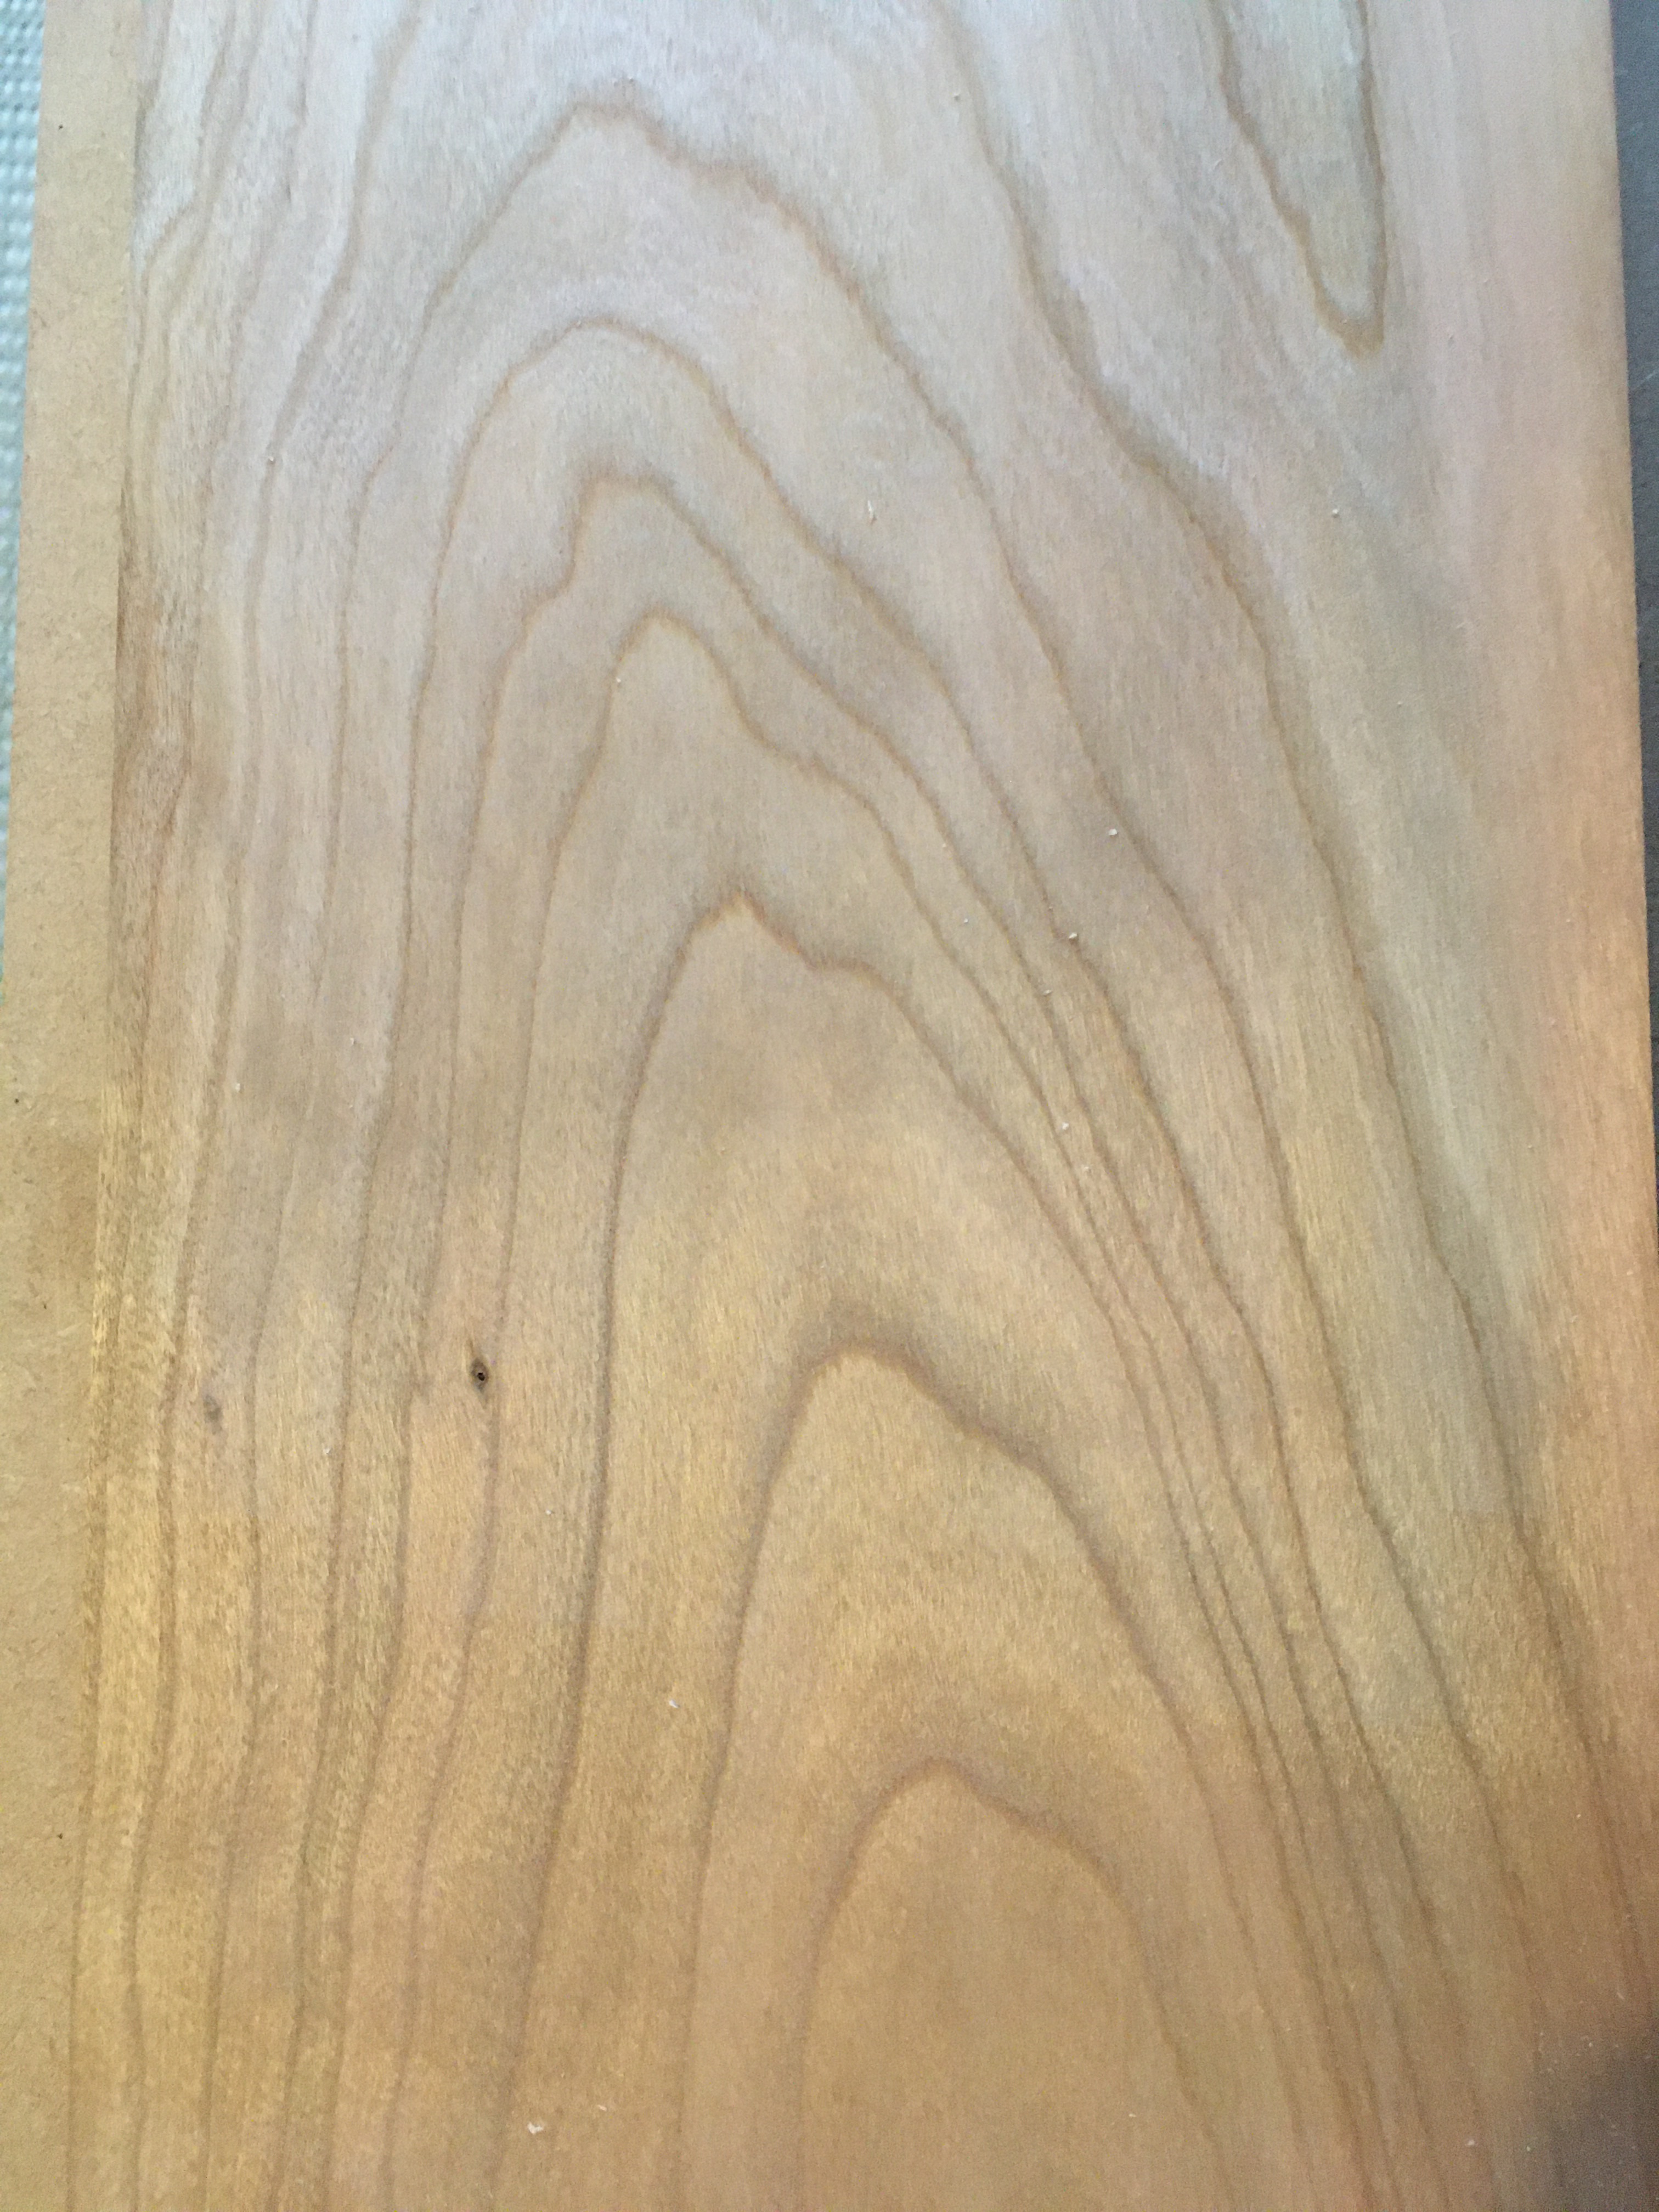
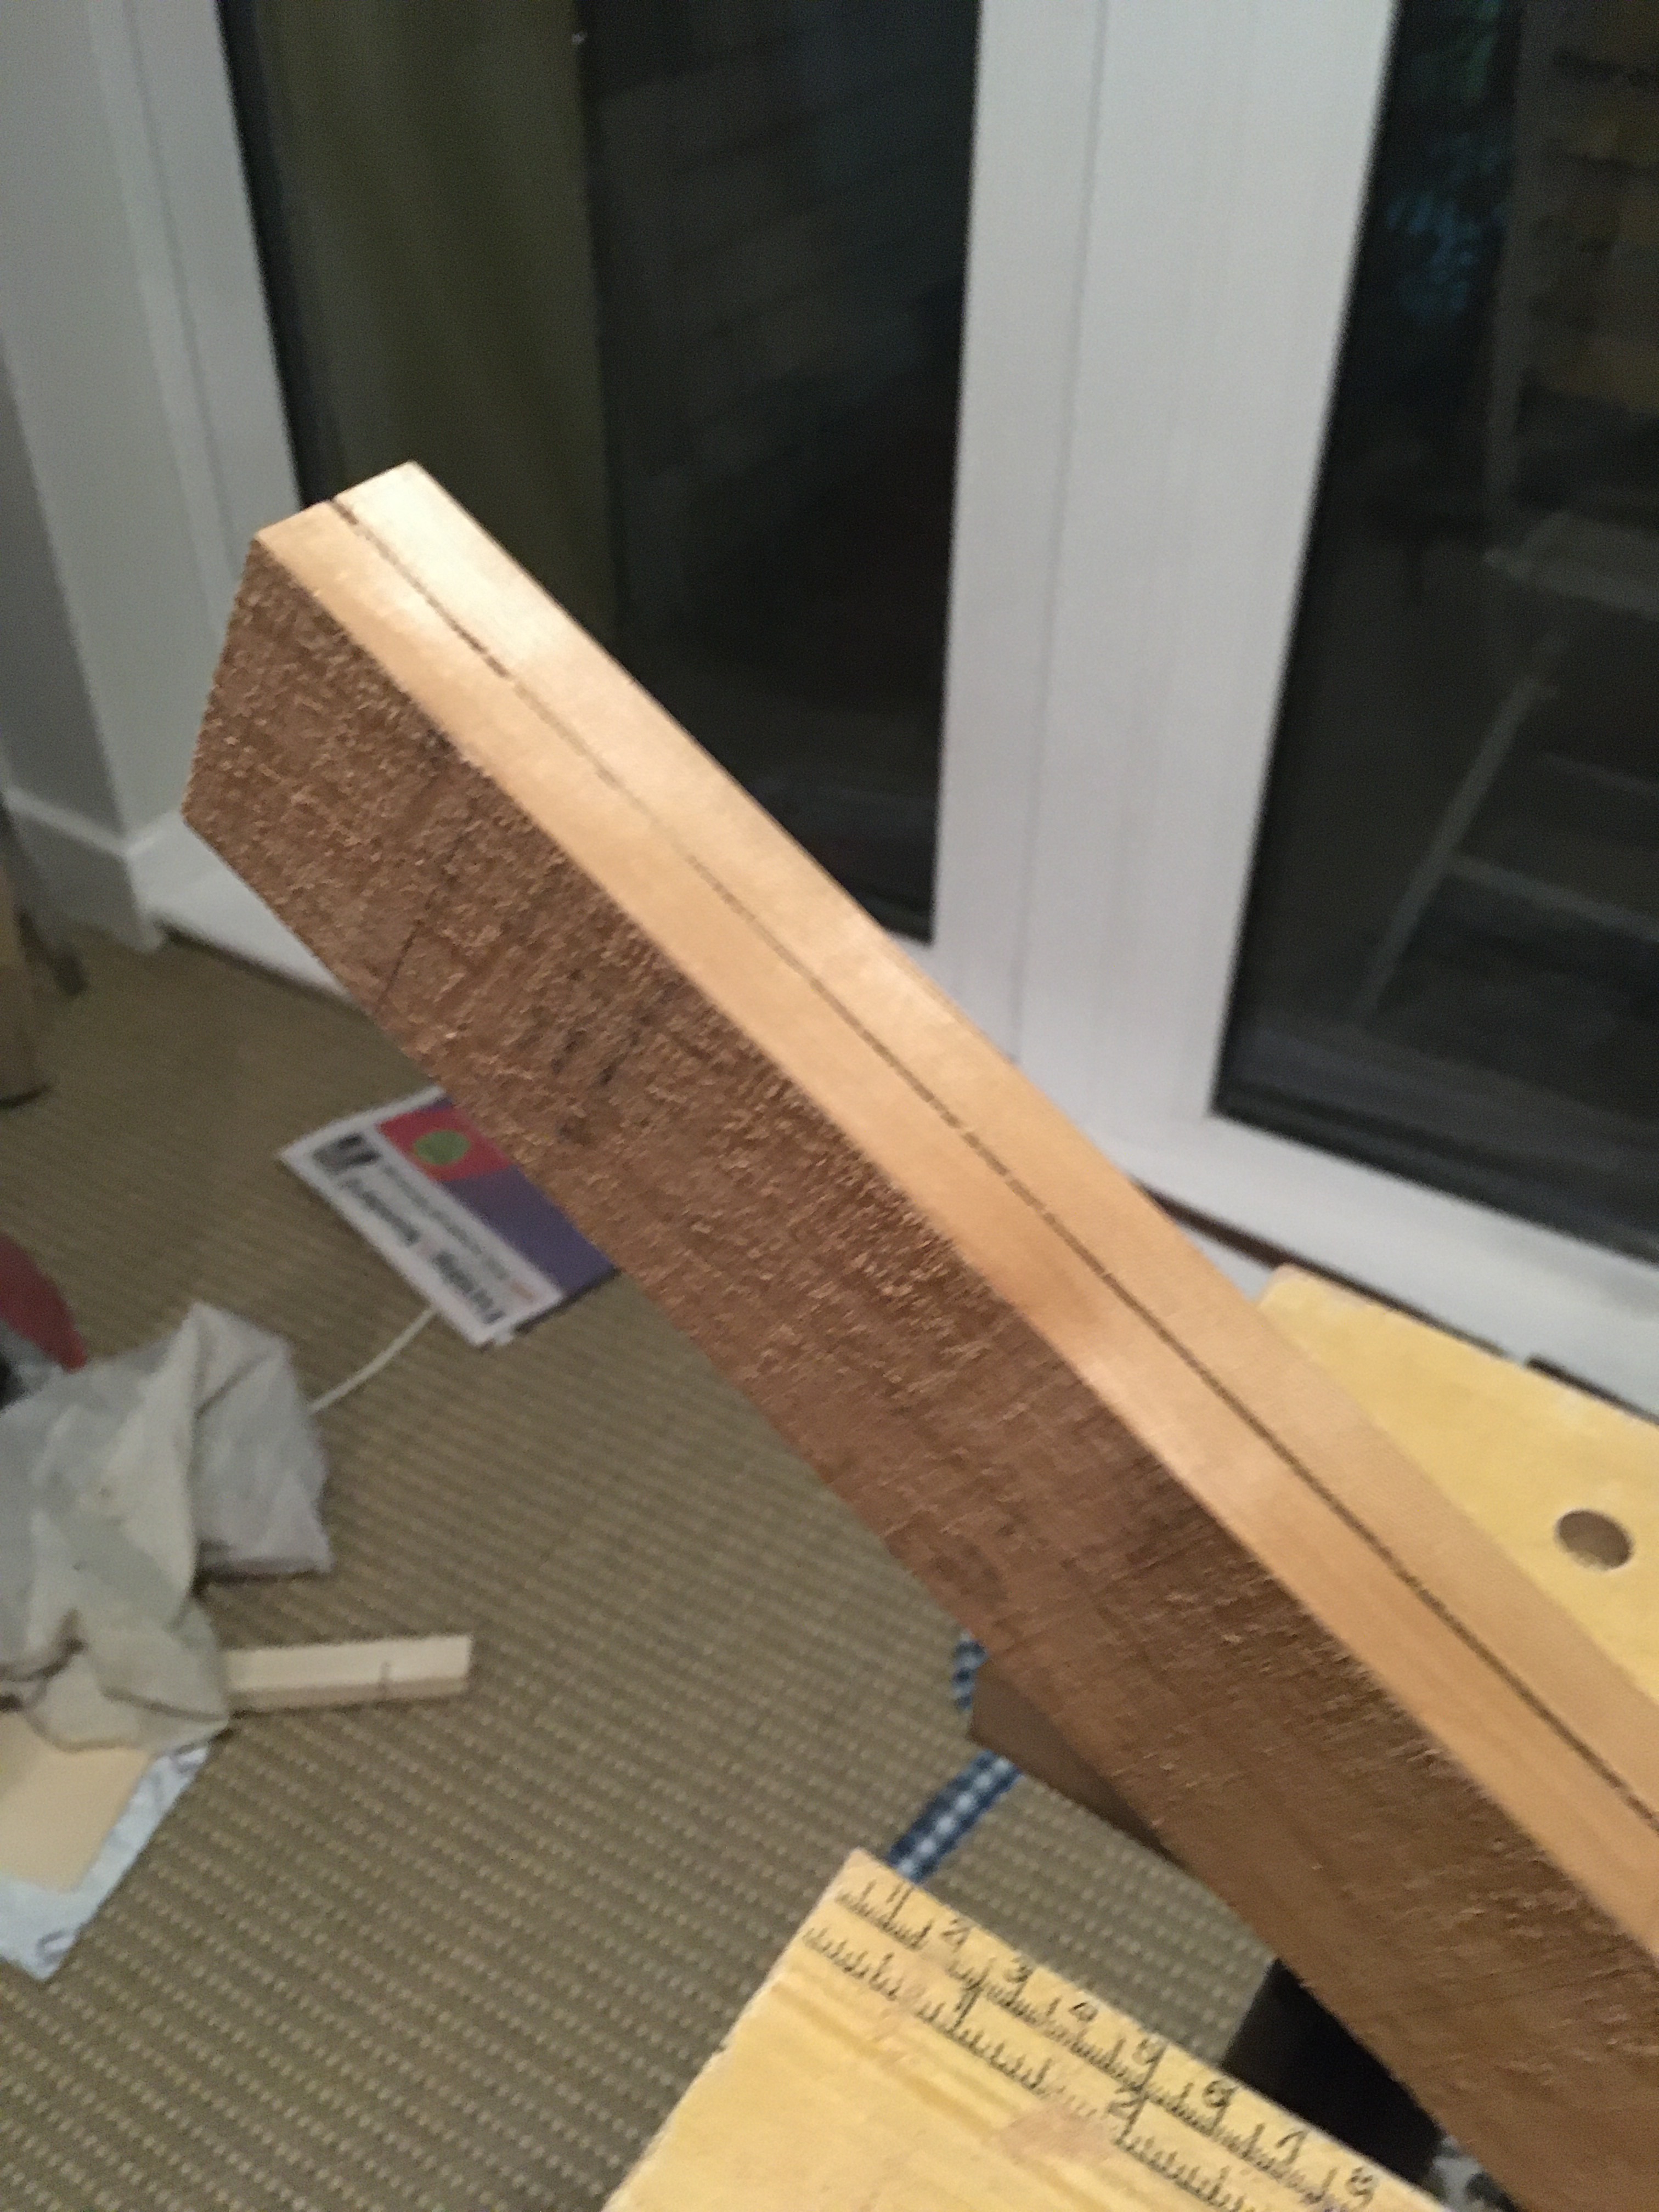
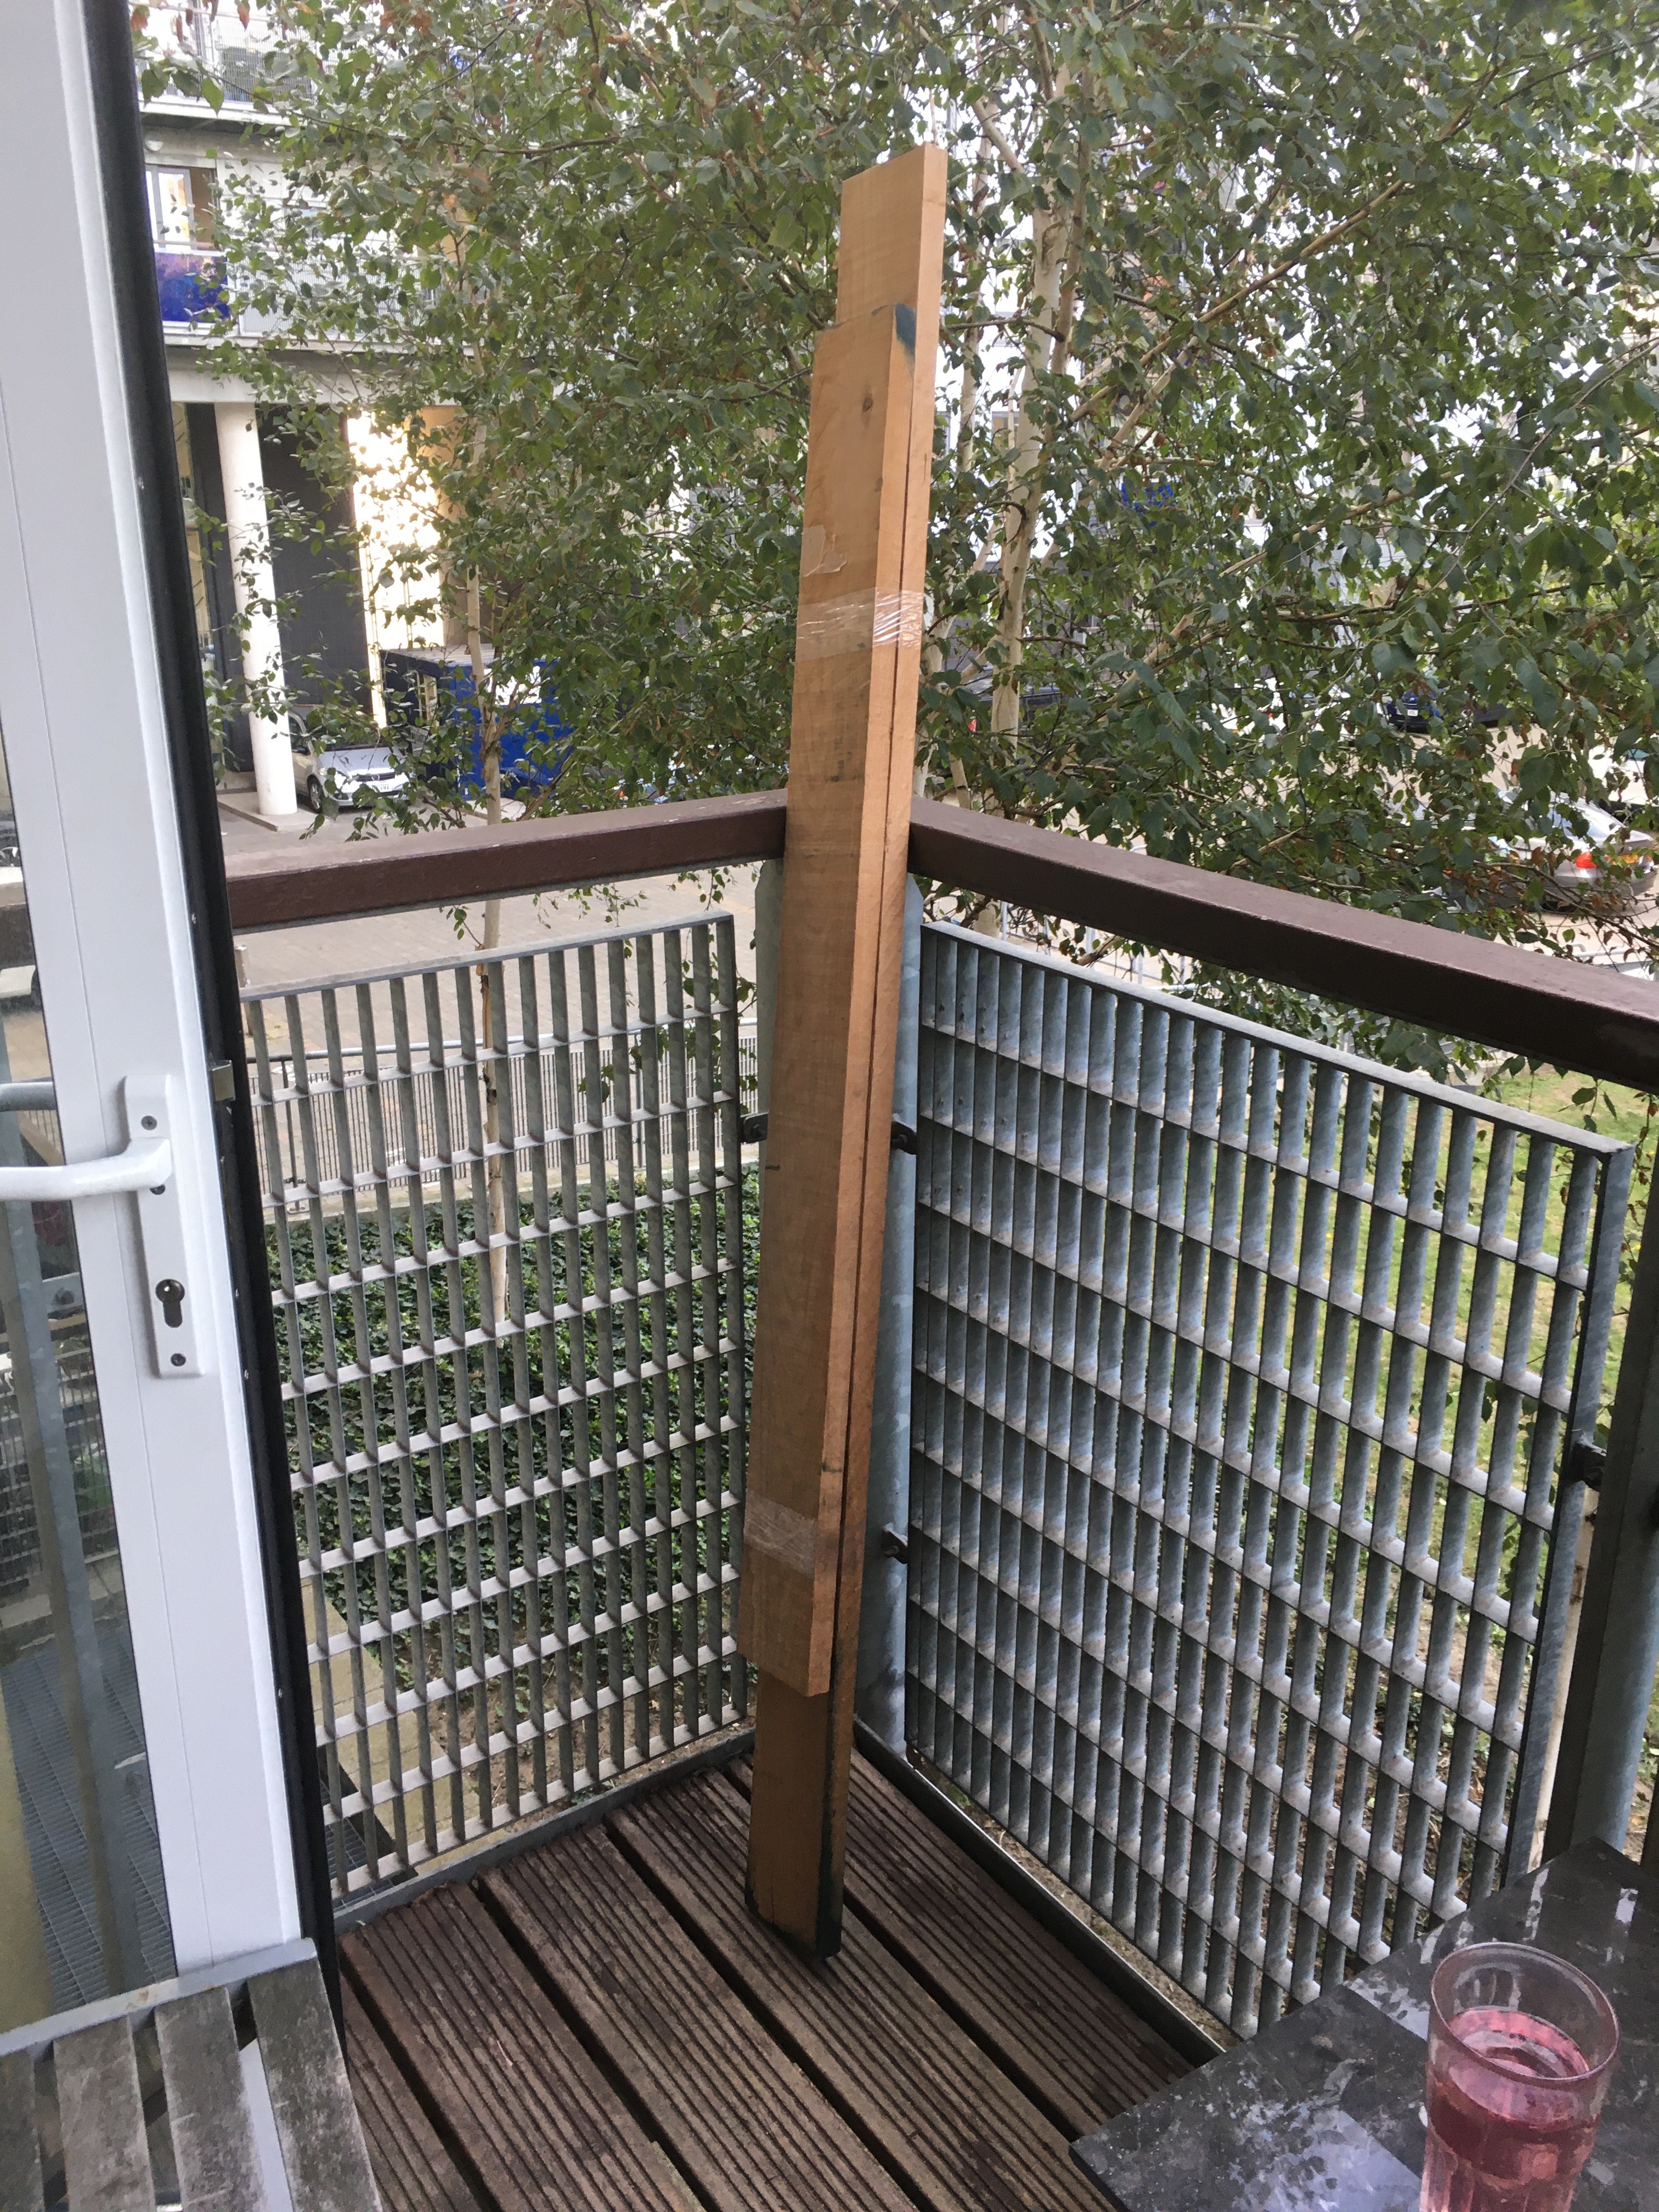
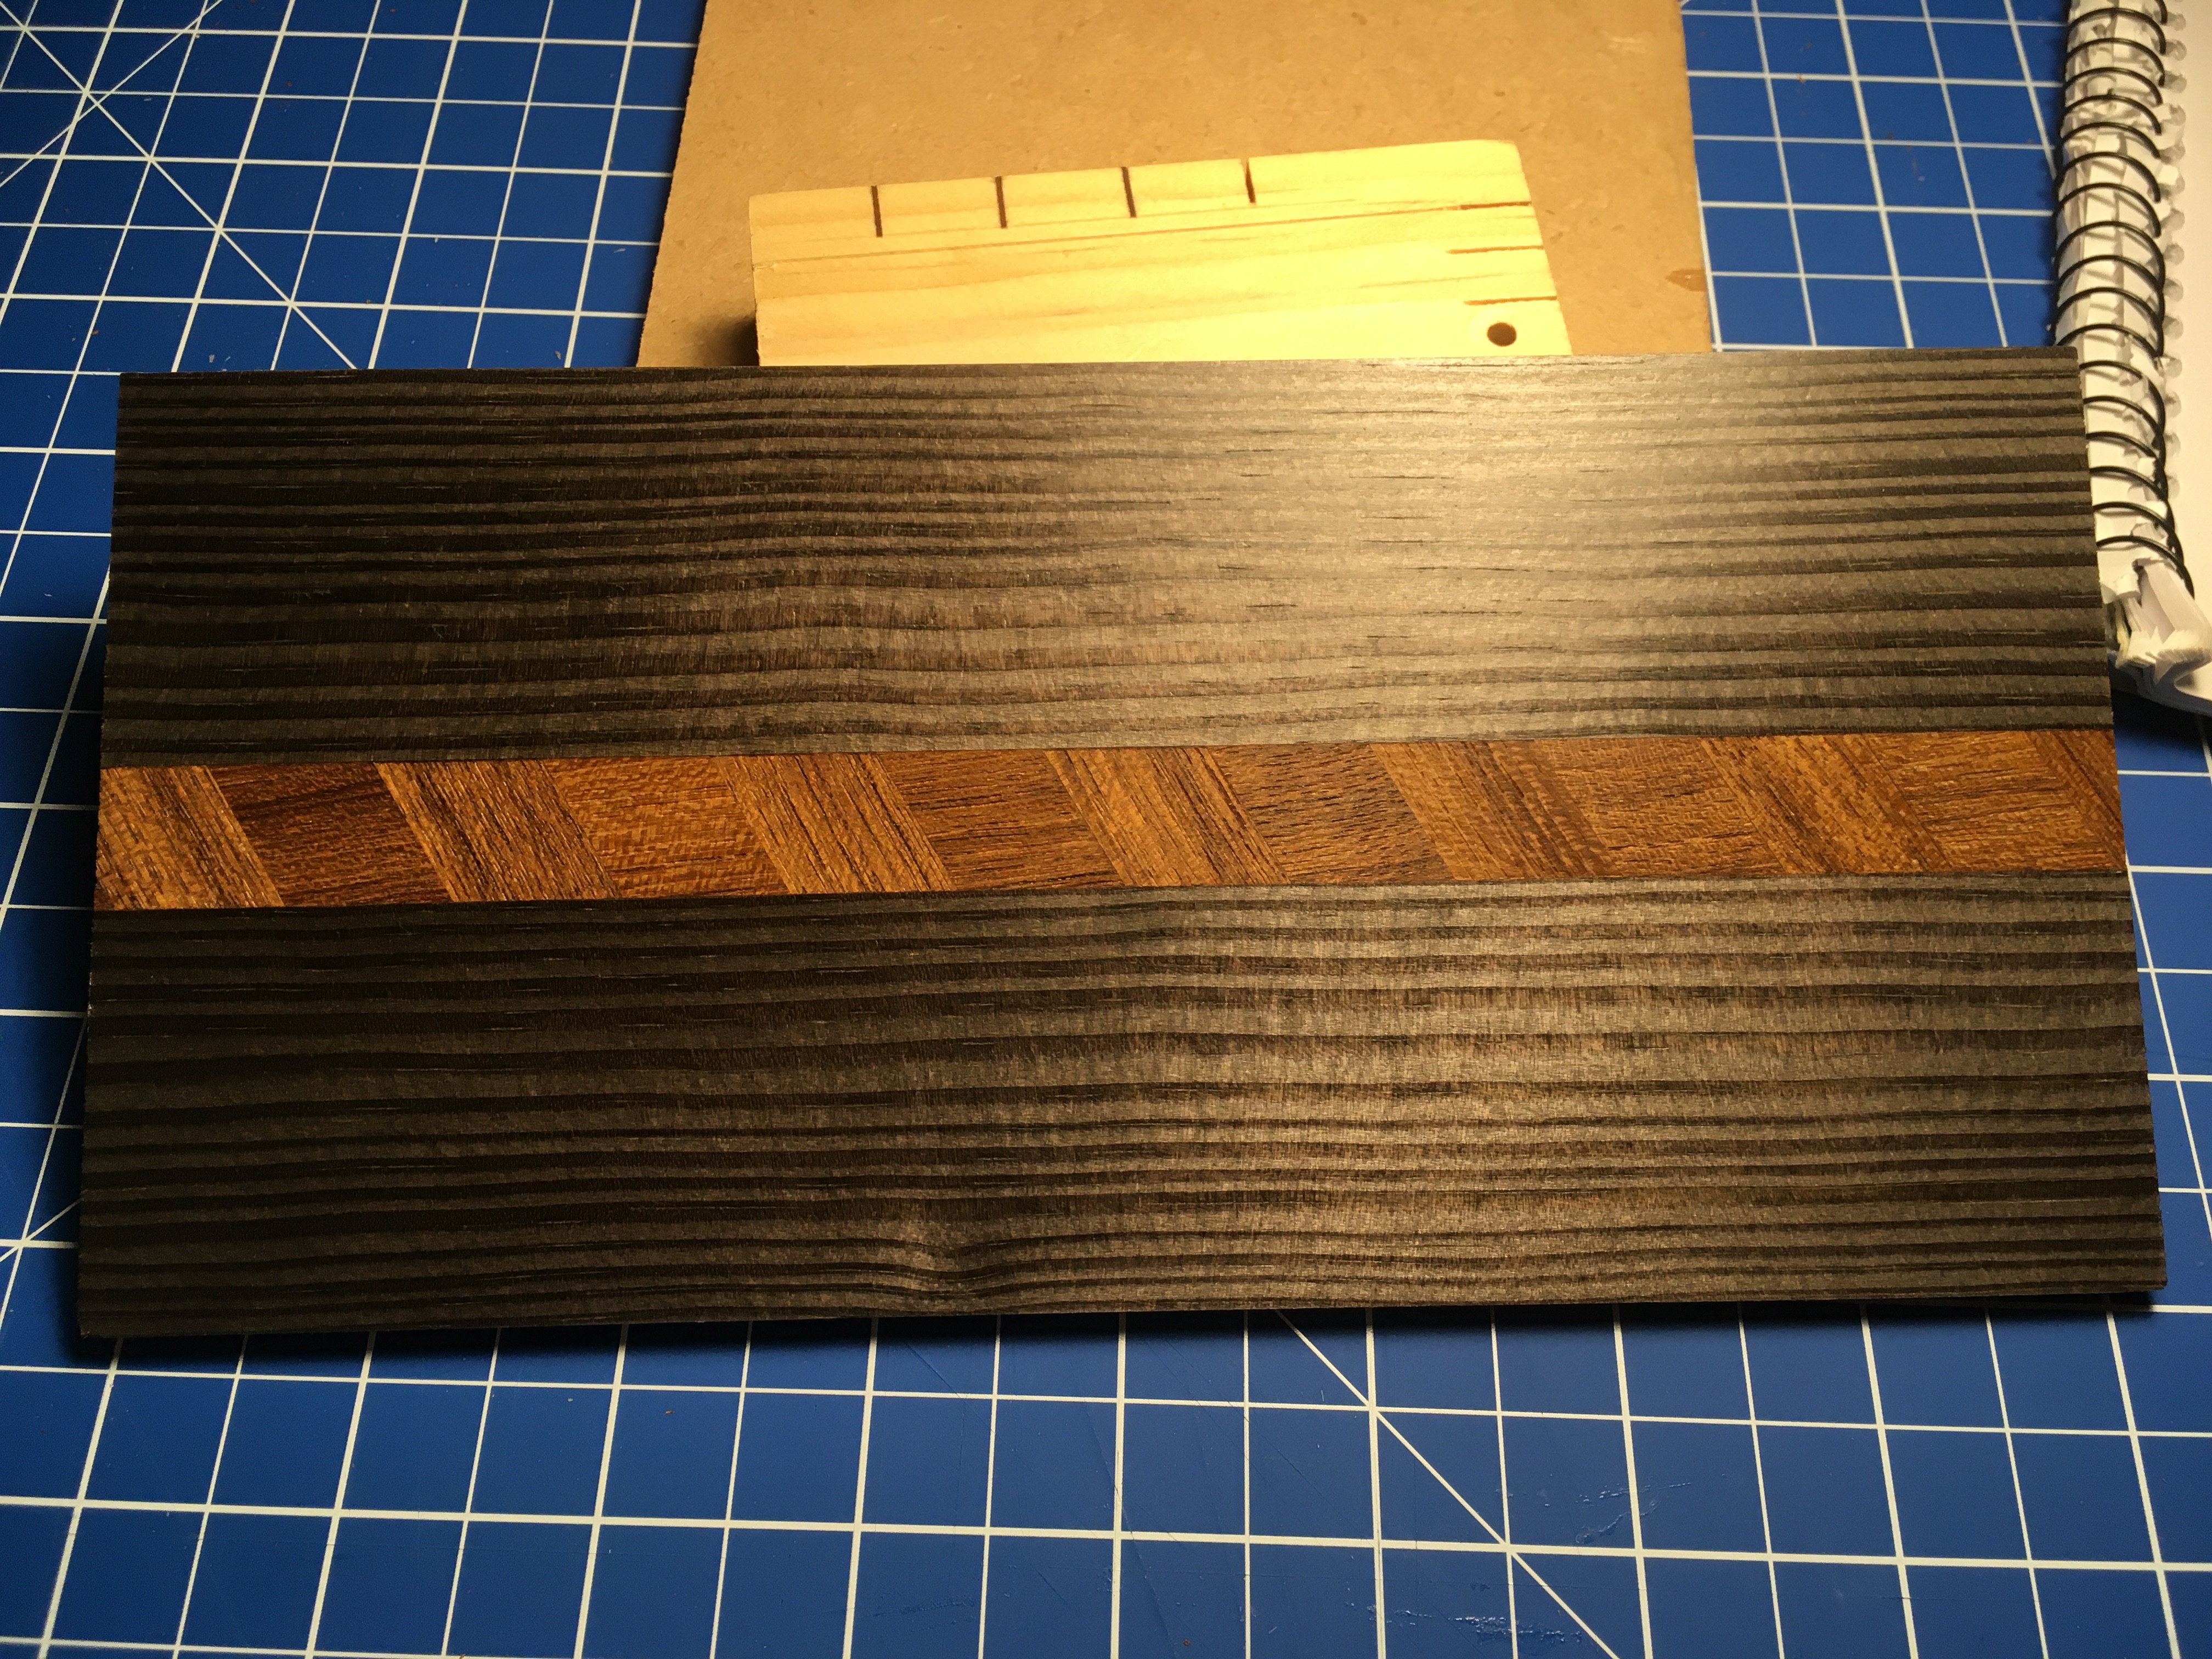
I have just purchased the timber for the box sides and lid. I was planning on using Douglas fir but the quality of said timber has been affected by COVID. Apparently it has messed up the supply chain. I went with what they had in the right dimensions and bought what looks like a nice piece of cherry. It has a lot going for it, it is not too dark, it planes beautifully and finishes well also. I got a board 5 inches wide, by 1 inch, by 120 inches ( 3 metres ), rough sawn. Getting planed wood for this task would not gain very much seeing as I am going to rip all the pieces. Rough sawn timber is cheaper. I paid £26 for this piece of wood, it is nice and straight and it’s not wound. It’s very much through sawn but I am not too worried about trying to get a book match for the lids which are made up of two pieces. Edge joined right down the middle. I think it’s going to look nice regardless. I am aware that ripping the wood by hand is going to be a considerable amount of work but, I have a good rip saw and I will sharpen as required. I am really in awe of the woodwork which was done before machinery was widely used. It’s a lot of work. Anyway I am really happy to be using a decent piece of timber for a change. I have given myself the best chance of a trouble free outcome. Next job is all hand sawing, I am trying to improve my hand sawing accuracy. I also made up another bottom, which I think addresses the issue I noticed with the teak version. The straight grain of the pine doesn’t fight with the central line of teak diamonds. In my opinion.
Oh I am happy you said that because I had literally just been wondering whether I was being ridiculous posting such things. Thanks. I have a lot of time recently.
I have just purchased the timber for the box sides and lid. I was planning on using Douglas fir but the quality of said timber has been affected by COVID. Apparently it has messed up the supply chain. I went with what they had in the right dimensions and bought what looks like a nice piece of cherry. It has a lot going for it, it is not too dark, it planes beautifully and finishes well also. I got a board 5 inches wide, by 1 inch, by 120 inches ( 3 metres ), rough sawn. Getting planed wood for this task would not gain very much seeing as I am going to rip all the pieces. Rough sawn timber is cheaper. I paid £26 for this piece of wood, it is nice and straight and it’s not wound. It’s very much through sawn but I am not too worried about trying to get a book match for the lids which are made up of two pieces. Edge joined right down the middle. I think it’s going to look nice regardless. I am aware that ripping the wood by hand is going to be a considerable amount of work but, I have a good rip saw and I will sharpen as required. I am really in awe of the woodwork which was done before machinery was widely used. It’s a lot of work. Anyway I am really happy to be using a decent piece of timber for a change. I have given myself the best chance of a trouble free outcome. Next job is all hand sawing, I am trying to improve my hand sawing accuracy. I also made up another bottom, which I think addresses the issue I noticed with the teak version. The straight grain of the pine doesn’t fight with the central line of teak diamonds. In my opinion.

Bingo! I would like to know what other people think about this piece of wood.
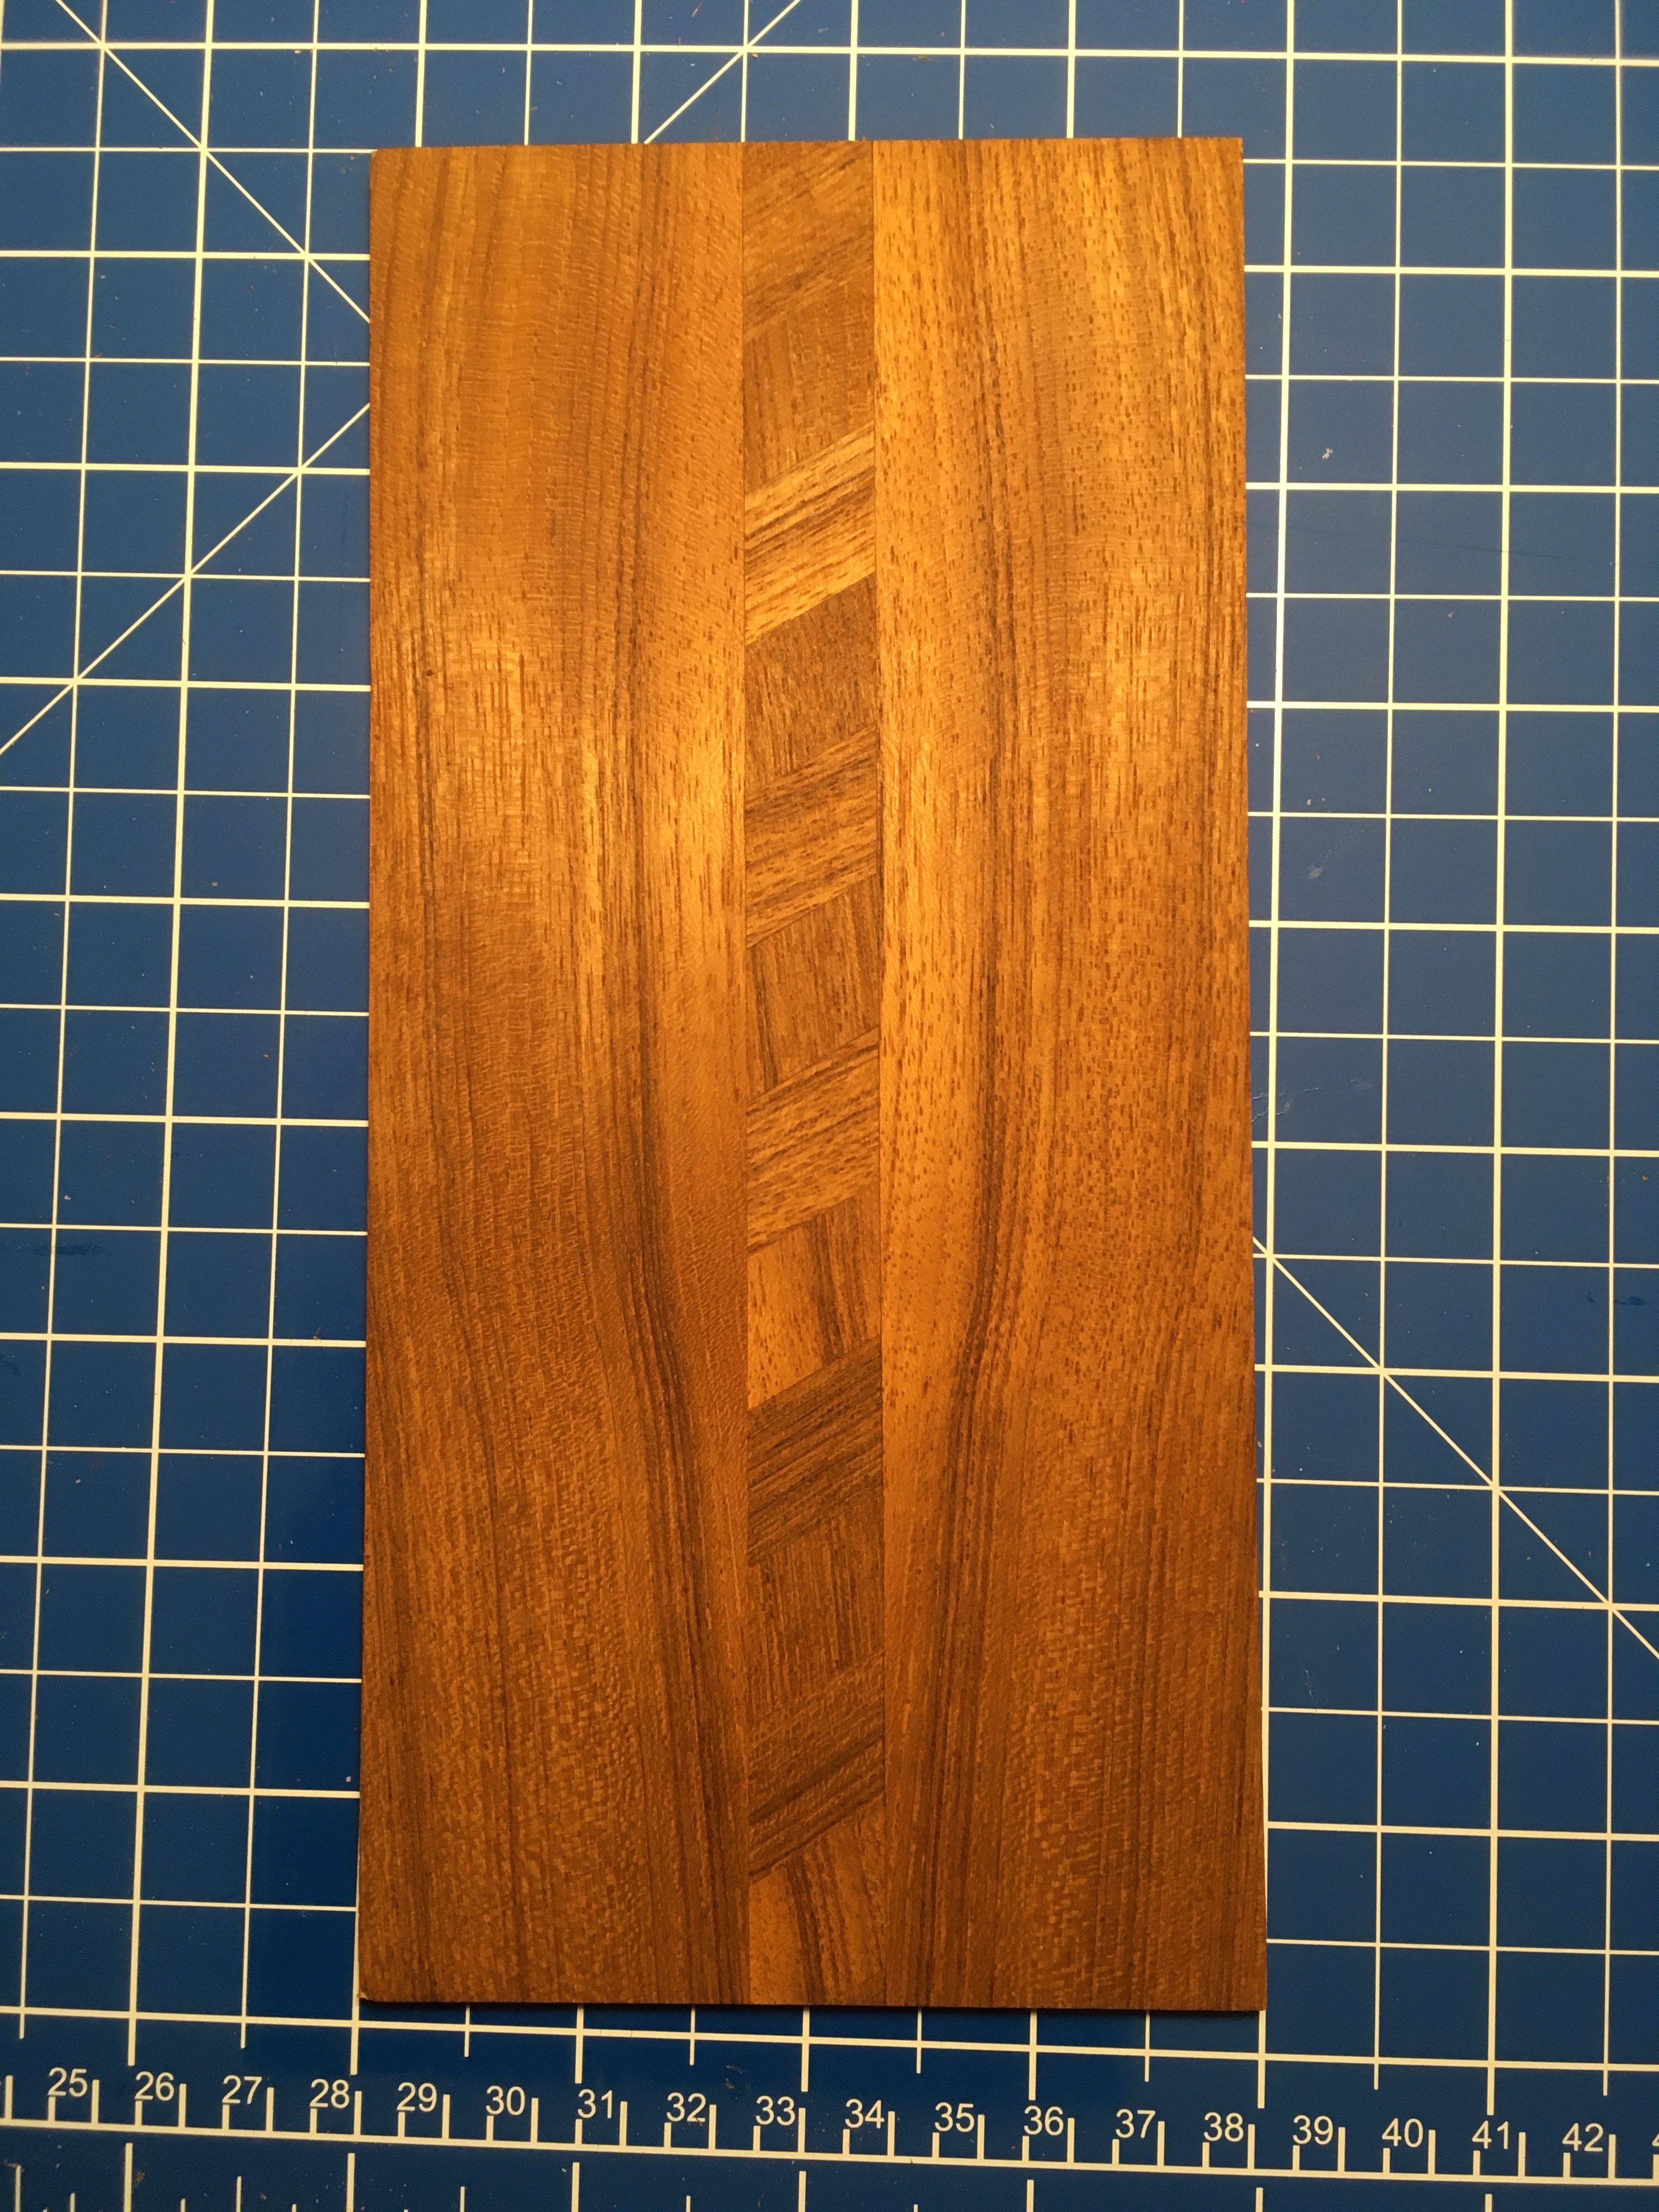
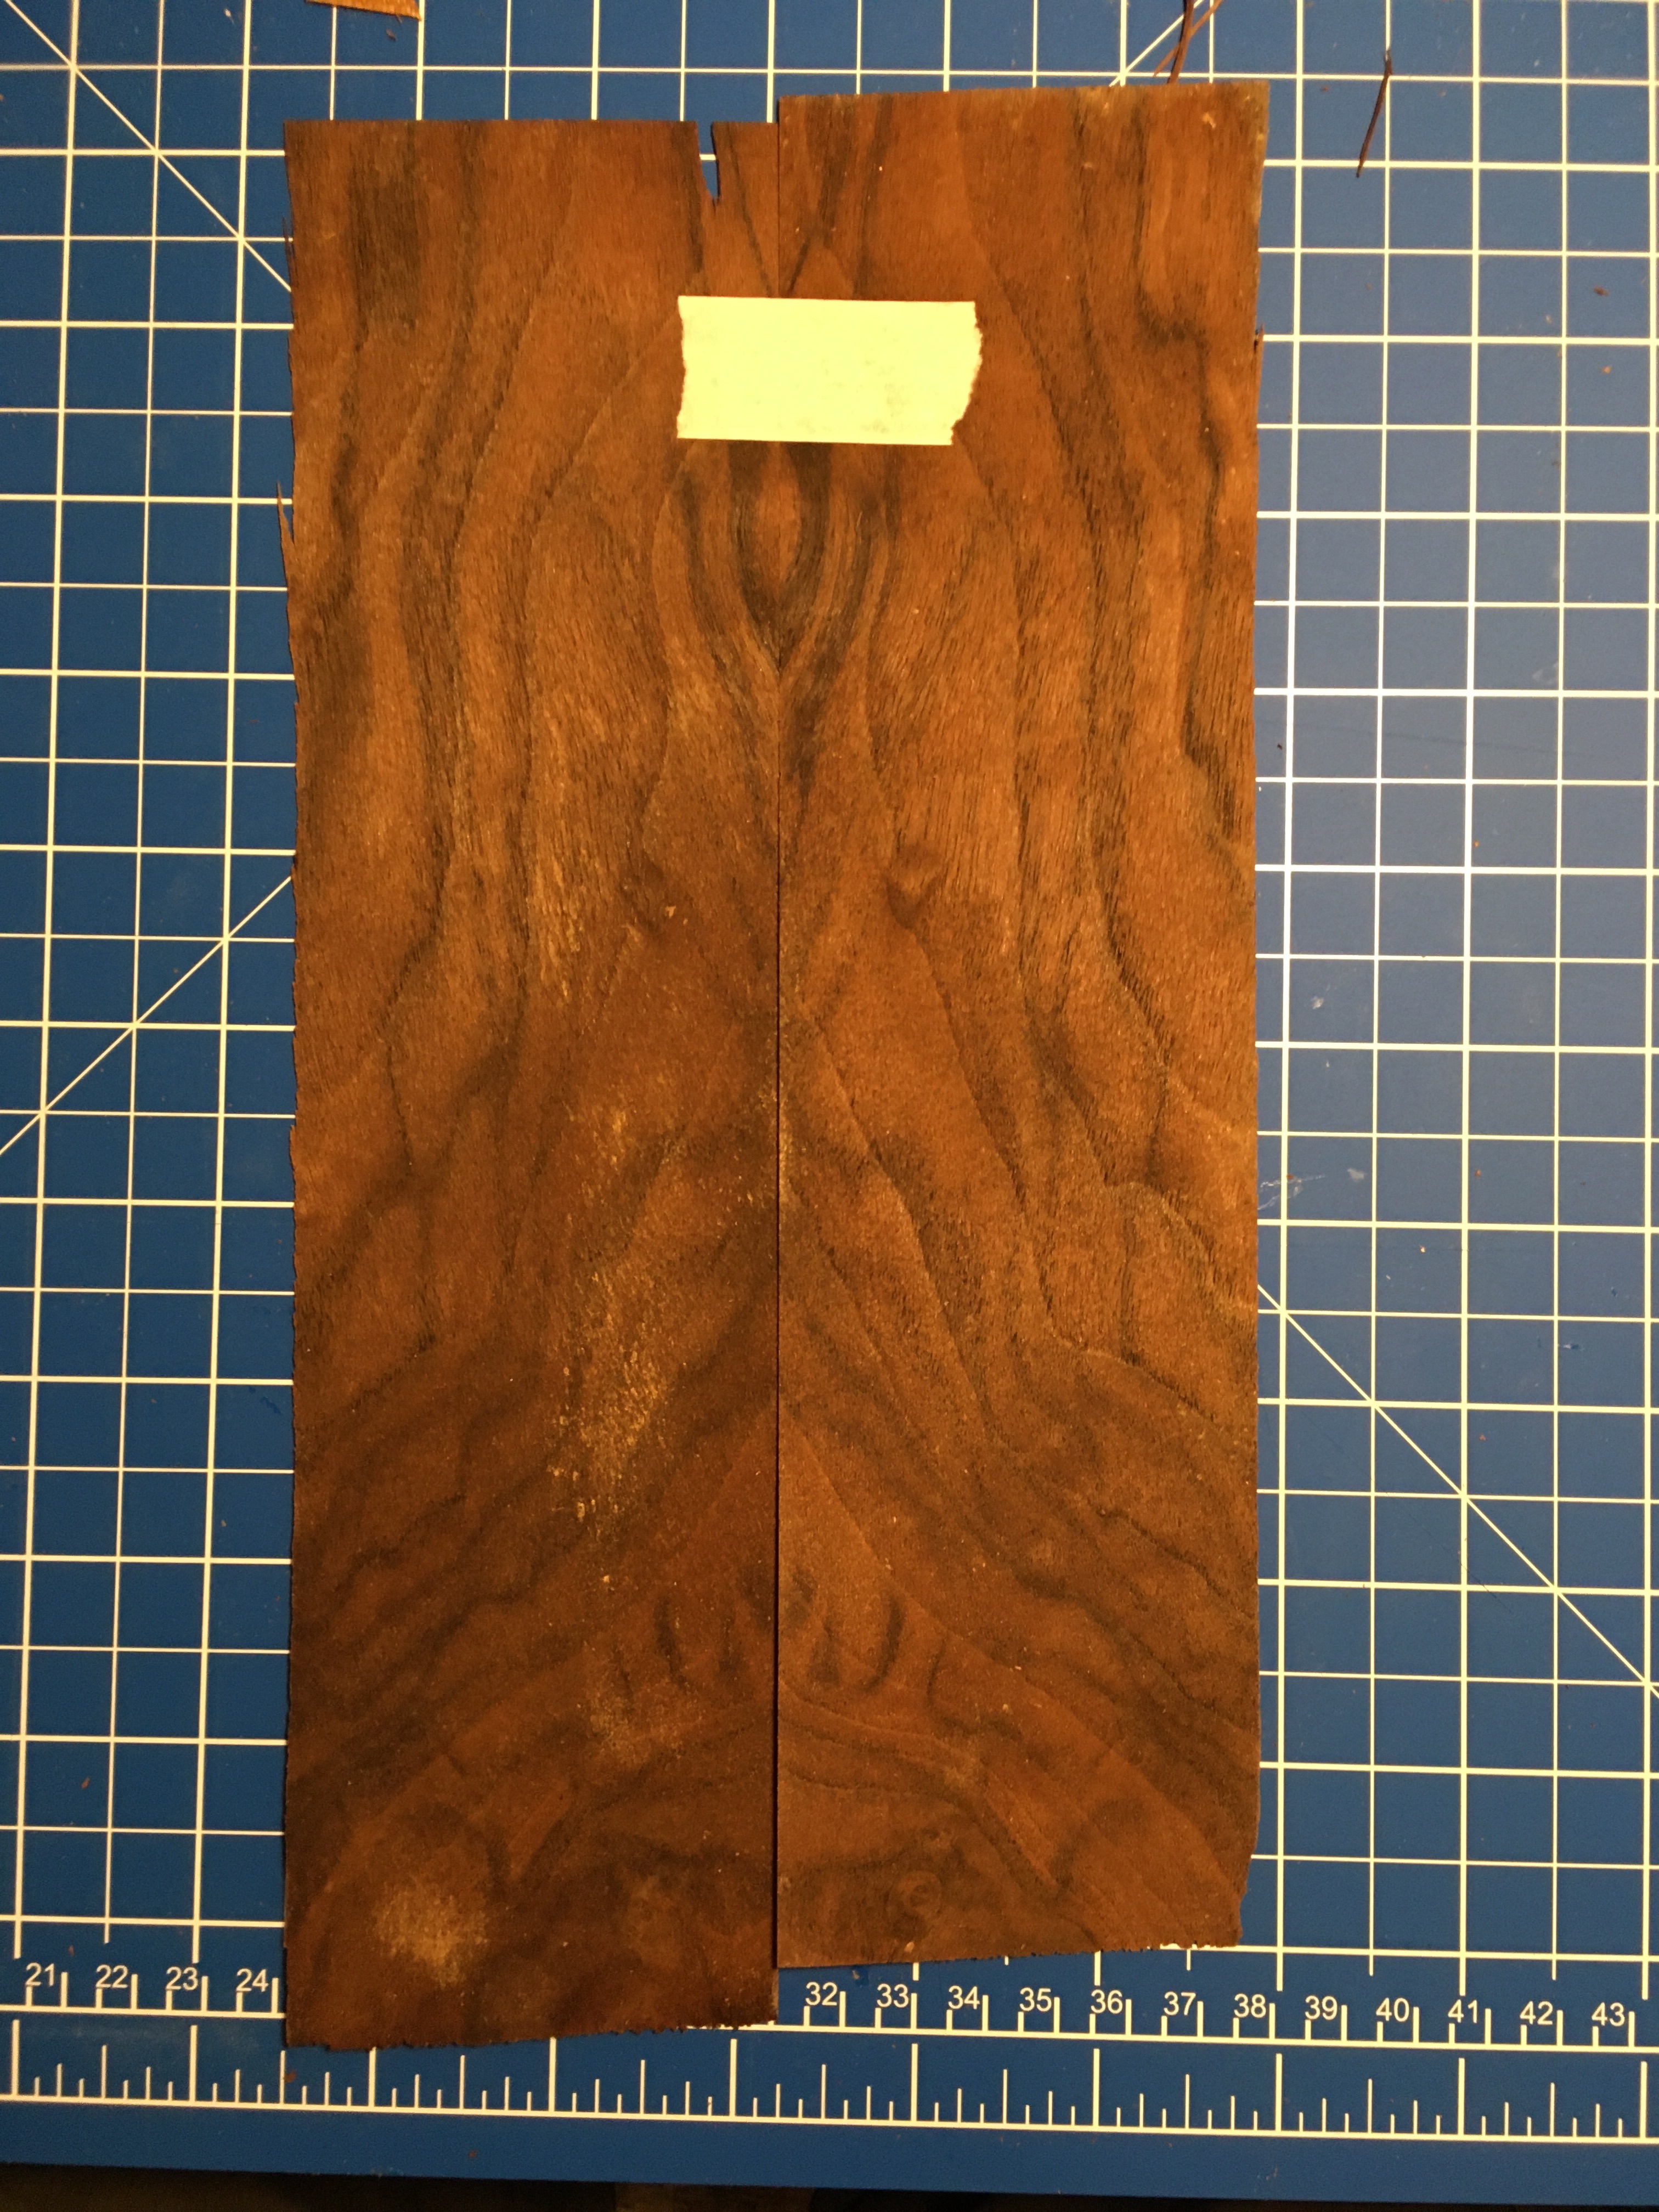
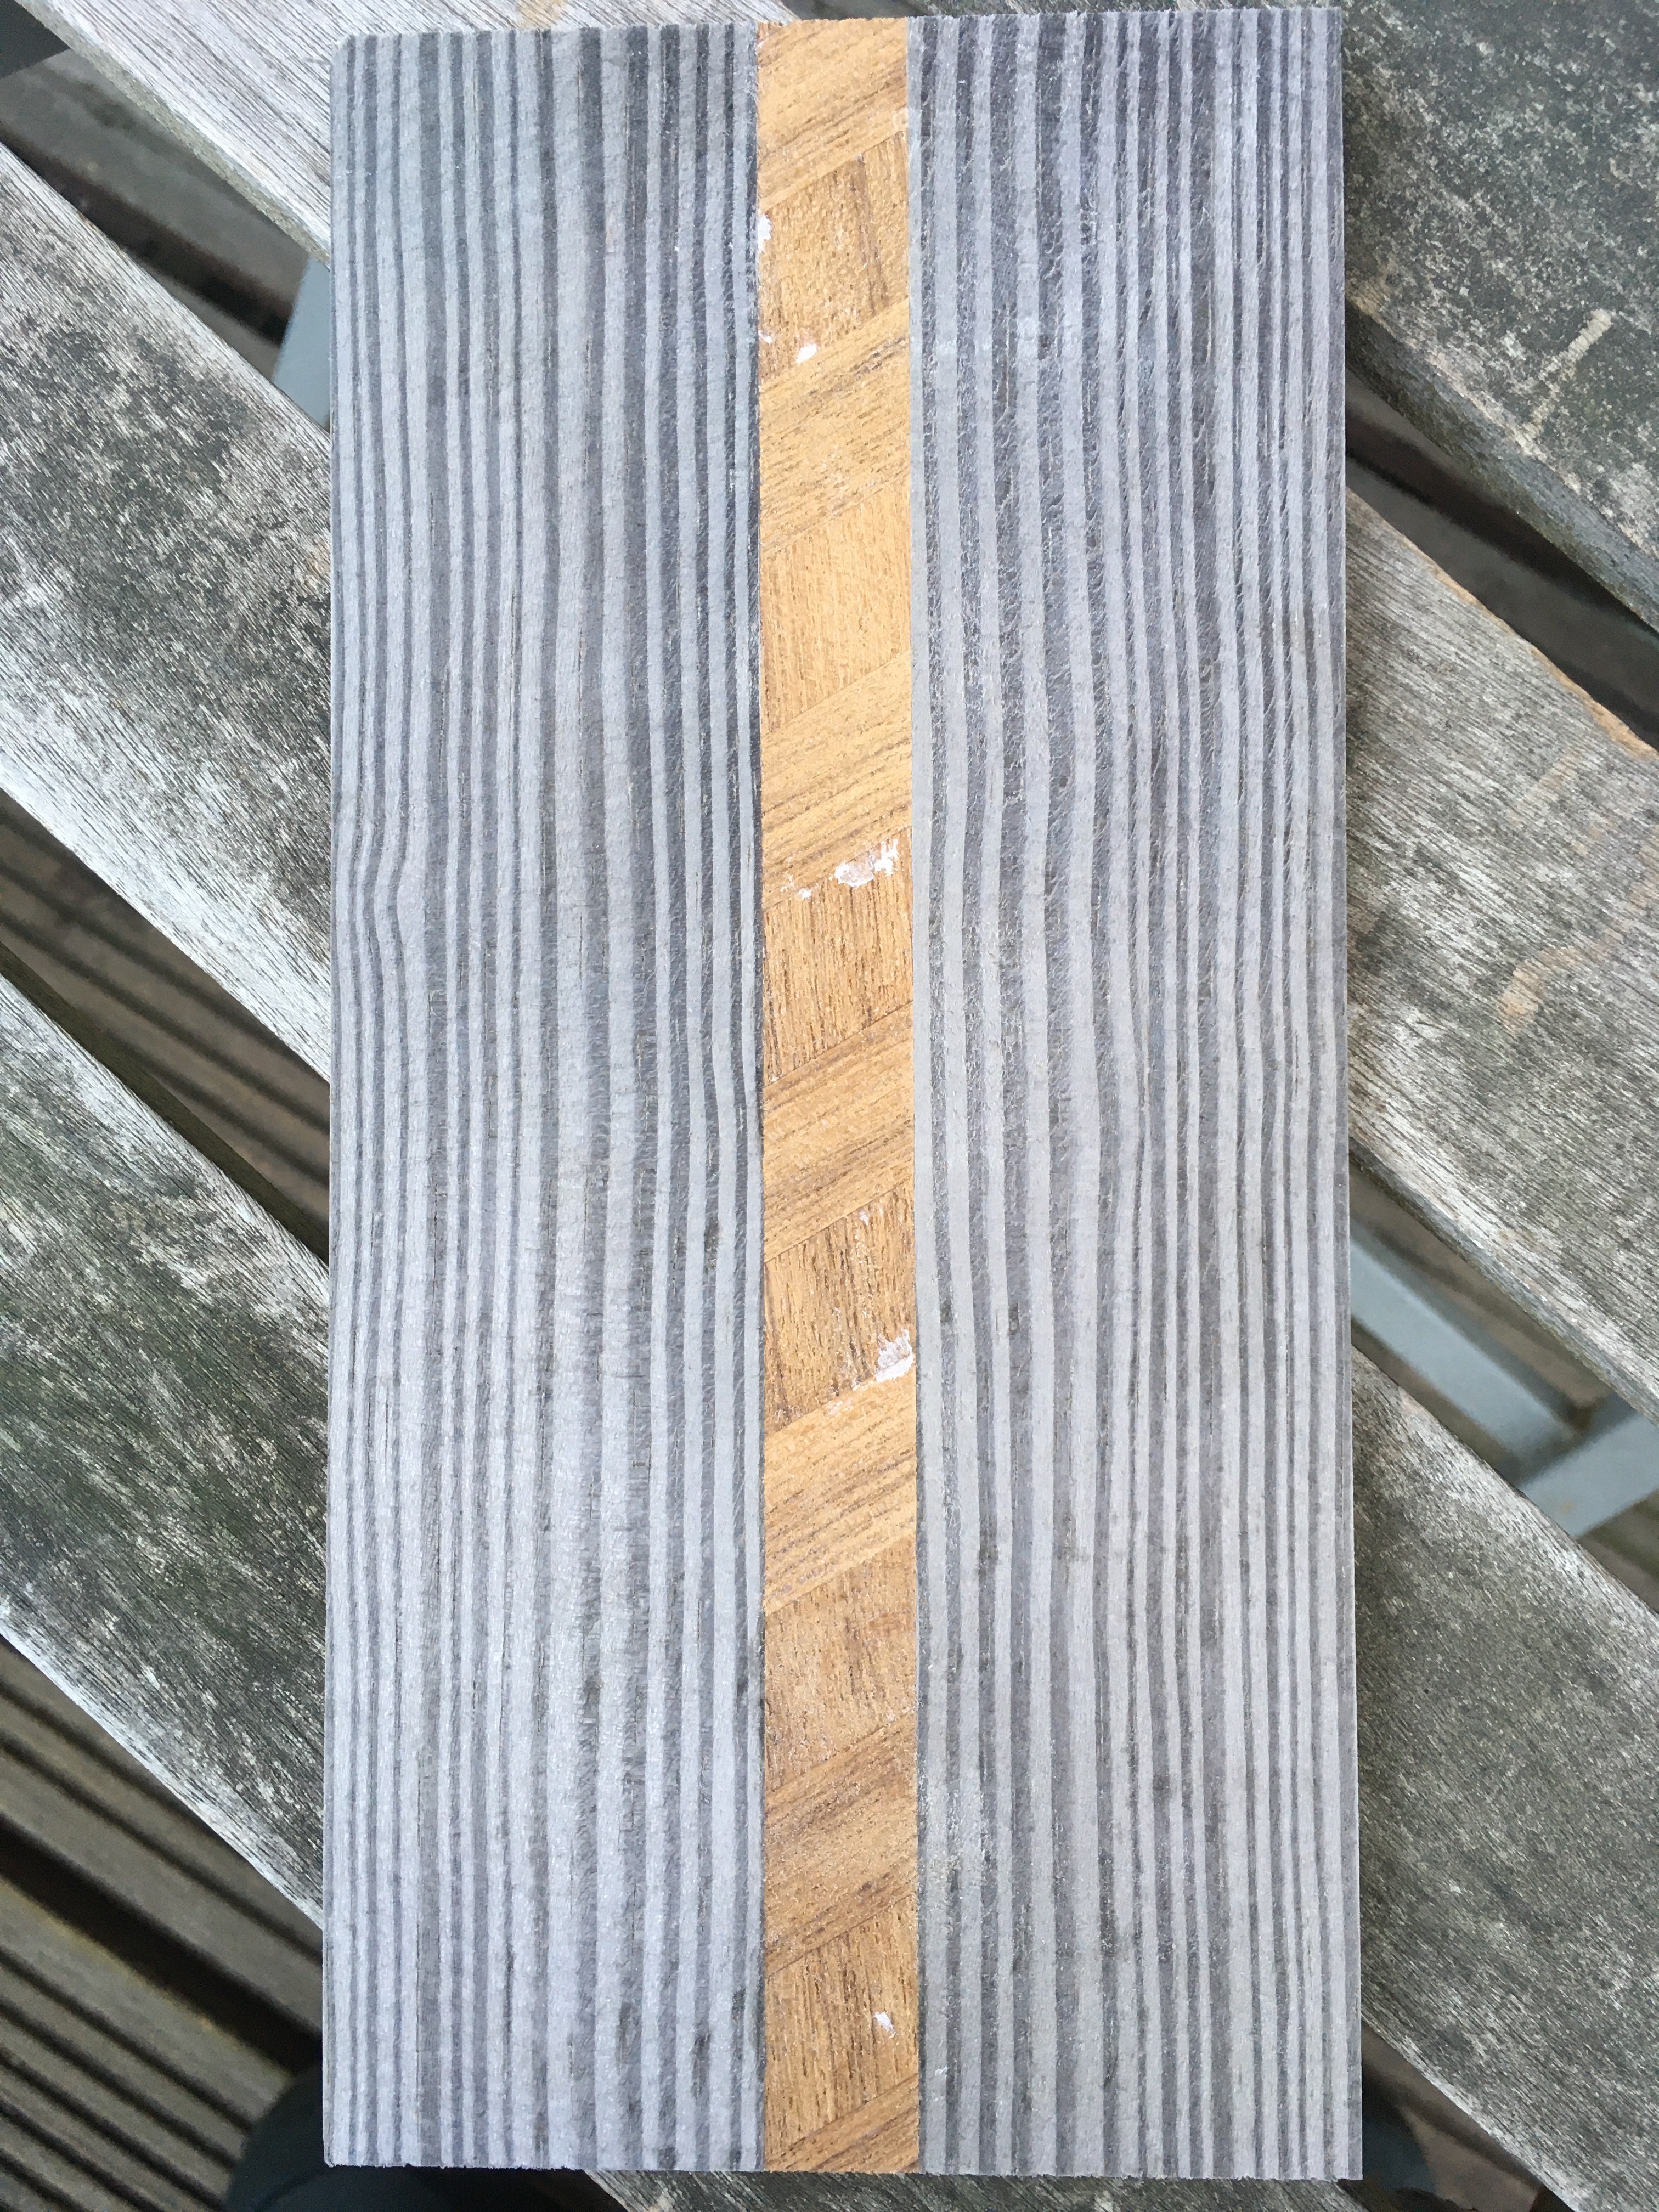
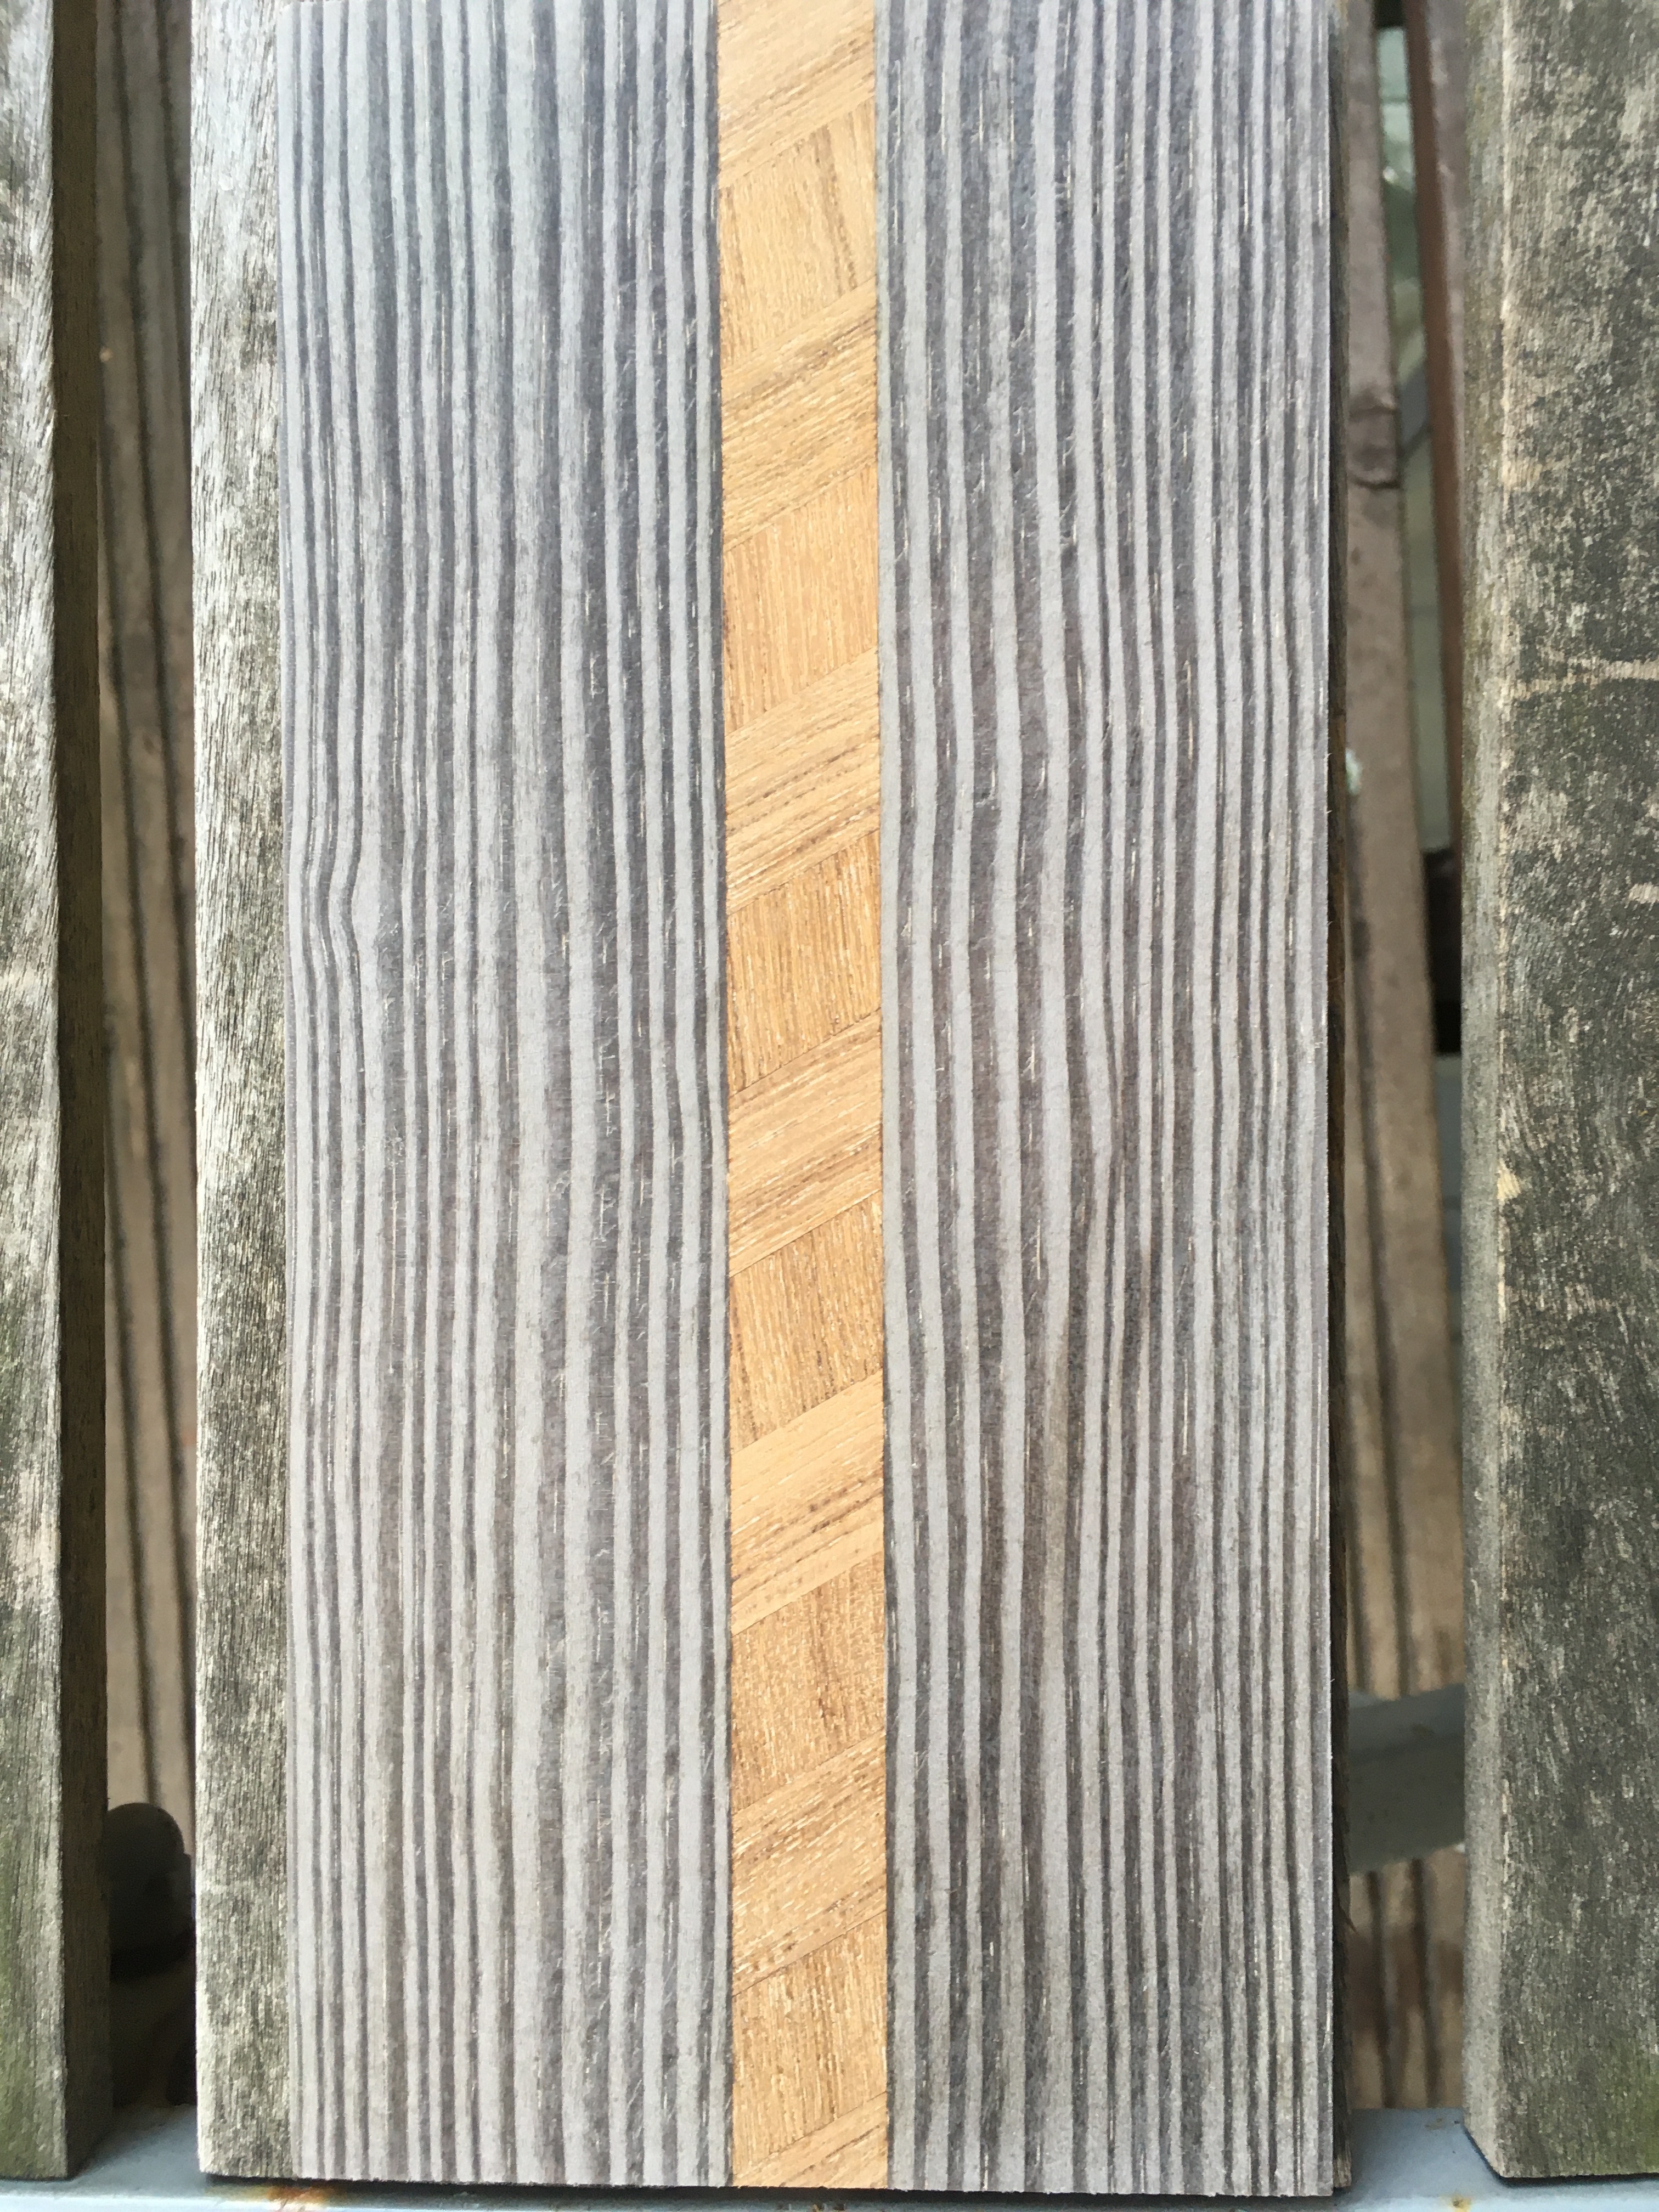
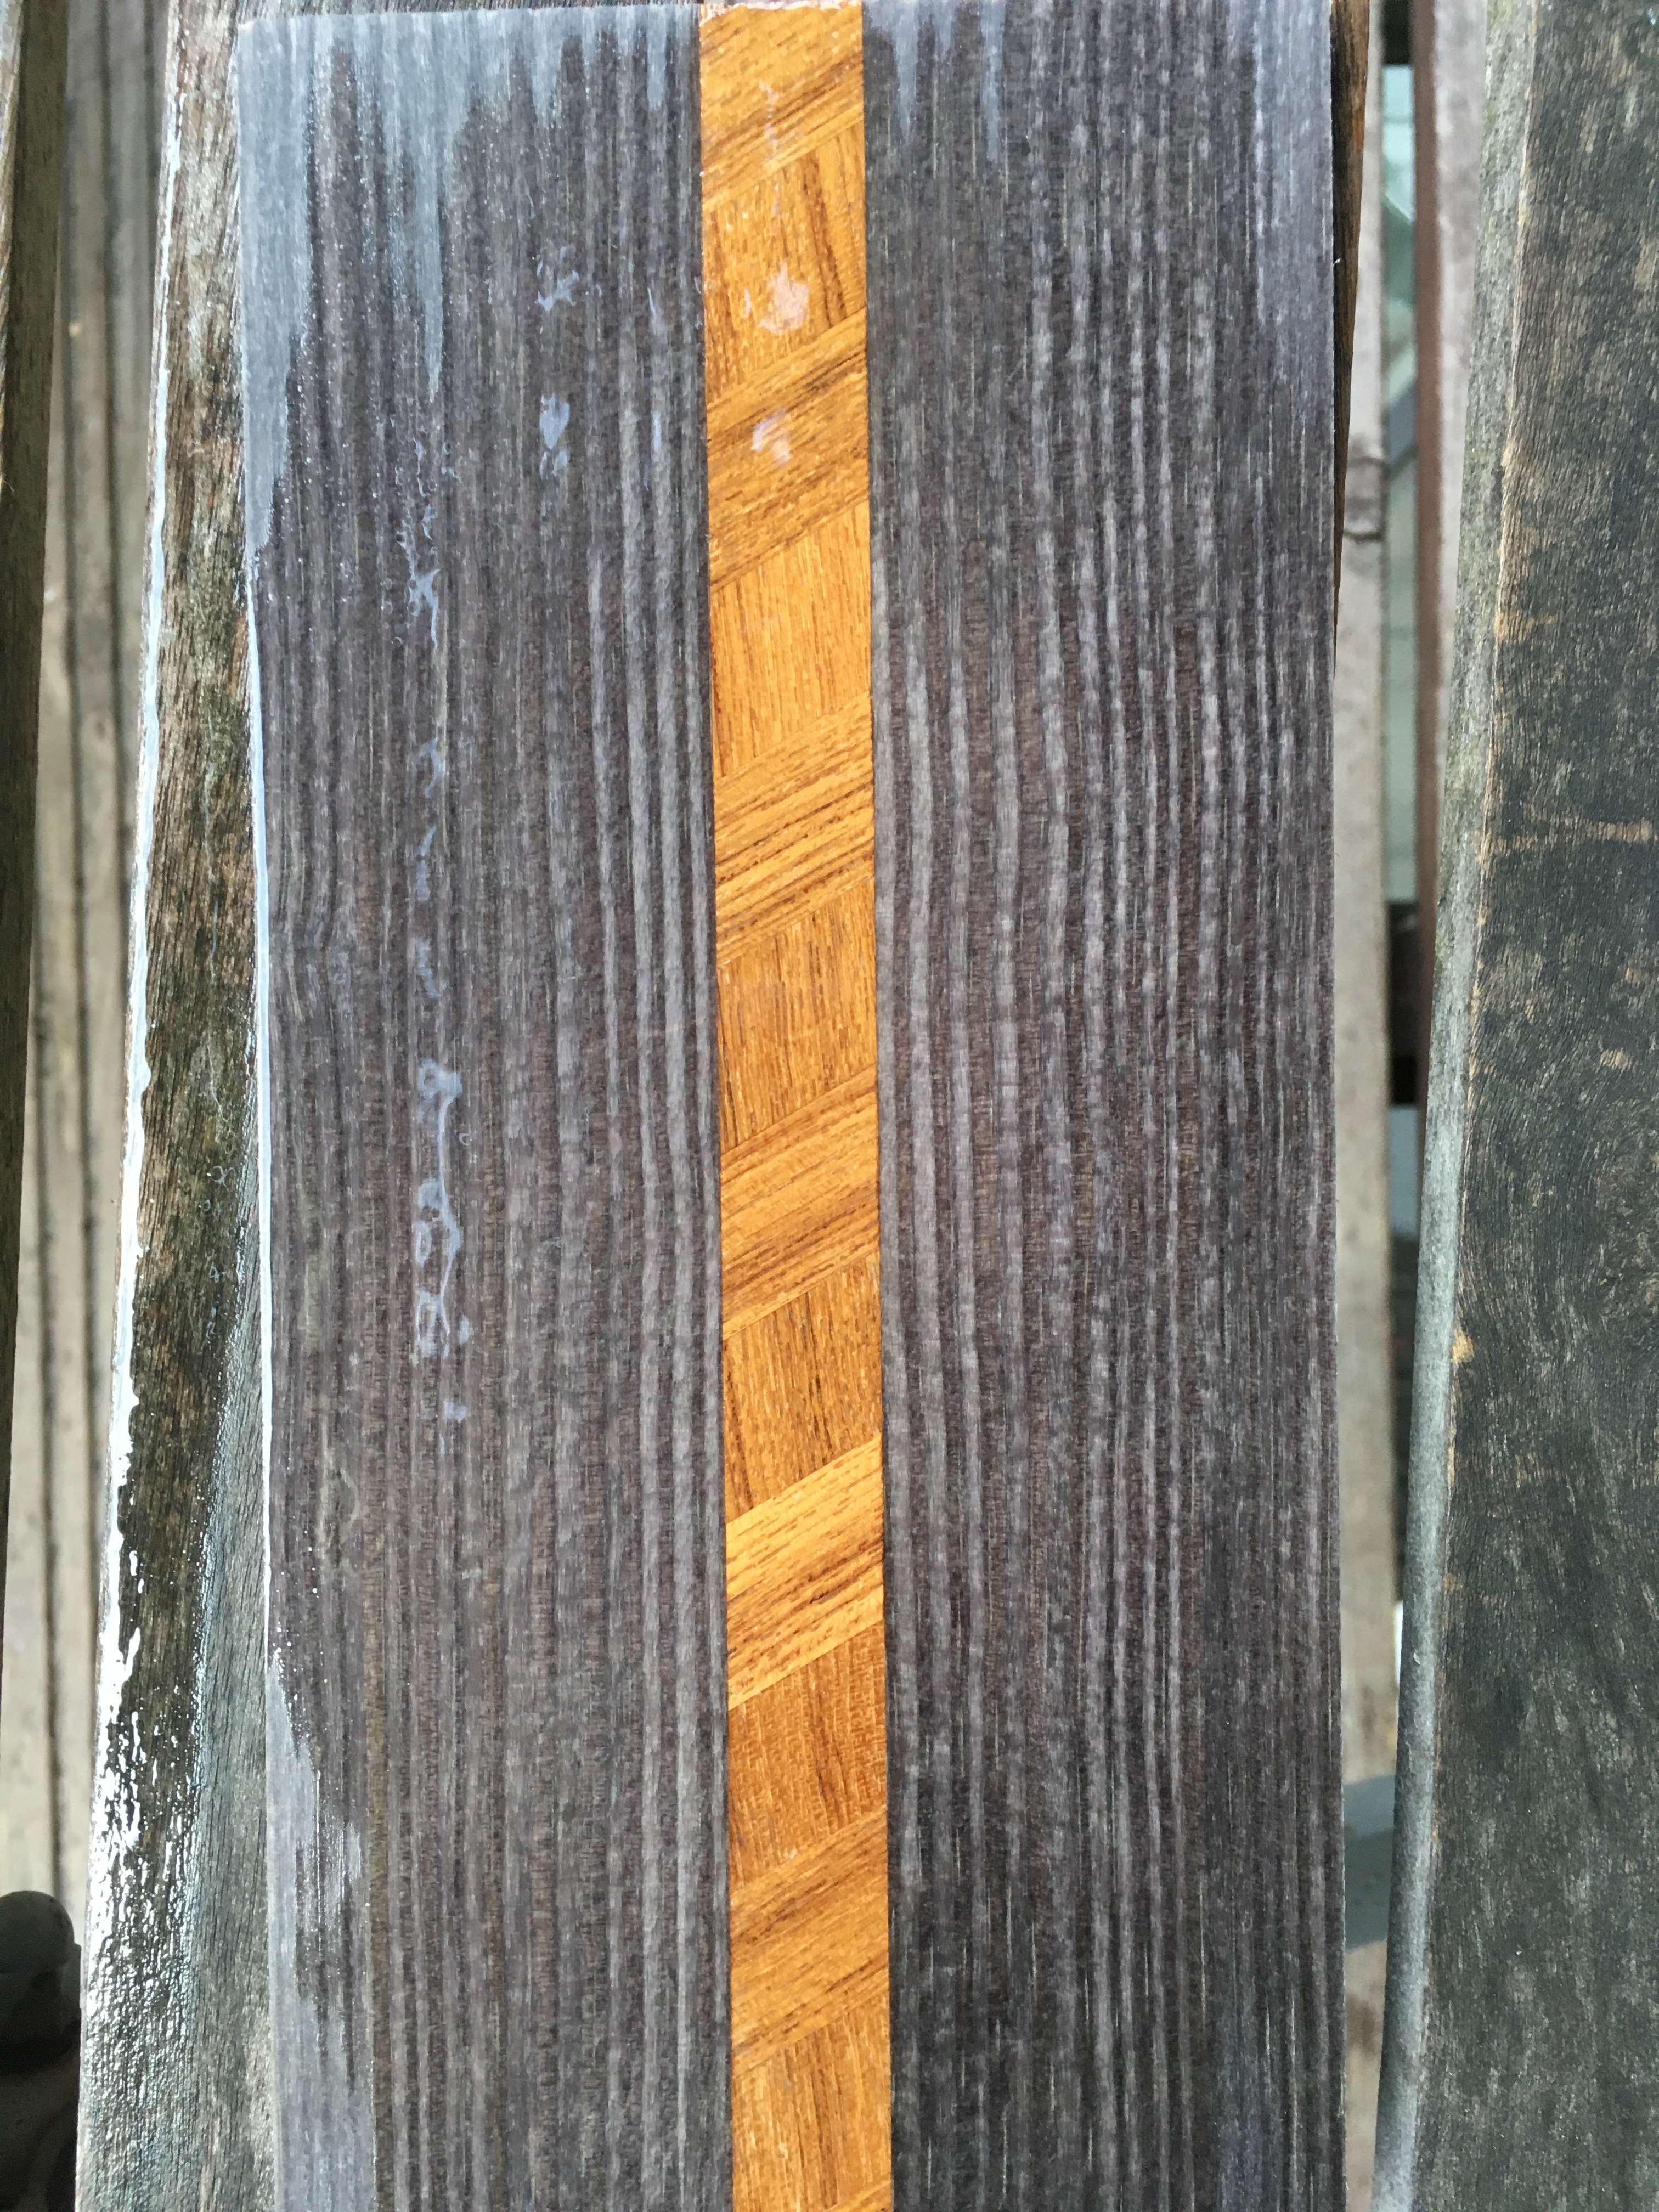
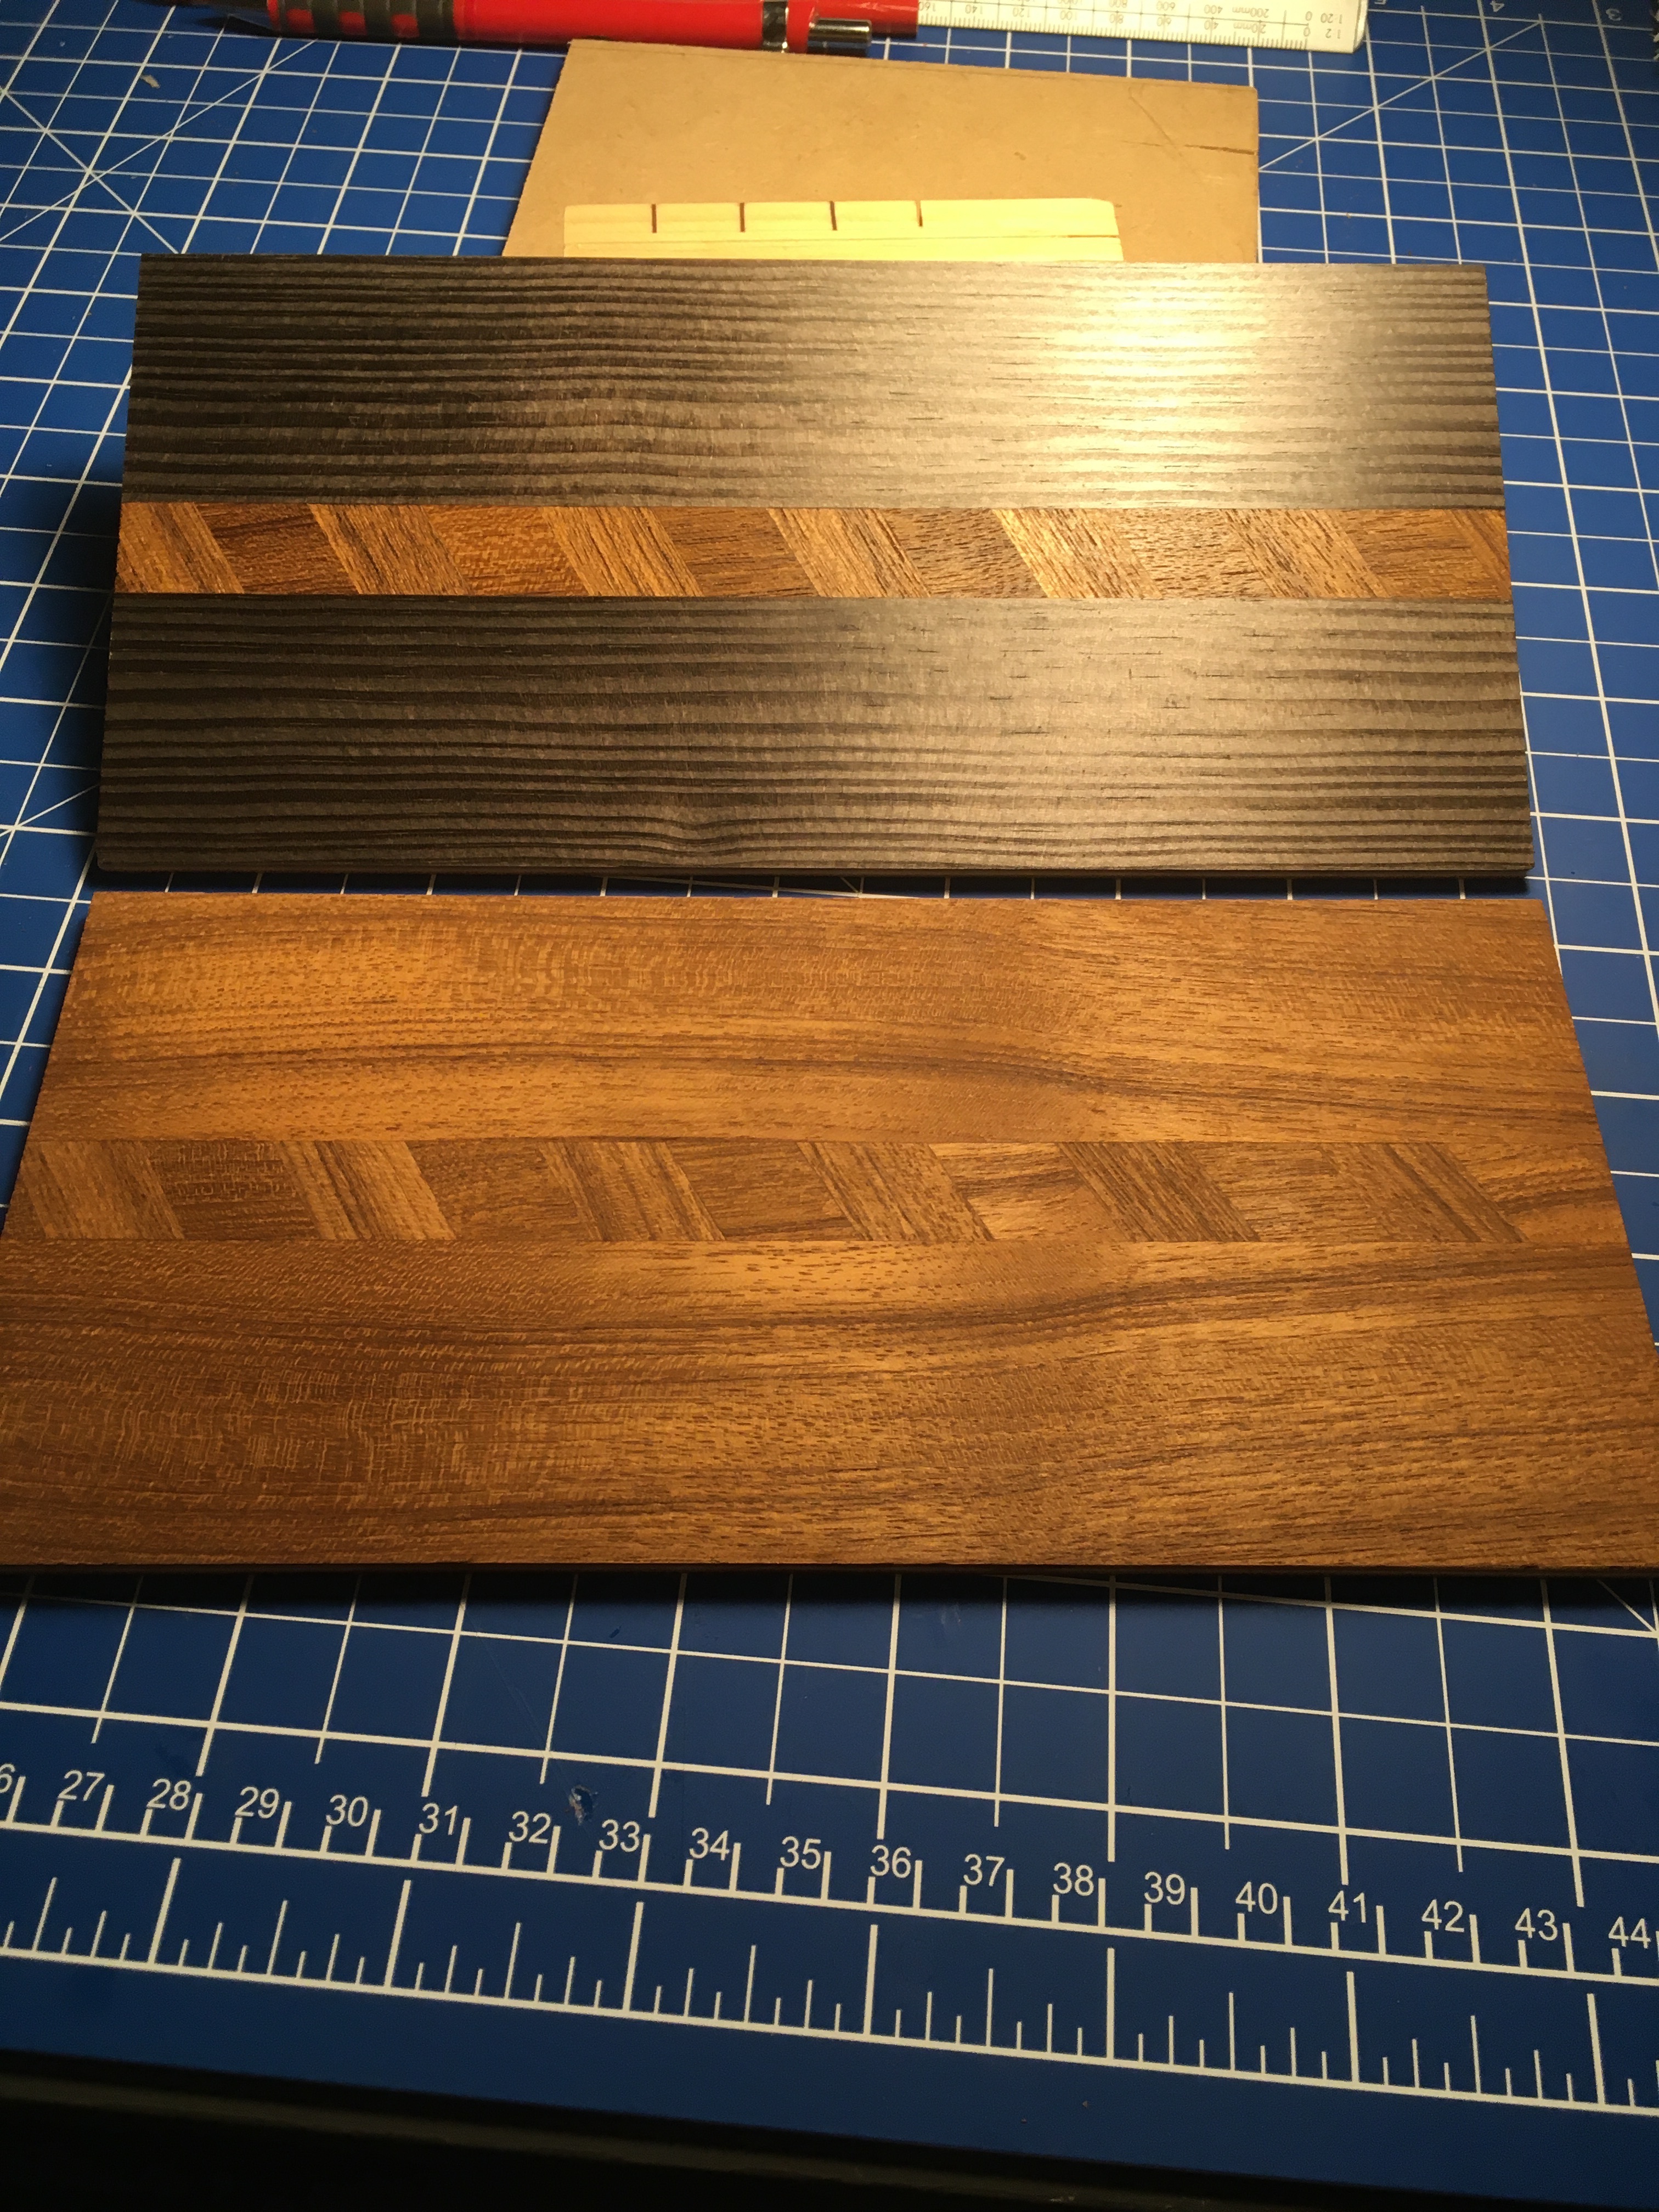
I used the same line of diamonds in a teak version of this. I believe that the dark curved figure each side of the central line was at odds with the overall look. Here I put straight grain either side of the diamond line and I am of the opinion that it looks much better. So I would like to know if any one prefers one or the other?
It’s all about the details, a slight difference can make a difference. I was trying to get it to look as it will with a finish but the alcohol evaporated so fast it was hard to get it looking even. Still, I hope it’s possible to see sufficiently.
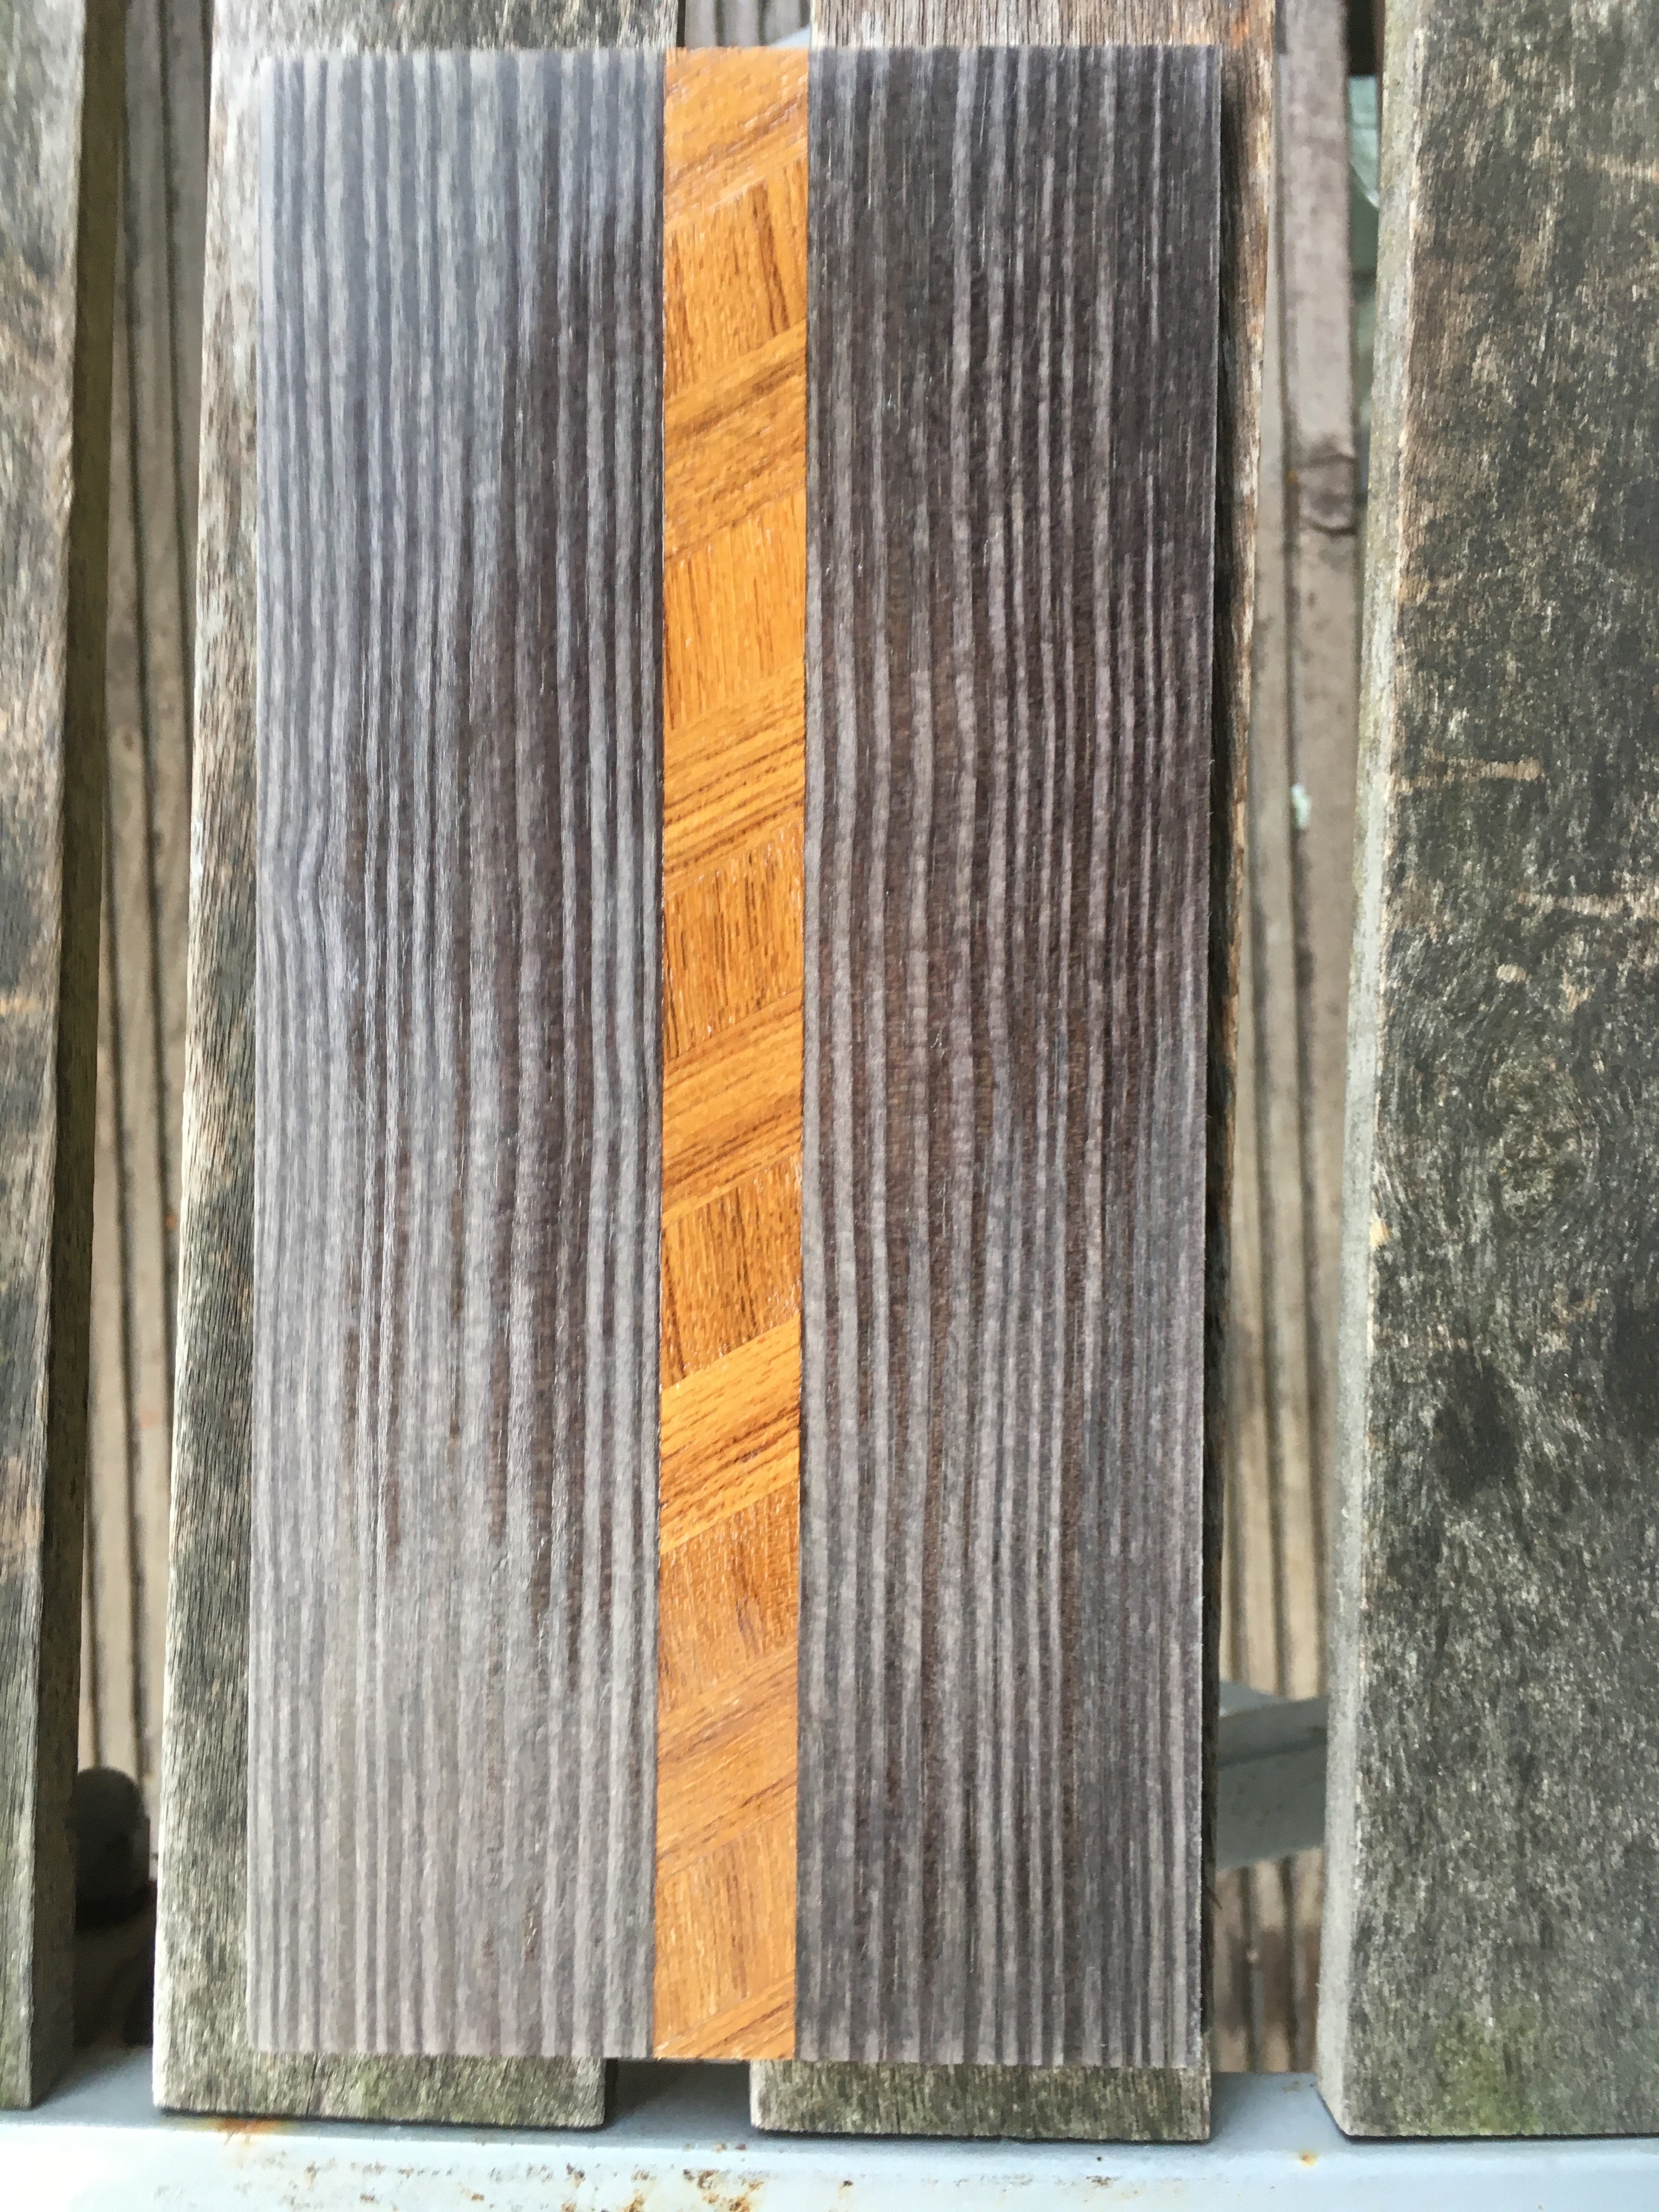
Well, when I joined the maker space I said I wanted to make beautiful objects from wood. I think I have just achieved something along those lines. I am enjoying this. This box bottom, with a coat of oil looks beautiful to my eyes. I am feeling optimistic!.
4 Likes
Both look fantastic
Oh right
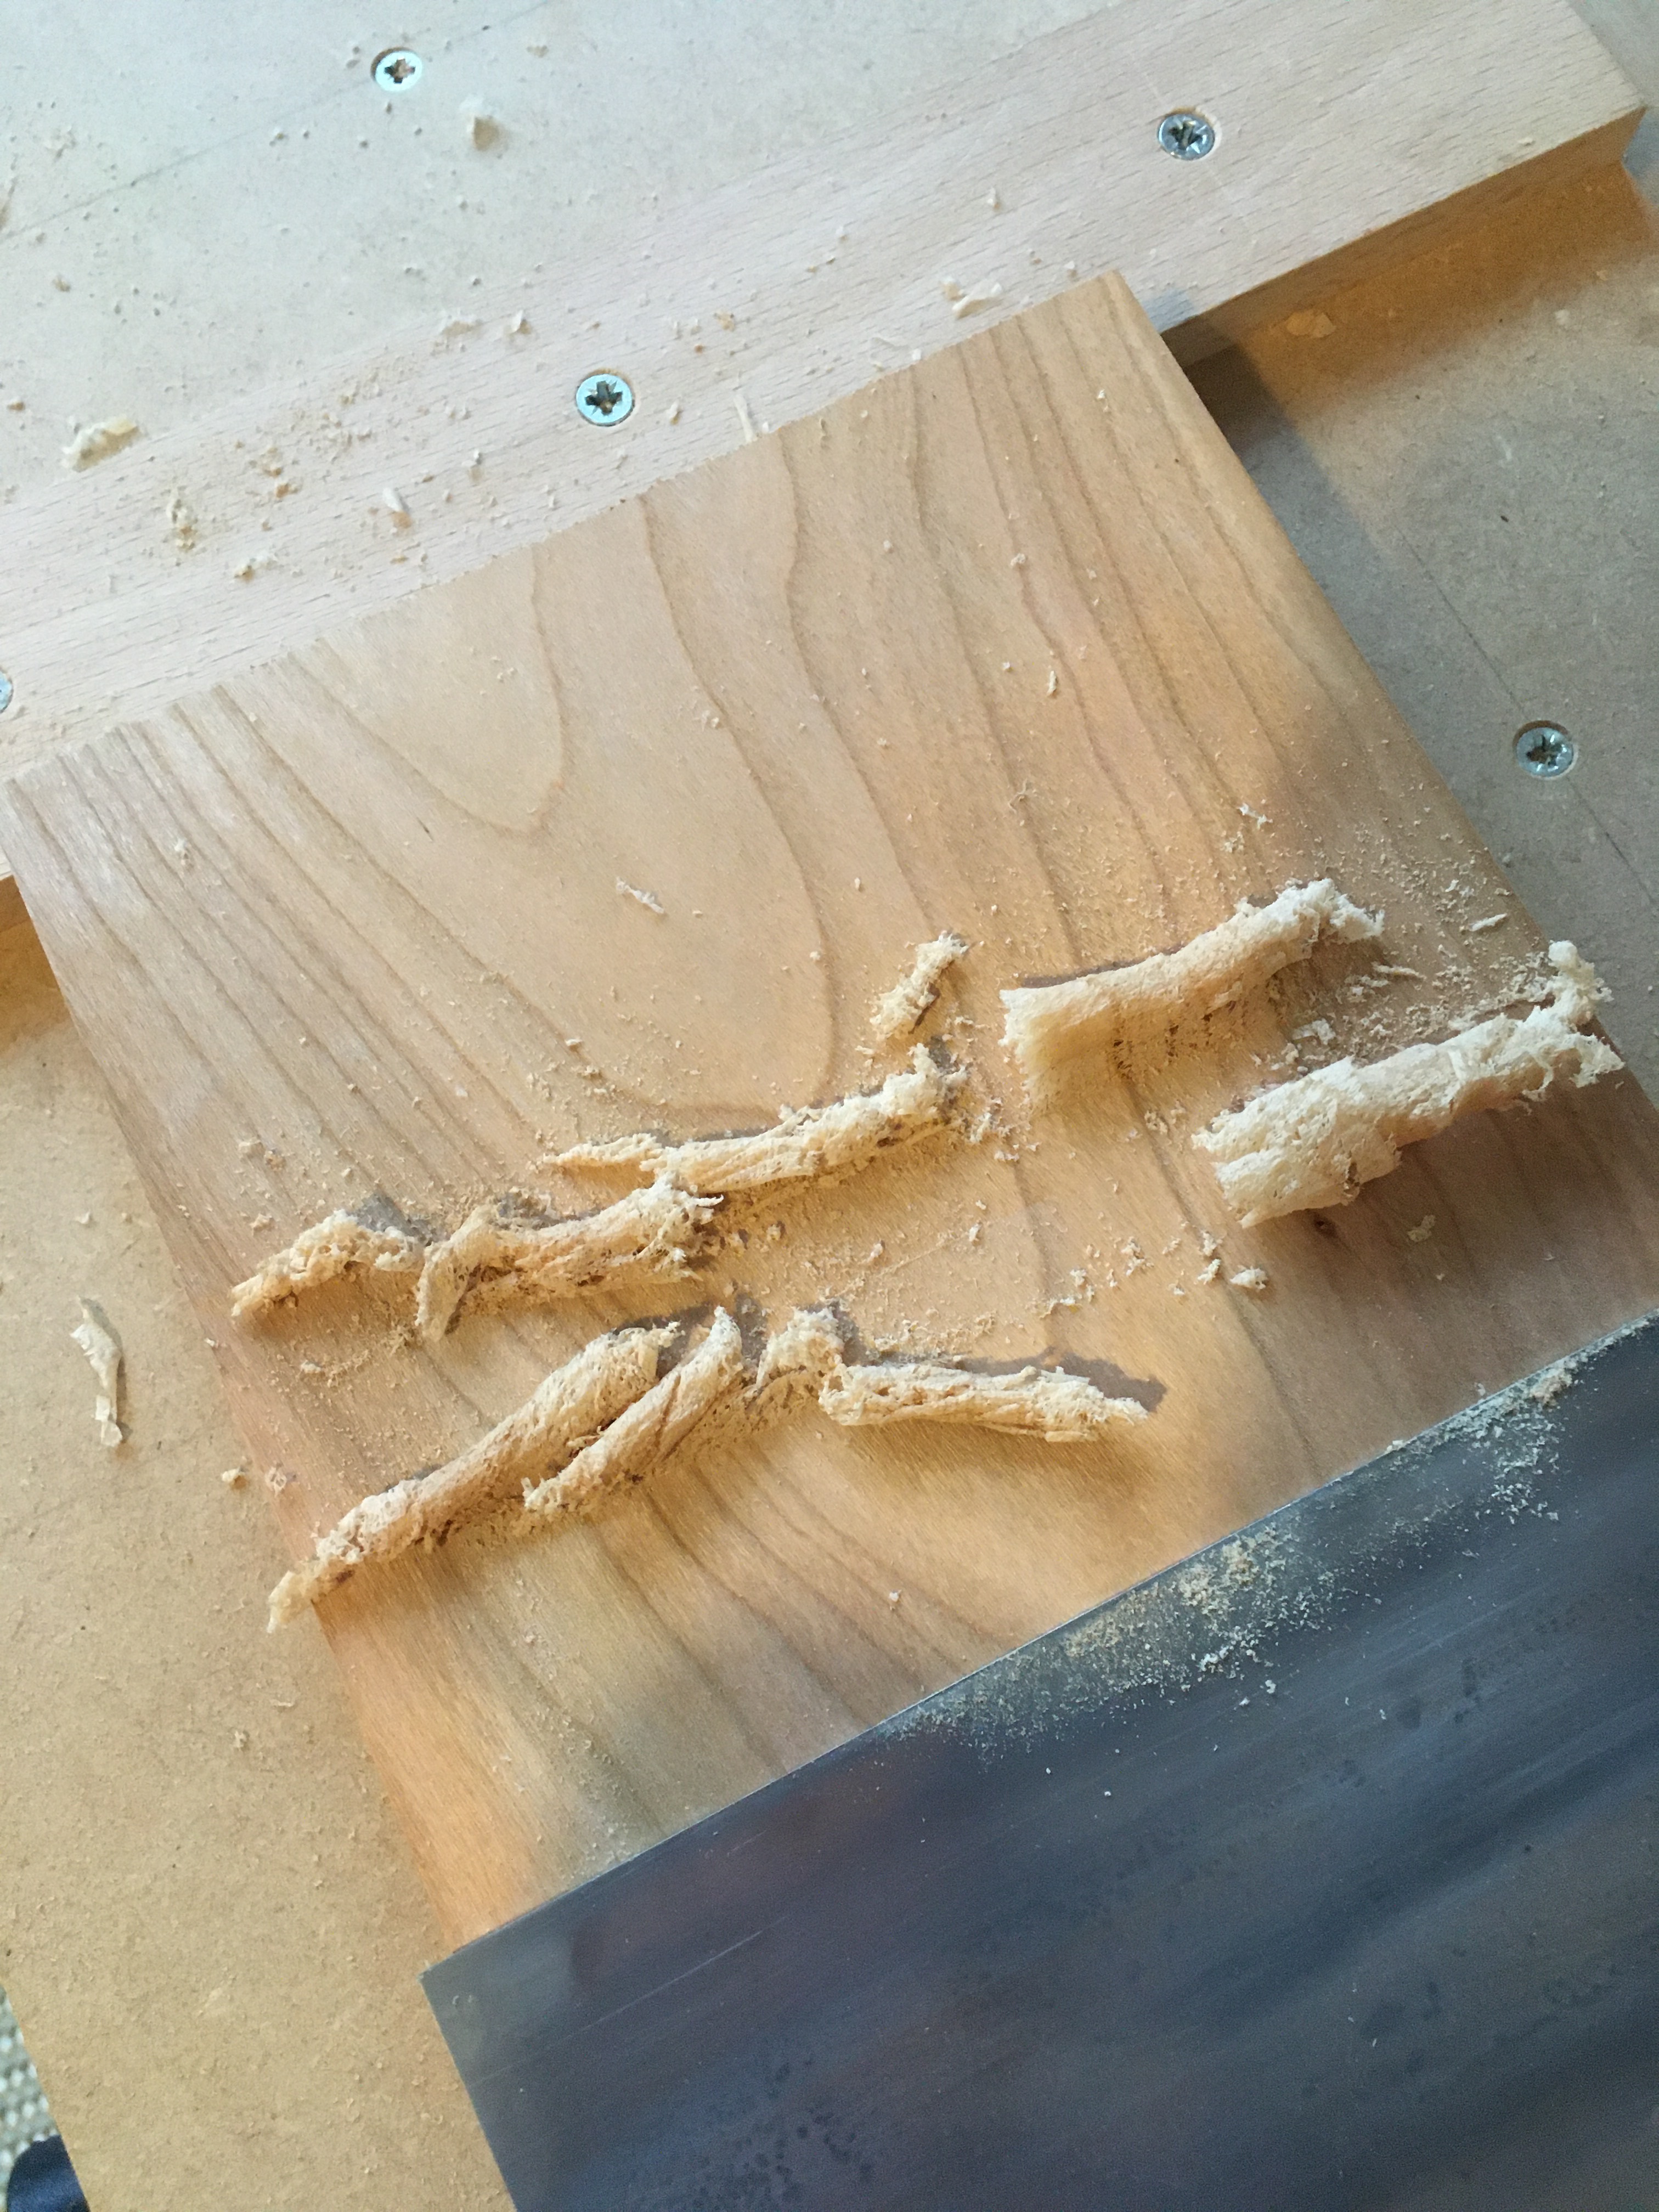
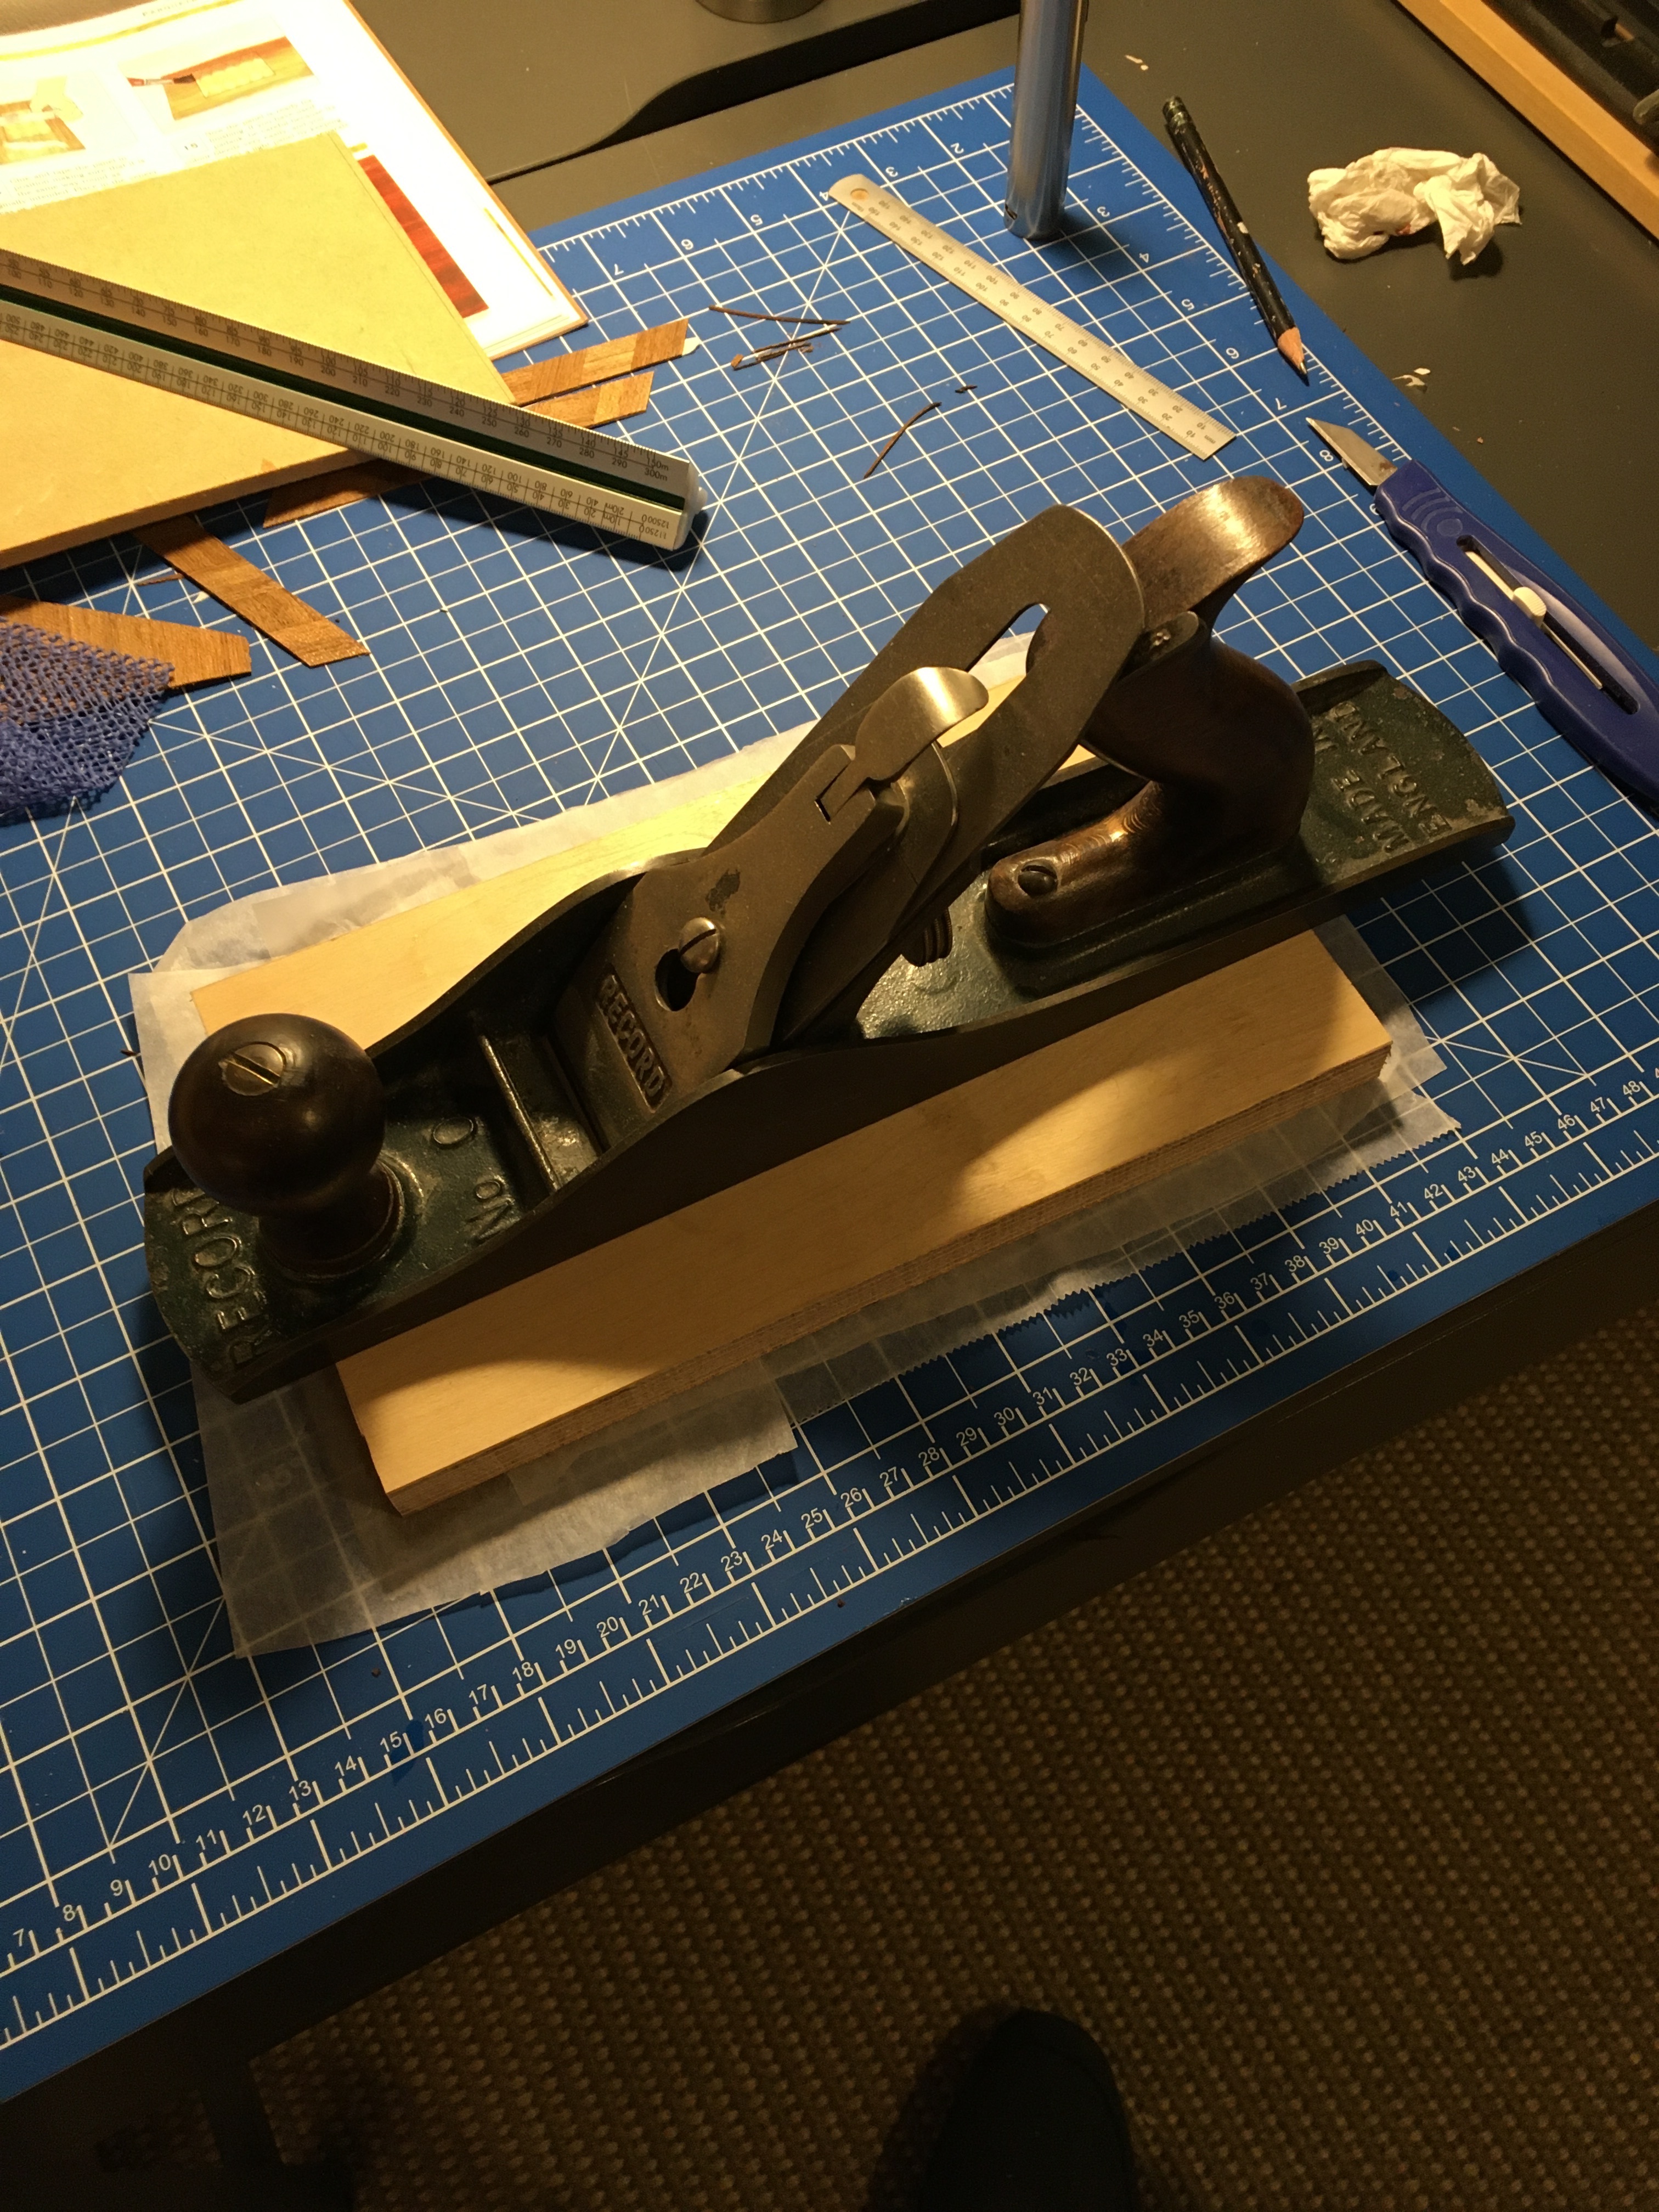
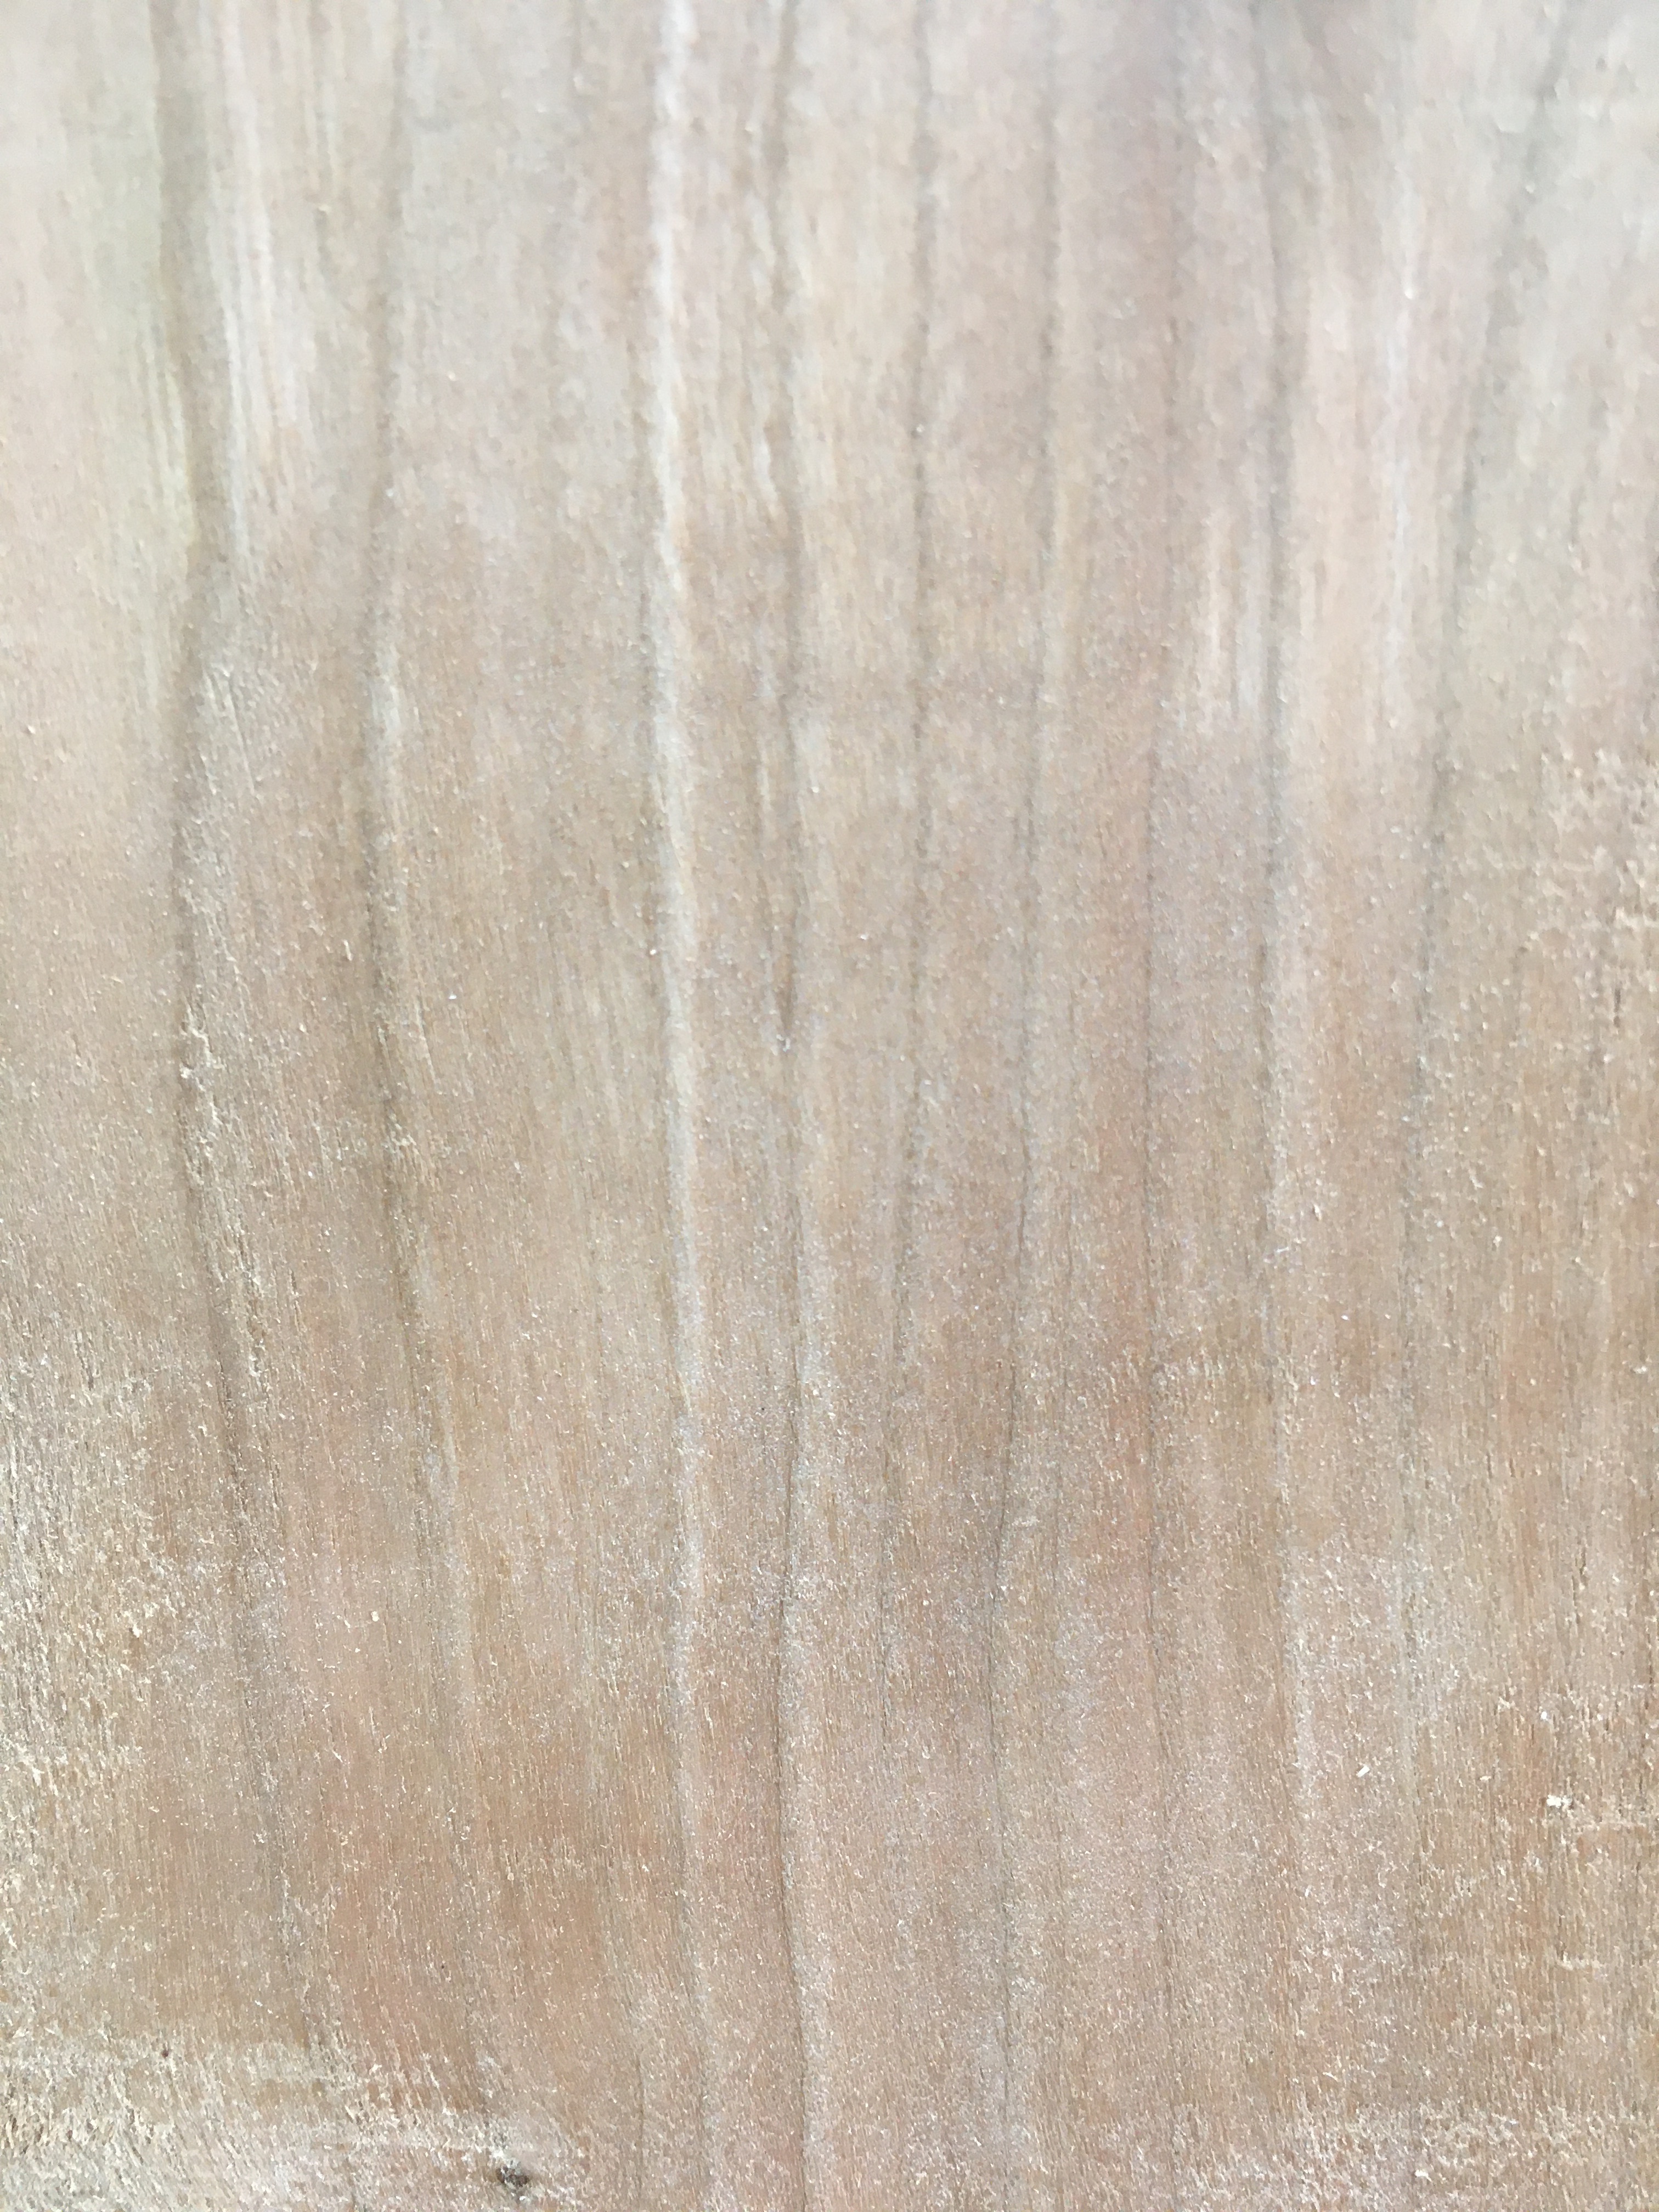
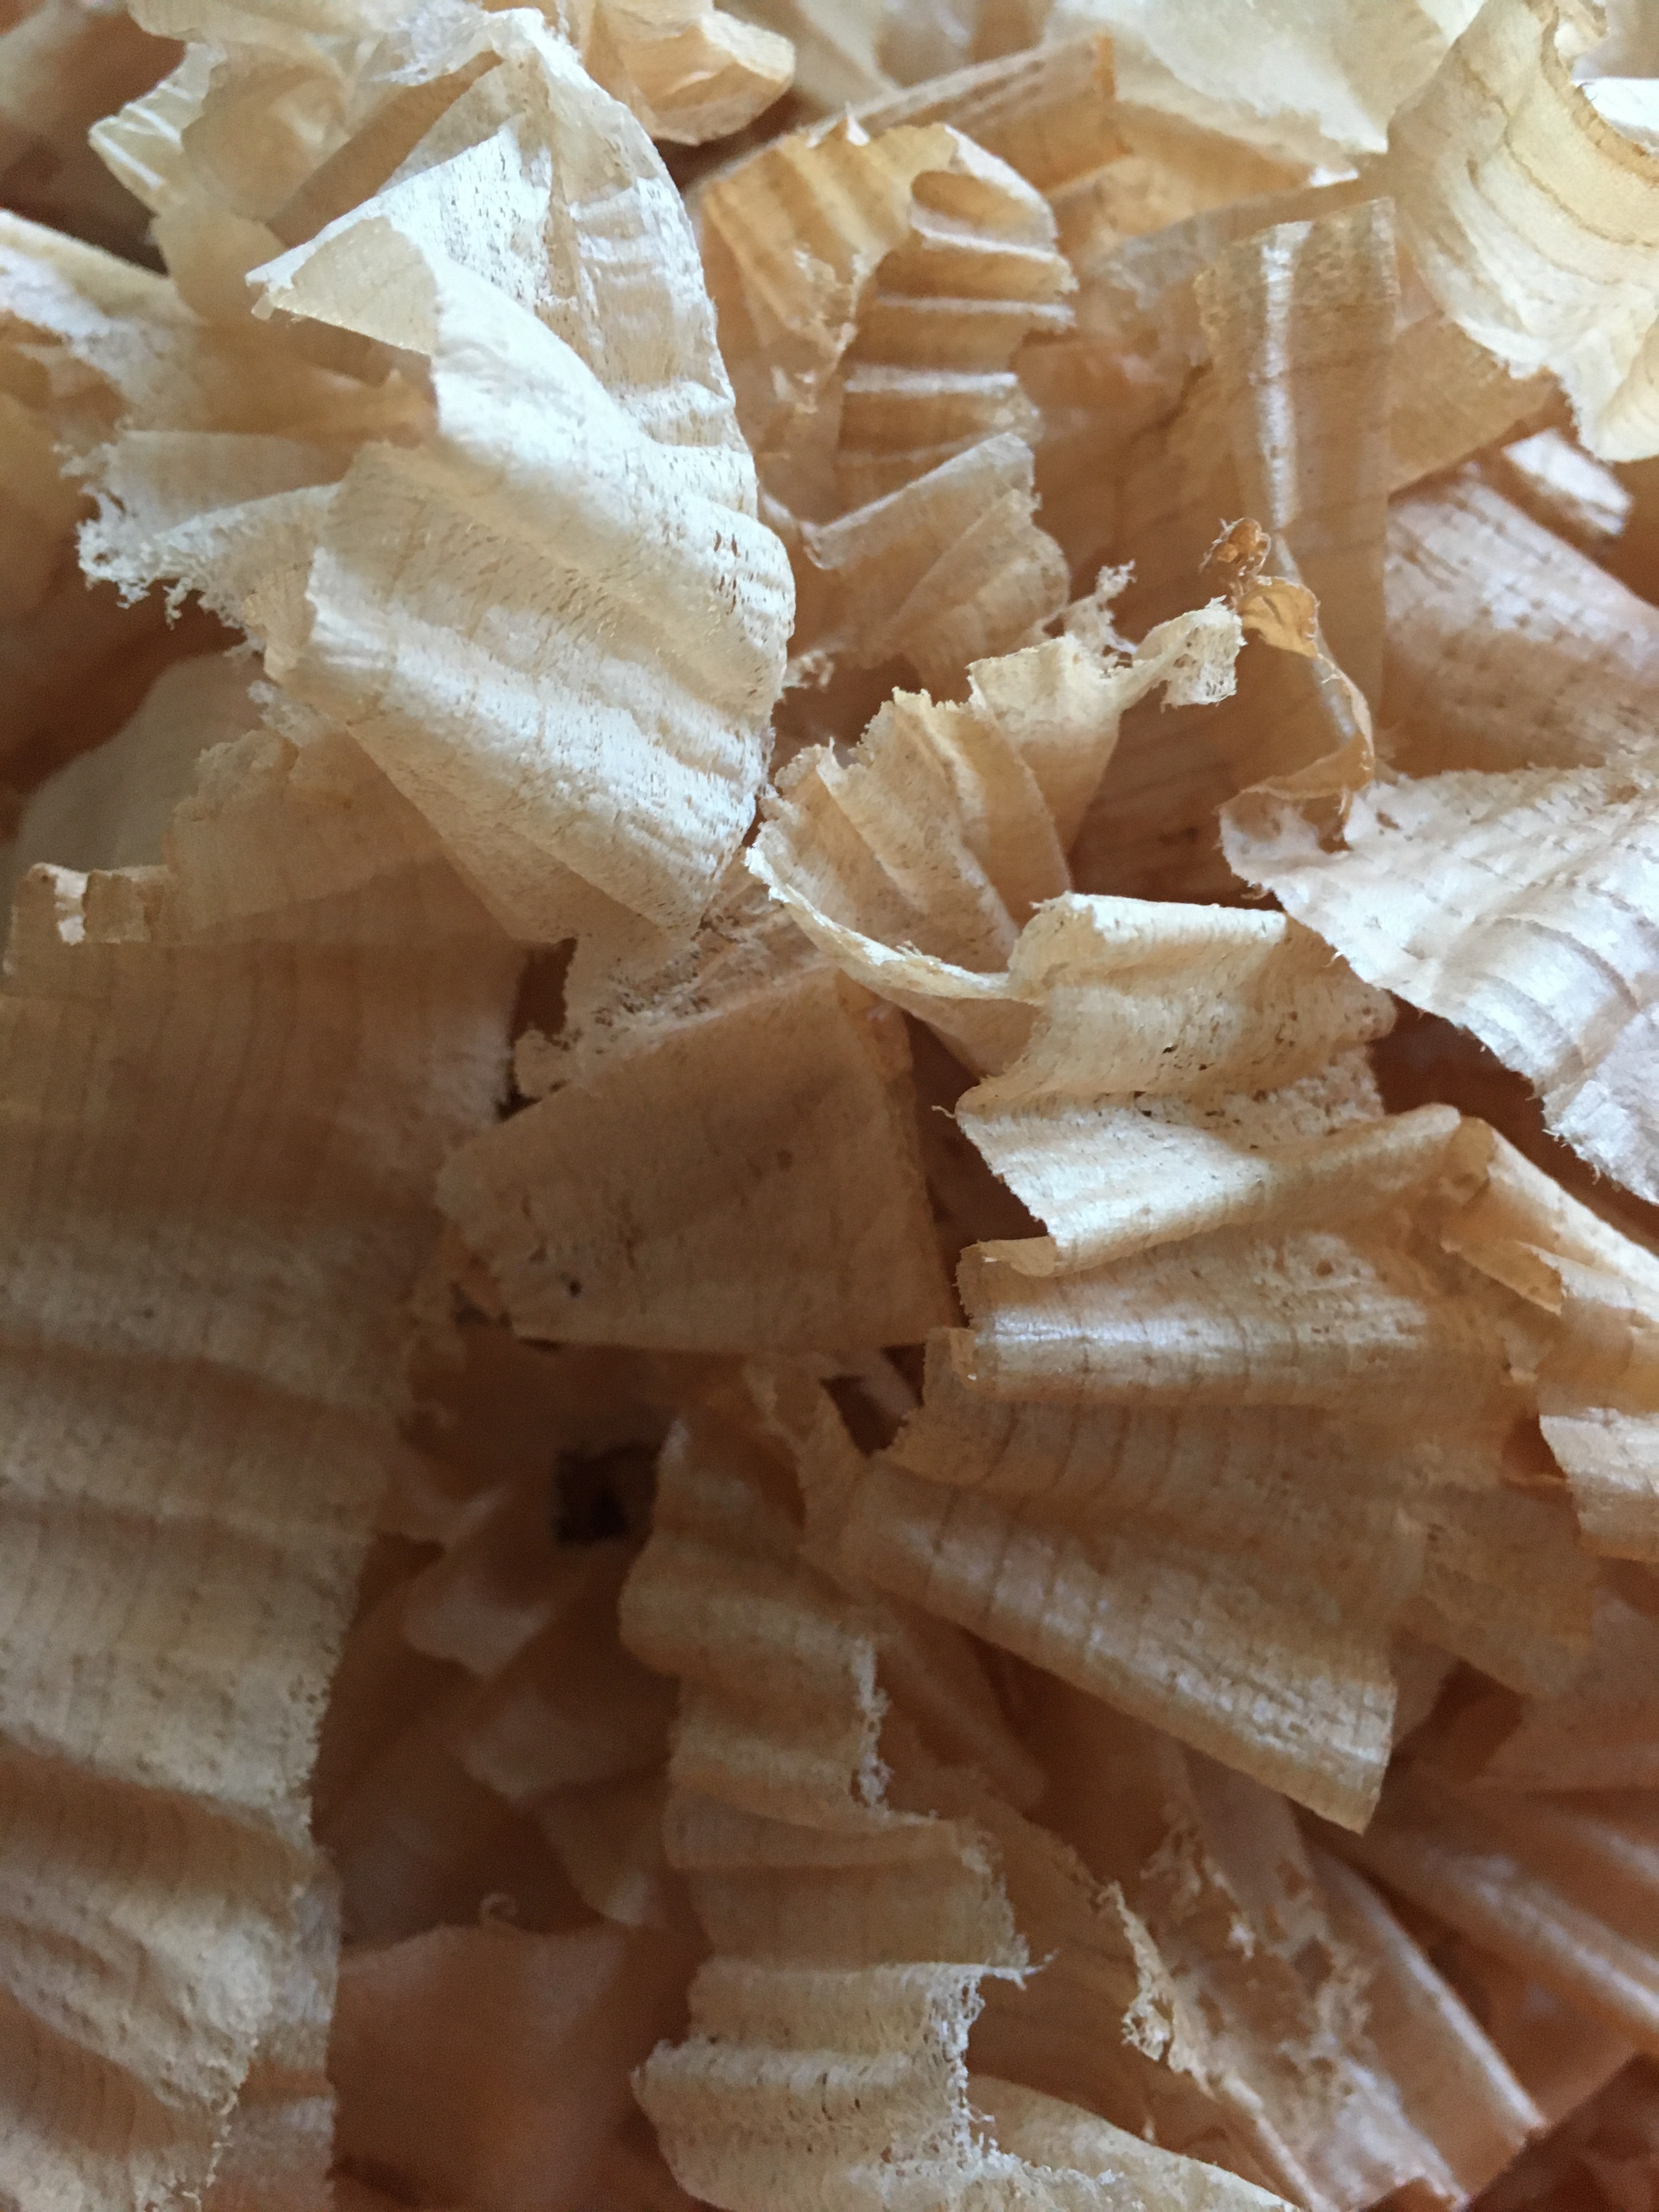
I was unsure if what I was doing was good enough to be commenting upon. I am unfamiliar with social media type forums. I don’t know what is appropriate. Anyway I just had a go with the cherry and I am quite amazed. My go to no 5 bench plane blade has been used to trim cascamite, veneer and plywood, it needs sharpening. I have been pushing all my planes to the limit so I can sharpen them all at once and I knew I would get away with a less than perfect blade trimming veneer.If I were working with any of the timber I have used previously I would have had to sharpen the blade earlier. With the blade this far gone any of the softwood I used in the past would be torn out severely and the oak floorboards would resist the blade, chatter and tear out chunks. The only way I was able to get a finished surface on my oak shooting plane was by taking half thou shavings with a fresh razor edge. I am getting beautiful shavings off the cherry (I have had a play down the edge only at this stage) without any effort at all, full length, no tear out, I can read the newspaper through; with a totally blunt blade. It’s just possible to see the white line where the blade is very blunt. It’s hilarious, three years using awful timber is a great way to develop hand plane skills/ plane tuning. I was berating myself yesterday, on the way home with the cherry, doubting myself. Each new challenge causes me to ask questions of myself and I am deliberately trying to learn as much as possible from each stage. When I am finished with this project I will have most of the techniques needed to build a full size furniture project. Using a mix of sheet goods, solid wood and veneer.
I was unsure if what I was doing was good enough to be commenting upon. I am unfamiliar with social media type forums. I don’t know what is appropriate. Anyway I just had a go with the cherry and I am quite amazed. My go to no 5 bench plane blade has been used to trim cascamite, veneer and plywood, it needs sharpening. I have been pushing all my planes to the limit so I can sharpen them all at once and I knew I would get away with a less than perfect blade trimming veneer.If I were working with any of the timber I have used previously I would have had to sharpen the blade earlier. With the blade this far gone any of the softwood I used in the past would be torn out severely and the oak floorboards would resist the blade, chatter and tear out chunks. The only way I was able to get a finished surface on my oak shooting plane was by taking half thou shavings with a fresh razor edge. I am getting beautiful shavings off the cherry (I have had a play down the edge only at this stage) without any effort at all, full length, no tear out, I can read the newspaper through; with a totally blunt blade. It’s just possible to see the white line where the blade is very blunt. It’s hilarious, three years using awful timber is a great way to develop hand plane skills/ plane tuning. I was berating myself yesterday, on the way home with the cherry, doubting myself. Each new challenge causes me to ask questions of myself and I am deliberately trying to learn as much as possible from each stage. When I am finished with this project I will have most of the techniques needed to build a full size furniture project. Using a mix of sheet goods, solid wood and veneer.

Hi
They didn’t have any Douglas fir as it turns out. I purchased a 3 metre piece of cherry instead. It’s definitely made life easier in some respects. Planing is going to be a walk in the park and I think hand sawing will be decent too. Blotching is an issue so I am thinking shellac as it’s one of my favourite finishes. Easy to apply, easy to flatten and it gives plenty of options for colour. I am thinking button polish or something similar. Have you got any experience with finishing cherry?
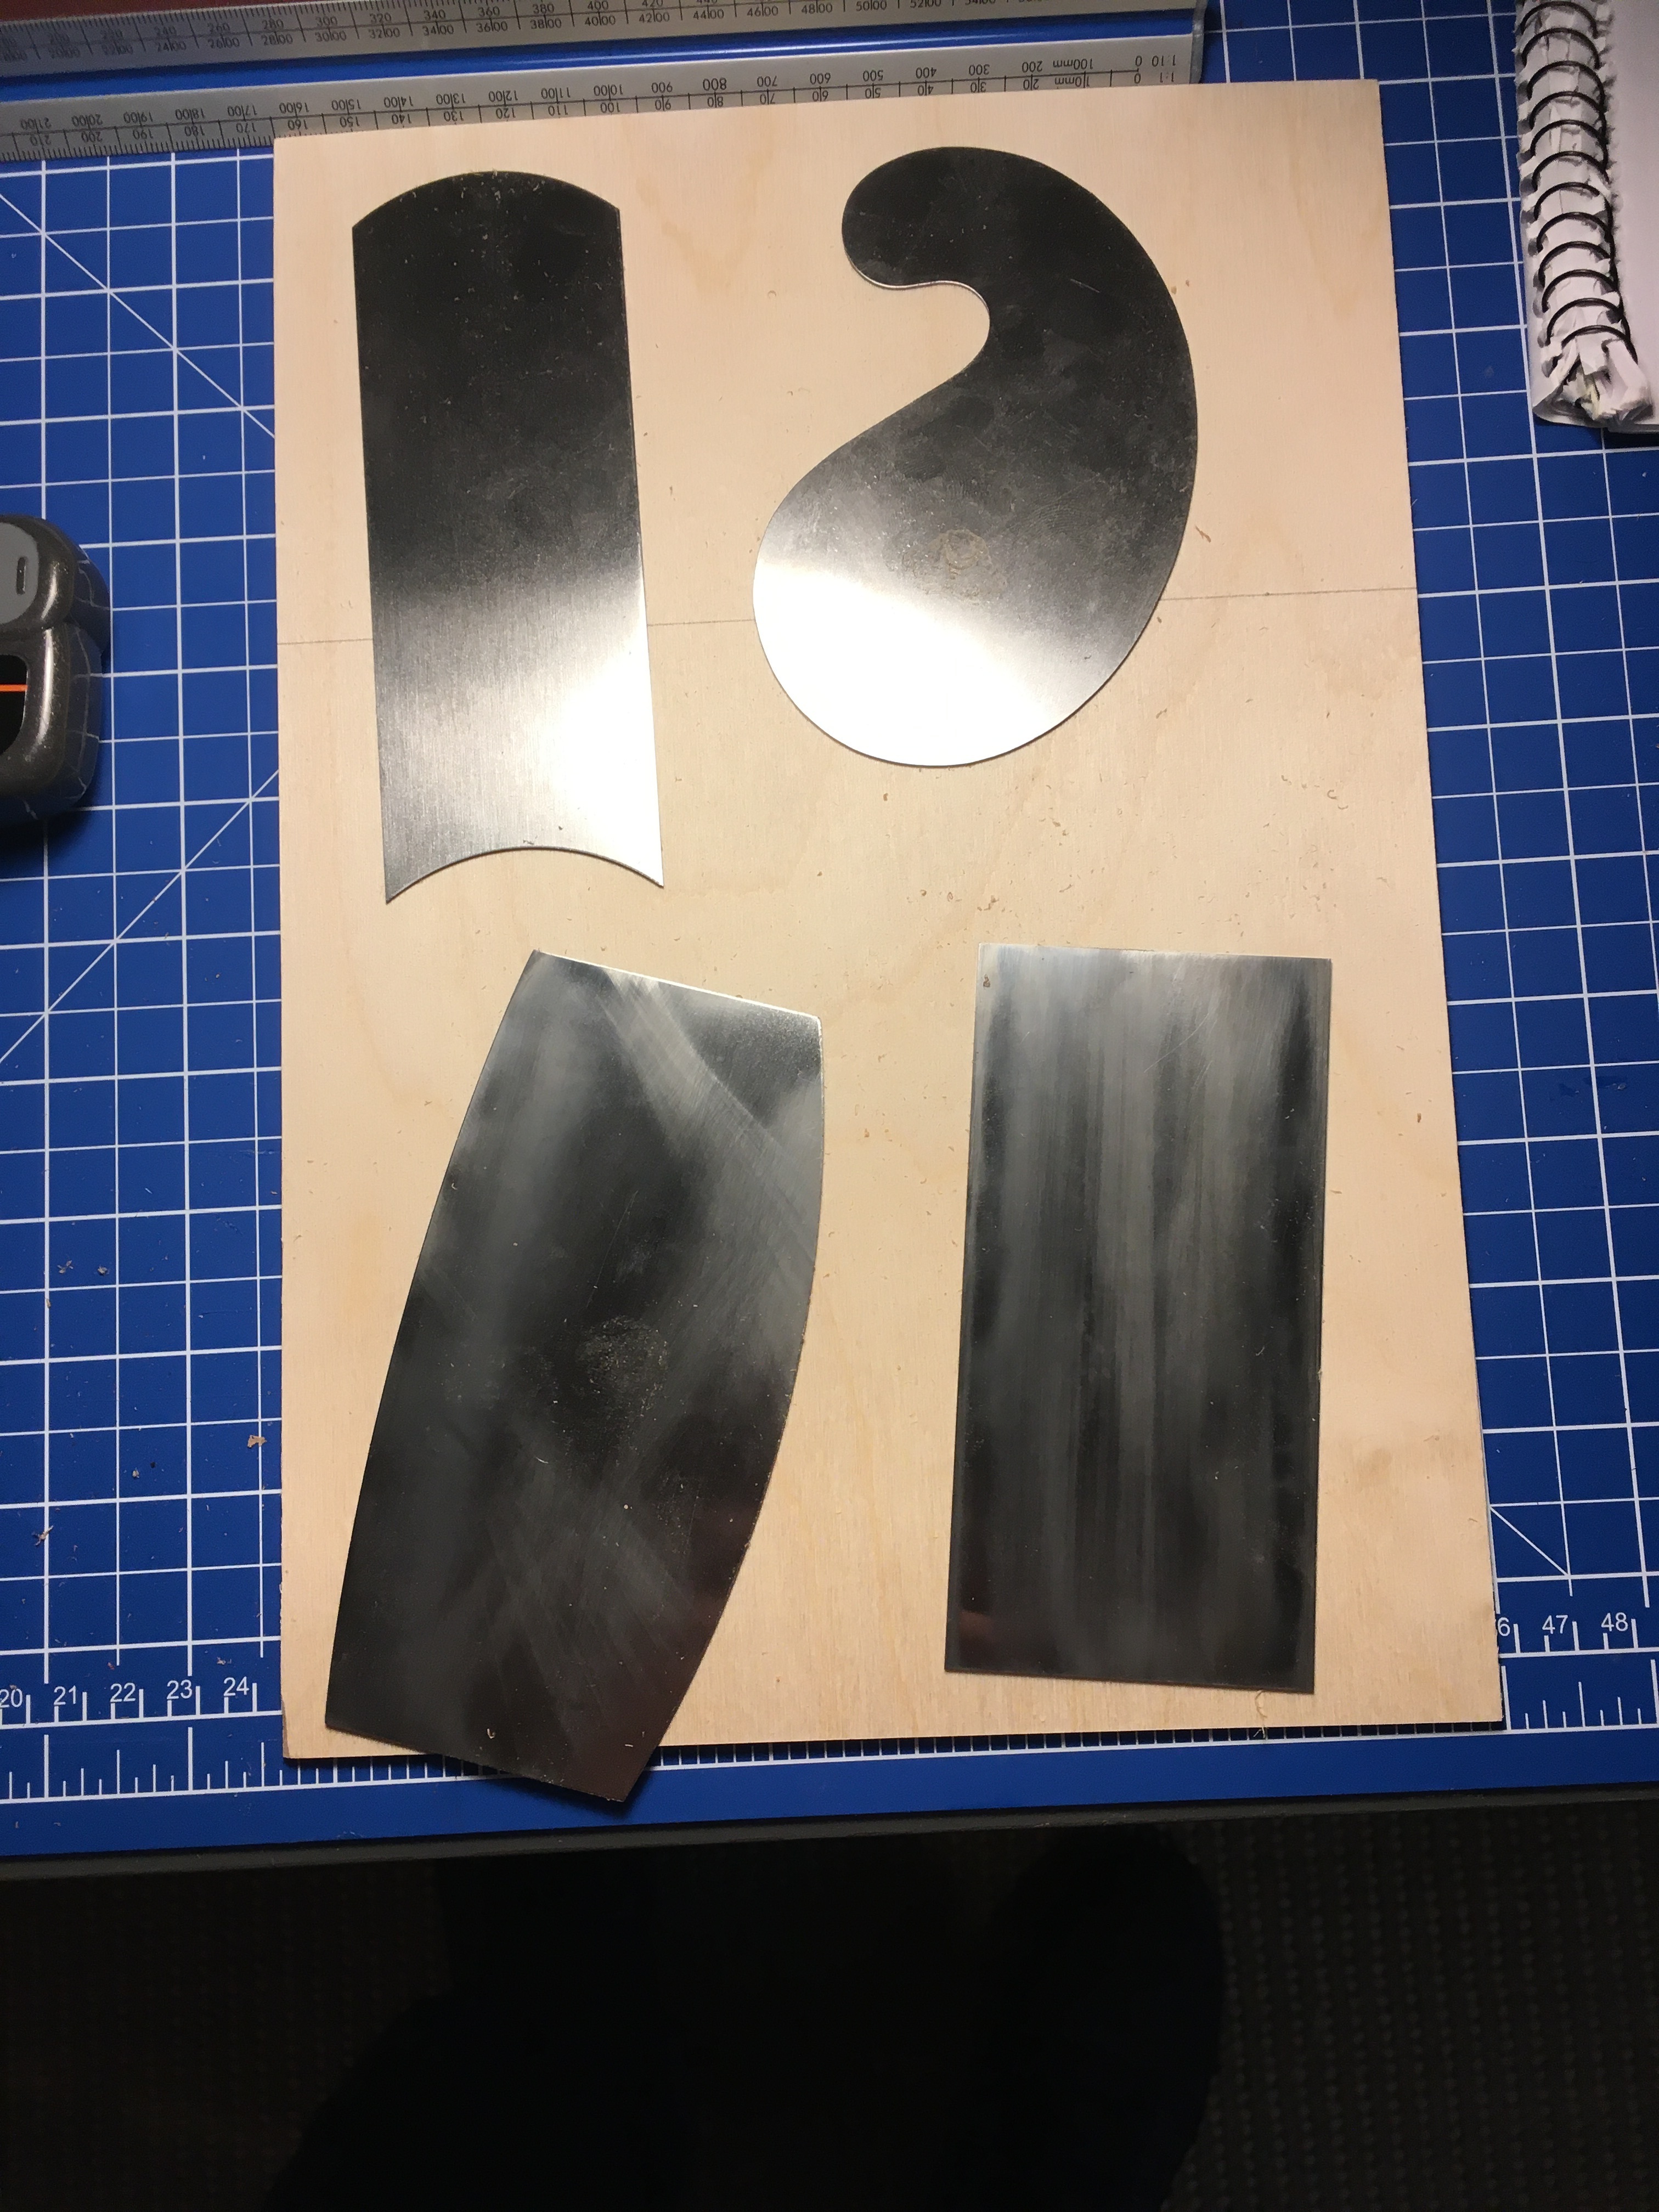
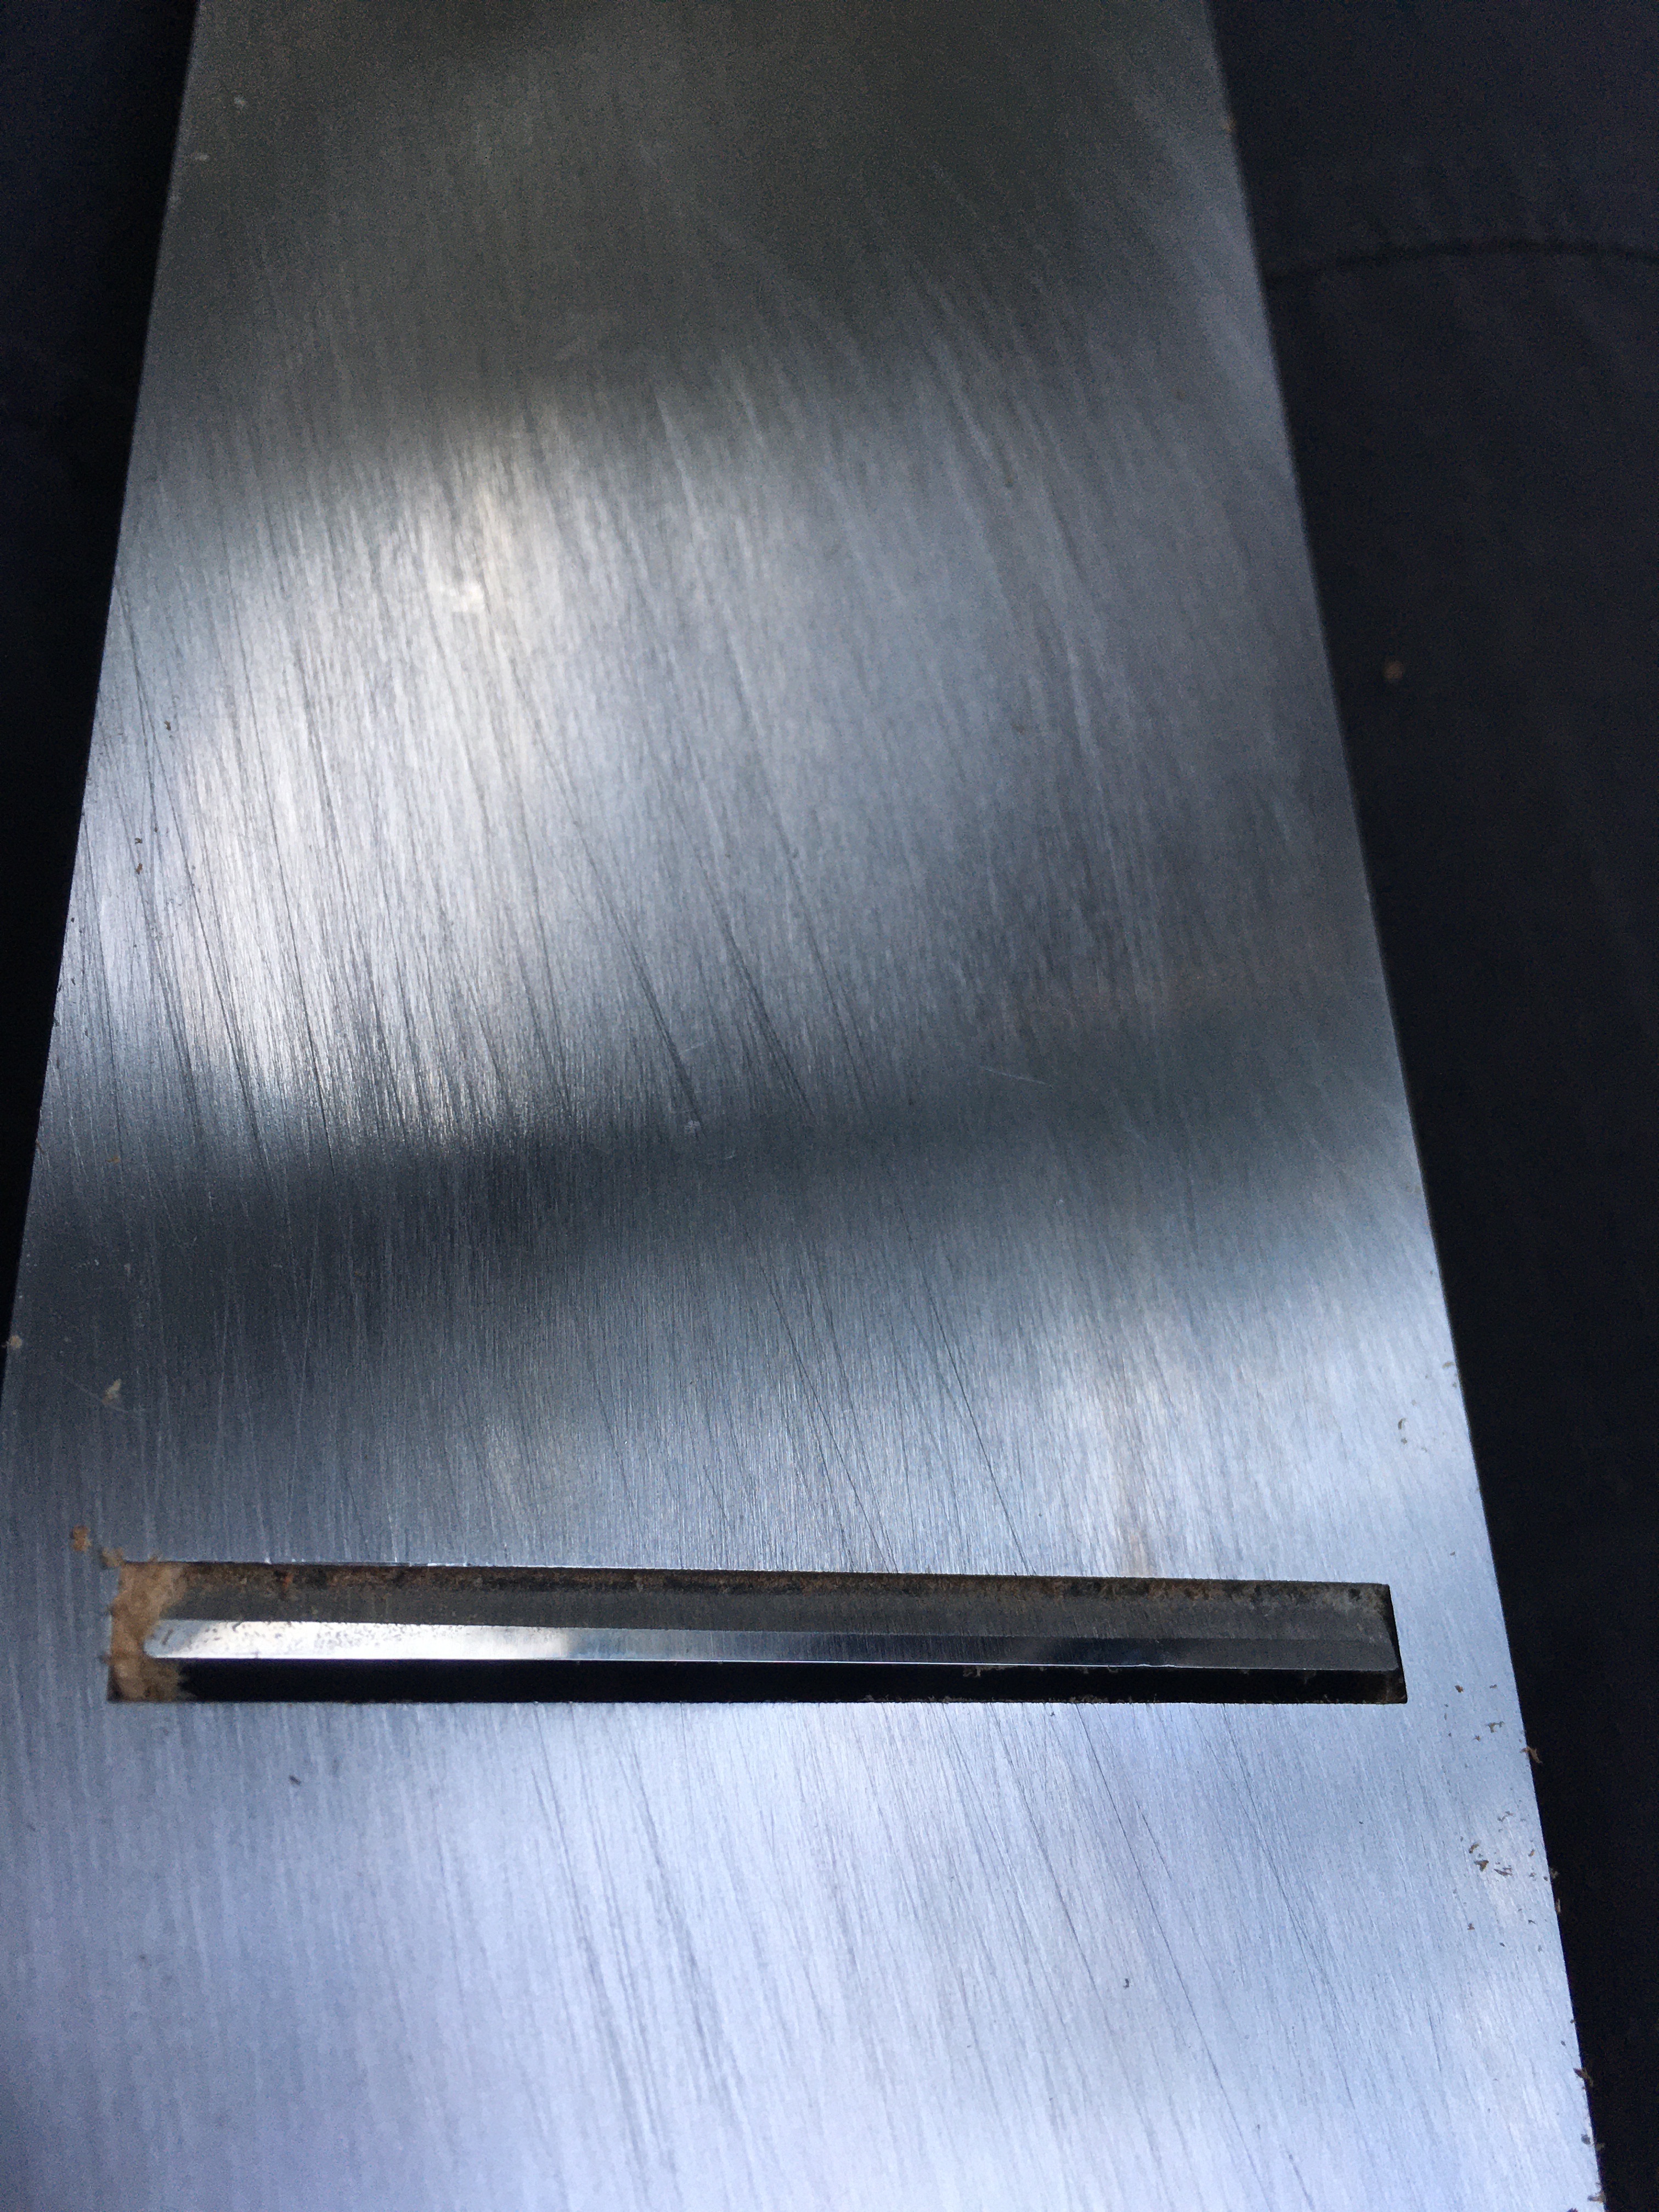
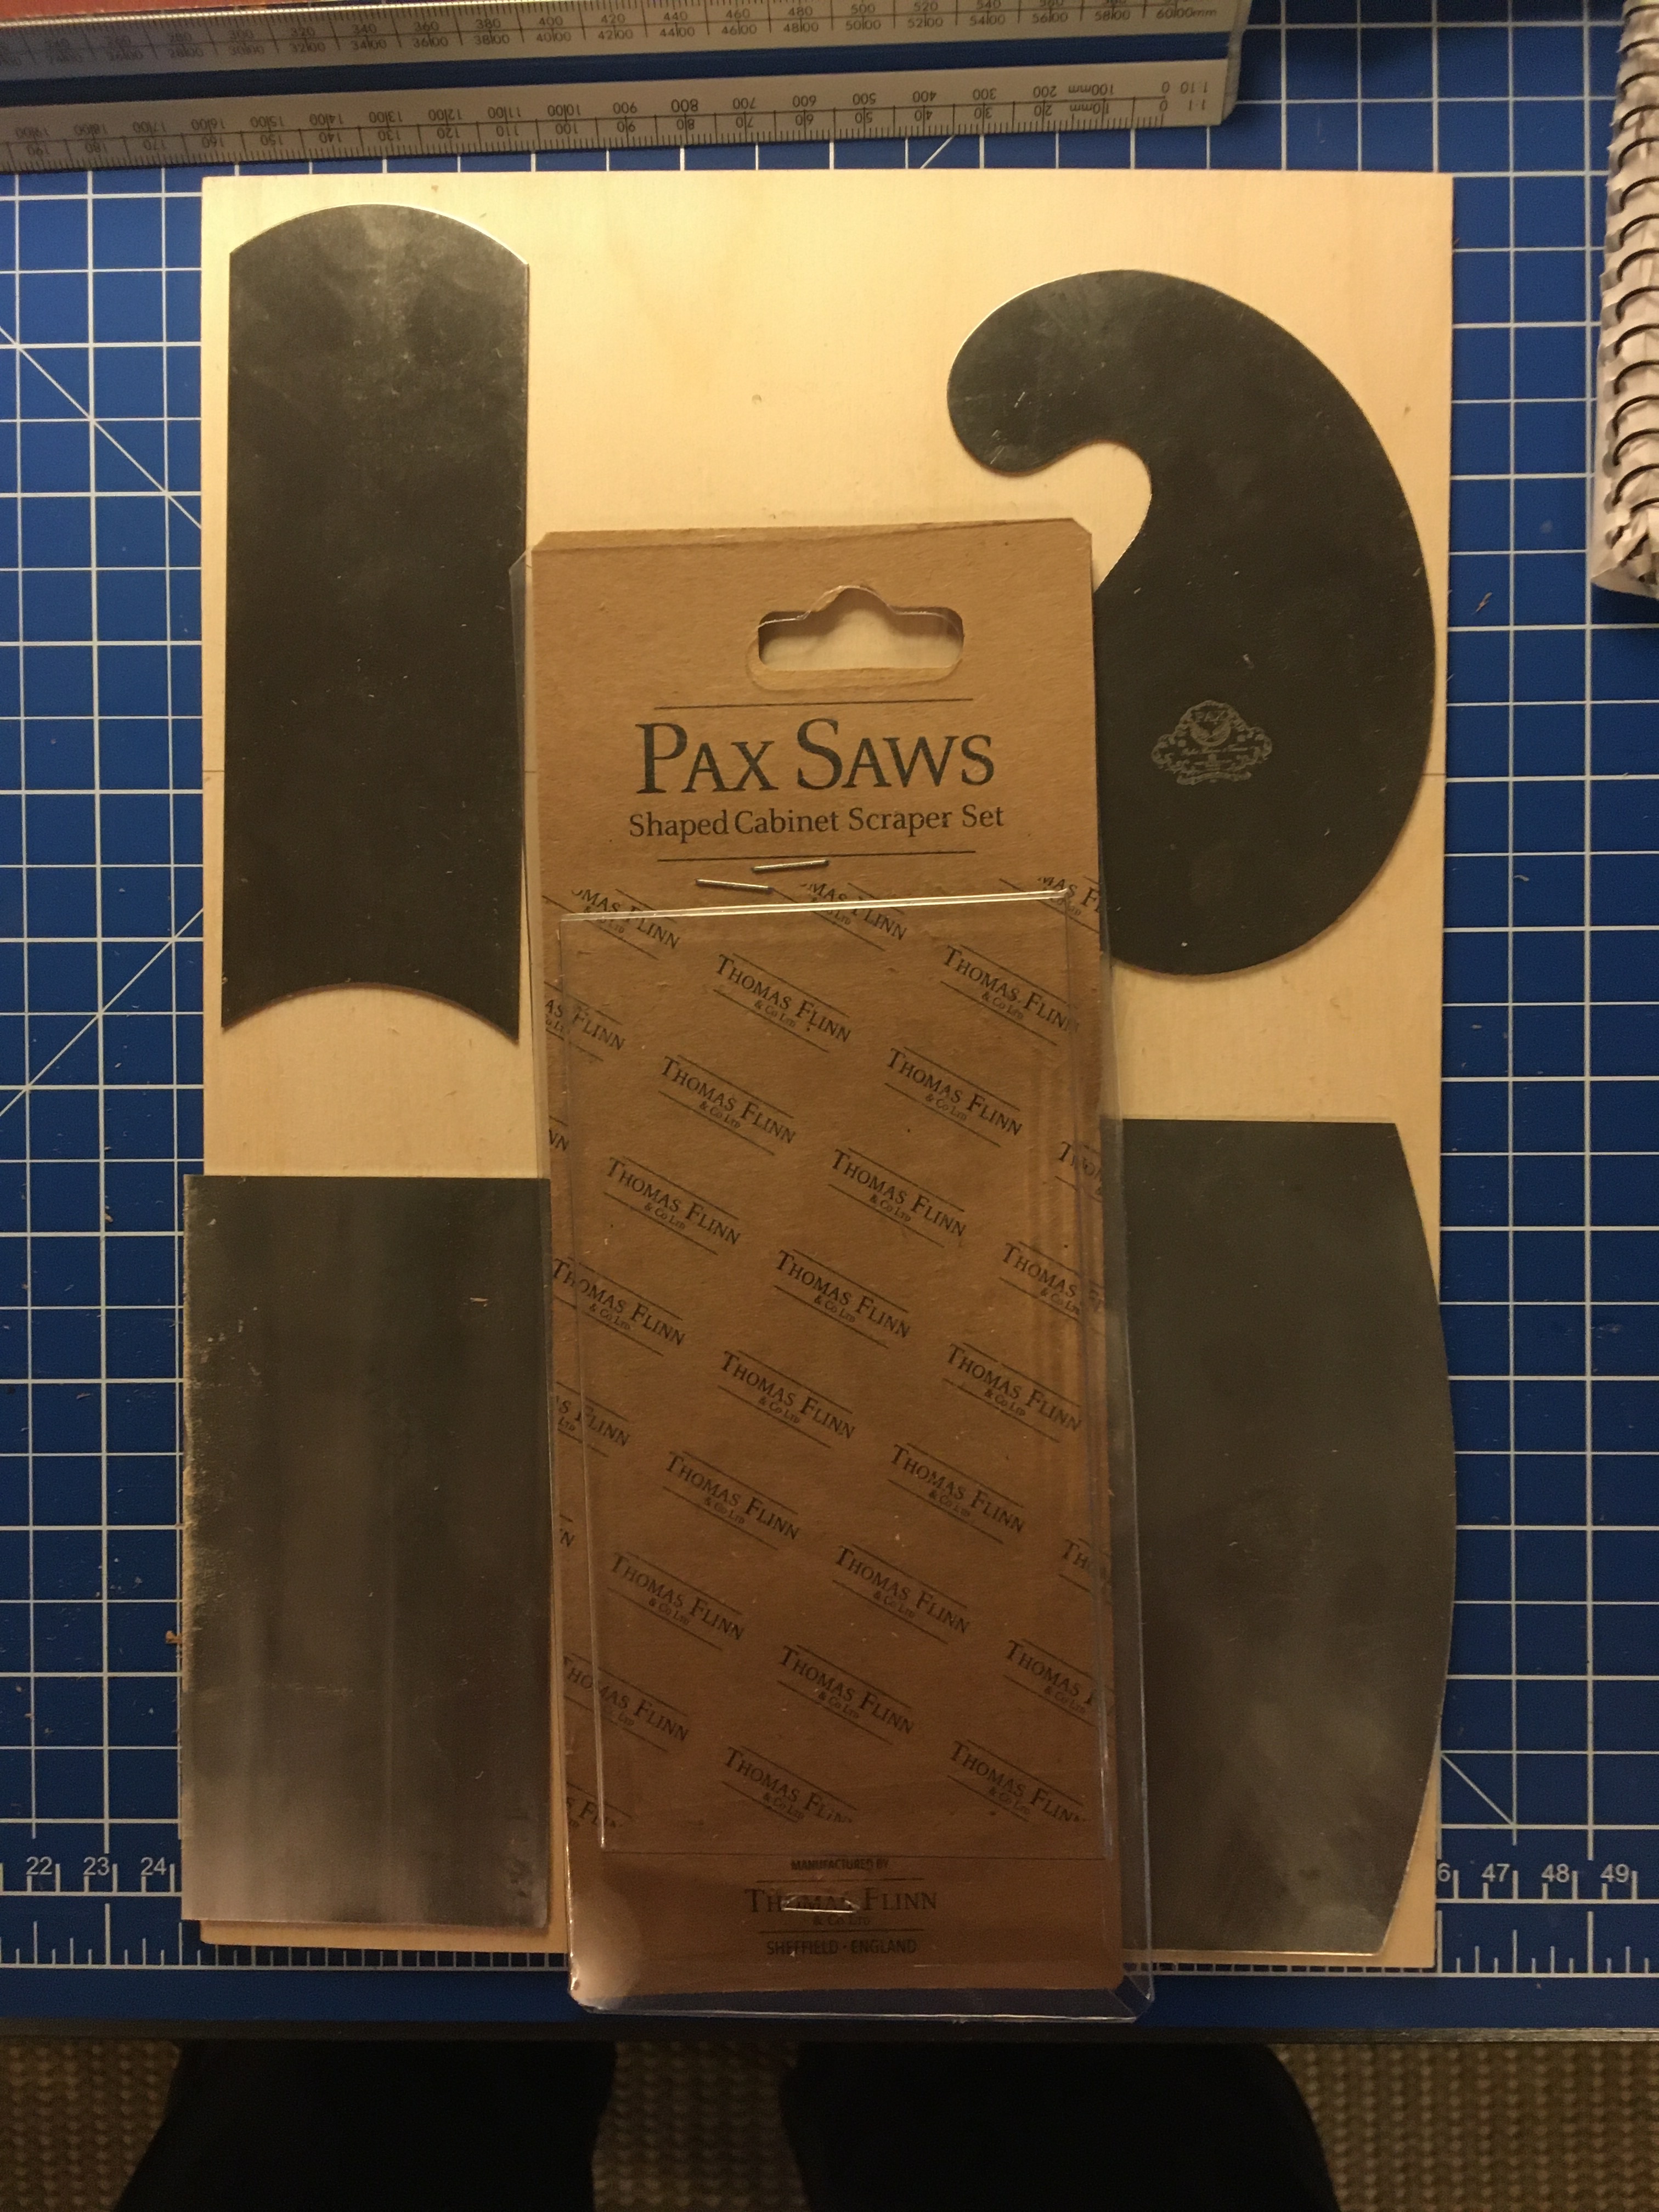
Using veneer got me wanting to use my cabinet scraper. I bought it as a Marples brand but was not sure about the true origin as the packaging was off. I tried and tried to sharpen it with poor results over two years of trying, eventually using the ruler trick. It still wouldn’t perform so I have purchased a set of Pax scrapers. I spent an hour or so dressing the rectangular scraper and the gentle curve on the convex scraper. I used my nail punch to turn the burr and I got the results I should have been getting with the “Marples” scraper. The saying “a bad workman blames his tools” has always struck me as a nonsensical saying. The Marples is a tool shaped piece of junk, the metallurgy is wrong, simple as. The Pax are quality. They look identical. Sharpening the Pax scrapers is easy once you do some initial work and it’s possible to reset the burr at least three times before having to file again. Twelve pounds well spent, for four really good scrapers which will last me the rest of my life. For veneer or solid wood they are a perfect tool I think. The cherry is looking like a nice piece of timber. I have been feeling worn out so I took a break from the woodwork.
I now need to crack on with the solid wood components of the box.
I now need to crack on with the solid wood components of the box.