I have turned my first end grain box. It’s my fourth project.
I am not an experienced woodturner so I do solid preparation before going anywhere near a lathe.
I new all the cuts, the procedure, the tools I would use and the grinds I would try. I also had a clear understanding of which cuts and procedures would be challenging and which would be straightforward for me. I know my strengths and weaknesses.
I first attached a solid piece of scrap to the faceplate. I then drilled a hole in it on the lathe.
I mounted my 50mm Sapele spindle between centres and turned a tenon which exactly matched the hole, thus forming the necessary attachment for glue chucking. It’s really important the tenon is an interference fit. I glued the cylinder into the glue chuck and started turning the next day.
I am not going to detail the procedure.
Search for " Ray Keys basic box" he details the process.
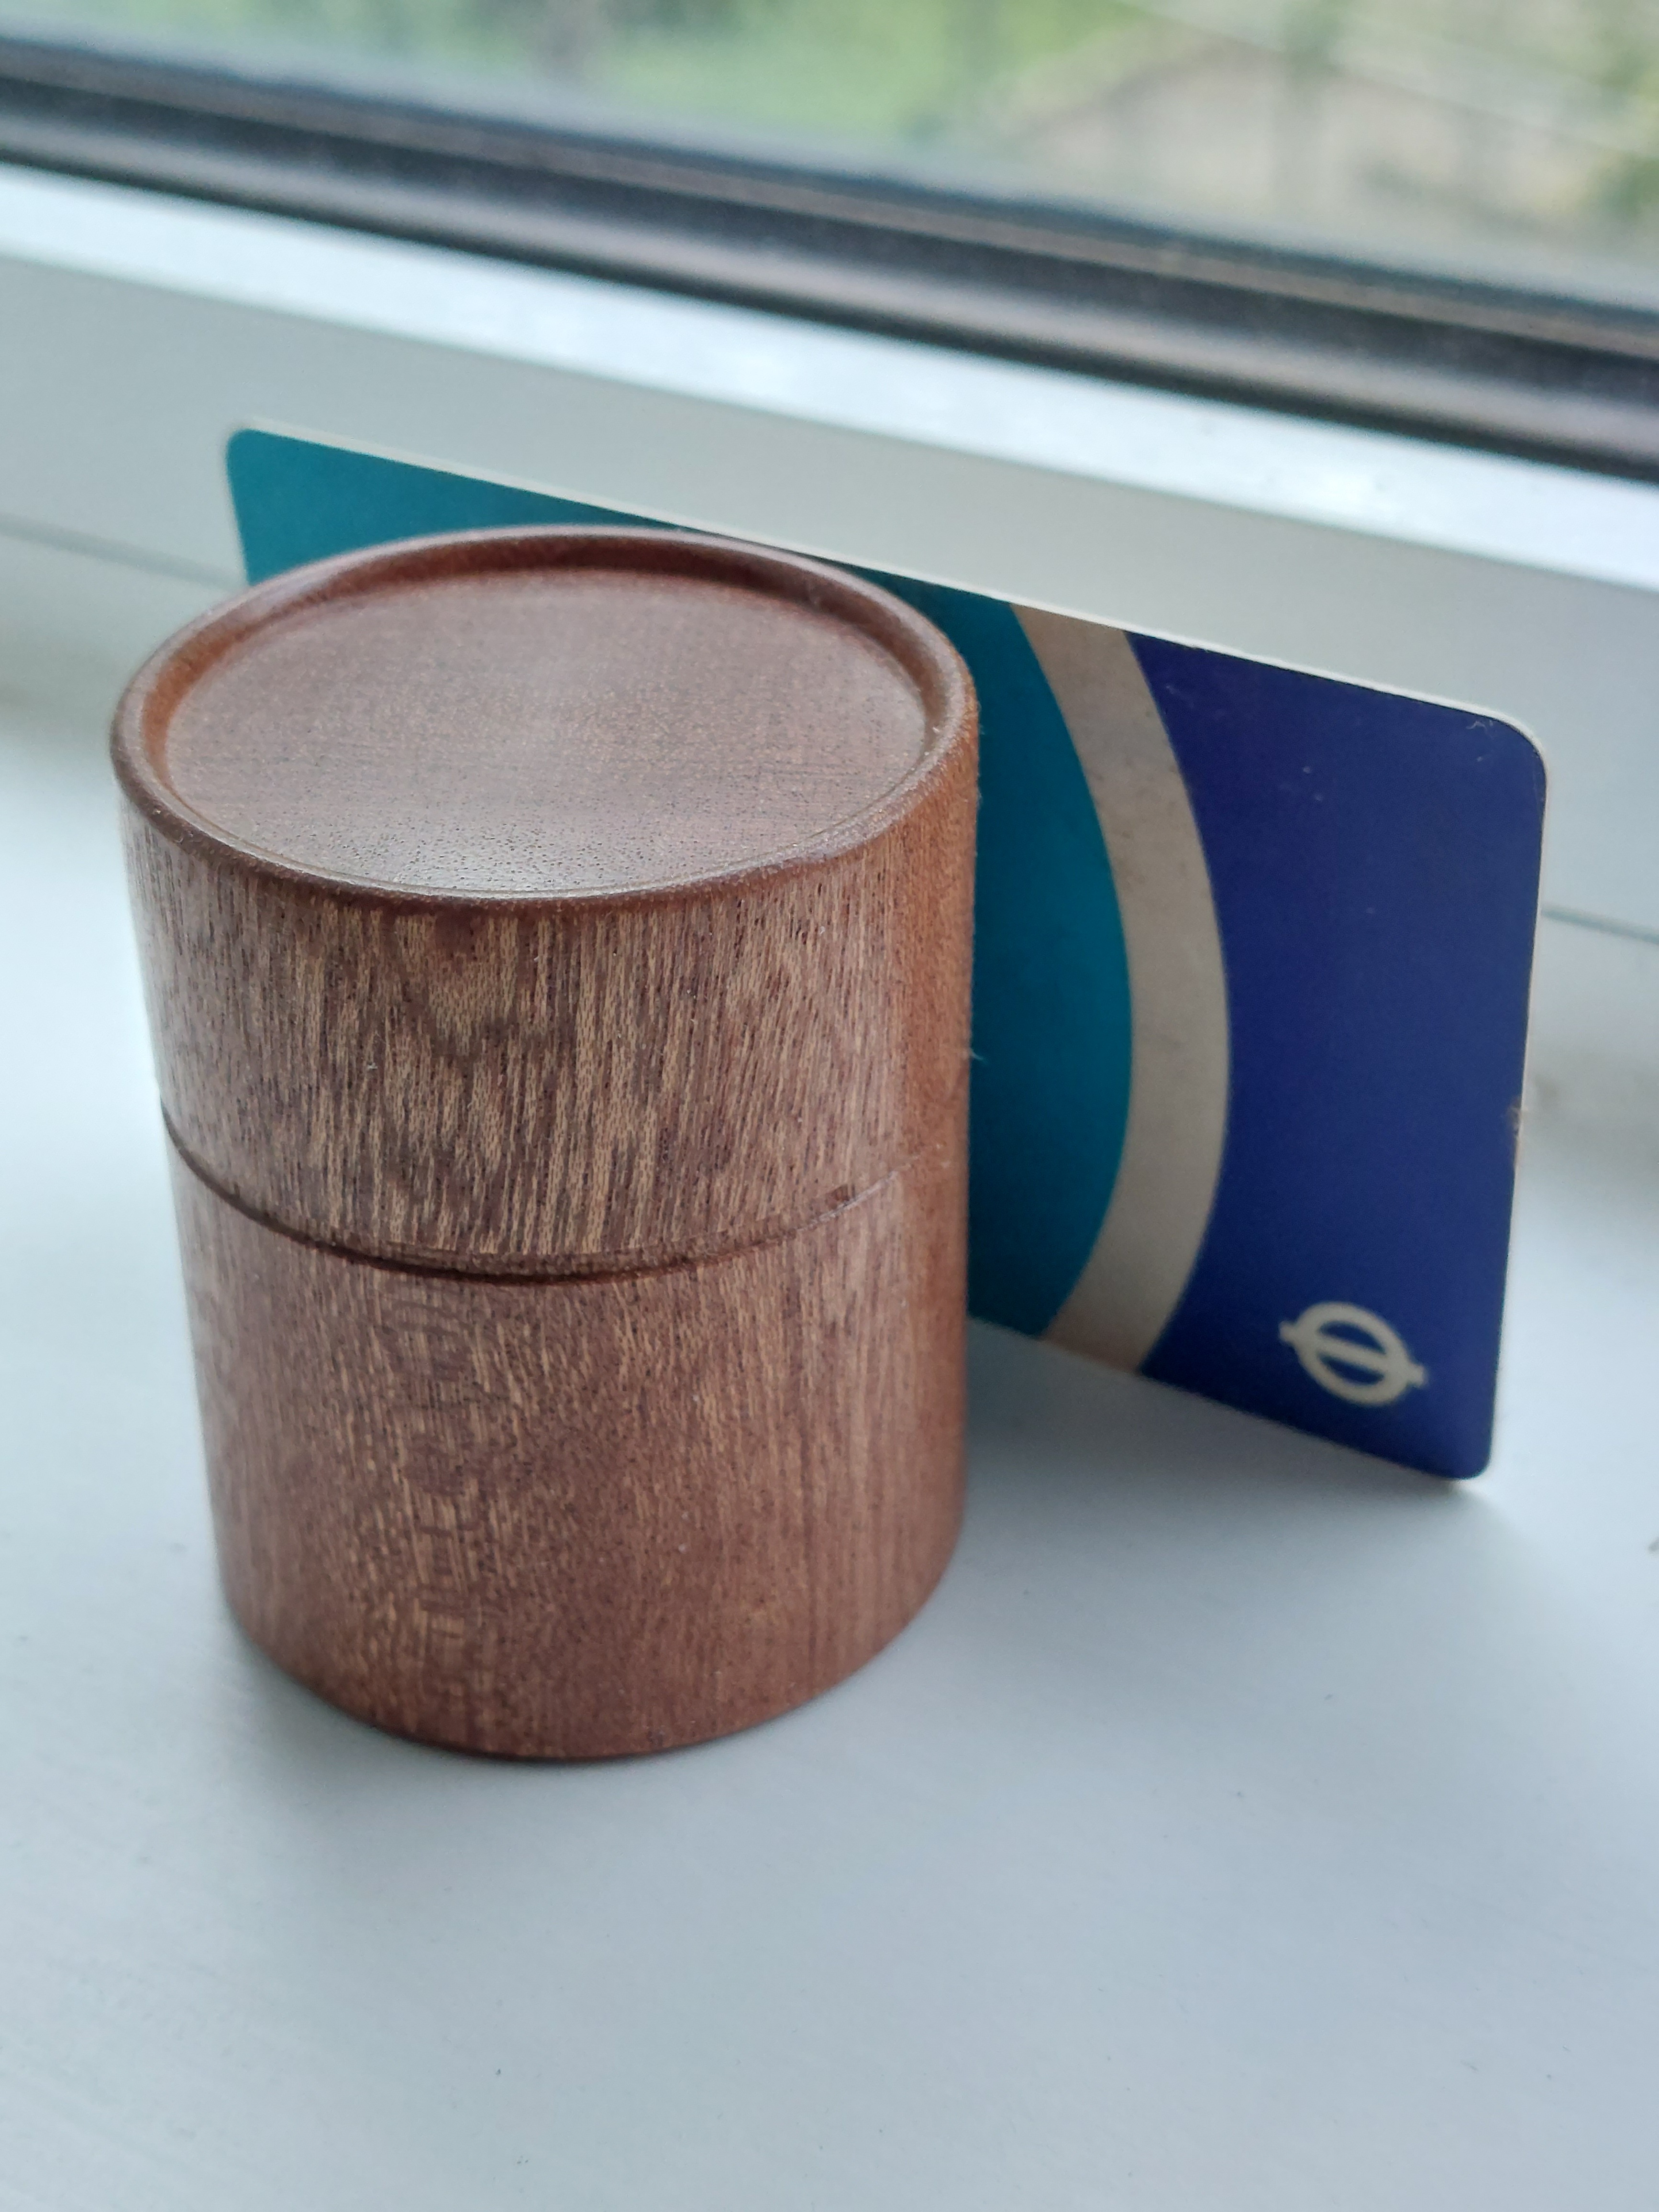
The top picture shows a box blank mounted in a glue chuck. The picture below shows the tenon used to jam the box base onto, to reverse turn the bottom of the box. After the box has been parted off, obviously.
I will say a few words about end grain hollowing.
I hollowed in the normal way using an unmodified 40 degree traditional ground spindle gouge. Whilst hollowing the lid I noticed I was getting some catches whilst scraping up the wall of the lid. I reground my tool with a blunt fingernail grind, it was too pointy previously. This stopped the catches and I was able to hollow fairly easily. Working inside a box the cuts are being made blind, mainly by feel.
I used a Jason Breach negative rake scraper after I had removed the bulk of the waste with the spindle gouge. The tip of this tool is more than 90 degrees to the side. This means that it cuts a dished bottom or lid. As the tool transitions between the bottom and the side, both the tip and the side are cutting. This makes the tool grabby. I think I may grind the tip to less than 90 degrees which means the tool can cut a flat bottom. Also this means that the tip and the side are not cutting at the same time. It makes more sense to my mind and its how


Lastly, I used a slightly different grind on my small skew chisel, this tool can form the small bead and it is an effective scraper when outfitted with a suitable burr. It’s not the same grind as Ray Key uses but it does the job and it makes sense for me.
I am happy with my results. The finished box is 54mm by 44mm diameter. The proportion is 2/5 in the lid 3/5 in the base. It has an identical level of finish inside and out, top and bottom. I am aware of the improvements I need to make but I think it was a great foundation as I learn how to turn.
One last thing, I am going to use the box to keep my plectrums in.

