
Interesting post, I’m in the same position… but with other machinery. Liability oh my. I’ll follow this thread with interest.
For discussion, Loan, Shapeoko Version 2
This would be great for the space. Even just as a project to get working in a good condition, it’d be fun. I’m all in favour.
1 Like
@Dermot @sarahbarber @tomnewsom @unknowndomain
Hi Trustees,
Any thoughts on the questions above ?
Ta,
Brendan
Much of what you need to know is here: https://discourse.southlondonmakerspace.org/t/donating-or-lending-items/
- You will not be personally liable because the machine will temporarily belong to SLMS.
- If it can’t be got working in 6 months, then it deserves to go home again. Sounds good to me.
- This is important. If taken on as a fix-up project by the space, someone(s) needs to take responsibility for it.
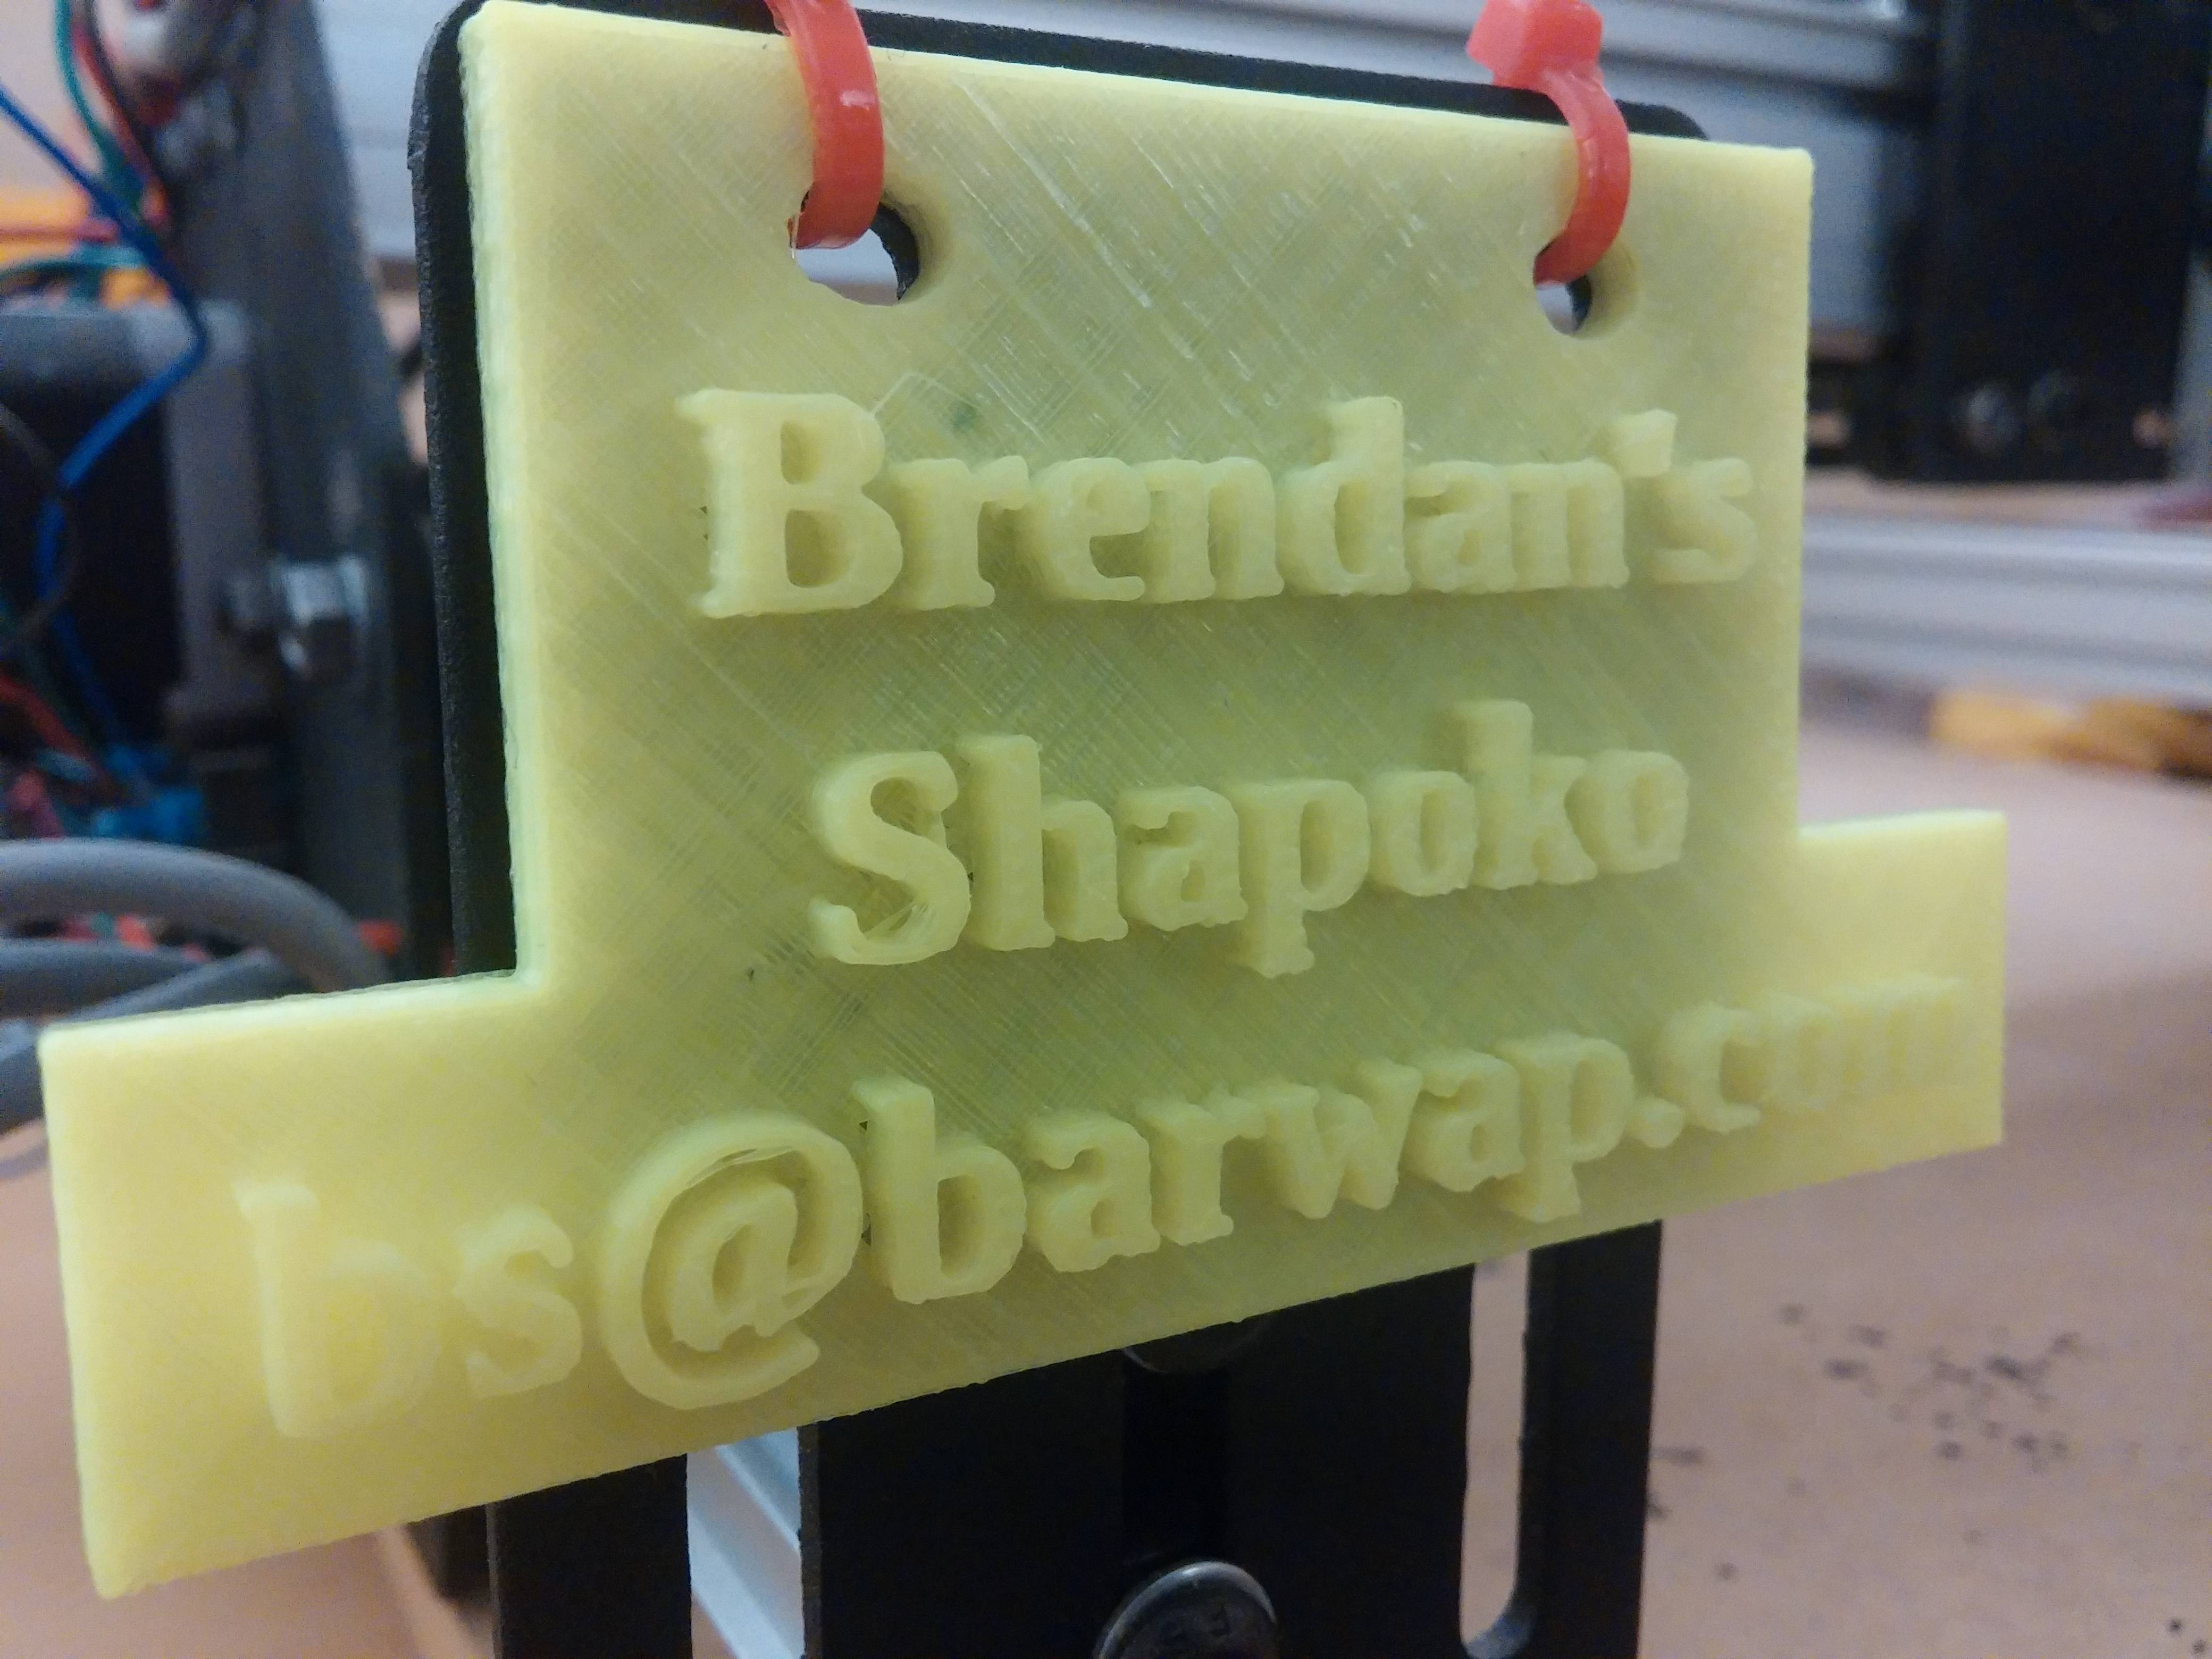
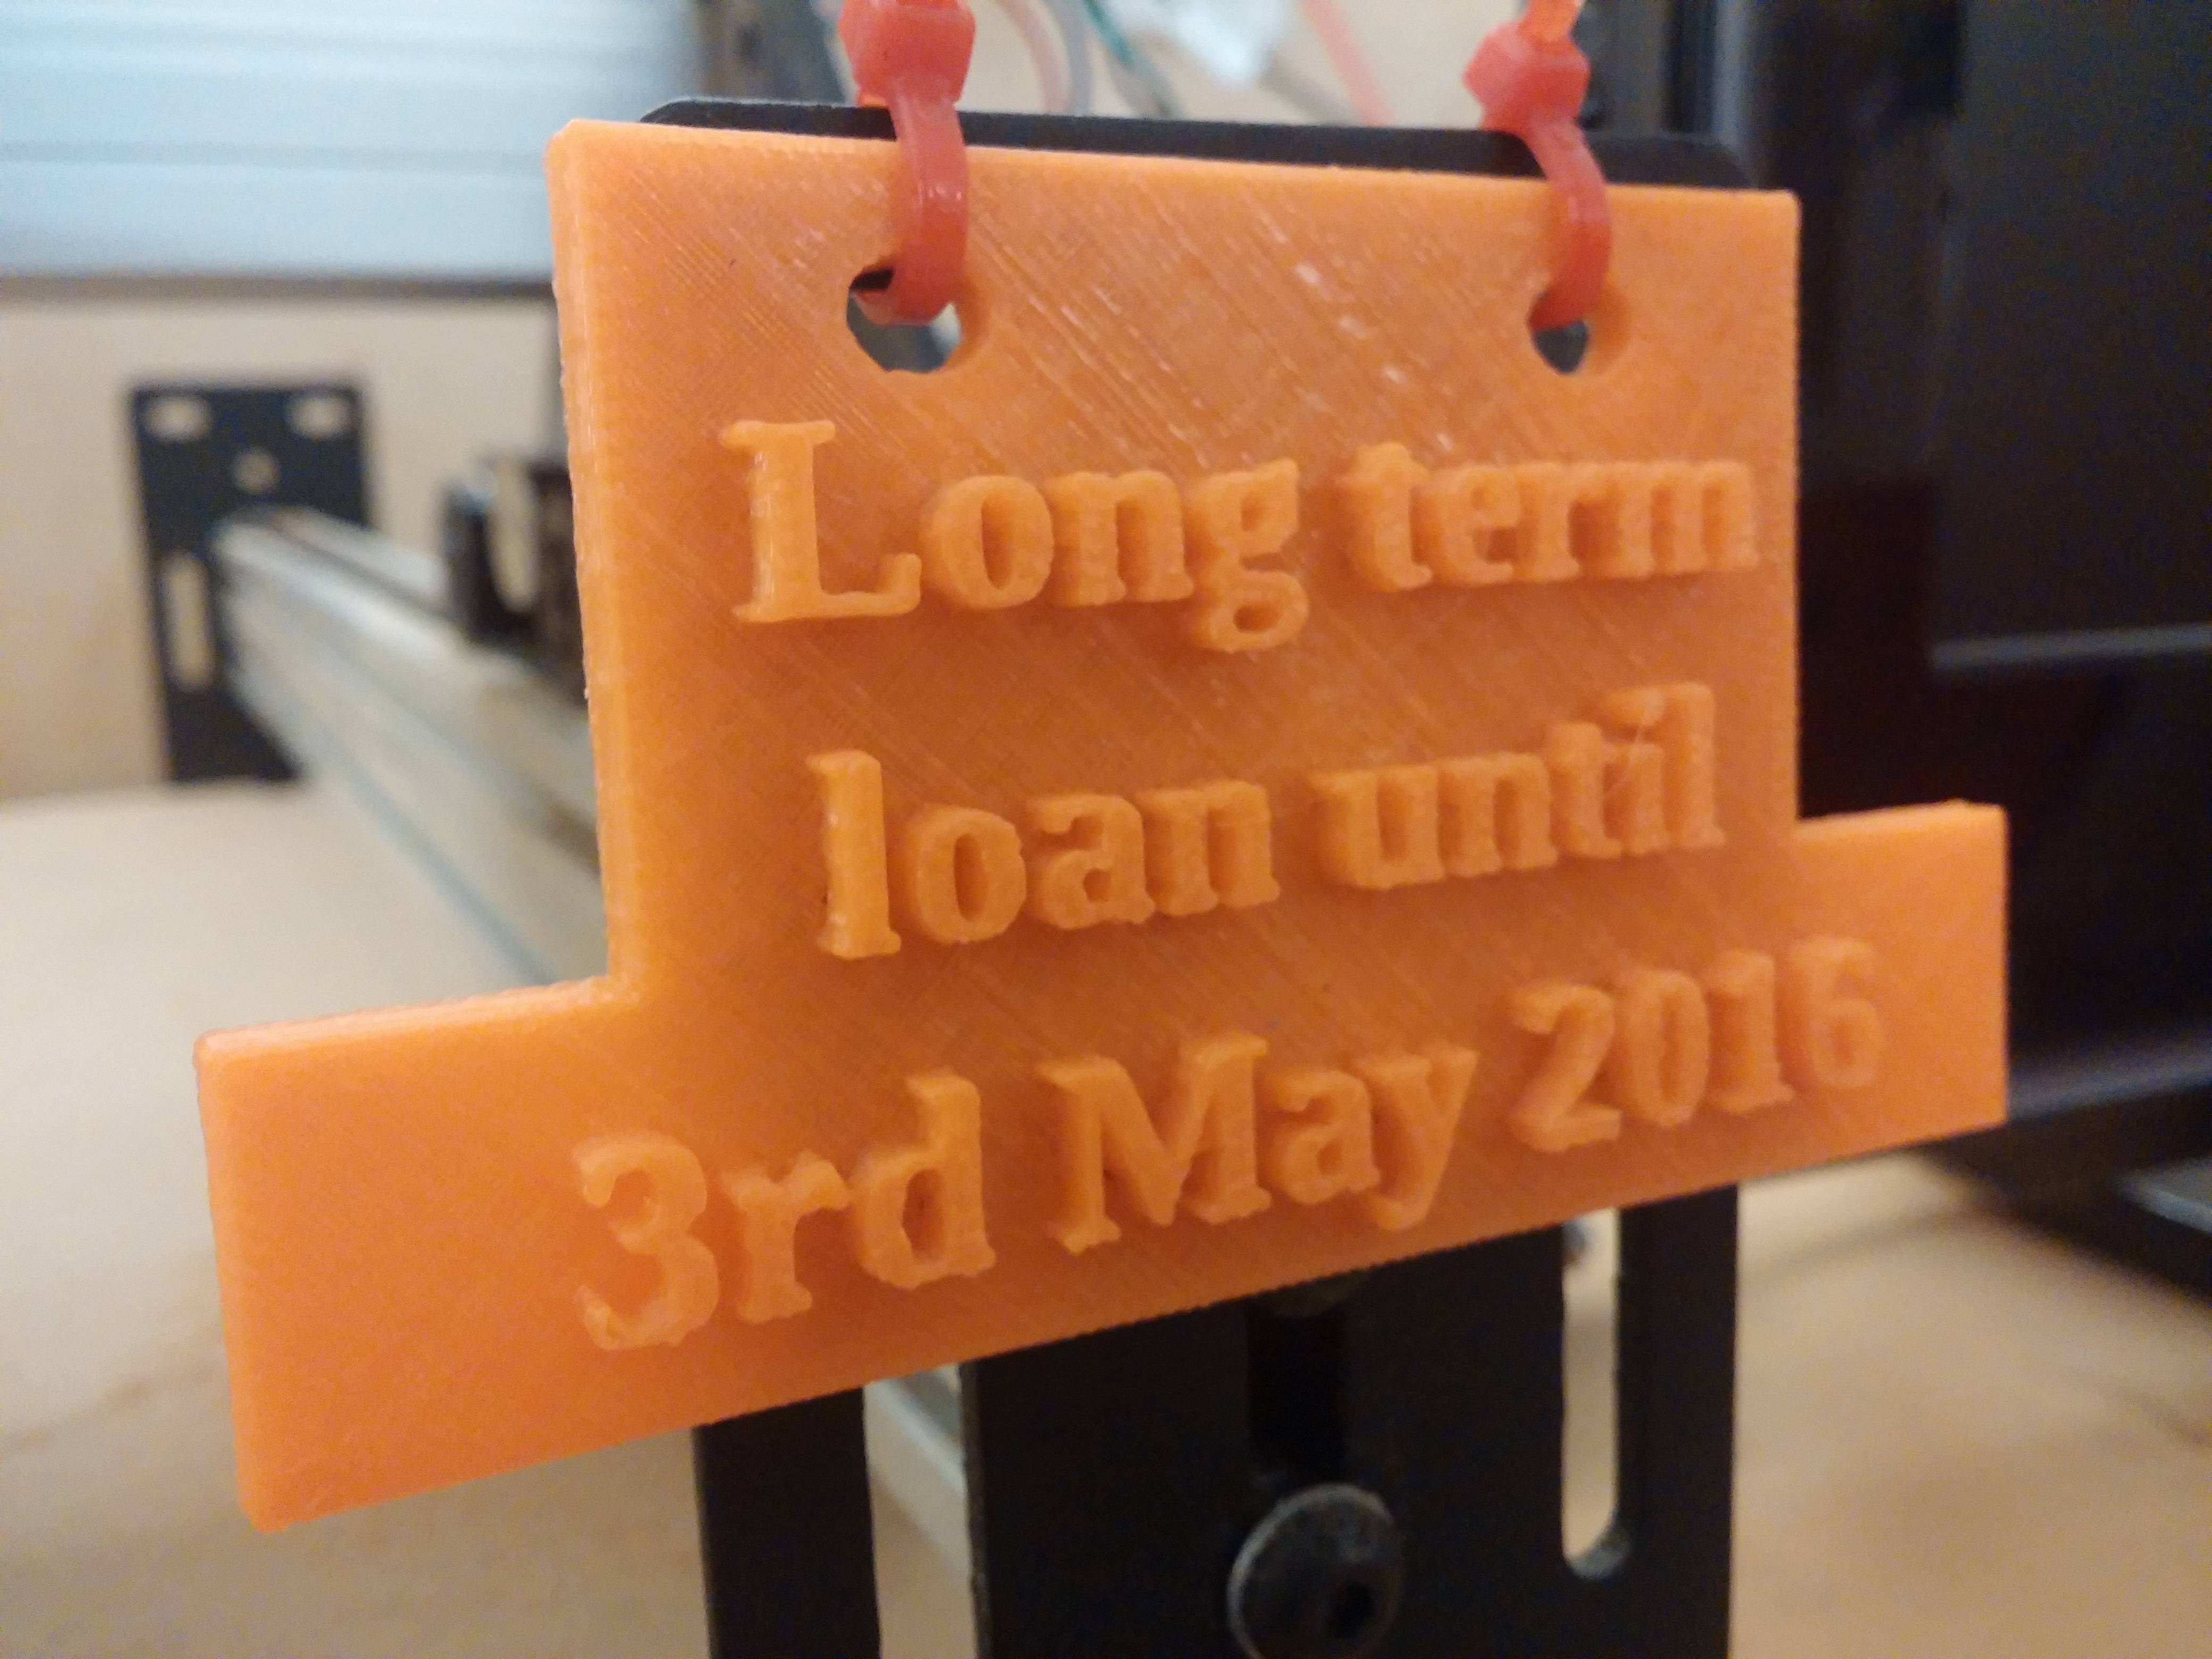
- “This is Brendan’s Shapeoko, on loan till xx/yy/zz”
- Short and Medium: Trust. Long: Whatever RFID fob based system we end up inventing. This could be very long term.
Tom - thanks.
1 - Noted - Donating or Lending Items
Risk assessment would be good.
2 - Just for clarification it is working (See example cuts, http://i.imgur.com/fHSclLd.jpg http://i.imgur.com/hGF9Cn2.jpg ) Just dusty and maybe not a fine tuned Ferrari of Shapeoko, but it is functional subject to the skills of any user.
3 - Comments noted, no rush. It more that I think the Space will need an expert or guru for using rather than the any tune-up. I do not want to this to be a fix-up project, rather a kick-start to the space to help make an informed decision for this post - https://discourse.southlondonmakerspace.org/t/cnc-router/320
Export/Guru as ssing a laser cut the toolchain is quite short and by comparison (IMHO) easy. A Shapeoko/CNC has a tool chain which has not easy defaults. I still have not cracked it and one of the reasons the machine is collecting dust. The nearest I have is these steps
a) (Make 2D or 2.5D files) CAD/DXF/SVG generator
b) ( Convert to gcode) cam.py or http://jscut.org
c) (Send gcode to Shapeoko) GrblServer
Step B) is not trivial and does not have many Free/Libre options. So I think an Induction should be required (see risk assessment). Yep - someone(s) needs to take responsibility.
- I will make a label this evening.
- Noted and agreed, but lets hope we crack 3.
Thanks,
Brendan
Machine in boot of car, bringing to the space tomorrow, Tuesday 3rd Nov.
1 Like
Hi Brendan.
Looking forward to having a good look at this, and chatting about your experience so far.
Having put it together puts you ahead of the curve on this, but maybe we can take your knowledge and run with it.
Won’t be down tonight, but will try to catch up soon.
In situ:-

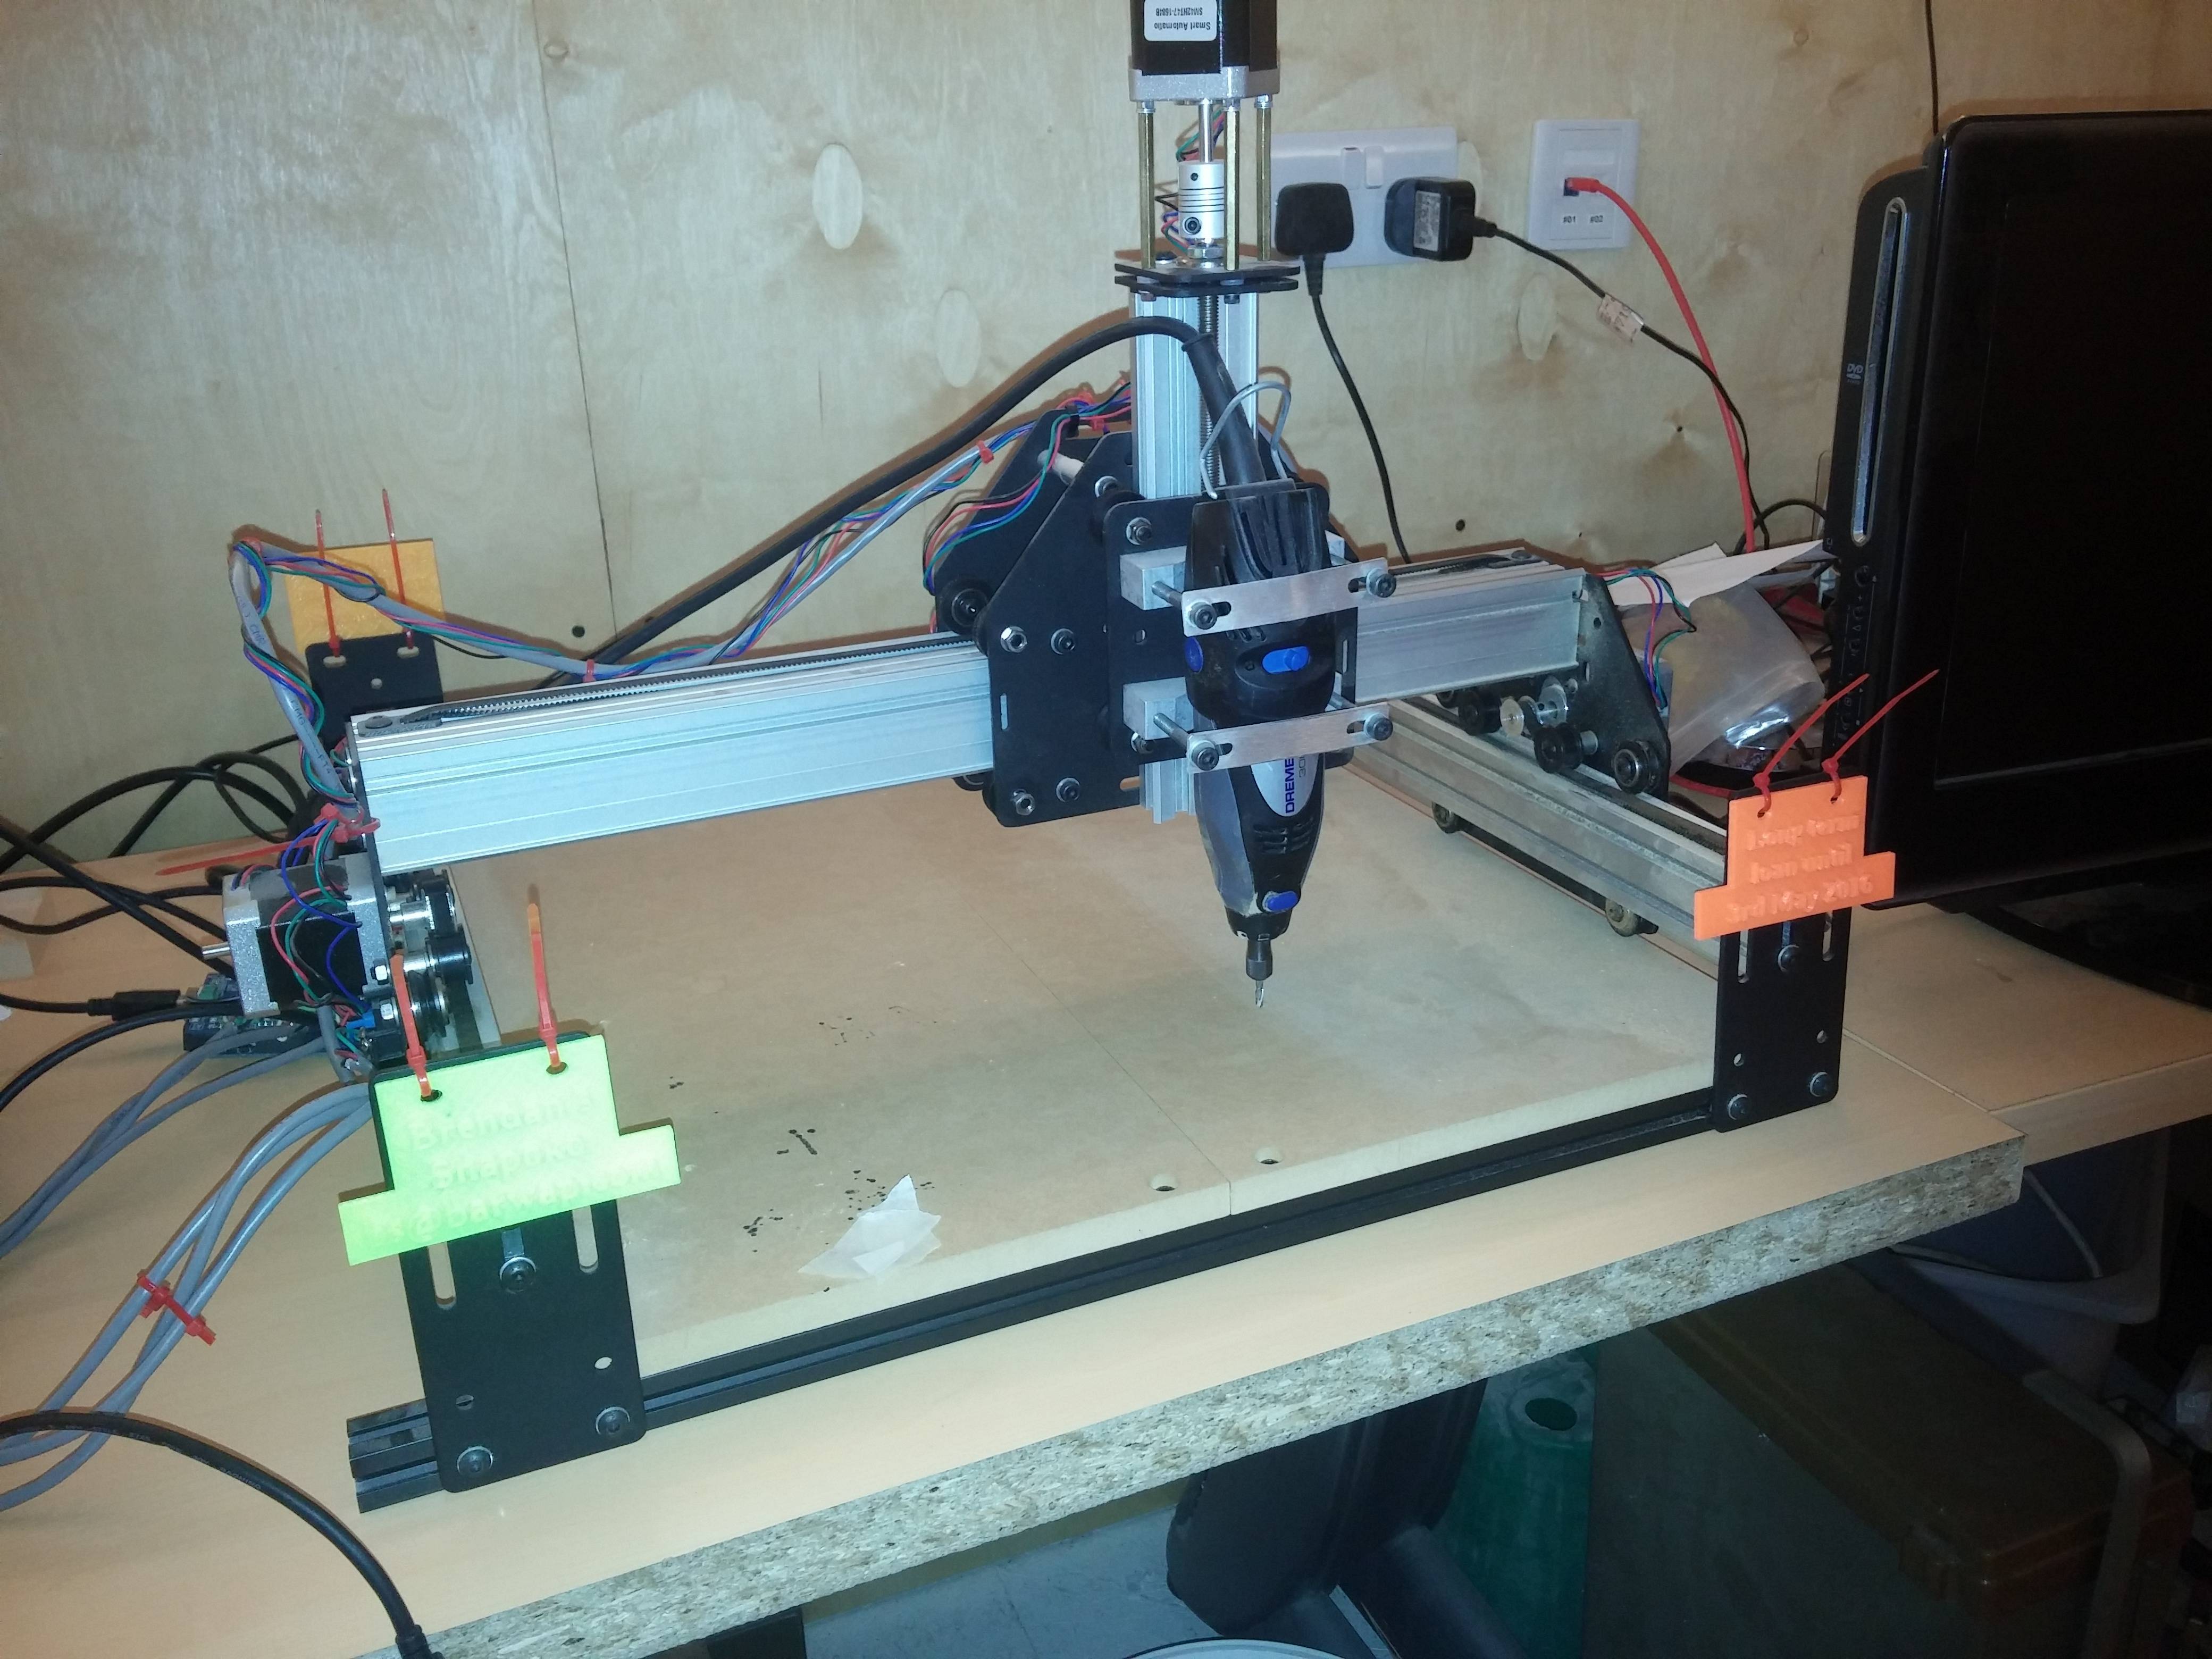
Equipment:-
- Shapeoko 2, including dremel and arduino and motor driver board
- Laptop power supply and main plug
- Extra USB cable
- Plastic Safety glasses
- Instructables tool kit, including spanners and Allen keys and chucks (could not find spare bit for dremel)
Missing:-
- Euro adapter for dremel
Labeled:-
With request to tweek what ever people make on the machine:-
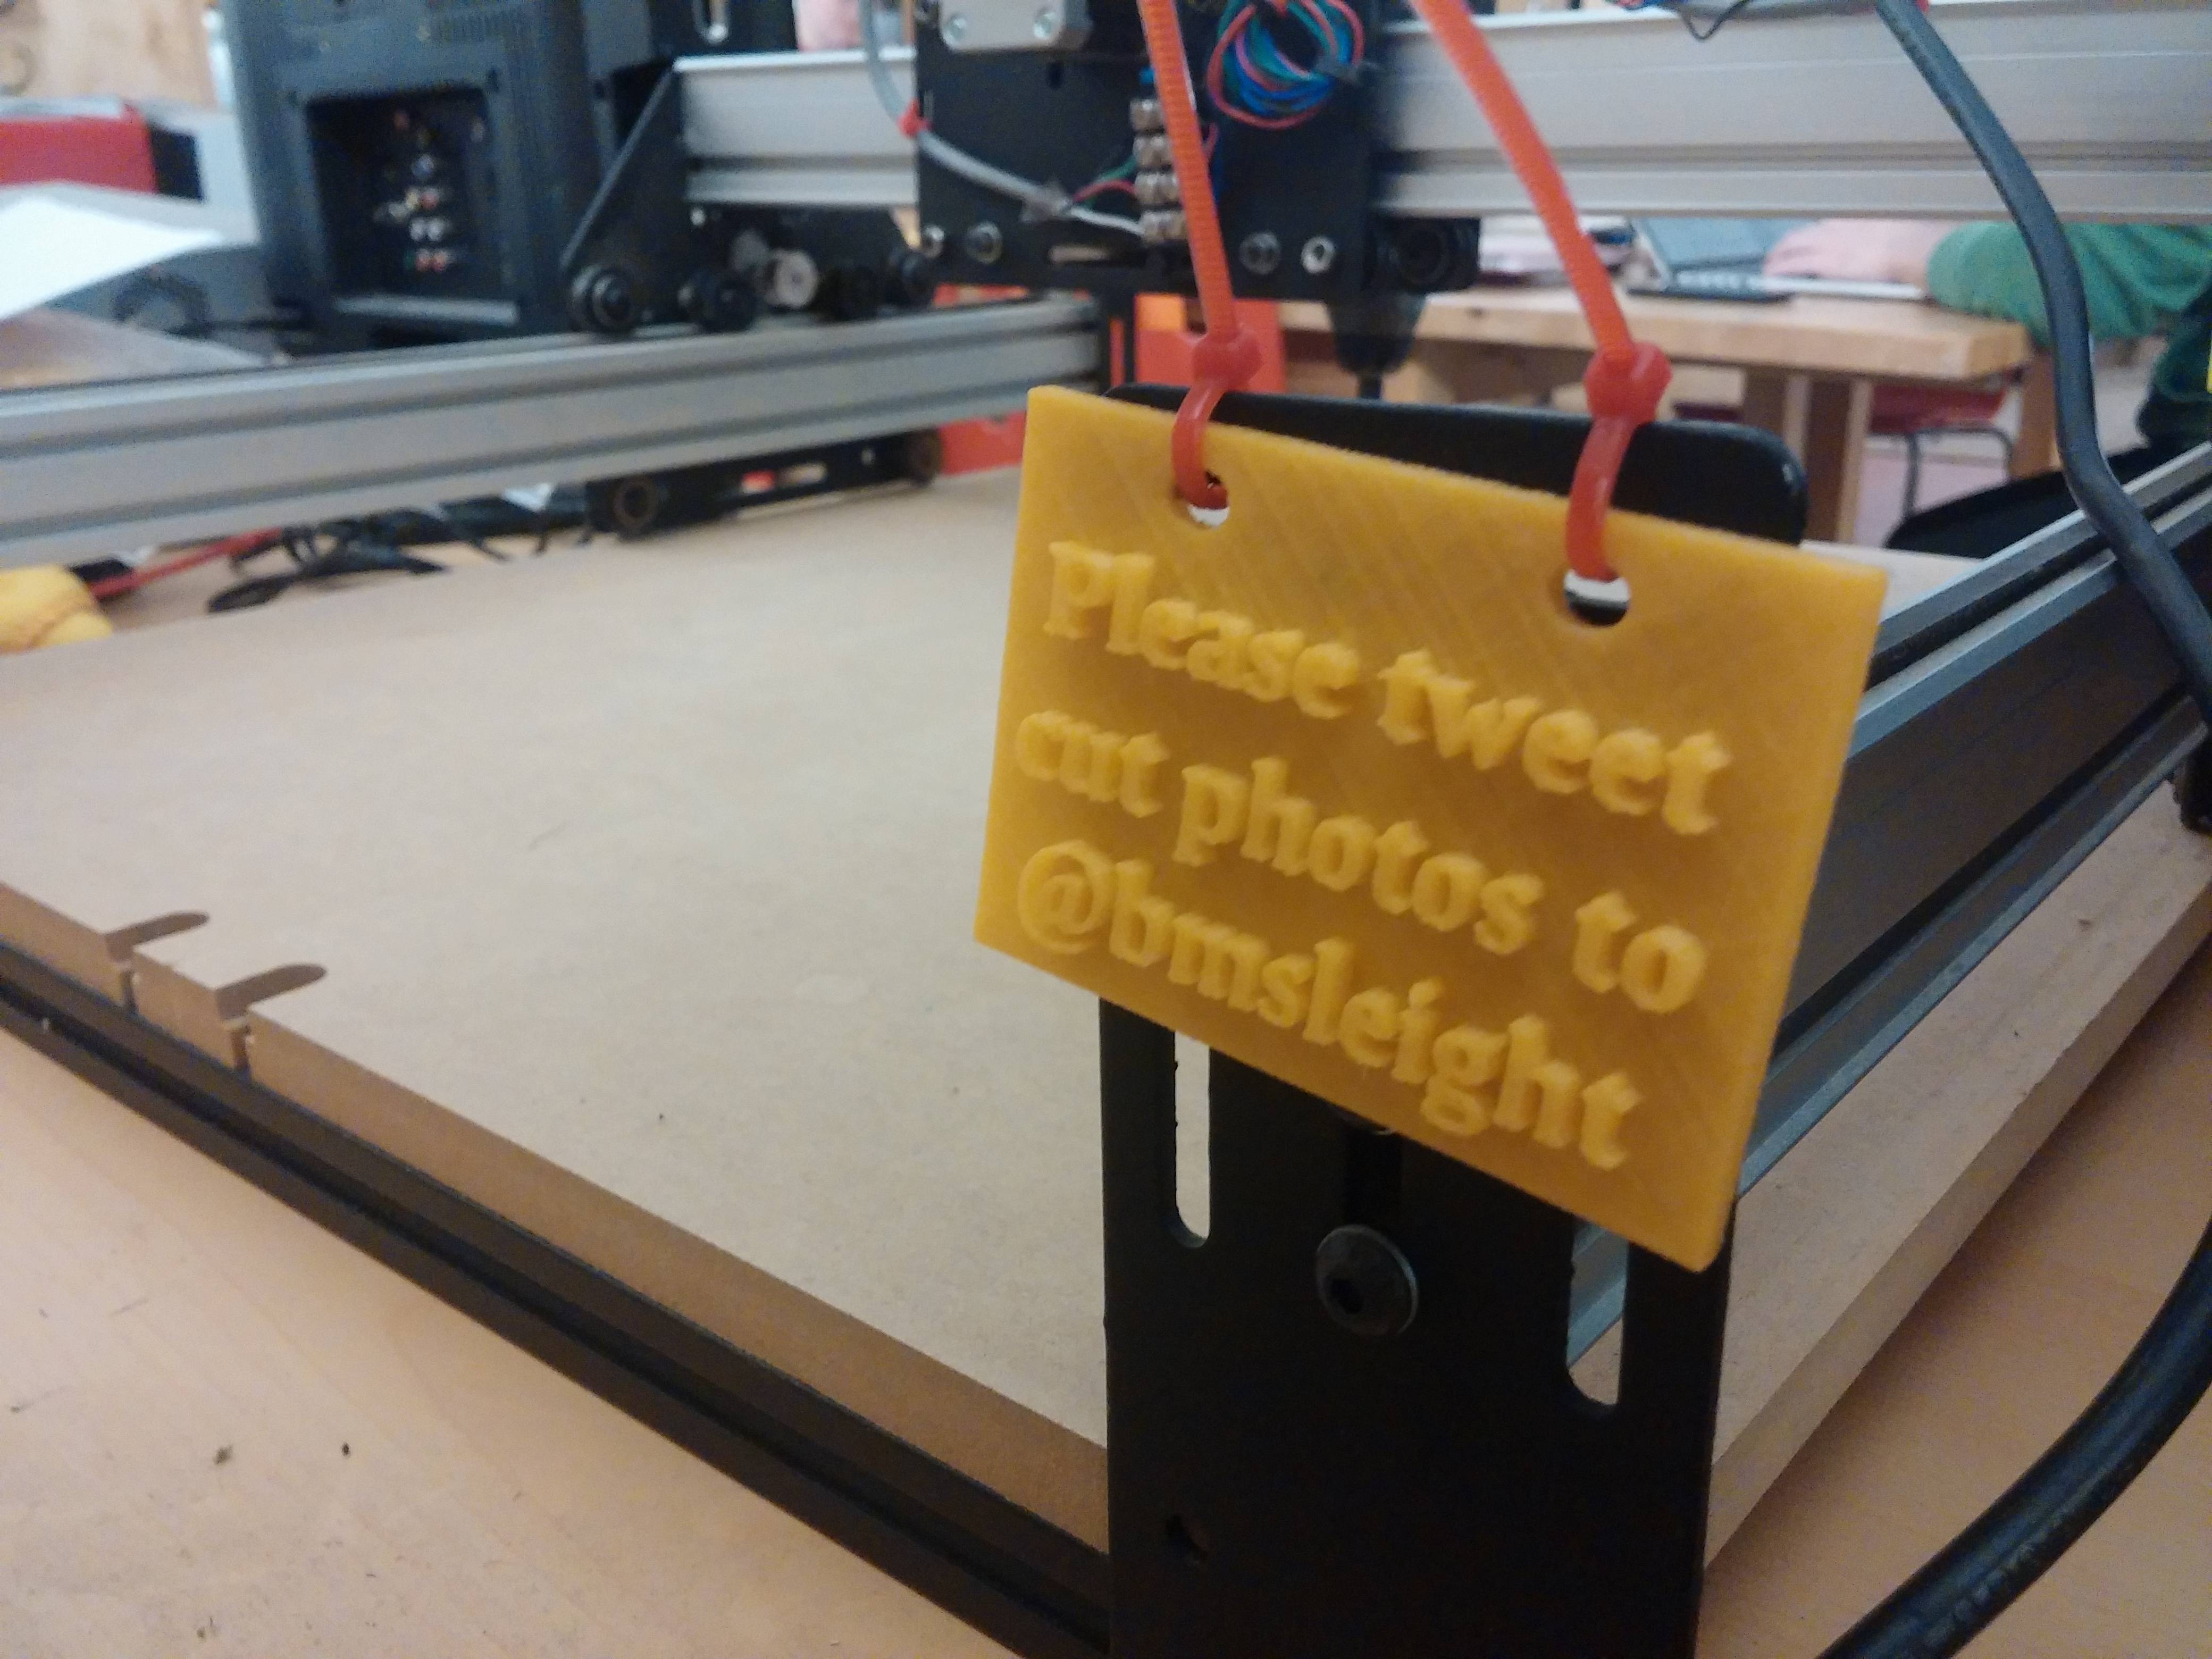
Now that’s what I call labelling!
Cheers Brendan.
Note to users: make dust in phase 2 please.
1 Like
Where is my 3d printer?
Yes, thanks.
Boom!
@RichM (mostly) and I (a bit) Vacuumed. Tightened. Realised the carriage was hitting the base plate at the back right. Tweaked some more. Realised it really isn’t square or even height.
Found you could measure height of carriage from base plate by putting the callipers in the aluminium section groove. Measurements at present are
Rear Left - 10.35 12.0 - Rear Right
Front Left - 10.0 10.95 - Front Right
That needs sorting before it’s going to do accurate work.
Didn’t get as far as sending the test job, as the ‘Universal Gcode Sender’ linked from the shakeoko docs didn’t connect to the Arduino. Didn’t look into that any further (it’s also from 2012, so I suspect the world has moved on to some better thing)
@bmsleight - What I don’t see, however, is the Pi?
@tobyspark Wow,
Yep - the PI was not listed in the equipment in the last post. (In situ).
I was having trouble connecting the PI (with https://github.com/cho45/GrblServer) to the Shapeoko. I had previously run it direct form a standalone machine. I was aiming to tweak after the laser training, but ran out of time at >2300, so did not want to leave something non-functioning. I suspect the firmware may need reloading on the Arduino - as your comment and my failed attempts to connect over the last day.
Happy to drop the PI off if required ?
(Not) Missing Pi – Ah, yes. Was looking at the top post list. Let’s get it cutting properly before thinking about, ah, user experience refinements like the Pi with GrblServer.
Is the firmware stock Shapeoko / whatever-the-Arduino-project-is-whose-name-I’ve-forgetten? ie. Do we need to know any special settings?
Next steps: further structural tweaks to square it, Arduino firmware re-load.
Been playing with the shapeoko - I have re-squared all the aluminium extrusion, calliper claims around 1mm difference of height between bed and X rail, so quietly optimistic. Tightened up spindle bracket, no wobble now. Not sure X rail is 90º to two Y rails, but no wobble so we’ll see how it goes.
I uploaded latest version of firmware with what claimed to be Shapeoko2 defaults then realised I didn’t make a note of any of the settings from the 0.8 firmware 
I have the spindle moving fine with https://github.com/winder/Universal-G-Code-Sender (version 1.0.8 set to 115200 baud for 0.9 firmware) - I had to set axis X and Z inverted after firmware update, but now it isn’t moving the right amount of distance - getting around 10mm movement when I should get 1mm movement.
Next step : configuring the firmware (0.9) https://github.com/grbl/grbl/wiki/Configuring-Grbl-v0.9
this may help - http://homepage.ntlworld.com/r.j.noble/ShapeOko/grblcalc/ - @bmsleight do you have any specification docs from your build that could go into this - or even a note of your 0.8 firmware settings? Your Arduino shield has a MS1 headerpin on Z only.
After that - http://www.shapeoko.com/wiki/index.php/Calibration
1 Like
The steps/mm are the key values we need I think-
steps_per_mm = (steps_per_revolution*microsteps)/mm_per_rev
1 Like
OK, found some setting son line and it seems to be quite happy now, obviously it’s not super square, but I might try and see what I can get out of it before we reengineer it.
Other than squaring more we might also think about a big red stop button and then some limit switches.
Also I put in a different dremmel from the store room that has a UK plug, didn’t know where to find an adapter for bmslieght’s one.
It is very very noisy, but I think you could happy do circuit boards, maybe even some 3D stuff in tooling board.
It might need a sound damping box with a window to go in…
1 Like