
Details
Various
Condition Notes
various
Induction and Training
Chisels and Gouges
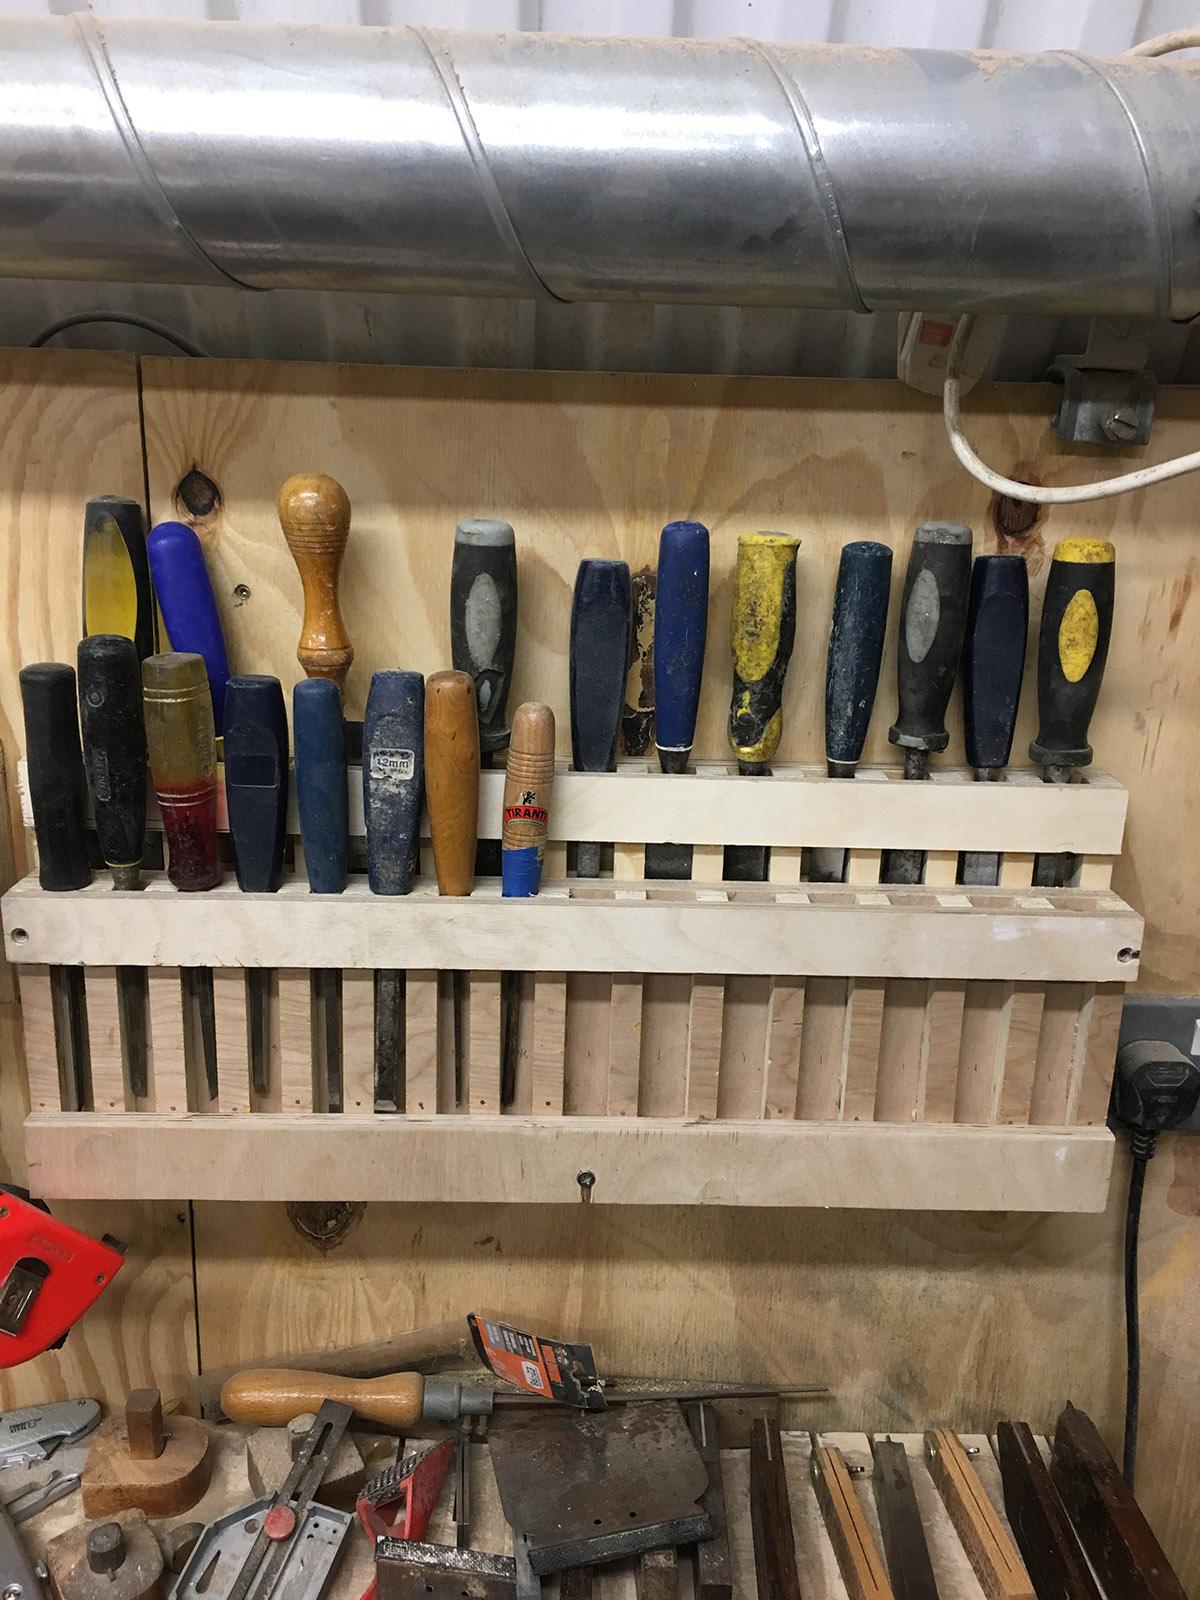
- Chisels and Gouges should be sharp enough to remove the hair from your arm. Please see the sharpening page here. Sharpening is a foundational woodworking skill. Please review the sharpening page and speak to a @woodtech or @Wood-inductors for assistance.
- Chisels with a green band (the Narex ones) MUST be sharpened using the standard SLMS sharpening method. That is a 25° primary bevel, a 30° secondary bevel, and a perfectly flat, polished back. See details here. If you choose not to follow this process, you are creating extra work for other members.
- Make sure you take control and ownership of your tool - be firm and confident
- Don’t hit your hand when striking the tool with your mallet!
- Don’t hit to hard - you’ll damage the end of your tool, and also your material
- Don’t hit too softly - you’ll never make any progress!
- Never hit a chisel or gouge with a metal hammer

L-to-R: Gouge, Chisel
Chisel
- The end of the blade is straight
- Used to remove small precise areas of word when making joints or recessing hinges
- One side of the chisel will be perfectly flat, the other will be angled/bevelled along the tip to form a sharp blade.
- Chisels with a green band (the Narex ones) MUST be sharpened using the standard SLMS sharpening method. That is a 25° primary bevel, a 30° secondary bevel, and a perfectly flat, polished back. See details here. If you choose not to follow this process, you are creating extra work for other members.
Gouge
- The end of the blade is curved or V-shaped
- Used in wood carving and sculpture making
- How to use:
- First, mark out the wood you need to remove
- Make sure you feet are firmly planted shoulder width apart.
- Place the tip of the chisel on one of your marks - the flat side of the blade should be on the side of the wood that should be kept - the bevelled edge should be against the wood to be removed
- WIth the chisel perfectly straight, press down firmly, and tap the end gently with a mallet - you shouldn’t go more than a couple of millimetres
- Now move the chisel tip so that it’s a few millimetres into the wood to be removed, tilt the chisel at 45 degrees, with the bevelled edge up (and flat side down) - press/gently tap on the chisel, so that you remove a small sliver of wood. This is called “relieving the cut”
- Repeat this process all round the area you need to remove on one face of the material
- You can now repeat the process a few times so that you have slightly cut down to create the new edges you want. You can now use the chisel and mallet to start removing excess wood - either by working with the same 45 degree slant, or cutting straight into the wood from another side.
- Repeat this process until you’ve removed all the wood you need to. As you gain experience, you’ll be able to remove more wood, more quickly, without damaging your material!
Hammers and Mallets
What’s the difference?
-
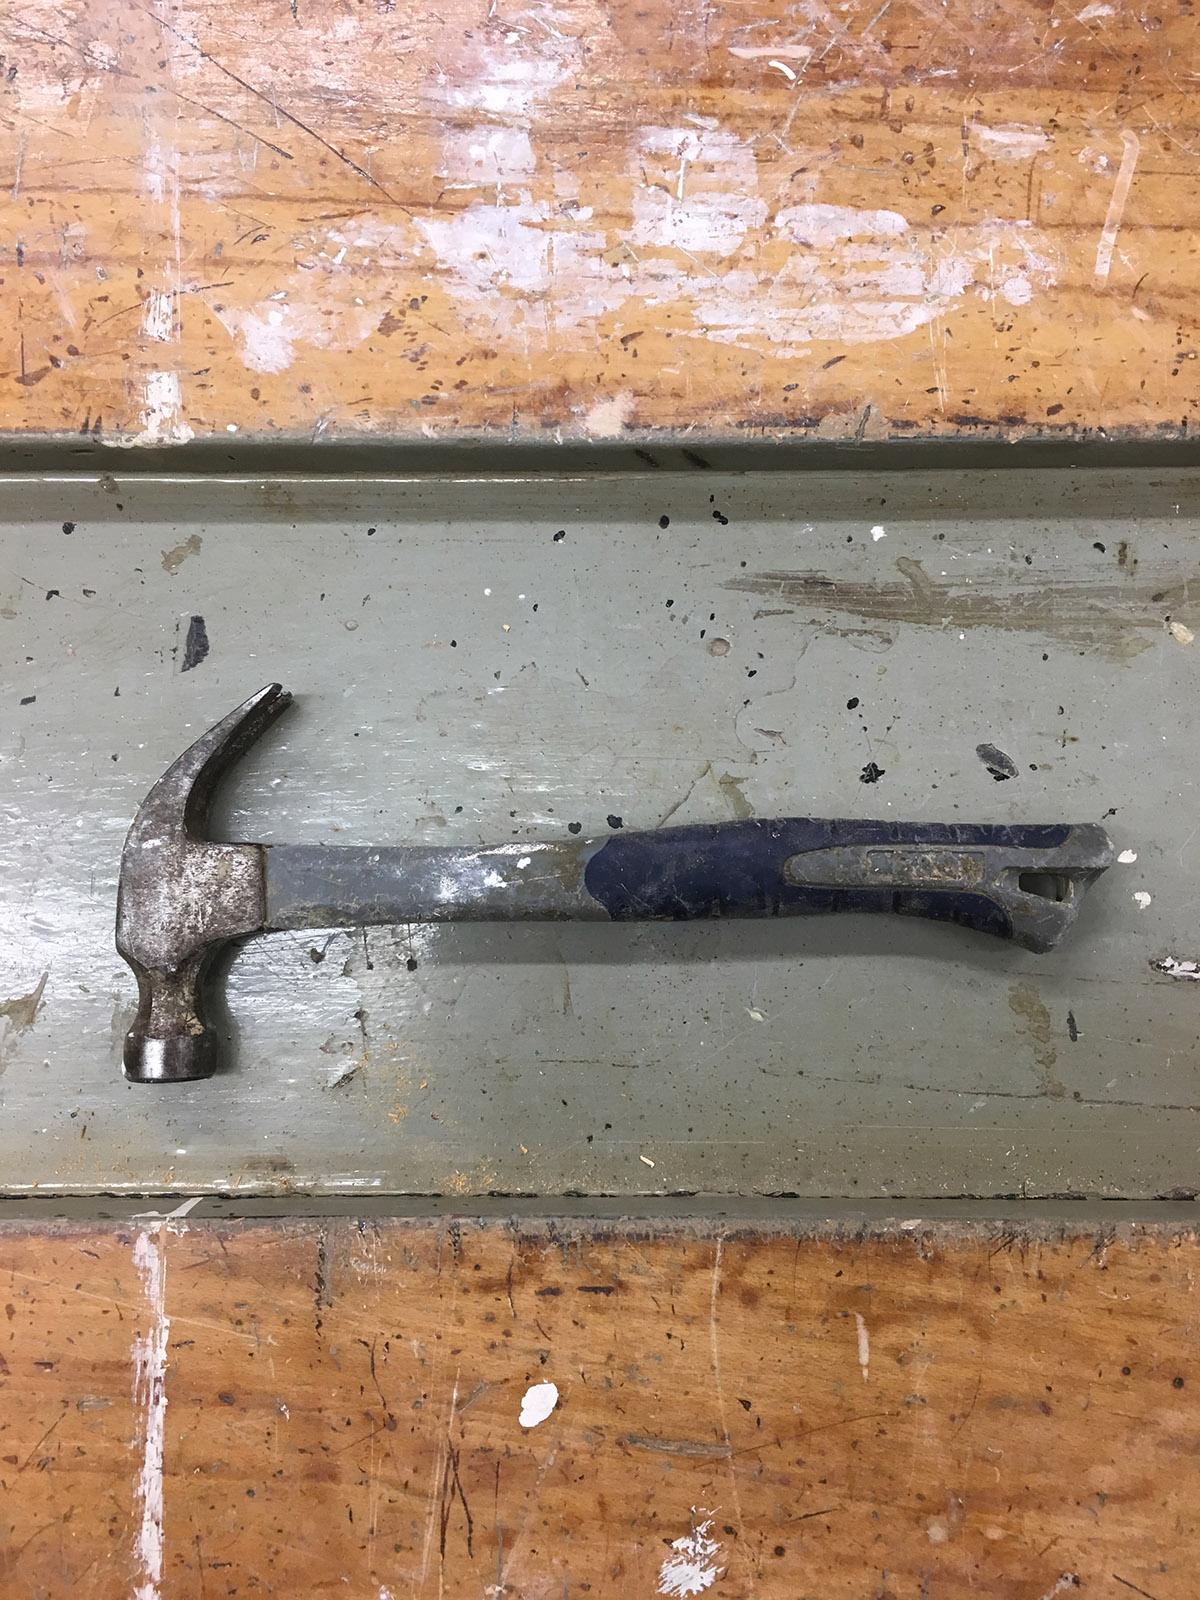
Hammer
-
Has a metal head
-
Has very few applications in woodworking - the main one being to use the back of a claw hammer (two claws which meet at a point near the shaft) to lever nails from reclaimed wood
-
Should not be used to hit another tool for any reason - you have been warned
-
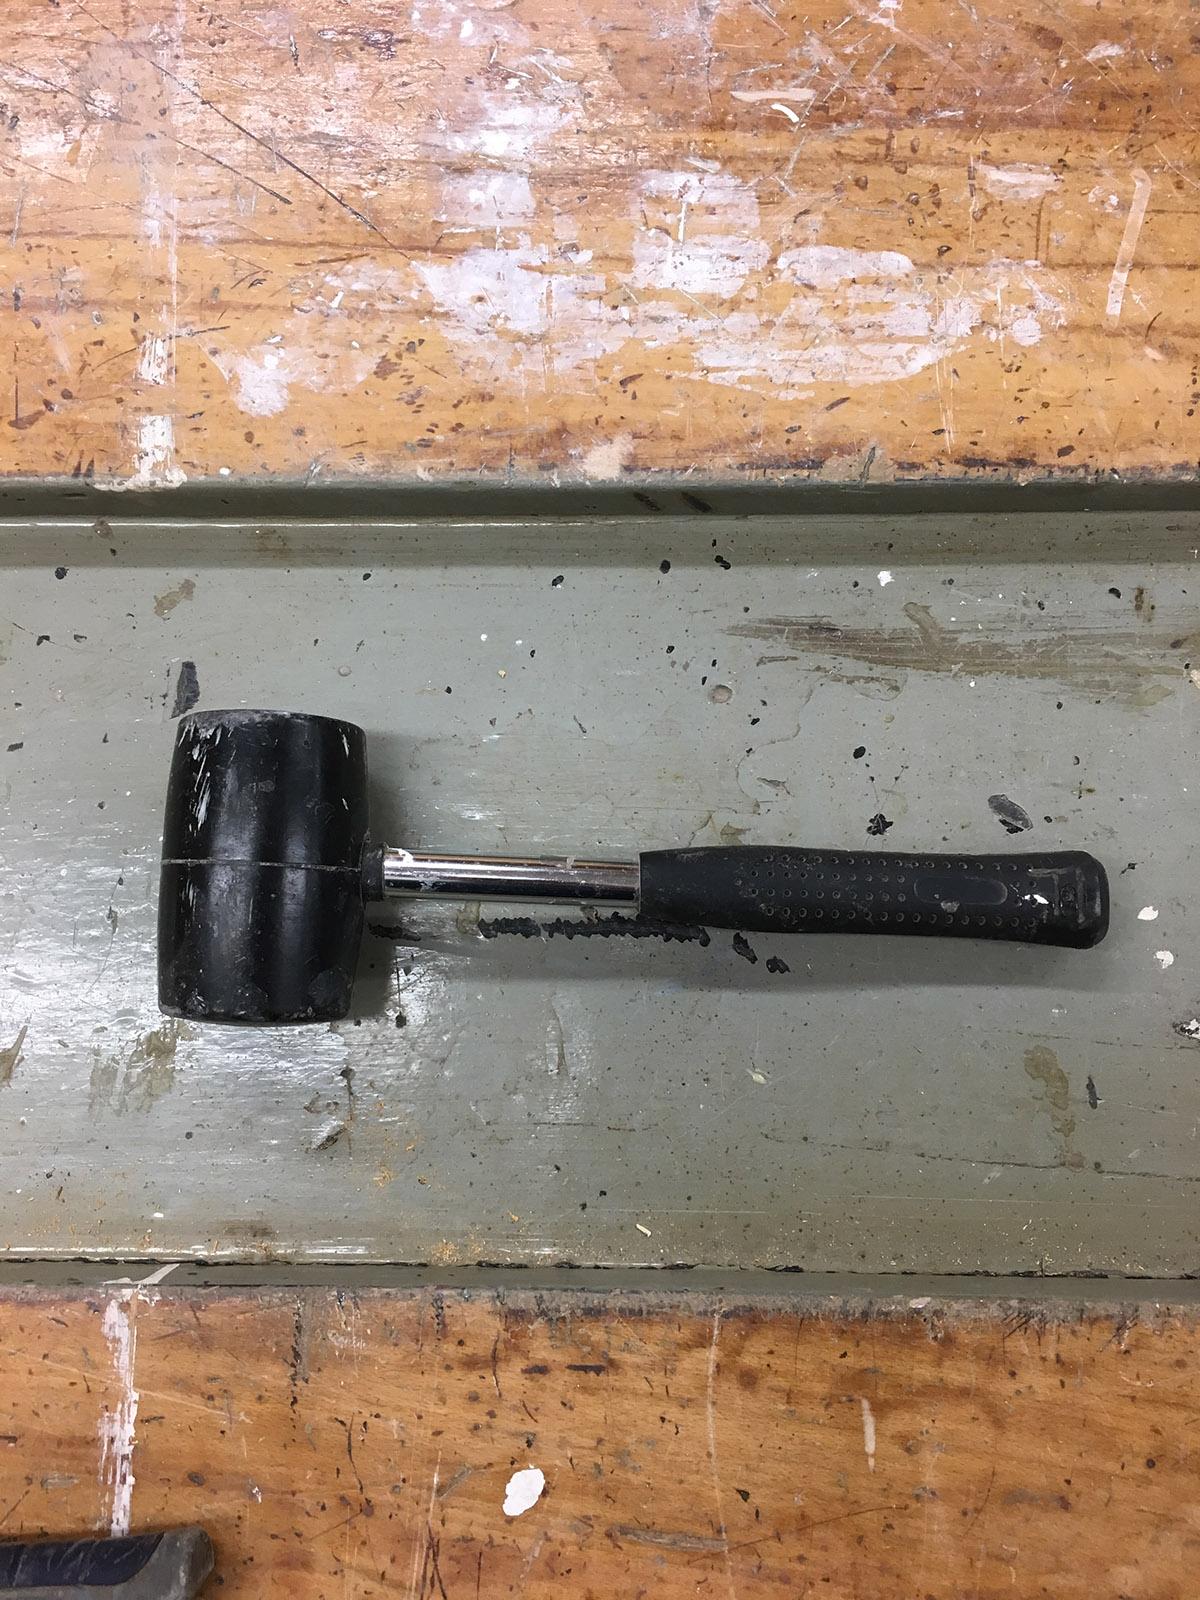
Mallet
-
Has a rubber or wooden head
-
These are used for striking chisels and for moving pieces of a project into place
Maintainers
Risk Assessment
Before Use
During Use
After Use
Maintenance
References
Training Videos:
Matt Estlea - How To Use a Chisel (The Correct Method)