Starting from a pretty horrible version of my toolholder, I decided to give it another shot, and here are the results:


The file used to cut the insides is this (kinda, this version doesn’t include text etc, but it’s close. Also ignore the fill. Top layer is left, middle is middle, right is bottom layer), and 8 or 9mm:

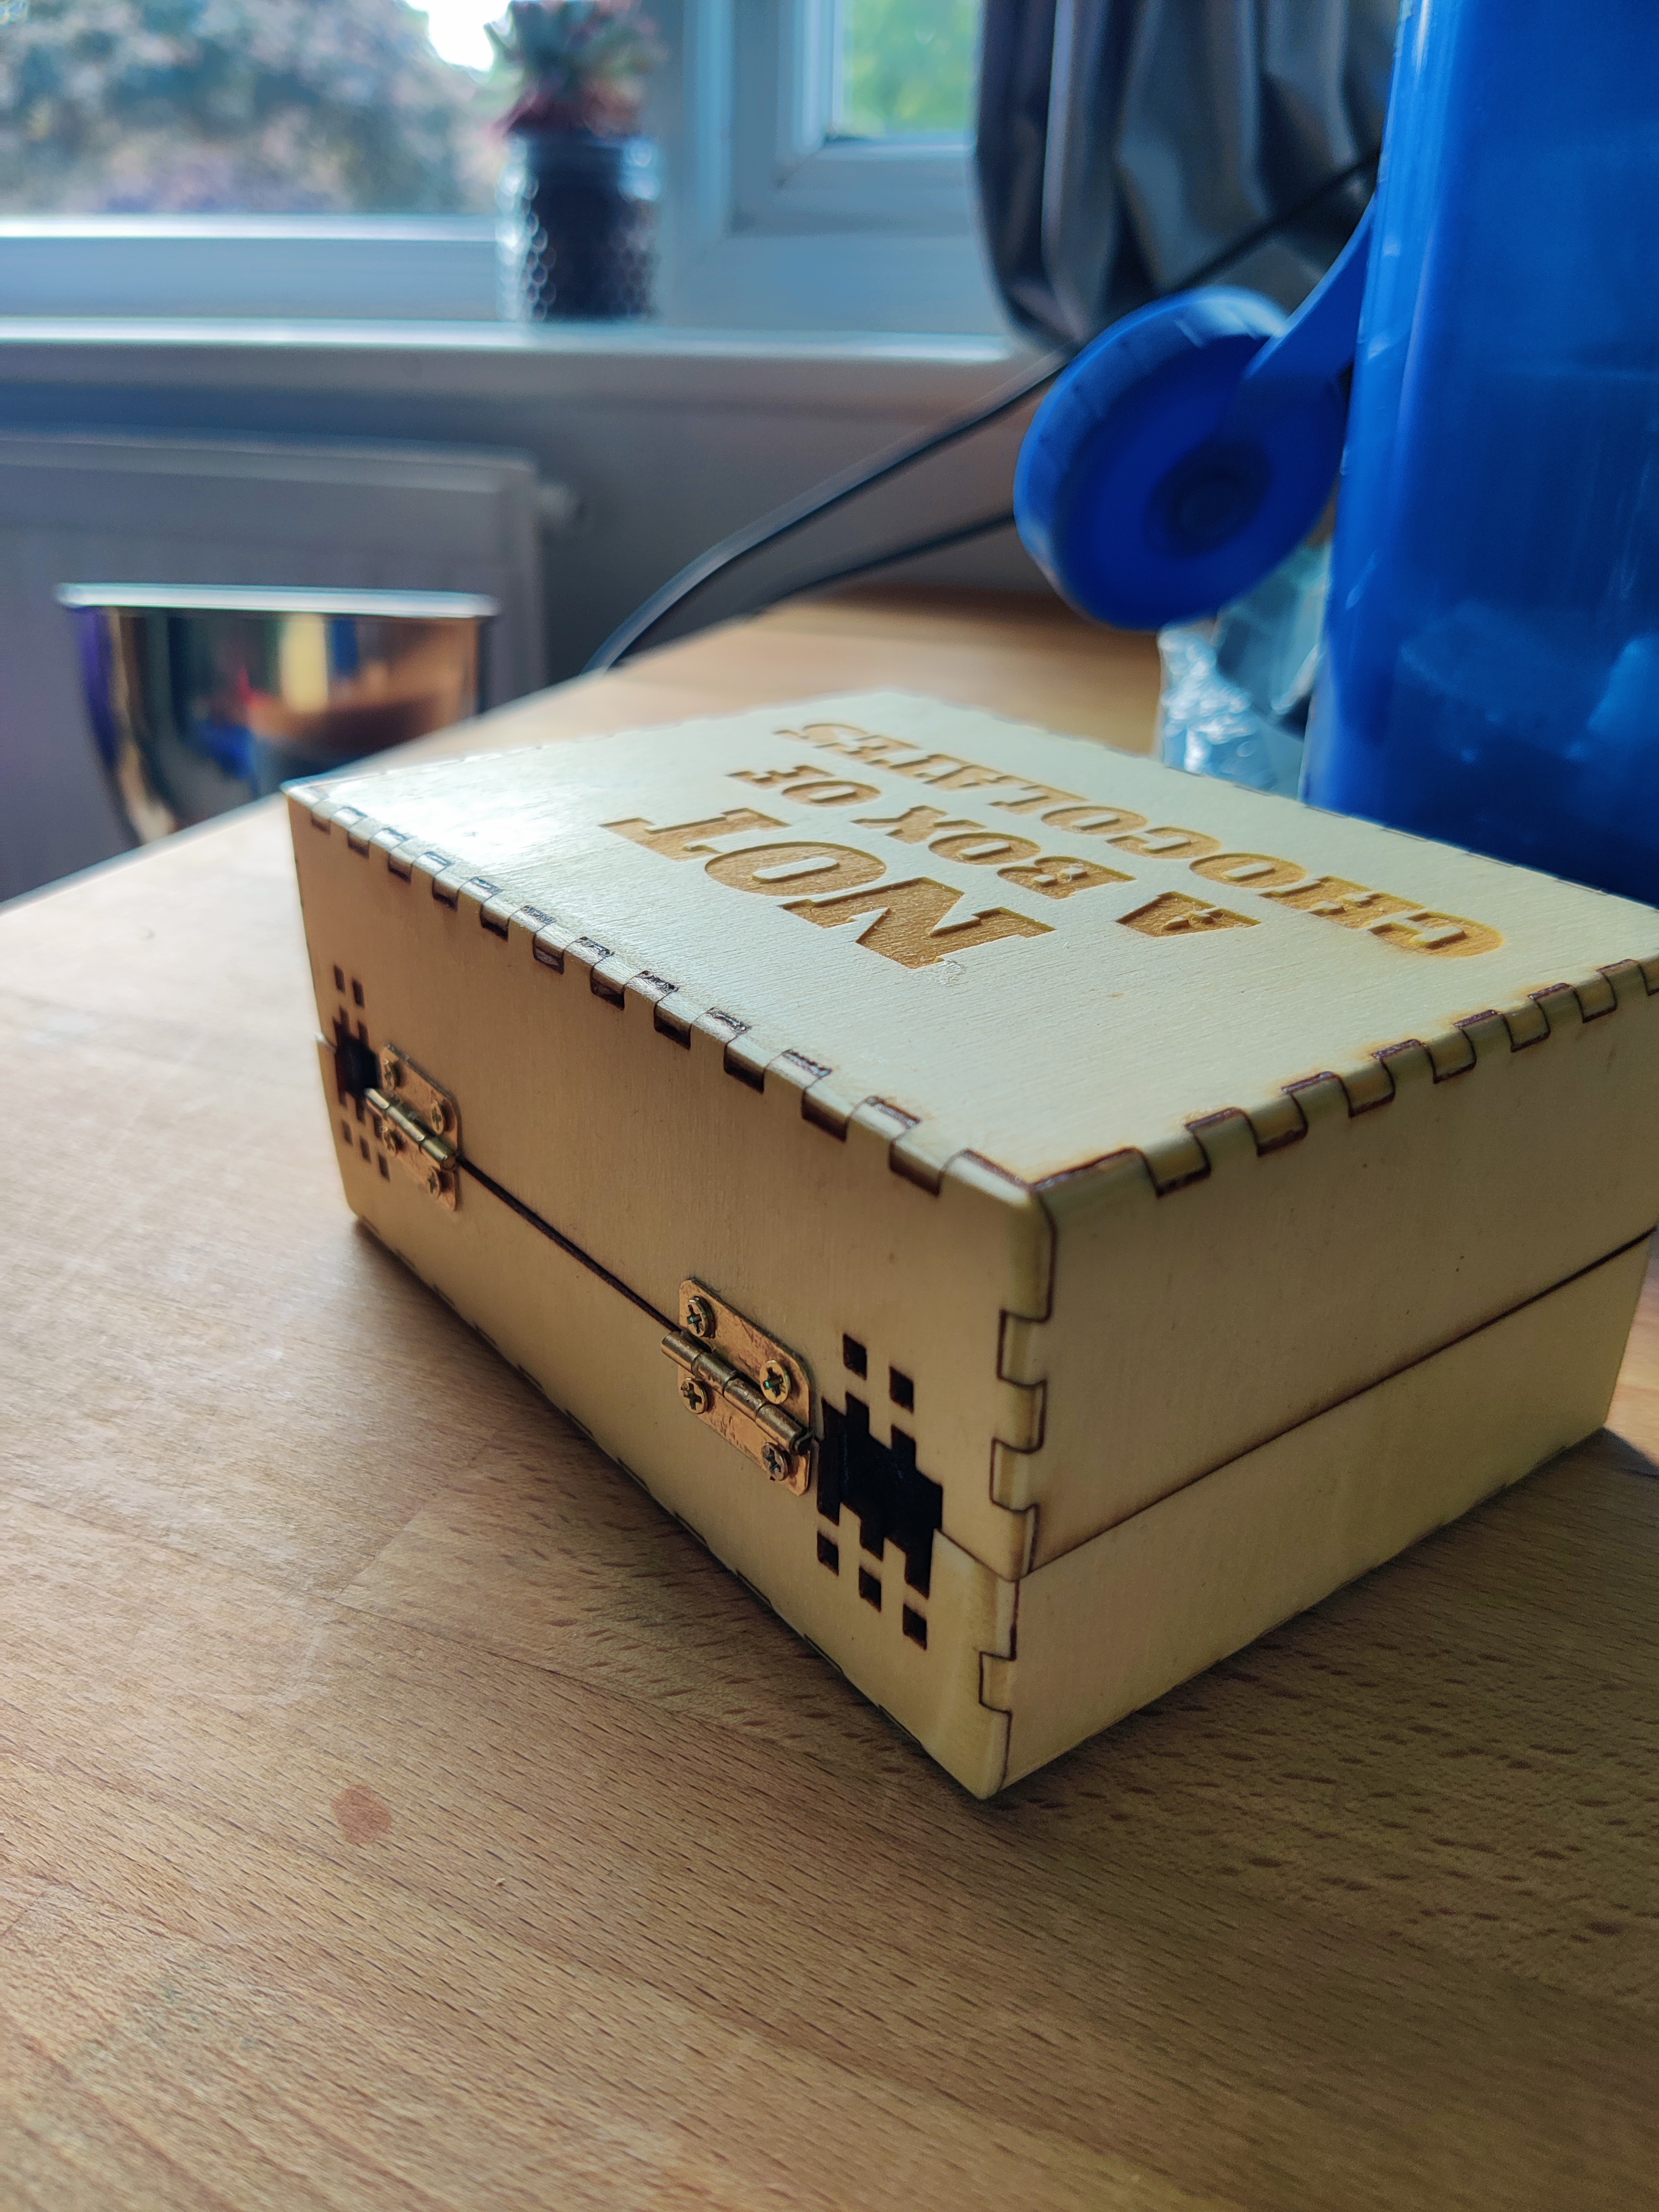
As before, the outside (ie, the box) was cut with the online thingie once I knew my dimensions. 3mm ply.
The layers have holes spaced to let tools go down further or not (accounting for tool height). Between each layer, there are magnets placed systematically to hold tools down (made really shallow holes with the drill press on the bottom-side of the layers to store the tiny magnets, like this:

Impressions follow:
- In light of transparency, I’ll admit that this is the second print of all the components, I screwed up the first one because I was using JobControl and didn’t understand about fill=engrave, and also did the glueup forgetting the magnets. I also glued the box-top wrong (the hinges were aligned with the bottom of the text). I don’t know how that happened, because I assembled everything and did a dry fit, but still managed to screw it up when doing the gluing. Just have to pay more attention I guess?
- I love the text at the top, it makes me giggle

- I love that I took each tool’s height and created a layering system so that the tool tops more or less sit at the same height. That helped me move the cover lower, which makes the whole box smaller and more compact. That worked great.
- Love the spacing around the bits.
- Didn’t like the hinges that came w/ the box… you’ll see I didn’t use them and replaced with these hinges I bought on amazon for pretty cheap… it feels much better.
- The front of the box is held w/ a cheap clasp also from amazon and DONT like them… I’ll get something that slides and locks next time.
- The magnets underneath worked great for the collets, NOT great for the toolbits, there’s just not enough metal. I should have put two or three magnets under each one for it to work the way I expected, right now, the effect is almost imperceptible. While I’m on it, I shouldn’t have cut the grooves for the magnets on the bottom of each layer, but at the top of the layer underneath. This is only a problem w/ my shallowest cuts, the 20degree engraving bits. They always fall out now and it’s annoying.
- I also forgot to put magnets for the usb-card thingie and for the wrenches… one of which falls out everytime too.

- That huge hole in the middle is for a controller that I ultimately decided to not put in the box anyway (because it would be too tall), so it shouldn’t be there at all. I literally just forgot to delete this huge friggin rectangle in the middle of my workpiece

- I also realized that my biggest bits (bottom left in the picture) should be furthest… close to the hinges, and the thing that I use the most, the wrenches, should be closest to the clasp. I tested this design and reached for the wrenches and found everything to be ok… but I tested with my right hand. Now that it’s built, the first time I reached for the wrenches w/ my left hand, I scratched my hand w/ that big boy
- I took inspiration from @EDolby and sanded the box down and rounded the edges. I think it looks cool! I think I’ll sand all my laser-cut stuff from now on.
- I also applied some lint-seed oil to this box. I don’t like the yellowish tint it gave it… next time I think I’ll go for a light stain before oiling.
- oh yeah, and I ALMOST GLUED THE BOX TOP THE WRONG WAY AGAIN!!! Literally caught myself at the last second. Seriously! What’s up with my brain!!
All in all, it’s a big improvement. It’s functional and does what I need for now, but yeah… tons of problems still. Final reflection is that I made several mistakes even after checking , rechecking and doing due dilligence. I guess this is where experience comes in, but it is really disappointing. Oh well, perfect is the opposite of done, amirite?
