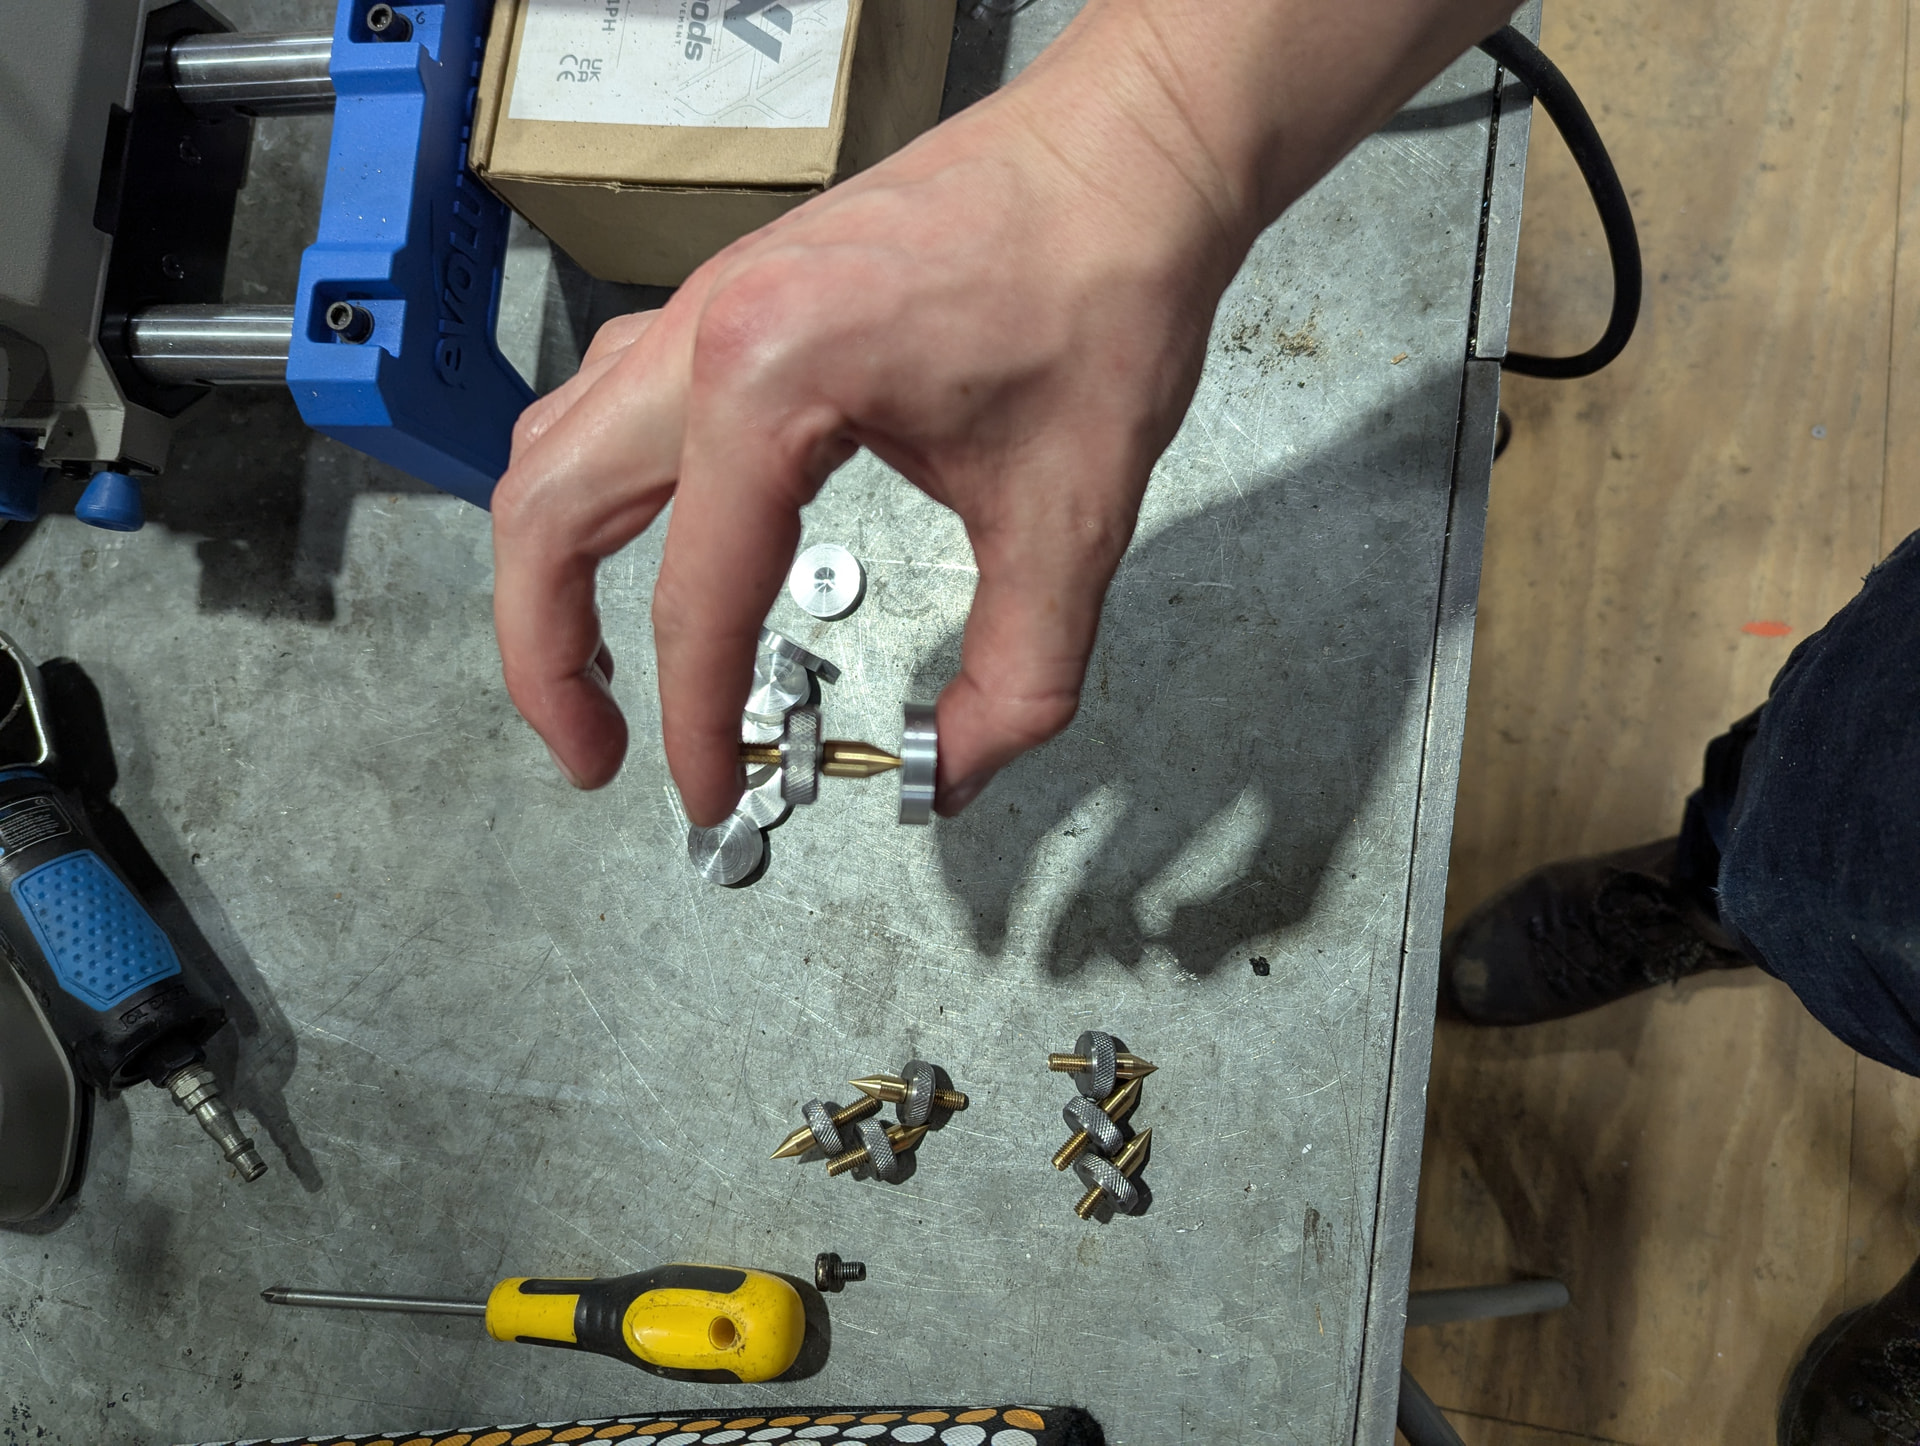
I have a couple of floorstanding speakers and a subwoofer at home. All q acoustics. The subwoofer came with a set of speaker spikes (I got it new), and the floorstanders were missing them: cue several months of metalworking ultimately leading to these…
For anyone tempted, you can get a set on Amazon for £12, and I failed to appreciate the value that represents until now

Why
I'd love to be able to tell you that this project was motivated by a desire to achieve complete audio perfection. But these are primarily useful for a carpeted floor, which mine is not. I primarily made these because I thought they looked cool and I thought it would be a fun projectThat being said, upon installing them, my housemate did tell me should could tell a difference…
Just a difference in height? Was she being nice? Have I just stopped them wobbling? Or have I maybe actually achieved a level of separation from the floor that actually improves the audio quality… Who can say
Planning
For planning I decided to try and draw out an engineering drawing by hand. This is much more easily achievable by use of fusion or something similar, but I love the idea of being able to hold a complex design in my head and get it down on paper, and in order to do that, I need to start with something simple like this. I haven't done a drawing like this since, so maybe this was a momentary stroke of inspiration that has since departed. Feels pretty nice to be able to file away, so perhaps inspiration will strike again one day.Regardless of method, having a quick reference for critical dimensions and angles is actually very helpful, especially when the project spans half a year.
This design was constructed by simply taking measurements off the existing spikes I had (some of which I then ignored)

Process
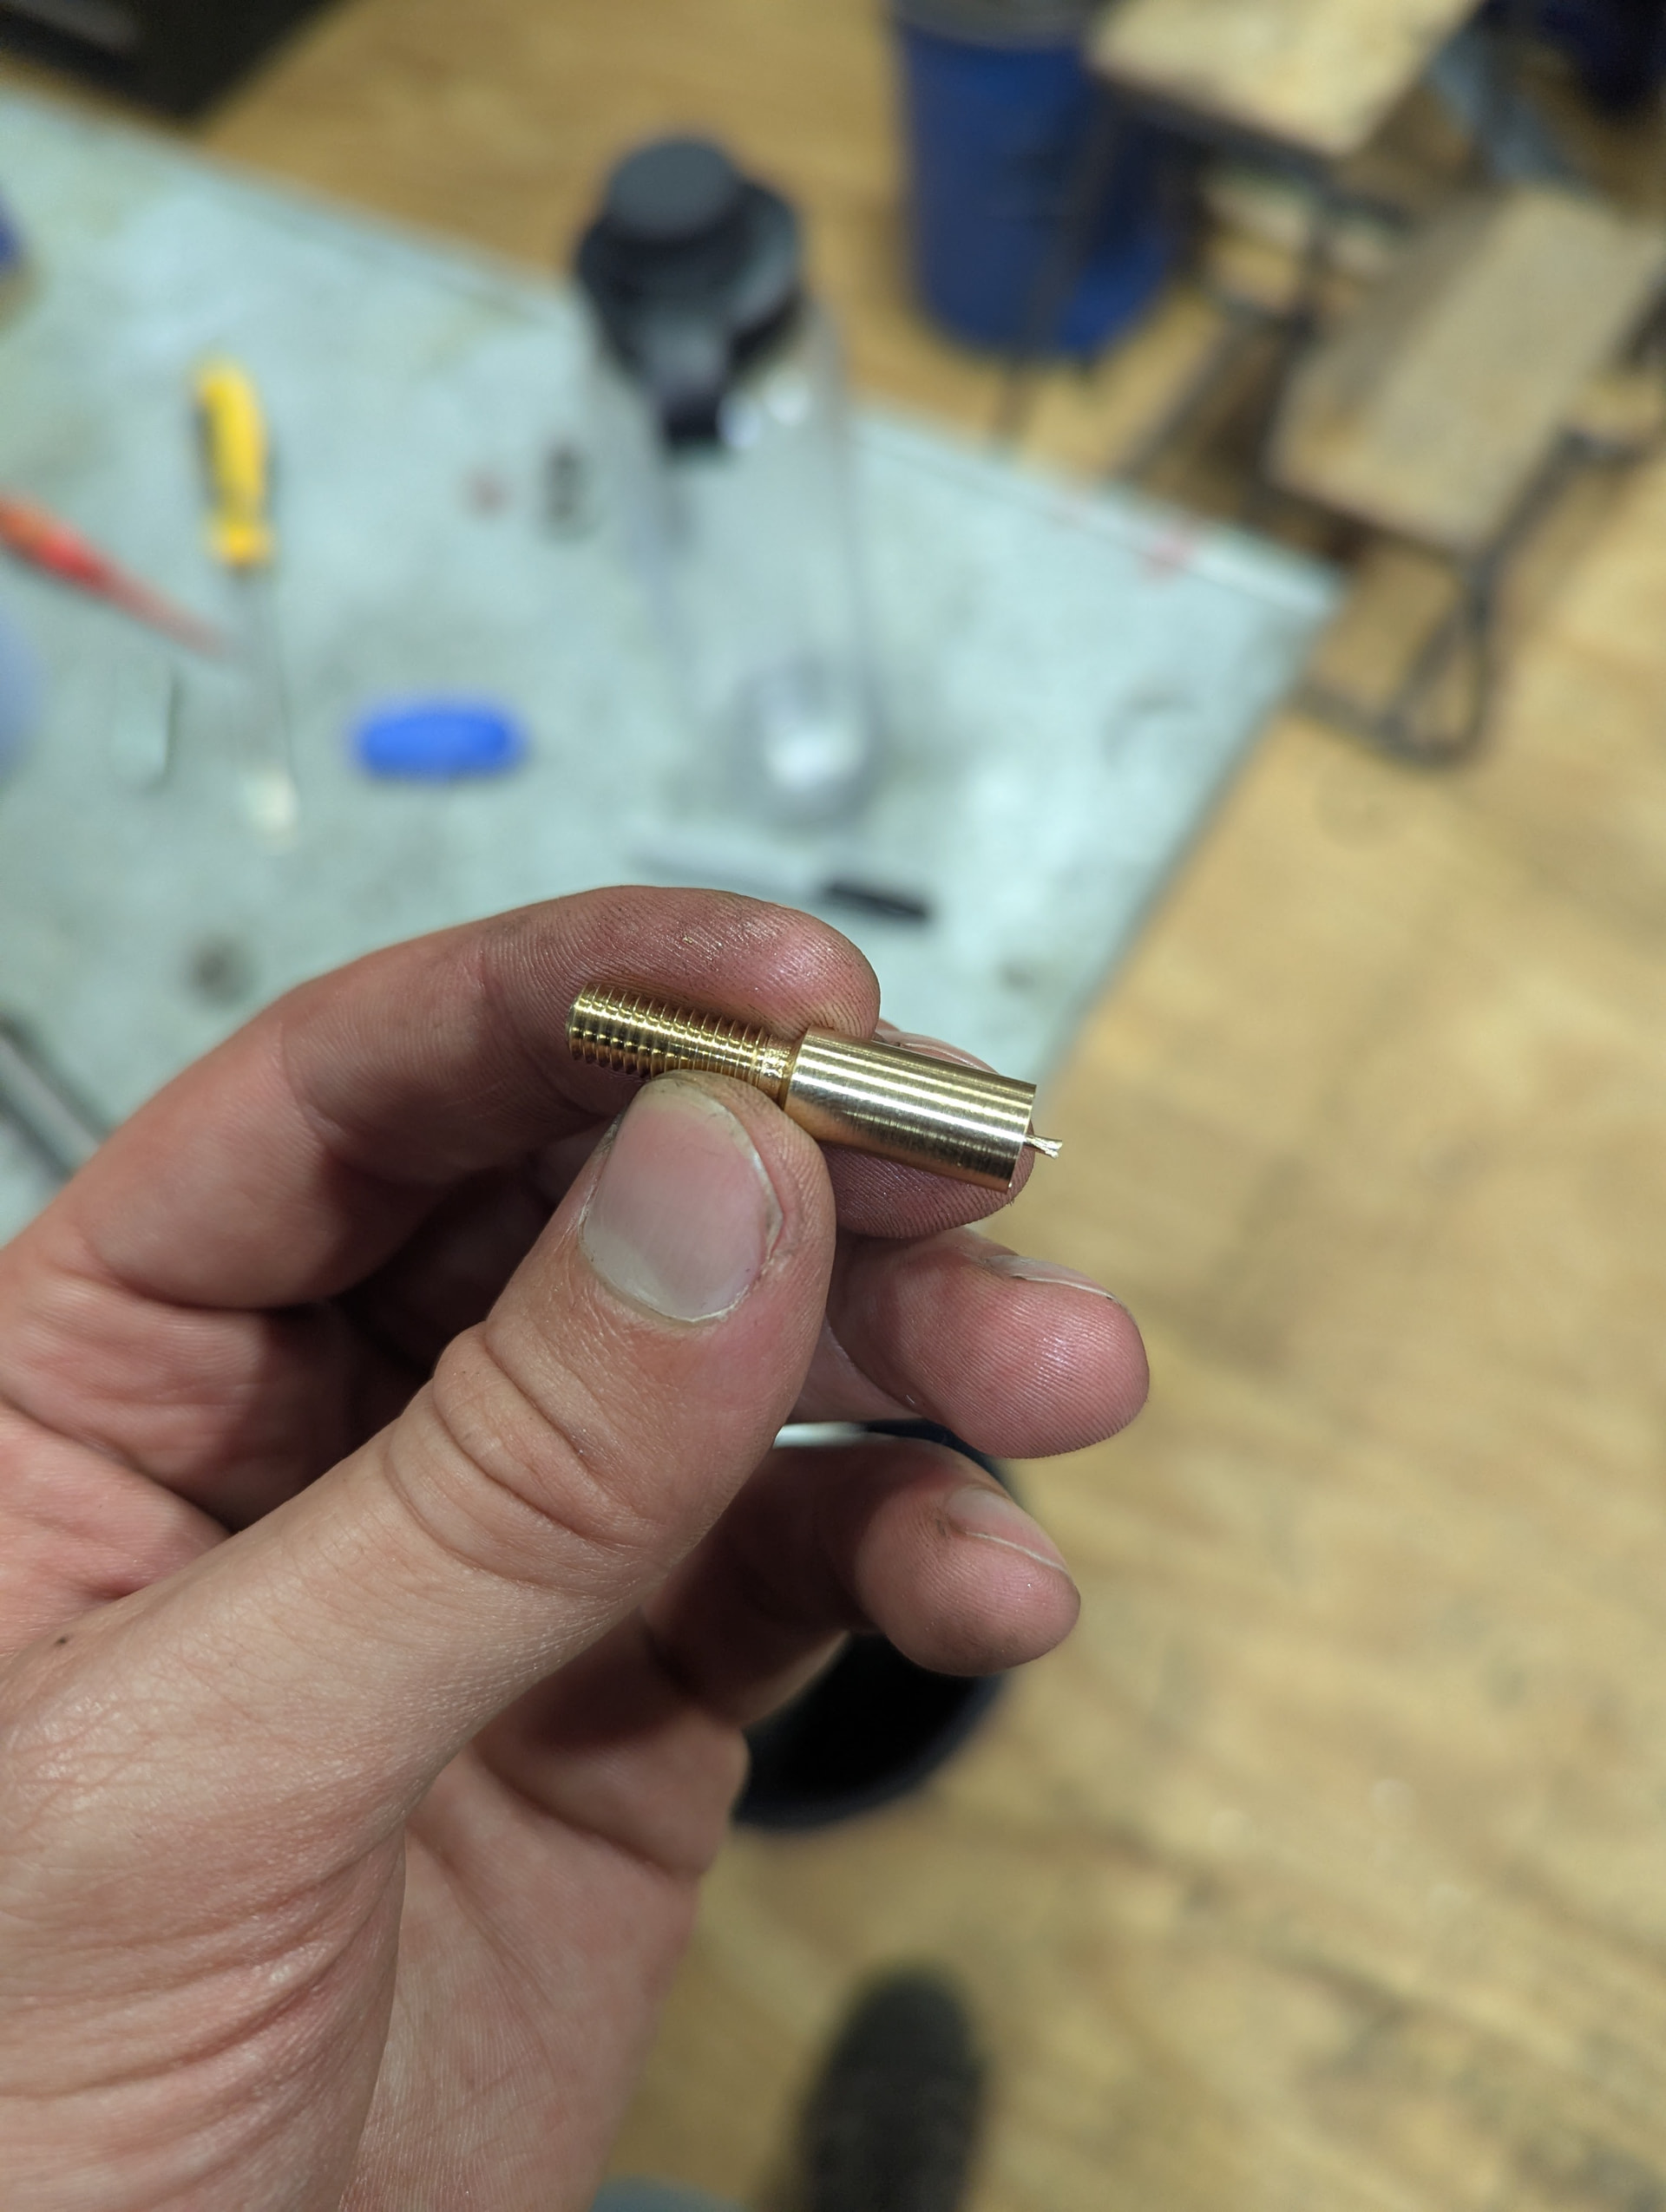
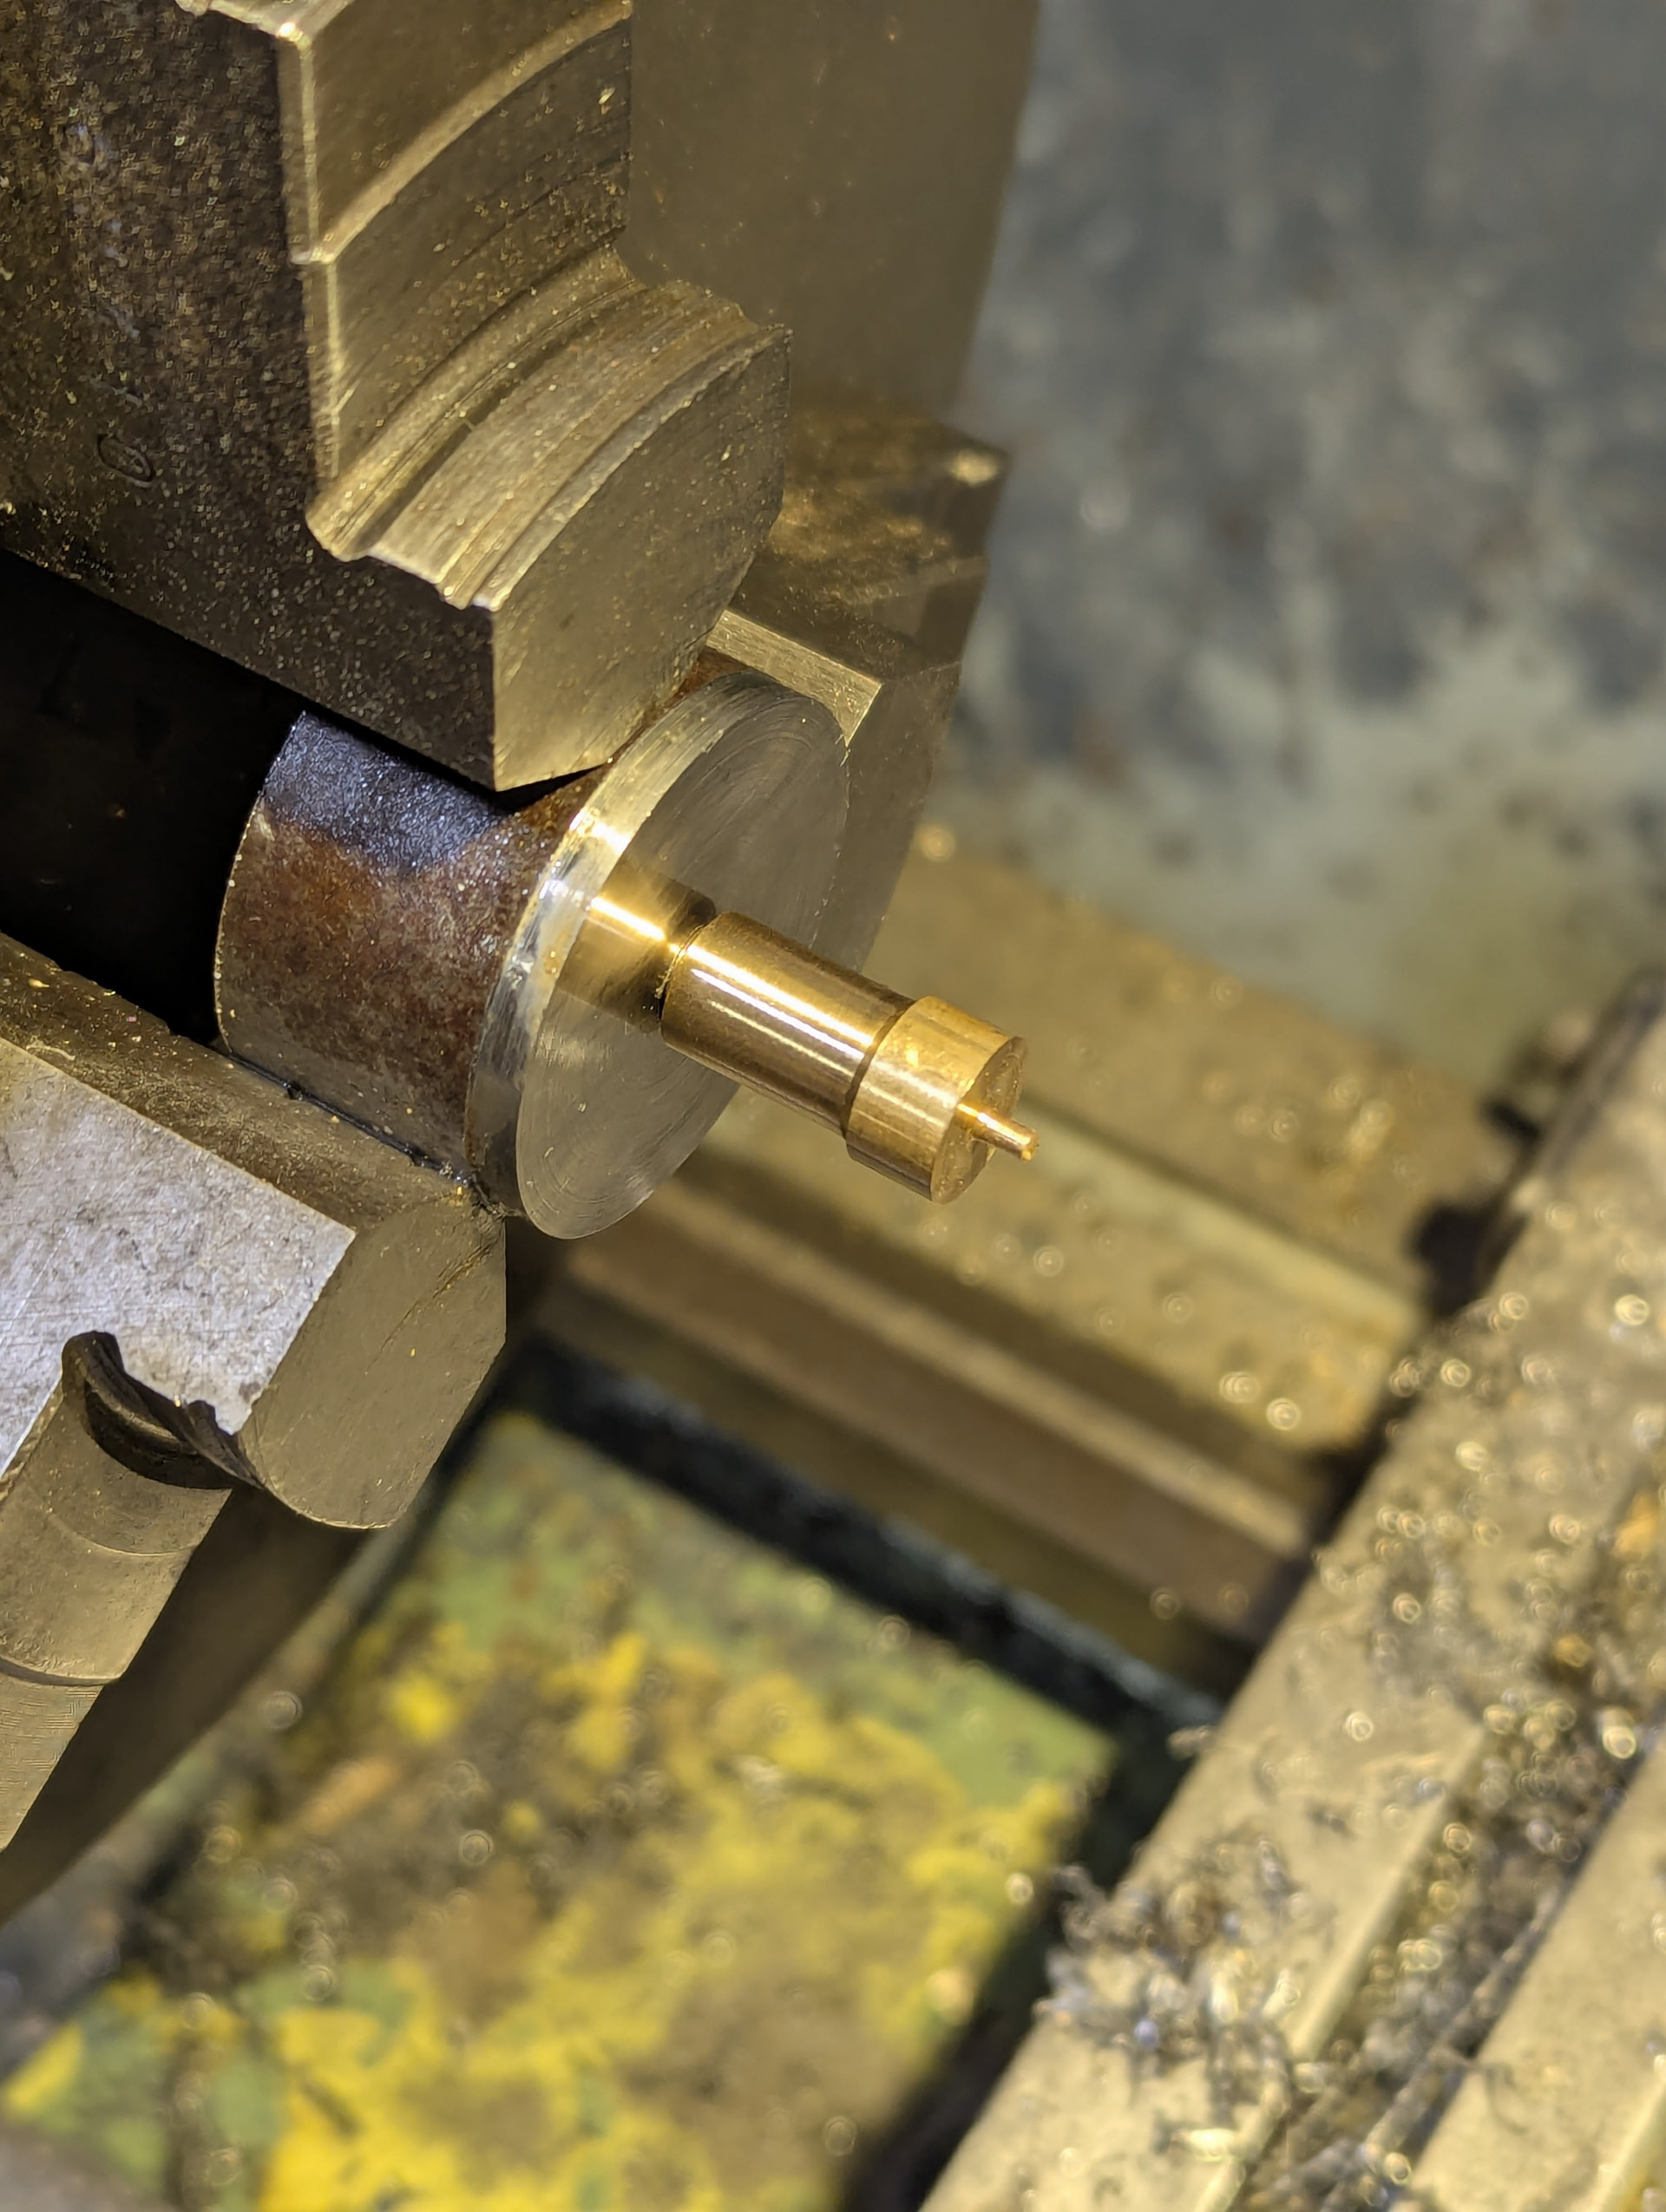
I followed a number of different processes throughout the project as I made the various spikes # Threaded SpikeV1
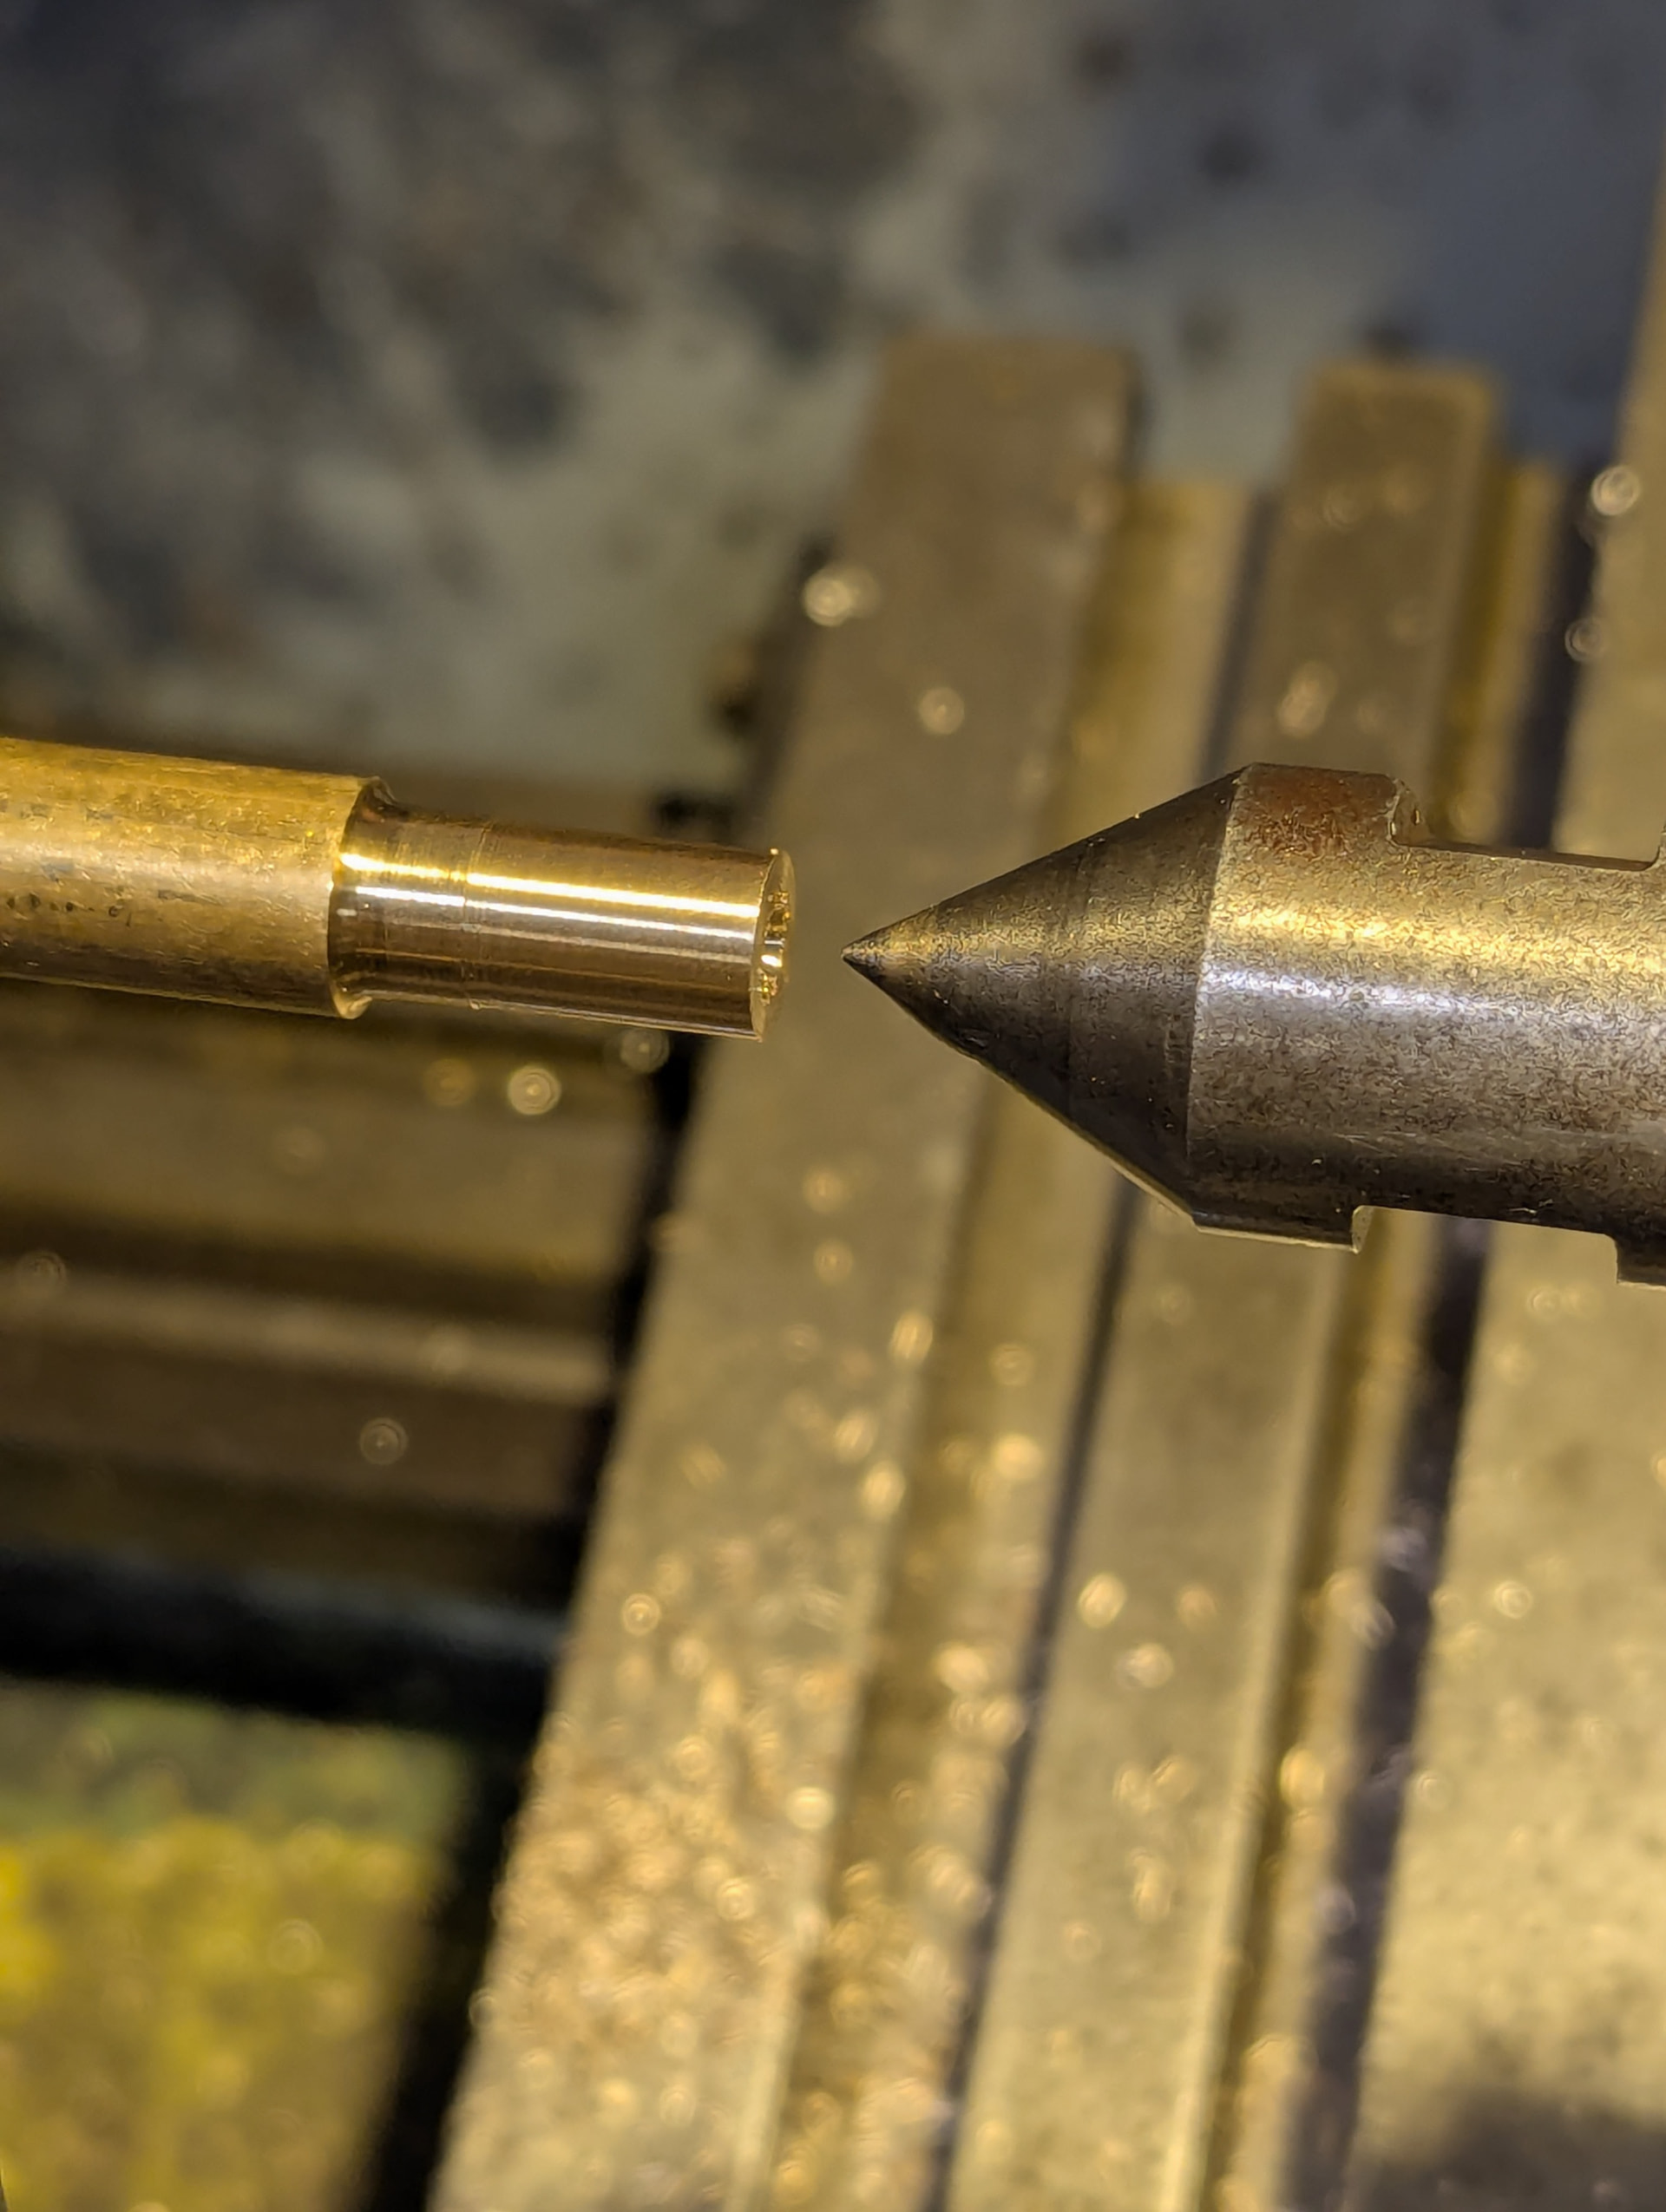
- Center drill the end
- Add a dead center and pull out the piece to length
- Turn down the entire piece to 8mm
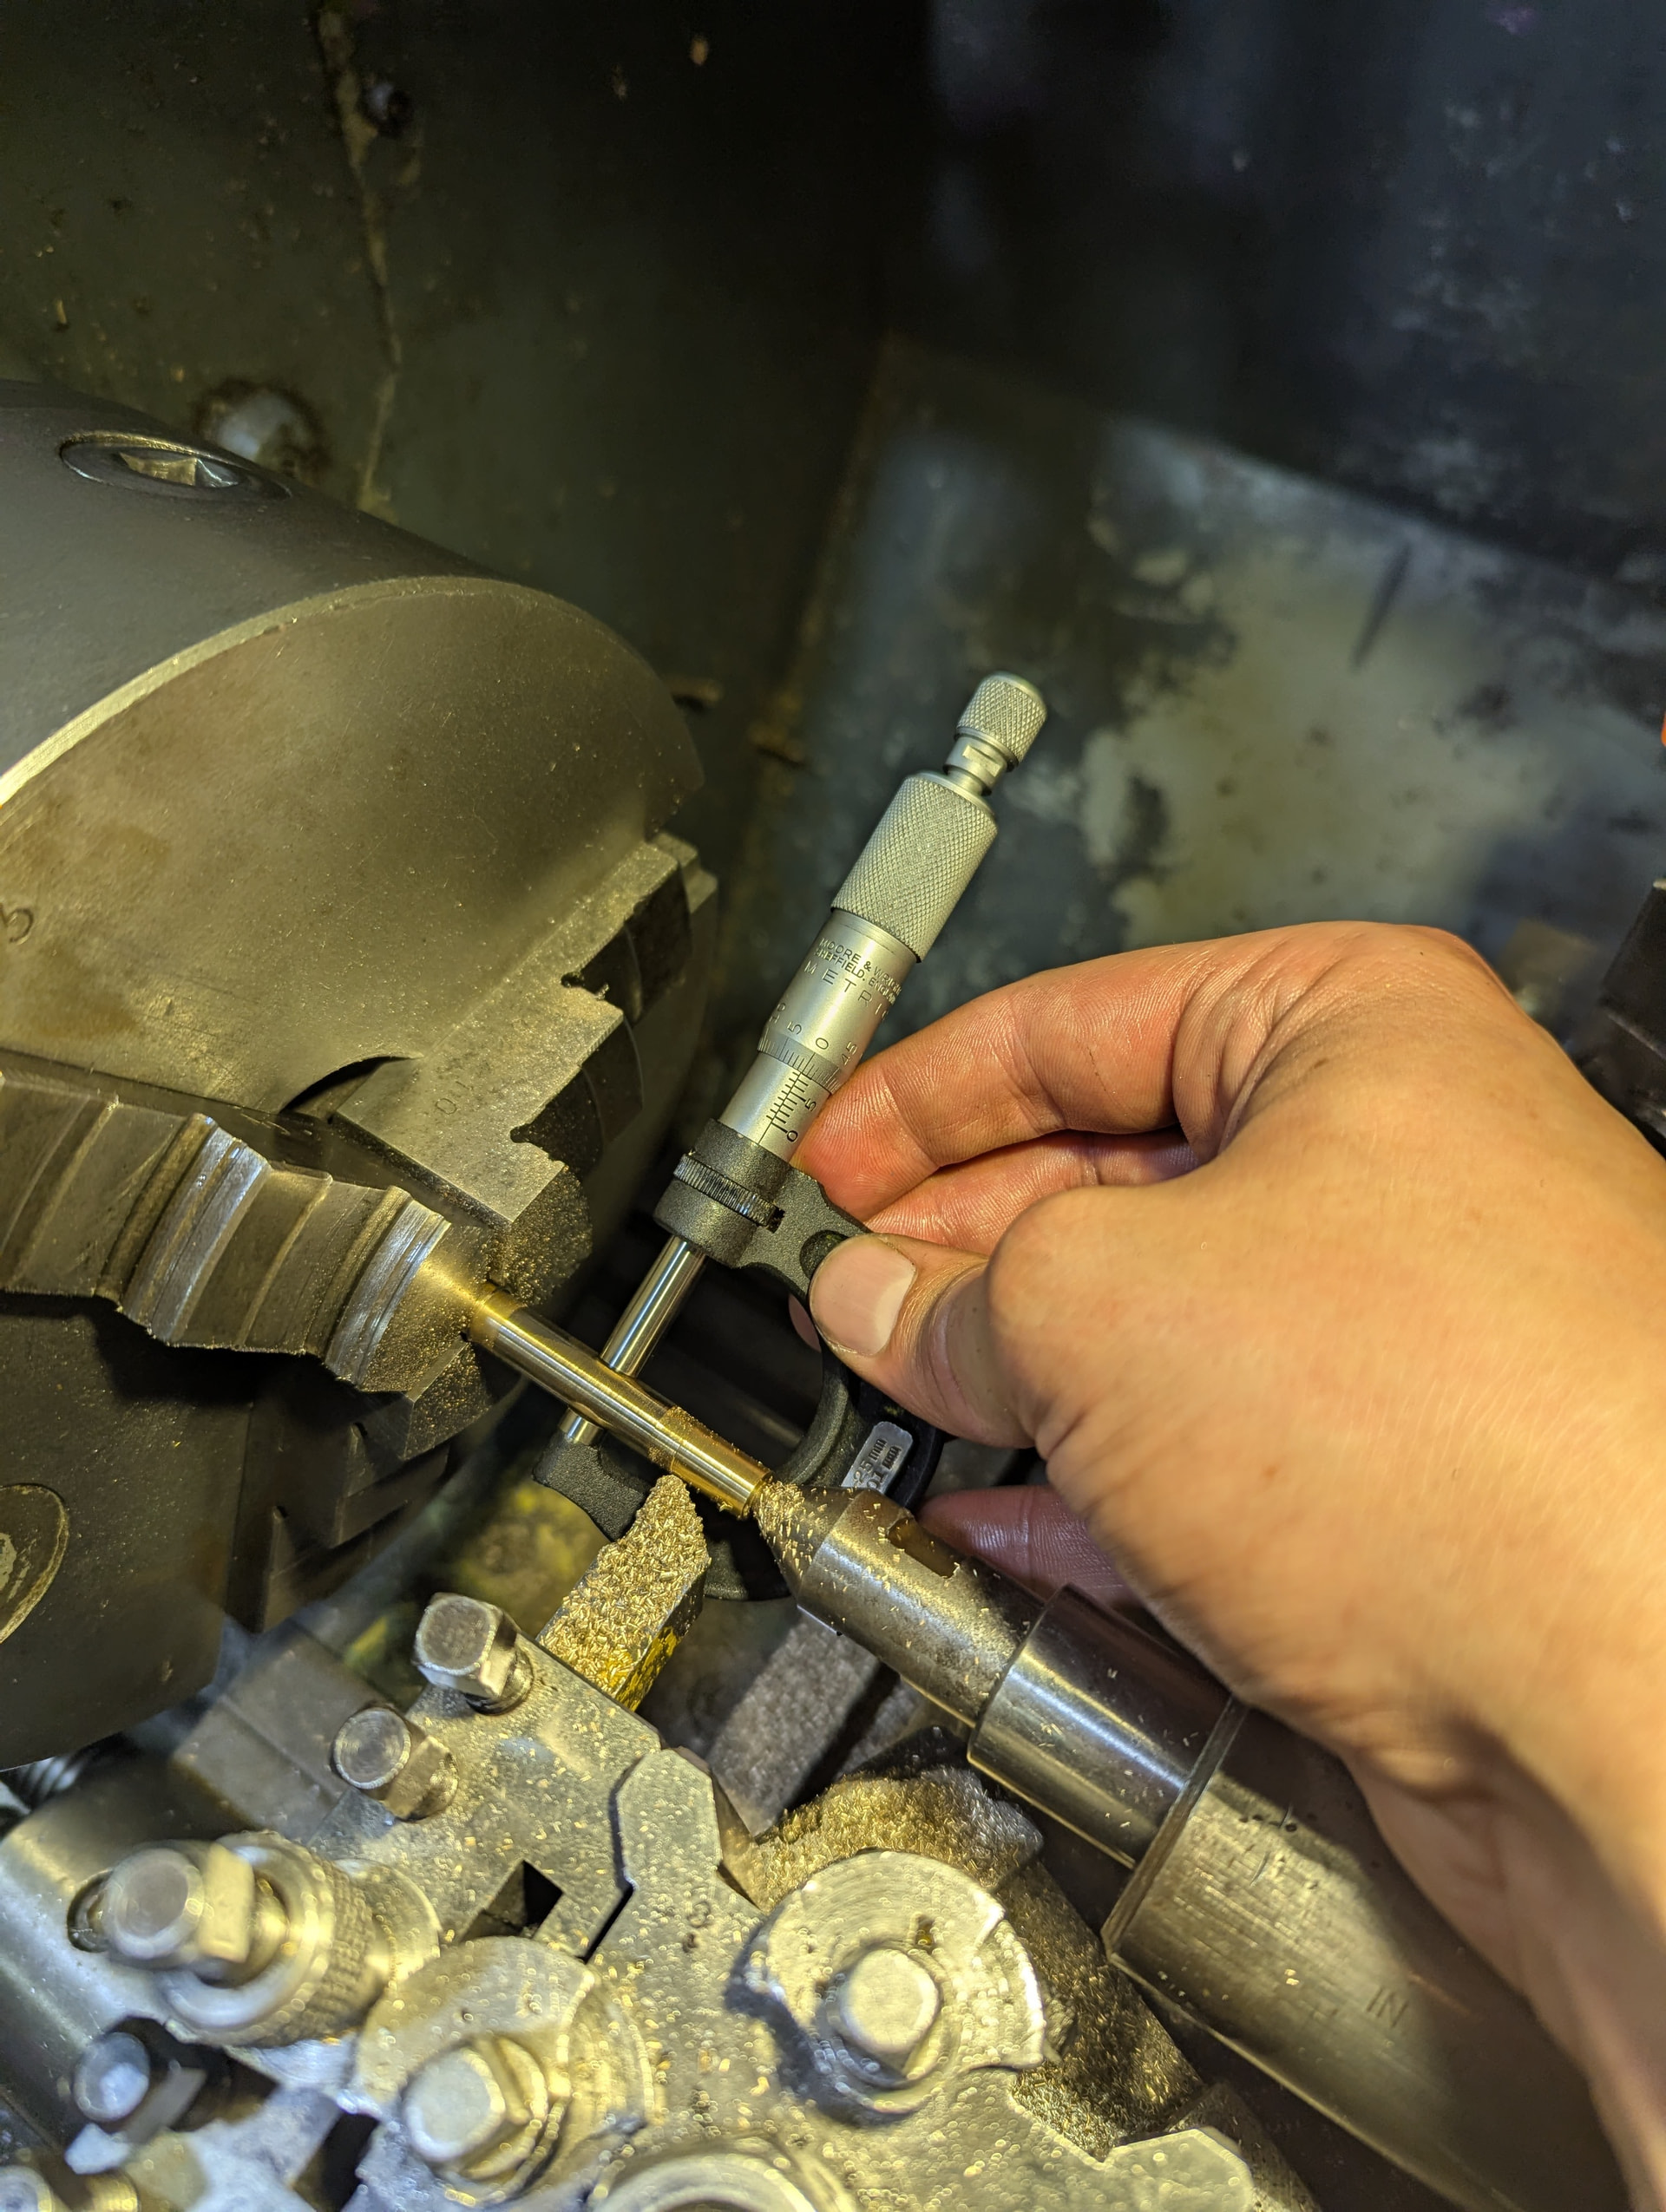
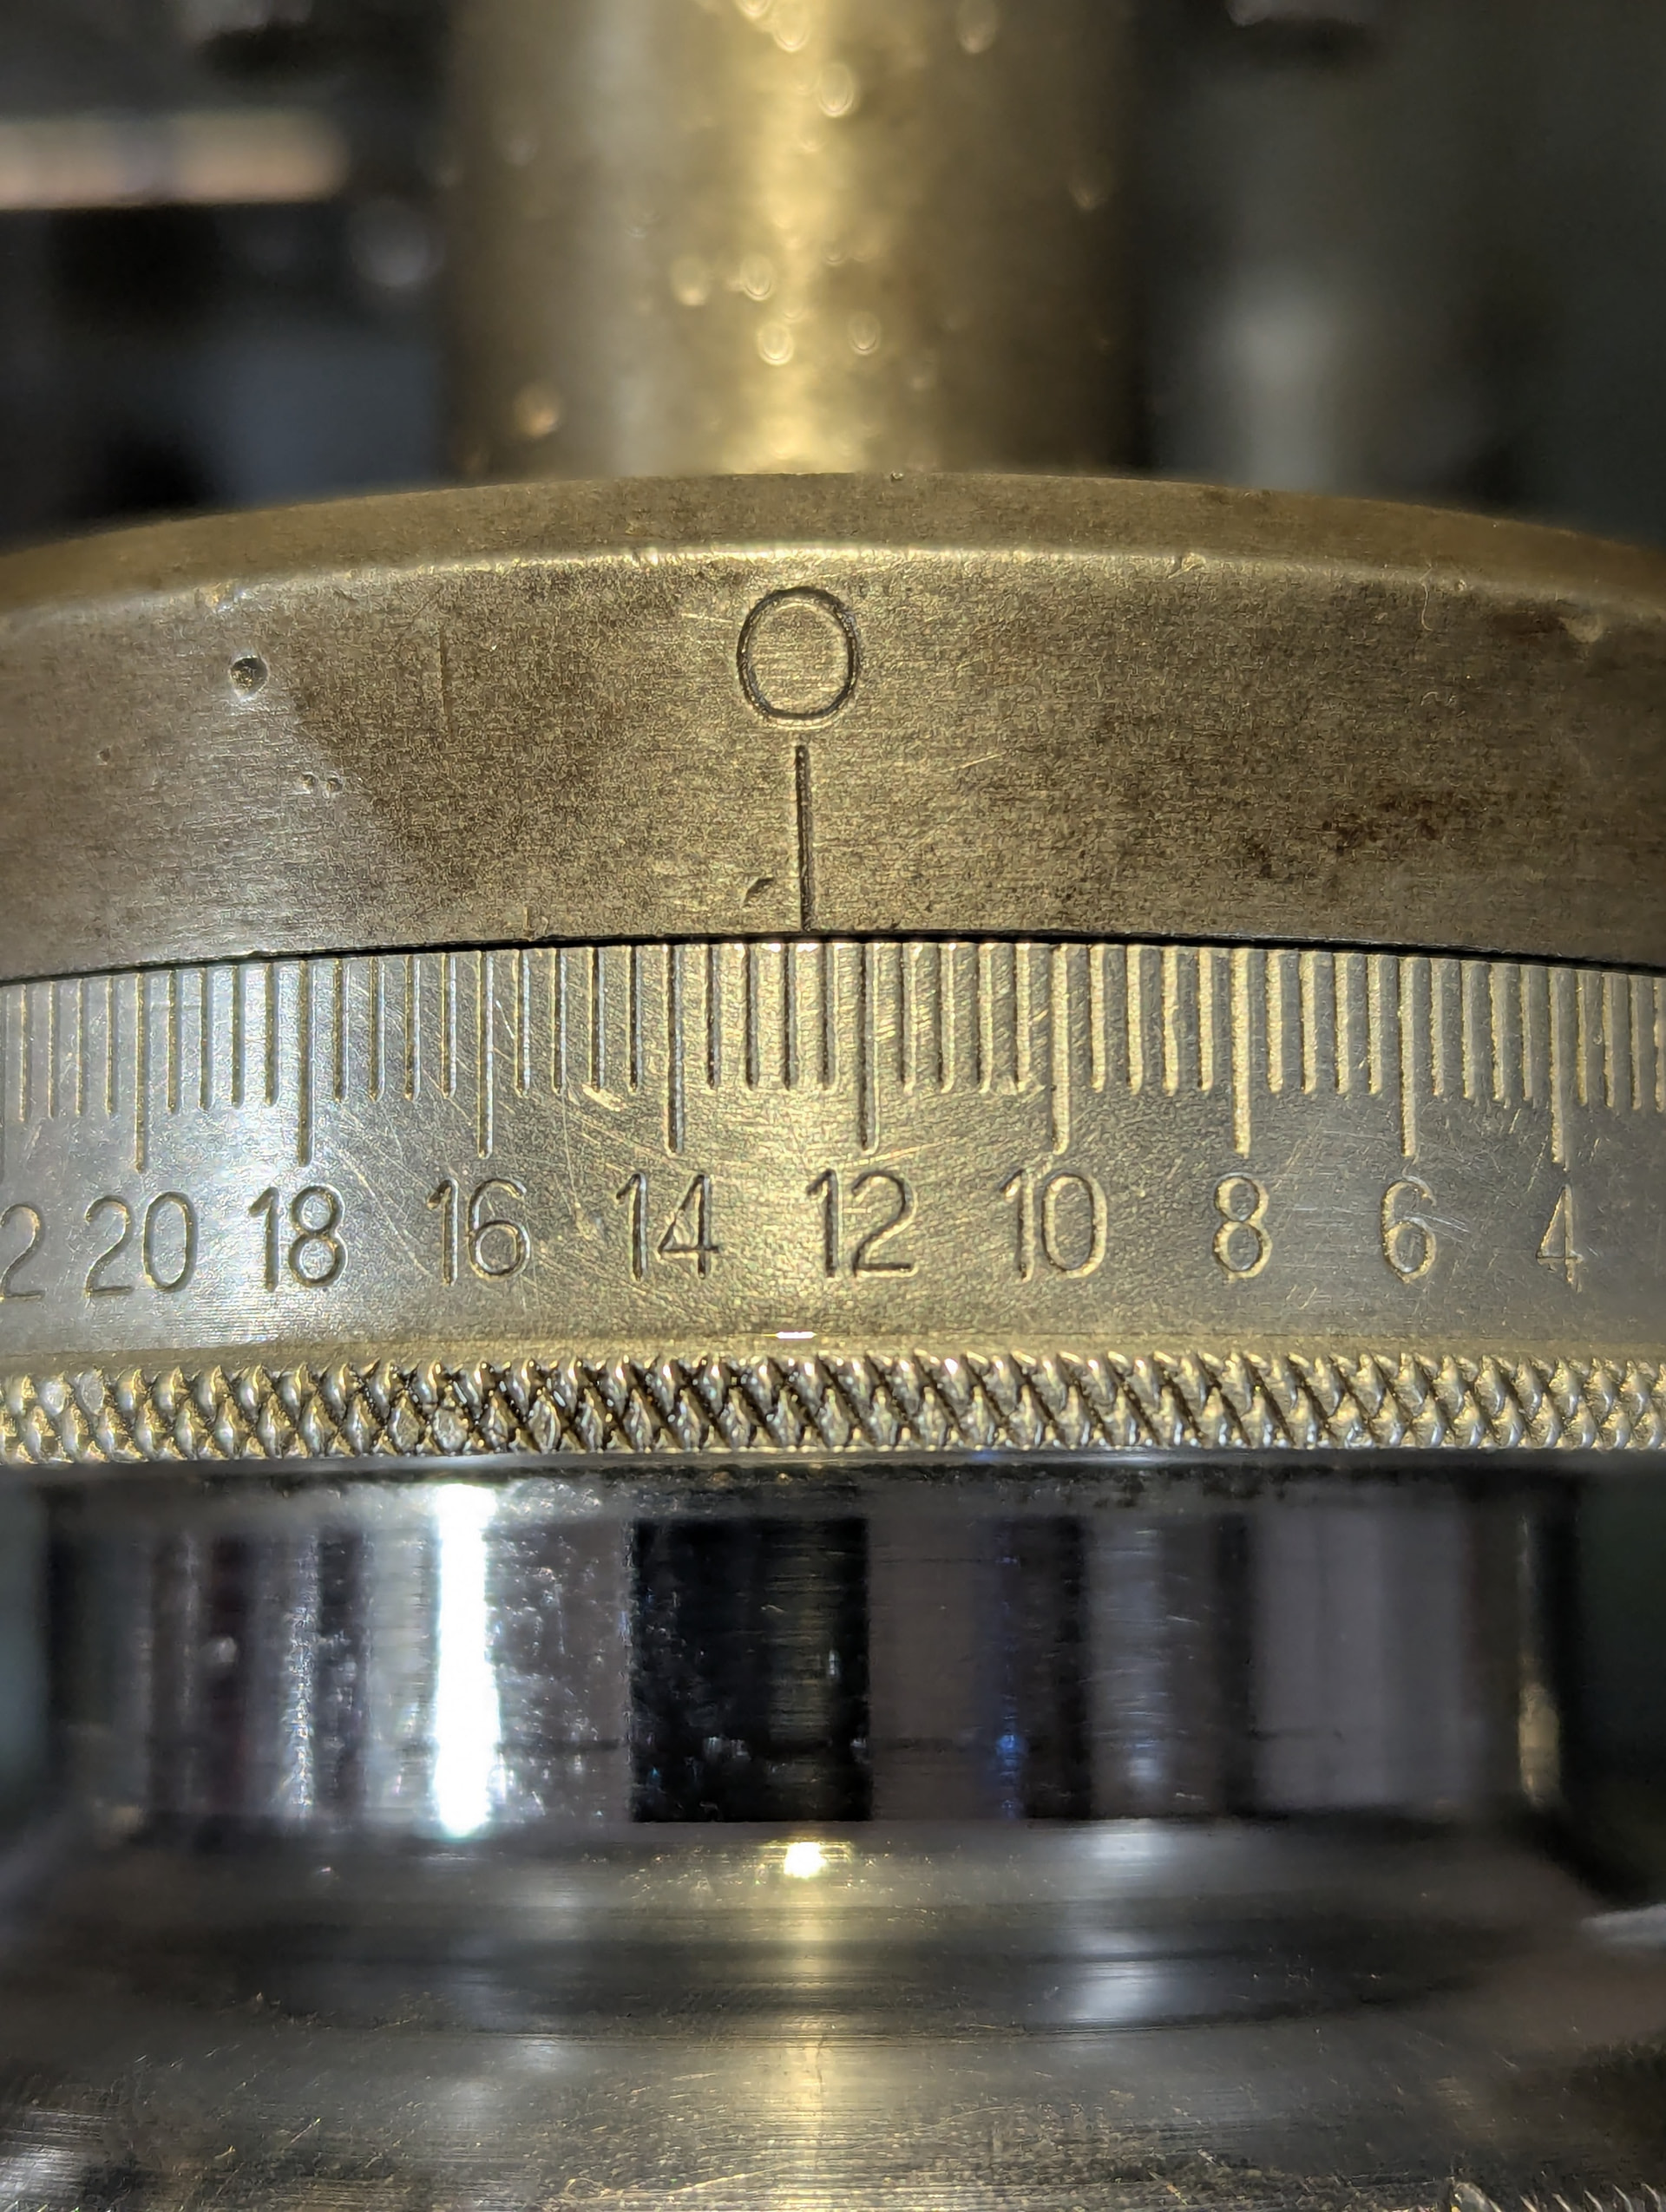
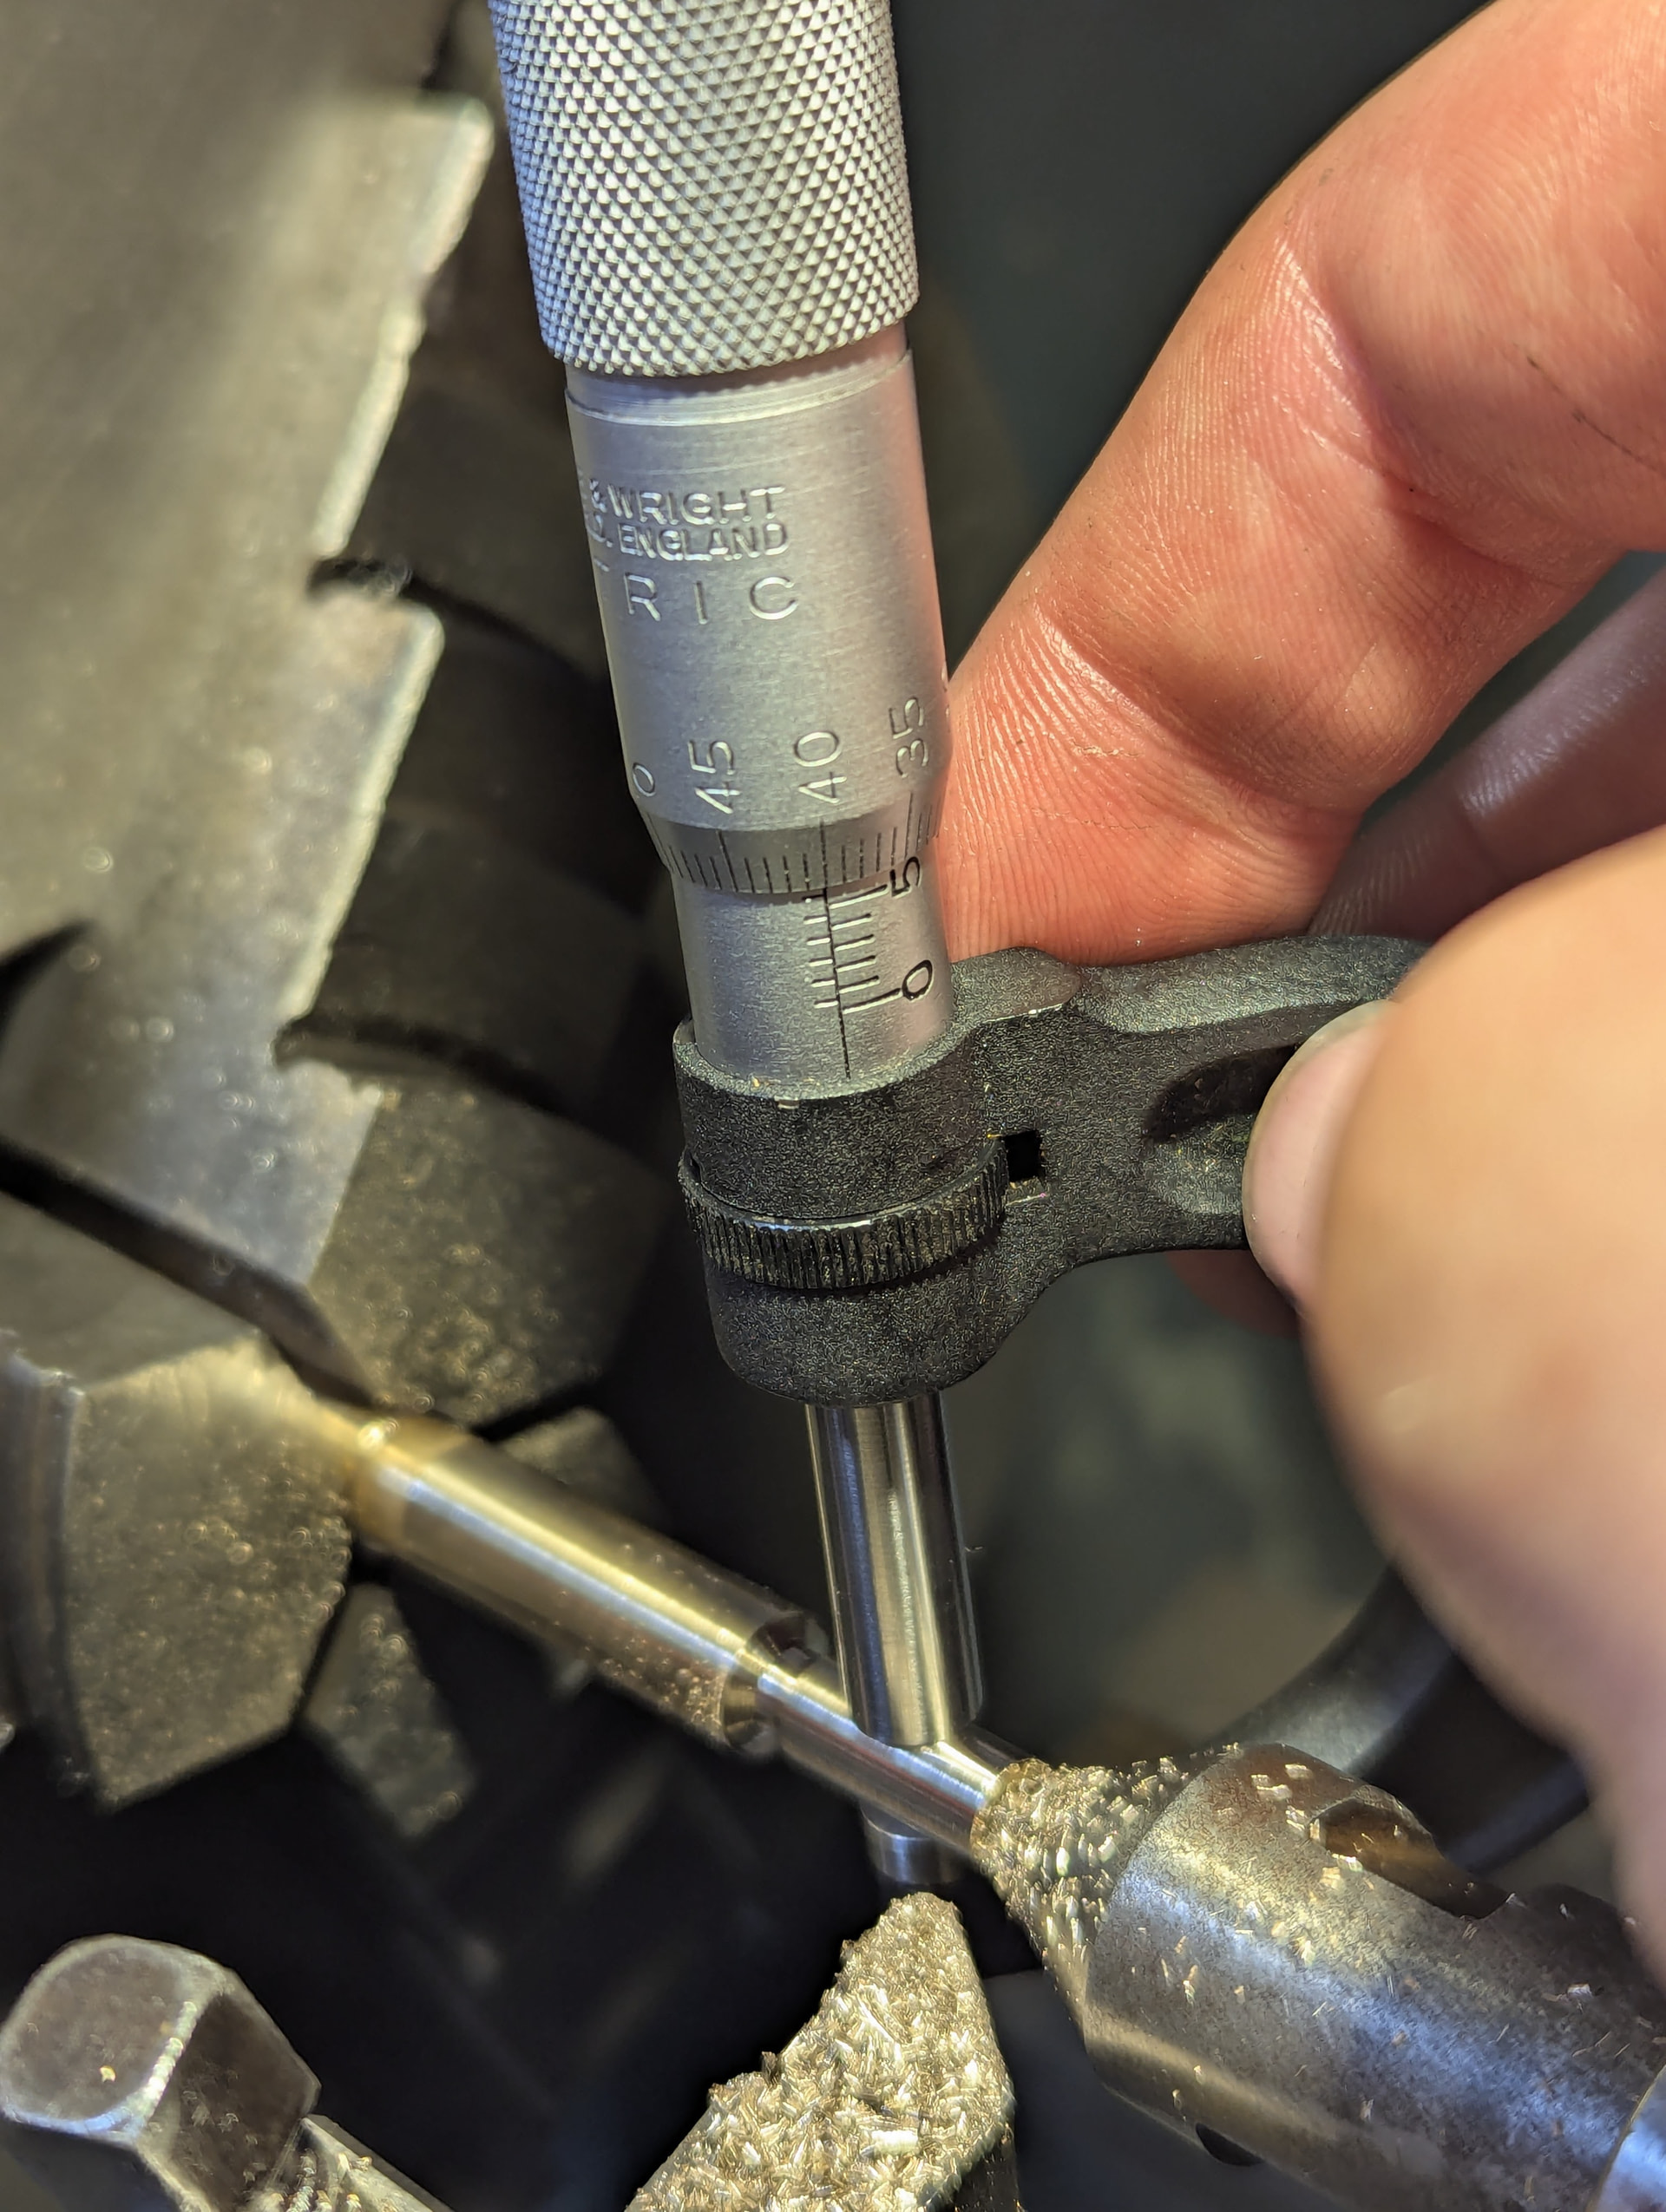
- Turn in a section for the thread to the correct diameter (5.794-5.974mm) (note from 8mm at 13 to 5.9mm at 34 we’ve moved 21 on the dial to go 2.1mm, some people would call this use of dials lunacy and instead recommend setting back to 0 from a known point)

*Turn in a relief between the threaded section and the 8mm section
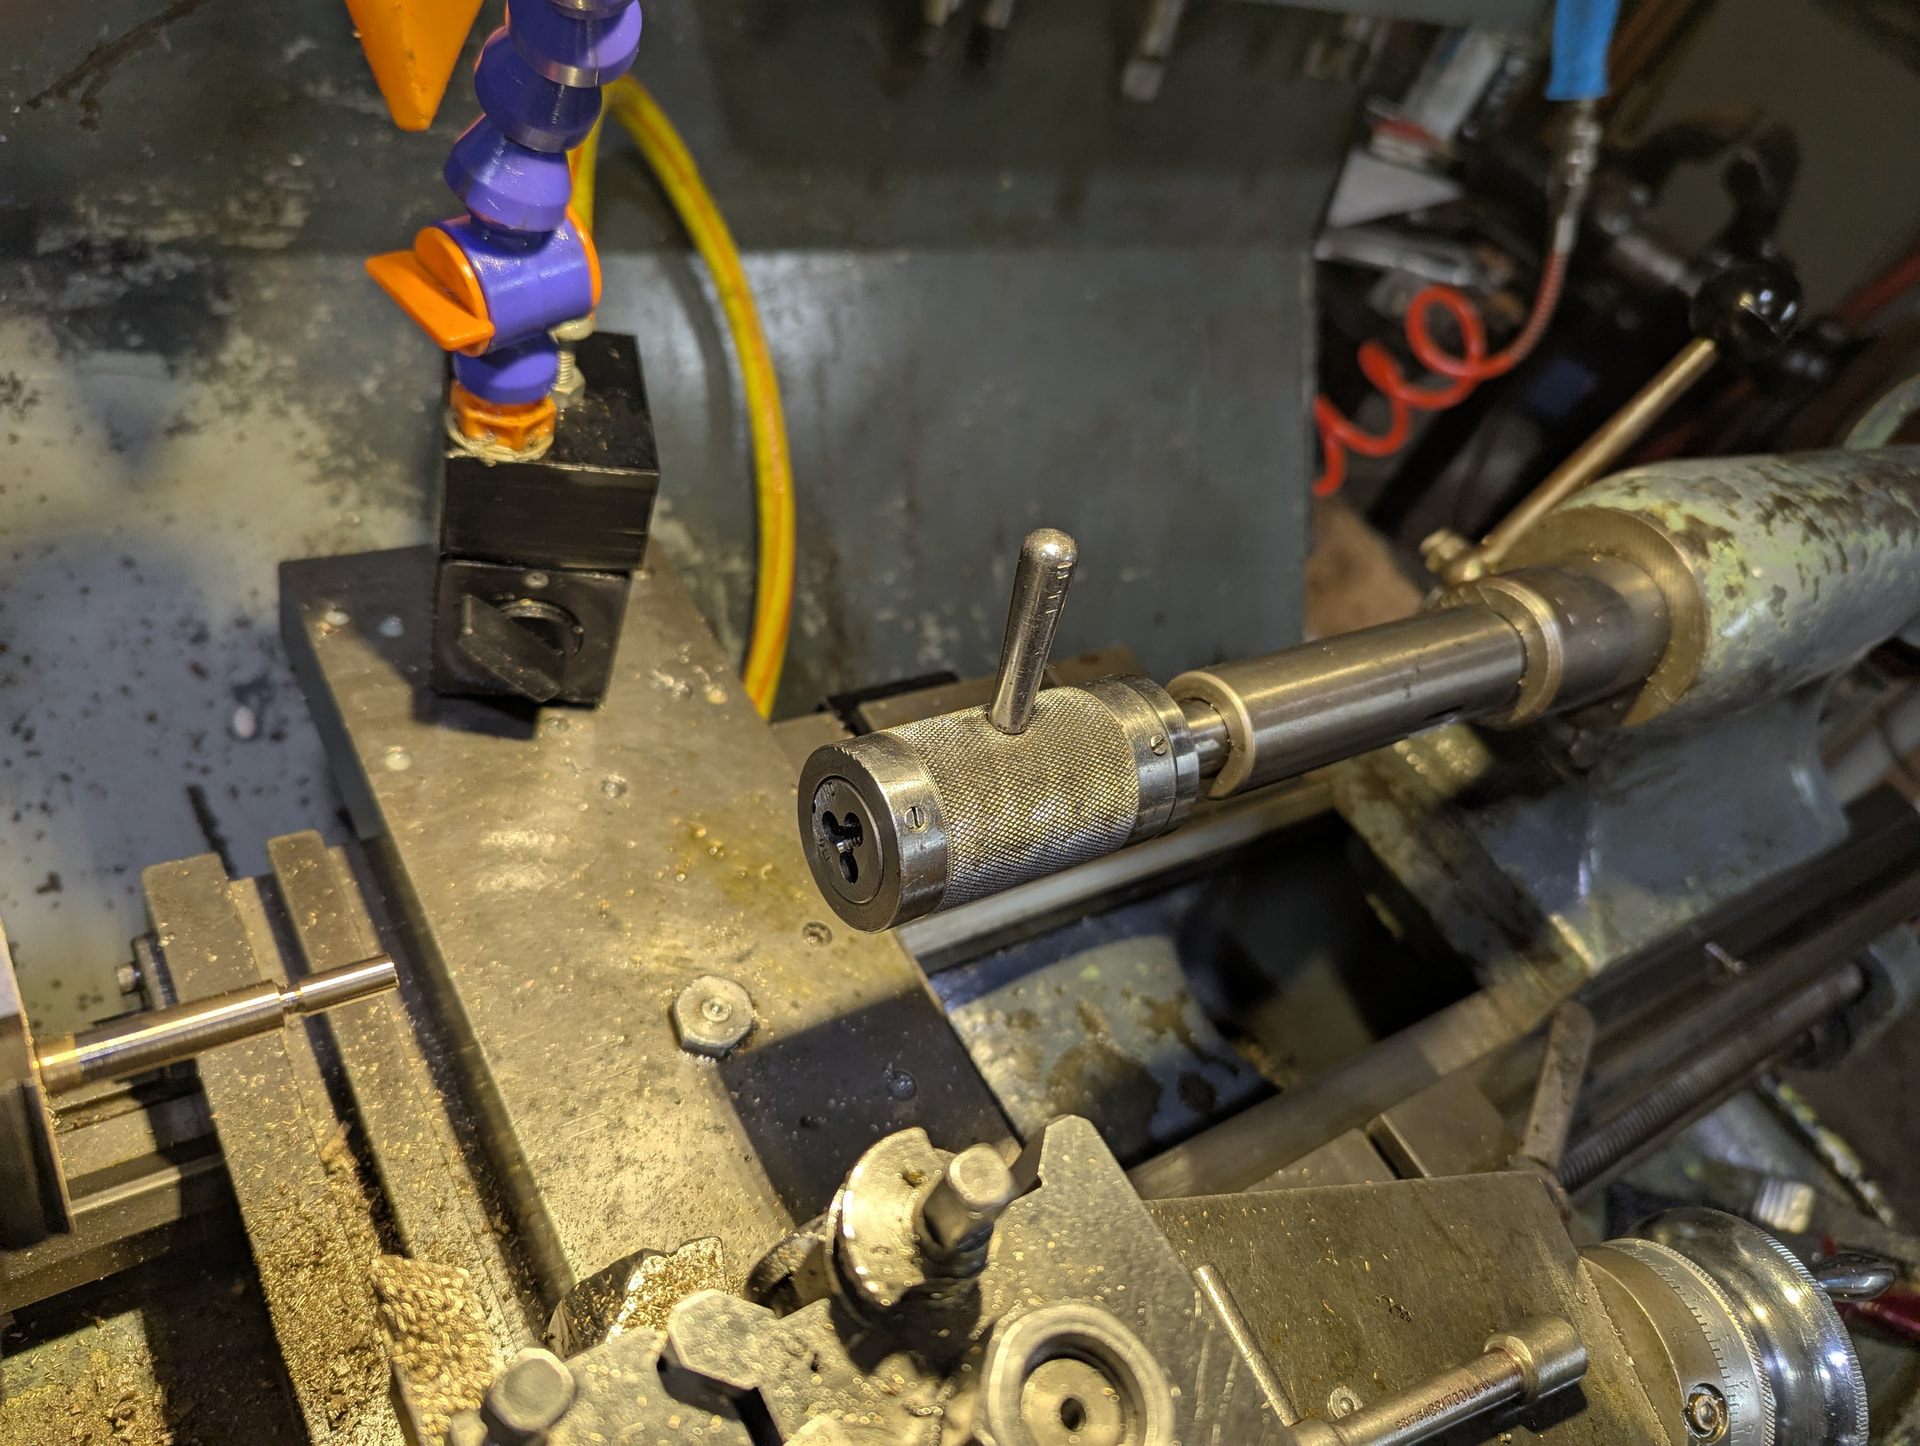
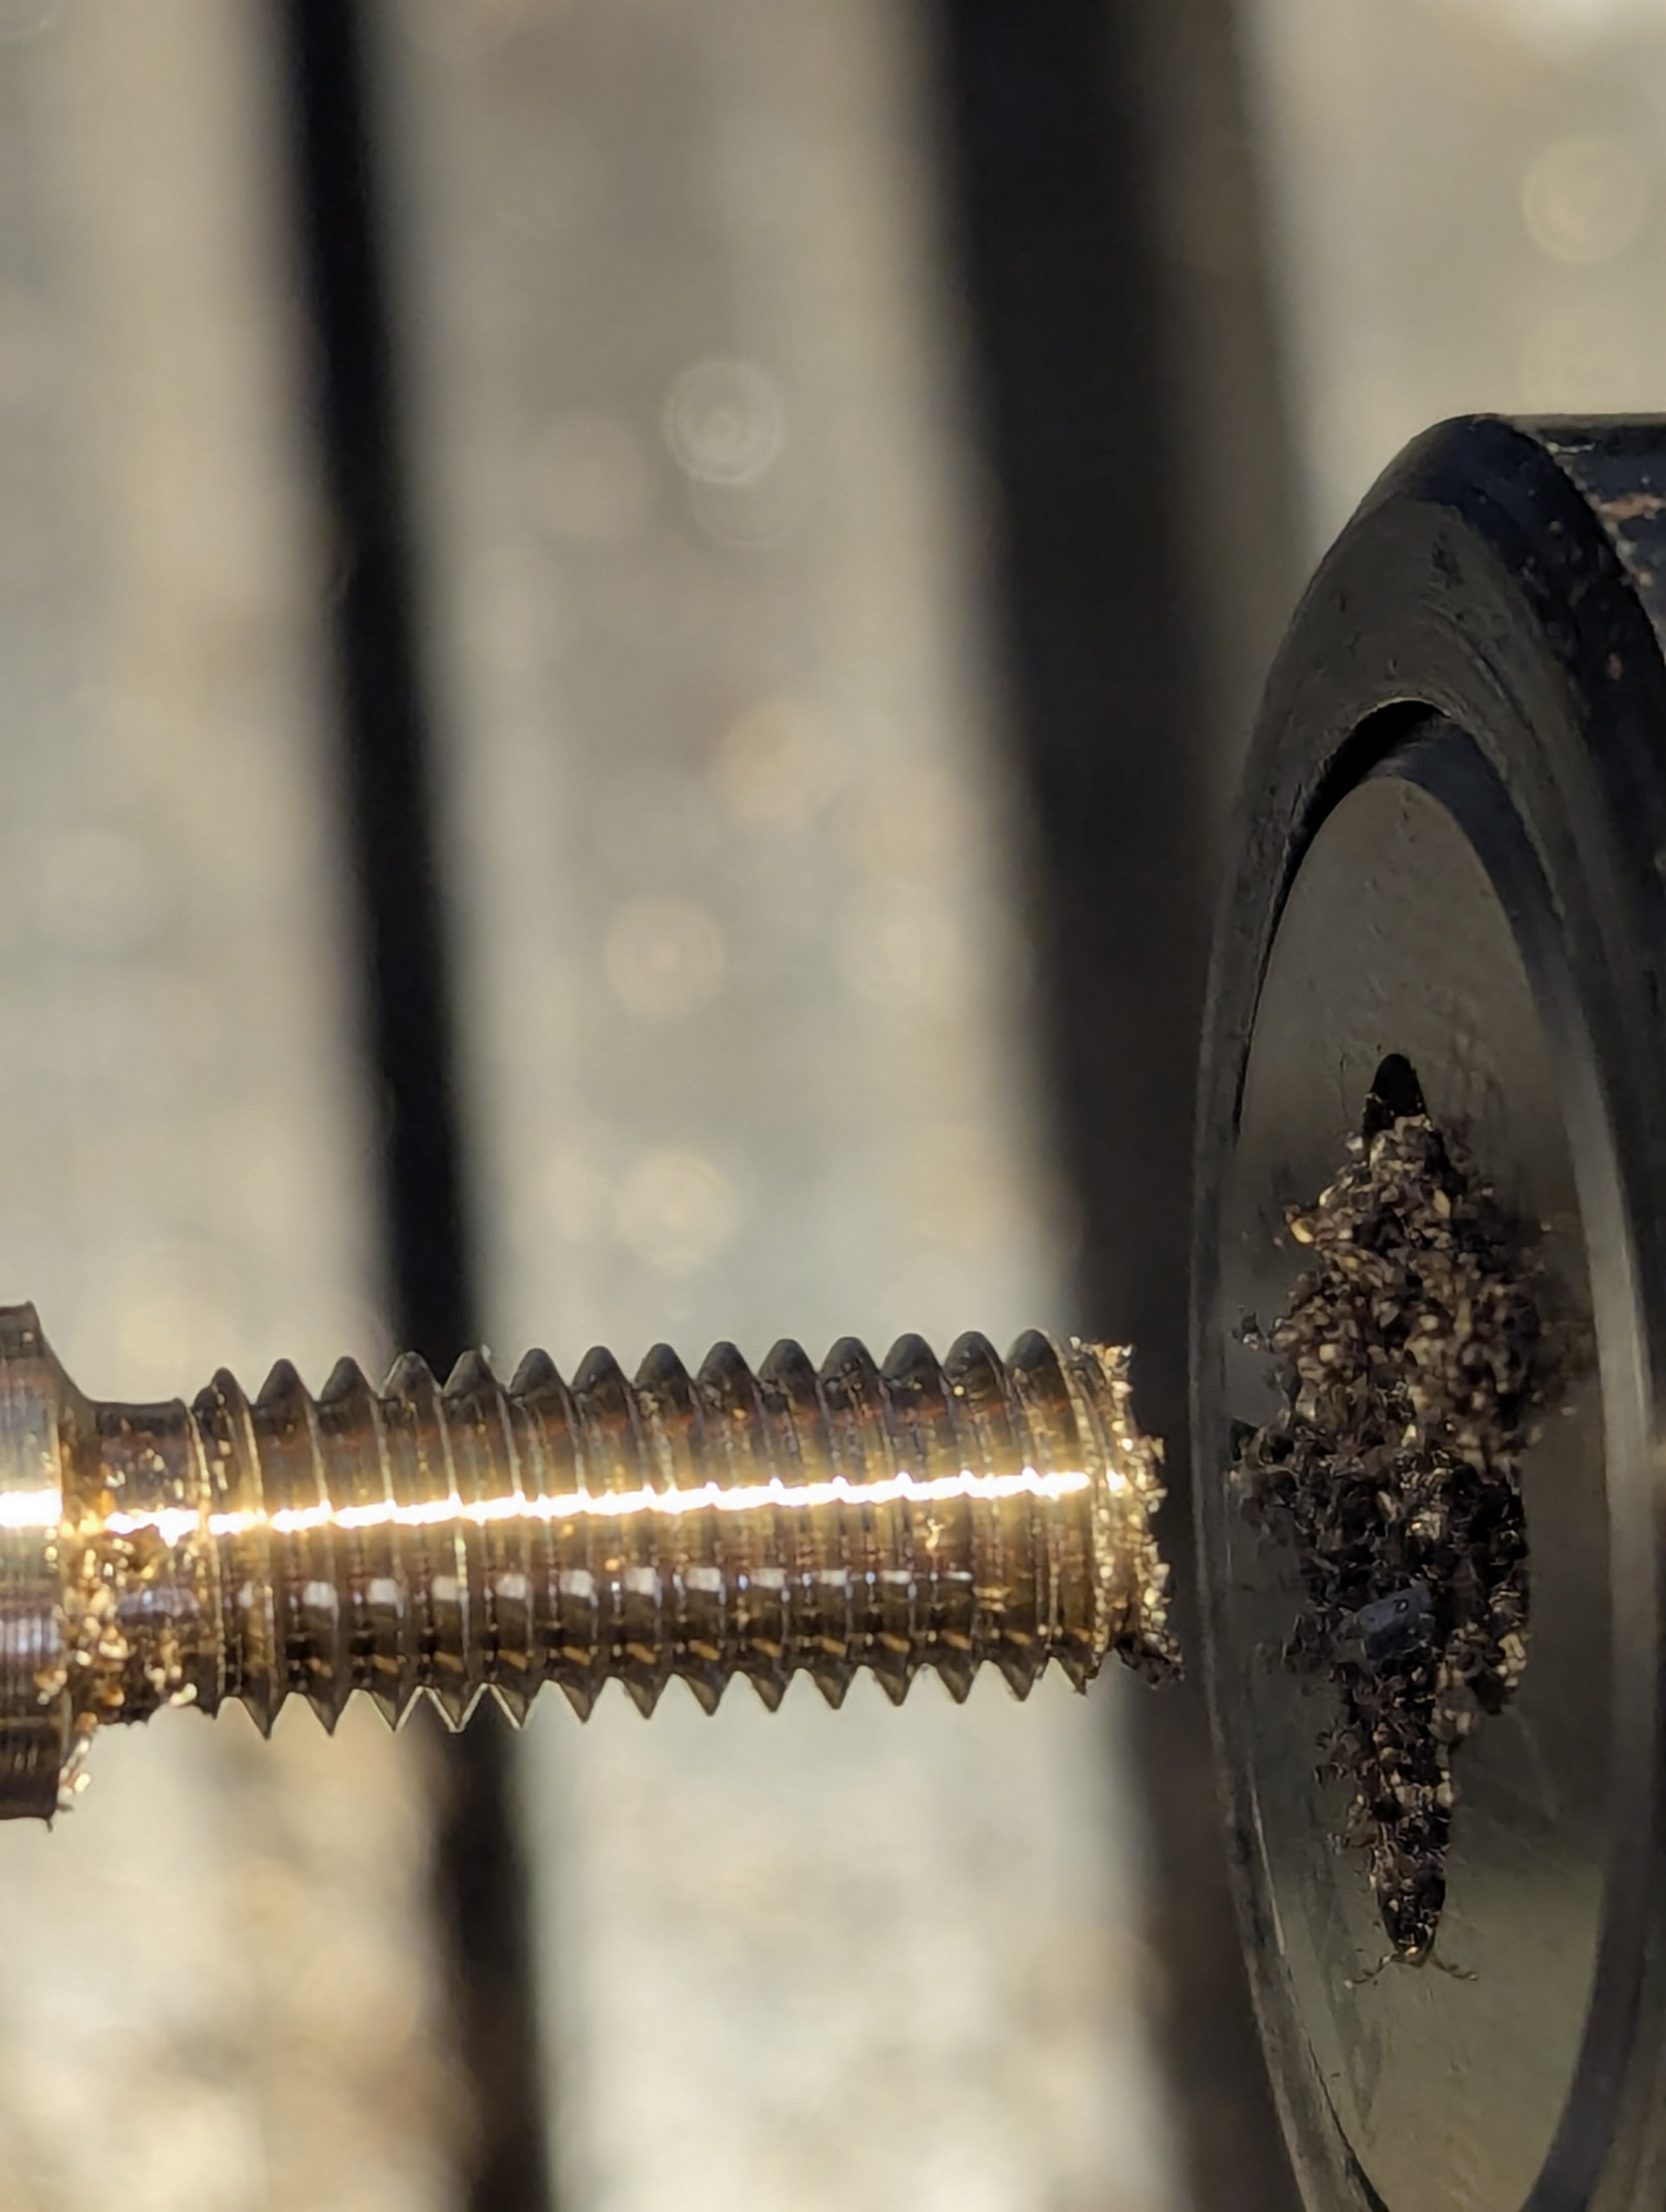
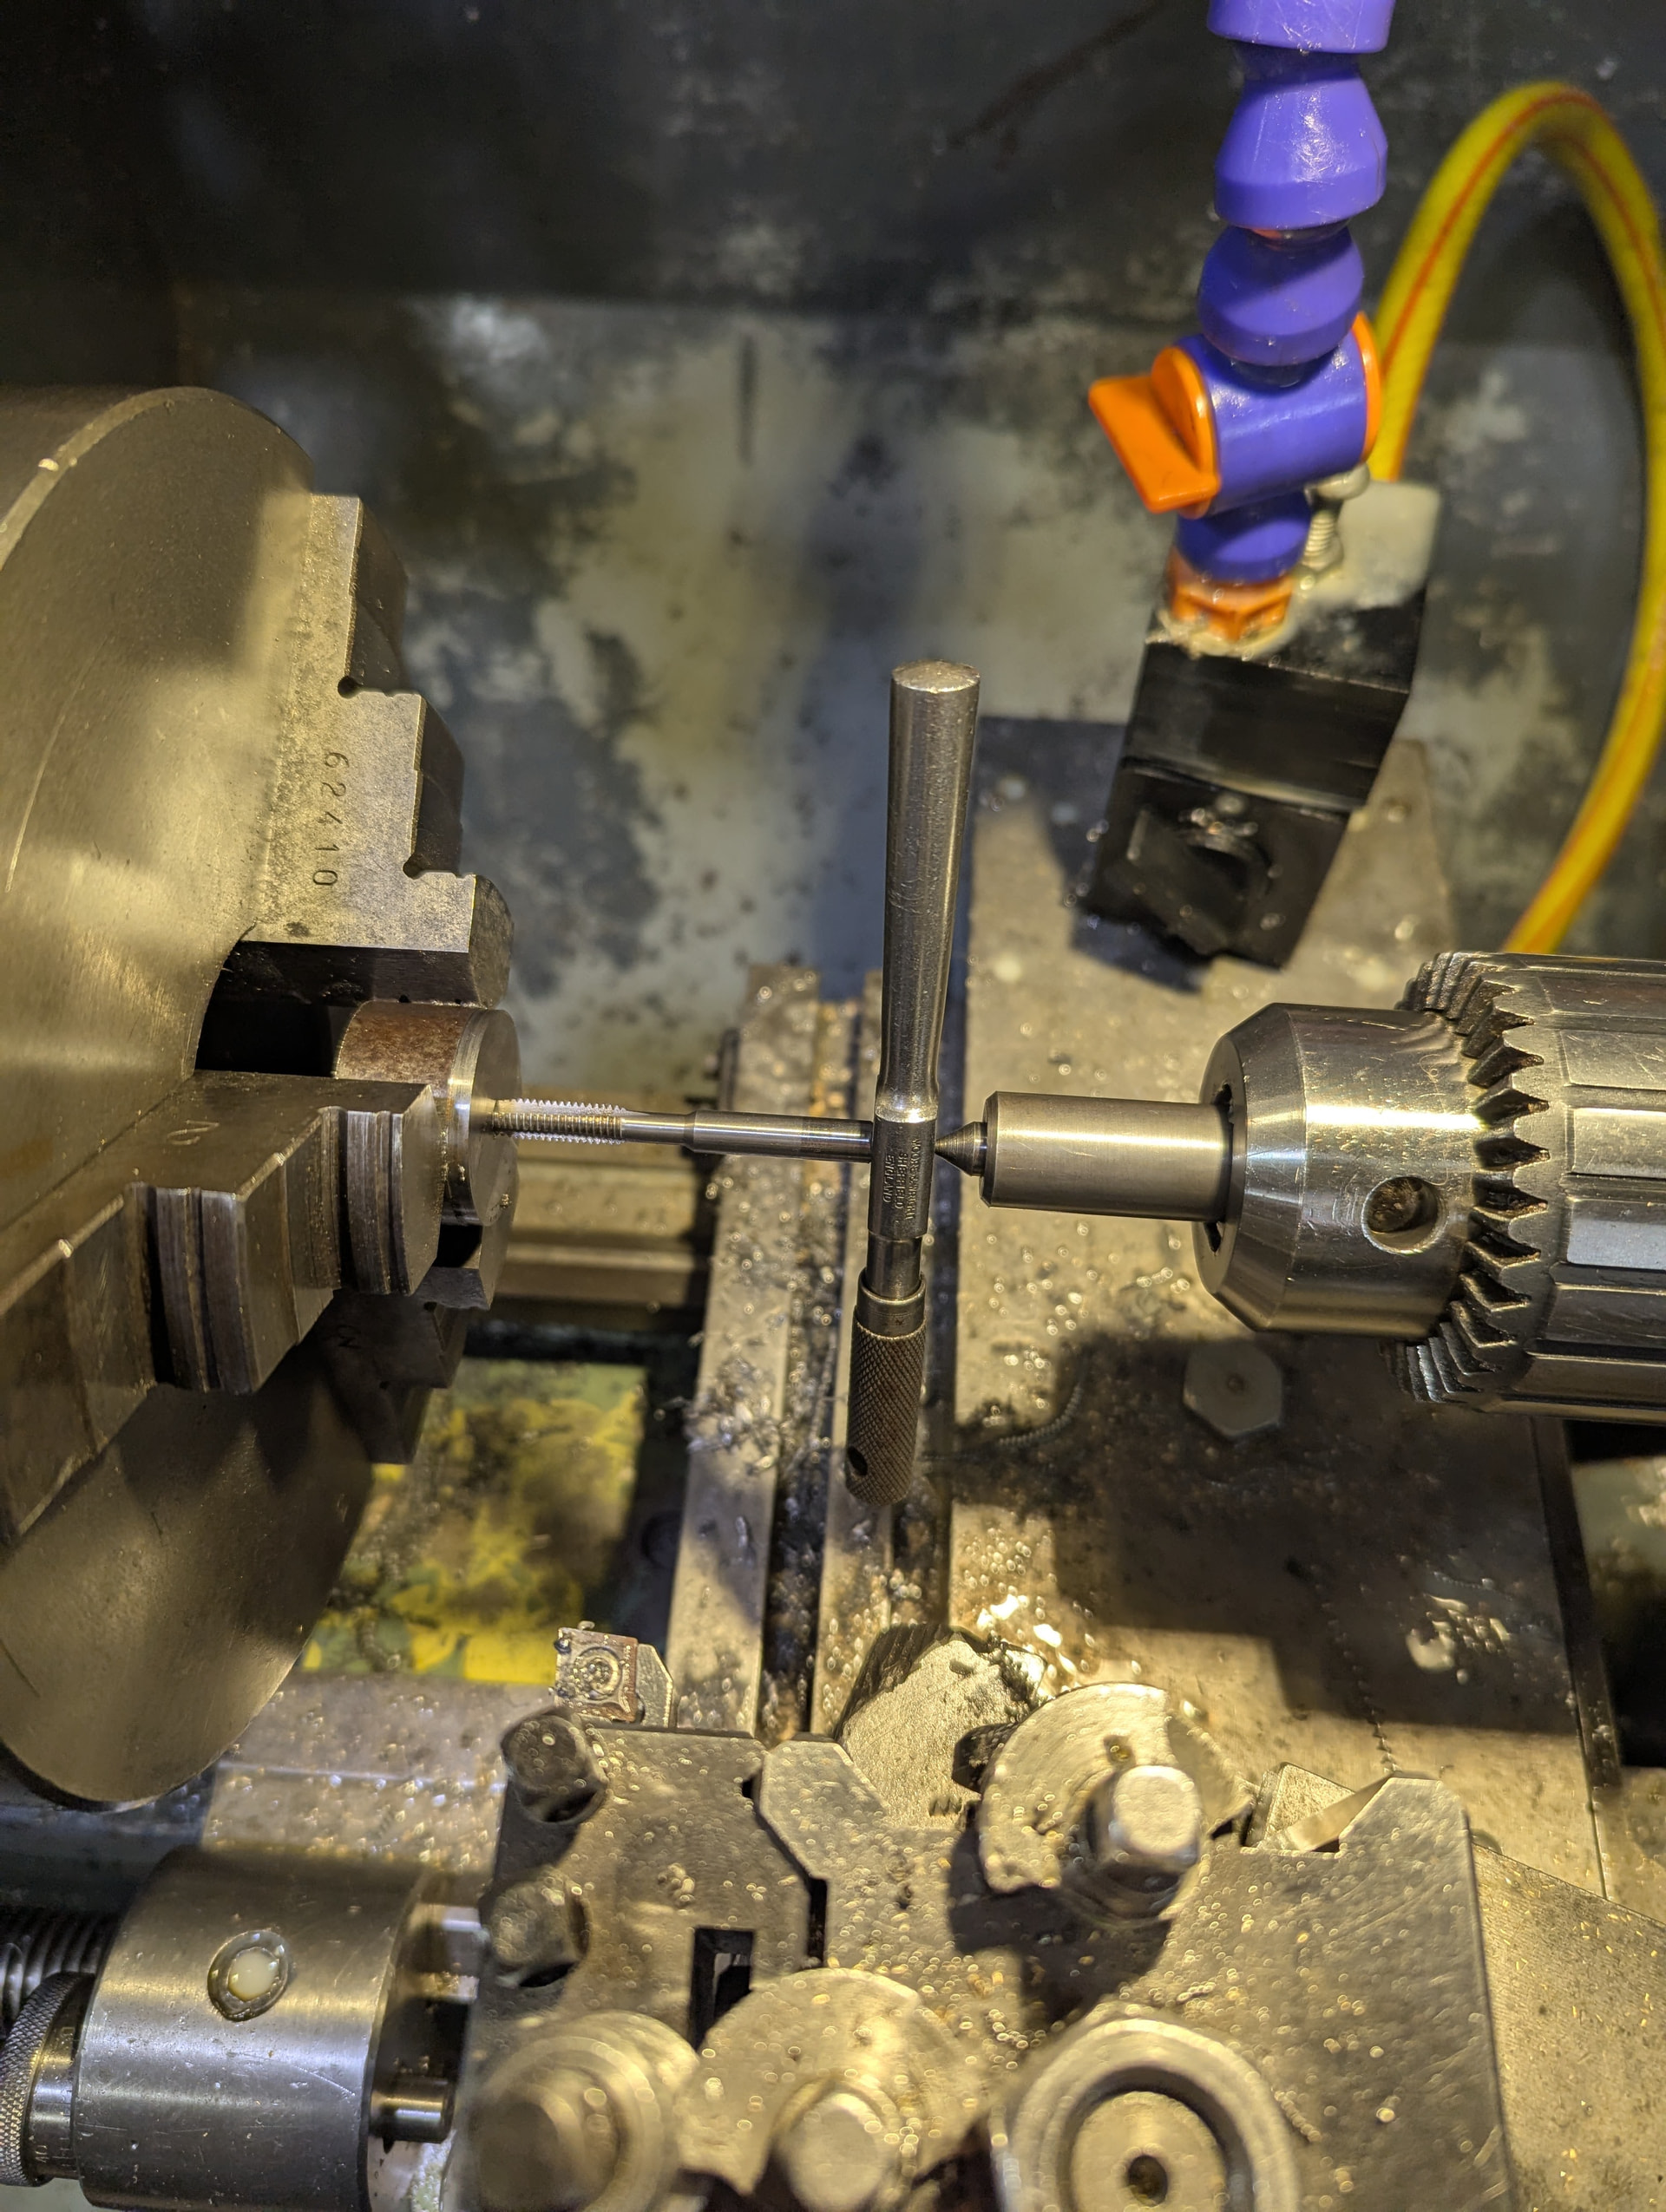
*Use a tailstock mounted die holder to cut the thread
*Part off the piece
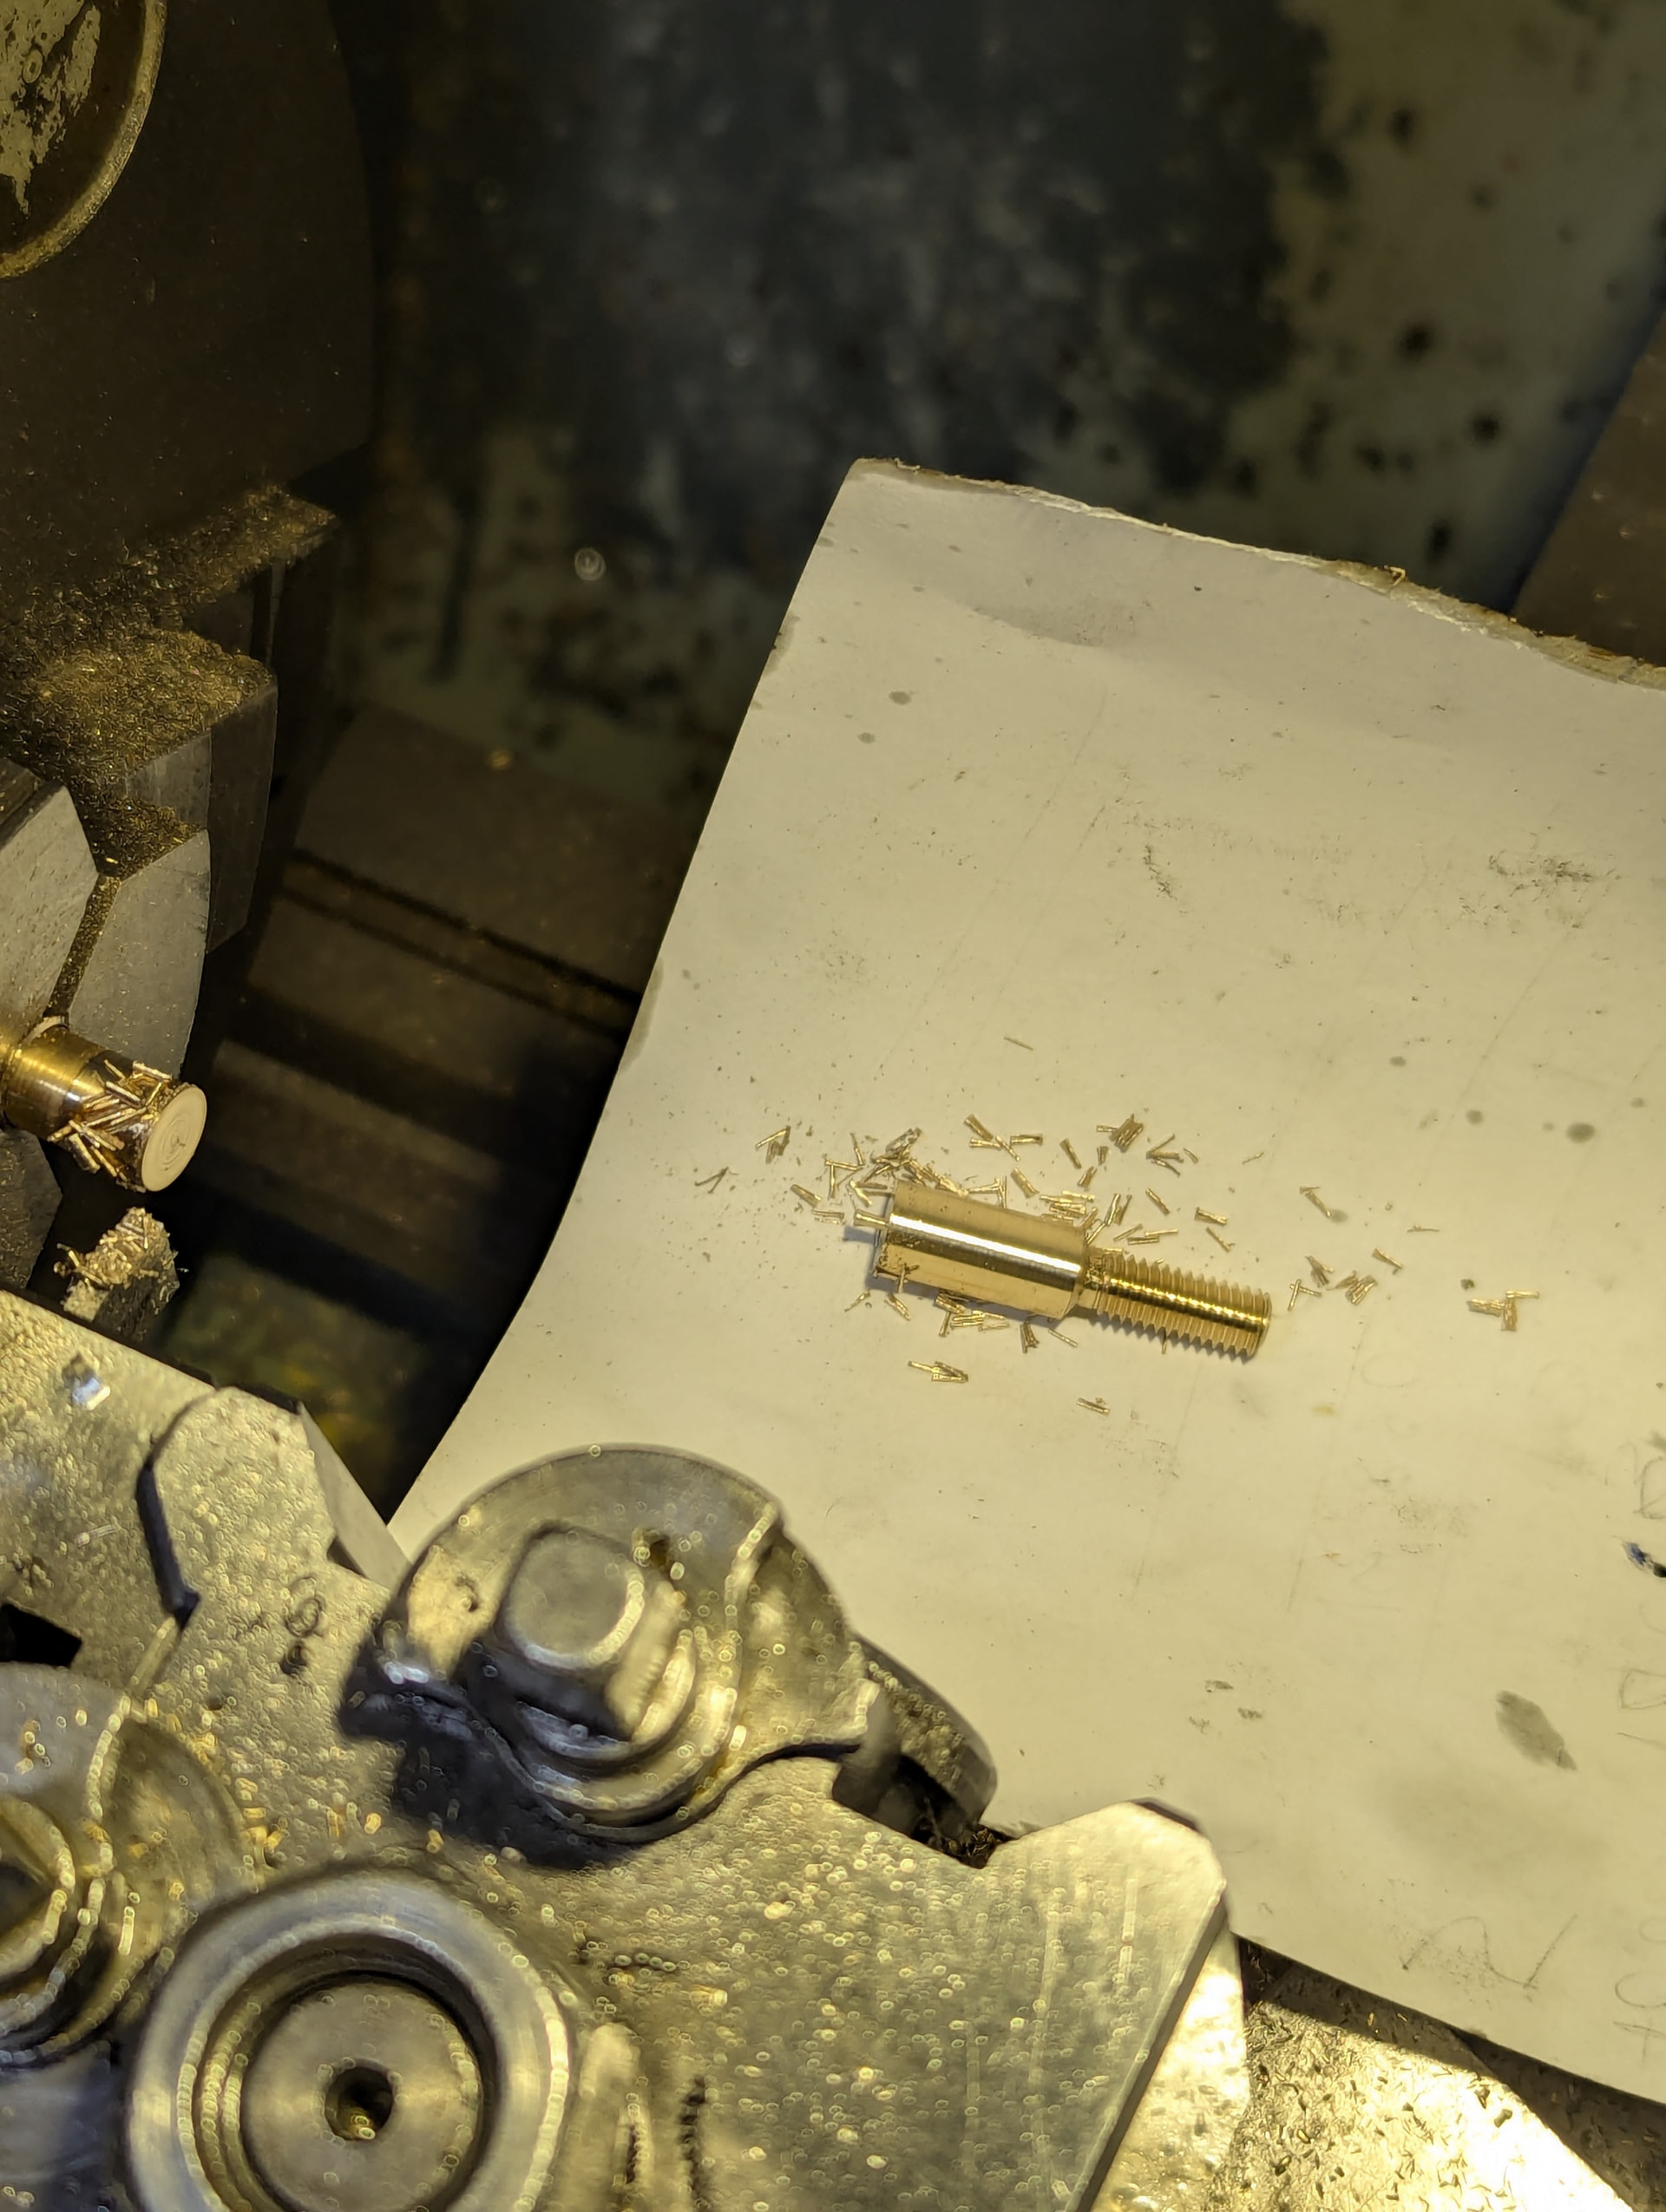
*Chuck up a piece of scrap
*Drill and tap an M6 thread
*Thread the parted off piece into this thread

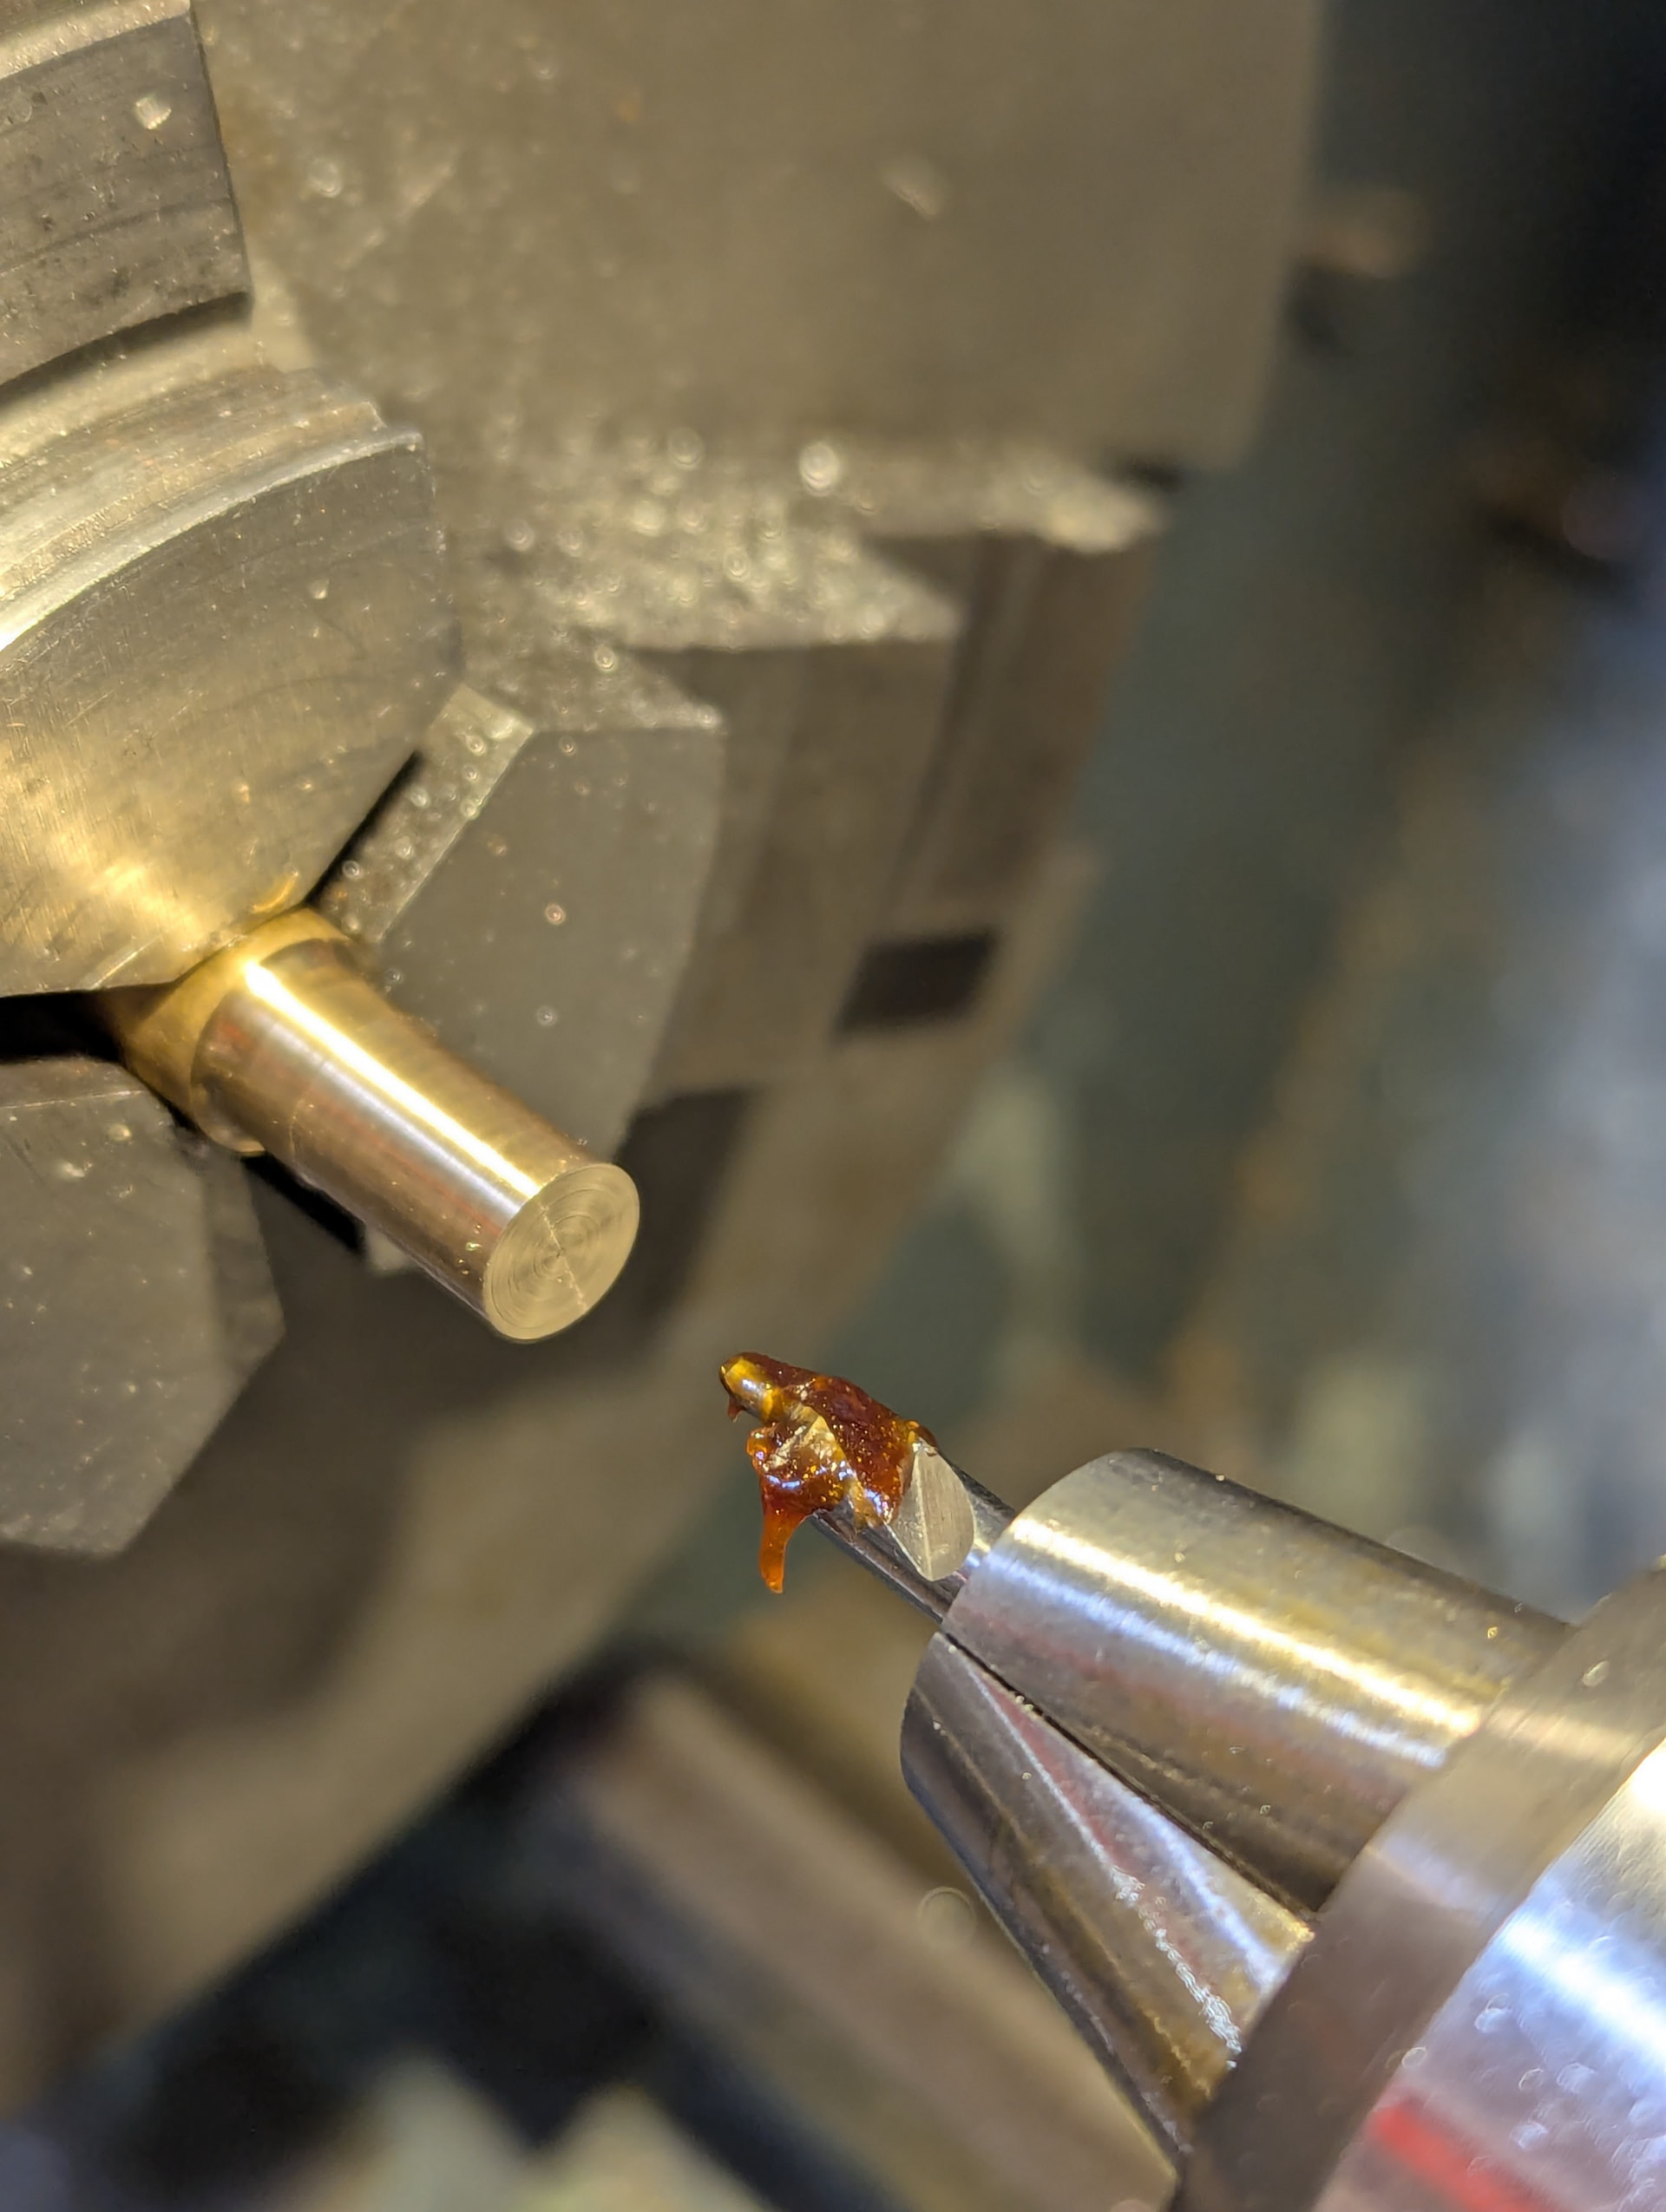
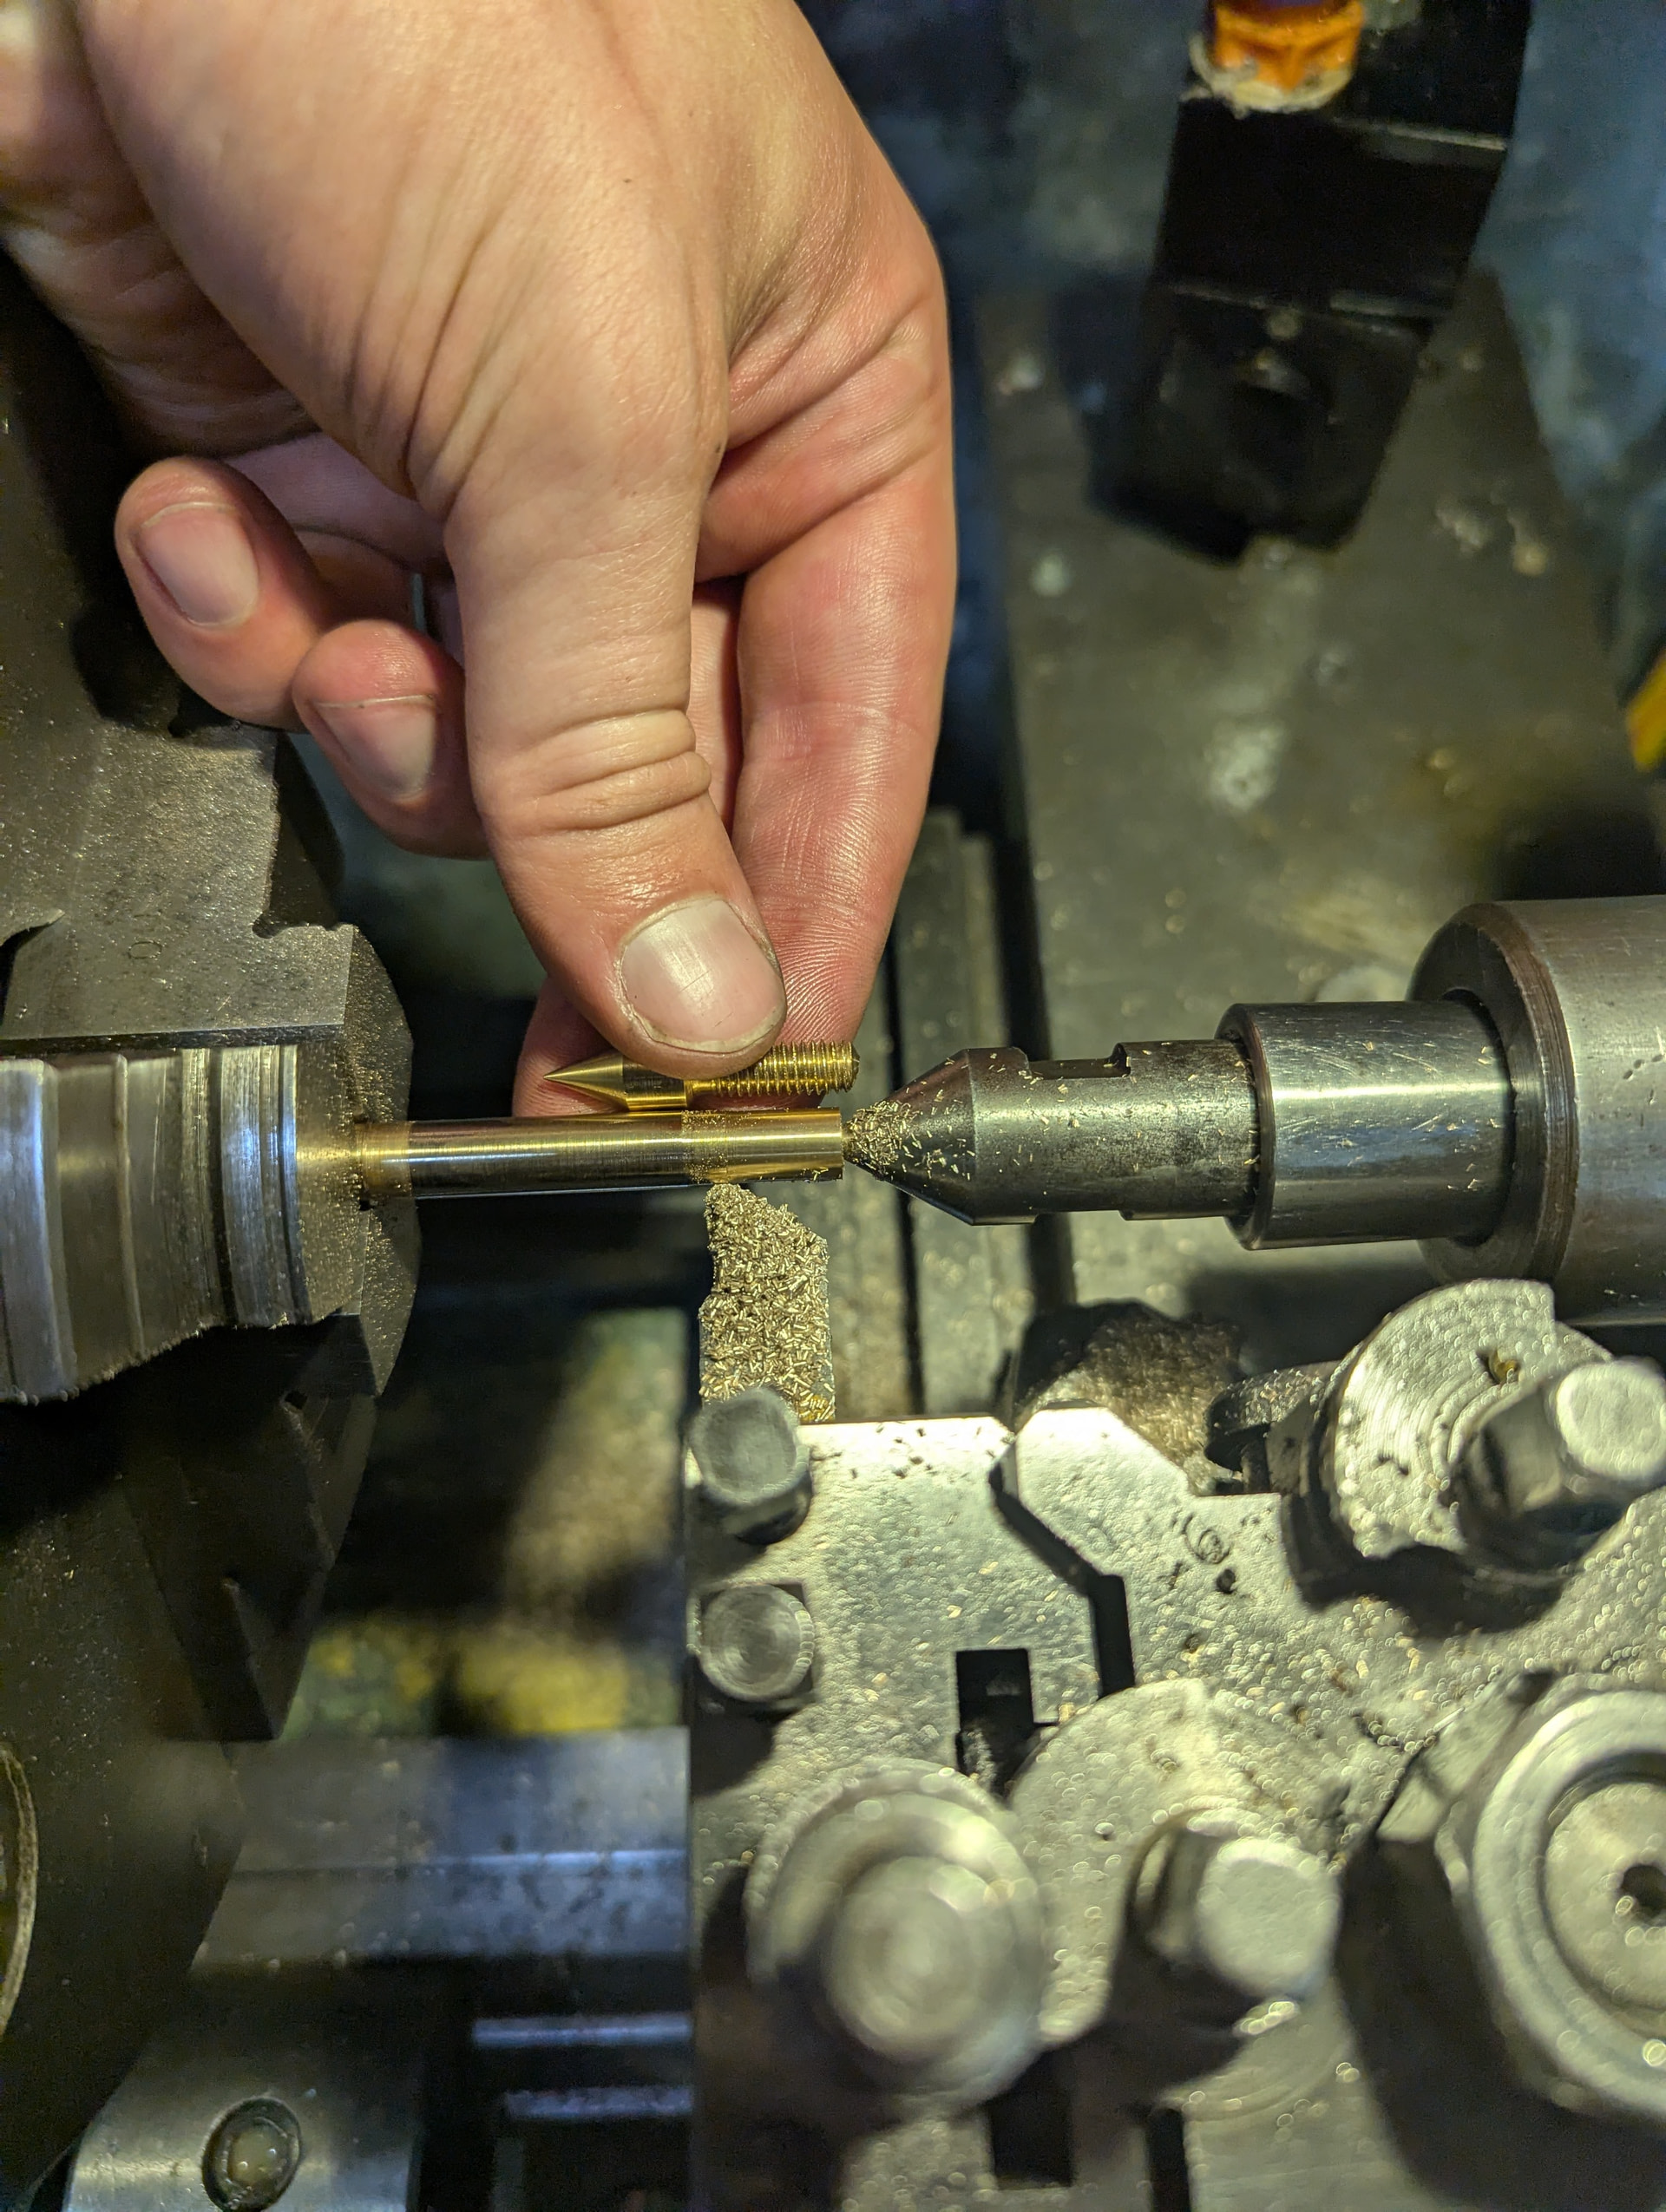
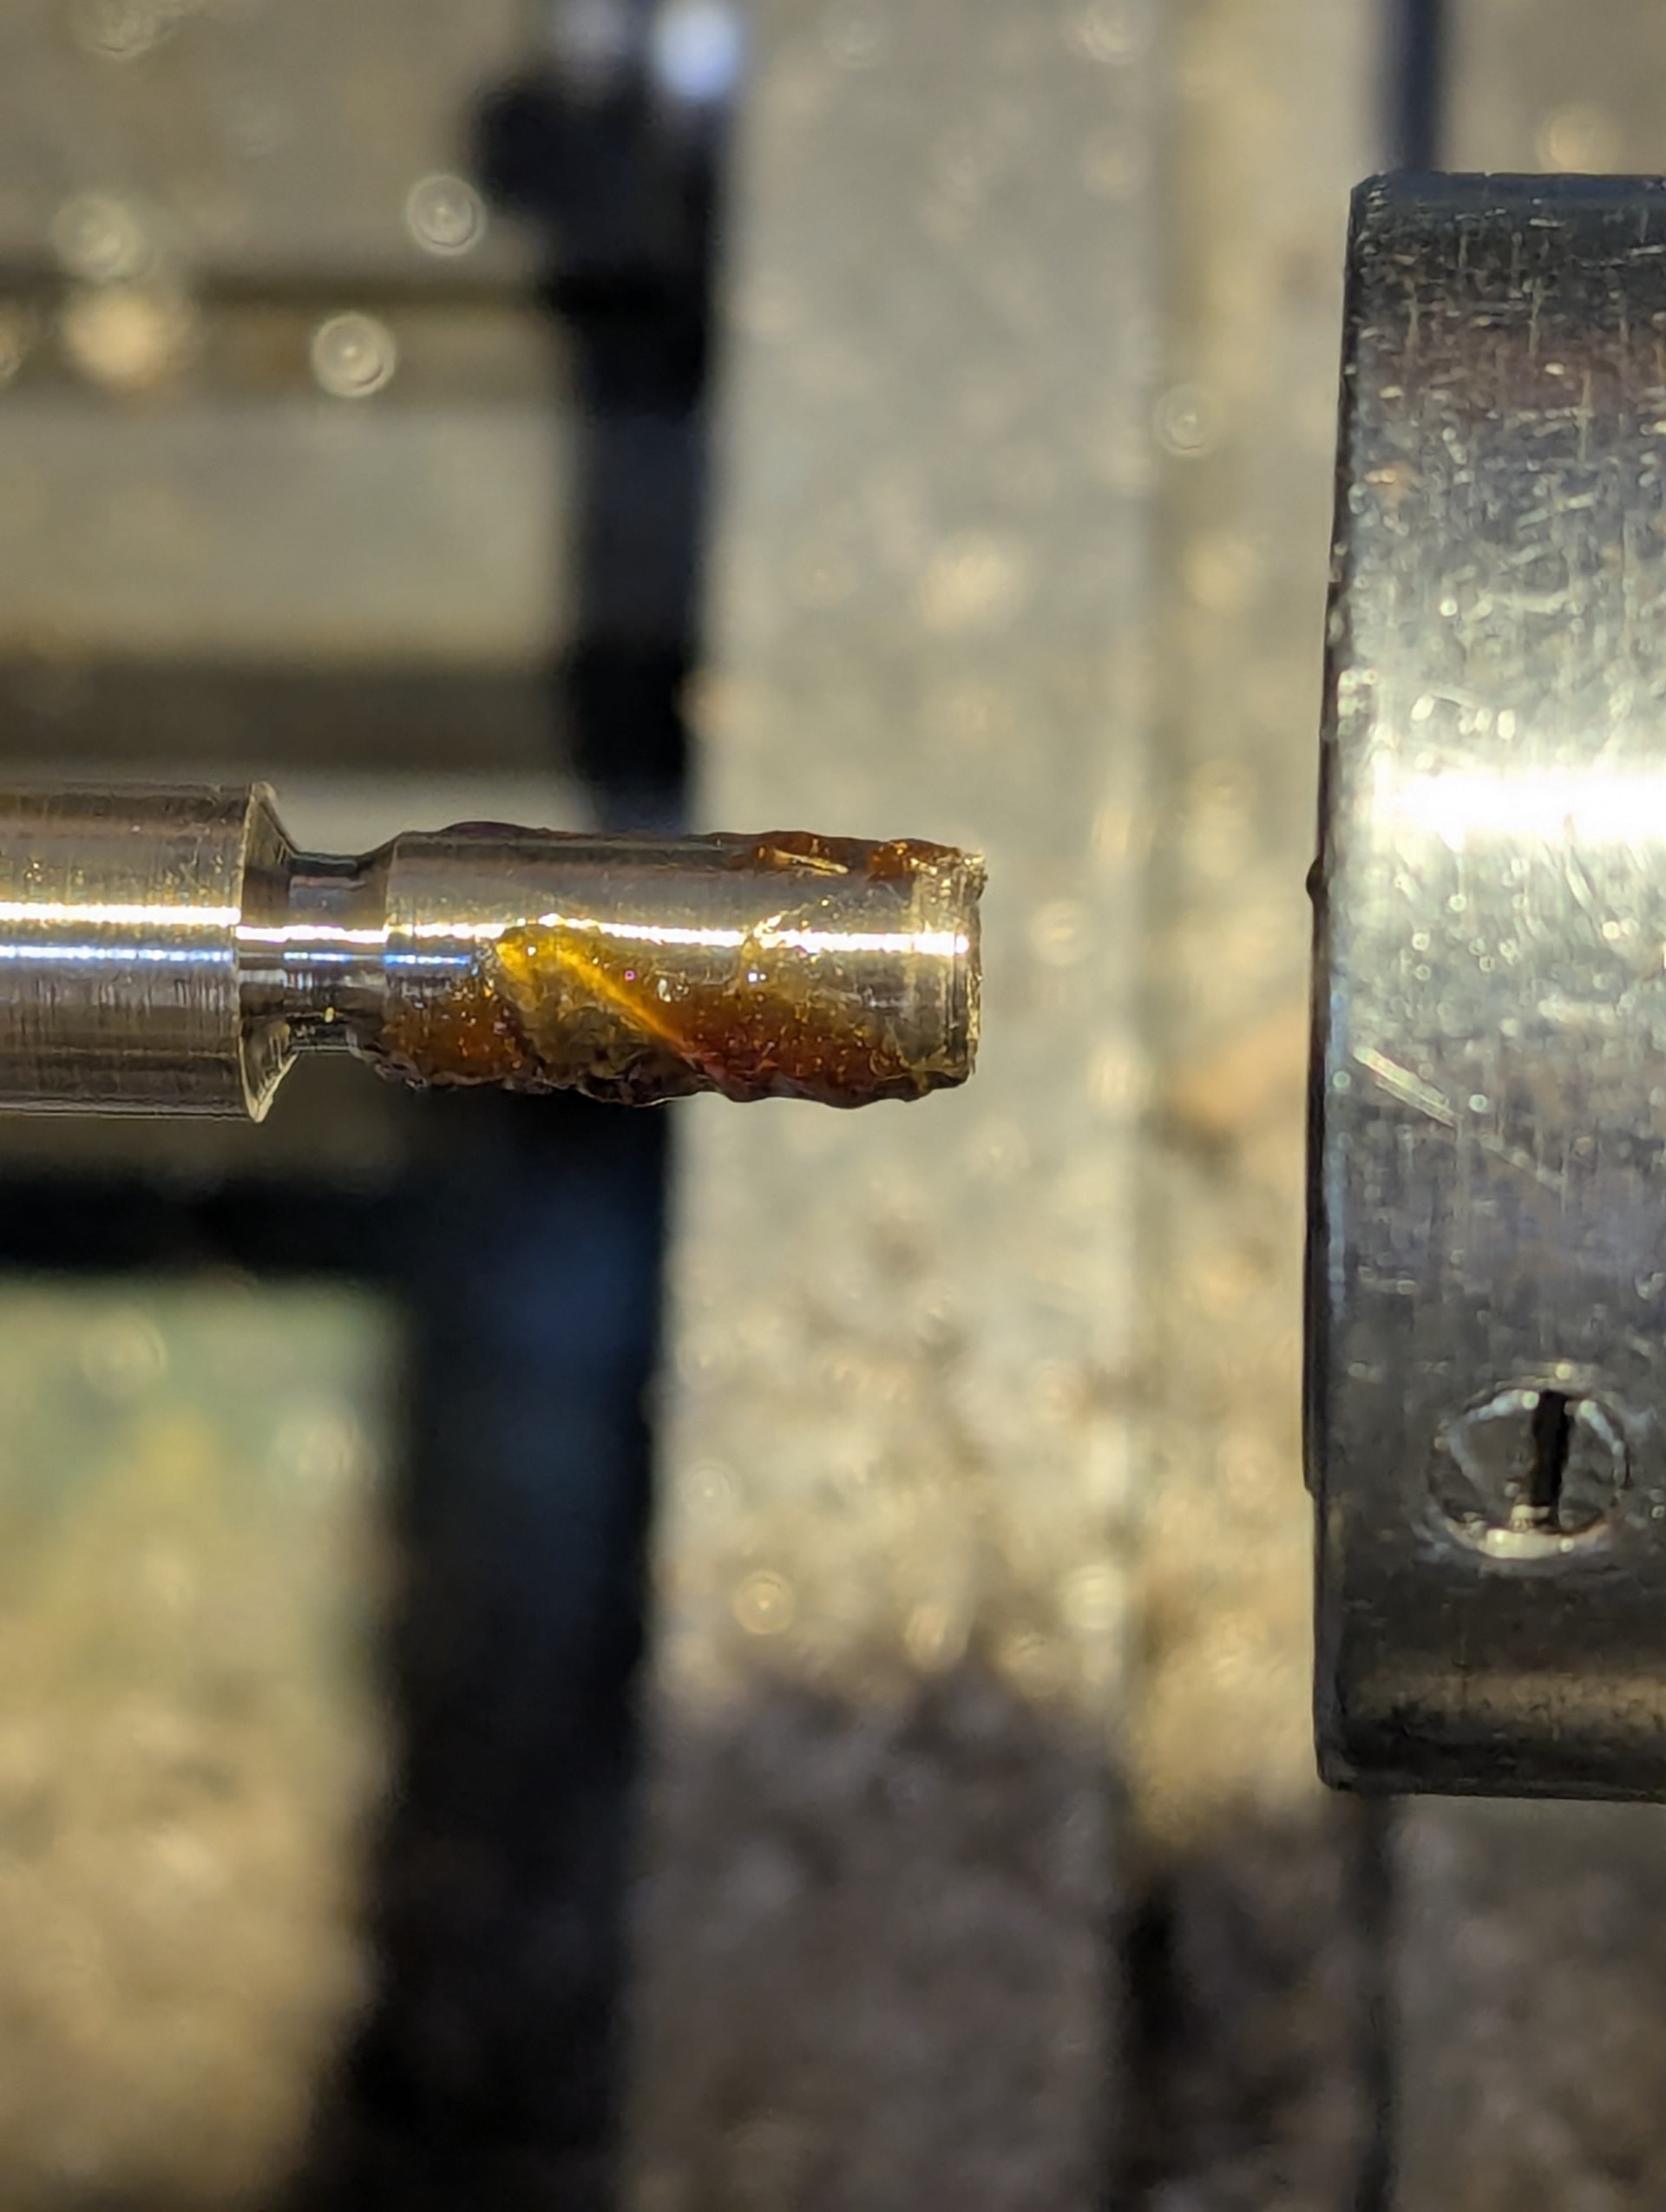
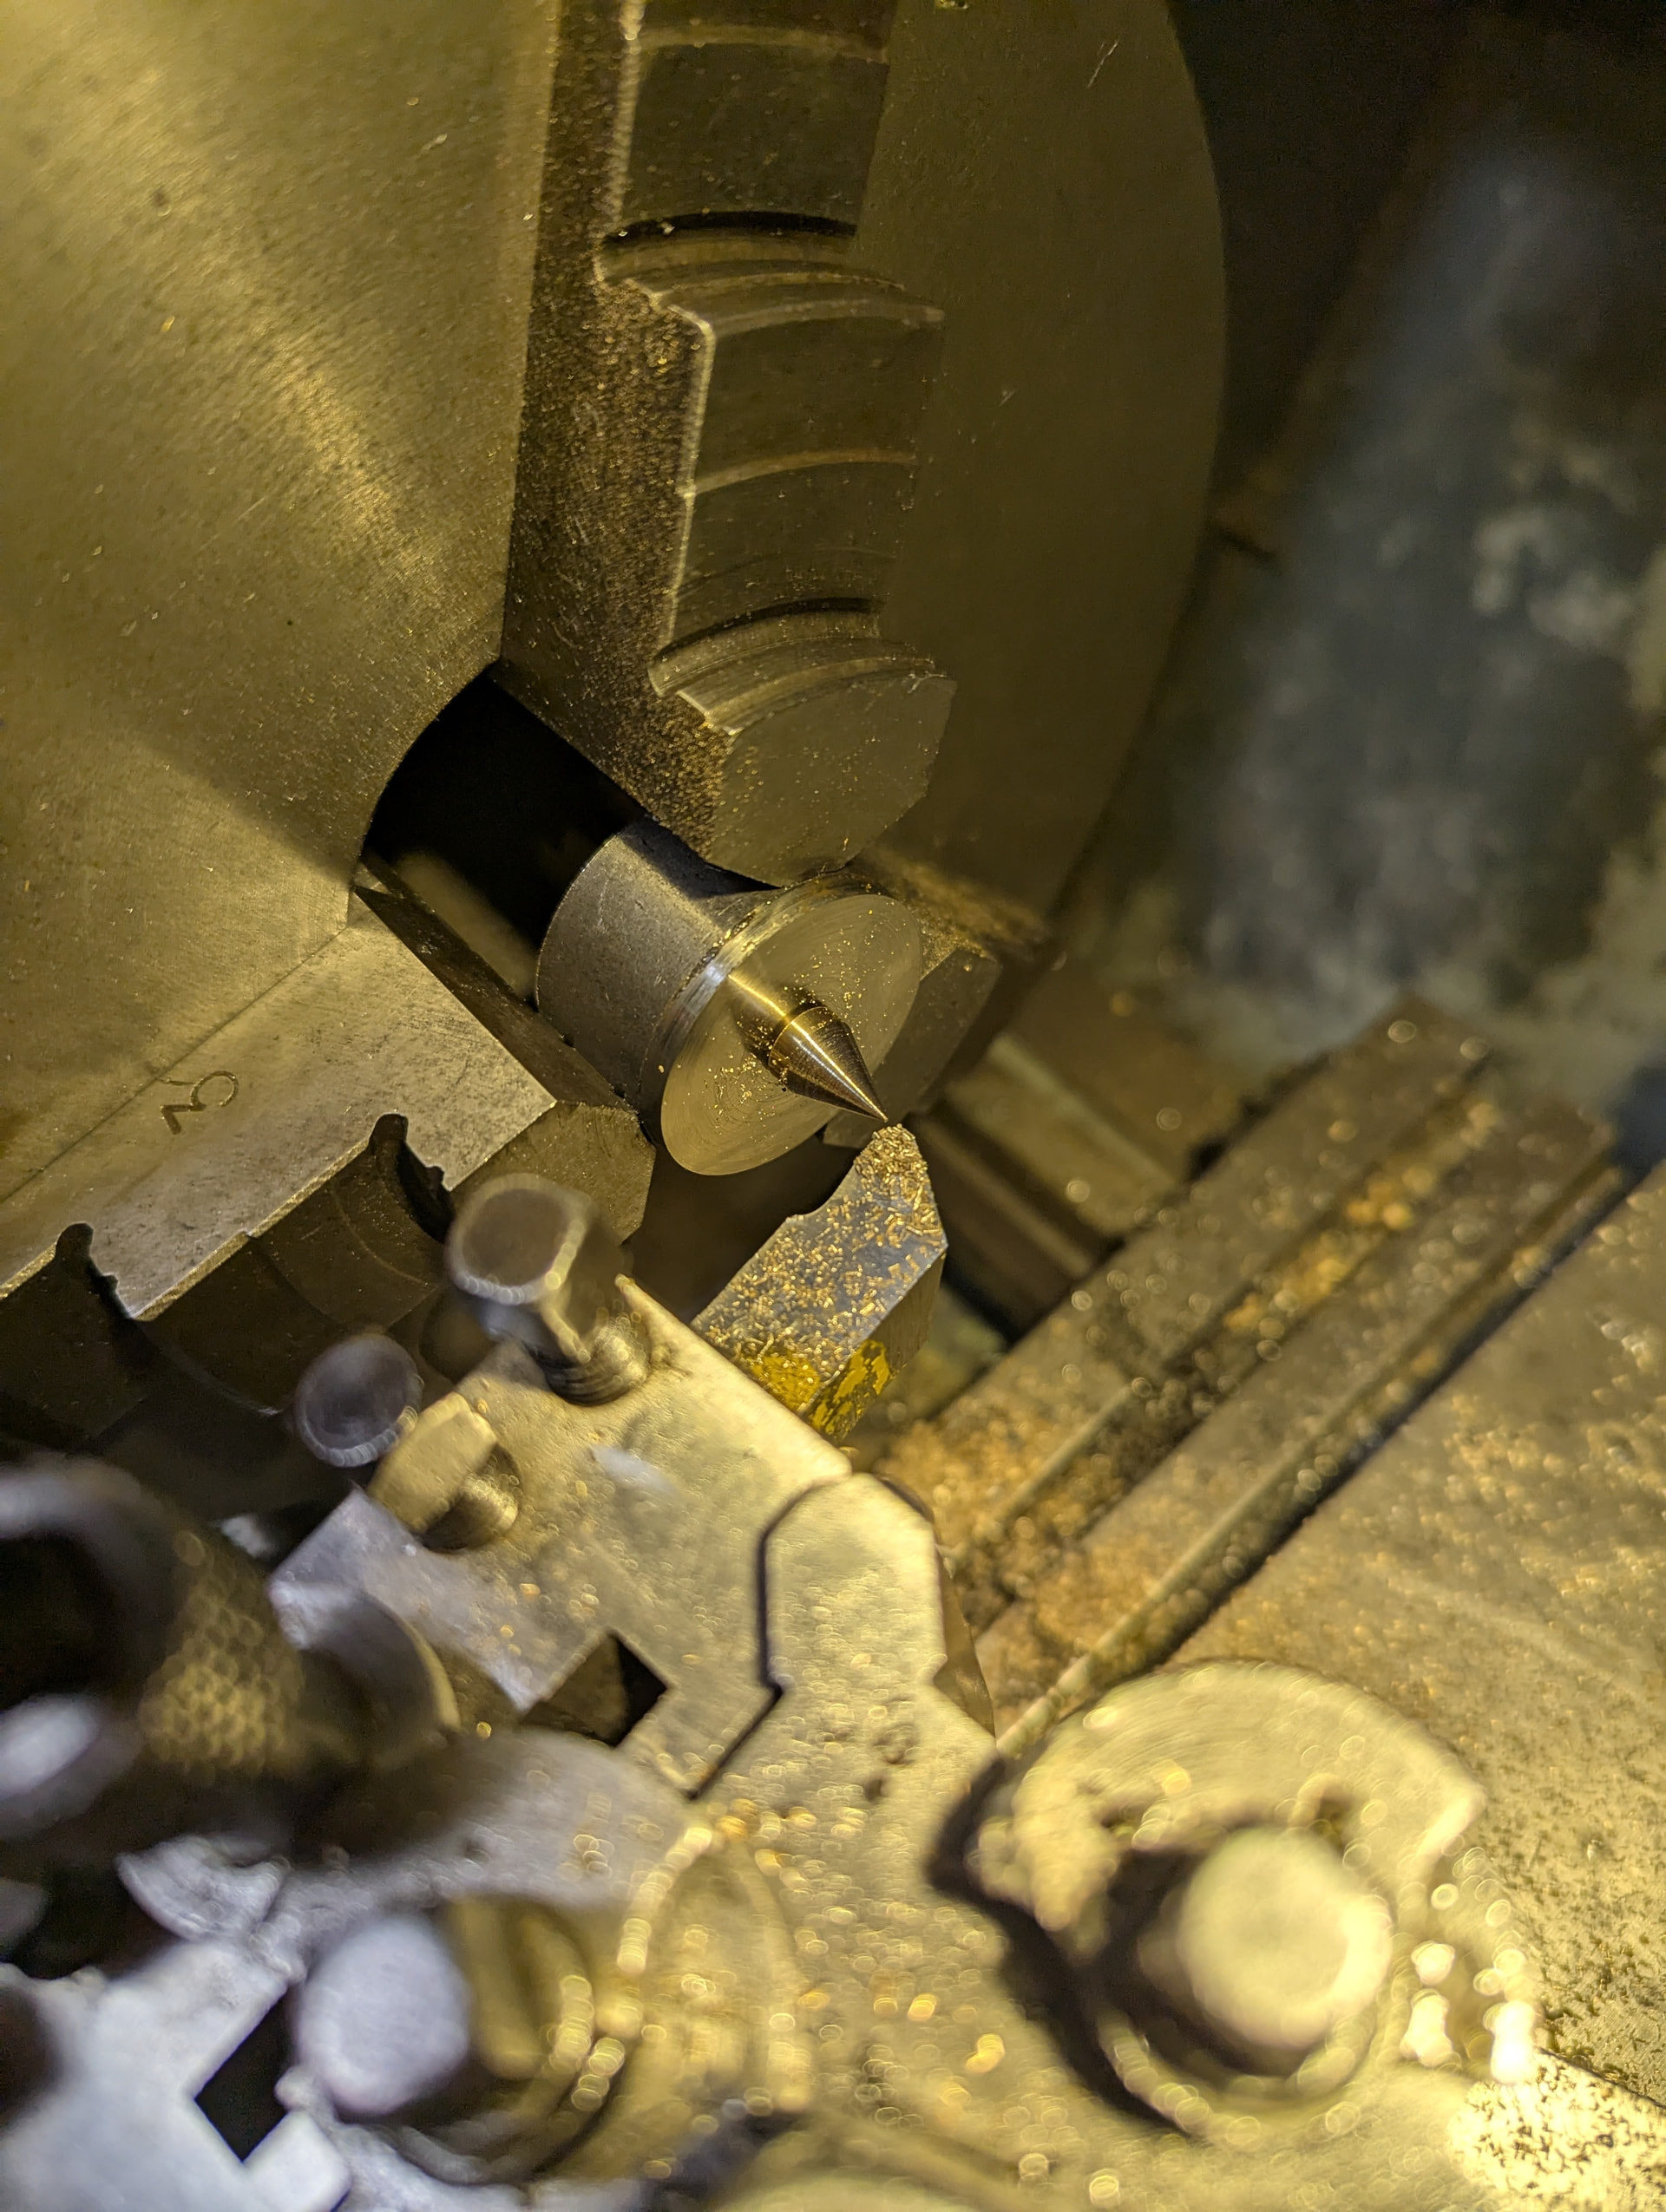
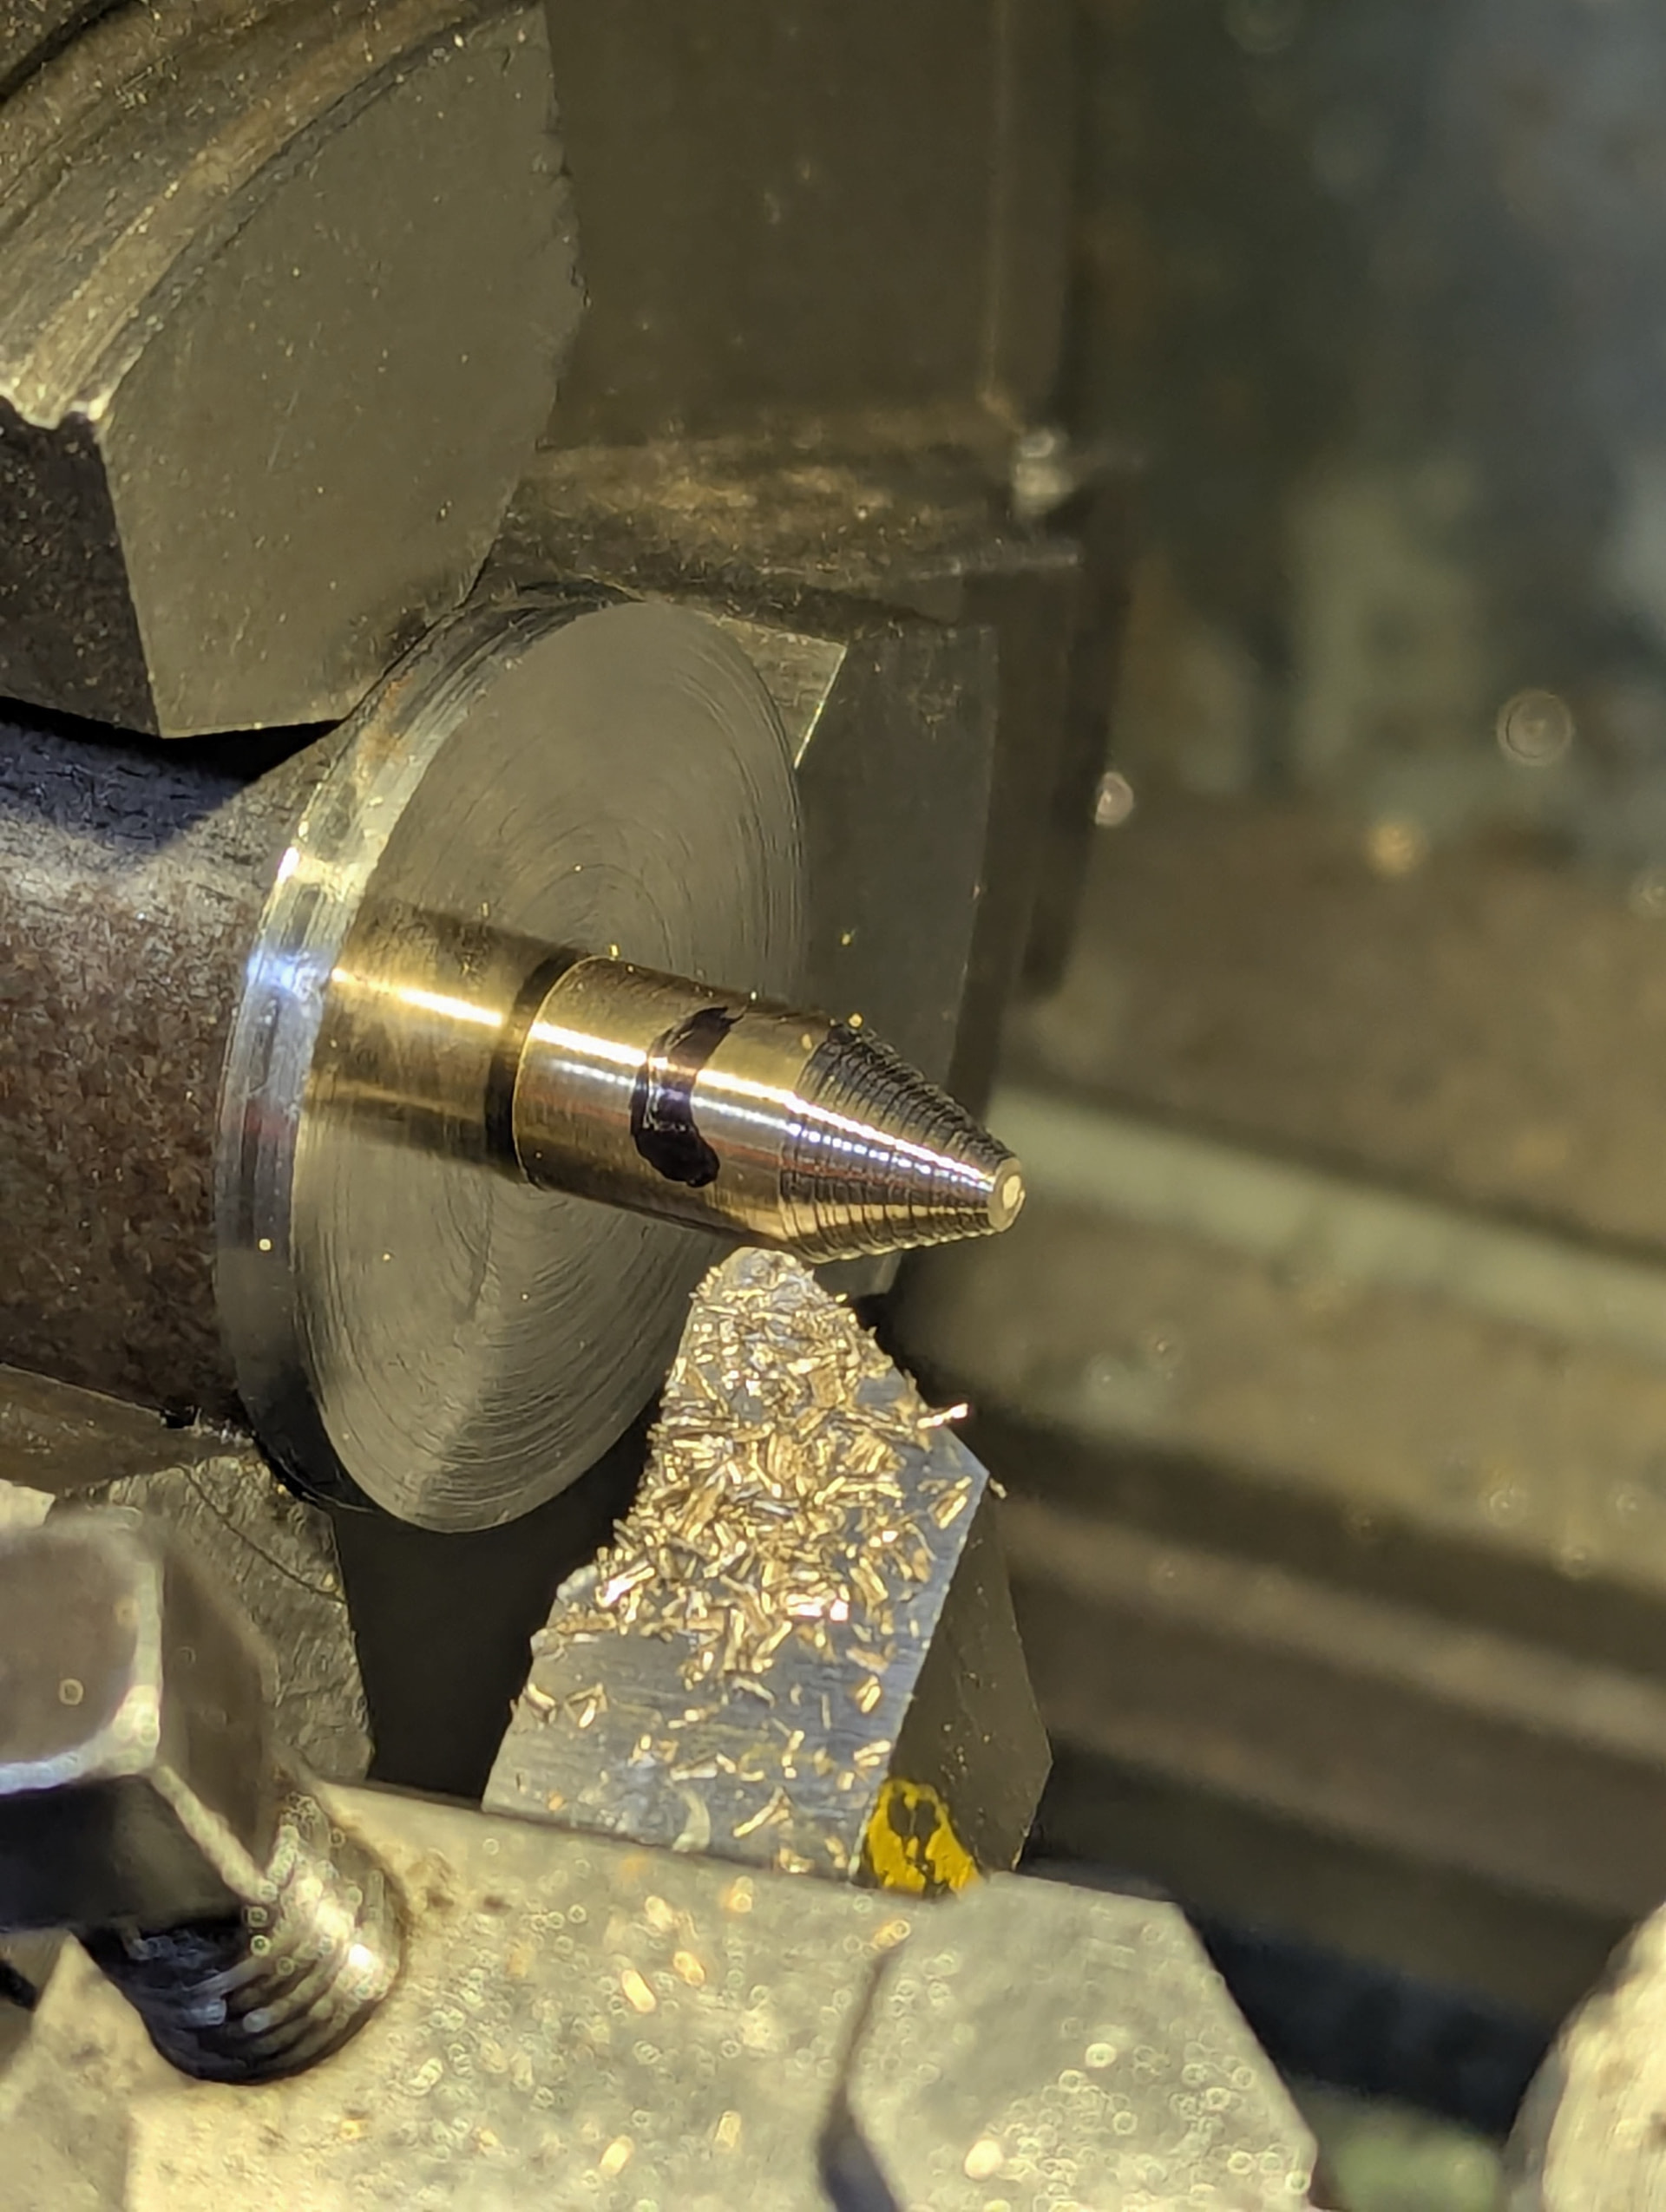
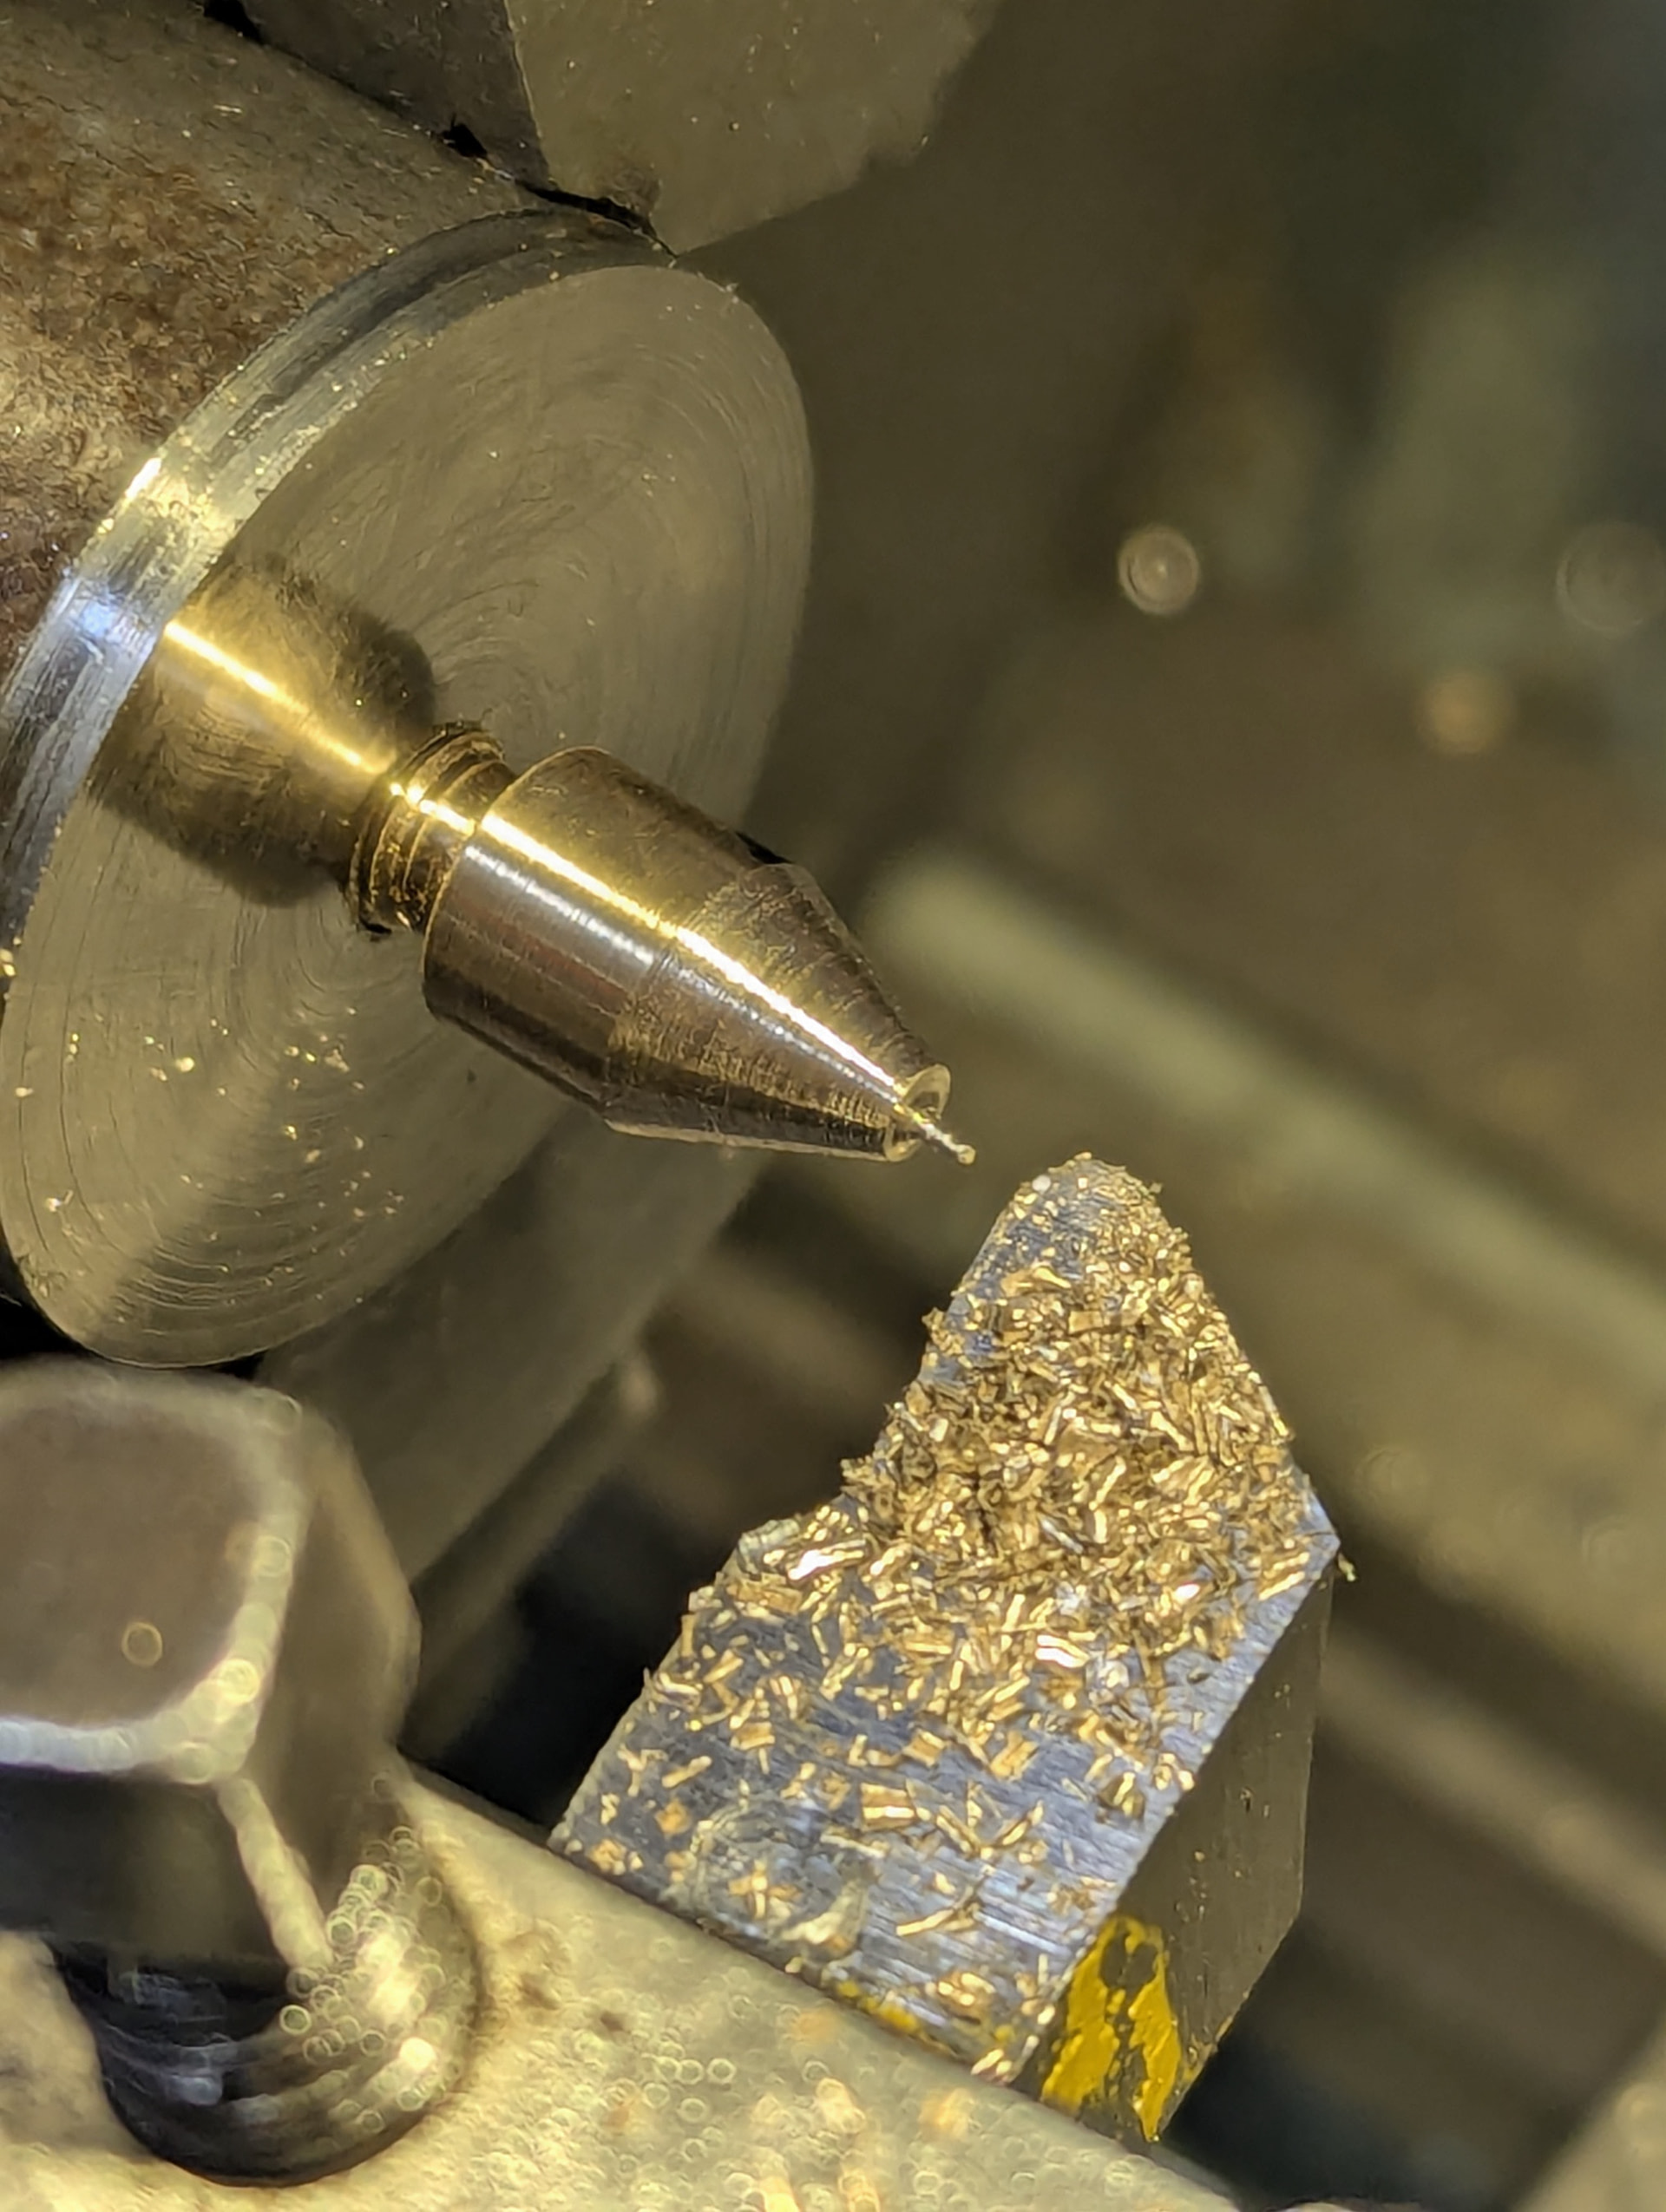
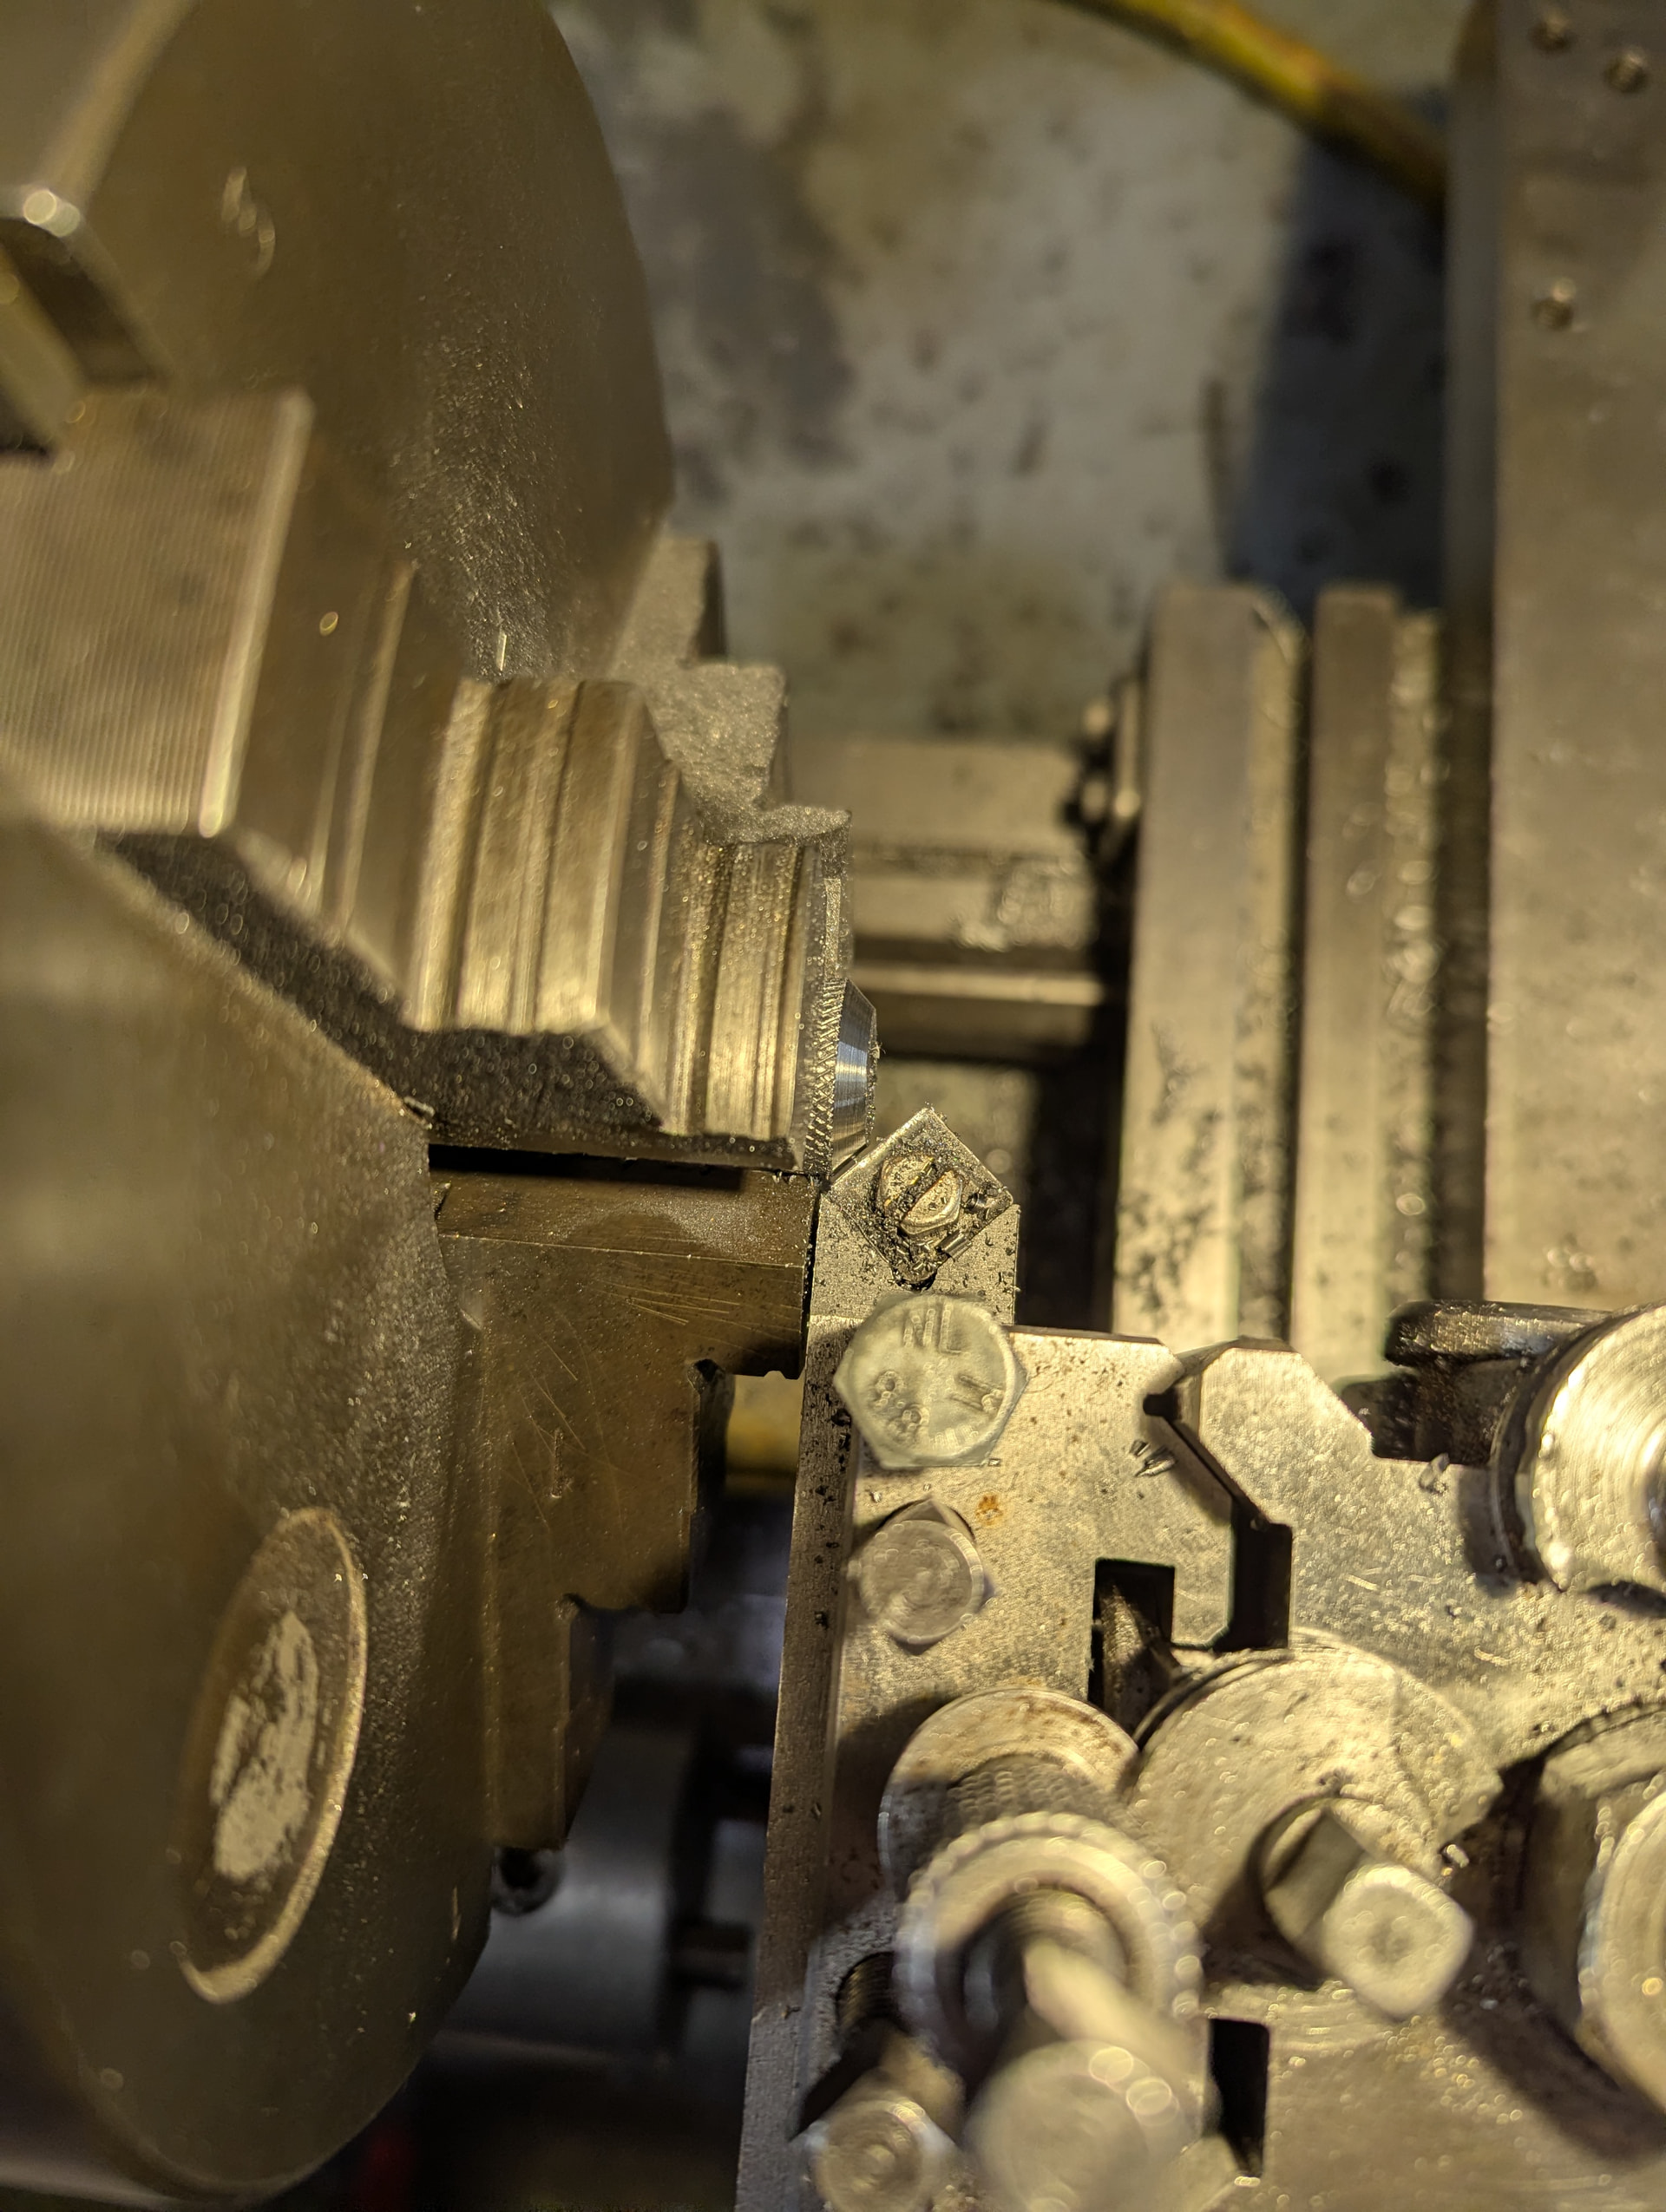
*Set the compound to 22.5°
*Take shallow passes back and forth until the spike is sharp and looks the correct length
Problems
Ran in to a couple of issues with this approach, most notably precession, where the piece was coming loose as I tried to cut the taper
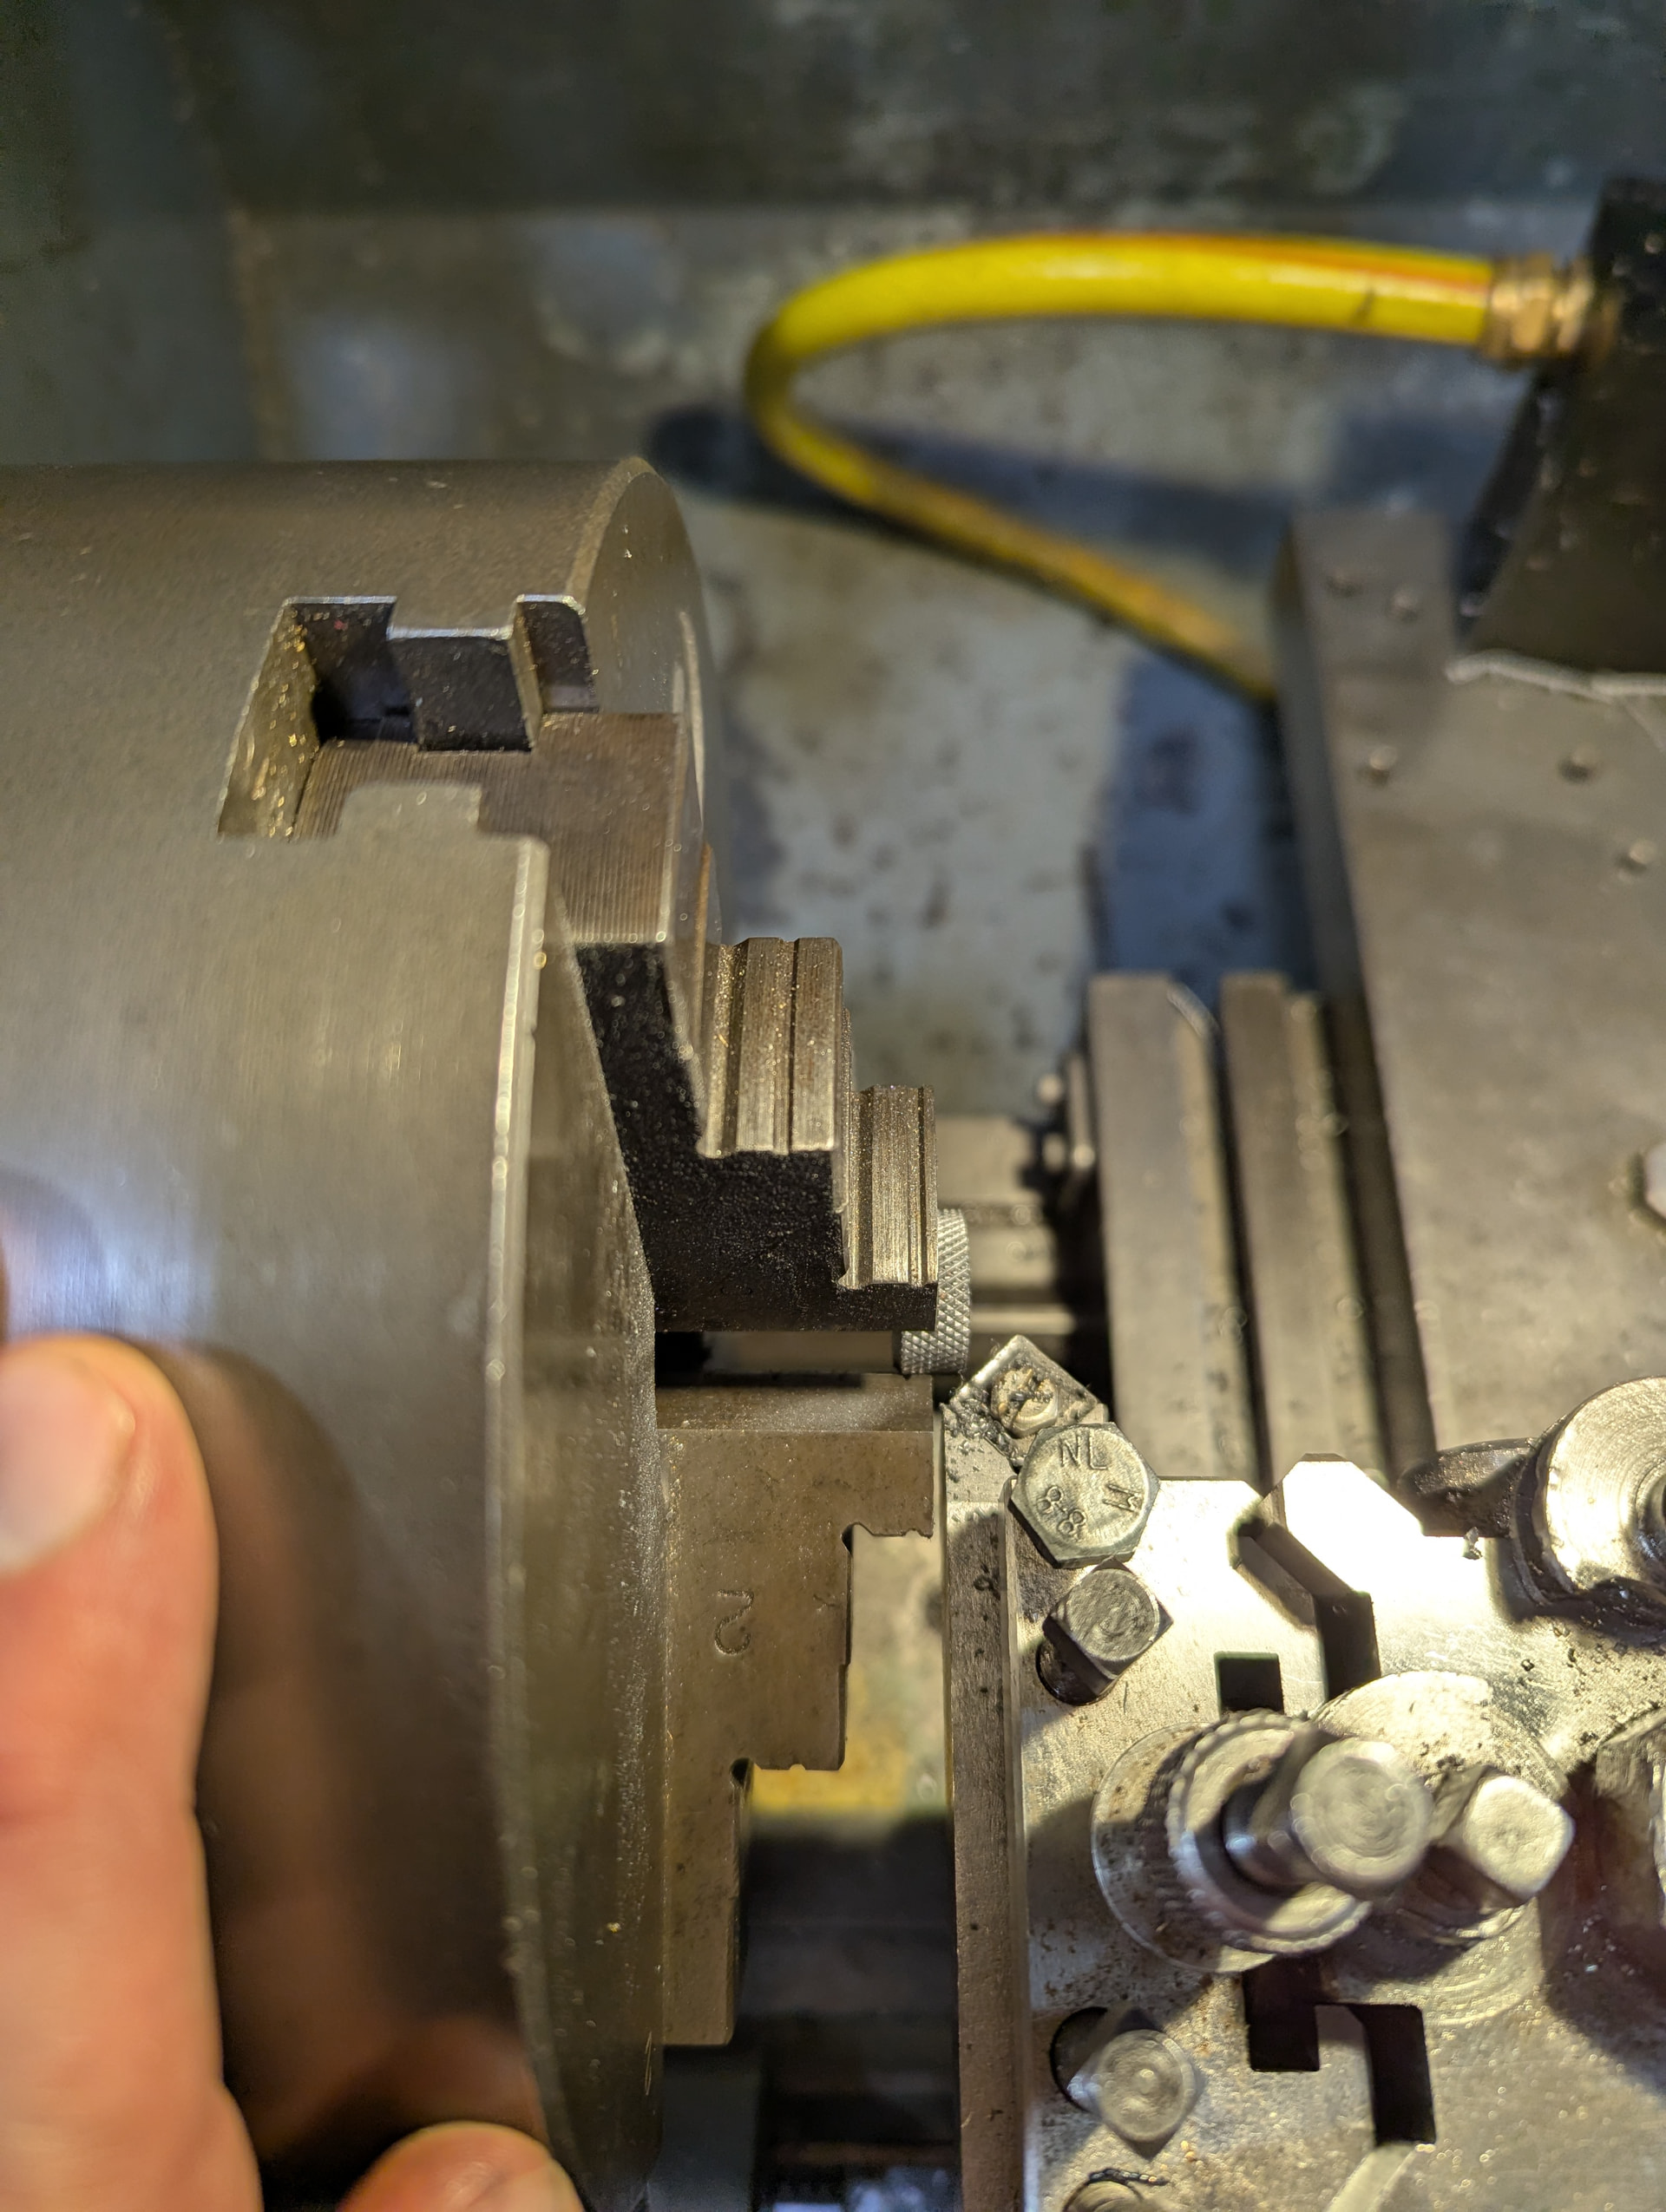
V2
V2 was very similar, but when it came to mounting the threaded piece, I instead use a collet block in the chuck and grip the threads in an ER collet.
Problems
The low surface area being gripped meant that sometimes when trying to clear our material if I moved too fast then piece would come loose. And some of the parts left far too much material
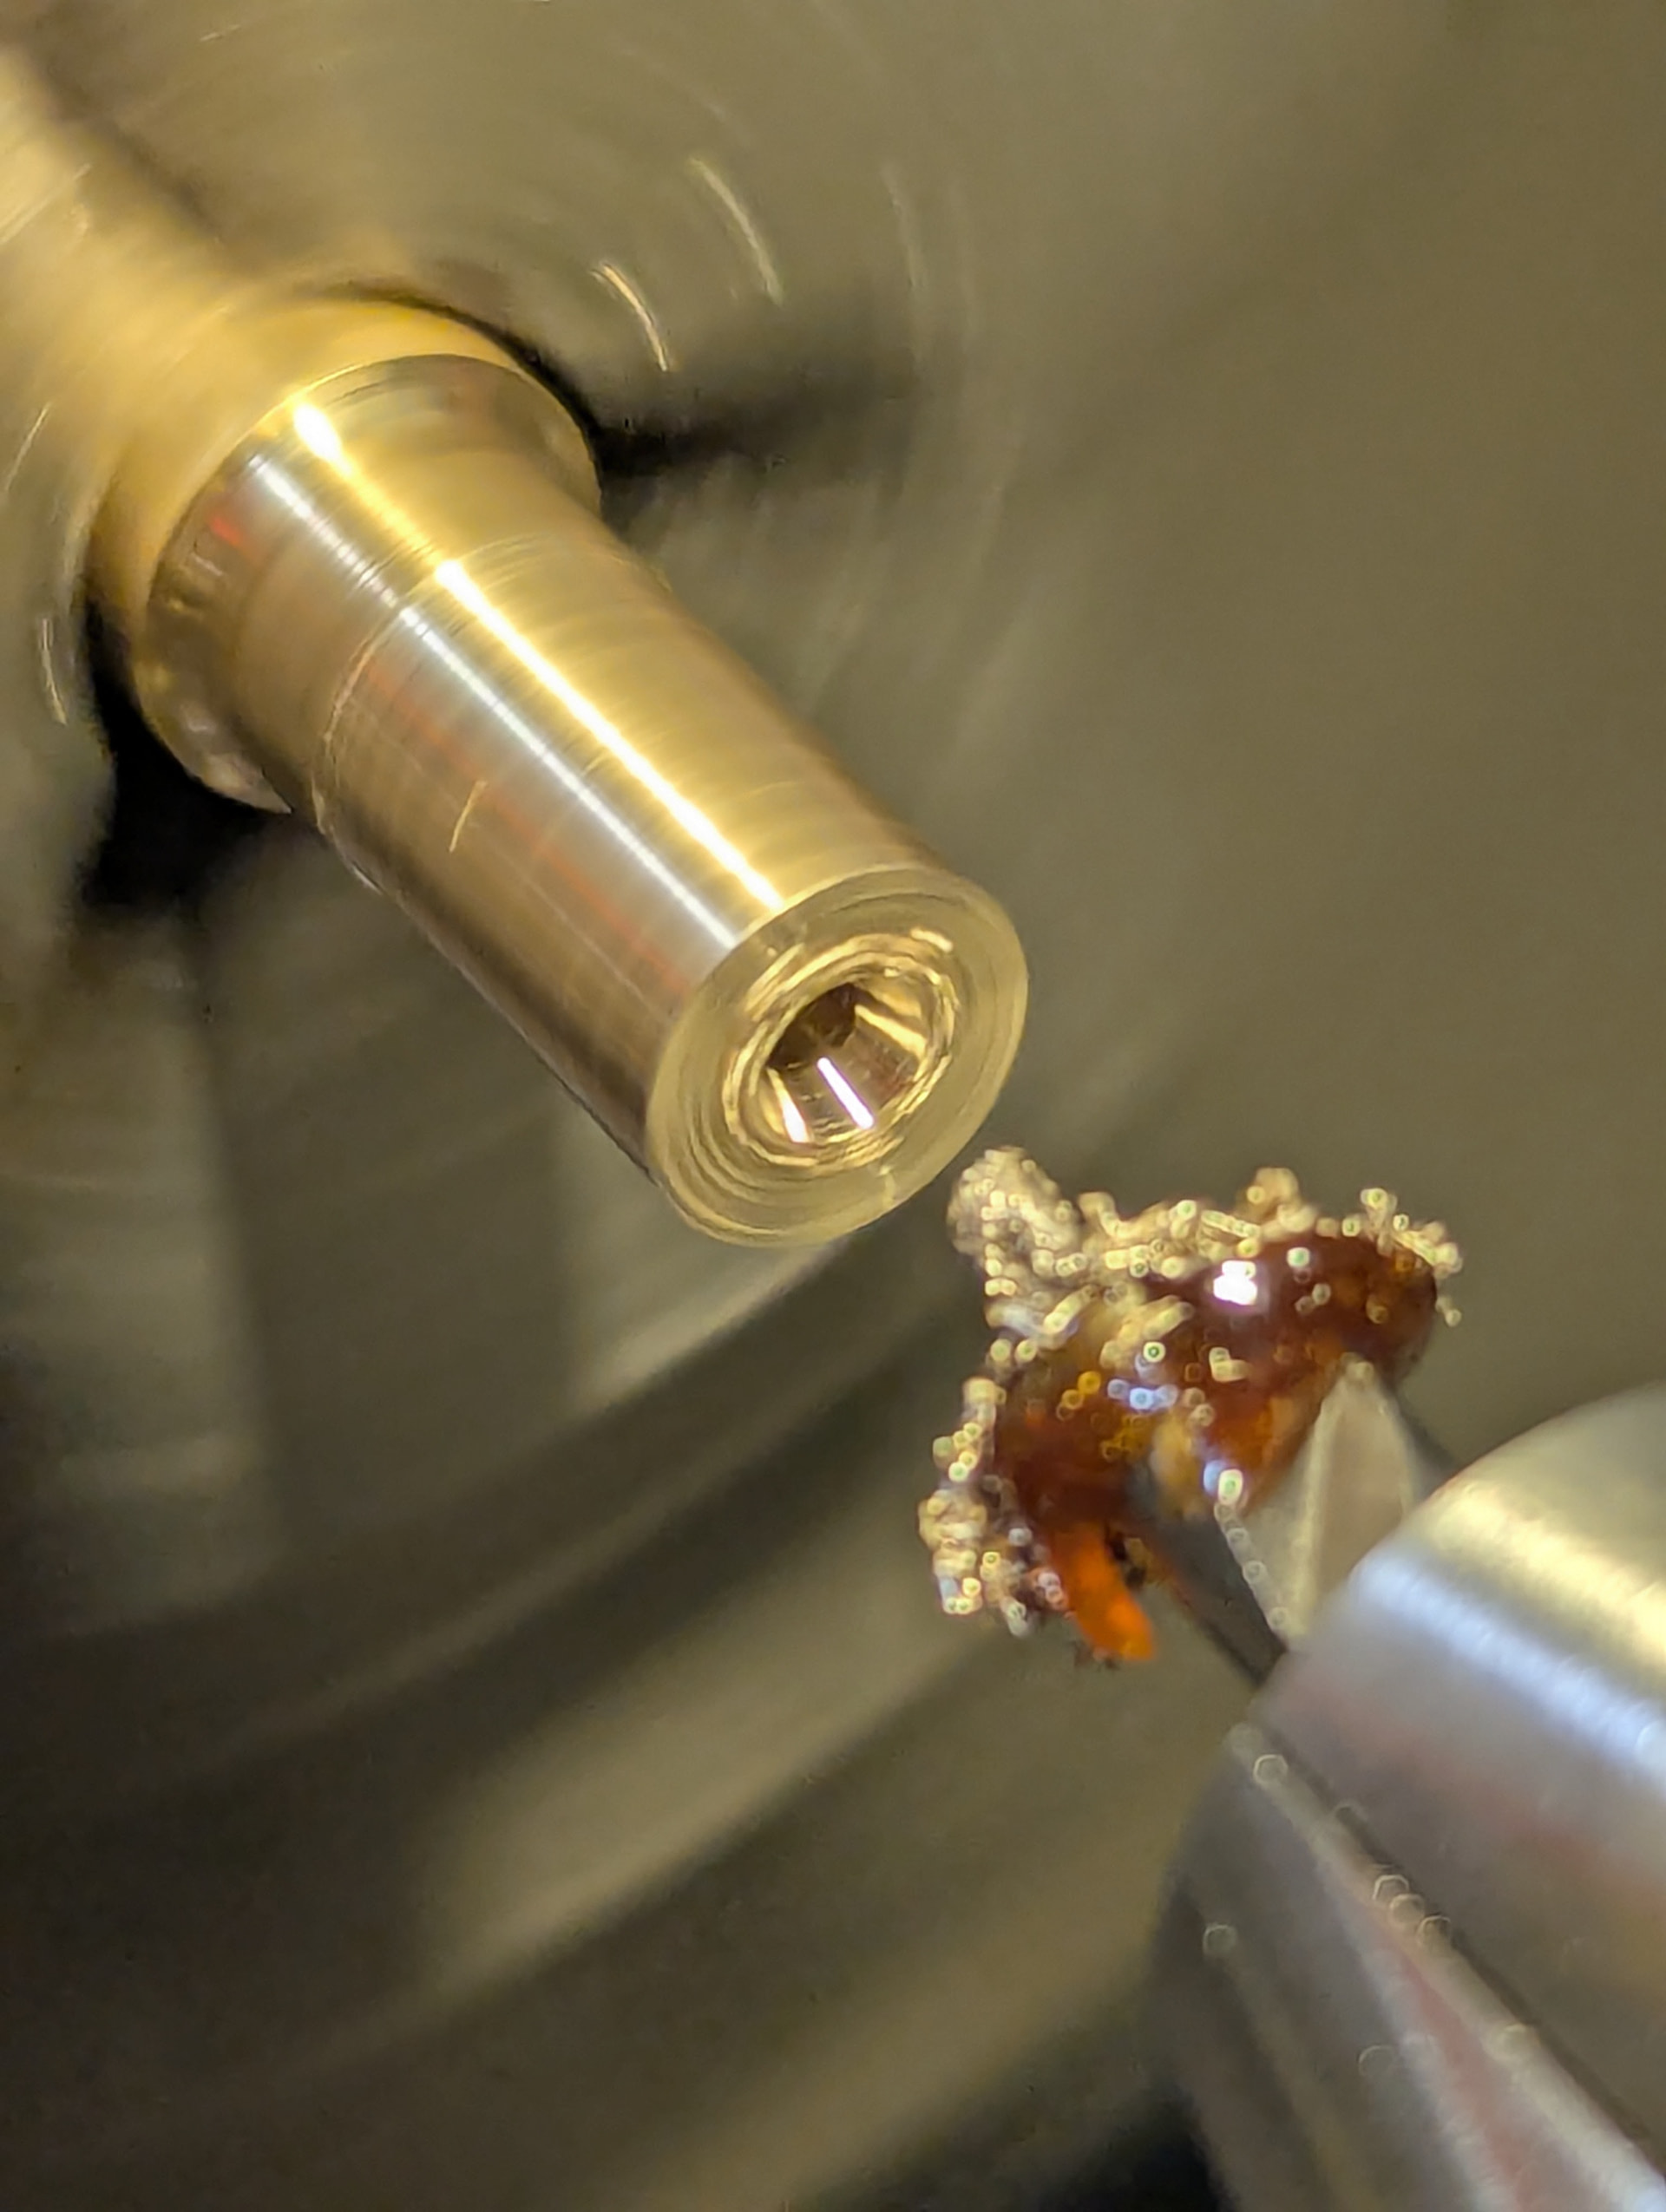
Nuts
Having finally made the spikes I now needed to make the nuts. These were made out of steel not brass as that’s what I had at this point and I really wanted to tie this project up (I also took less photos of this stage)
- Center drill
- Drill
- Tap as deep as possible
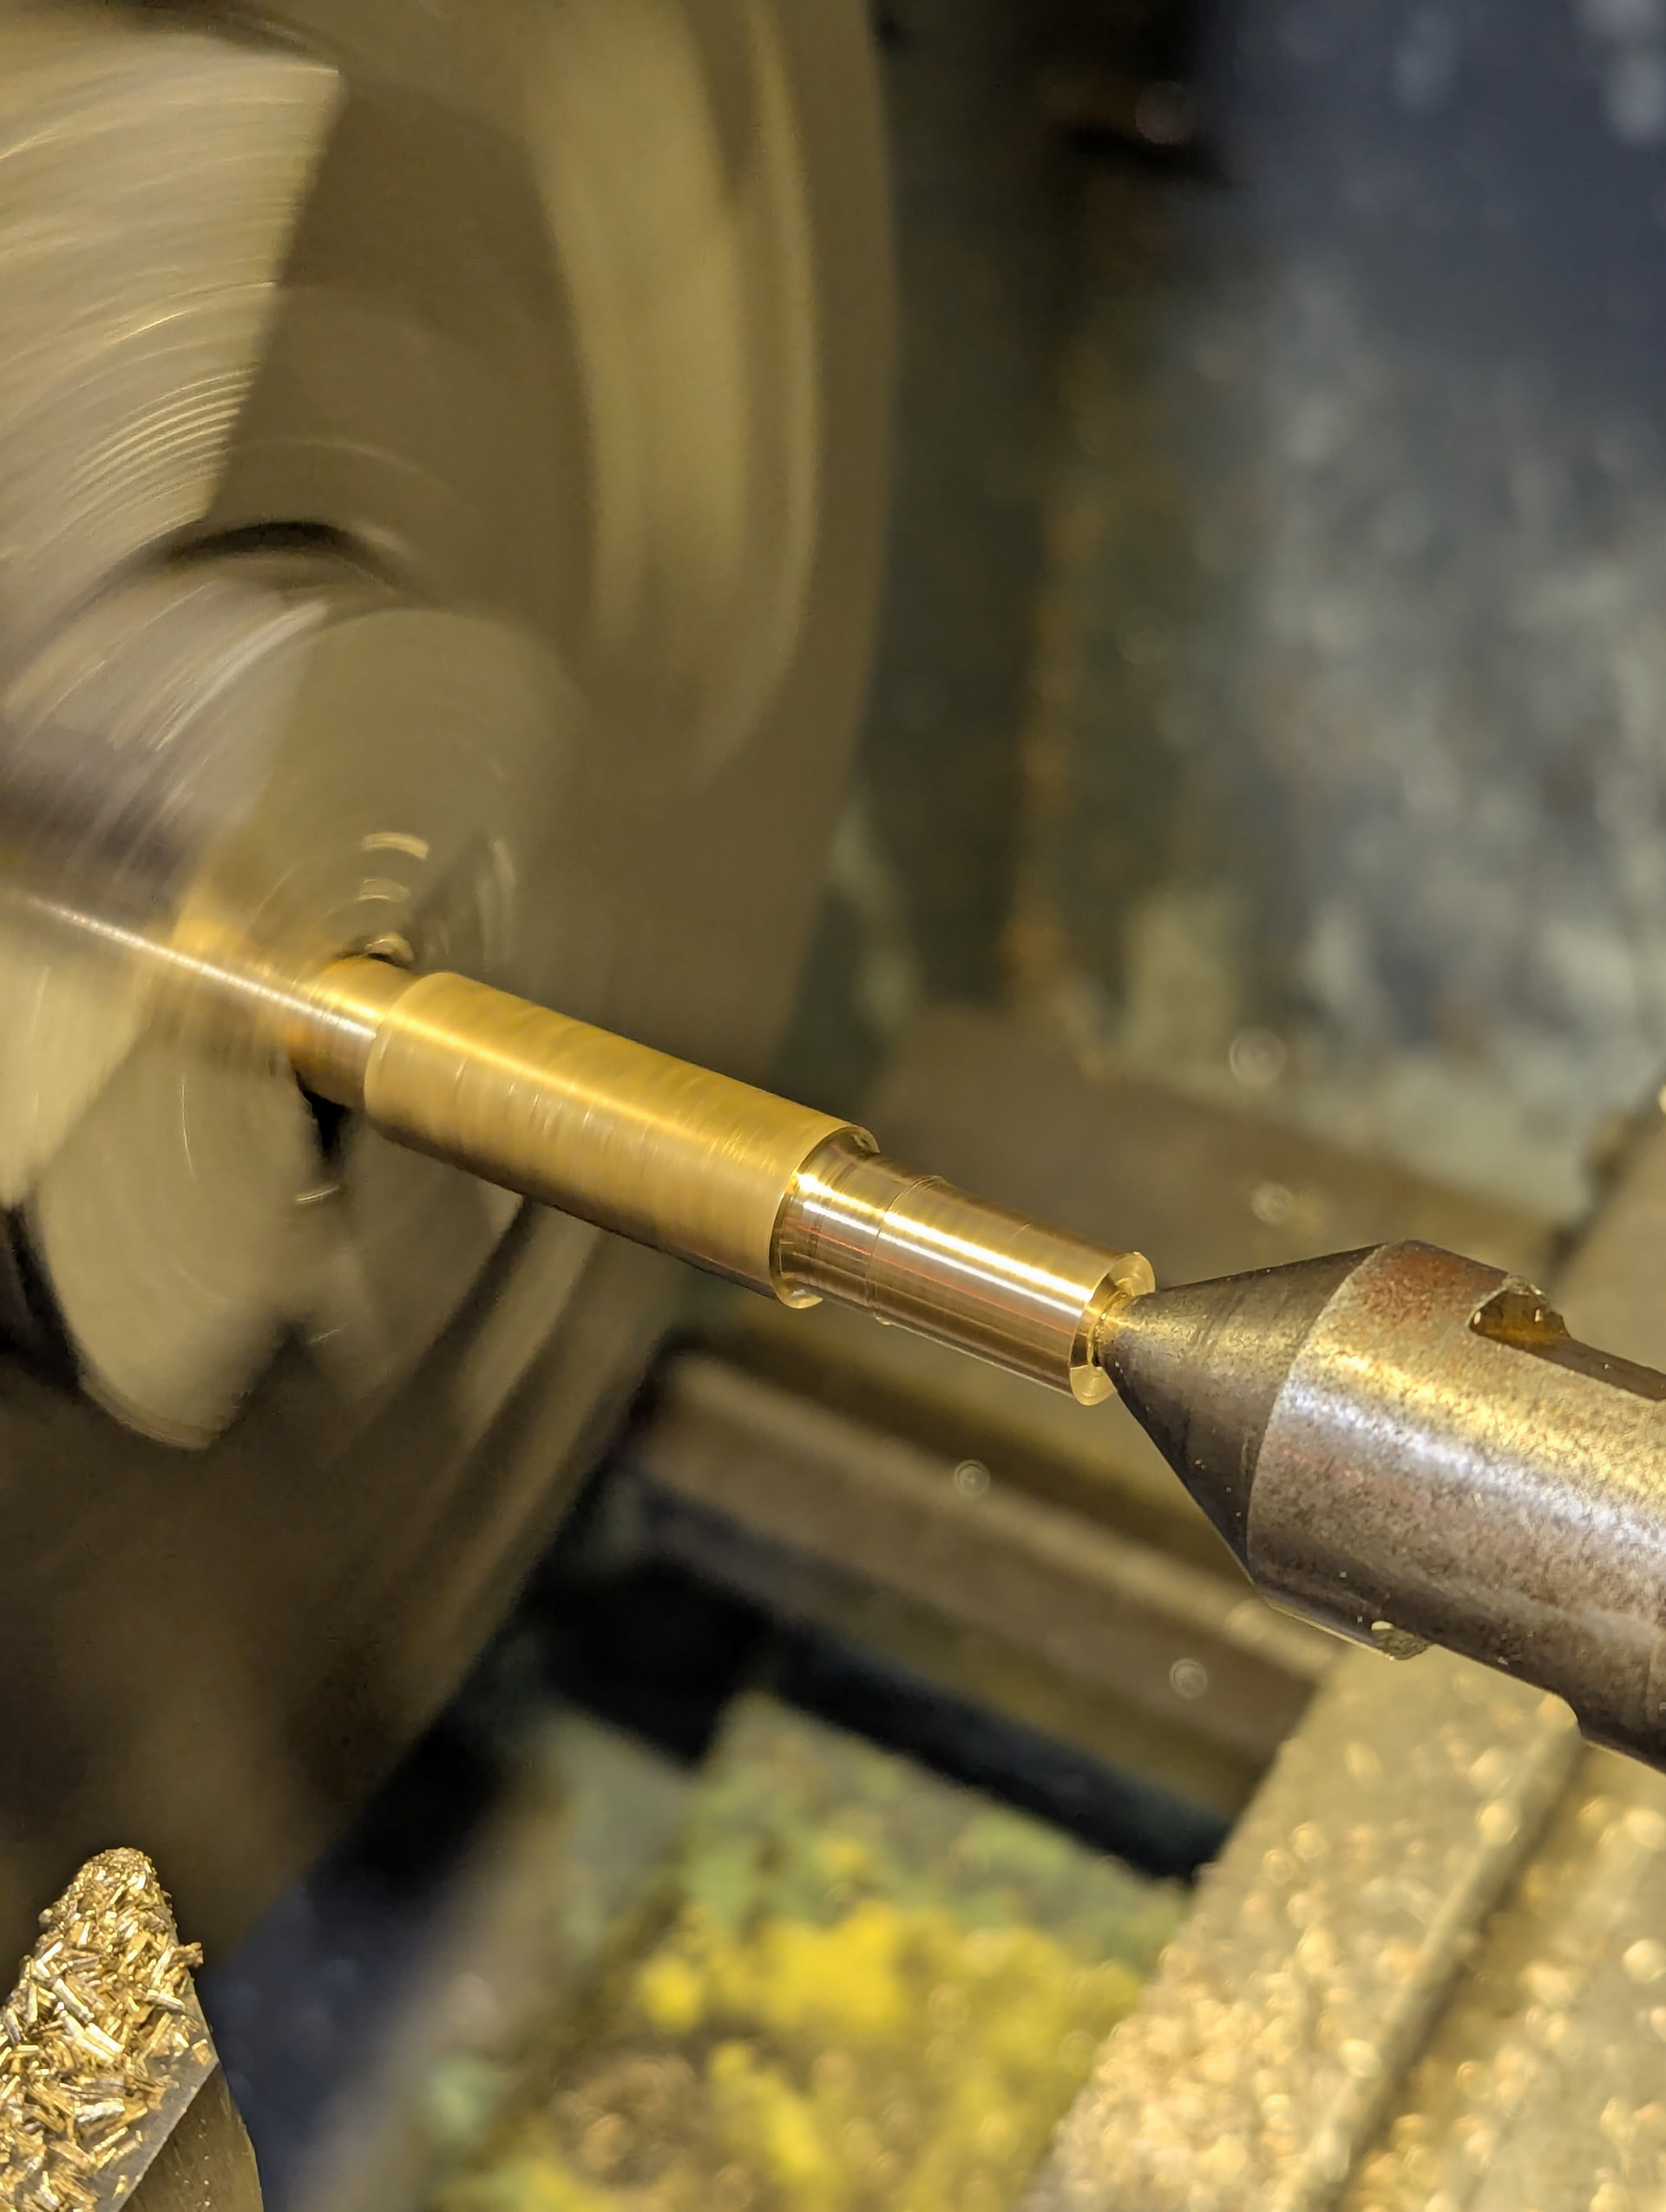
- Draw out a good length and add tailstock support
- Turn to an arbitrary diameter for a nicer finish
- Knurl
- Add chamfers to the end of the nut
- Use a hacksaw and a vice to cut off the pieces (saves the headache of trying to part with the piece sticking out, or mounting my knurl in the chuck, and saves material)
- Retap as required when the exposed bore is no longer tapped
- Remount the remaining stock
- clean up the end
- Add chamfers to the next nut
- And then back to the hacksaw
- Repeat until 8 nuts obtained
- Mount each nut in the lathe (using parallels)
- Clean up the parting face
- Add a chamfer (clearance is clearance)
Problems
Some of the nuts came off with partial threads
But these were actually very easy to correct, just putting a tap back through by hand
Inconsistent sizing - I didn’t have a method for measuring the thickness of nuts I was cutting off, I just eyeballed it.
Bases
The finish line was in site after months of putting it off
So if this feels less in depth than the other steps, it was
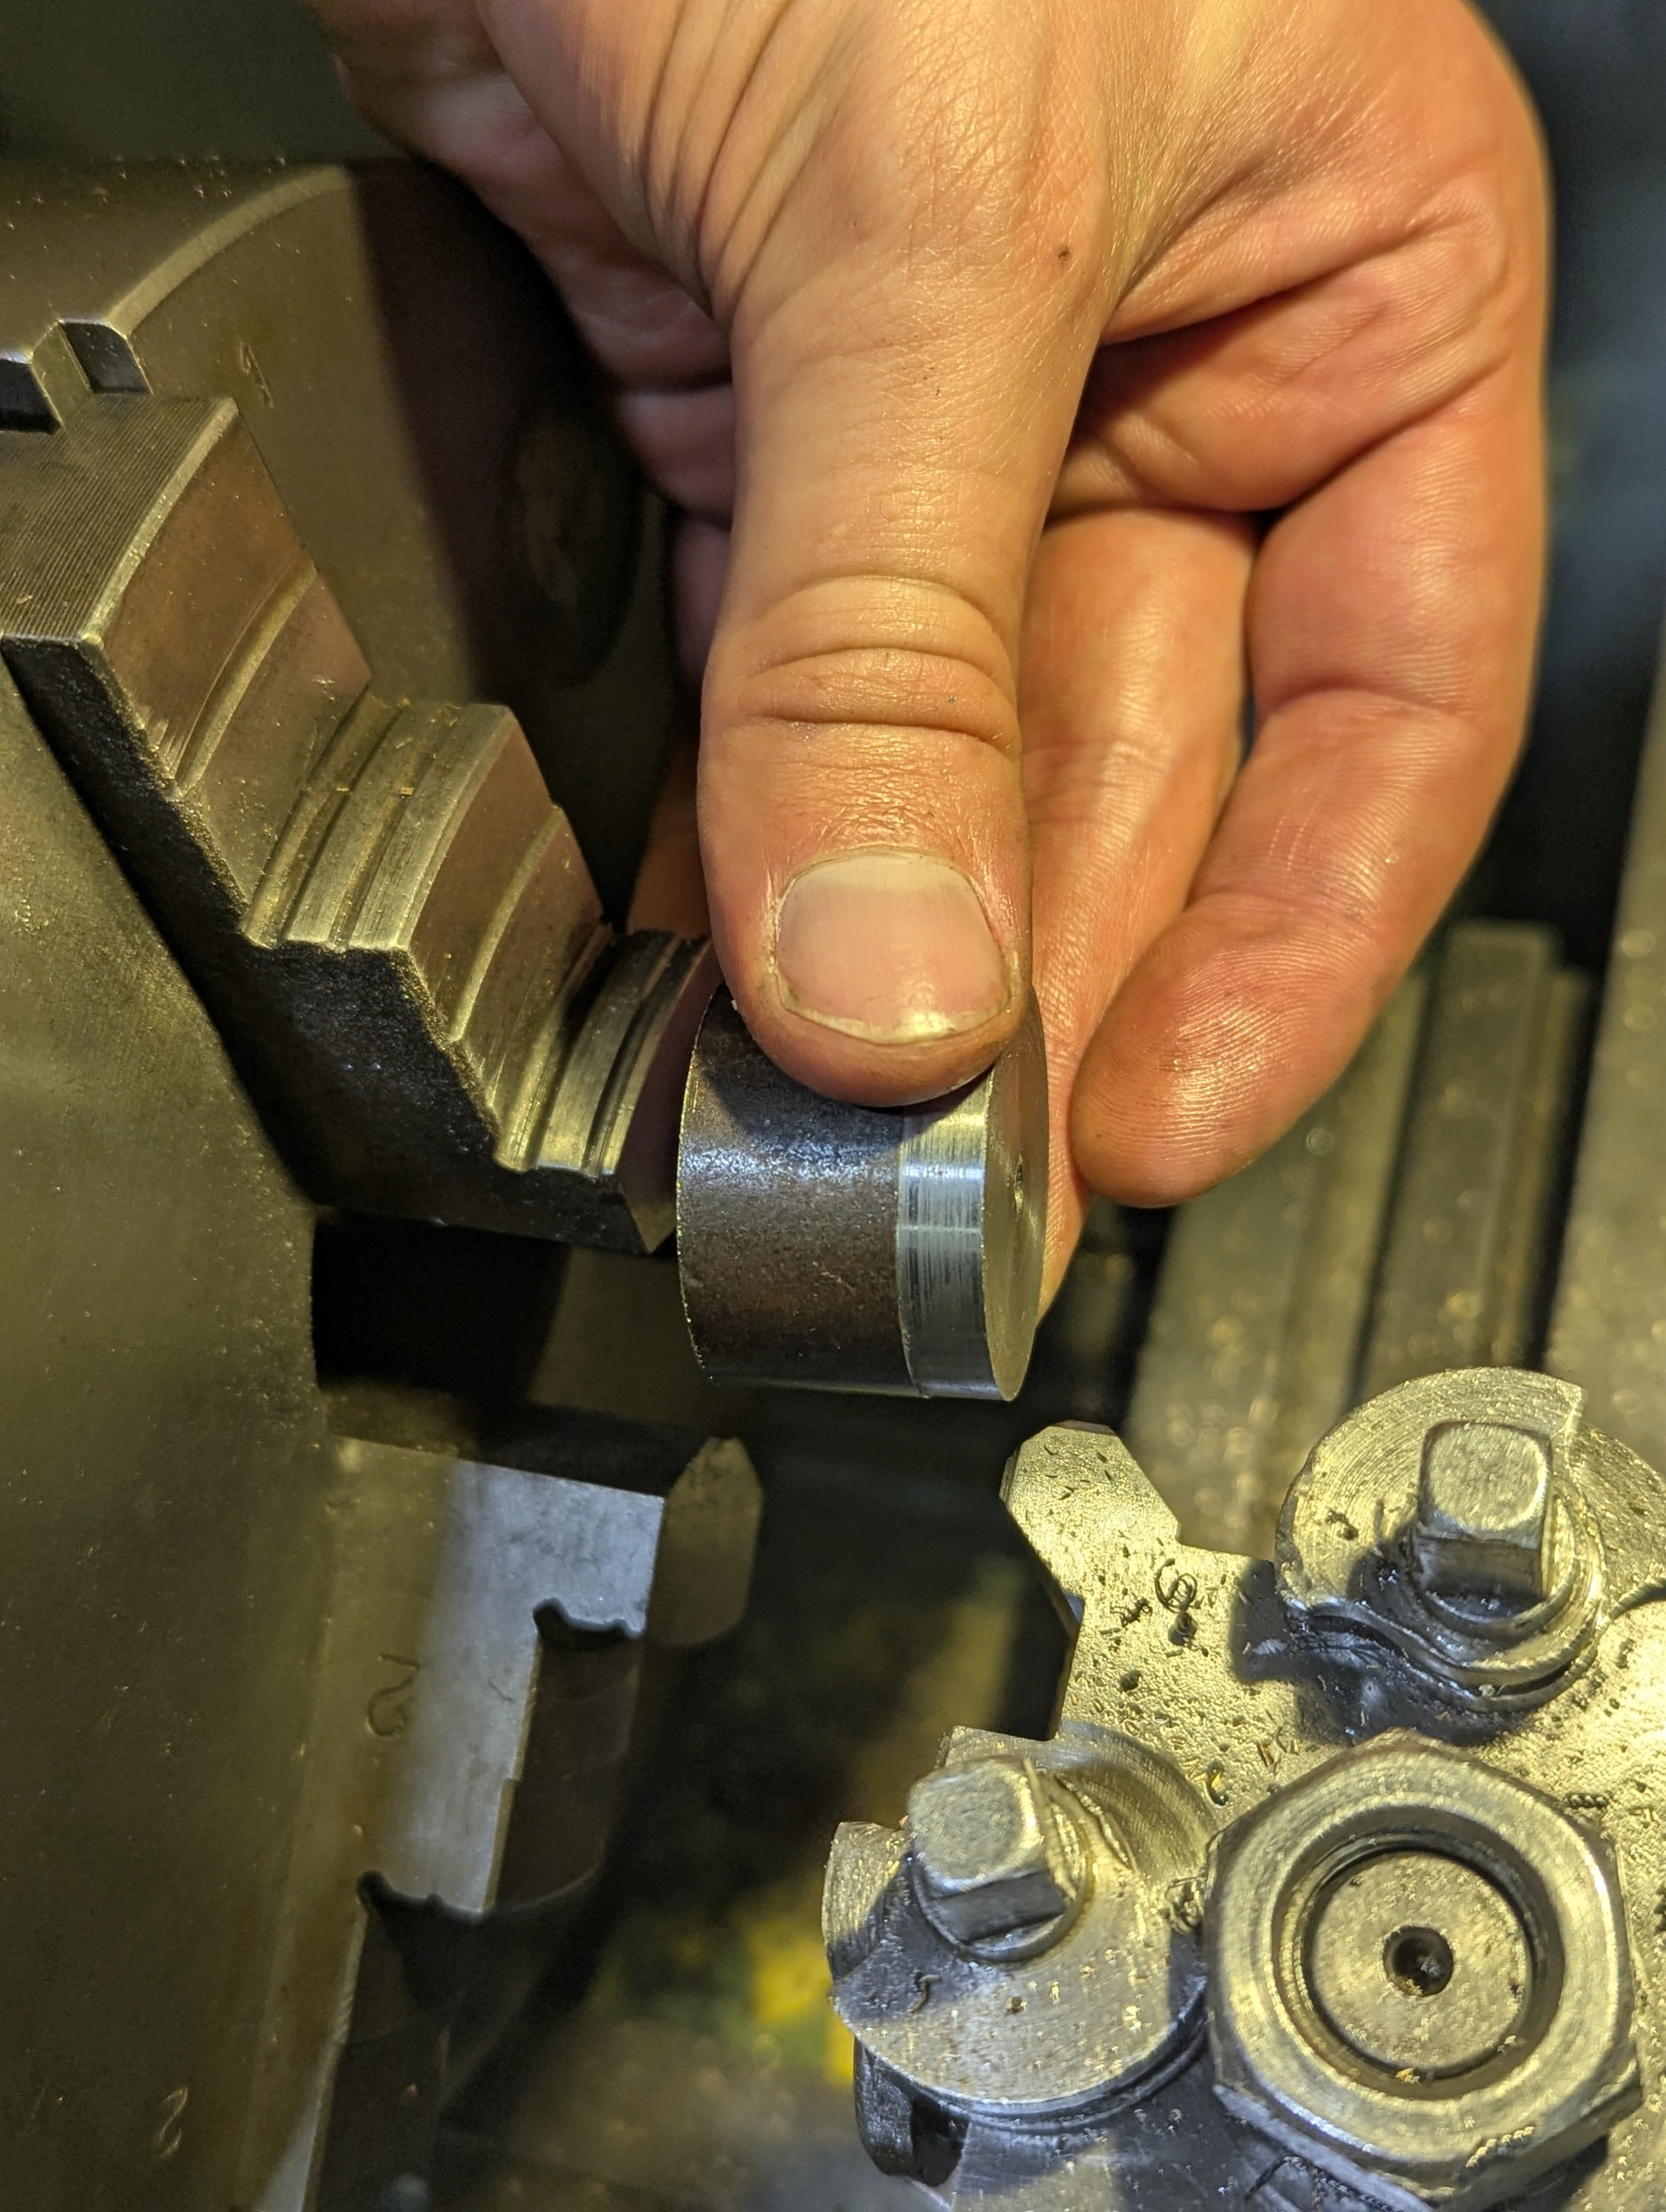
- Mount up some aluminium stock (my steel bar was now also depleted and I had some ally with me)
- Face and turn to clean up the surfaces
- Use a large drill to create a divet for the spike to sit in (letting the wedge make this reasonably shallow cut)
- Part off a piece
- Once all pieces are parted off remount them one by one
- Clean up the parting face
Problems
These could really have done with some chamfers
Also remounting the aluminium resulted in deformed edges and burrs
They’re the easiest part to remake and swap out, so I’m happy with where they are for now.
Problems/Lessons
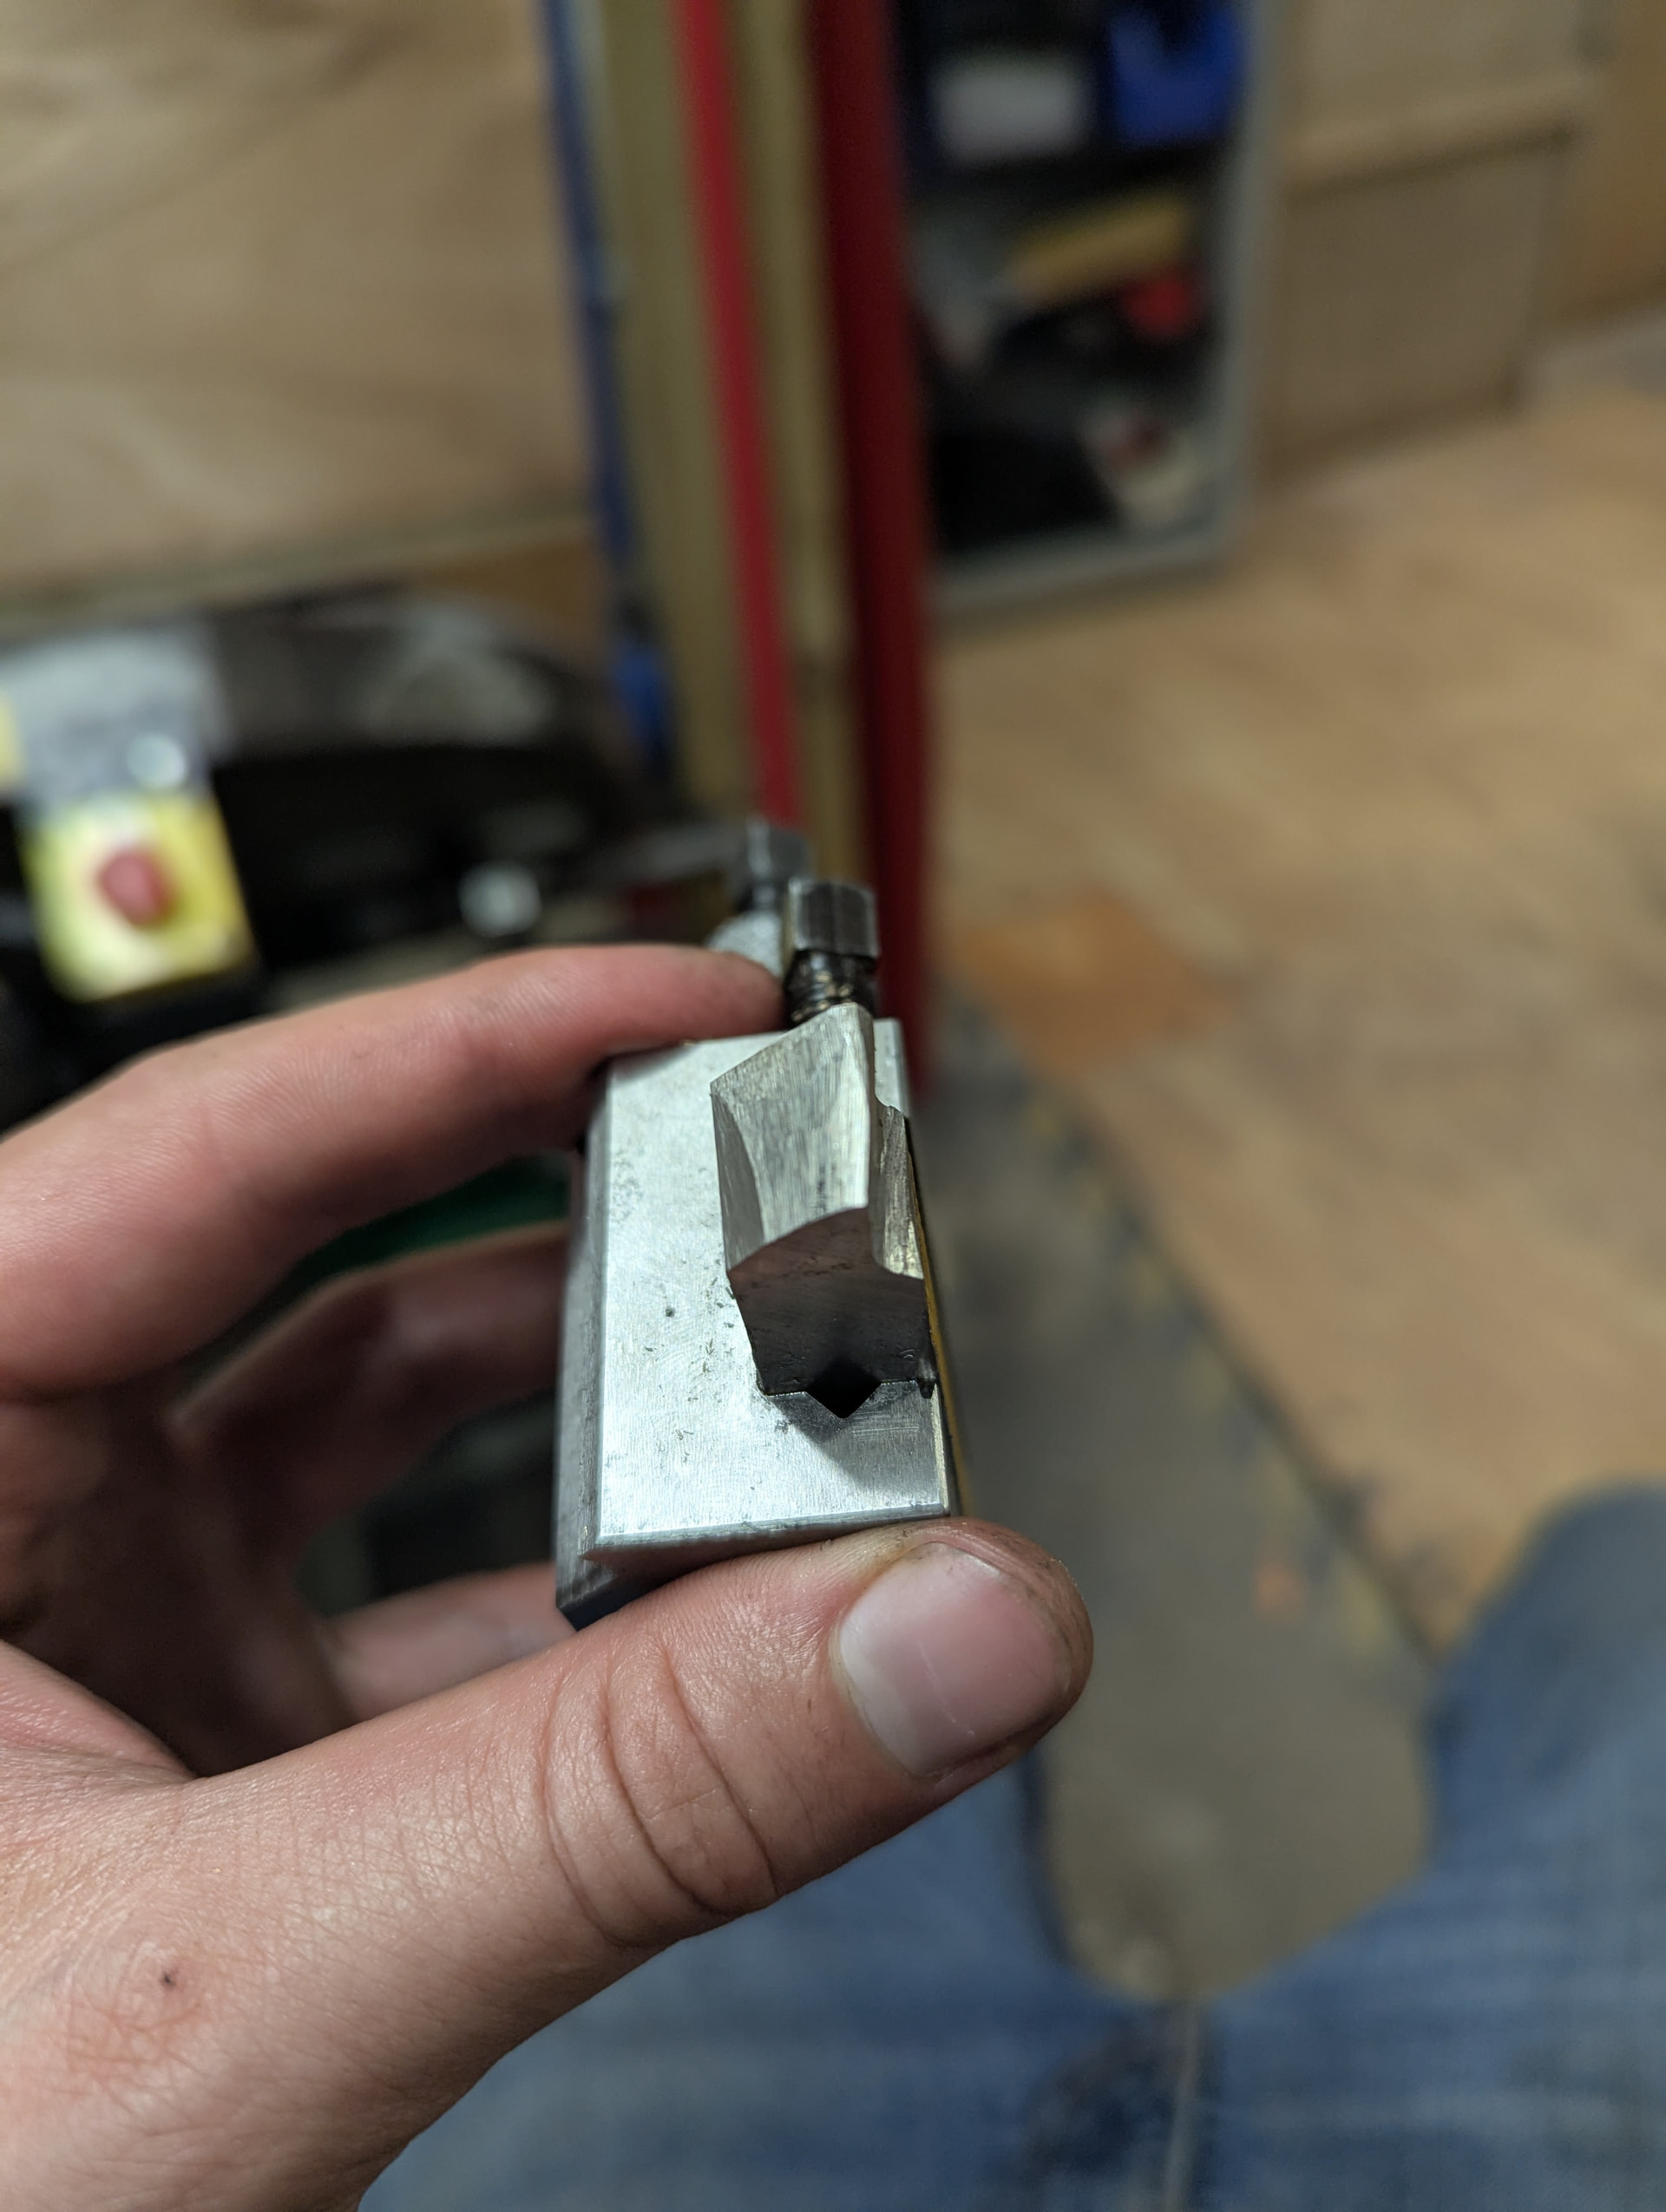
HSS tools
Brass in particular wants a neutral or potentially even negative rake, so I ground a HSS tool for the sake of this project, that worked very nicely, and is still floating around in the tools.
Thread precession
There’s a video on the topic here: https://youtu.be/8t4MUcNVsms?si=DtIign3MXyhDQxqv
But essentially it describes how threads can undo themselves when friction would intuitively tighten the thread
I found this to be an issue as I got closer to the centre of a spike’s taper, and I had that spike mounted in a thread.
There may have been other issues, and open to any ideas people have as to why, maybe the flexibility of the part factored in
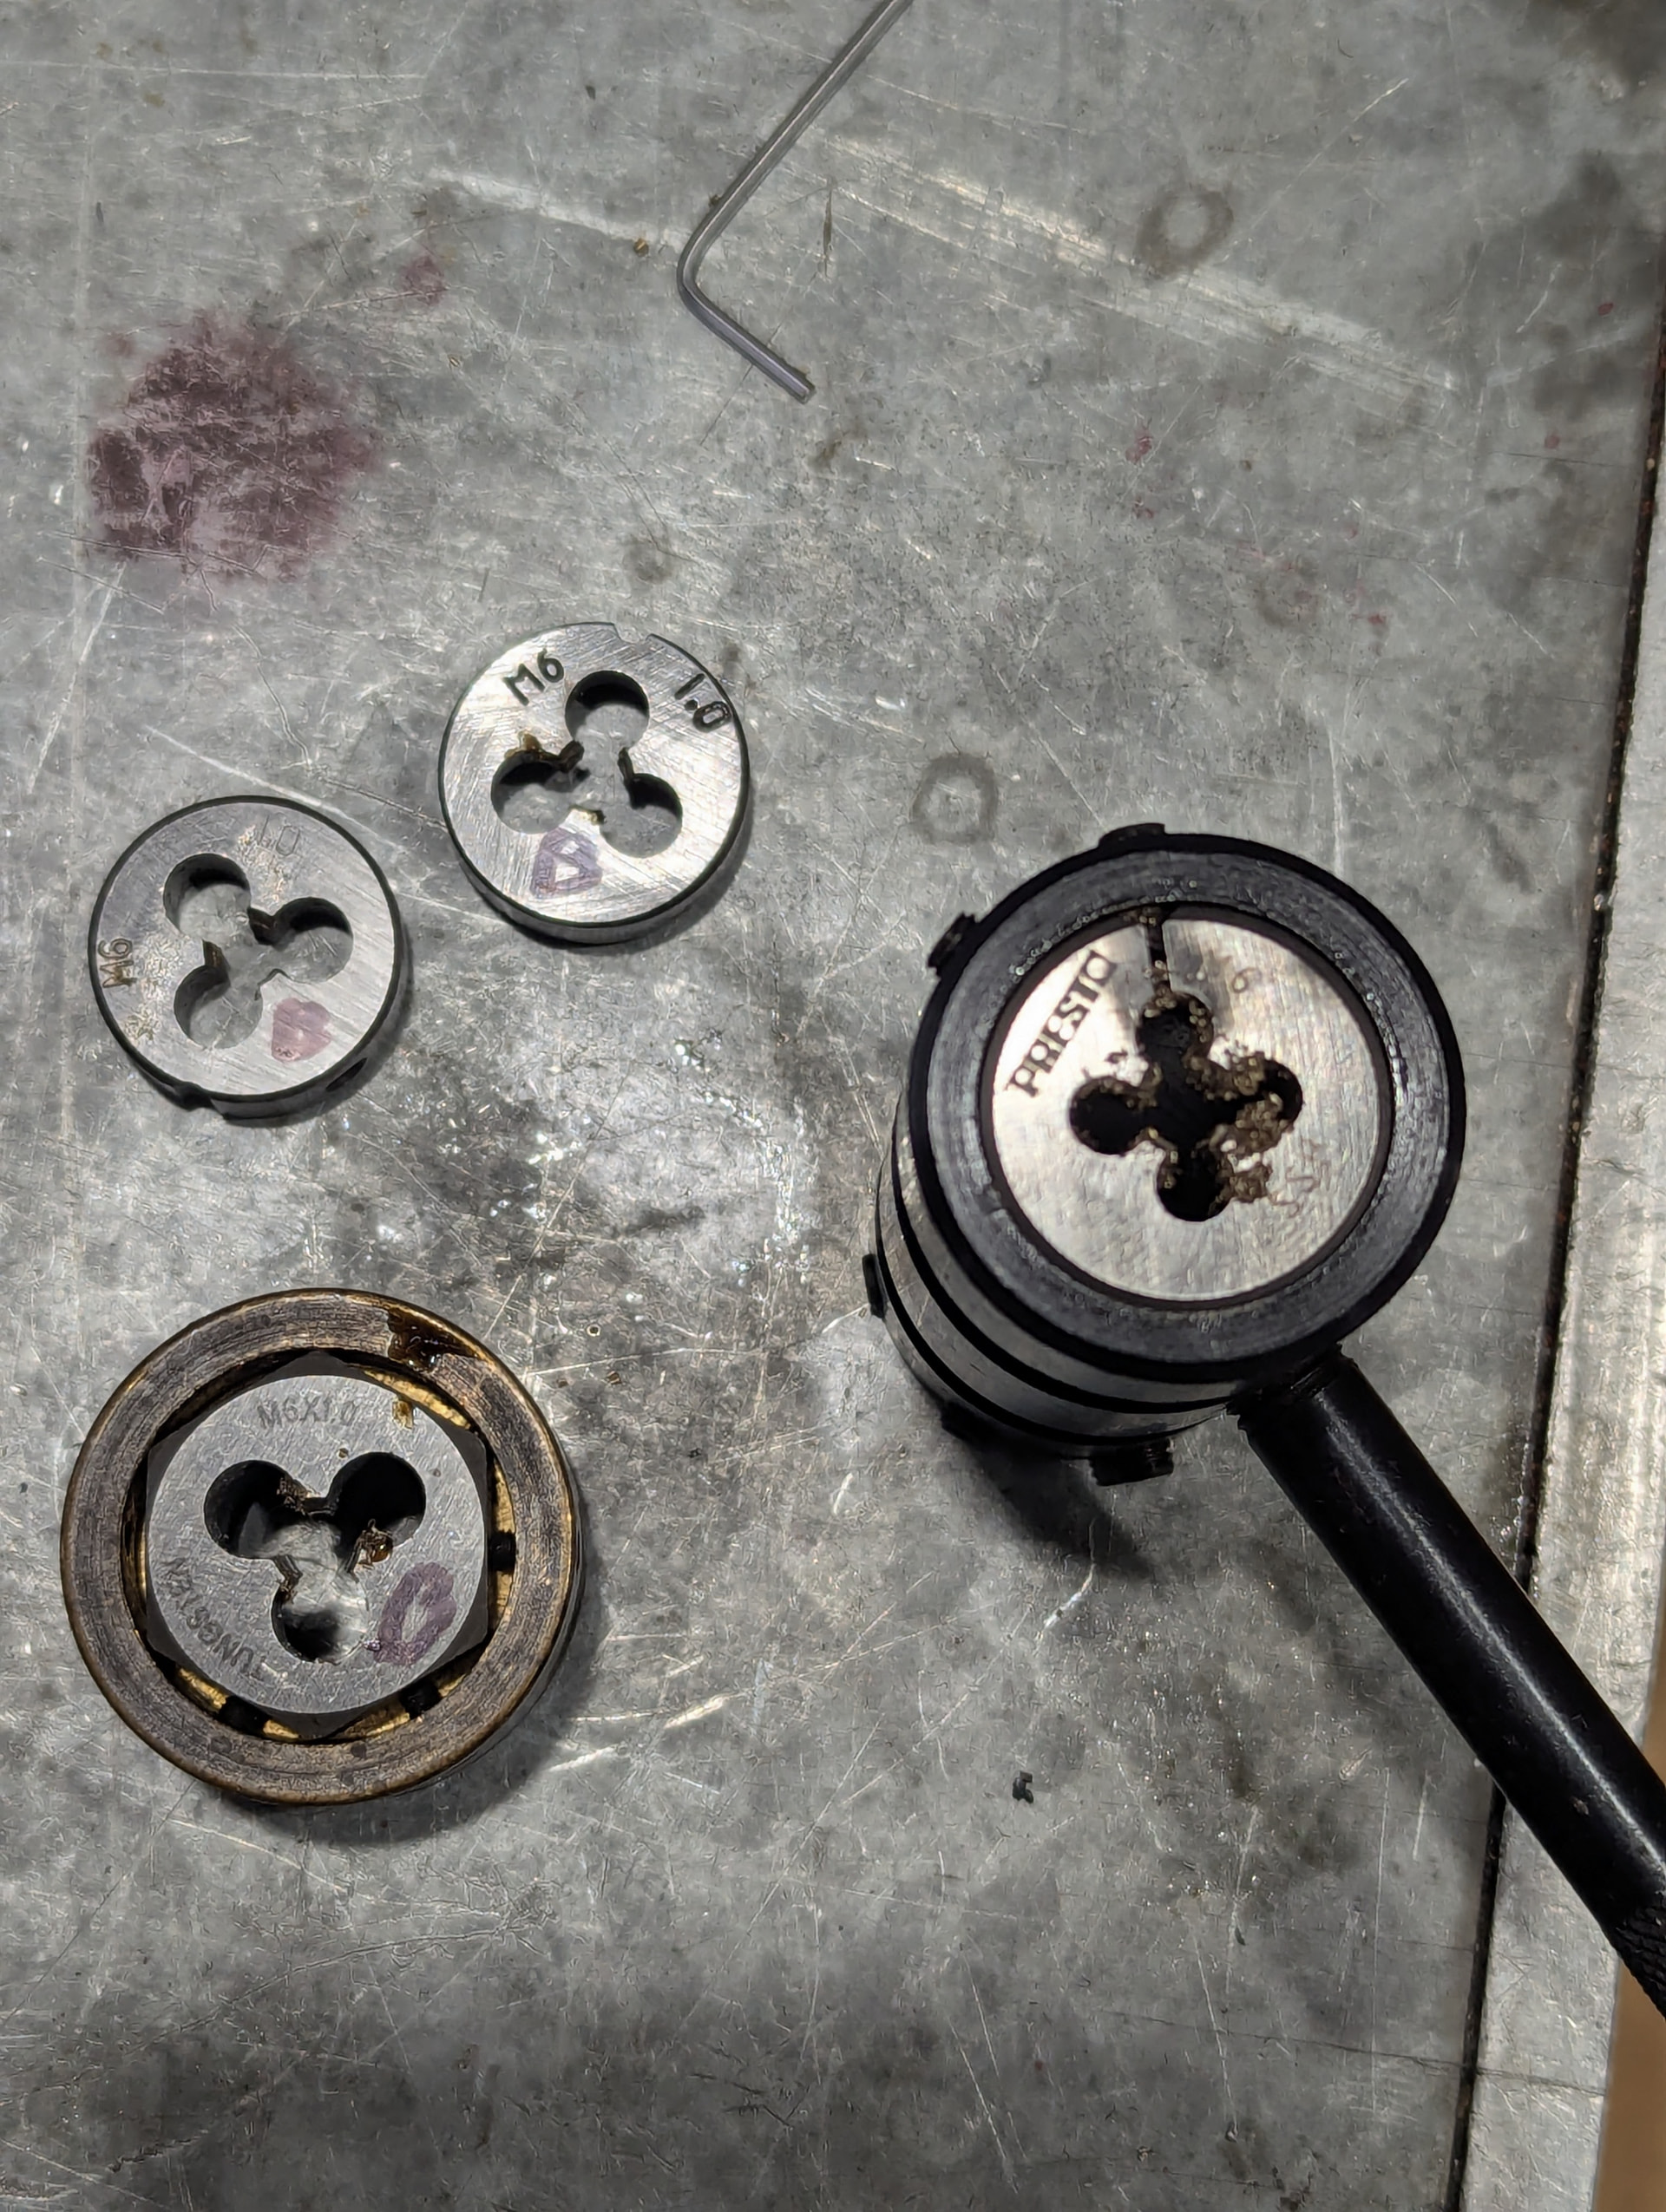
Blunt M6 Dies
It took me 3 M6 dies before I put the exact same piece into a 4th and it cut beautifully. I believe the blunt ones have since been binned
Gripping threads
I was concerned about sticking my nice sharp threads into a chuck or a collect, and while a chuck may well have damaged them, the collect didn’t at all
Inconsistent Lengths
This project unfortunately became full of lengths that were inconsistent, varied methods, imatience, and non critical dimensions have lead to a slightly motley collection of spikes
Thanks
For their seemingly endless patience and goodwill @stefanoromano @VintageSteel
For me these two have put in more hours of advice, maintenance, chatting and cups of tea than anyone else. And the I’d struggle to produce something half as nice without the work they put into keeping the metalshop running