Living in a one-bed flat, it’s hard to find space for a bench. That said, I’ve seen a couple of takes on Chris Schwartz’s excellent Roman Workbench.
This style of bench was ubiquitous prior to the Renaissance, and is really just a low bench with some stops and caps on it. Mine didn’t turn out as well as I’d hoped (as ever, it was a learning experience), but I’m reasonably pleased with it and will be adding some of the other features I have planned for it in the next month or so.
This bench is made out of dirt cheap homebase 2x4 pine. It was made in my back garden using a jacksaw, makeshift sawhorse, workmate and planes (Stanley number 4 - one with a roughing scrub edge on the blade and one with a standard finishing edge - and my homemade jack plane, which was used as a jointer).

Rough fit up of pine stock after cutting them to length. Jointer’s triangle maintains the orientation of everything better than numbering. At this point I’m trying to take down high points and make nice parallel faces.
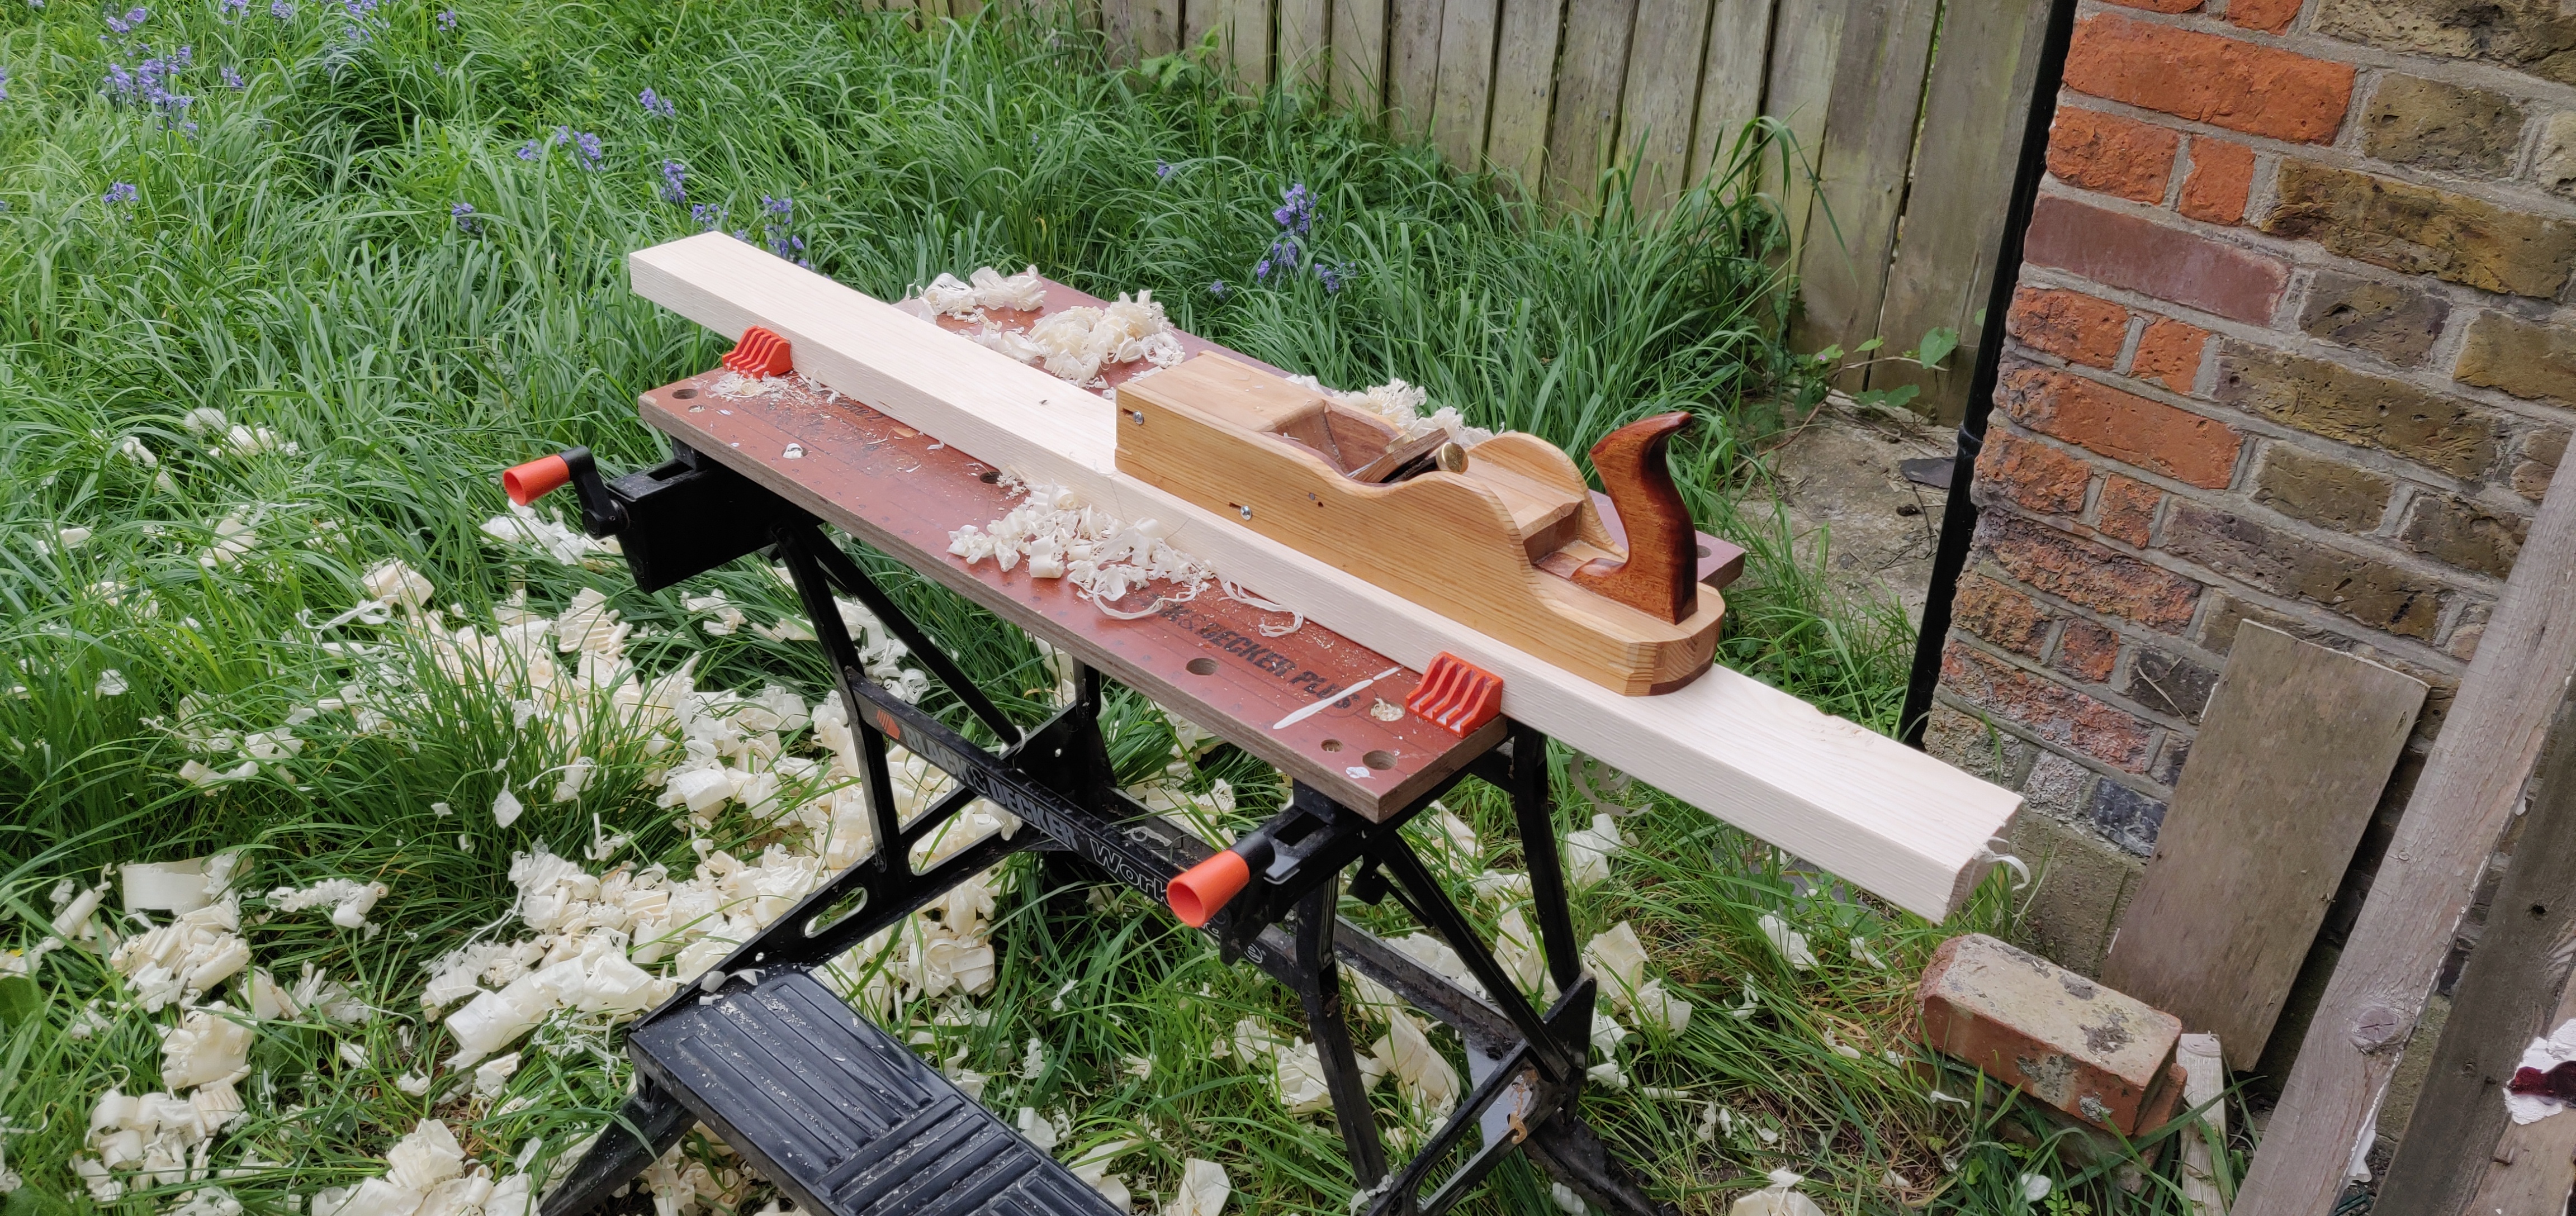
I’m pleased with how my jackplane performed - keen to get on and replace it with an all-hardwood option though!

Aww tax supplied by the fox who lives in my garden.

Installed some threaded inserts in the outermost timber - this is to take some add-ons at a later date.

Glueup - no, I thought, I don’t need to buy glue, I’ve got loads.
I ran out of glue.

Clamps are expensive - windlasses are cheap. I also used an old doweling jig to put a dowel at each end to help with alignment - well worth the extra time imo.
Flattening time. I worked across the bench, then along it with the scrub plane, then followed up with the smoothing plane, and finally my jack plane. This is where I made my first permanent mistake - the cheap timber meant that trying to take just one more pass after getting it flat resulted in annoying levels of tearout. Lesson learned, and largely down to my technique I think.

Flat, for given values of flat.

Action shot of drilling holes for legs. Borrowed auger bit from Joe.
I don’t have any pictures of turning the legs - I started shaving them down from square at home but turning them is quicker and easier, and results in a better product.

Prepping wedges.

Glueup.

Legs akimbo.

In use.

Glamour shot of its storage spot in the kitchen.
The next stage was drilling holes for stops and hold downs, when things all went a bit pear shaped, but I’ll update that later.
My to do list for this bench is now:
-Paint bottoms of legs black for aesthetics/hiding dirt.
-Rubber feet to help legs grip and stop splaying in use
-Make some wooden hold downs and bench stops for workpiece holding.