Hi everyone,
This is my first proper project since joining, as well as my third ever woodworking project and I wanted to share it with you guys. I learned a lot while doing this, and made a lot of mistakes in the process but that’s all part of the game I reckon.
I started off but chopping off some of the big lump o’ walnut I bought recently.

Luckily the edges of the lumber itself were pretty square so I didn’t have to bother anyone into using the planer/thicknesser but I did require the table saw, and since this was before I was inducted on it, the lovely @Kyle and @howard were kind enough to rip some of the boards to the correct length.


I wanted to make the frame with half lap joints which I had been practicing using scrap wood in the shop for a week or two. I got a lot of advice from @mbg and @Joeatkin2 on how to approach it and using different methods yielded different results. I made the two square frames that would hold the corner pillars together.


Once I cut out the corresponding slots on the frame I did a dry fit to see how it came together, and after some minor adjustments, it fit together barely barely square.

I then wired up the cable, switch and plug for the lamp, and as the space hasn’t gone up in smoke I think I did it correctly.

I then made a cross beam and threaded the 10mm bolt through a hole I made in the cross beam with the pillar drill to secure it in place.
I then glued up the walnut frame.
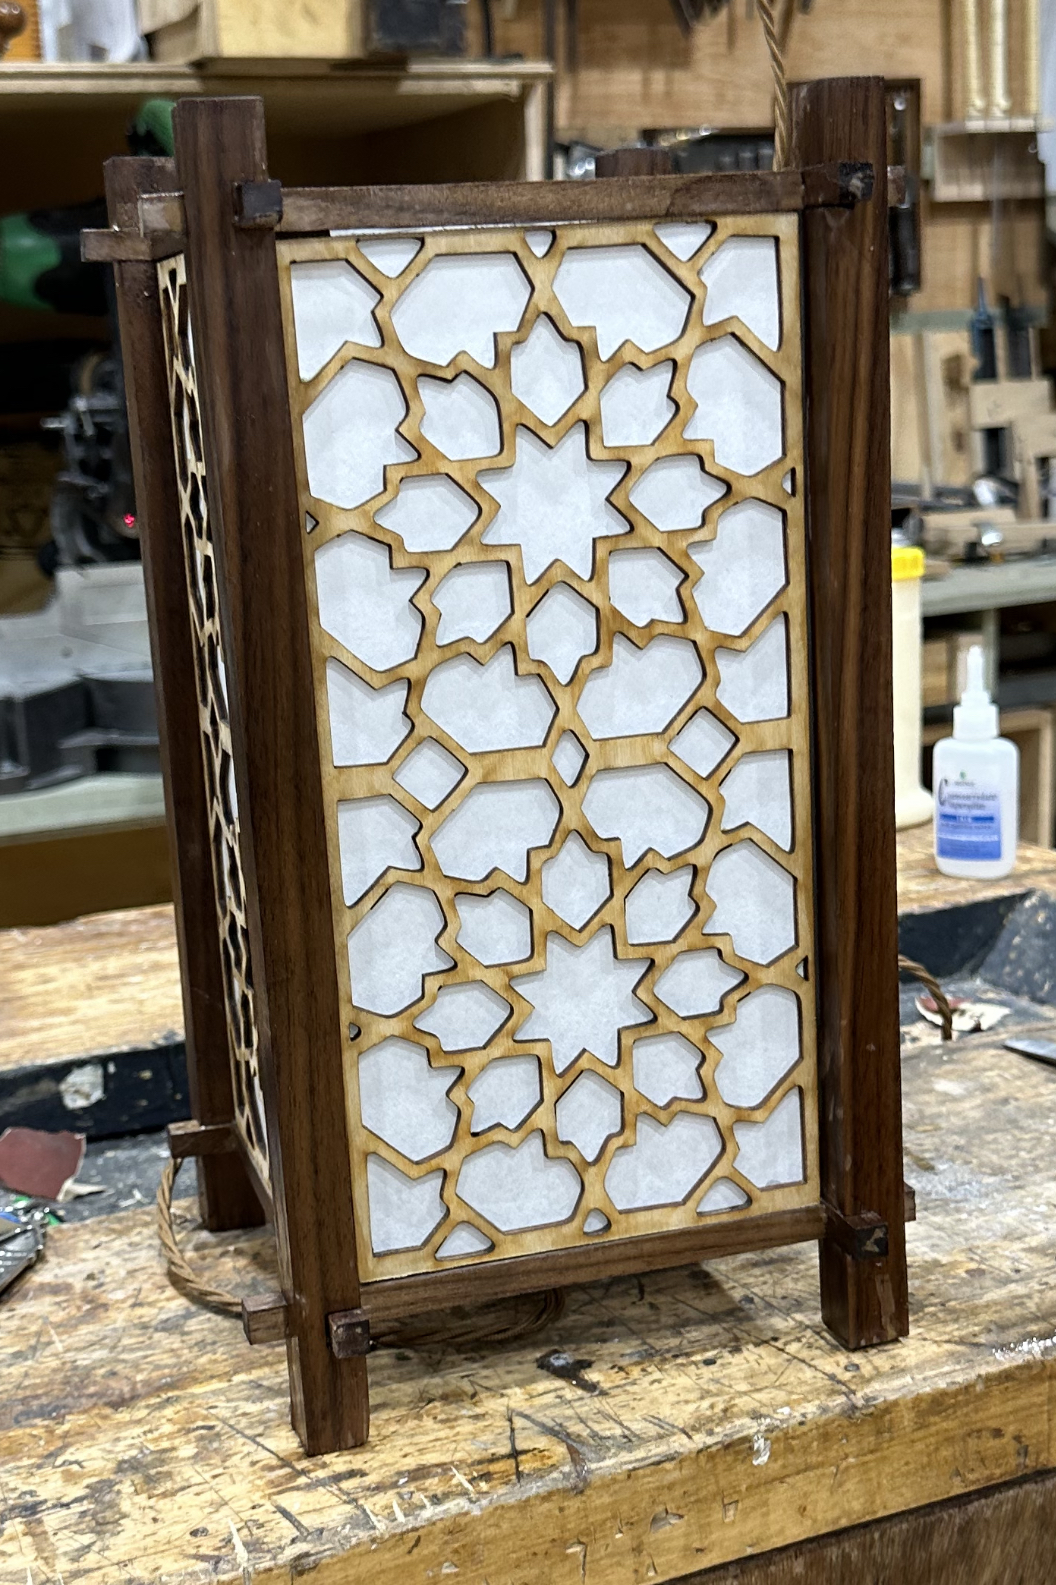
Next came the laser cutting, I designed the panels in a 2:1 ratio so the square panel at the top would be easy to replicate in the side rectangular panels. And after some help from @Martyn_Thomas and @scythian I had the panels cut out on 3mm ply
they were ever so slightly large so using the No. 4 plane I shaved off a it off each side till they fit nice and snug.
I backed the panels onto some beautiful Japanese Shoji rice paper and stuck them onto their sides, leaving the top panel with just a friction fit so I could replace the bulb when necessary


finished off with some danish oil to make that walnut pop
and that’s it done!

special thanks to @slimshelly for the podcast entertainment with @mbg

