Notice
- This machine should not be operated without induction.
- This tool should not be used while alone in the space - lone working rule.
Cebora Jaguar 2500

Details
The Jaguar 2500 is a 3-phase MIG (Metal Inert Gas) welder.
- Output Range: 20 to 250 Amps
- Weight: 65Kg
- Dimensions: 405 X 920 X 790 (mm)
- Materials Welded: Mild Steel, Stainless Steel, Aluminium
Condition Notes
2nd hand, owned by @peter_hellyer and @joeatkin2 - on loan to SLMS.
Induction and Training
MIG Welder Induction Waiting List
This induction covers safety when welding and how to weld mild steel with the MIG welder.
Topics addressed:
- Correct clothing, protective equipment and fire extinguishers
- Risk to pacemaker users
- What is shielding gas, and why you shouldn’t leave the gas on overnight
- What you can/can’t/shouldn’t/mustn’t weld
- Other safety things e.g don’t touch hot items or get electrocuted/electrocute others
- Instructions on how to use the welder + how it works
- How to prepare things for welding - cleaning the torch/work surface, connecting the ground clamp
- Setting up the extraction fan
- Adjusting your mask sensitivity for safety and so you can see better when welding
- Setting and changing the speed/power
- Common Troubleshooting Tips - How it feels / sounds when it’s set wrong and how to fix
- Welding Things - how to tack together then fully weld mild steel
- Cleaning up
Maintainers
Risk Assessment
Before Use
Safety First!
-
The light that is generated by any form of arc welding is extremely bright. It will burn your eyes and your skin just like the sun will if you don’t protect yourself. Be sure to always use a properly adjusted welding helmet.
-
Wear gloves and leathers to protect yourself from molten metal splattering off of your work piece. Some people like thin gloves for welding so you can have a lot of control. In TIG welding this is especially true, however for MIG welding you can wear whatever gloves you feel comfortable with. The leathers will not only protect your skin from the heat produced by welding but they will also protect your skin from the UV light produced by welding. If you are going to be doing any amount of welding more than just a minute or two you will want to cover up because UV burns happen fast!
-
If you are not going to wear full leathers at least make sure that you are wearing clothing made from cotton. Plastic fibers like polyester and rayon will melt when they come into contact with molten metal and will burn you. Cotton will get a hole in it, but at least it won’t burn and make hot metal goop.
-
Do not wear open toed shoes or synthetic shoes that have mesh over the top of your toes. Metal often falls straight down and can be heavy as well as burn holes through the tops of your shoes if it is hot. Molten metal + hot plastic goo from shoes = no fun. Wear leather shoes or boots if you have them or cover your shoes in something non-flammable to stop this.
-
FIRE RISK: Molten metal can spit several feet from a weld. Grinding sparks are even worse. Any sawdust, paper or plastic bags in the area can smolder and catch fire, so keep a tidy area for welding. Your attention will be focused on welding and it can be hard to see what’s going on around you if something catches fire. Reduce the chance of that happening by clearing away all flammable objects from your weld area. Anything immovable should be covered by a fire blanket .
-
Be sure you know exactly where the fire extinguishers are especially by the exit door from the workshop. CO2 is the best type for welding. Water extinguishers are not a good idea for welding areas since you are standing next to a whole lot of electricity.
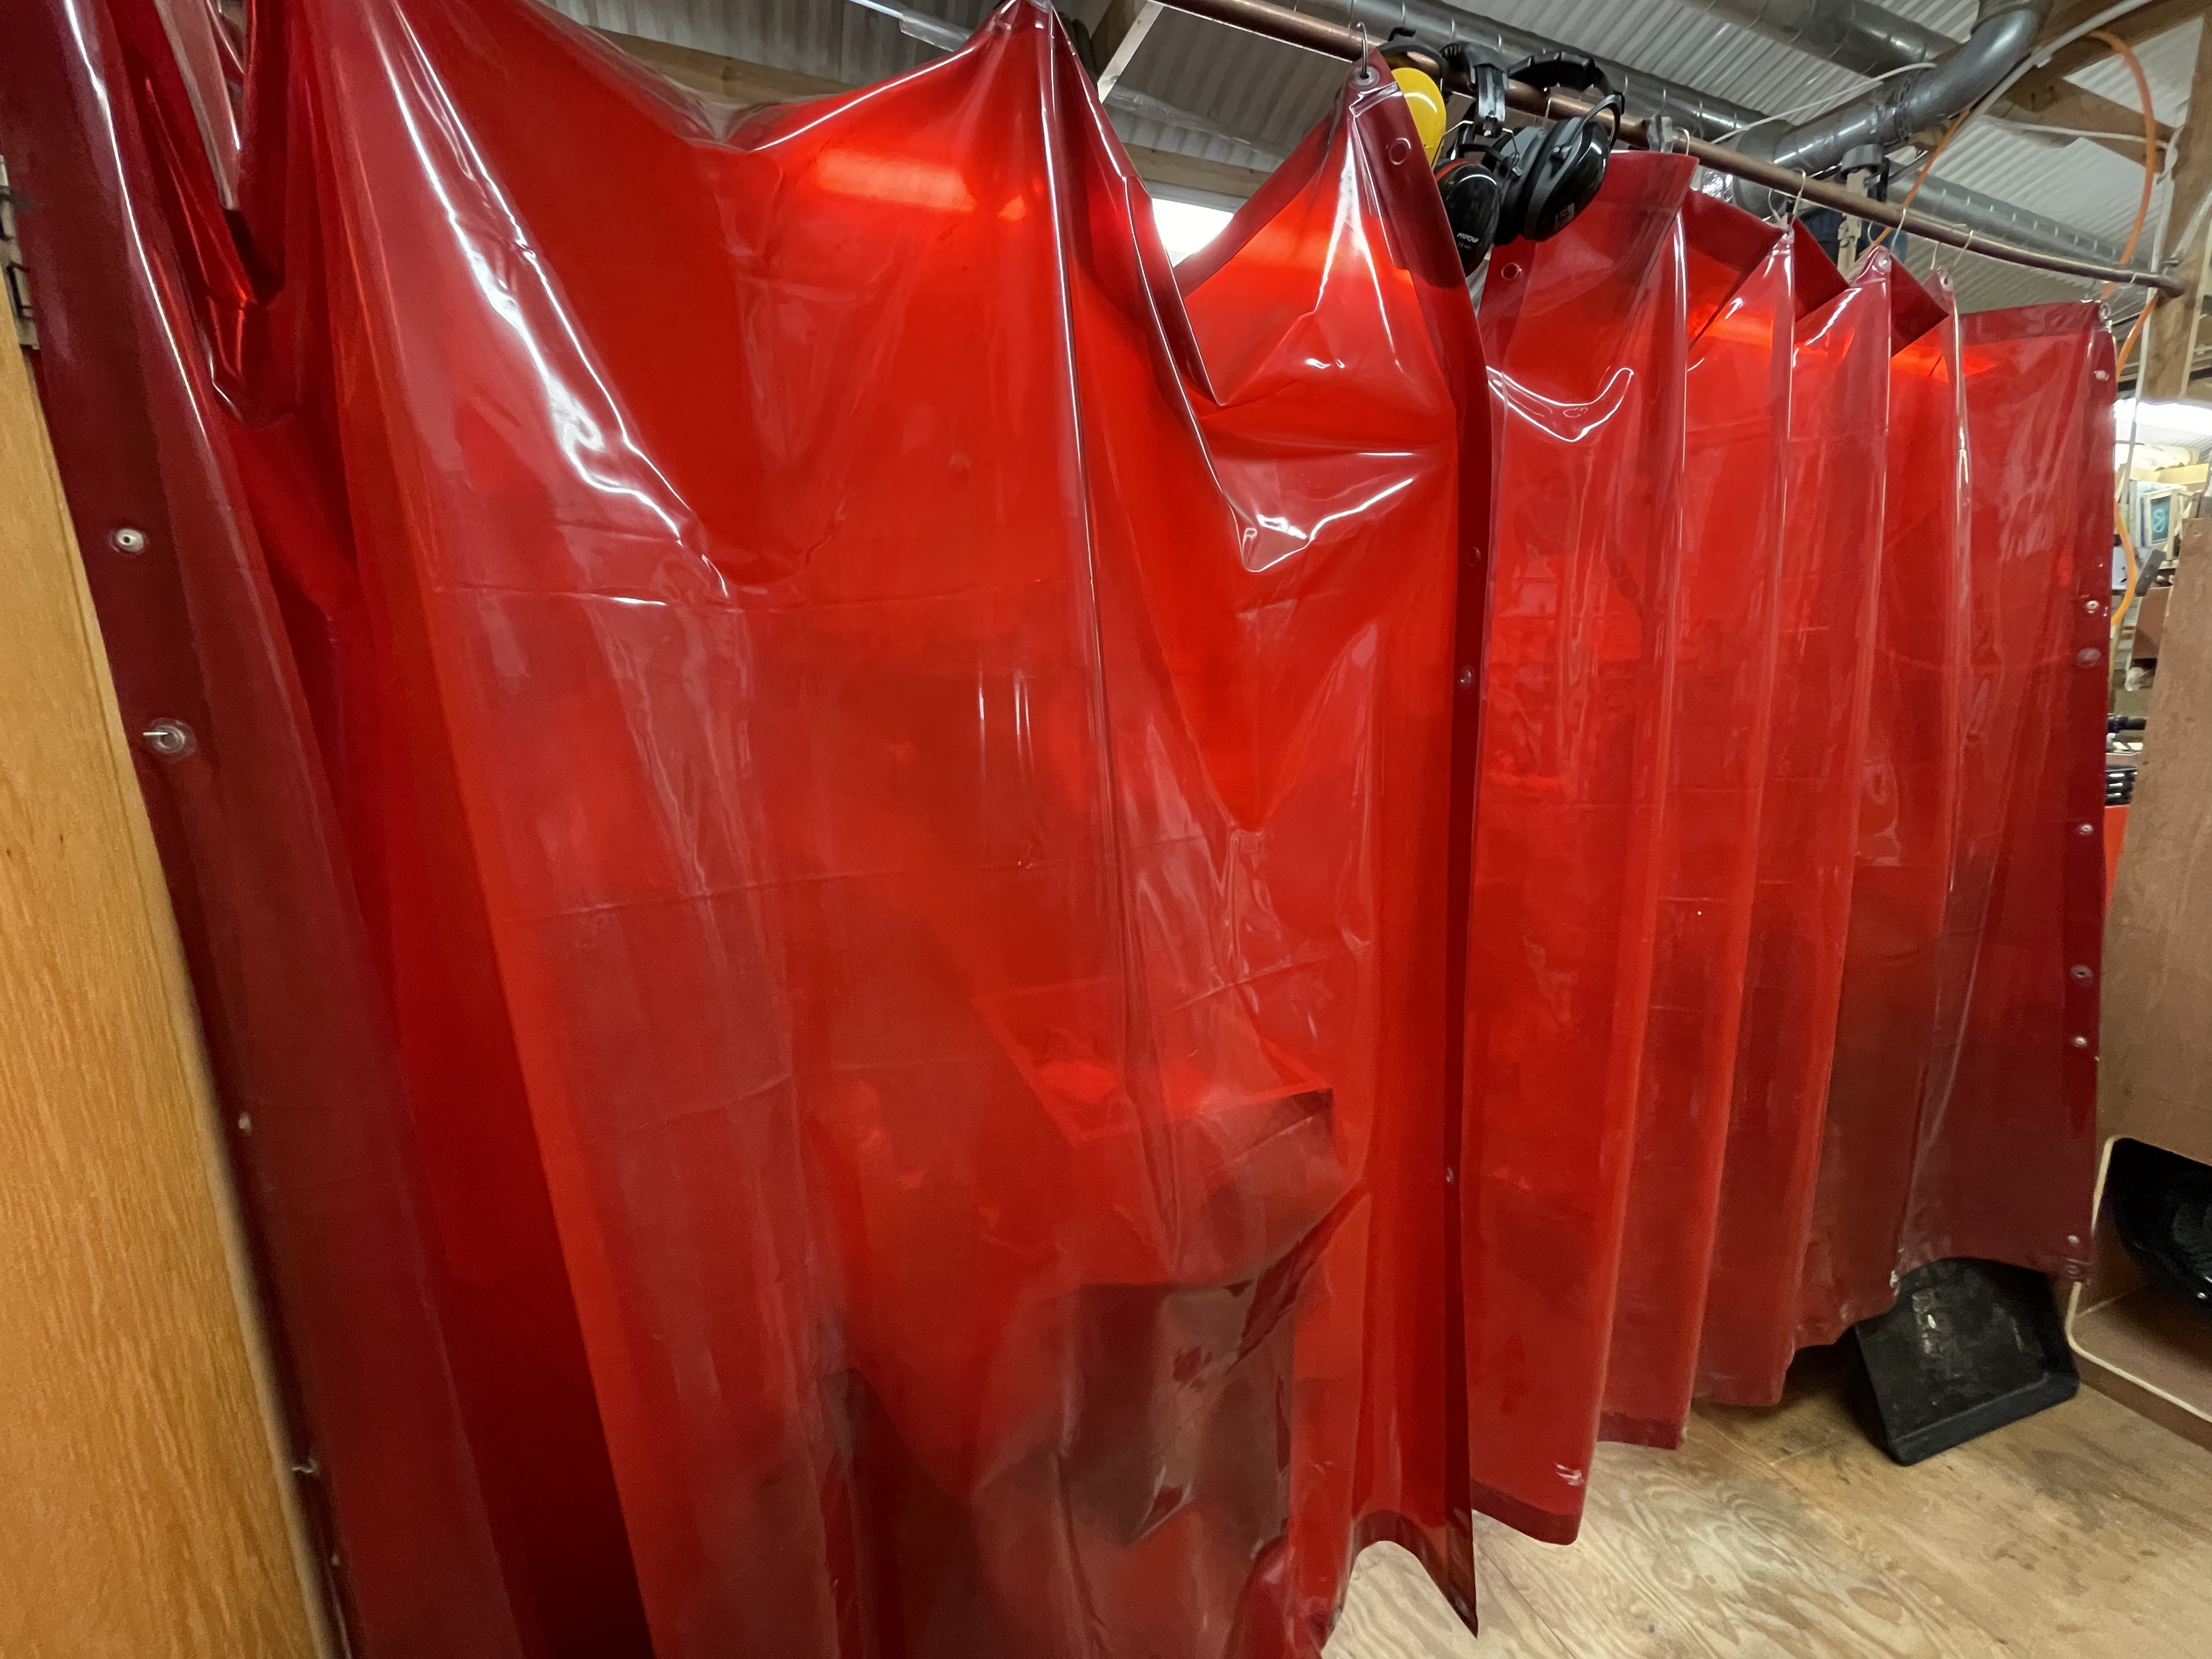
The flash from welding is dangerous to you, but also any bystanders/people in the workshop. So be sure to close curtains to protect others in the messy workshop:
Open the extraction gate, turn the wooden handle to this position:

Turn on the local fume extraction/ventilation!:

Set extractor manual control to on (controls are to the left of the milling table and right of the metal lathe):

Welding produces hazardous fumes which you shouldn’t breathe in if you can avoid it. Make sure to use the fume local exhaust ventilation (LEV). Also wear either a mask, or a respirator if you are going to be welding for a prolonged amount of time.
DO NOT WELD GALVANISED STEEL. Galvanised steel contains a zinc coating that produces carcinogenic and poisonous gas when it is burned. Exposure to the stuff can result in heavy metal poisoning (welding shivers) - flu like symptoms that can persist for a few days, but that can also cause permanent damage. Remove the galvanisation with a grinder prior to welding.
During Use
Getting Started
Enable machine using tool control:

Ensure the 3-phase isolator is switched on (I) not (0):

Turn on the welder ON - there are 2 voltage ranges (1, 2) see below for more information:

You should see the AMP Gauge light up (000) and a green LED - indicating the unit is powered on.

Controls
Wire speed can be adjusted using this knob:

Voltage (power) is adjusted using this one:

The machine has a spot welding feature which limits the weld time per trigger pull. This is turned off and you can continuously weld with the arrow pointing down to the dot, the green LED will be off. If you want to set a number of seconds to tack weld, turn the knob clockwise:

Shielding Gas
Slowly turn on the shielding gas tank using the knob on the top - open it all the way:

Note: There may be a spare tank present, make sure you are opening the one connected to the brass regulator!
Ensuring the proper gas flow rate is essential to the quality of the weld. Shielding gas protects the molten weld puddle from the gases in the atmosphere that cause pinhole imperfections, or porosity, in the weld. The standard shielding gas for carbon steel contains 75 percent argon and 25 percent carbon dioxide. There are other MIG welding shielding gases used on stainless steel and aluminium; however, setting the gas flow remains the same for all shielding gases.
With the MIG gun no where near the ground / welding table and facing away from you - Press the trigger on the MIG gun to activate the gas valve. With it depressed, read the PSI on the right/top regulator gauge; it should read between 25 and 30 cubic foot-hours (CFH). CFH is the inner most scale:
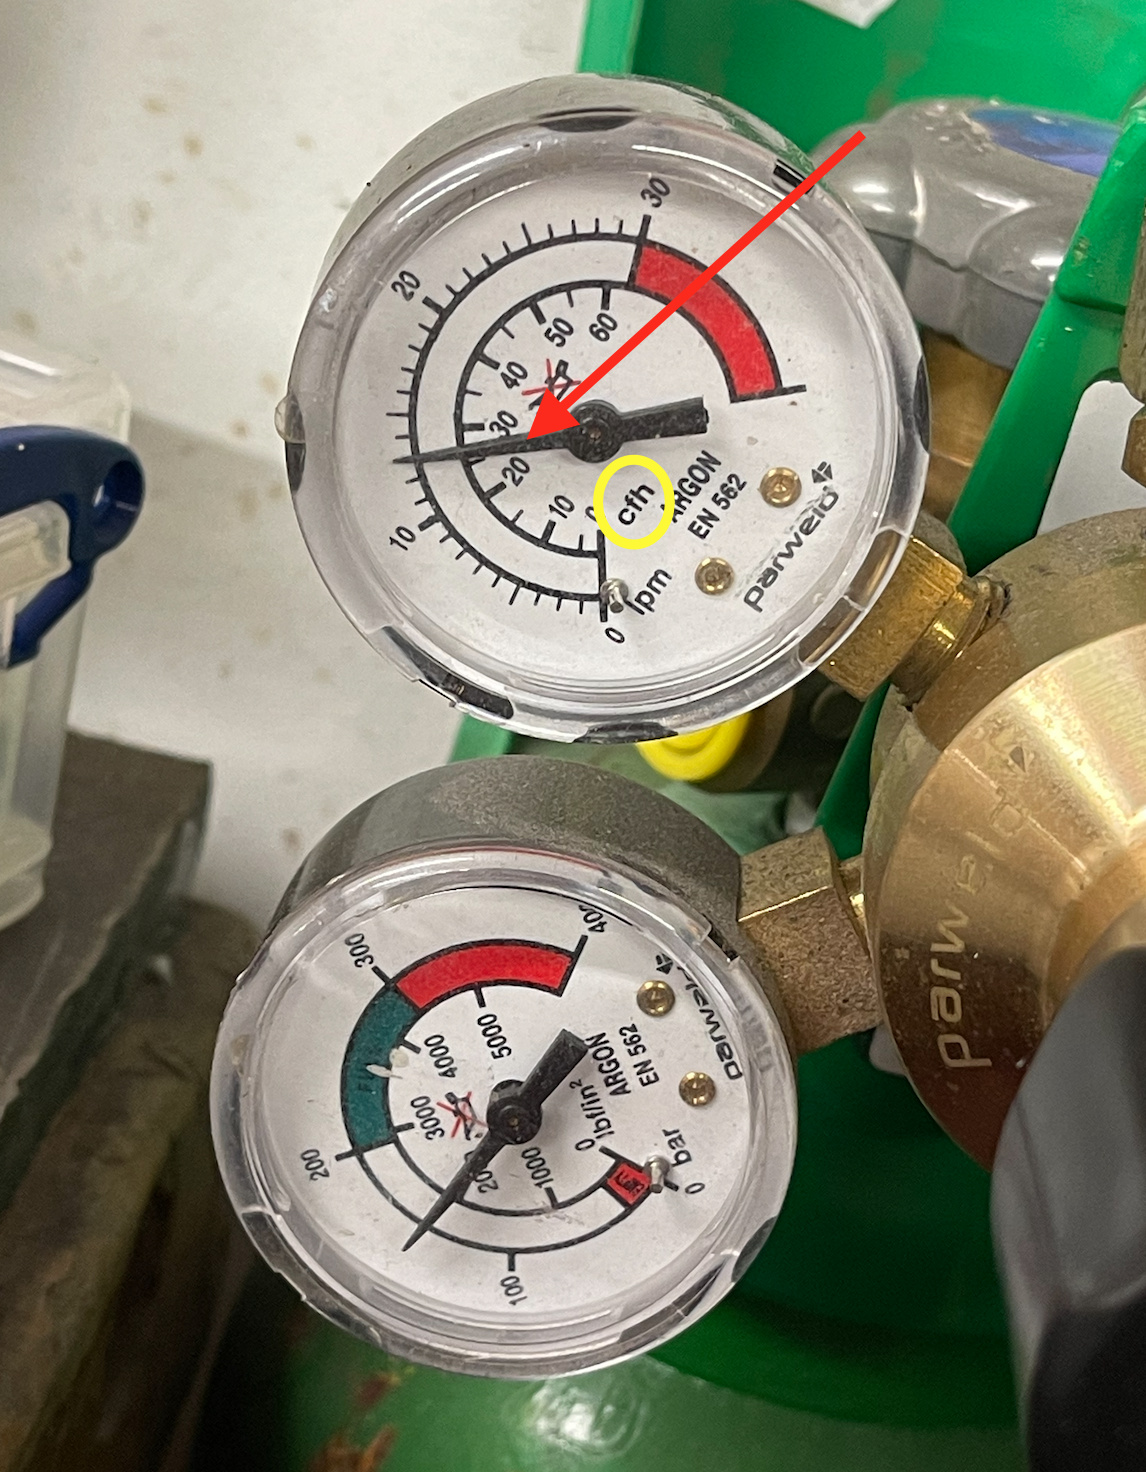
Use the big black regulator adjustment knob to get the gas flow adjusted to 25-30 CFH. Turning to the right (clockwise) will increase the flow, to the left (counter-clockwise) will decrease the flow.

Now trim the excess wire that extended from the MIG gun tip while you were adjusting the gas pressure.

Note: Adjust the gas pressure as needed if the conditions change. A higher gas pressure is required when there is wind or a breeze from a fan. Take caution: Gas pressure that is set too high will result in turbulence around the weld puddle. This will result in porosity, which will compromise the strength of the weld.
The Ground Clamp
The ground clamp is the cathode (-) in the circuit and completes the circuit between the welder, the welding gun and the project:

It should either be clipped directly to the piece of metal being welding or onto a metal welding table like the picture above.
The clip must be making good contact with the piece being welded for it to work so be sure to grind off any rust or paint that may be preventing it from making a connection with your work.
Welding
Before you start welding make sure things are properly setup at both the welder and on the piece you are about to weld.
The Metal
While you can pretty much just take a MIG welder, squeeze the trigger and and touch it to your work piece to weld you won’t get a great result. If you want the weld to be strong and clean, taking 5 minutes to clean your metal and grind down any edges that are being joined will really help the quality of your weld.
For example: Use an angle grinder to bevel the edges of a tube before it gets welded onto another piece of square tubing. By creating two bevels on the joining edges it makes a little valley for the weld pool to form in. Doing this for butt welds (when two things are pushed together and joined) is a good idea.


Once your welder is set up and you have prepped your piece of metal it’s time to start focusing on the actual welding.
If you are still a beginner you might want to practice just running a bead before actually welding two pieces of metal together. You can do this by taking a piece of scrap metal and making a weld in a straight line on its surface.
Practise this before you start actually welding your workpiece so that you can get a feel for the process and figure out what wire speed and power settings you will want to use.
Every welding machine is different so you will have to figure these settings out yourself. Too little power and you will have a splattered weld that won’t penetrate through your work piece. Too much power and you might melt right through the metal entirely.
What are the right settings?
If you are experiencing holes in your workpiece than your power is turned up too high and you are melting through your welds.
If your welds are forming in spurts your wire speed or power settings are too low. The gun is feeding a bunch of wire out of the tip, it’s then making contact, and then melting and splattering without forming a proper weld.
You’ll know when you have settings right because your welds will start looking nice and smooth. You can also tell a fair amount about the quality of the weld by the way it sounds. You want to hear continuous sparking, almost like a cooking bacon.
Between welds, clip off the excess wire from the tip and make sure to keep the tip clean so the shielding gas can properly flow:
Cleaning the tip with the ends of the pliers:

Welding is a skill that can take a lifetime to master. See below in Resources for a good MIG Tutorial discussing various aspects of the practice.
After Use
When you have finished welding, switch off the welder.
Turn off welding gas tank completely (the TANK, not the REGULATOR) - all the way to the right (clockwise)!

Be sure to disable tool control to prevent unauthorised use.
Maintenance
References
MIG Welder - Cebora Jaguar 2500 manual.pdf (171.8 KB)