Just a little update on this project.
I’ve been making some progress on the neck, here are a few picks of the process.
Howard helped me cut the neck blank down to thickness. I then used the Lazer cutter to mark out the outline and fret positions on the blank. I then roughly cut the outline of neck using a jigsaw.

I then used my router template/router to tidy up the outline and routed a channel for the truss rod.

Then glued in a strip of wallnut on top of the truss rod to make a “skunk strip”.

Then I cut the fret slots using the Lazer etching to start the slots, this works really well!
I put in the fret dots, and cut the head stock to thickness. The madcat has a tear drop shaped walnut flourish on the headstock so I made a round wallnut rod and glued it into the headstock at roughly the right spot.

I forgot to take photos of the carving process, which was basically a cases of marking and rasping out facets along the length of the next to get the back of the neck profile, and then blending the heal and head stock using a rasp/sandpaper. The fretboard was shaped using a radiused sanding block.
Here are a few picks of the results😁


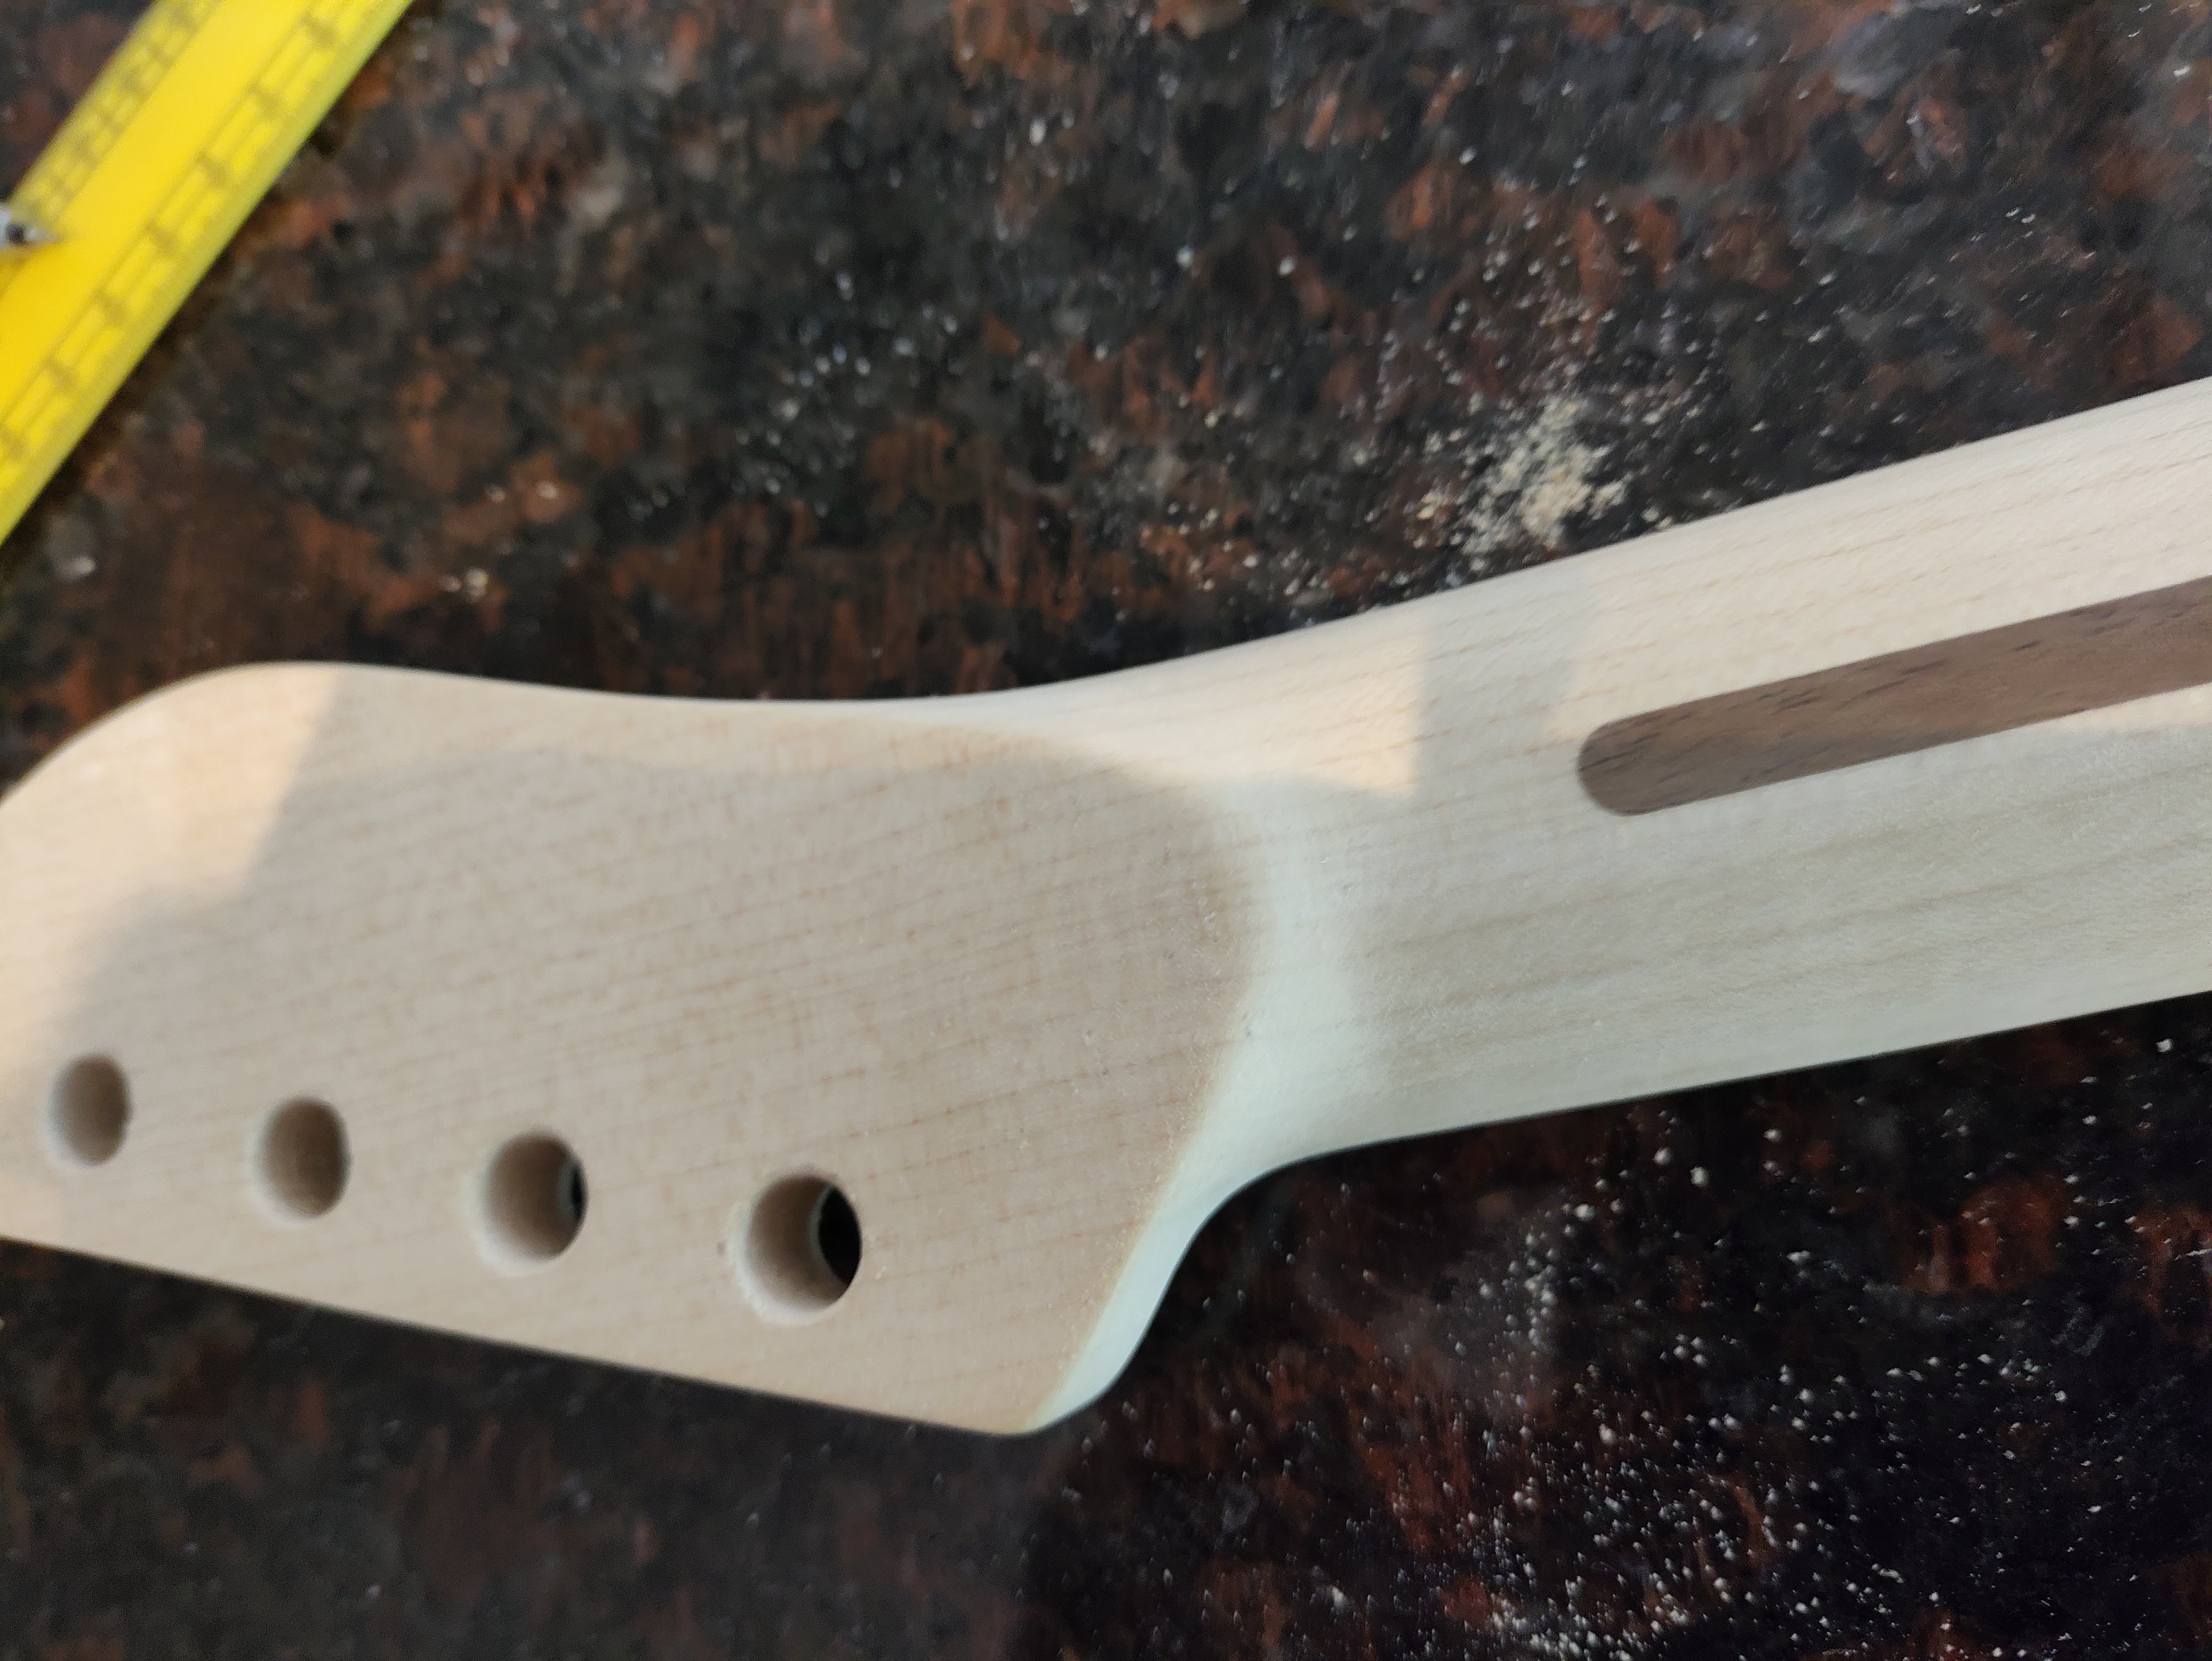
Next I re cut the fret slots to depth and hammered in some precut frets then cut and filed the ends


I’m just going through the finishing process ATM, I’ll post an update when I’m done