
Originally published at: http://southlondonmakerspace.org/2016/03/30/laser-cutting-a-multi-layered-map-of-london-part-1/
By Tom Newsom
I decided to make a big map of London. Why? Why not. It should look amazing.
The first step is getting a suitable dataset. The Ordnance Survey has map data available for public use. VectorMap District is most applicable and looks like this:

However, it’s missing some important information - in particular detailed railways and tube lines, paths in parks, and distinction between major and minor roads. A better source is OpenStreetMap, whose contributors obsess over these sort of details. It looks like this:

This is much more suitable for my needs. This data is available in DXF format at CAD Mapper. There’s even a pre-made London file. It’s big. 155MB DXF big.

At this point, I had to decide on a scale. I chose 1:25,000 which is the same as the famous Ordnance Survey “Explorer” maps.

However, this proved to be too finely detailed. The minor roads crowded up against each other, and railways would end up as very thin spiderwebs of plastic. A shame, because at this scale I could just about include the Makerspace in the map.
Instead, I doubled the scale to 1:12,500 and cut a test piece to check the proportions.

This scale would let me fit the Circle Line within the limits of our Trotec laser cutter. You can just about make it out in yellow here:

A considerable amount of cleanup work was needed to turn the OSM data into something that would look good when scored onto acrylic.


Finally, I was ready to get this monster into Job Control and start cutting!

However, there was an issue. In order to reduce cutting time, Job Control has an excellent optimiser that minimises time spent moving the cutting head around between active cuts. But this job was too big for it to handle. The unoptimised job time was outrageous:

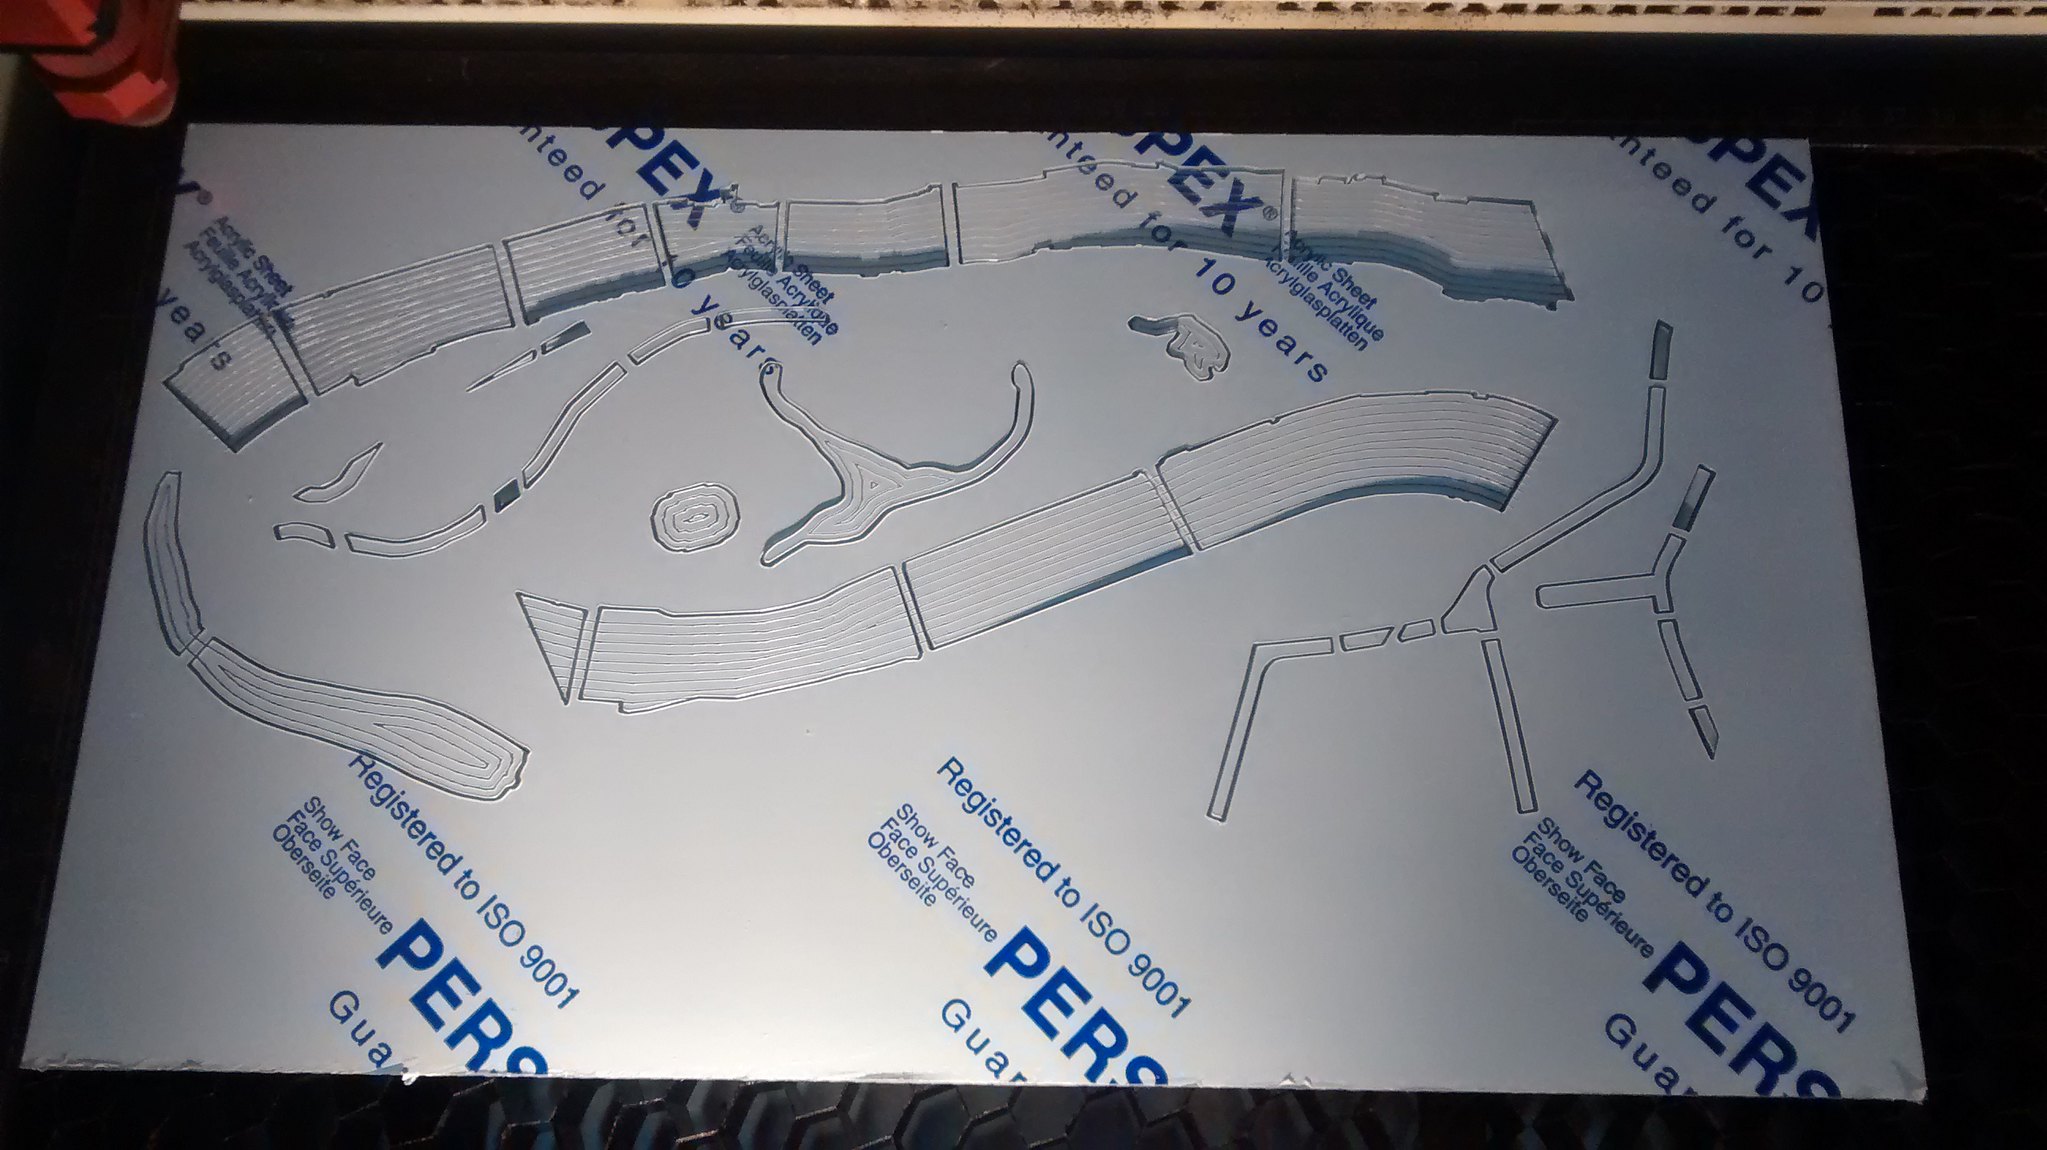
I tried this out anyway and the cutting head would spend more than half its time whizzing back and forth between random lines like this:
I solved this problem by splitting the job up into several smaller pieces, each of which could be optimised on its own. This cut the overall time required down by half, as the cutting head spent most of its time actually cutting:
Sixteen segments later, I had a nicely etched and cut map. I’m leaving the backing film on as long as possible, in order to maintain a good finish, so you’ll just have to imagine this as transparent.


The last pieces to cut were the coloured tube and rail lines, which will sit on and under the transparent map,
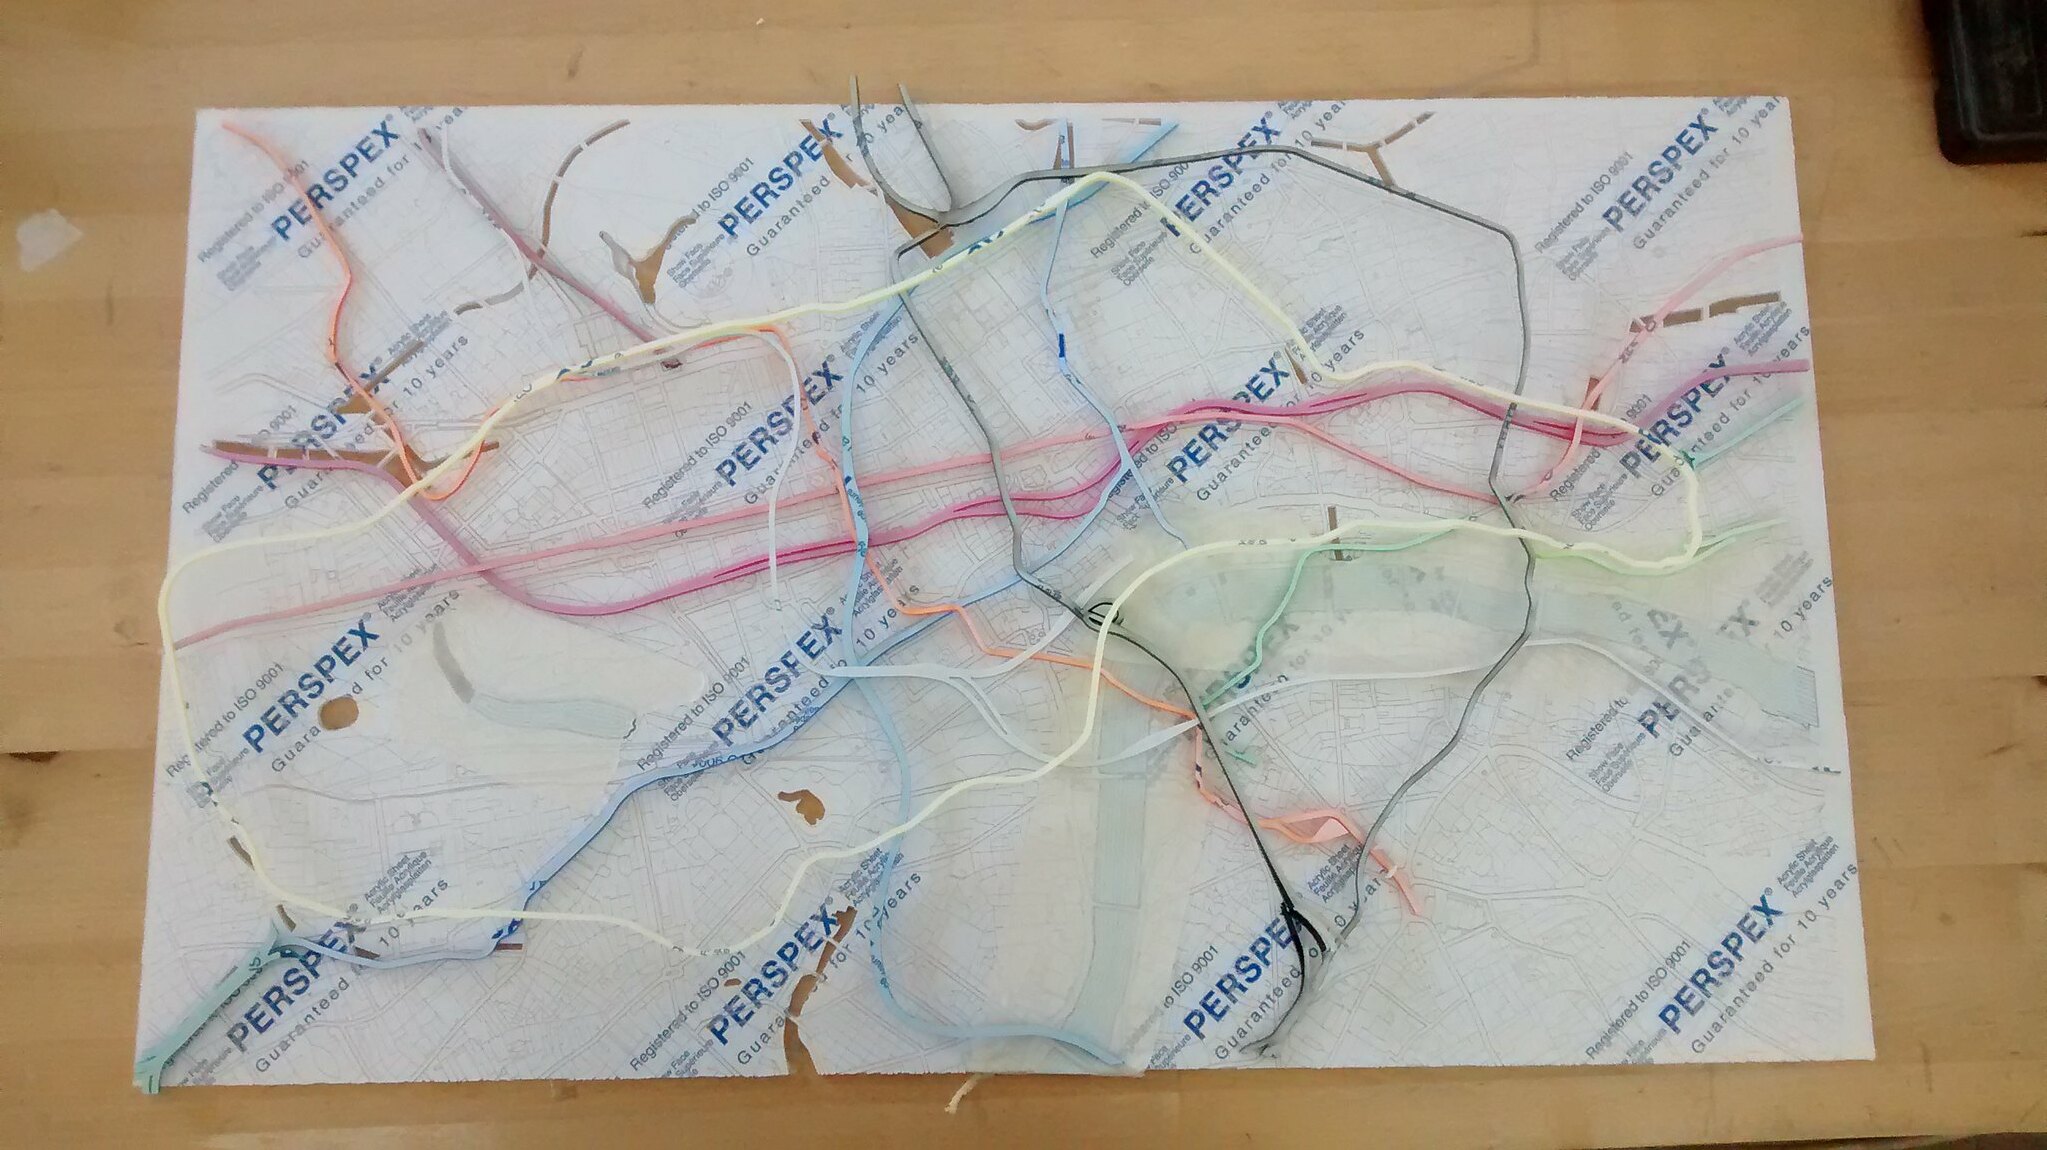
and the water, which is transparent blue.
Now I’m ready for the next step: Building a box to house all these parts, and putting it all together!
Part 2 coming soon…
