I had a spare hour yesterday and thought it would be a good idea to get some hands-on experience with the laser cutter, ahead of producing a moving gift for some friends!
Someone posted a link to a logbook style journal of their project progress and that has inspired me to give a little insight into the mistakes I made yesterday while playing around.
Goal of the session:
Become more comfortable using the laser cutter unsupervised
Notable lessons:
Cleaning the laser before isn’t as daunting as I anticipated, it’s very intuitive
You can only be logged into Ruby on one device at a time (I was uploading designs from my laptop)
While Ruby does give a design feature, it’s not great and if you change text it will probably lose the font
Every time you create a job from a design you must re-select the material. every. time. I used 3mm ply, and 3 out of 5 jobs were executed with the wrong 3mm material selected (the middle dog tag didn’t cut all the way through, one of my “cut” layers was engraved rather than cut)
You don’t need to crop the design in inkscape to the “page” size, Ruby does that for you
If you want the design cut out of the sheet at the end, you better remember to put a bounding rectangle around the design. But you should make sure that the rectangle isn’t outside the page (whoops)
It’s really important to clean the machine after use, especially if you’ve been using it for several jobs
Outcome:
I made two dog tags, one for my cockapoo Albie, and one for his “cousin” Jackson
You don’t need to crop the design in inkscape to the “page” size, Ruby does that for you
Hmm. What I understand is that in Inkscape you need to shrink the page to match the object.
If you don’t, Ruby imports the objects inside a bounding box that is A4 size. This can make it hard to position for cutting.
I’ll check next time I am in front of the laser.
For custom fonts, convert the text to a path in Inkscape, and then you don’t have to worry about whether Ruby will be able to display/use the font.
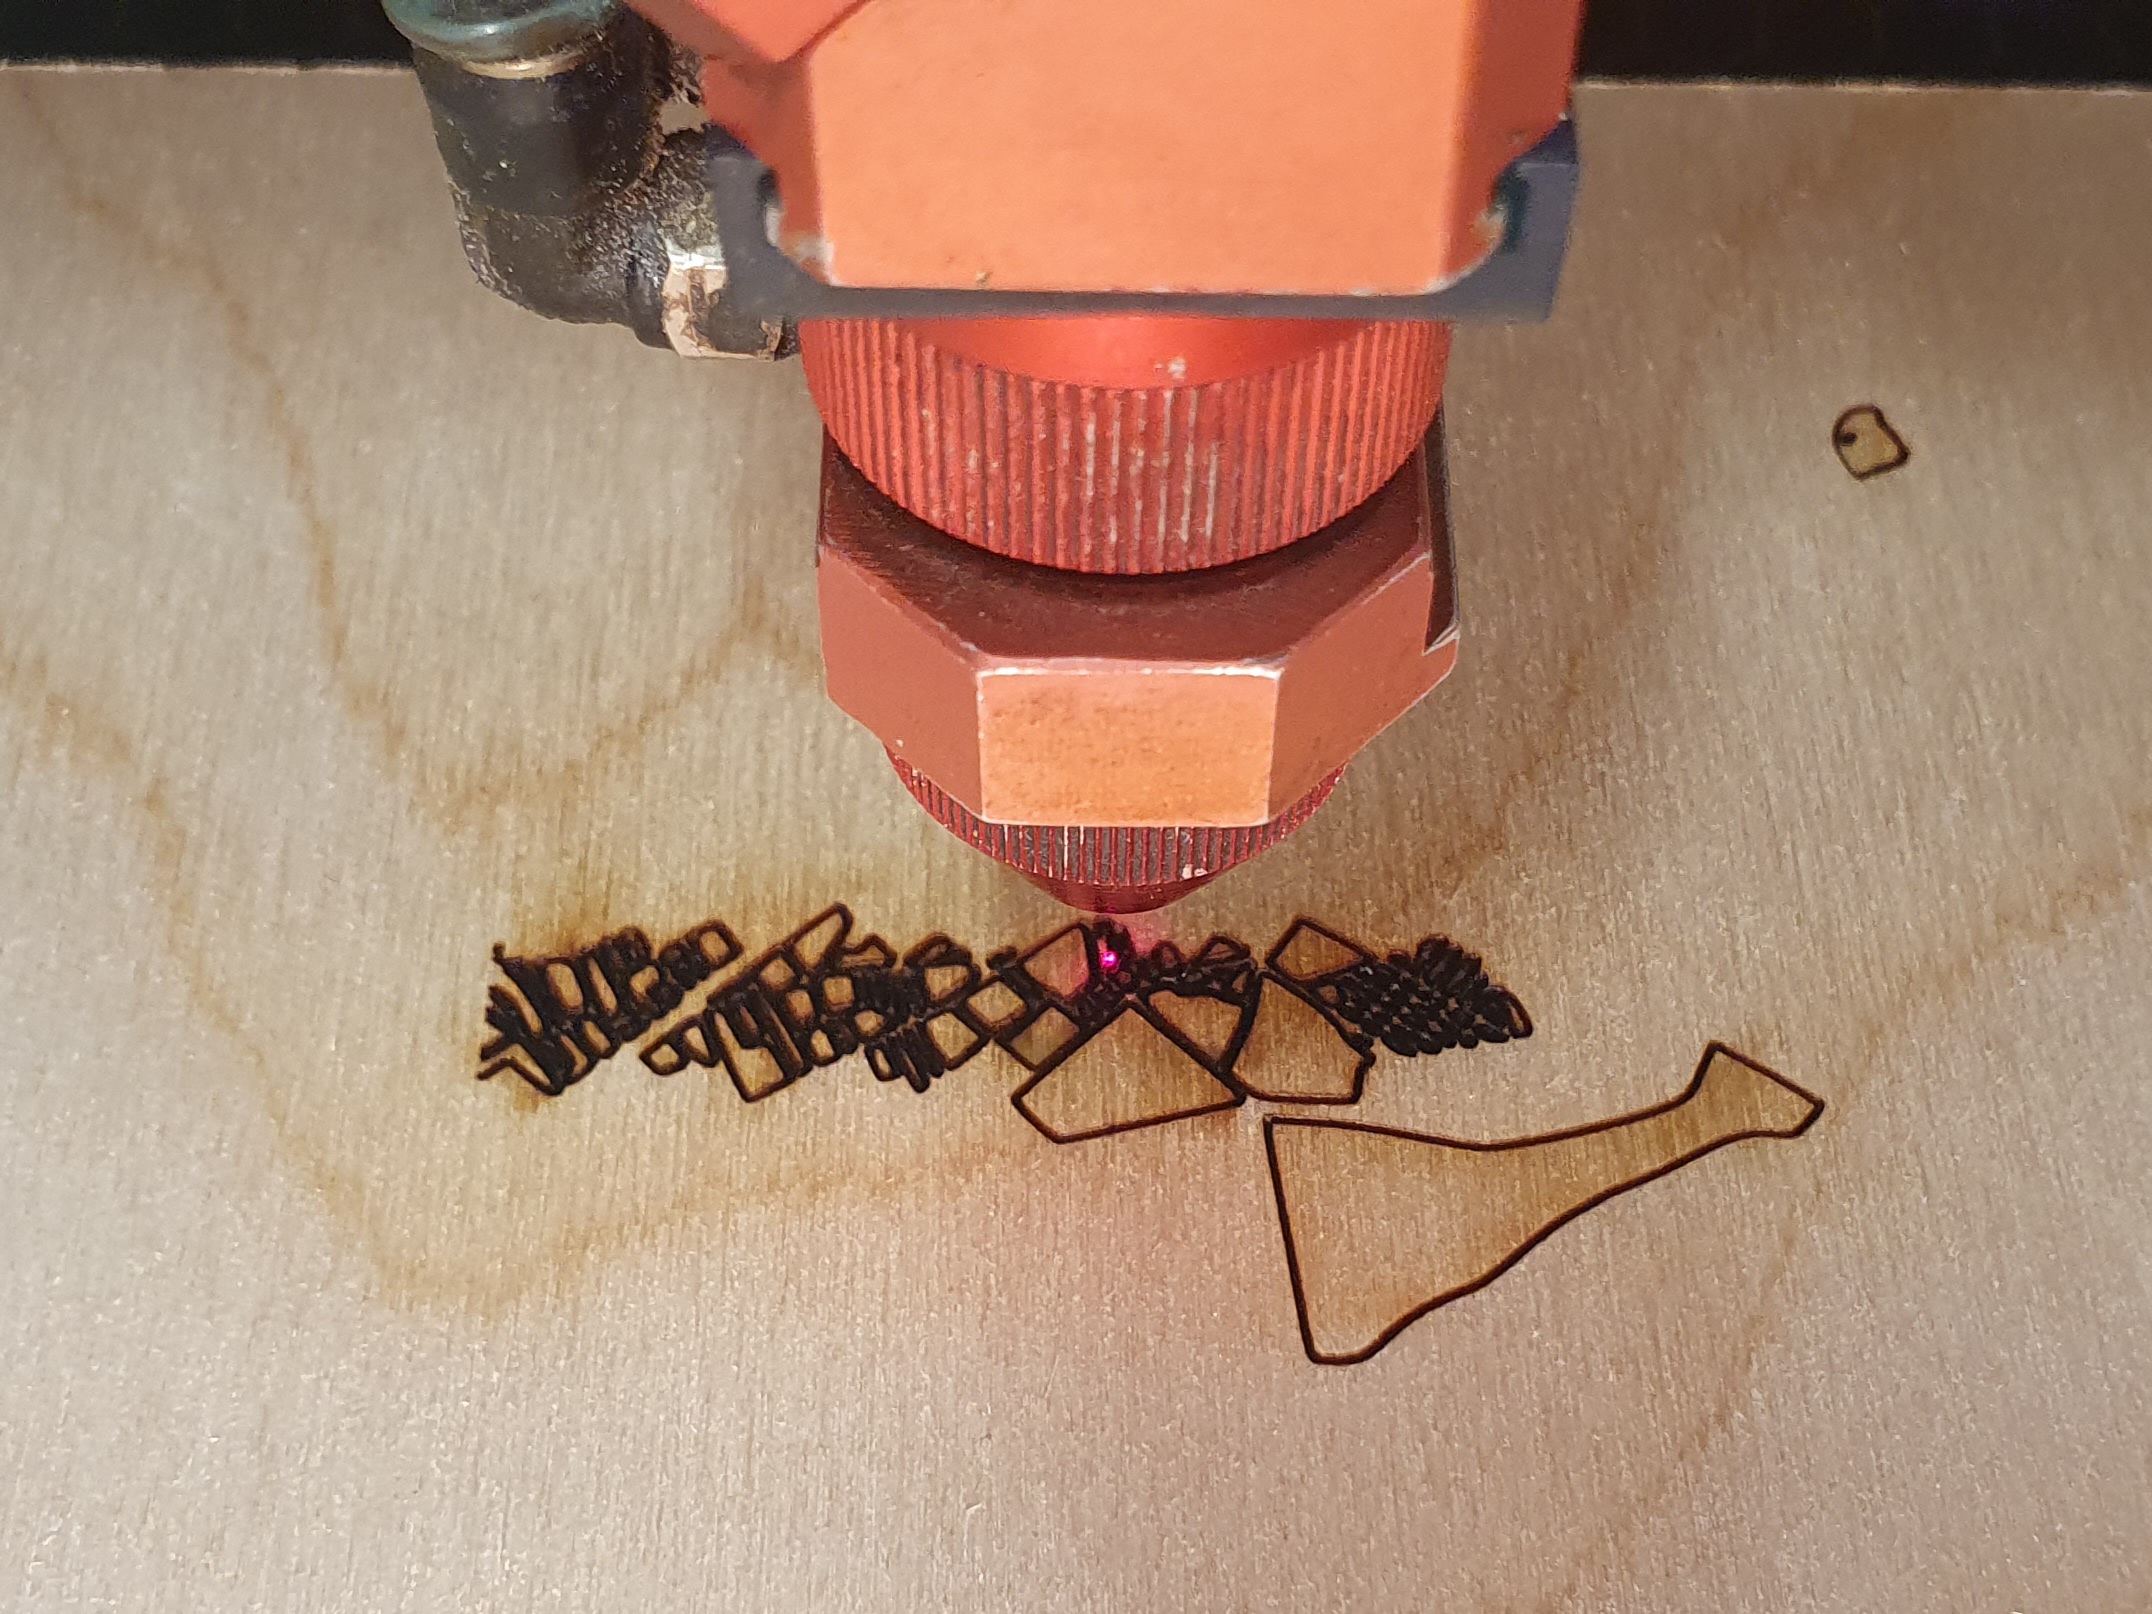
So I got another 45 minutes with the laser cutter tonight and thought I’d try out a few more bits and see if I could eliminate some of my mistakes from the other night.
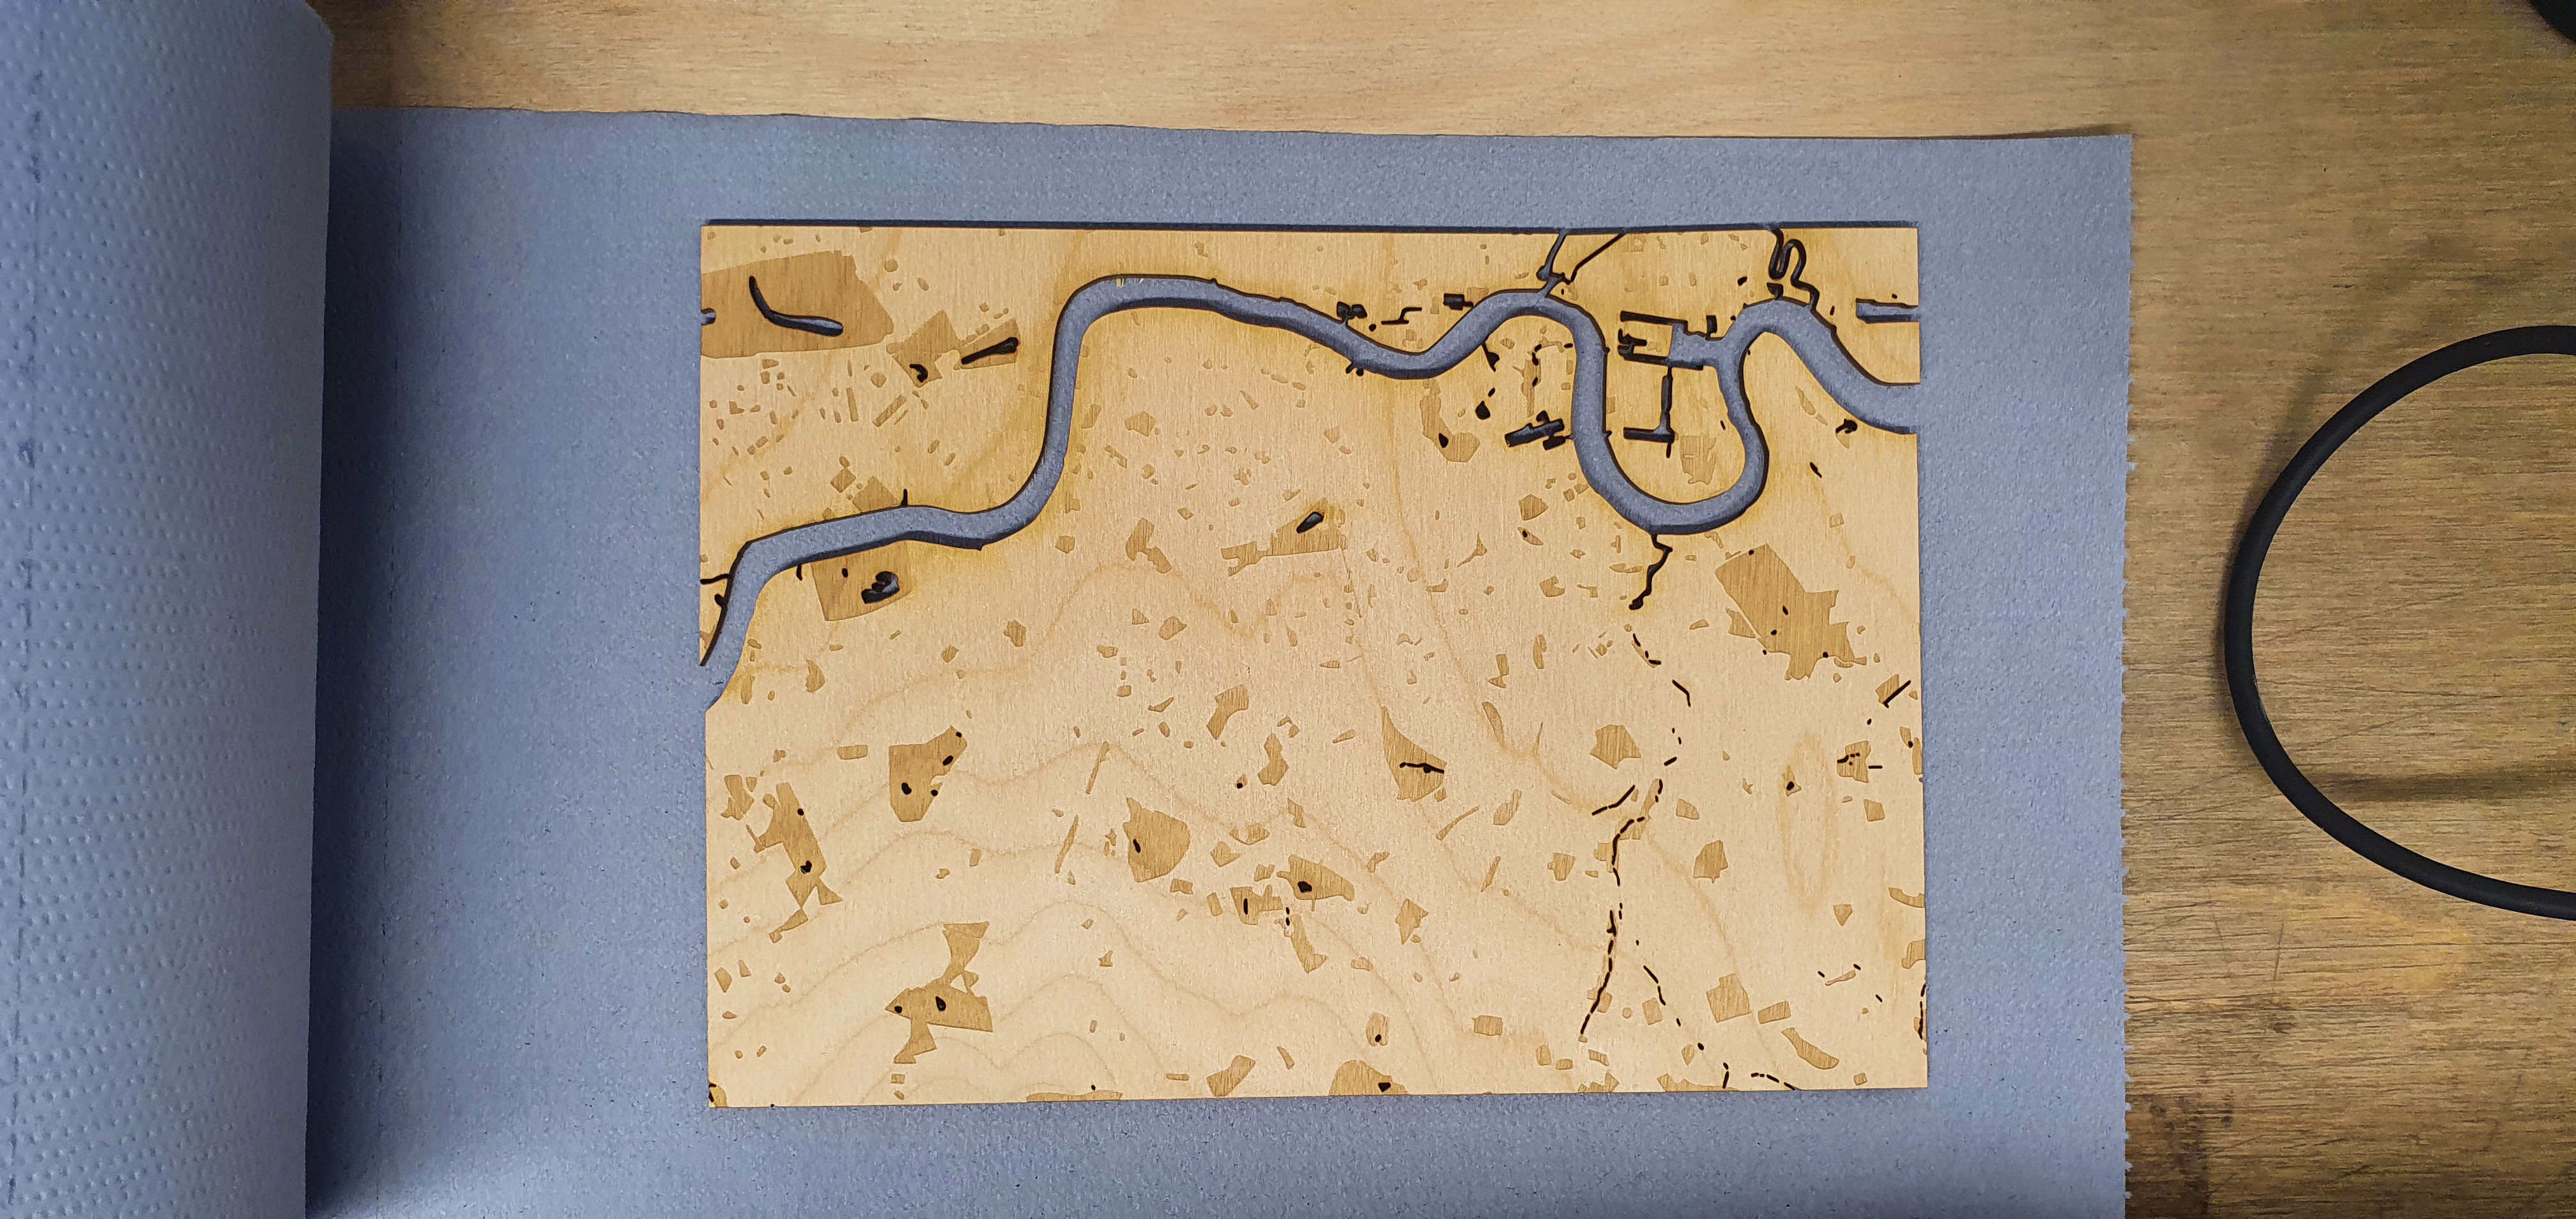
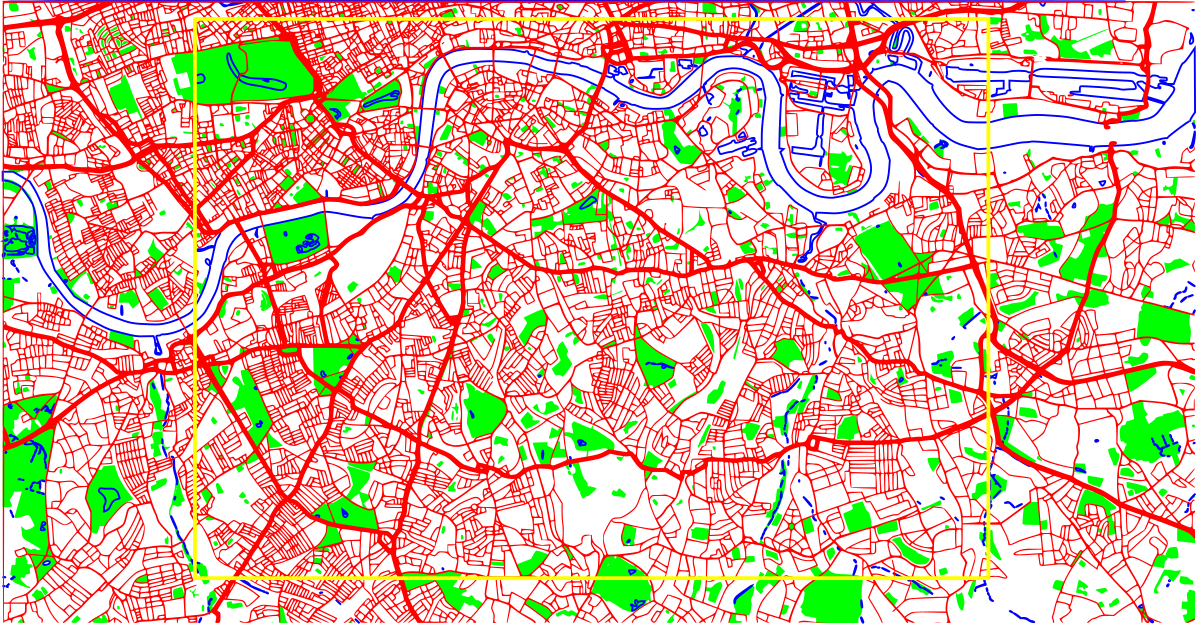
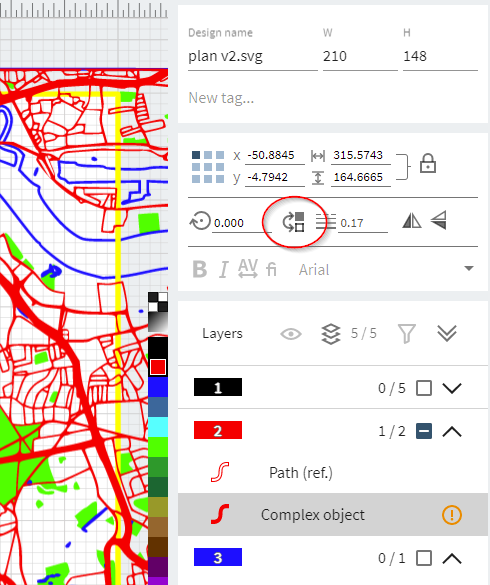
I realised I hadn’t shared the actual design (which is still evolving). I imagine a two-three layer finished product:
Base layer being some kind of blue, this will represent water, both for the river and in the parks
First ply will have the parks of south london engraved, then the water bodies all cut out of the layer
Second ply layer will have roads of central/south london cut out so that only the roads remain
The layers will be bonded in some way (wood glue likely), then finally some markers to represent where my friends have lived over the last 5-6 years, and will be presented to them once they’ve moved into their new home - imminently…
I won’t lie - that post is what inspired me to do this project! But I certainly don’t have the graphics skills to pull off what @tomnewsom was able to! Hence, my simpler, and beginner-friendly version…
I am going to use some of his posts to simplify those roads though
 (the middle dog tag didn’t cut all the way through, one of my “cut” layers was engraved rather than cut)
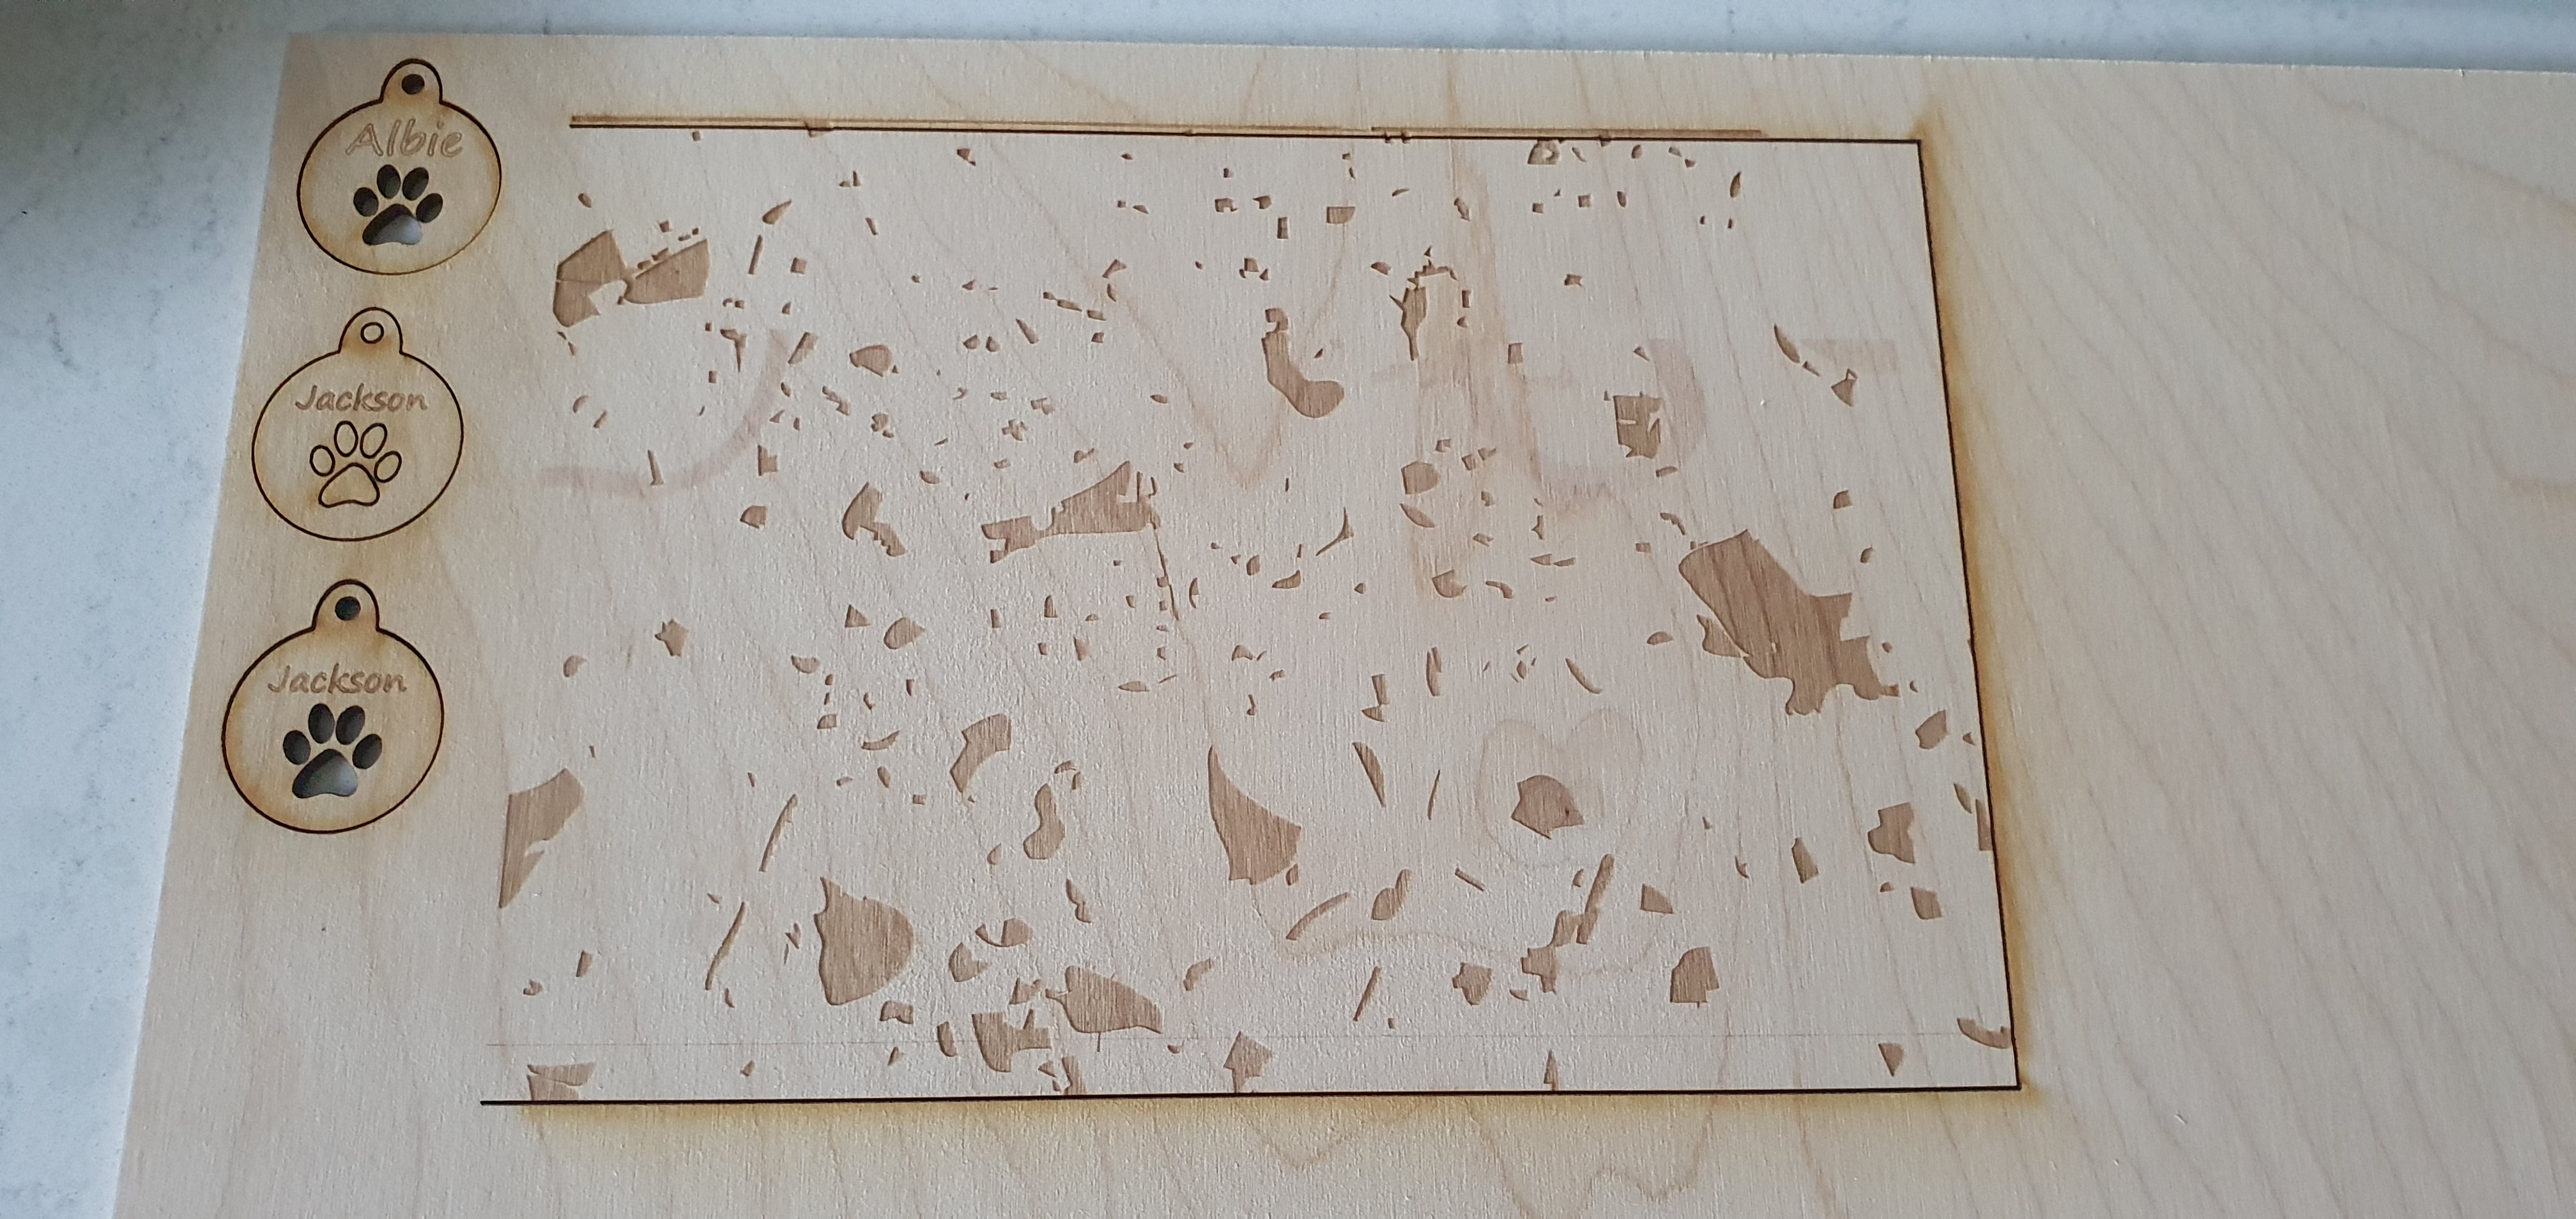
 Instead consider engraving a border, and cut out a few mm away.