Notice
- This machine does require an induction.
- This tool may be used while alone in the space.

Details
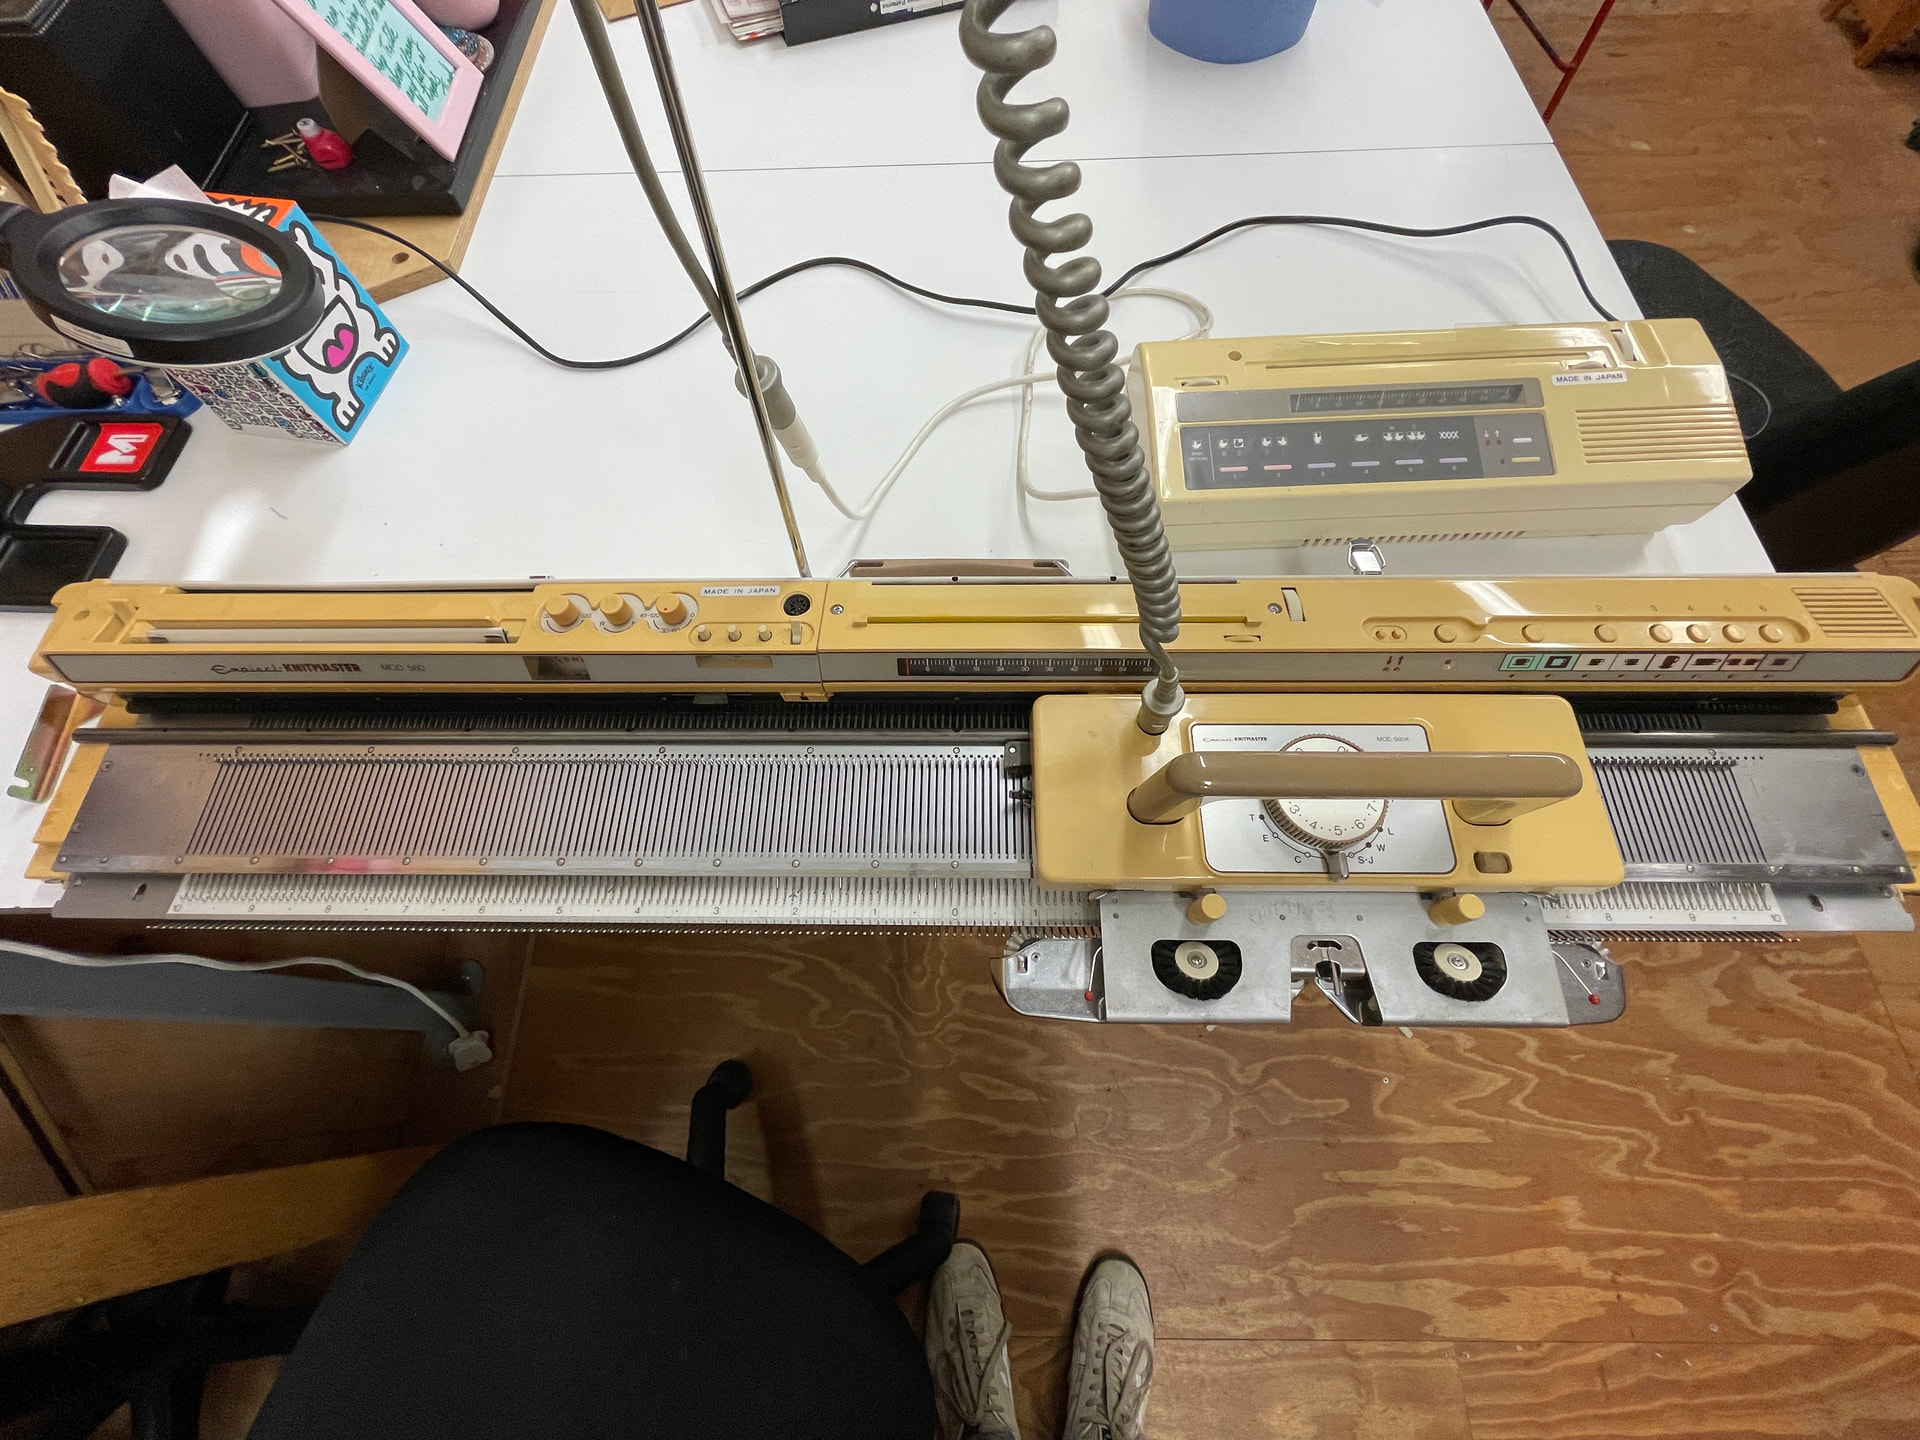
Knitmaster Model 560 knitting machine, with:
- Electronic pattern reader
- Ribber
- Lace carriage
- Intarsia carriage
- Automatic yarn changer
- Linker
Condition Notes
2nd hand, donated in early 2024.
Maintainers
Setup
The machine lives on a shelf to the right of the double doors in the textiles area:

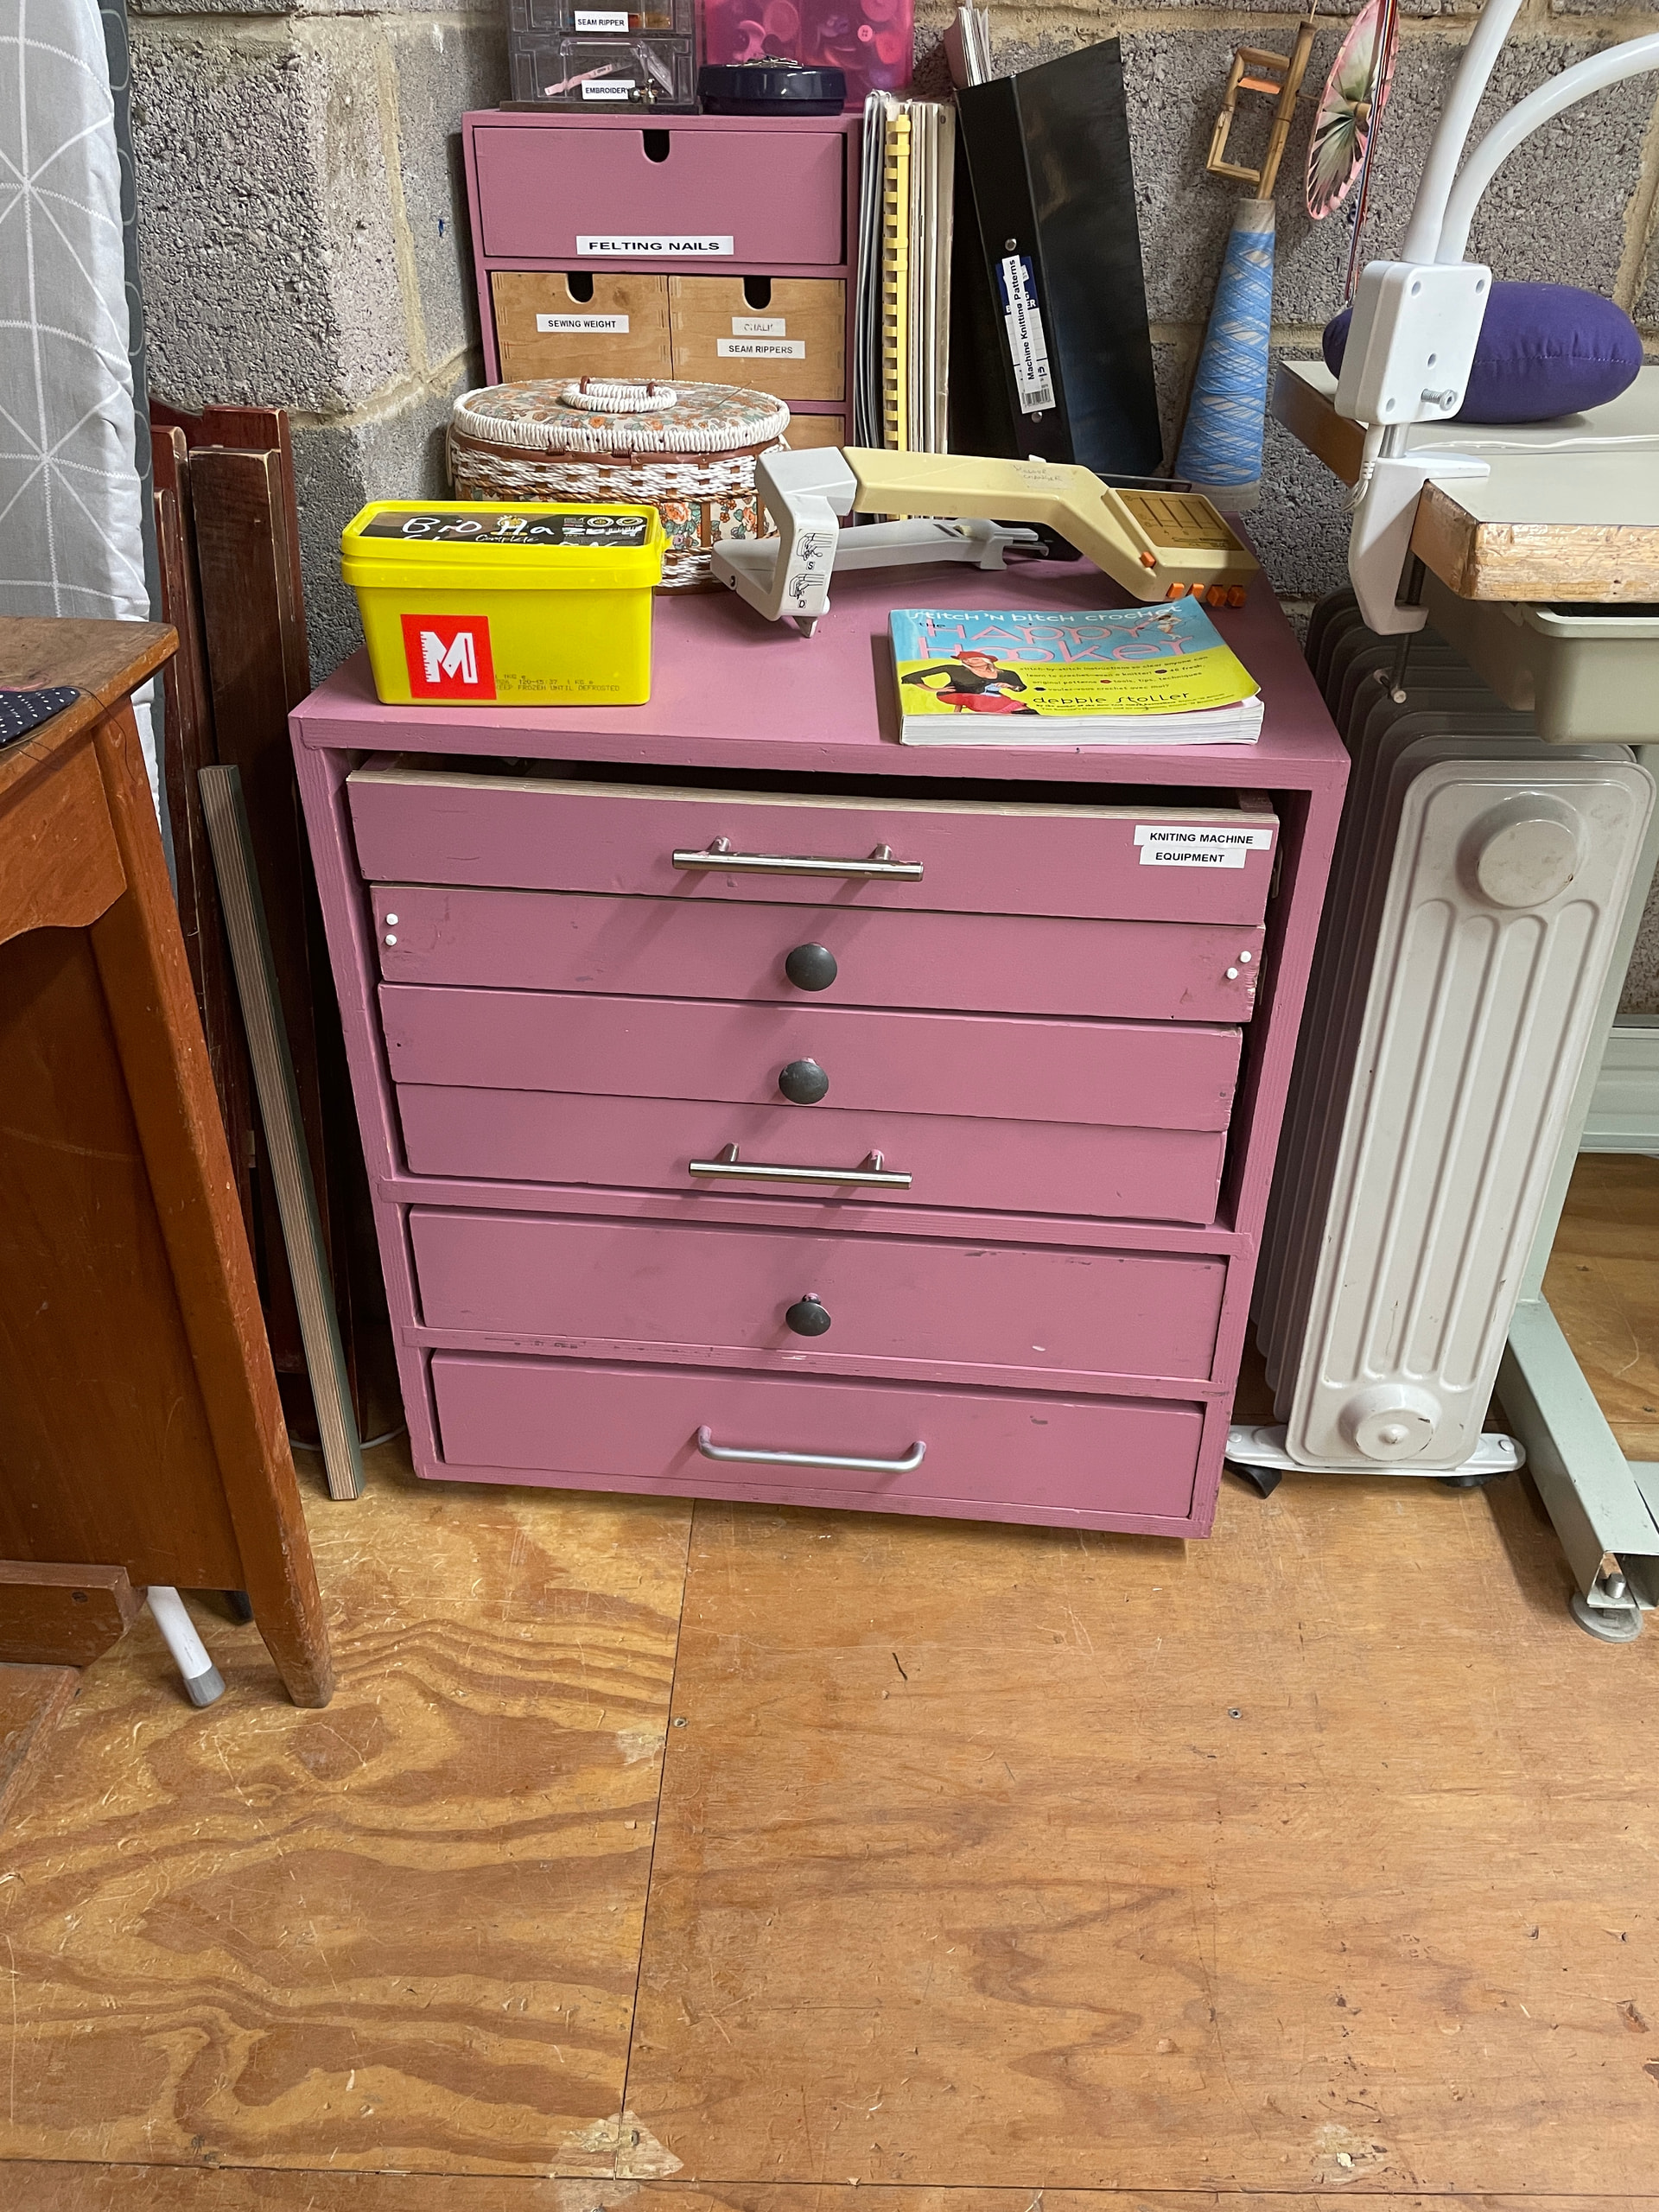
Accessories can be found in the purple chest of drawers labelled ‘machine knitting equipment’:
Place the machine on a table with the handle facing away from you:

Set up the machine according to pages 3-4 of the operation manual:


Safety before use
- If you have long hair, tie it back - otherwise it may get caught in the carriage.
- If you’re wearing long sleeves, roll them up - otherwise they may get caught on the needles.
Before use
Please brush away any lint or dust from the needles and the underside of the carriage. Each time the machine is used, small fibres from the yarn are deposited on the needle bed - if these aren’t brushed away, they can build up on the inside of the carriage and damage the moving parts. There’s a 1/2" paintbrush in the drawer labelled ‘knitting machine equipment’ that you can use for this.
Which yarn should I use?
- This is a standard gauge machine, which means it should comfortably knit any yarn from 1-ply up to 4-ply.
- It’s best if the yarn comes from a cone, since it can feed freely into the machine.
- Skeins or hand-wound balls of yarn should first be wound using a ball winder, and yarn should be used from the centre of the ball.
Suppliers include:
Threading the machine
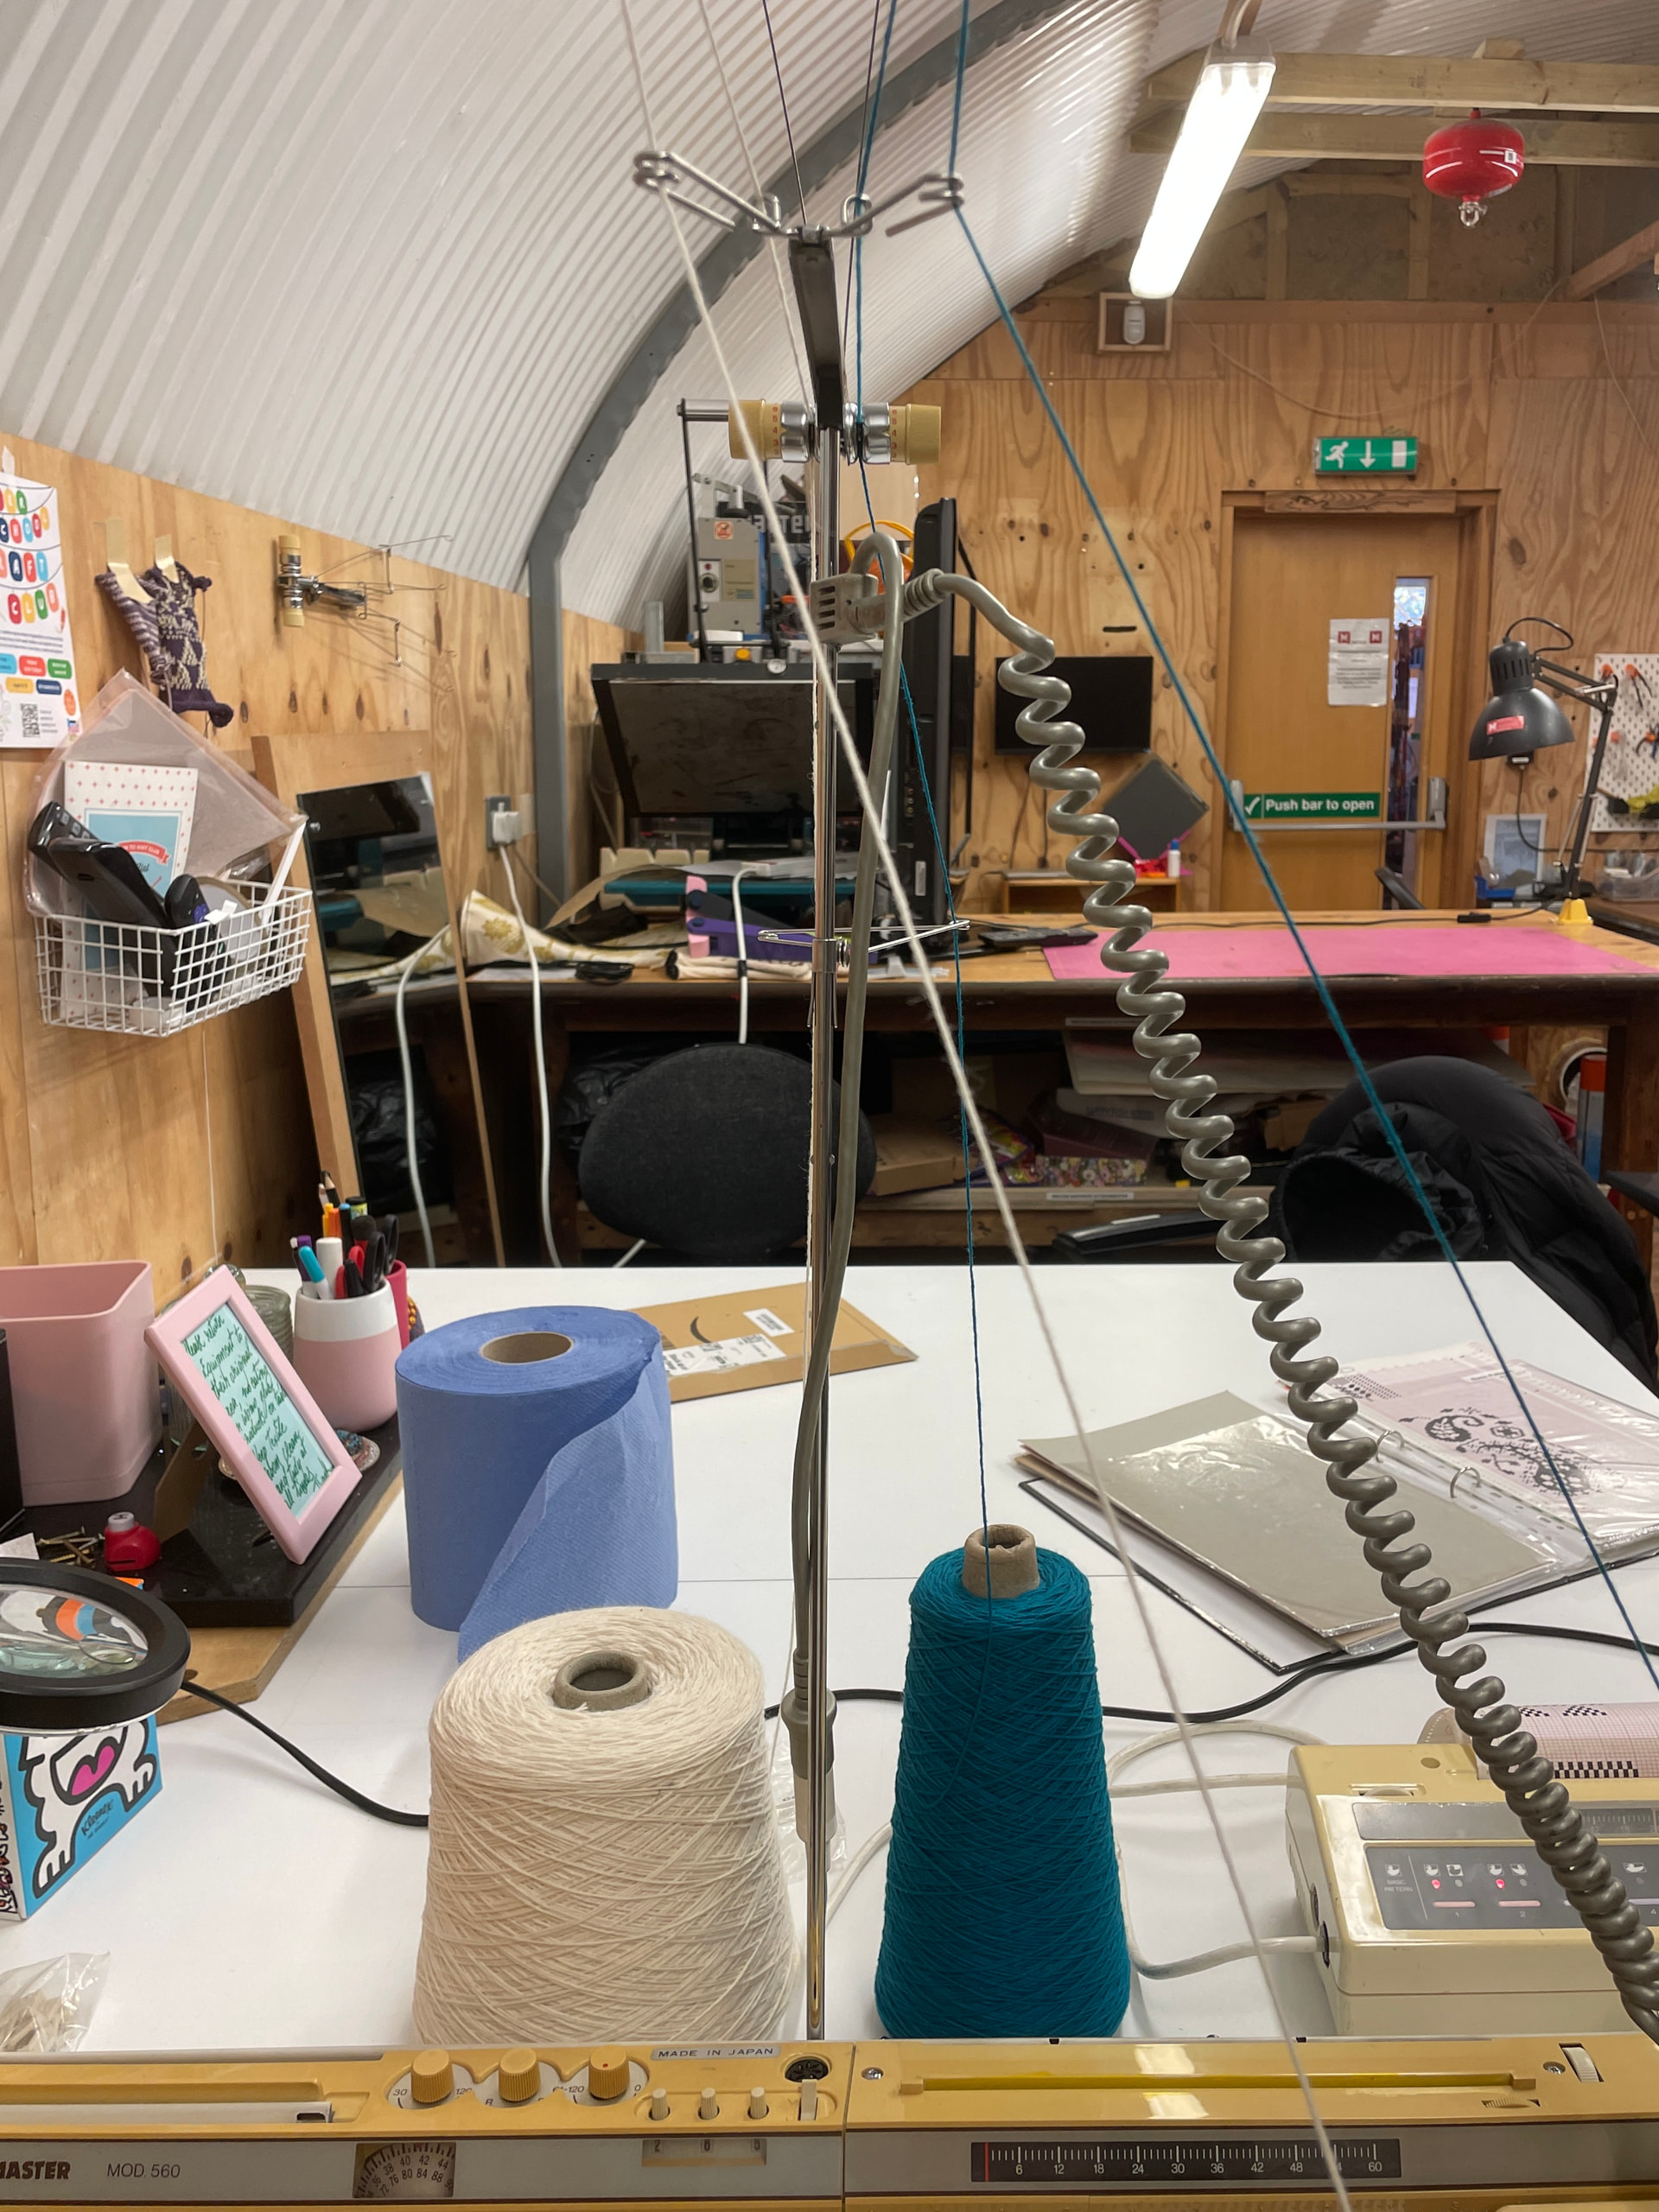
With the yarn placed on a clear surface behind the machine, take the yarn from the cone or ball and thread it through the auto-tension unit (page 8):

Make sure to adjust the tension dial according to the thickness of yarn you’re using (see page 8), as incorrect tension can cause the stitches to not form correctly.
Casting on
The operation manual (p. 11) shows the woven cast-on technique, which is quick, but can leave an untidy edge. A cleaner and more secure cast-on technique is the e-wrap cast on, which involves wrapping the yarn around each needle like the letter ‘e’ before securing it in the yarn feeder.
Stockinette knitting
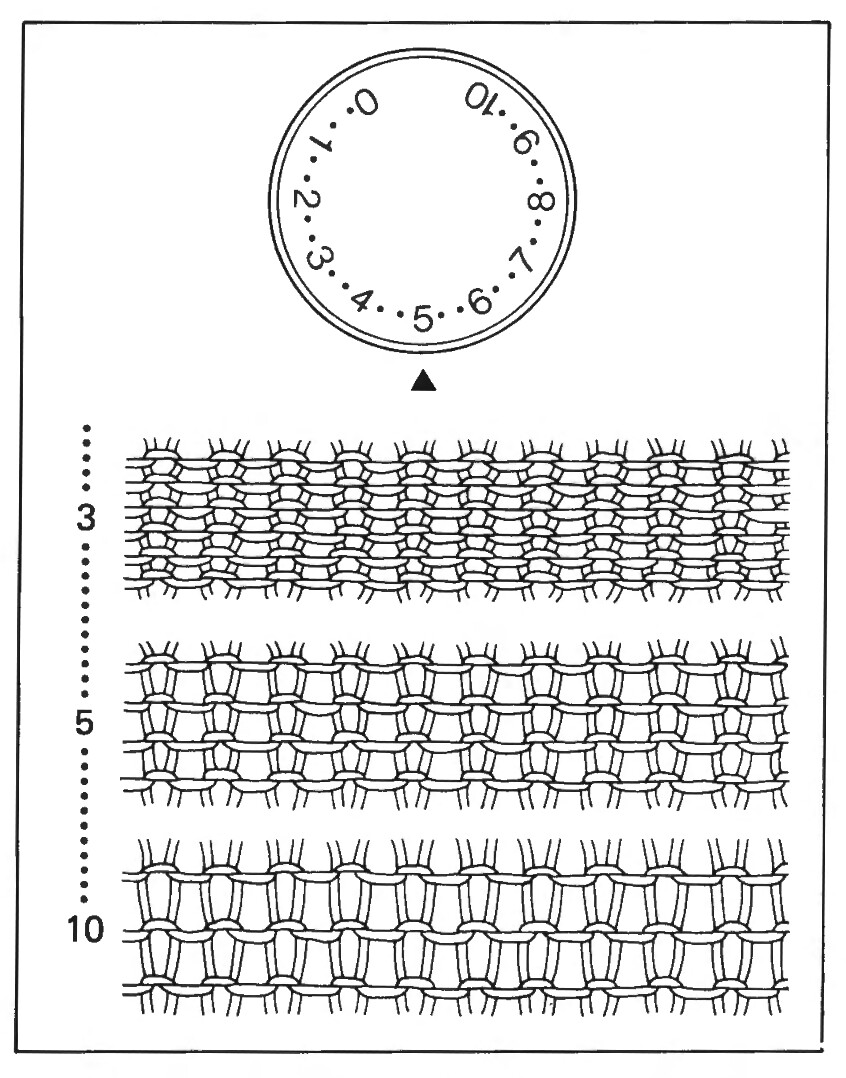
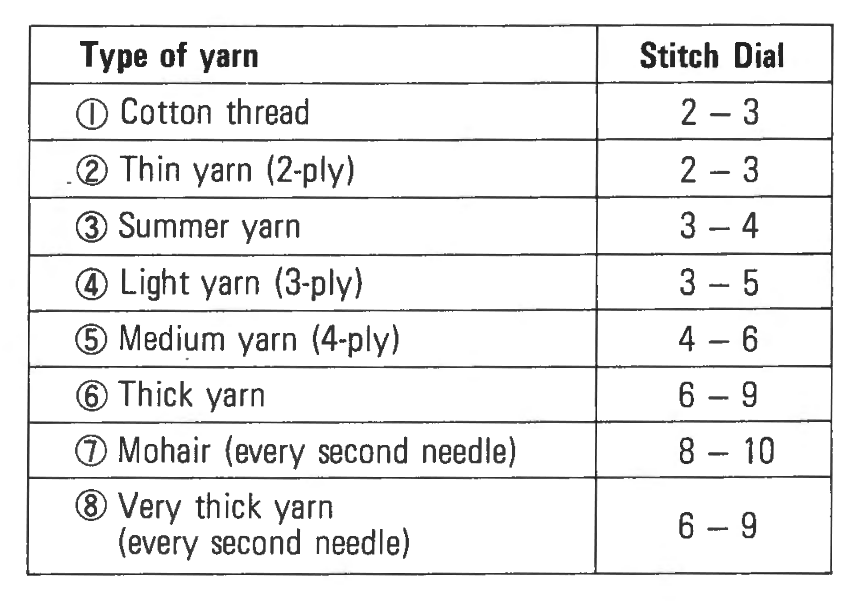
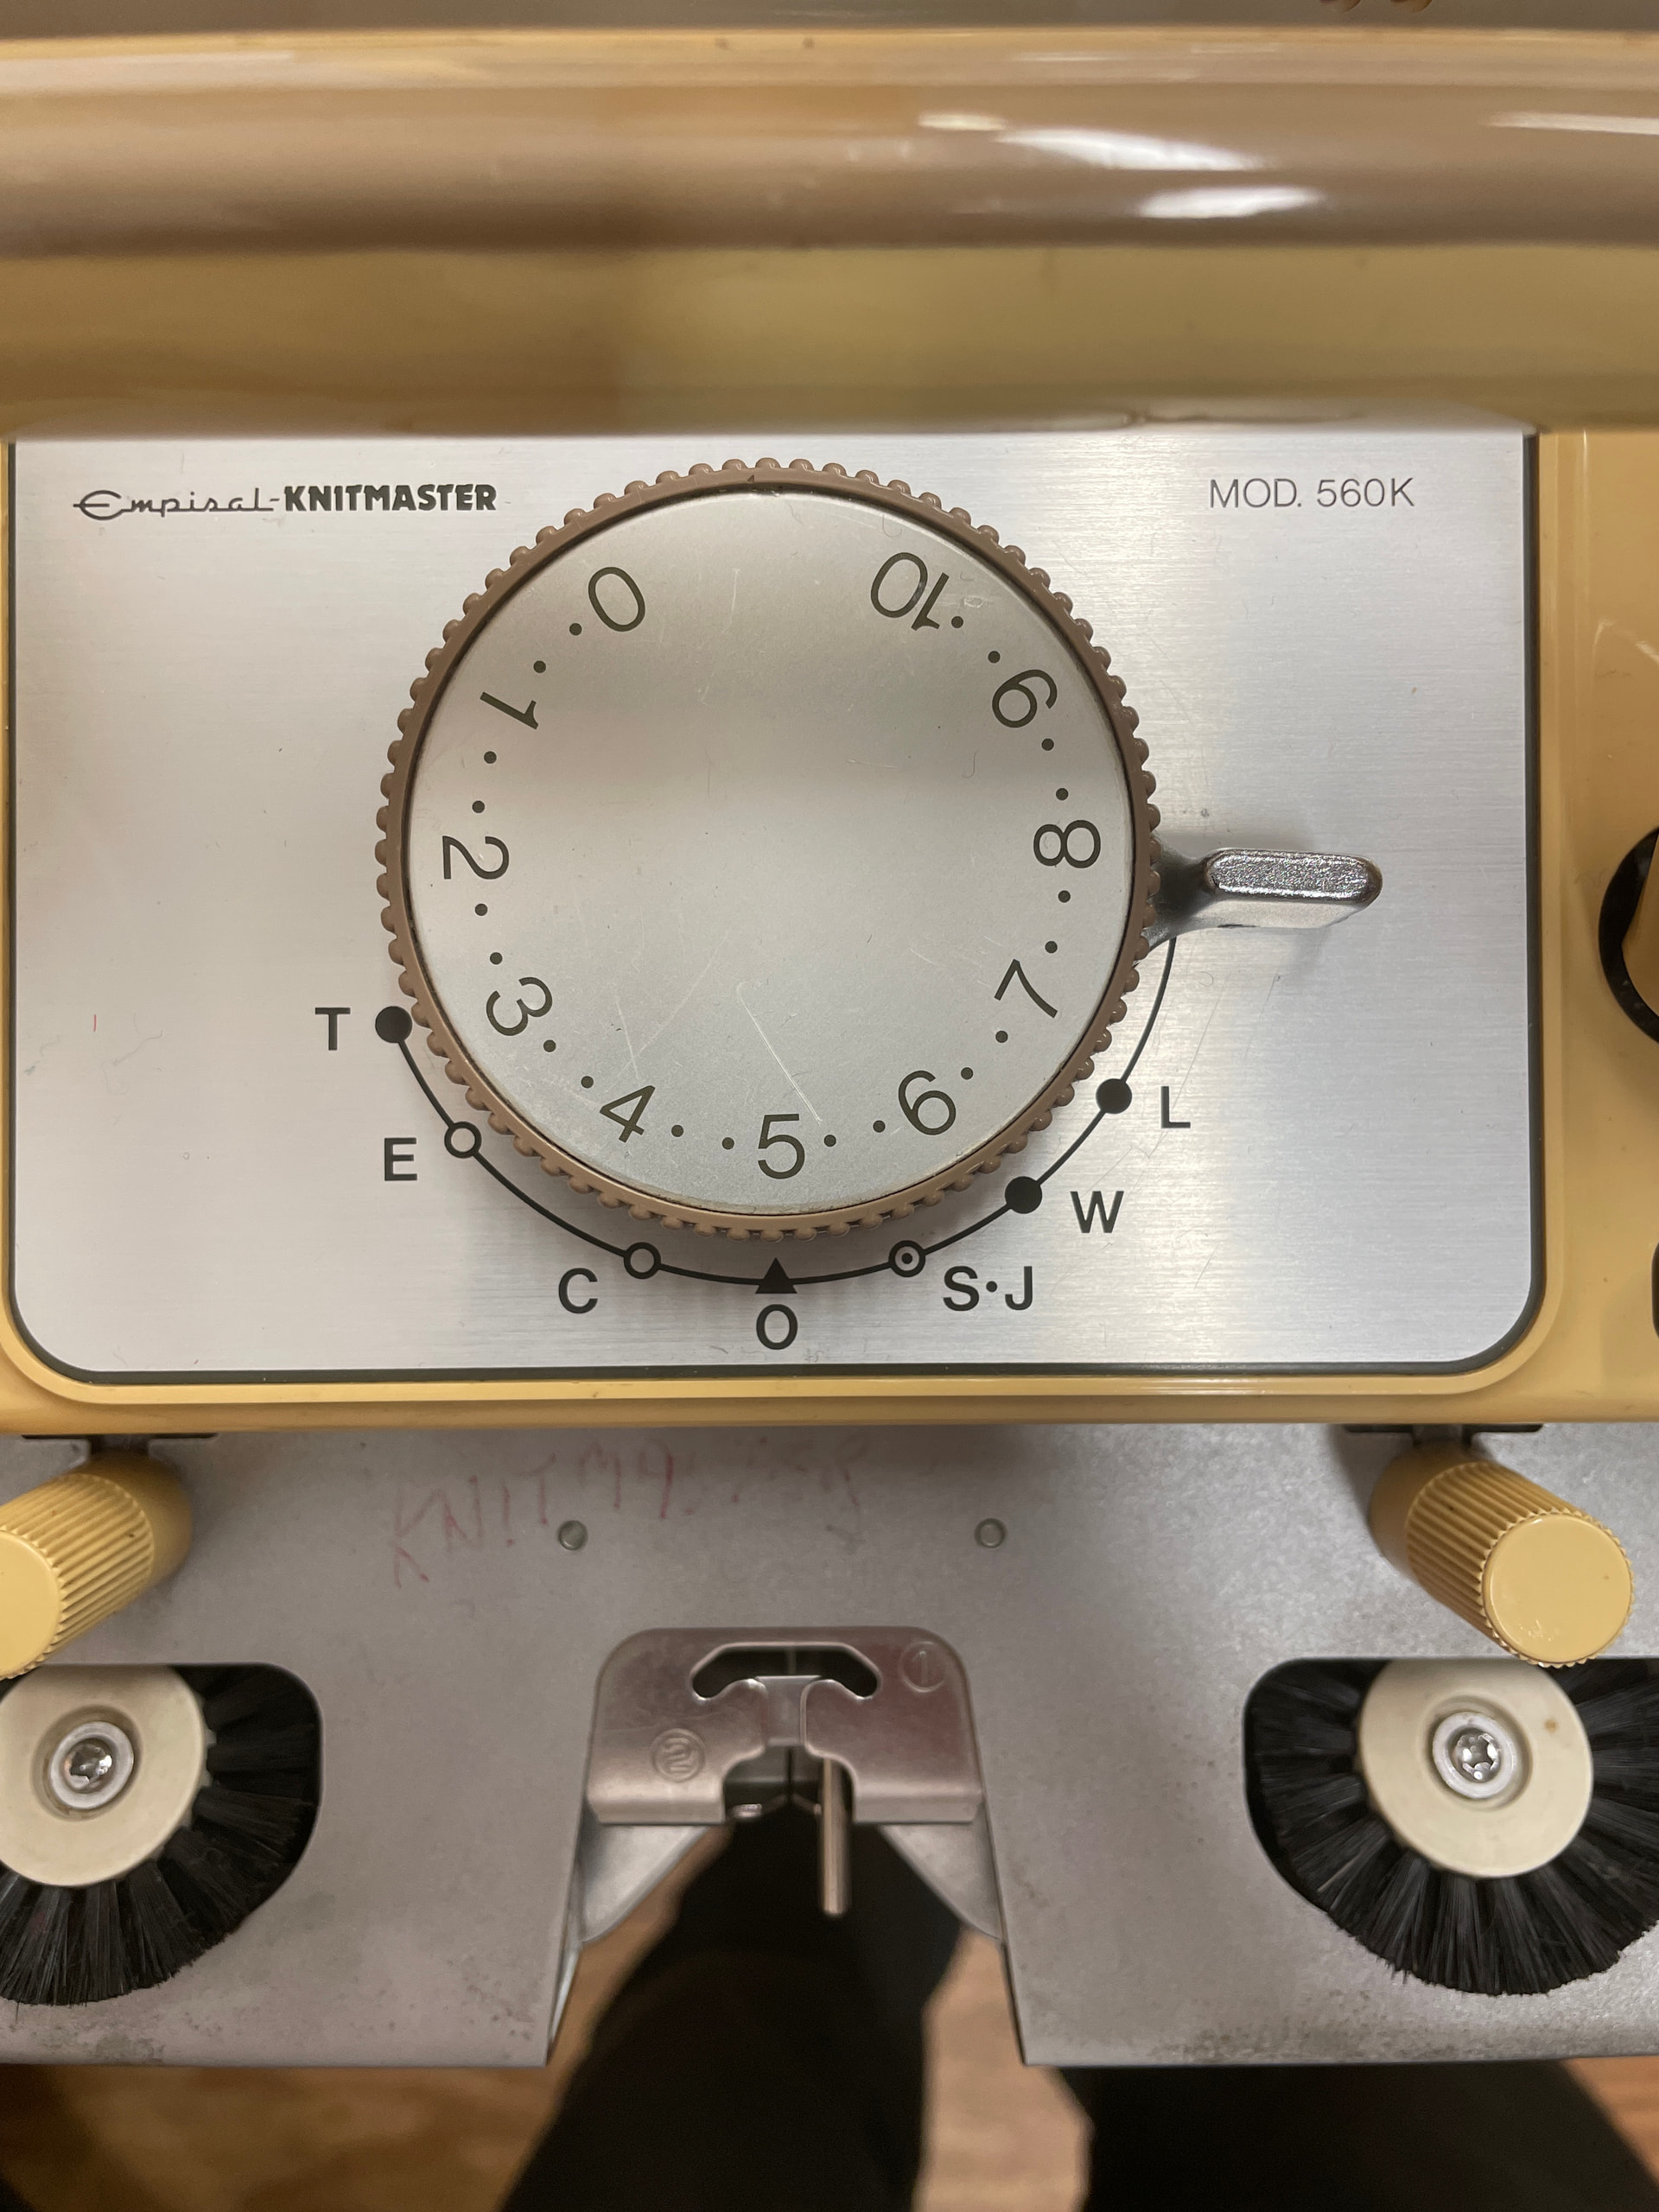
Set the stitch dial (the large dial in the centre of the carriage) to an appropriate number for the type of yarn you’re using (see page 10). The larger the number, the larger the stitches that form:
To knit stockinette (plain knitting), set the cam level (at the centre of the carriage) to position O and pass the carriage from right to left at an even speed. Ensure the carriage has passed the last knitting needle on each side by 2-3cm before returning.
If it requires force to pass the carriage across, try increasing the stitch size. If the carriage encounters resistance, use the carriage release lever to disengage the carriage from the bed.

Page 104 has further guidance for troubleshooting jams:

Once you’ve knitted 4-5 rows, hang claw weights on each edge of the knit material. Claw weights help to give tension to the knitting, which ensures stitches form correctly. Move the claw weights up every 10-20 rows.
Casting off
Once you’ve finished knitting, you can cast off to prevent the stitches from unravelling. I typically use the transfer-tool cast off technique for this.
After Use
- Brush away any lint or dust from the needle bed using the 1/2" paintbrush.
- Repack the machine as described on page 48 of the operation manual:

- Return any accessories, manuals or pattern cards to their original locations.
- Return the machine to its home on the shelf.
Pattern Knitting
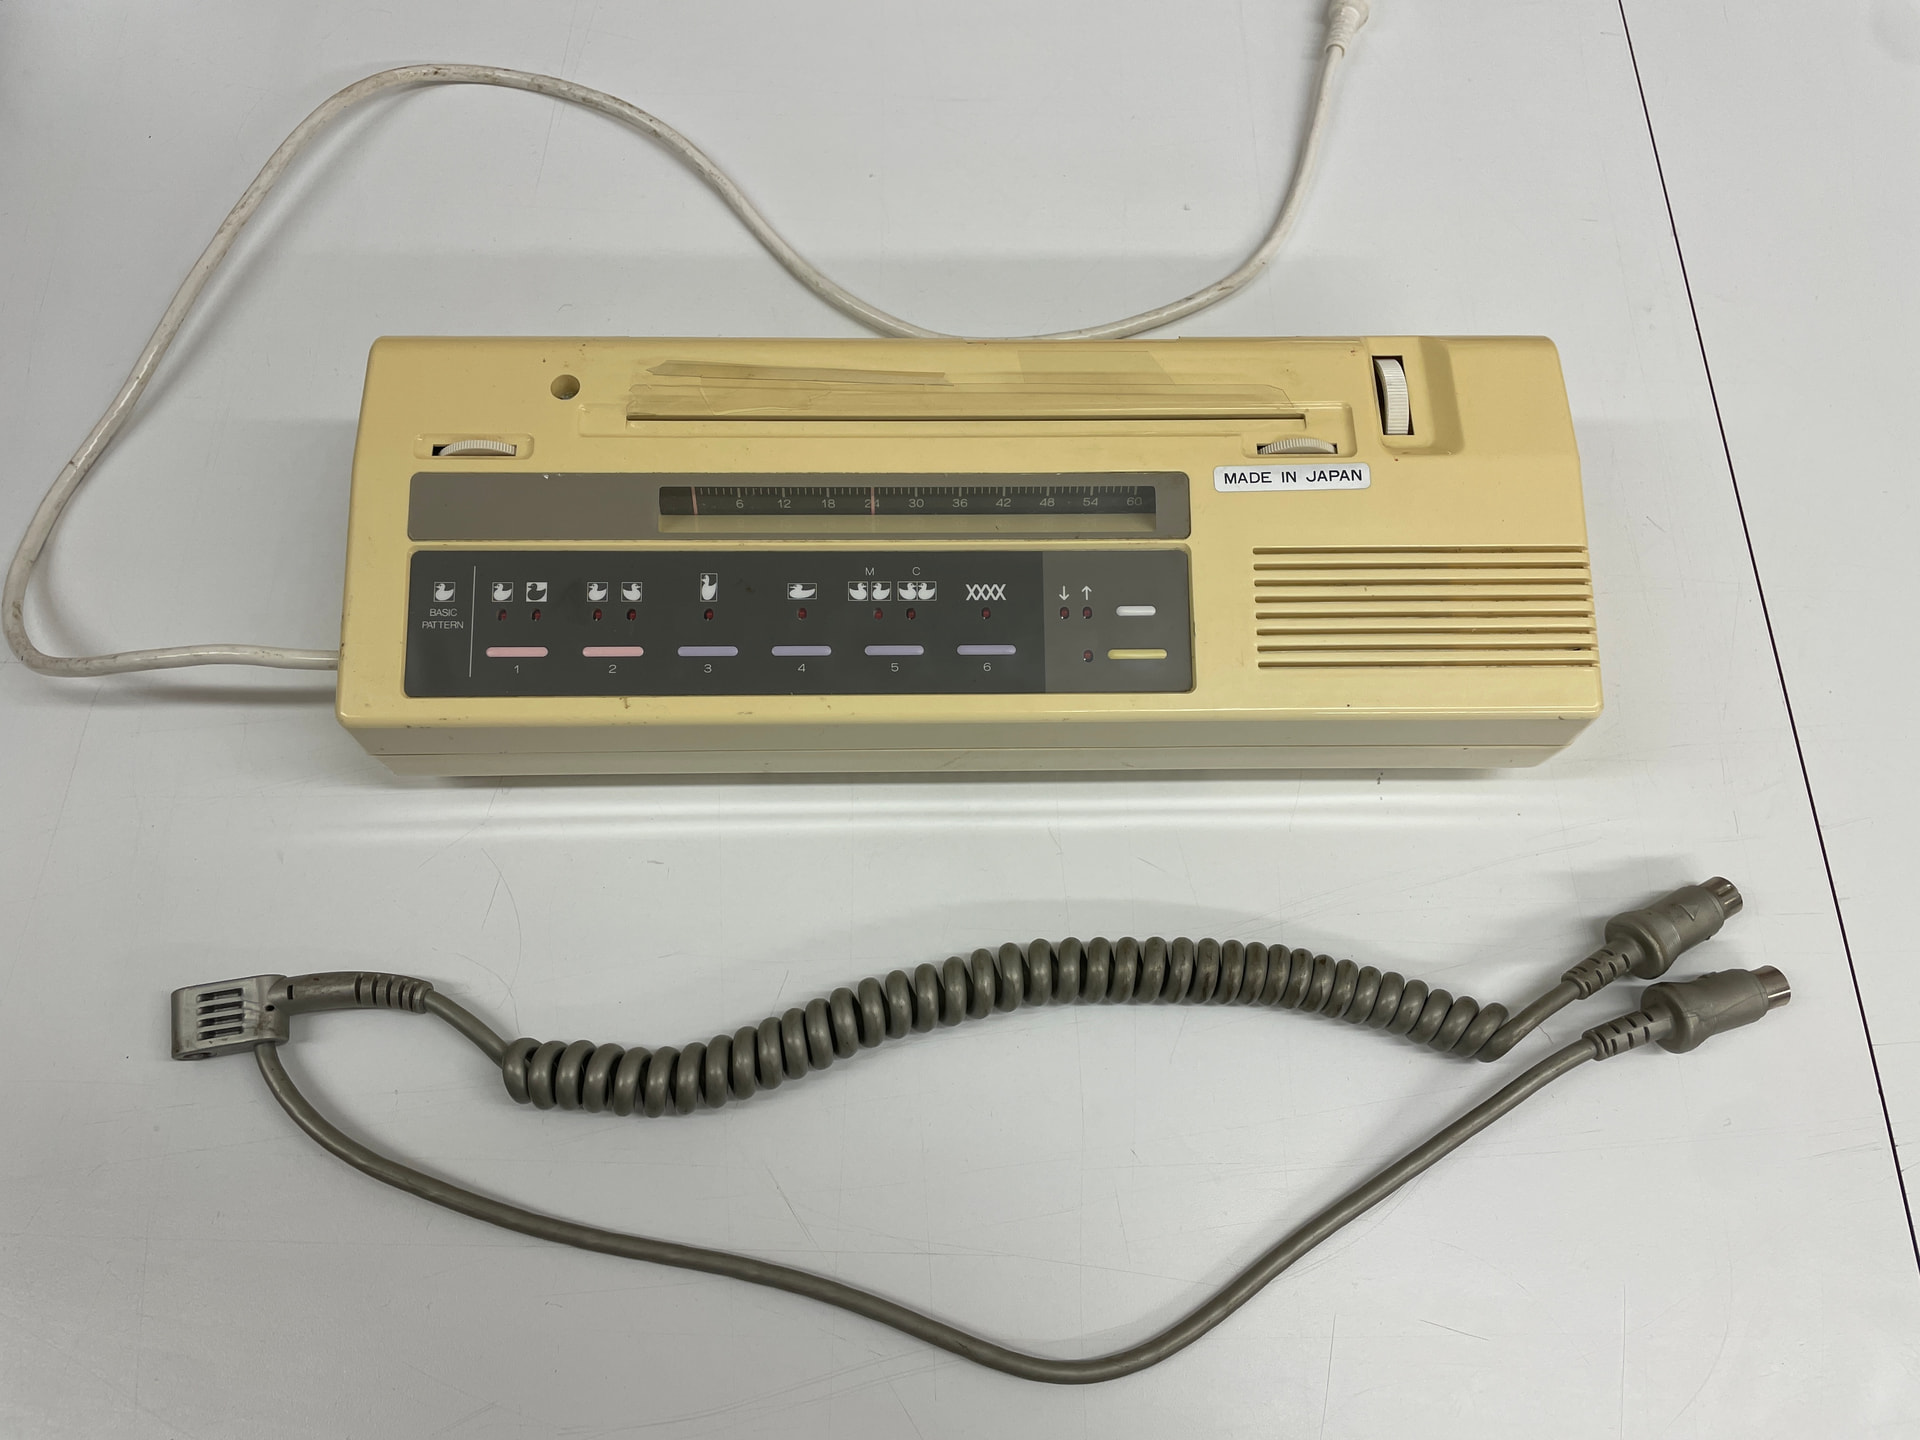
For pattern knitting (such as fair isle), use the EC1 pattern controller accessory:
Setup
Place the silver cable on the head of the tension unit:

The curly end should be attached to the carriage, and the straight end should be attached to the white cable leading out of the EC1:
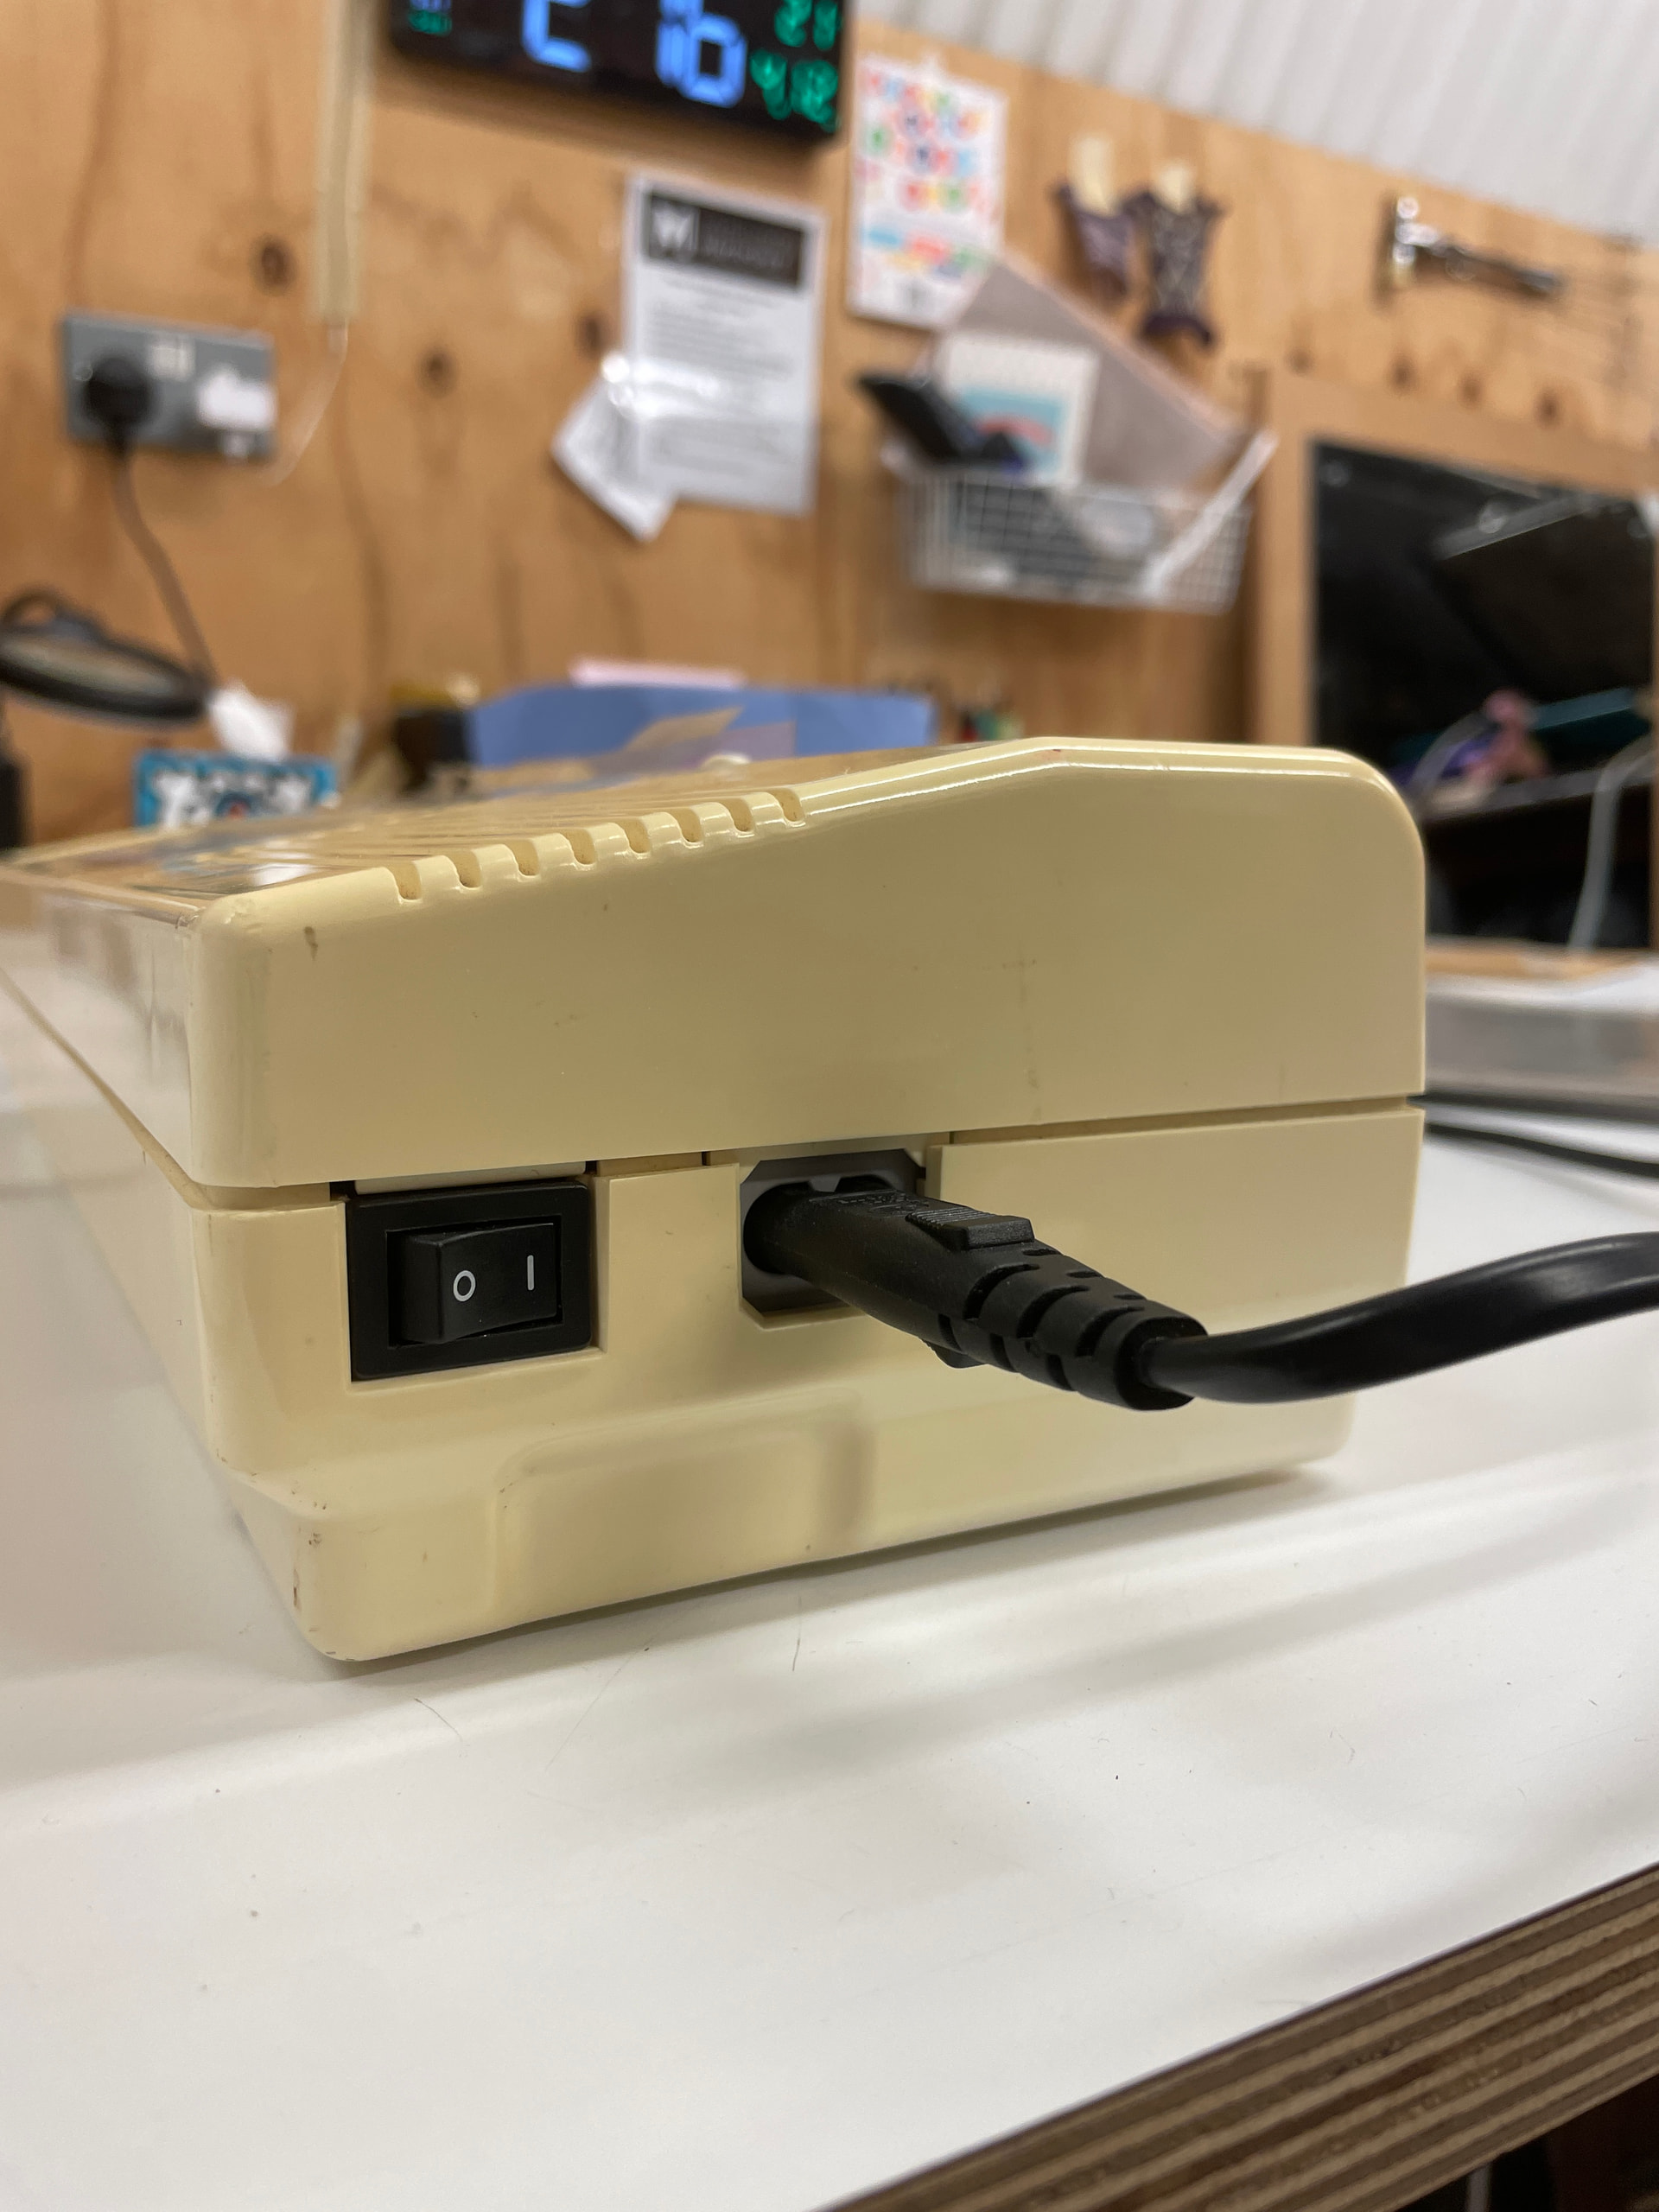
Plug a power cable in to the machine and switch the power on:
Two-Colour Pattern Knitting
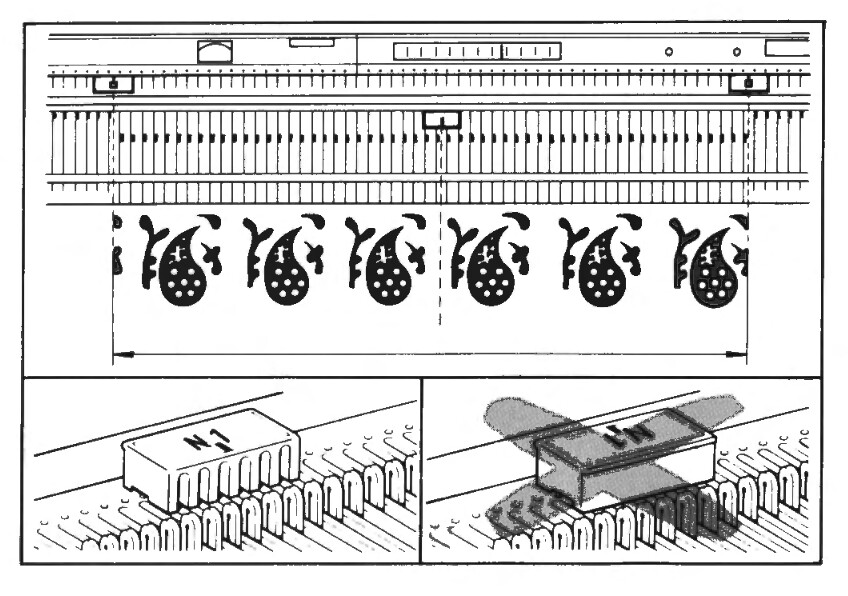
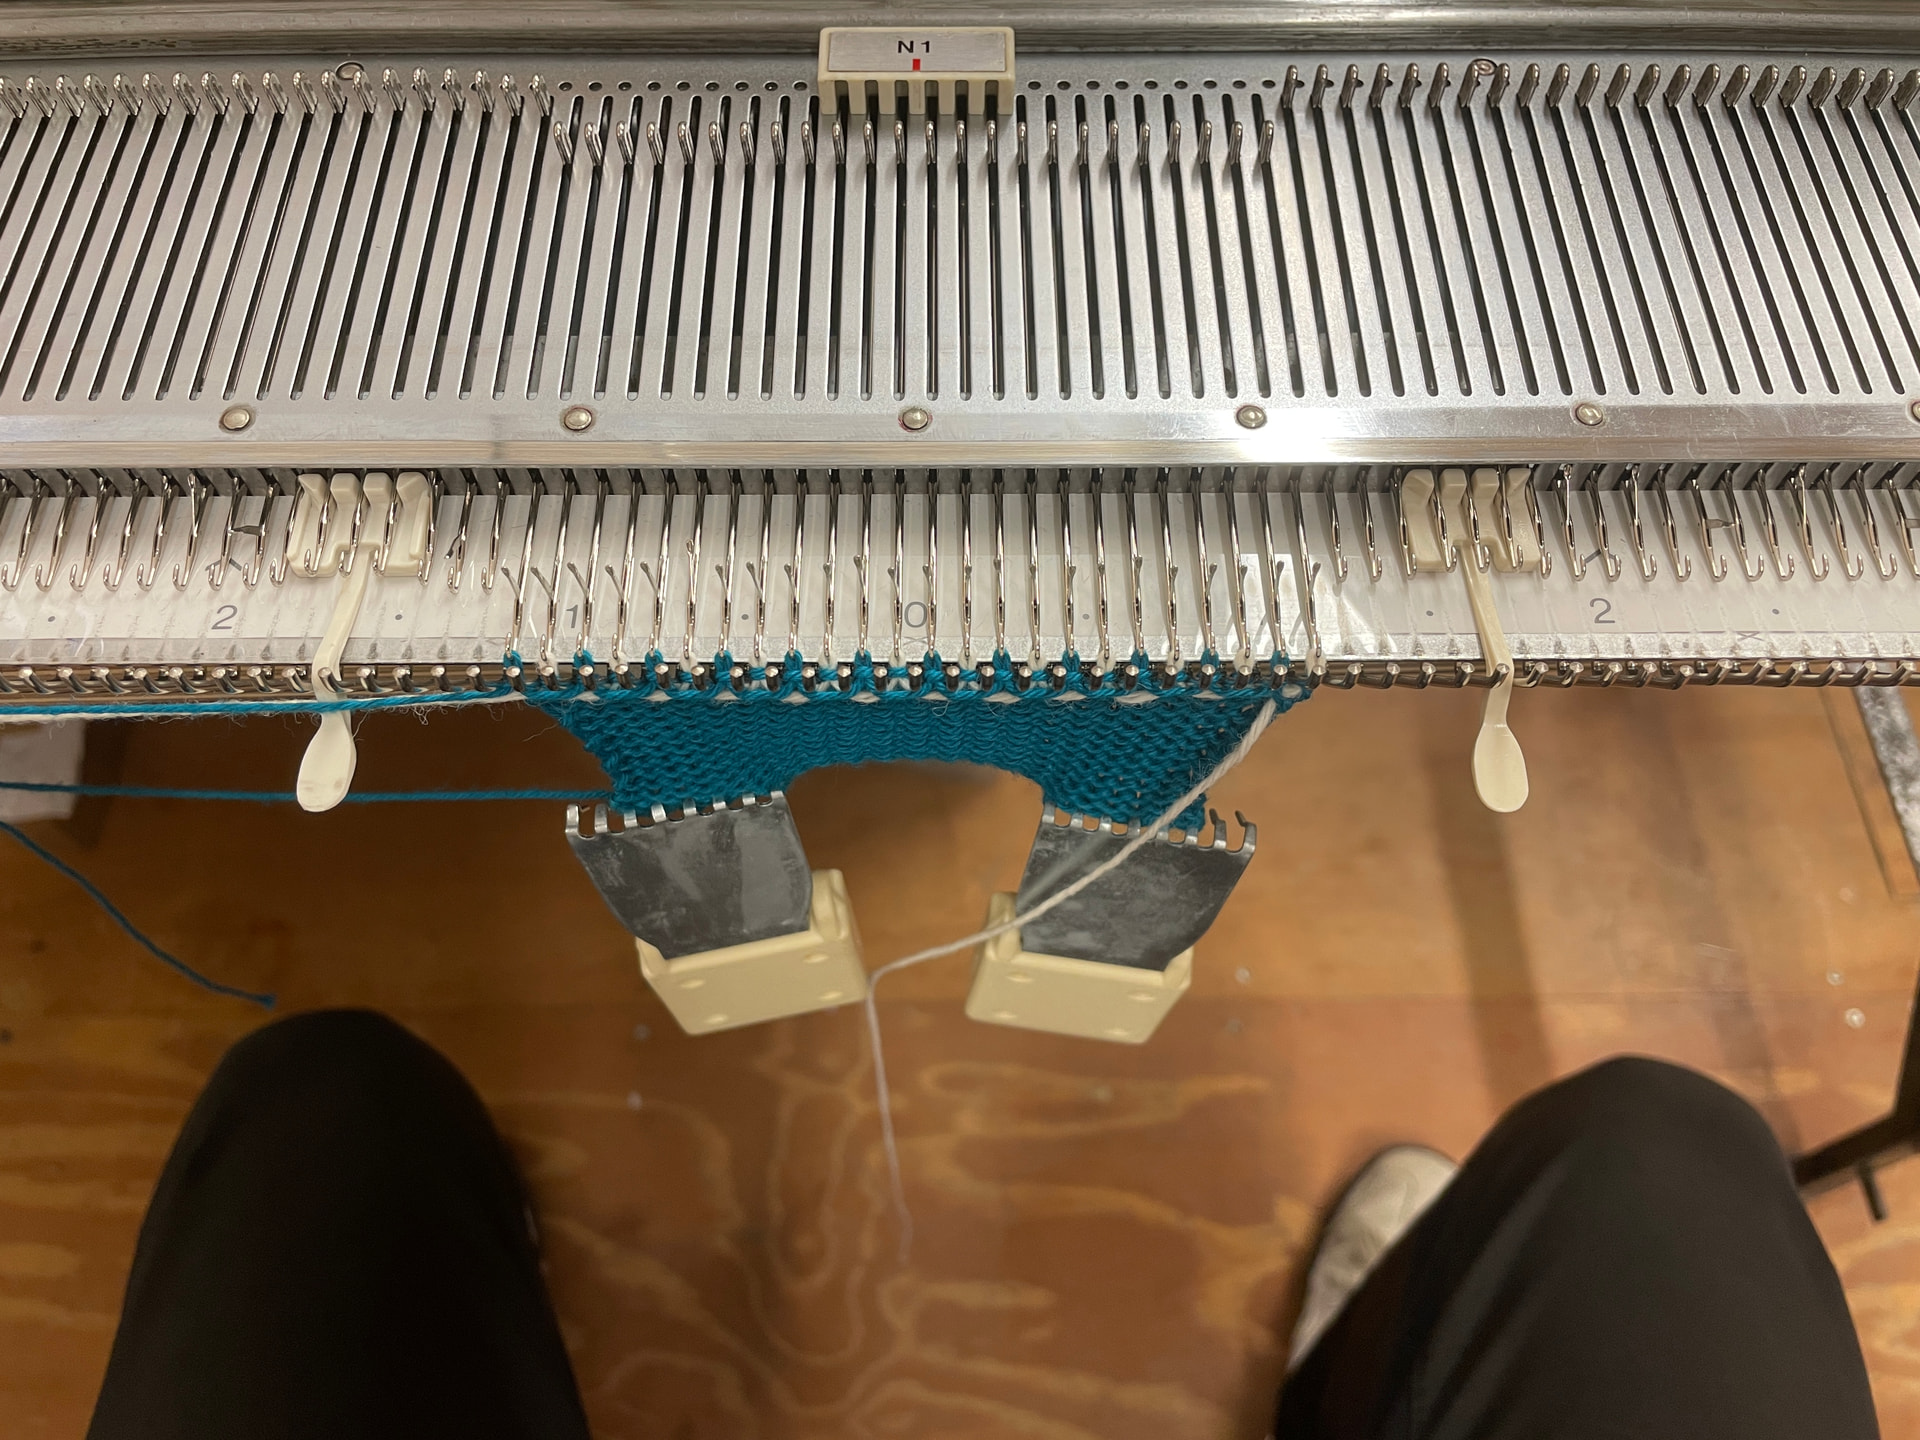
Before you can begin knitting a pattern, cast on, knit a few rows, and set the point cam and needle 1 (N1) cam positions. Note that the N1 cam is a separate part, and can be found in the box labelled ‘Knitmaster Accessories’.

Page 21 shows how the point cam and N1 cam positions correspond the the pattern design:
Patterns can be found in the black folder labelled ‘Machine Knitting Patterns’ (on top of the chest of drawers):
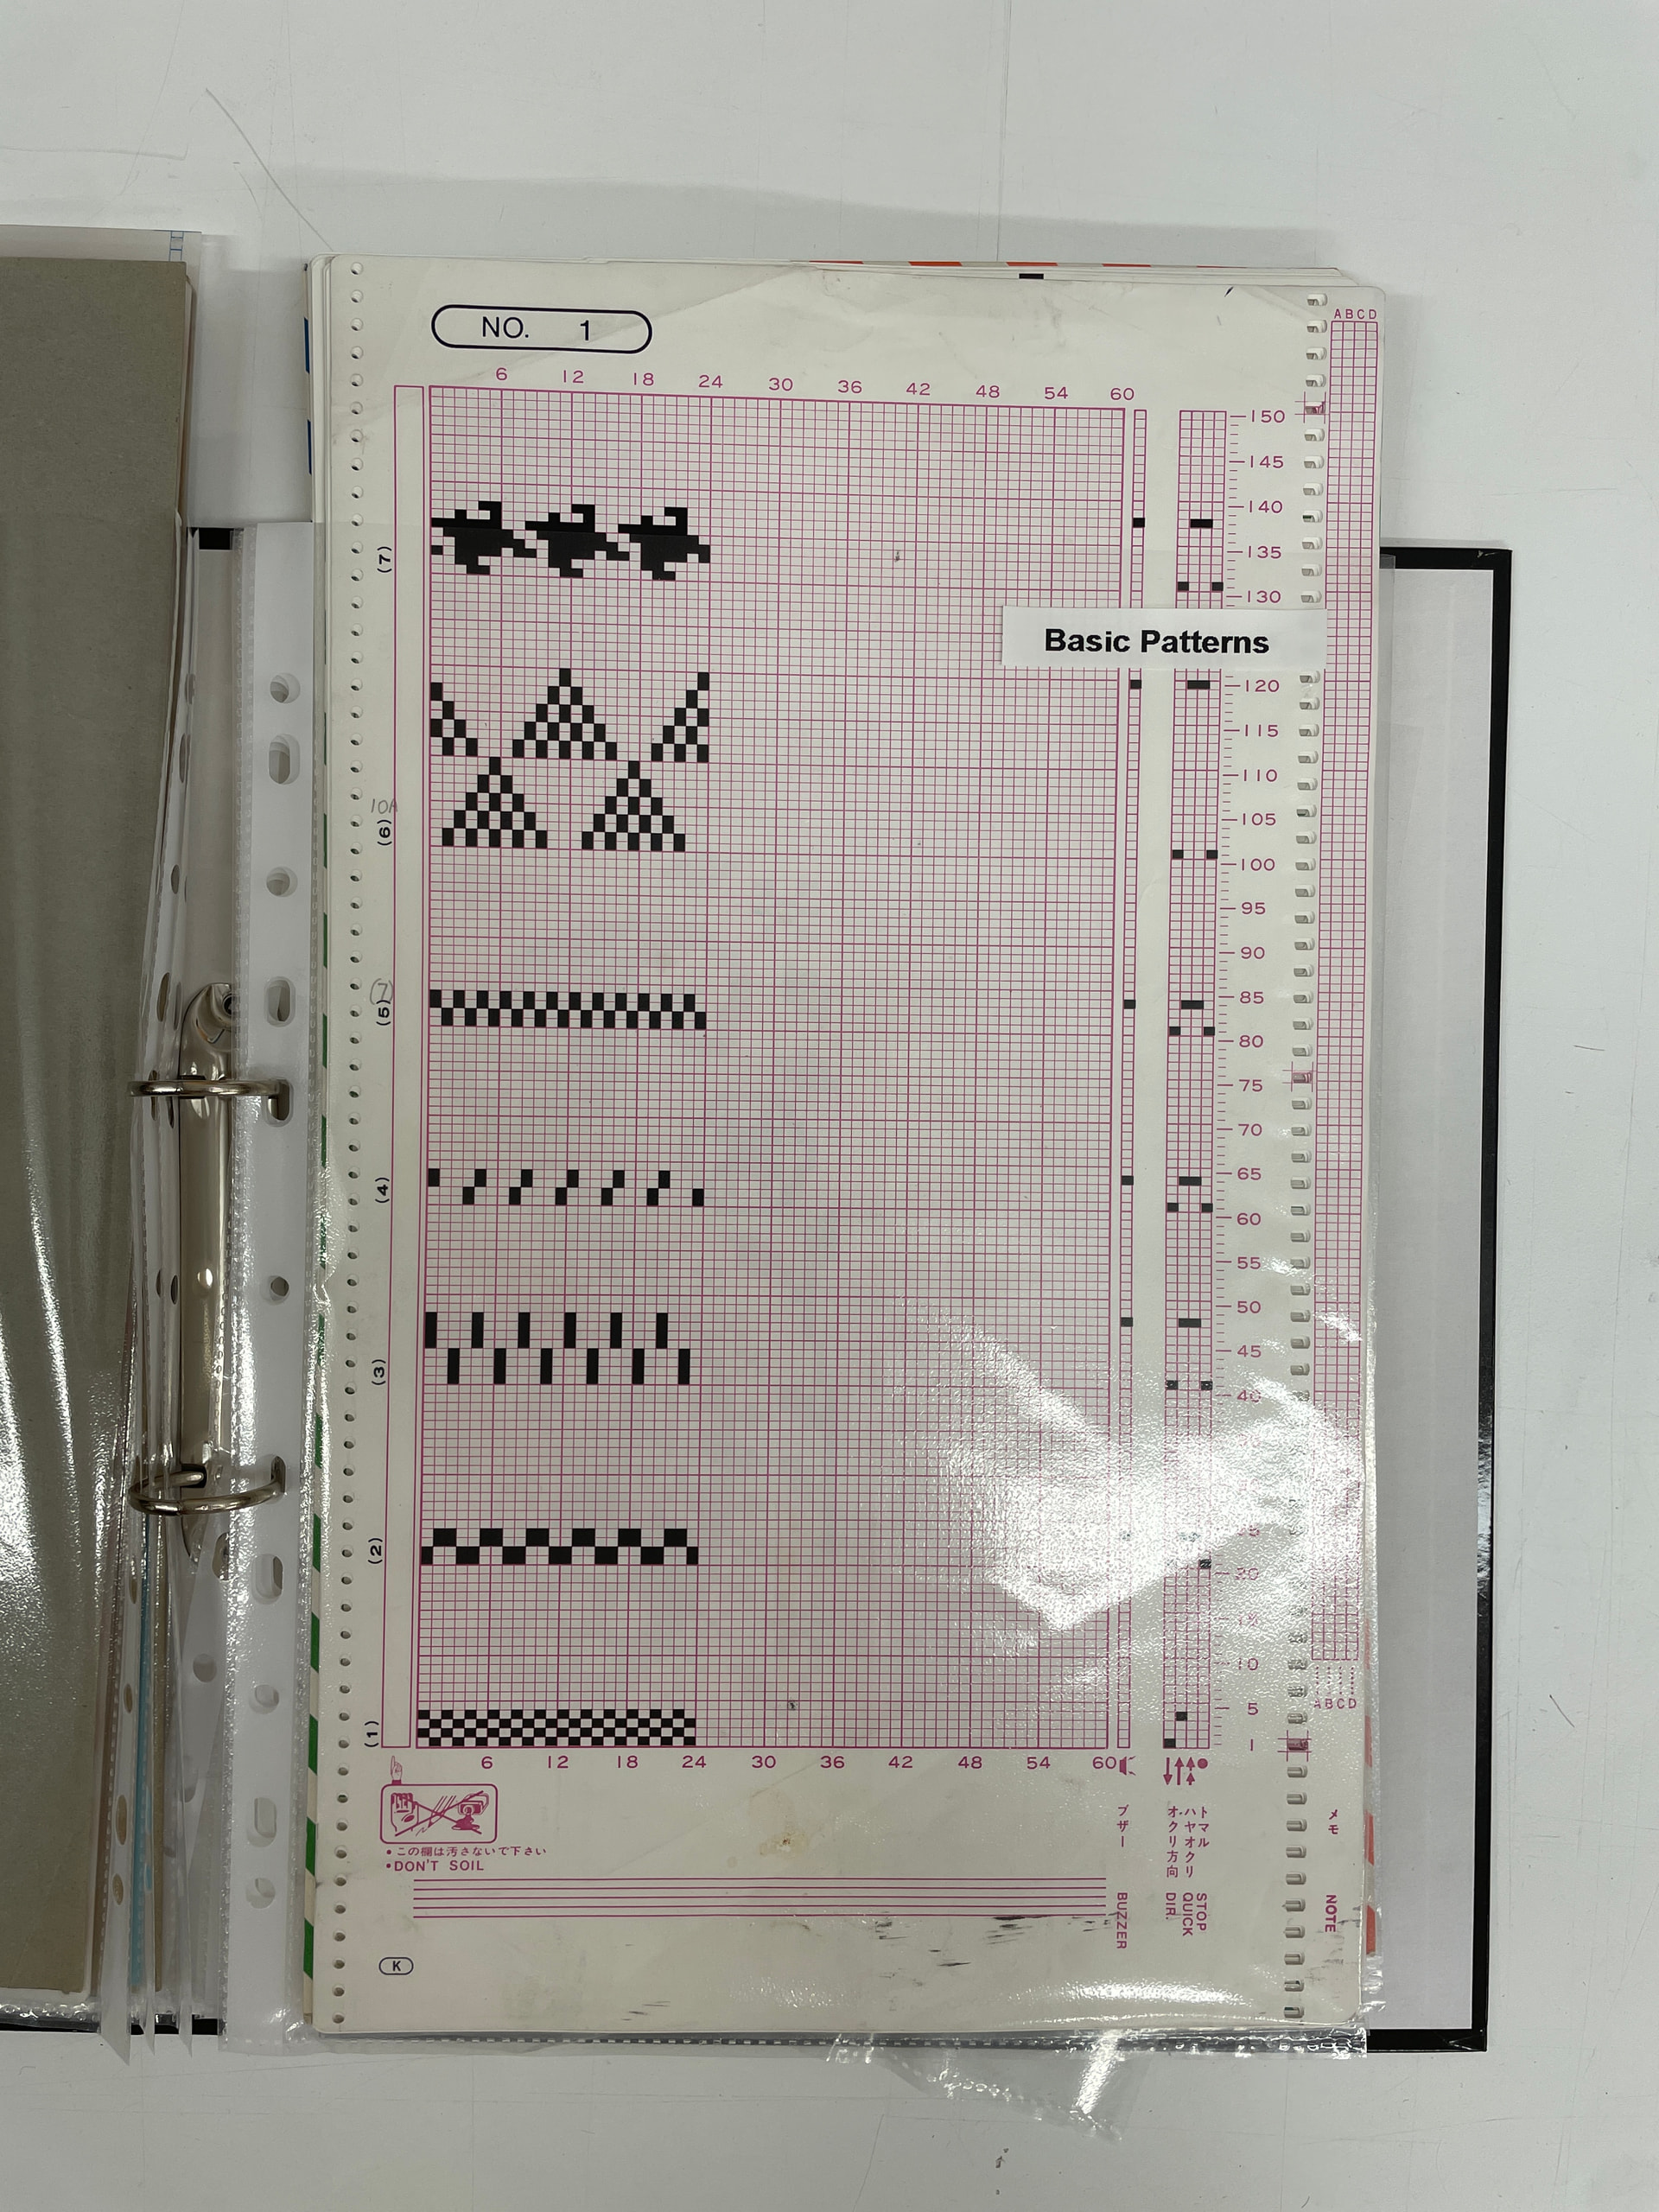
Insert the sheet into the EC1, making sure it’s aligned, then use the vertical white wheel on the right to feed it into the machine up to the first row of the pattern.
The two white horizontal scroll wheels are used to set the beginning and end of the pattern - in this example, the pattern is 24 stitches wide, so the beginning is set at 0 and the end is set at 24. Buttons 1-5 are used to invert, flip, elongate or mirror the pattern, and button 6 is used for double bed jacquard patterns only.
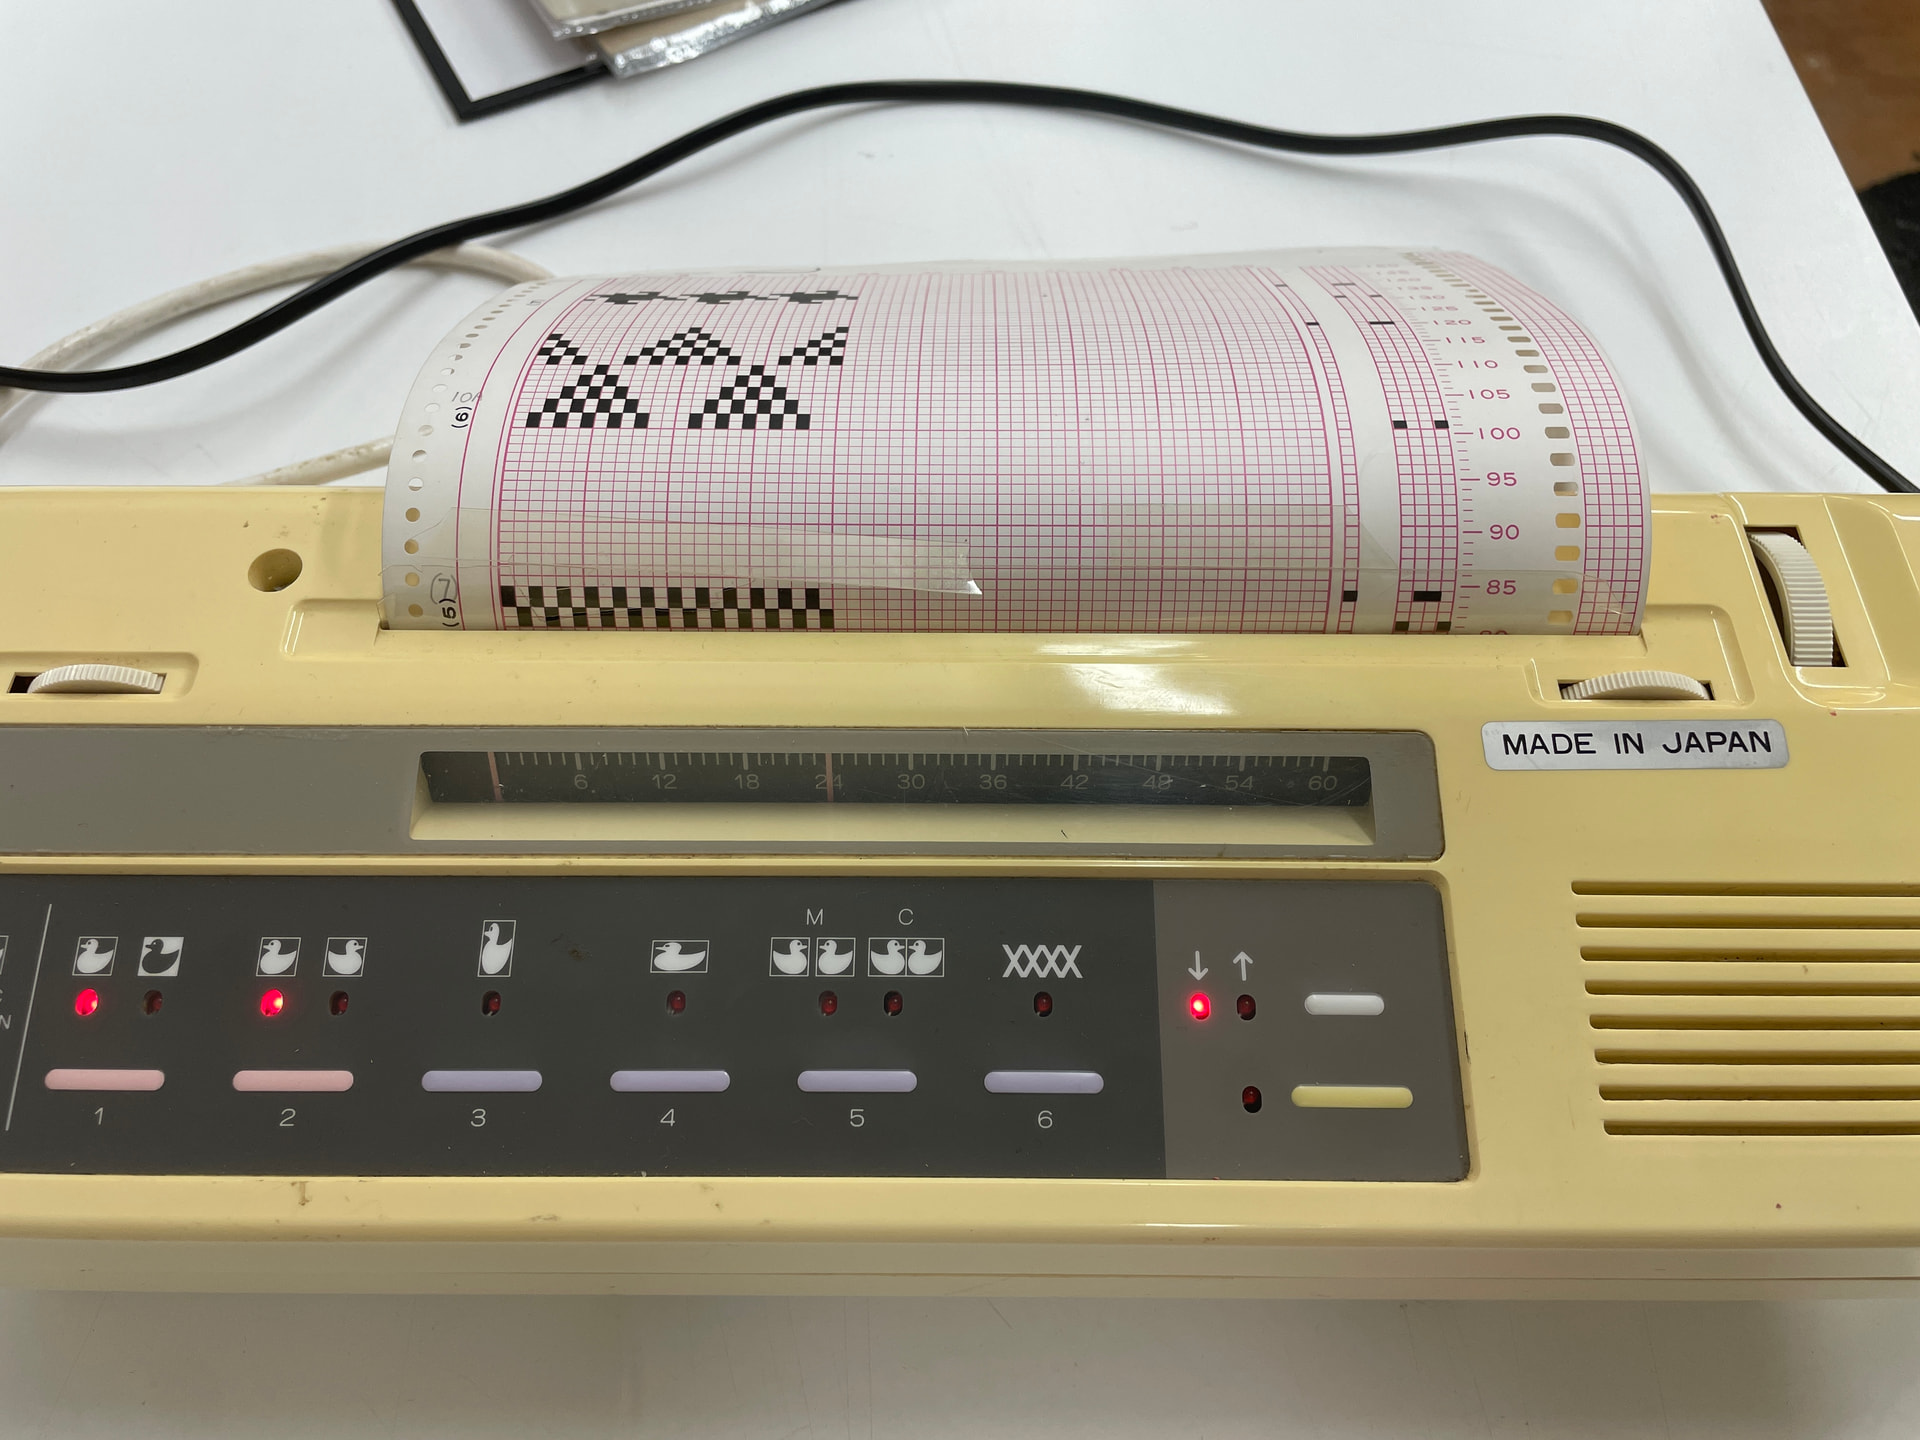
While setting the pattern, the inspection light (lower yellow button) should be on. If this light is off, passing the carriage across the needle bed will cause the pattern to advance one row. While this light is on, the pattern will not advance.
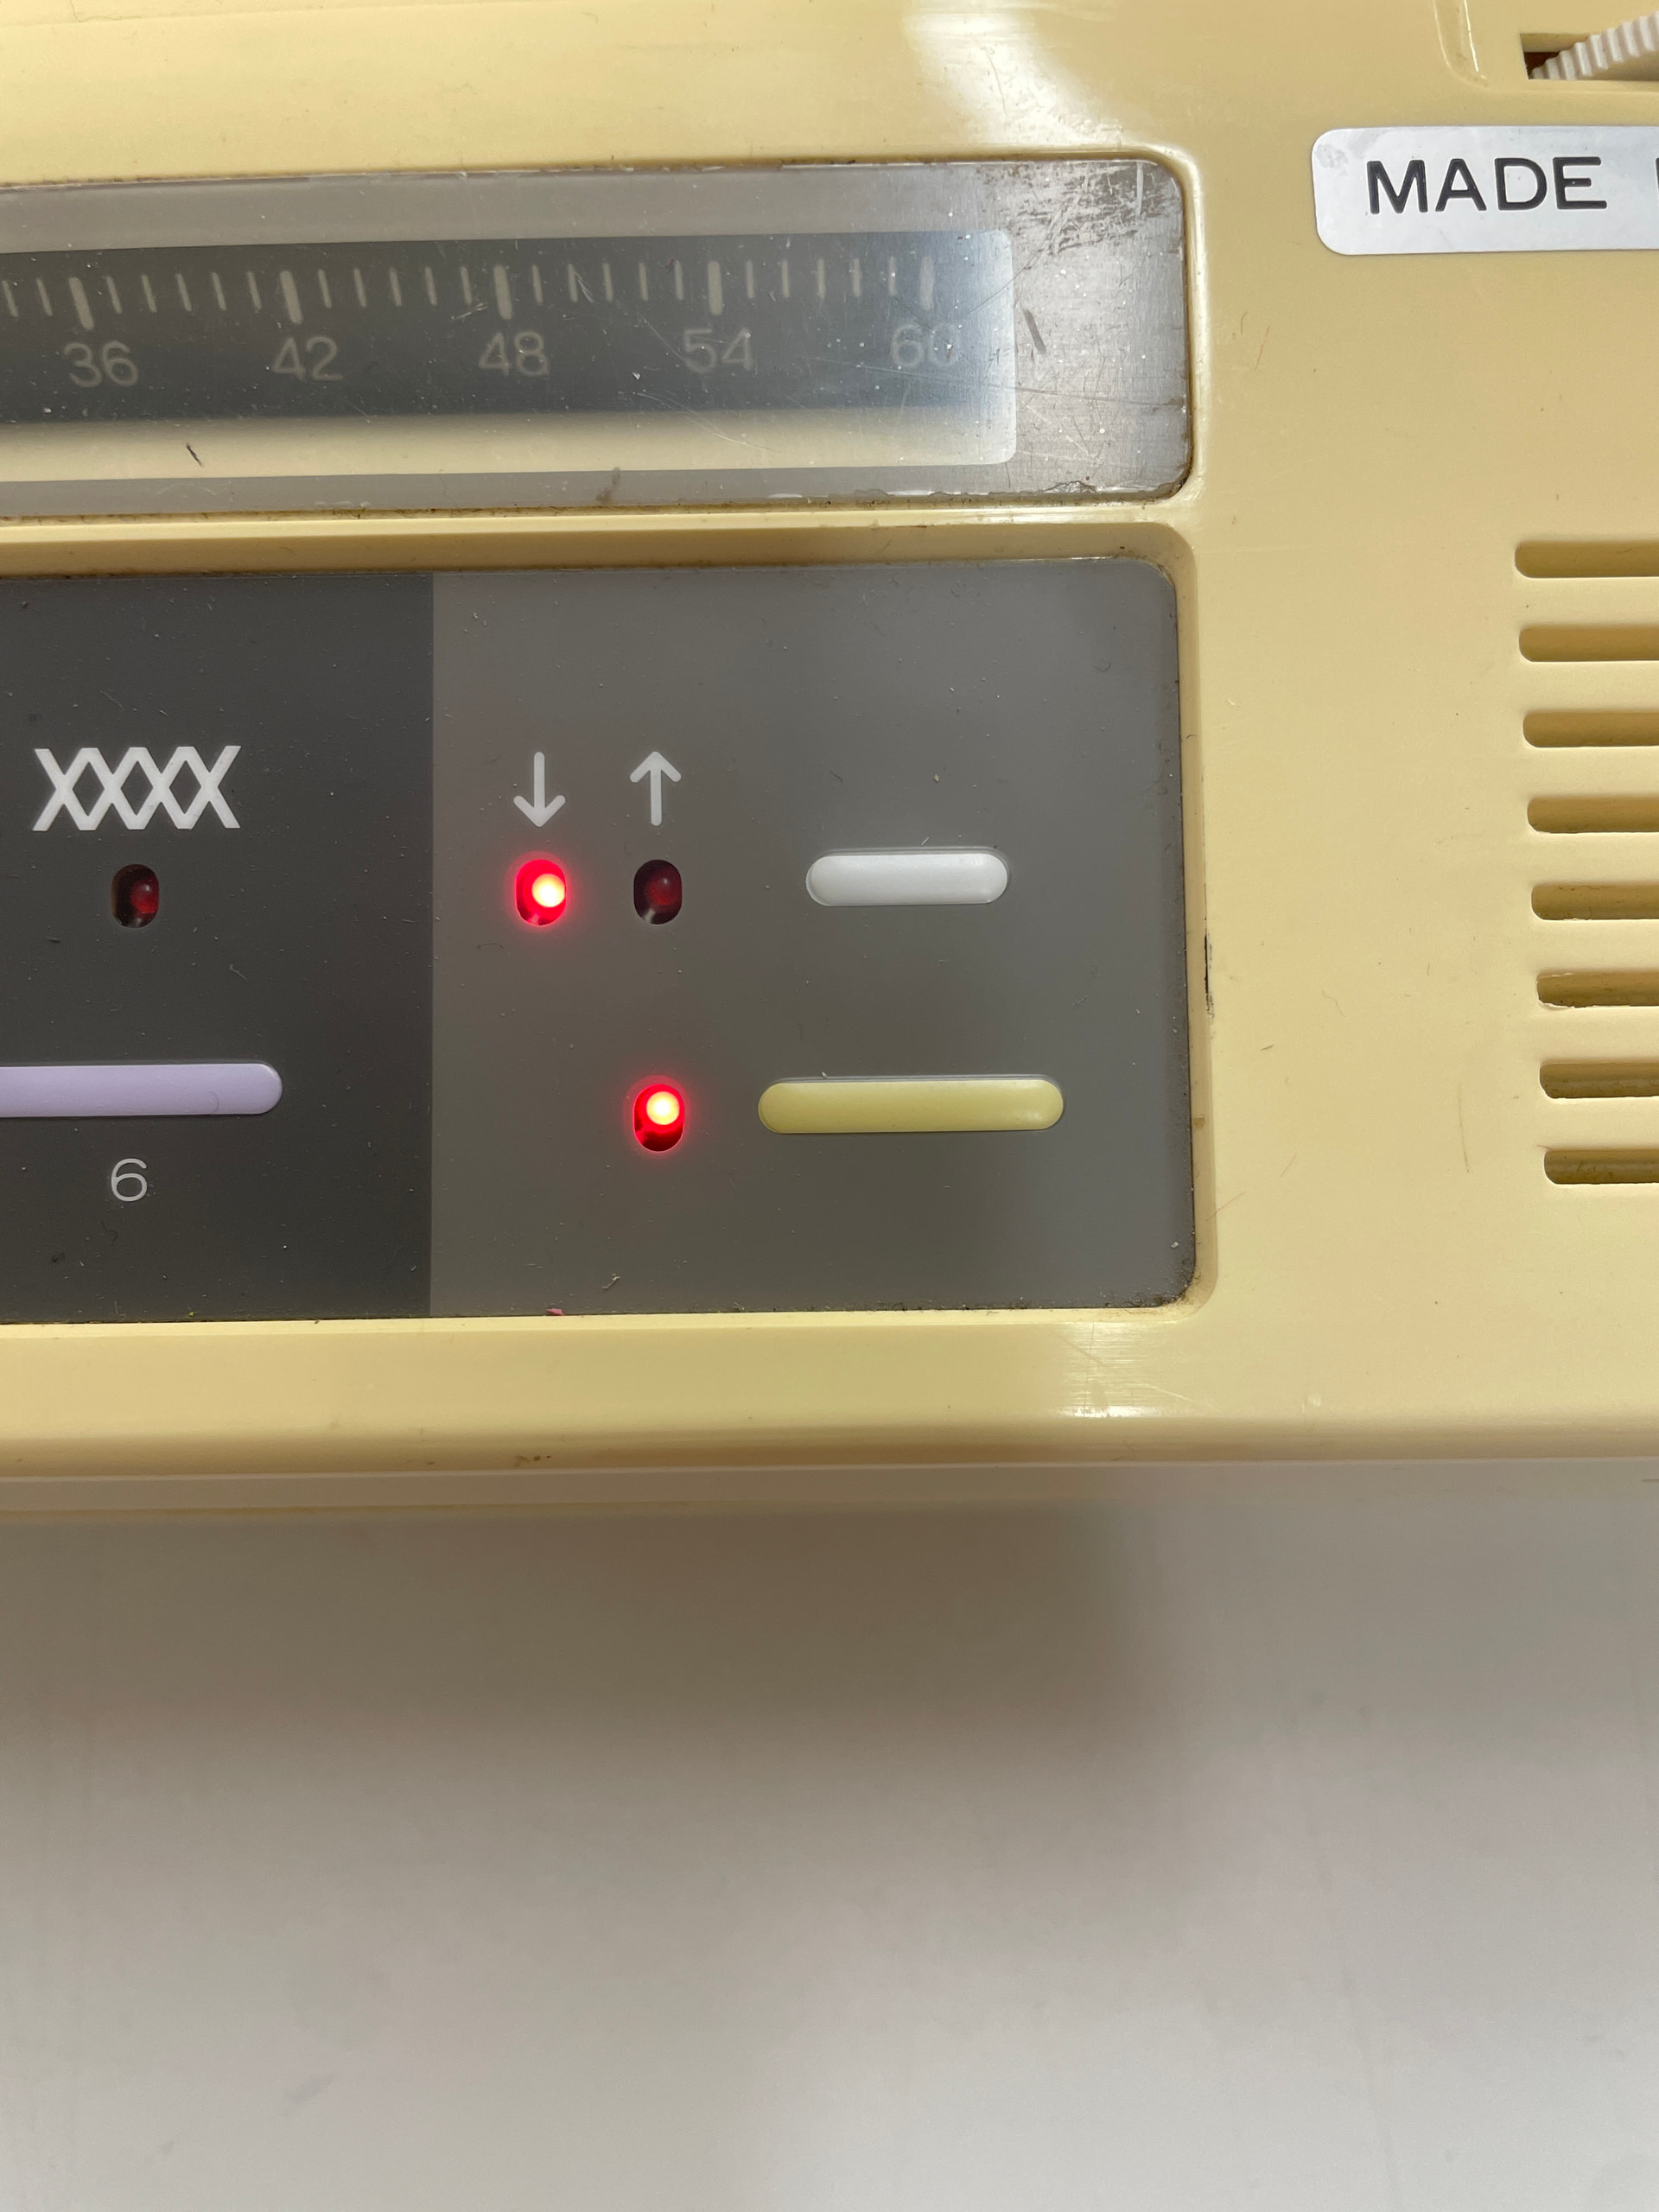
Once you’re ready to begin knitting the pattern, switch the inspection light off. At this point, the first few rows of the pattern will feed into the EC1 automatically.
Set the cam level on the carriage to F (for ‘fair isle’):
Thread a second yarn into the auto tension unit:
Feed it into gate 2 of the arm:
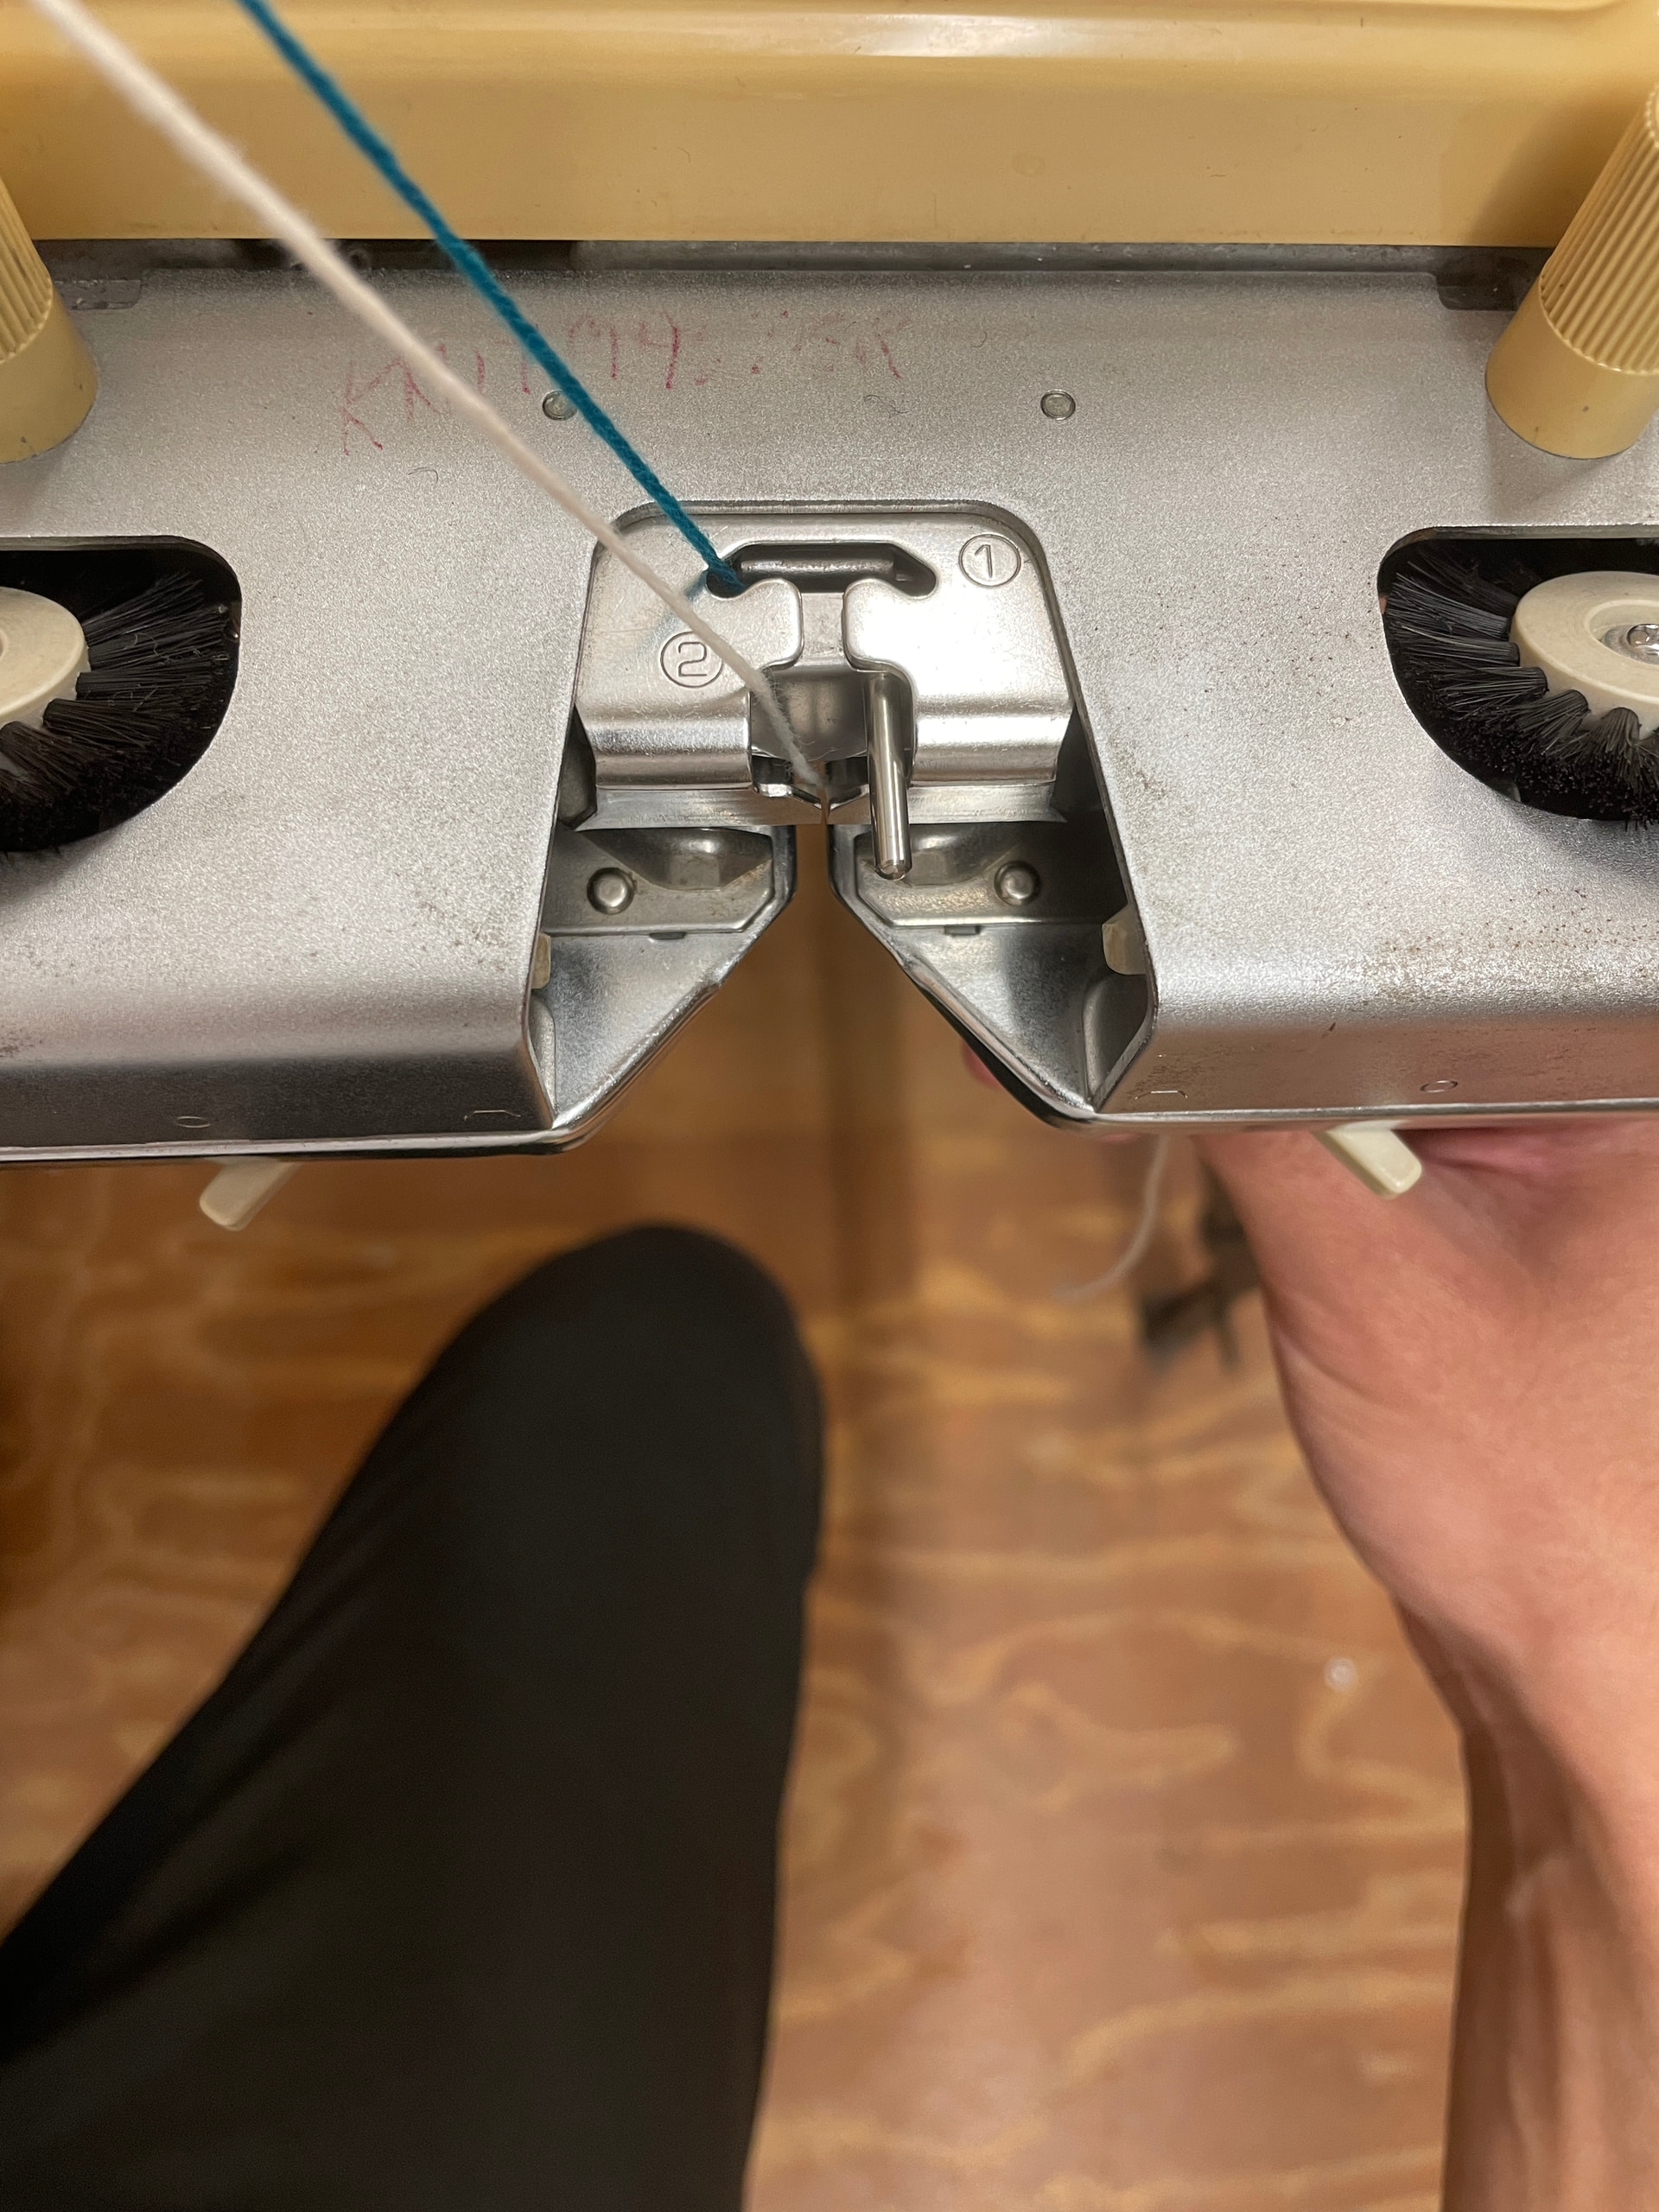
While holding the tail of the yarn gently, pass the carriage across the needle bed. The resulting stitches should alternate according to first row of the pattern you’ve selected:
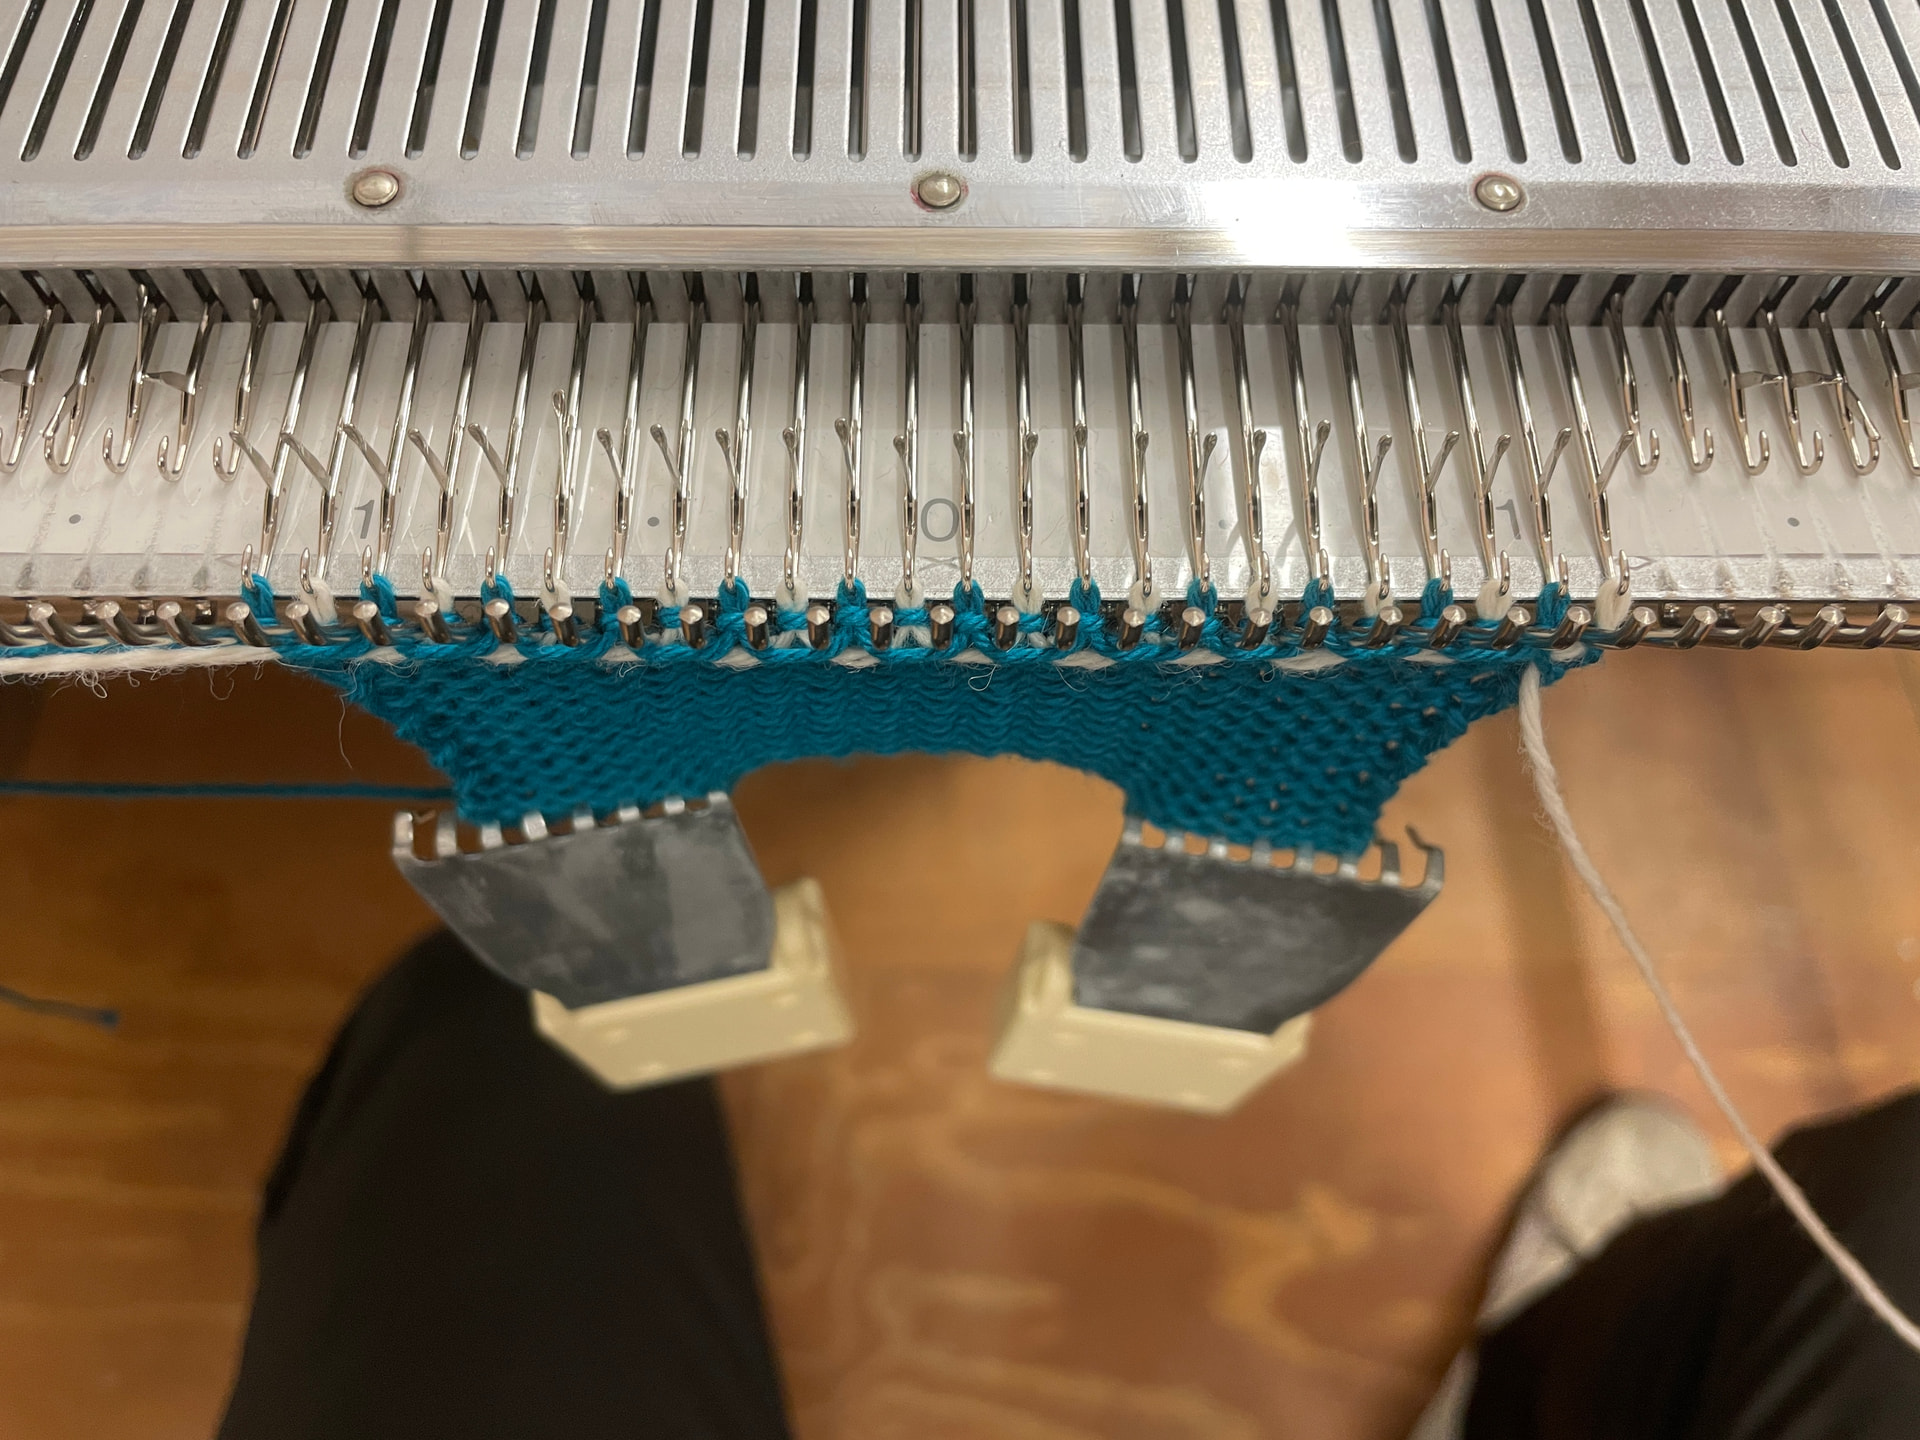
You can use yarn separators (in the ‘Knitmaster Accessories’ box) to ensure the main yarn and the contrast colour yarn don’t cross over one another. After each row, make sure the main yarn (blue) is above the separator, and the contrast yarn (white) below:
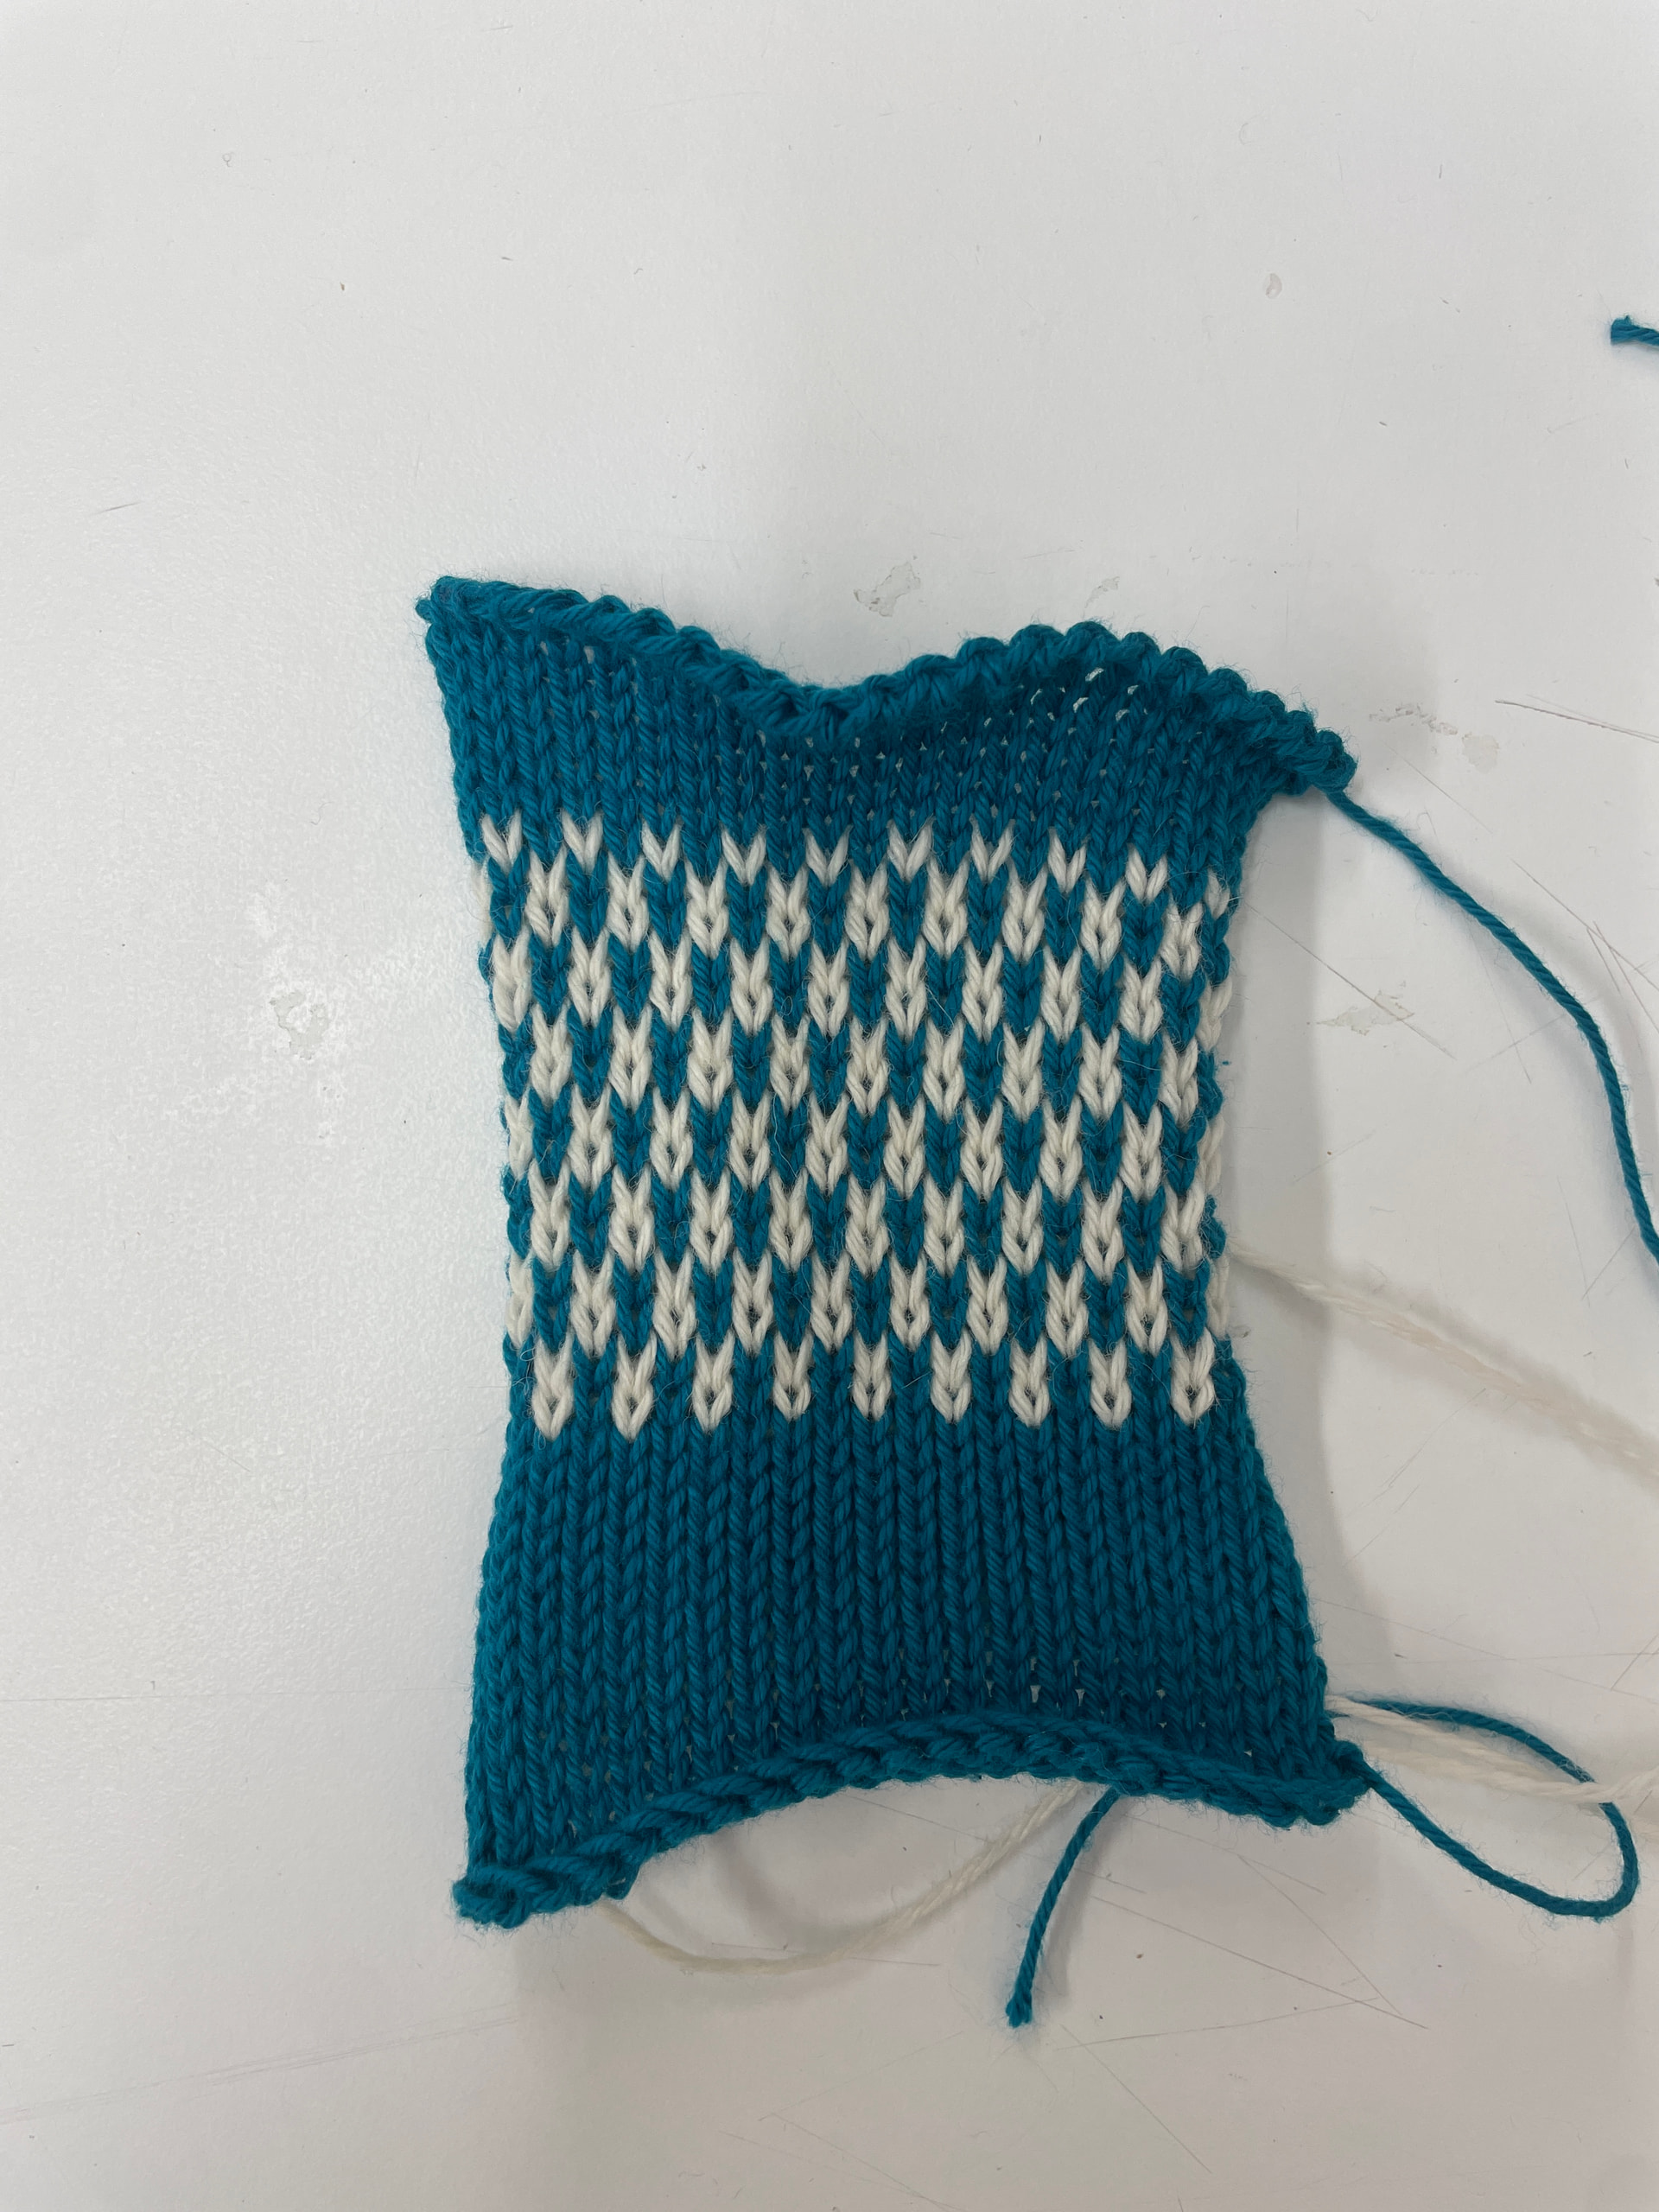
Once you’ve finished pattern knitting, remove the contrast yarn, set the cam level back to O and continue knitting as normal. Here, 15 rows of pattern have been knitted, followed by 5 rows of plain knitting and a transfer tool cast-off:
Designing Custom Patterns
The Knitmaster uses mylar pattern sheets, which are no longer mass-produced by the original manufacturer (Silver Reed). Companies like Andee Knits are authorized dealers for Silver Reed/Knitmaster parts and sometimes stock both pre-printed and blank Mylar sheets for the EC1, and eBay and Etsy often have listings for both pre-designed sheets and blank sheets for custom designs.
This video explains how to mark a blank mylar sheet with a custom design - note the use of a graphite pencil, which leaves a suitably opaque mark, and a polymer eraser:

Maintenance
- Make sure to brush any dust or lint away from the needle bed and the underside of the carriage before and after use.
- If the operation of the machine feels stiff, apply a very small amount of oil (1-2 drops) to the rail, front guide of the needle bed and needle butts. I use Ballistol, which is a good general-purpose oil.
- If there’s a build-up of dust or lint in the underside of the carriage, use a cotton bud to remove it.
- Needle cleaning, needle replacement, and the replacement of any other parts should be done by a trained textile tech.
Resources
Operation manual
https://mkmanuals.com/downloadable/download/sample/sample_id/684/