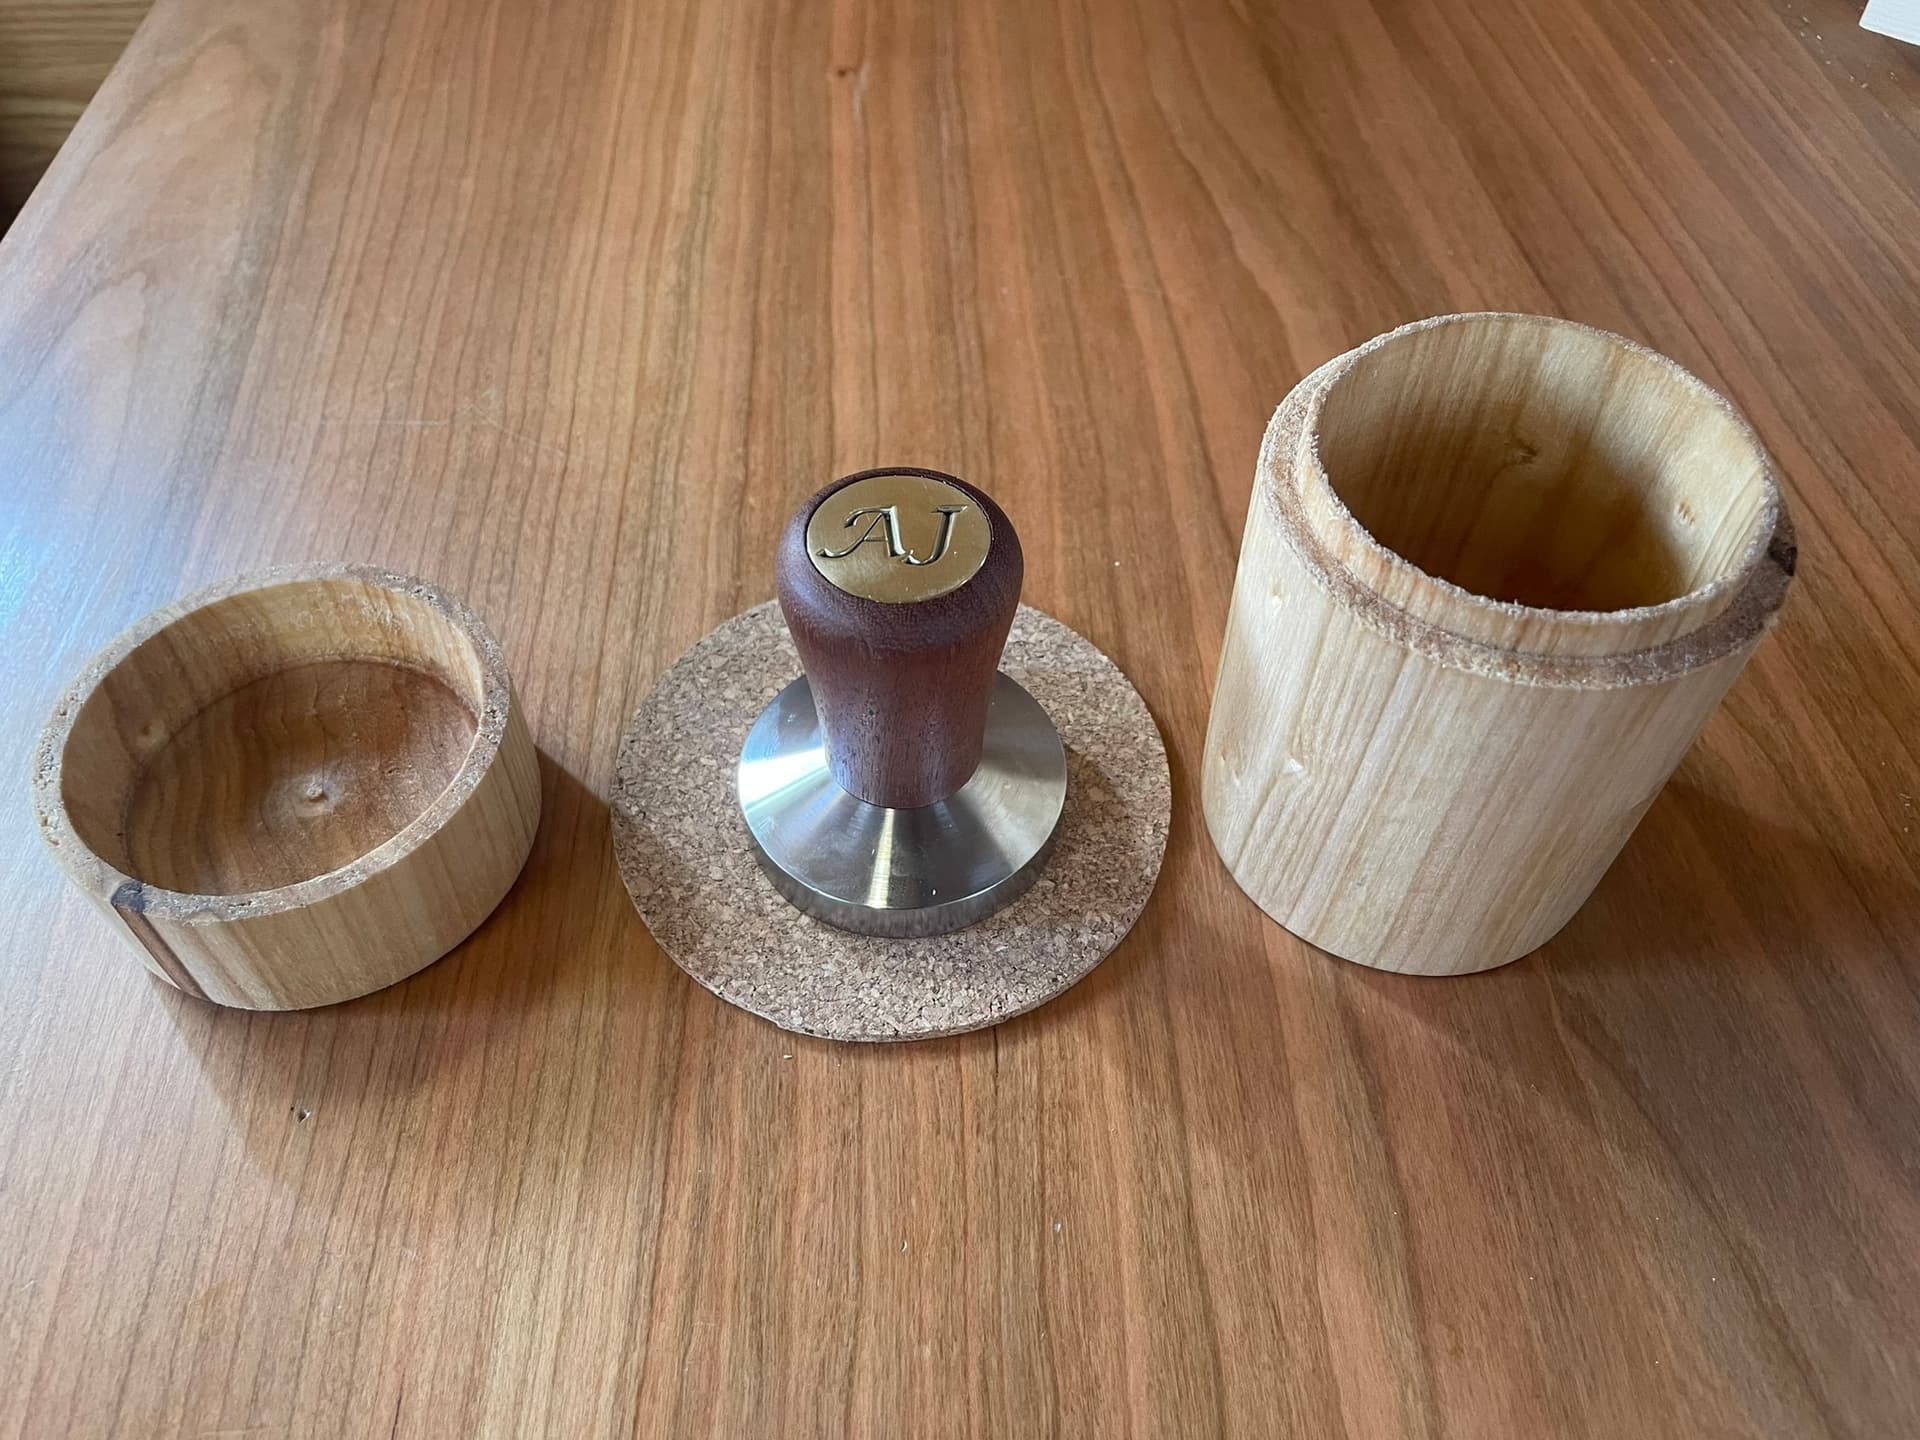
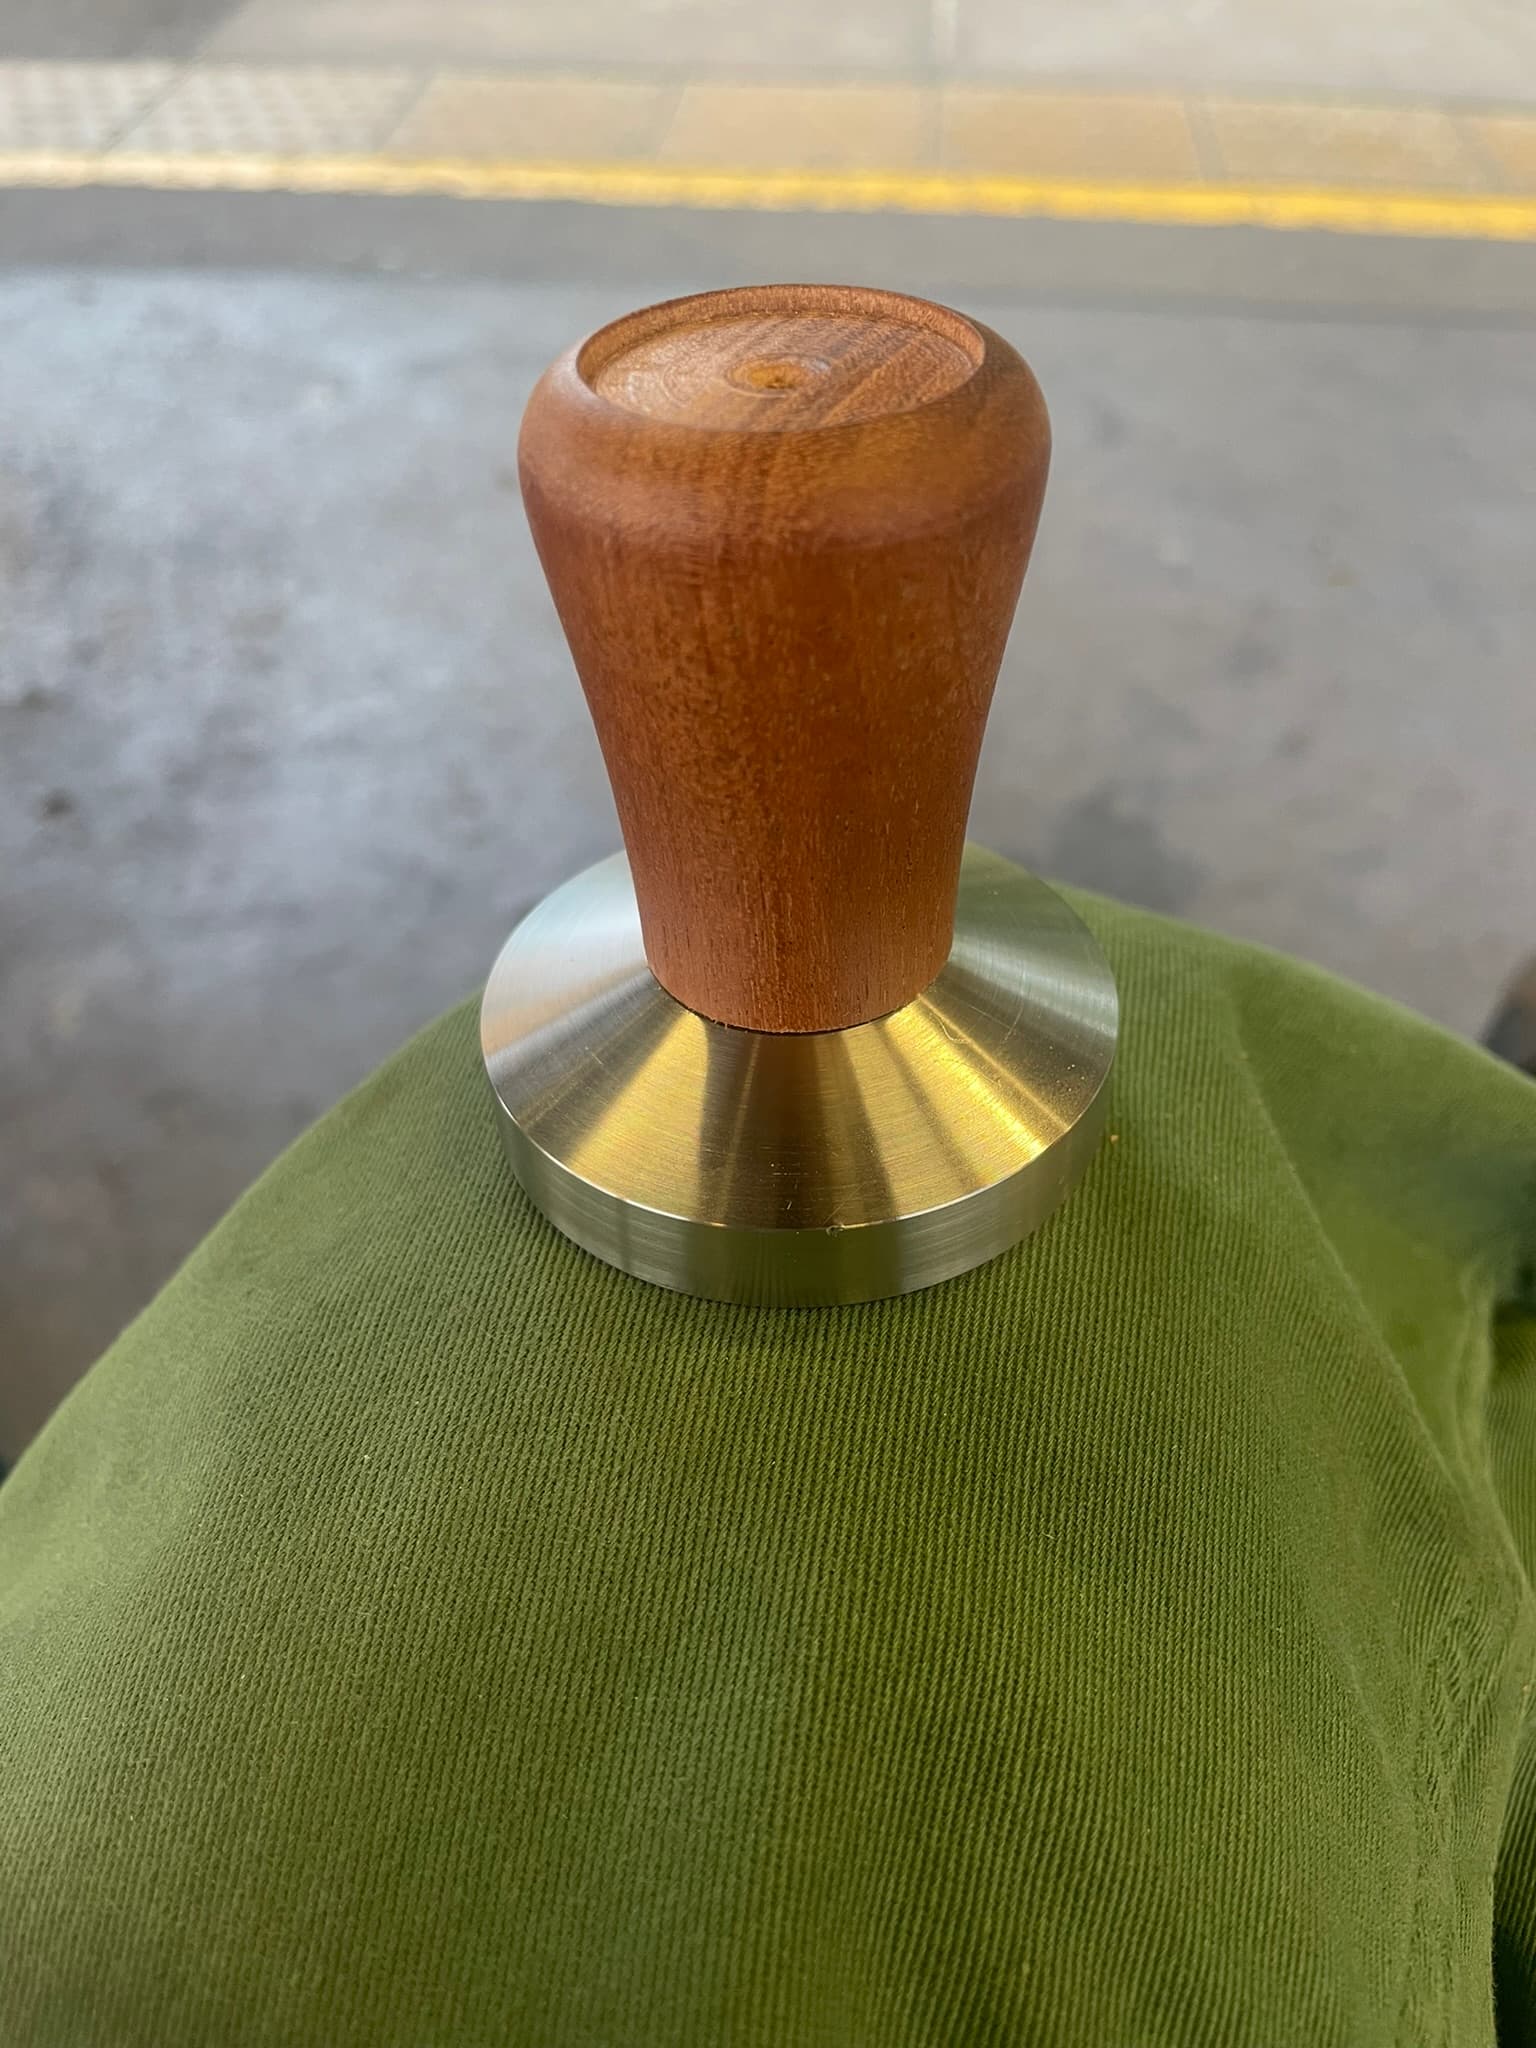
I made a coffee tamper for a friend’s birthday, replacing the plastic one that came with the machine.
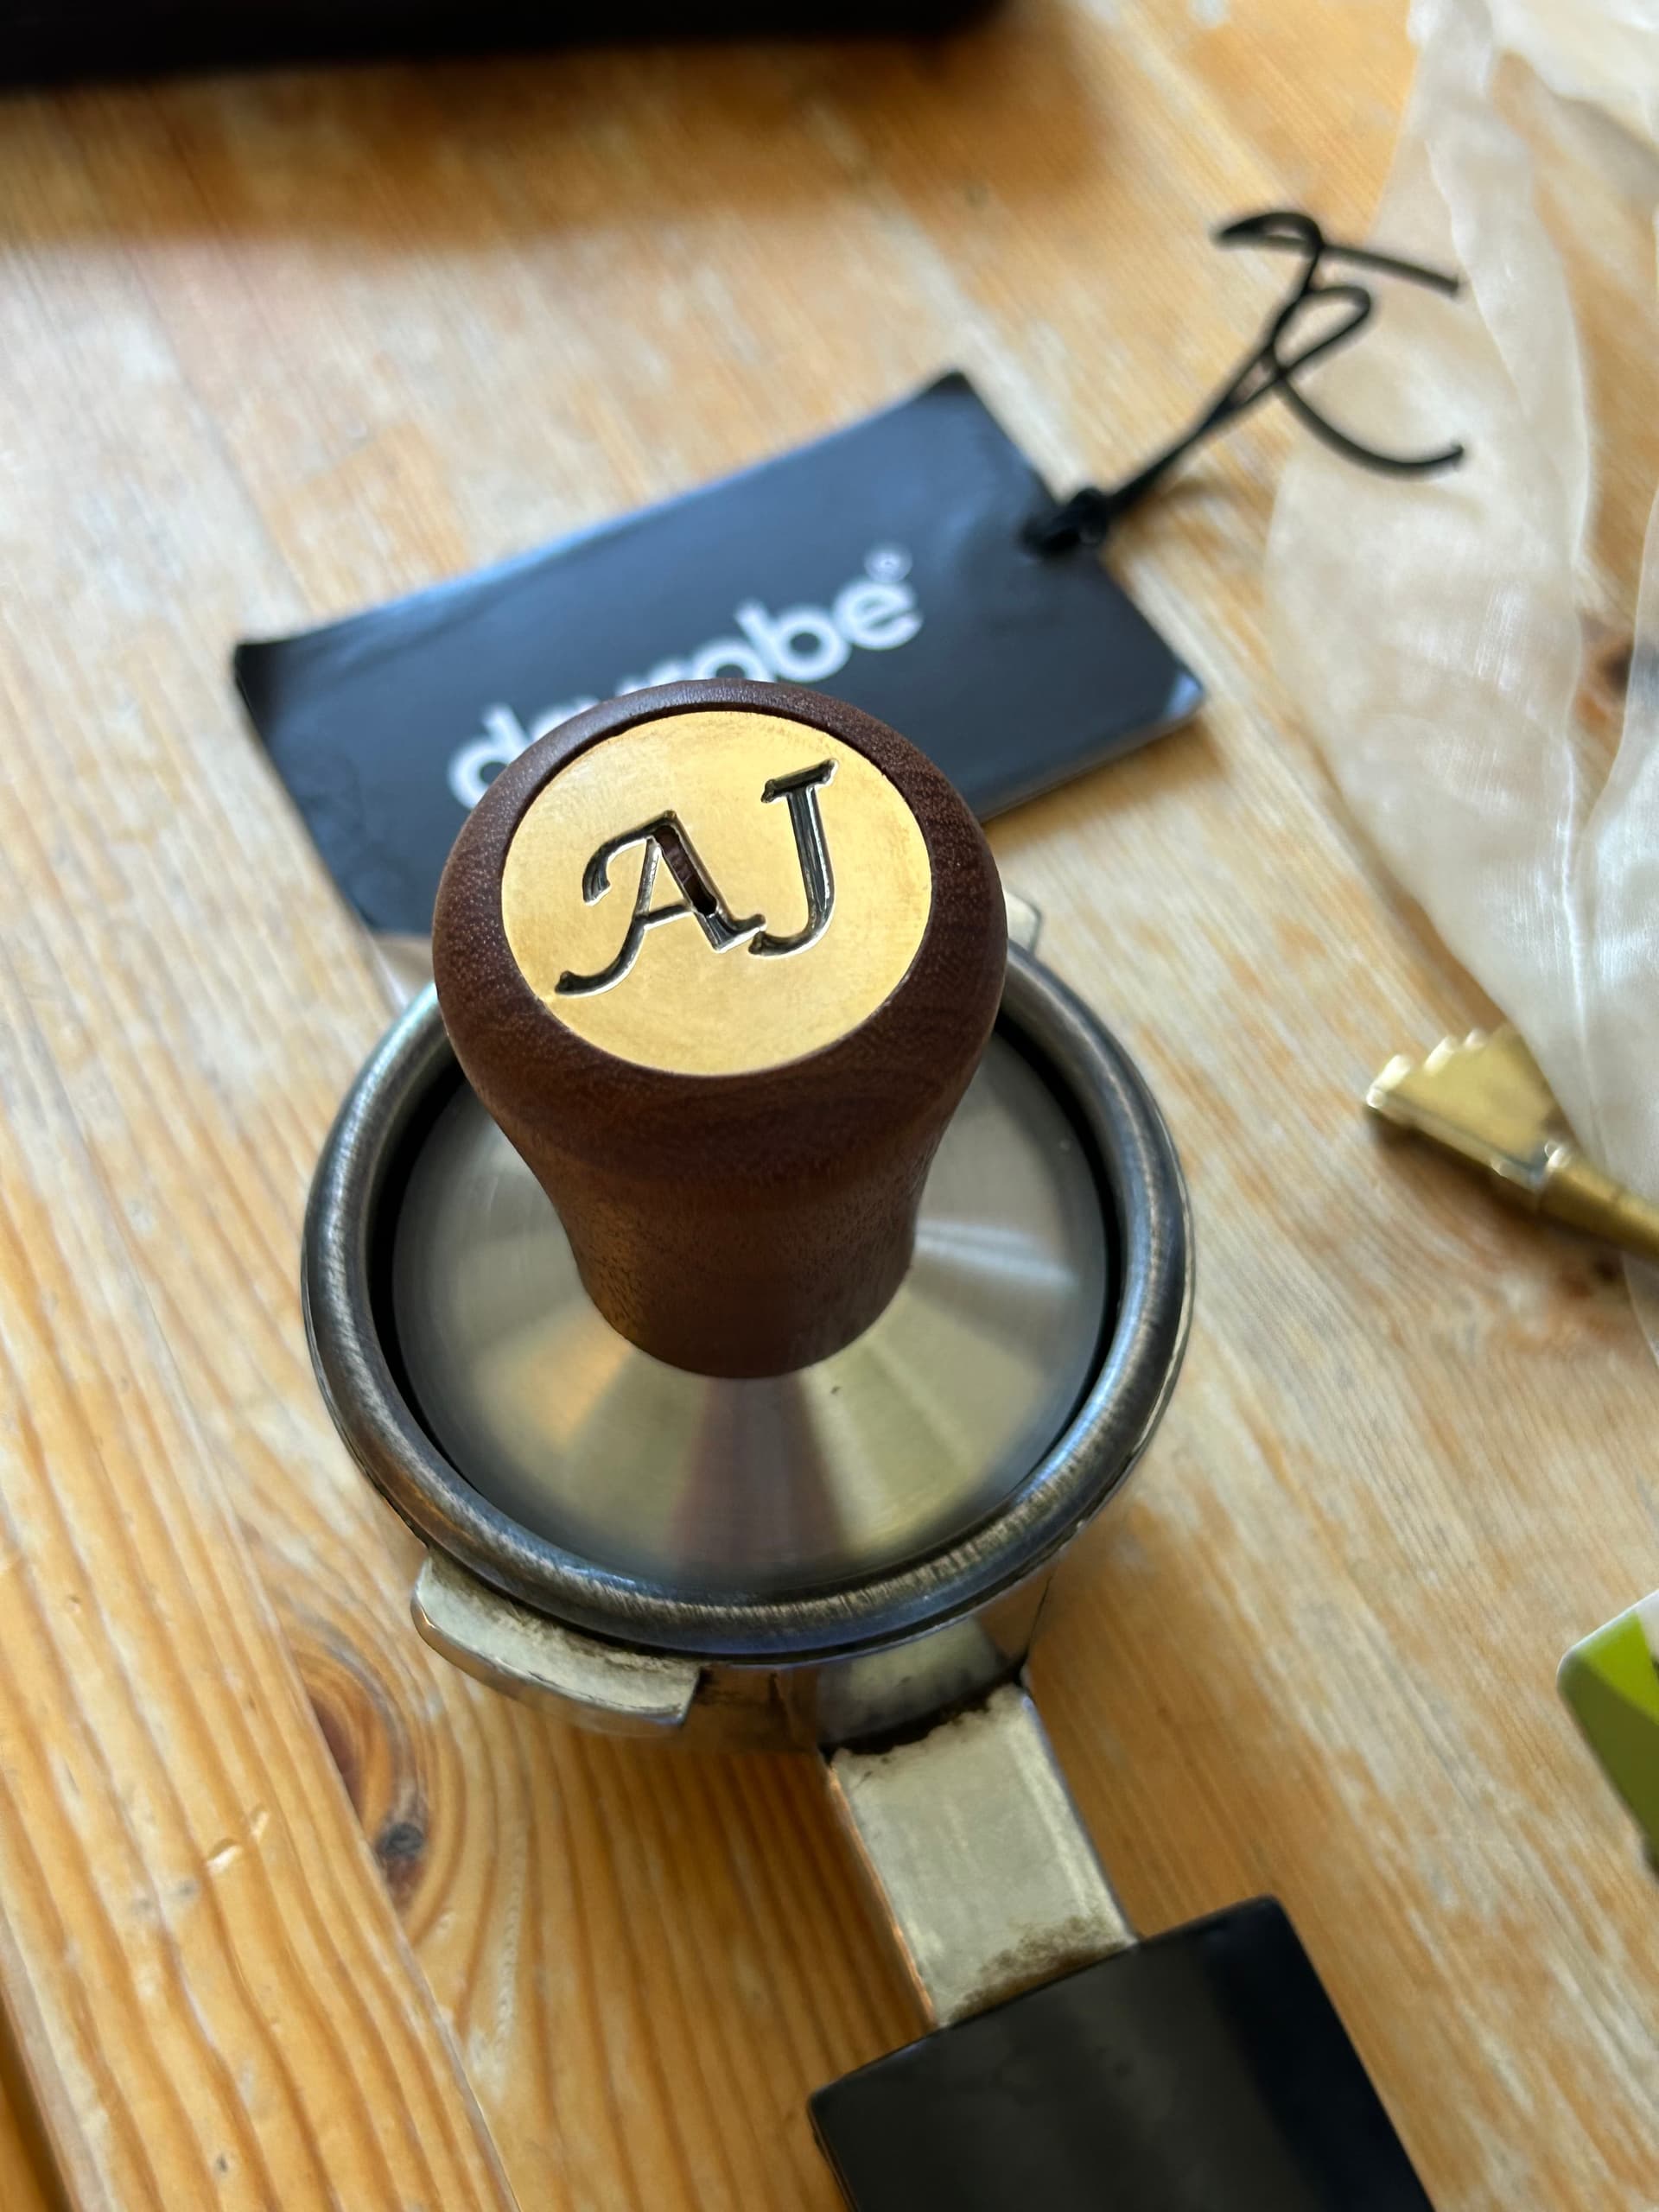
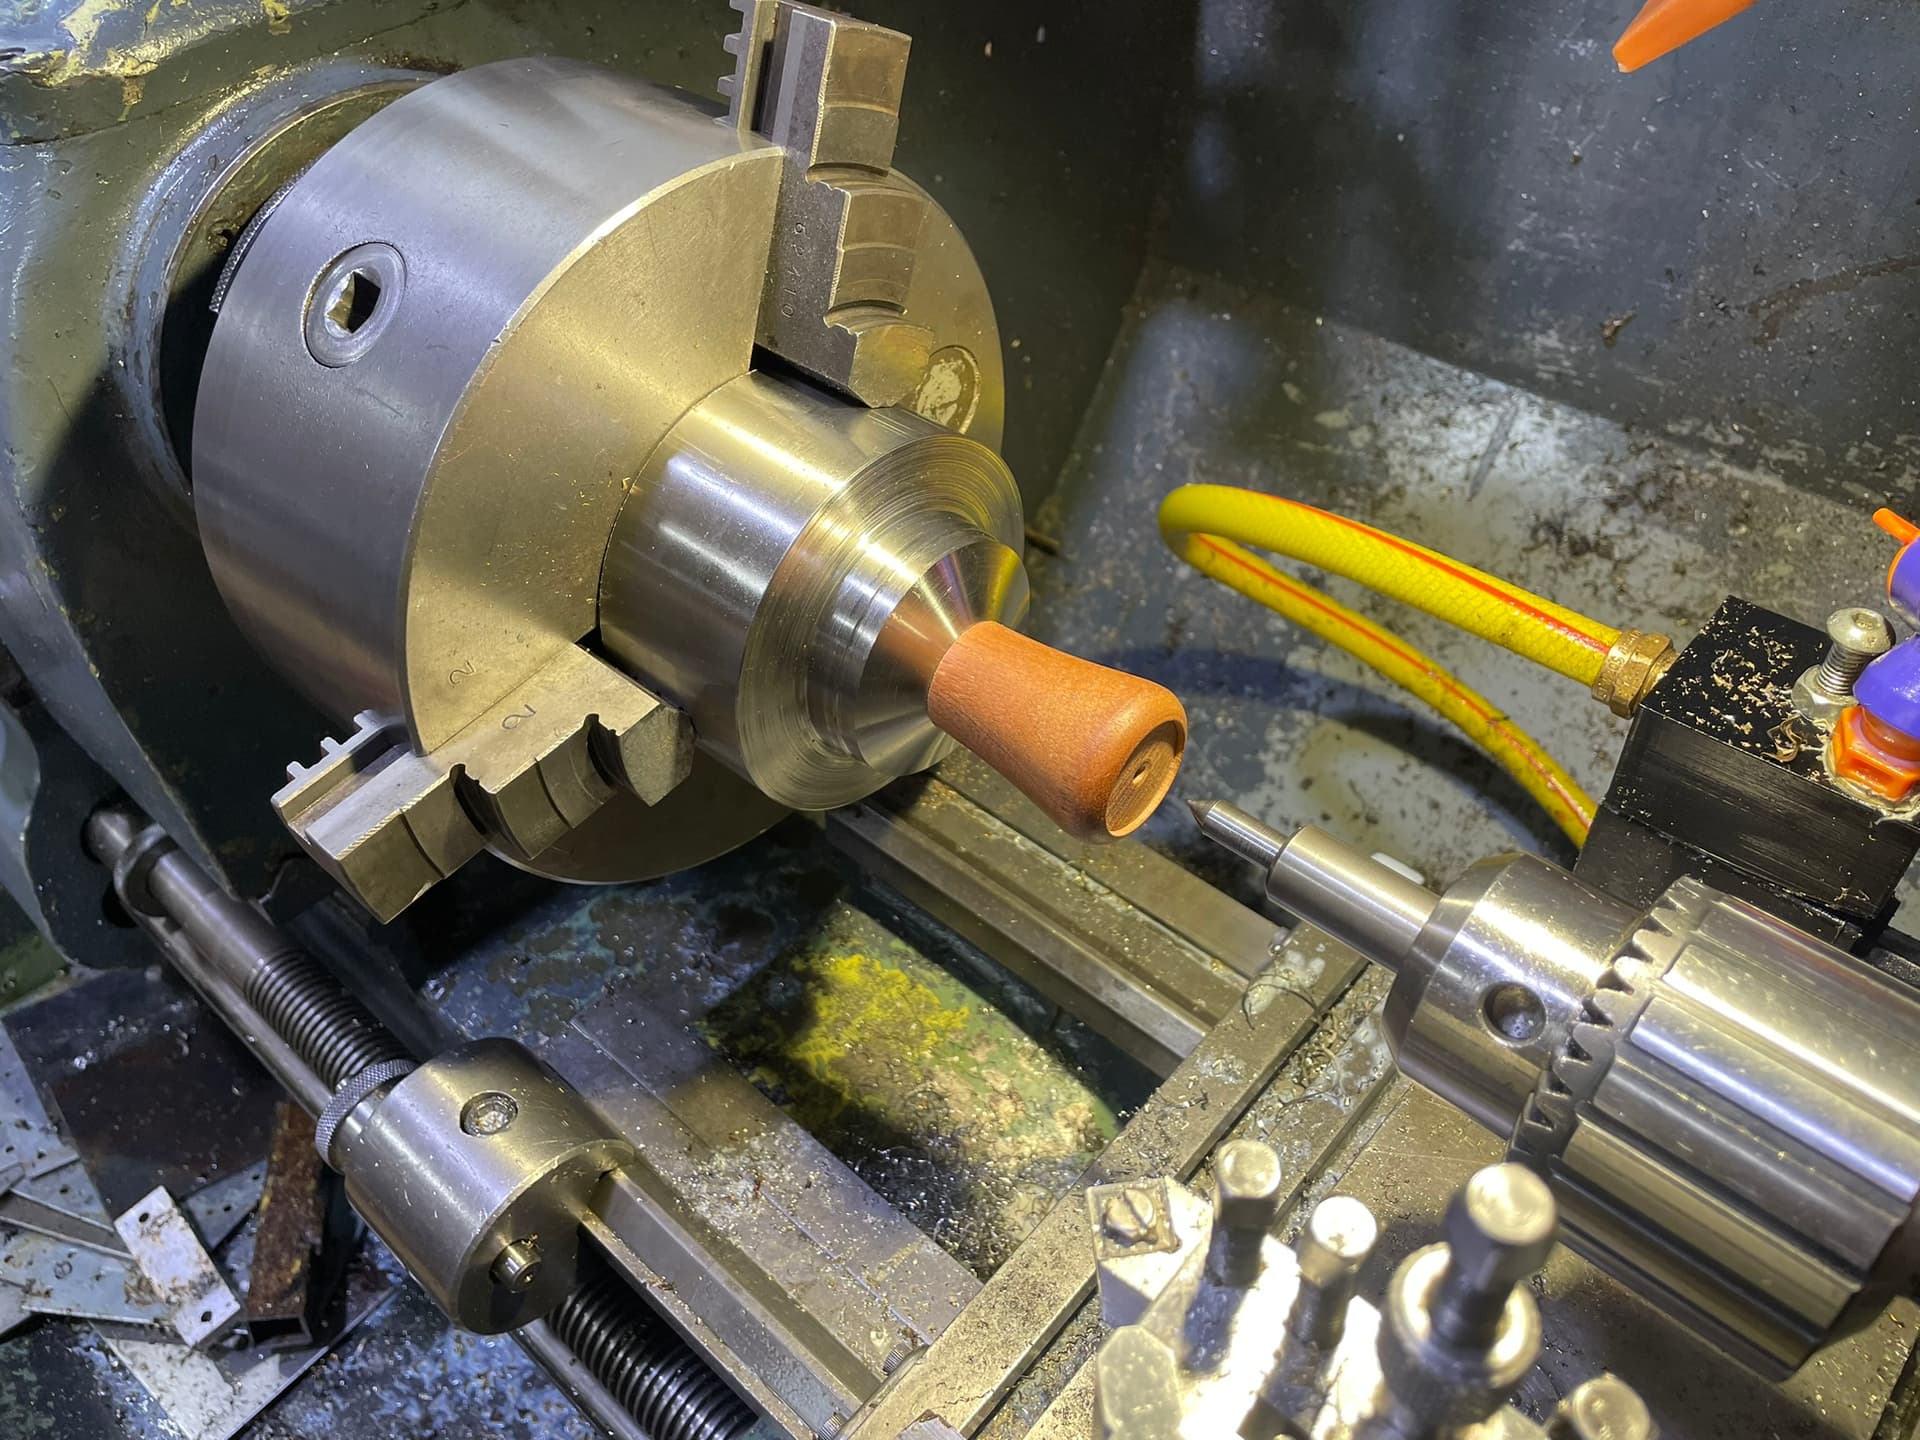
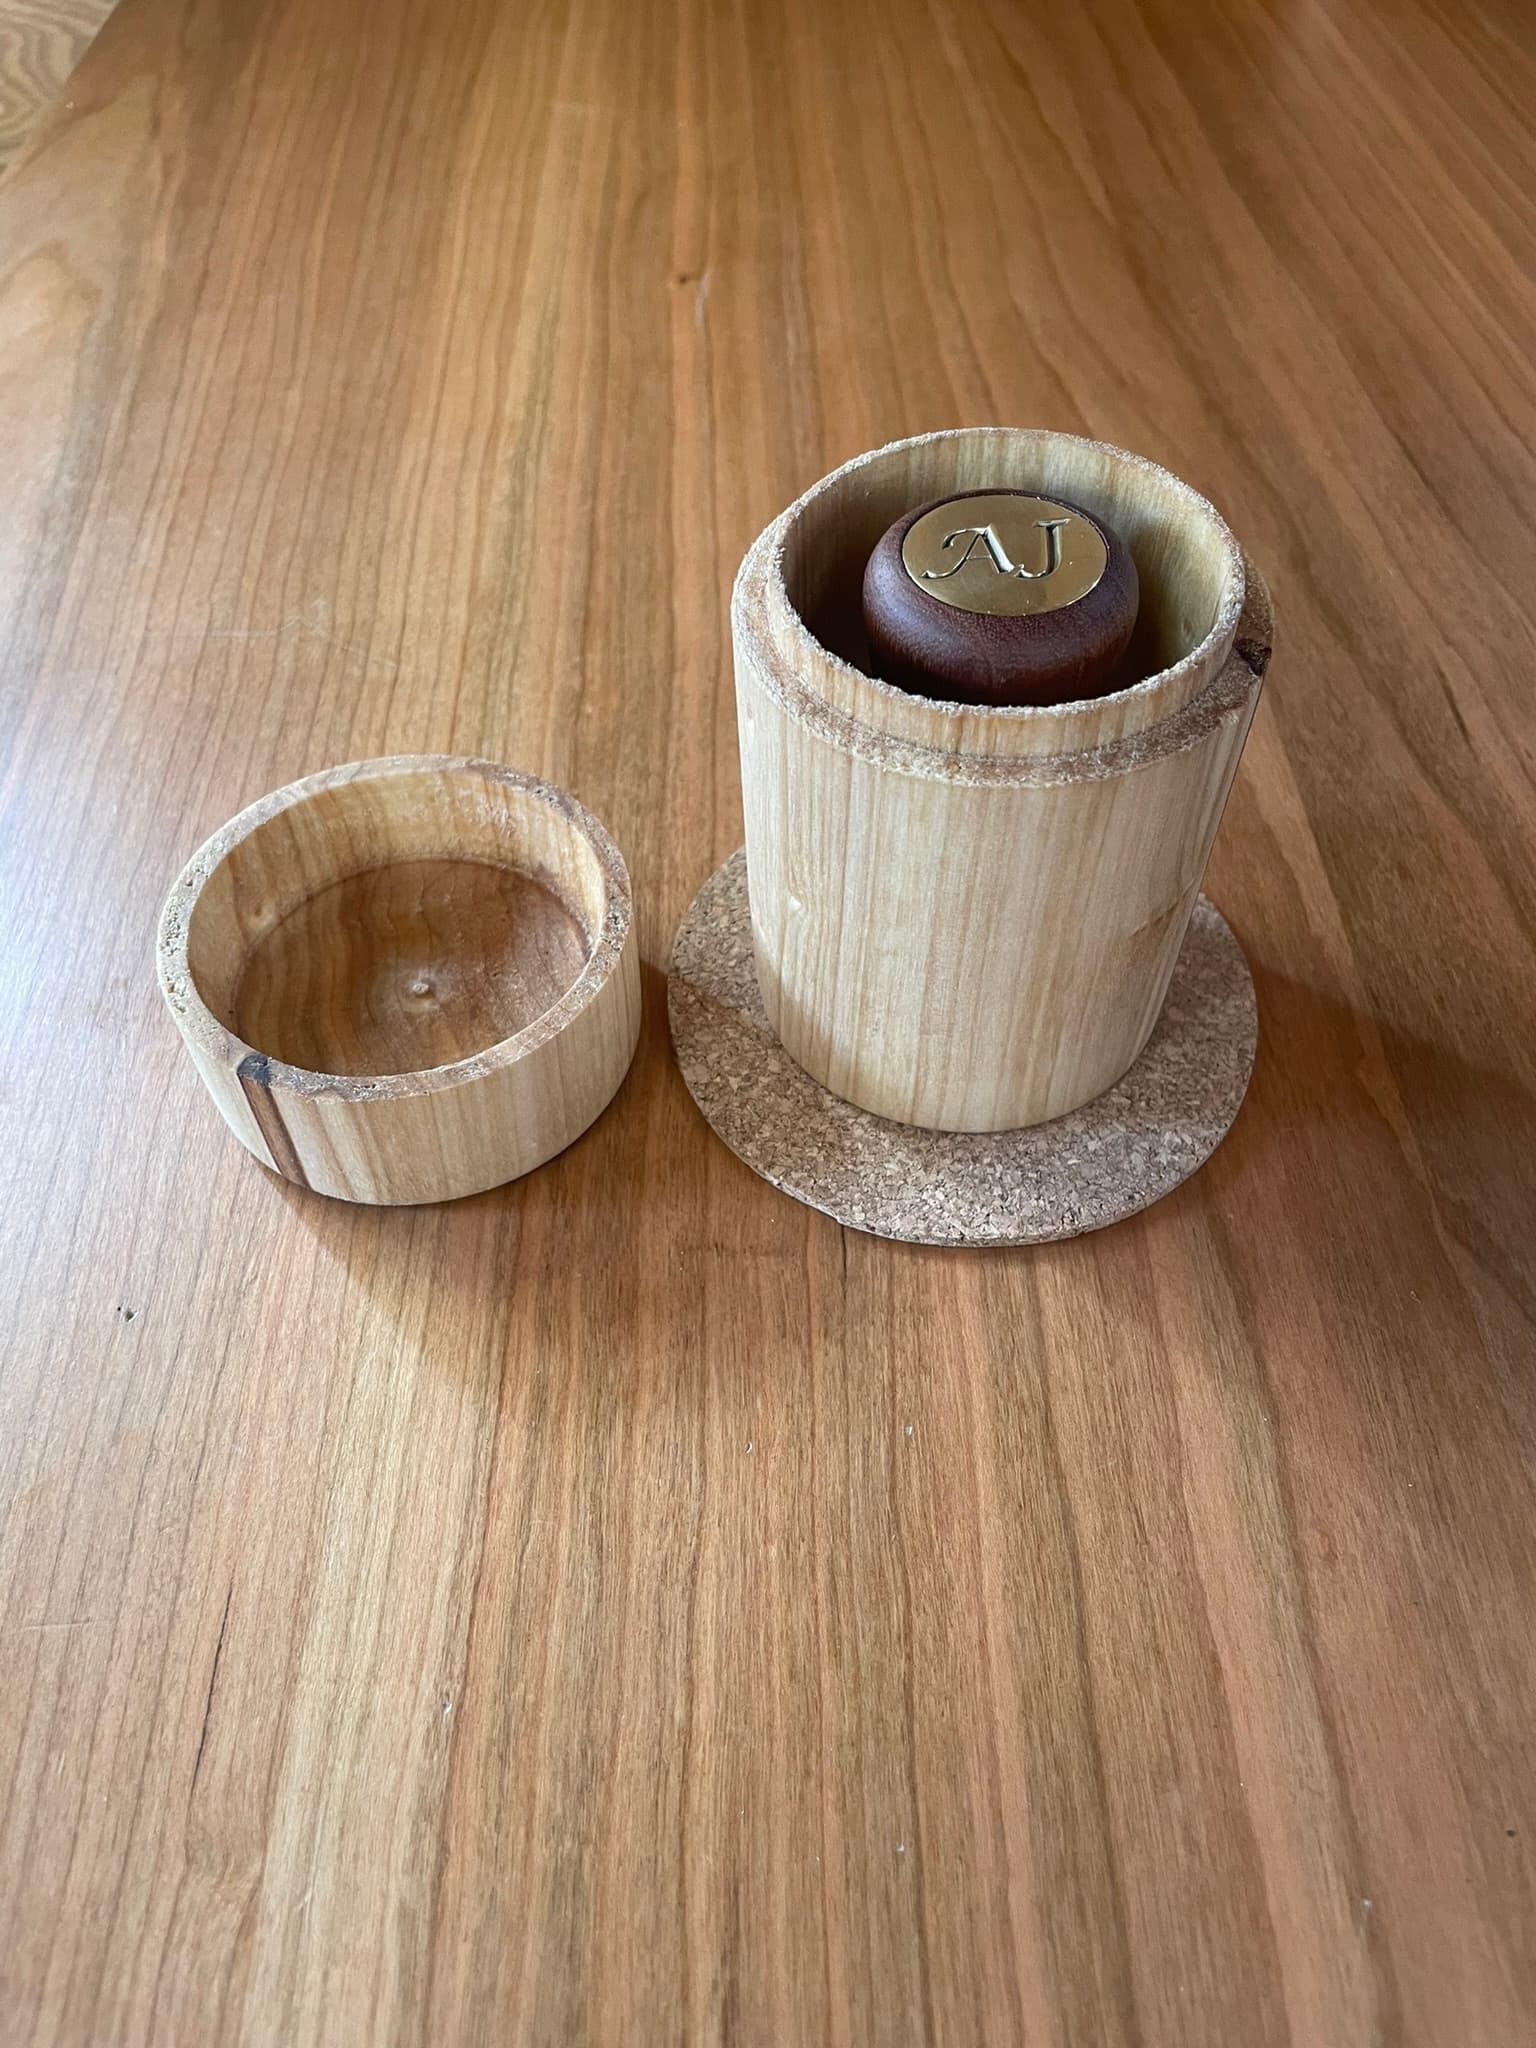
The tamper body is made of two parts, a wooden handle and a stainless steel base, turned on the wood and metal lathes. I added a brass coin to the top of the handle, with initials engraved into it using the mini CNC.
Handle
I started by making the wooden handle. All the parts needed to fit together and I figured the wood lathe is probably what gives me the least amount of control over final dimensions. The handle is made of a piece of wood I found in the scrap bin, possibly Sapele.
I had two attempts at making it. On my first attempt I shaped the handle between centres on the lathe and then used the drill press and a Forstener bit to make the recess for the coin. I hadn’t secured the handle properly when drilling and the hole left by the Forstener bit was very messy.
On my second run I switched to using the lathe to do the drilling, but this required a bit more planning in the order of operations, using the chuck to hold the piece rather than only turning between centres. I rehearsed on a piece of pine, which went well and then repeated it for my final attempt.
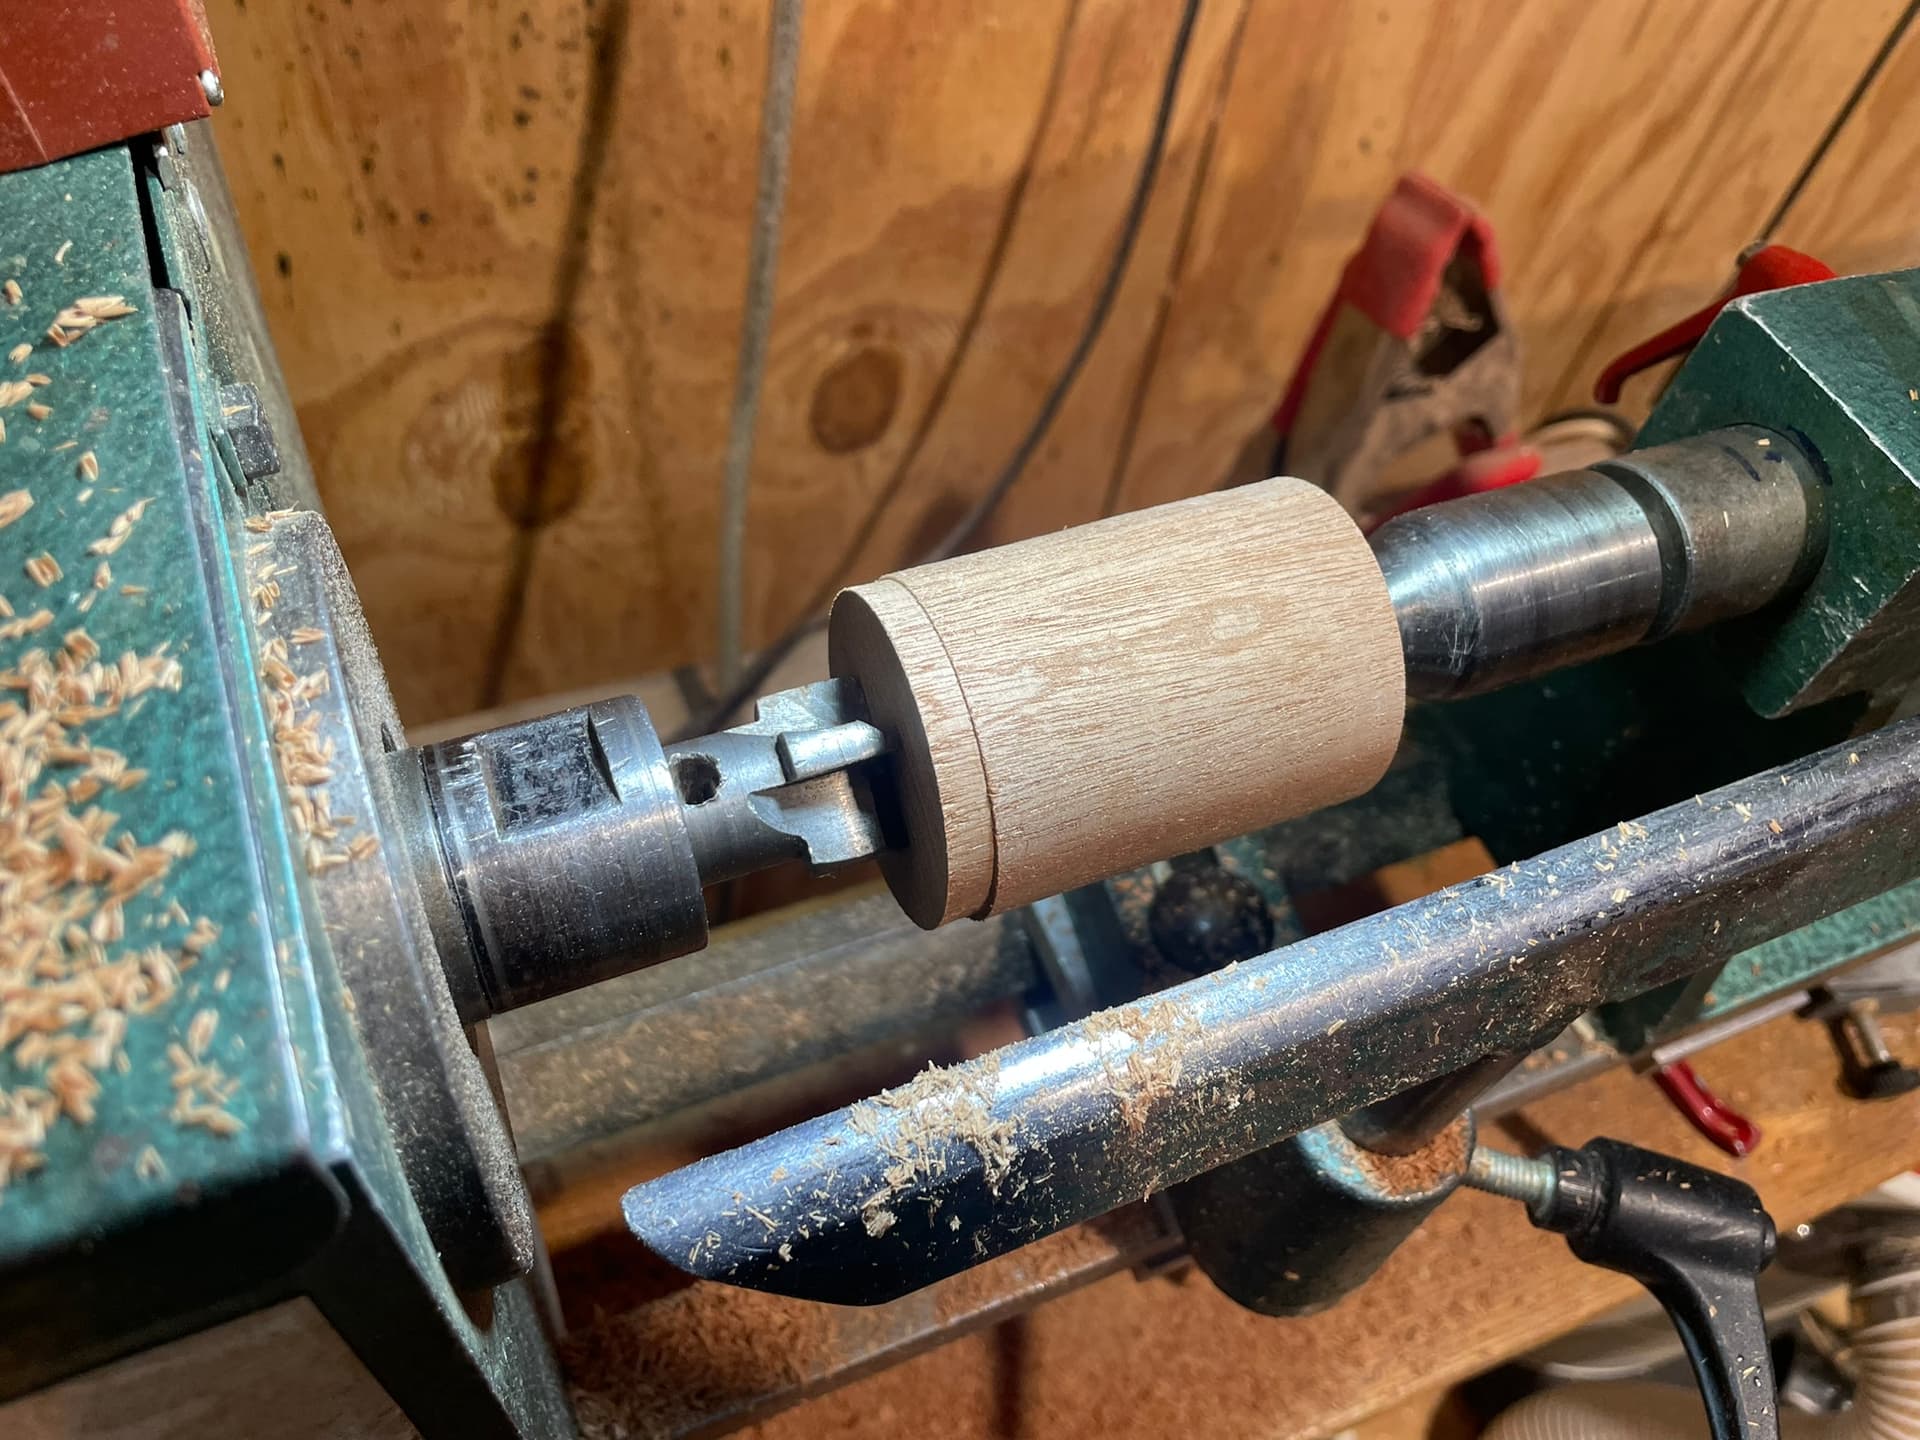
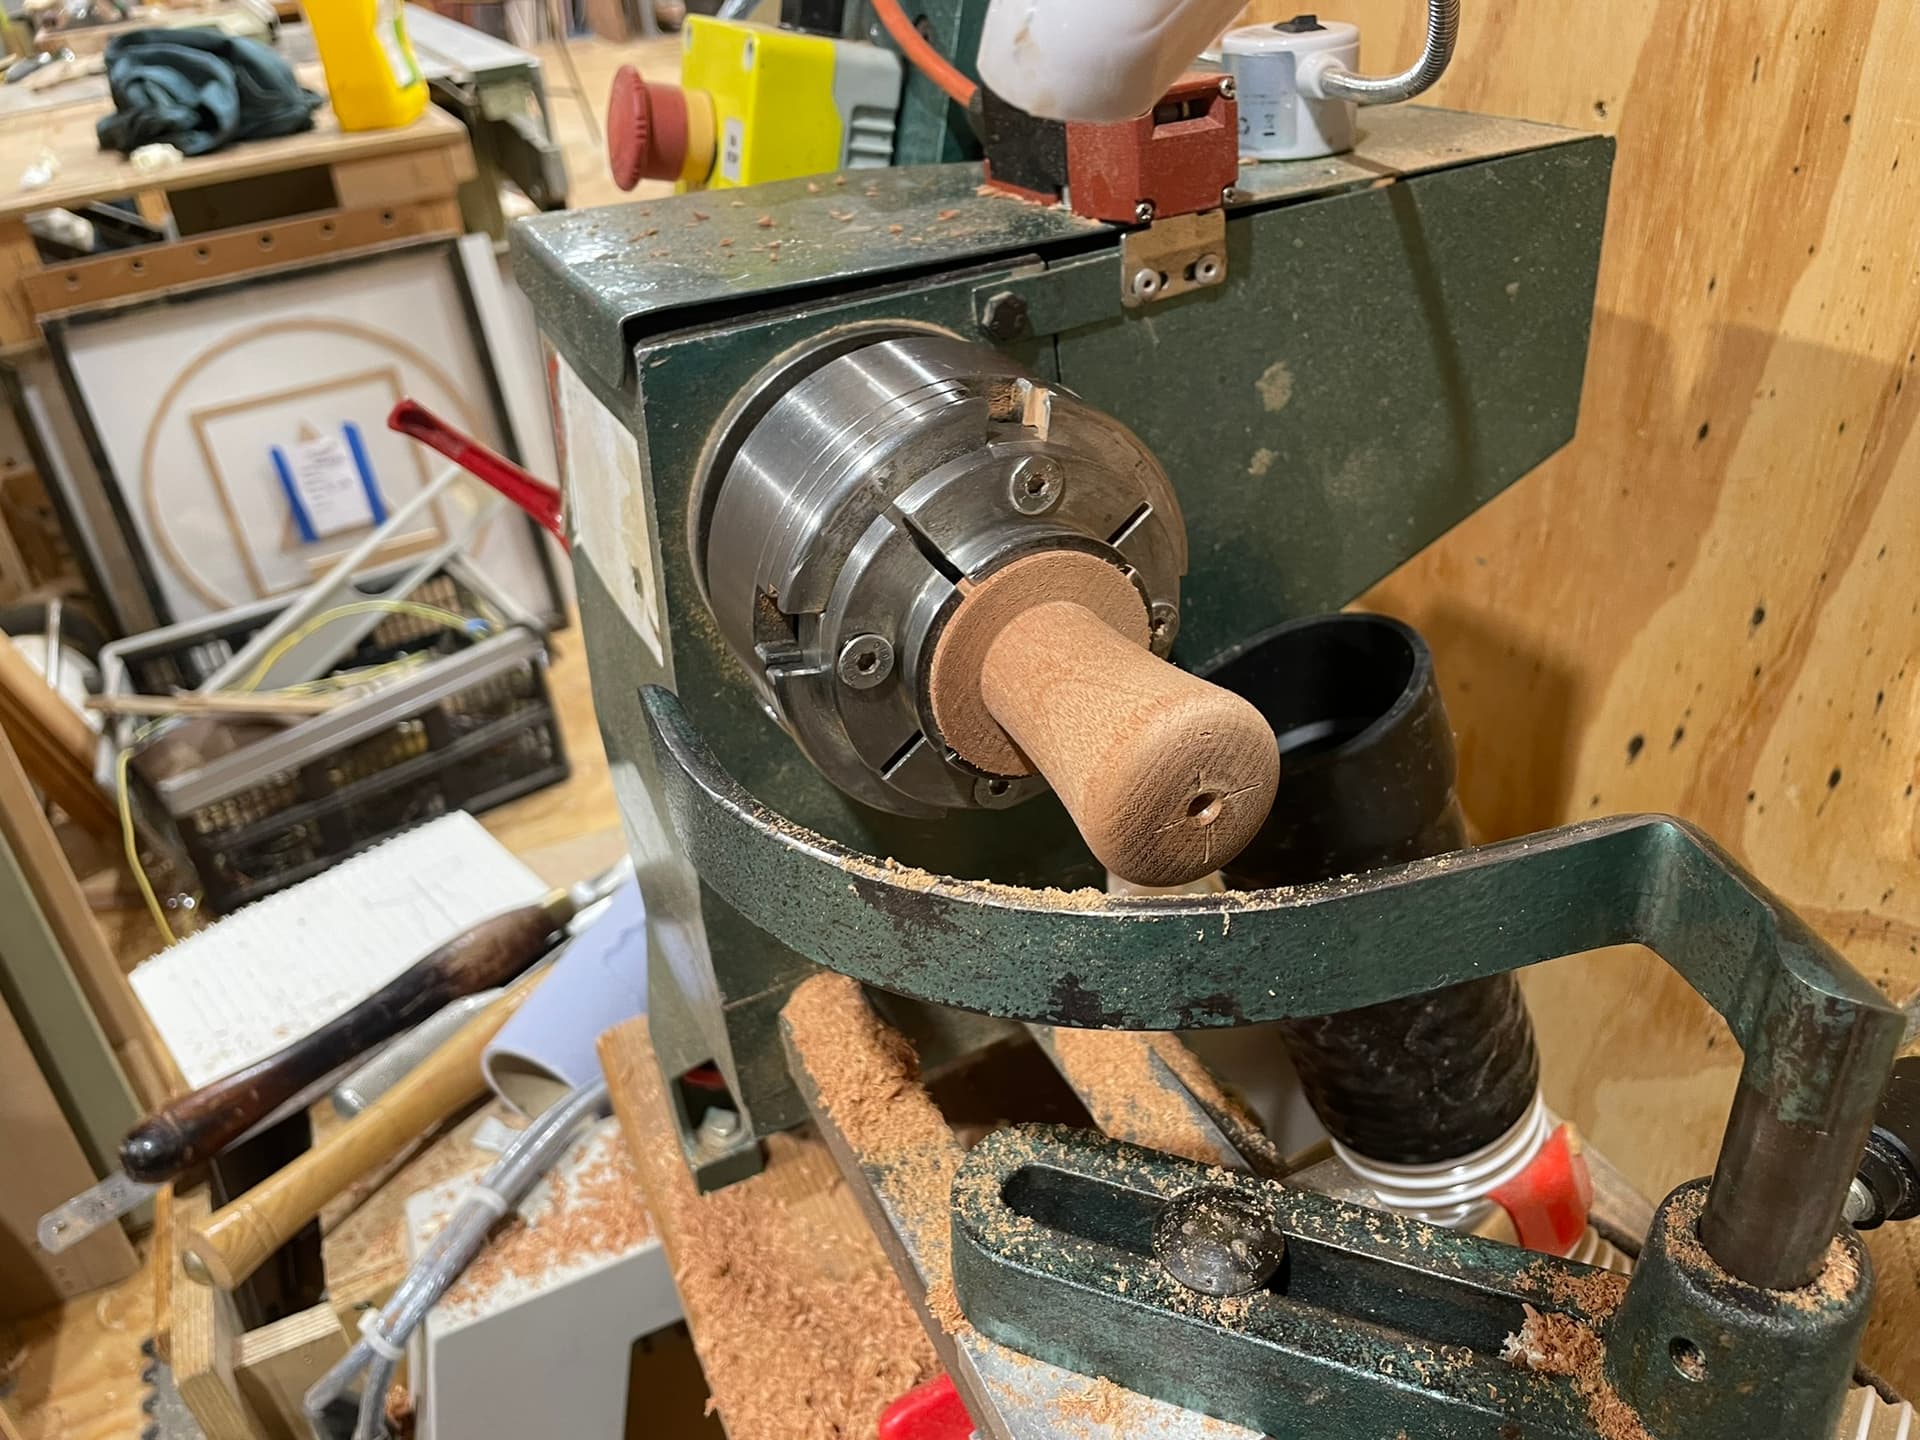
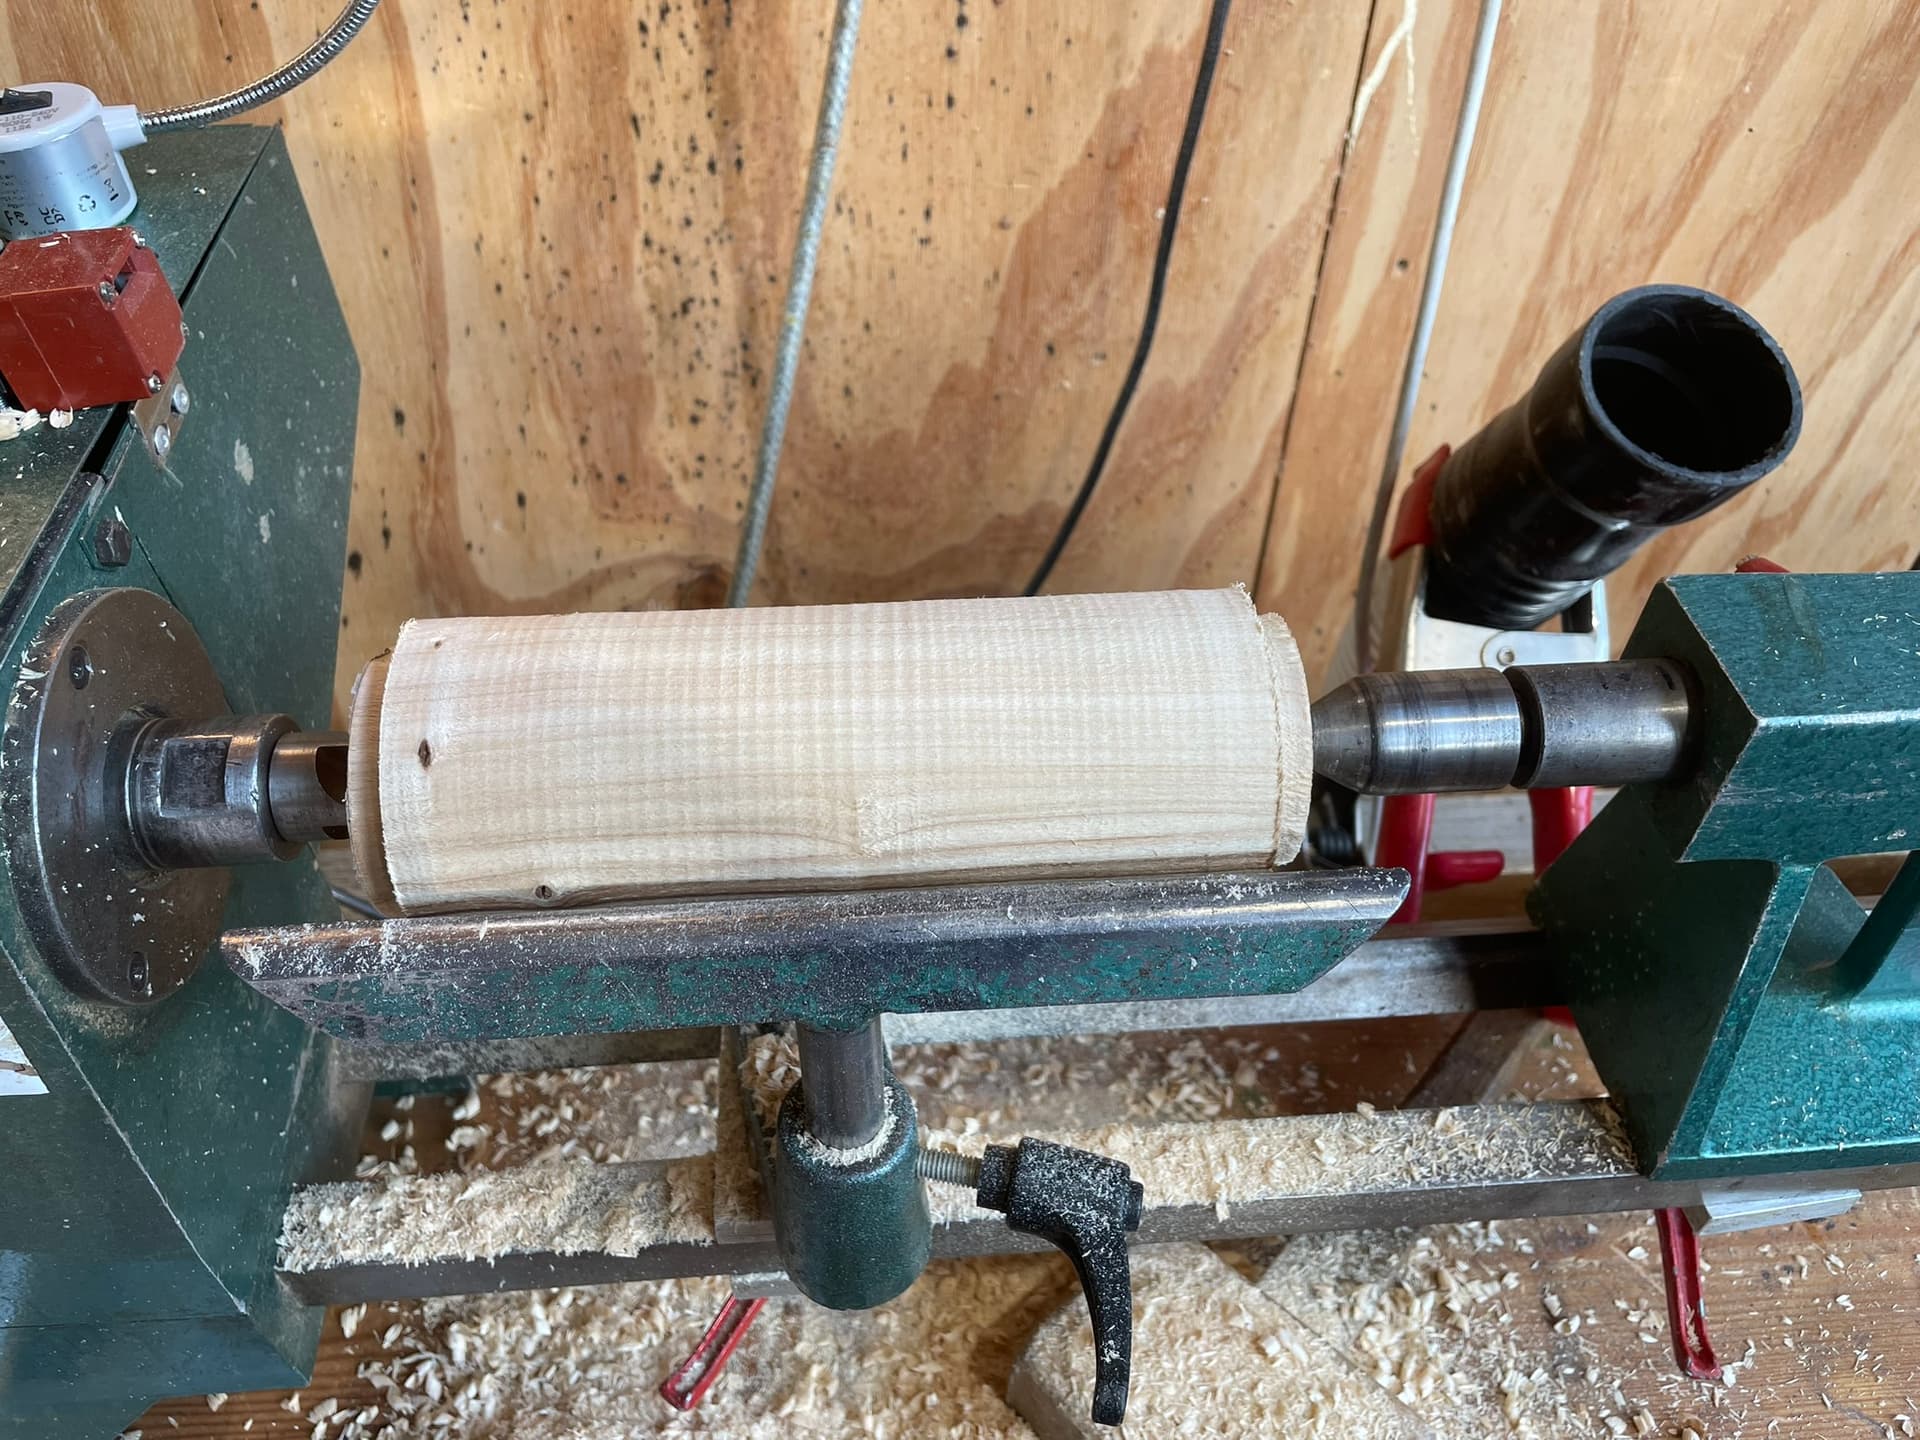
I started by putting the square blank in between centres, making it round using a roughing gouge, and made a tenon at one end.
I then switched to using the chuck to grab onto the tenon, but still keeping the live centre at the other end for most of the process. I made the shape using a mix of rouging gouge, spindle gouge and scrapers. I did not have an exact shape or dimension in mind that I wanted to hit, I just went along until it looked right.
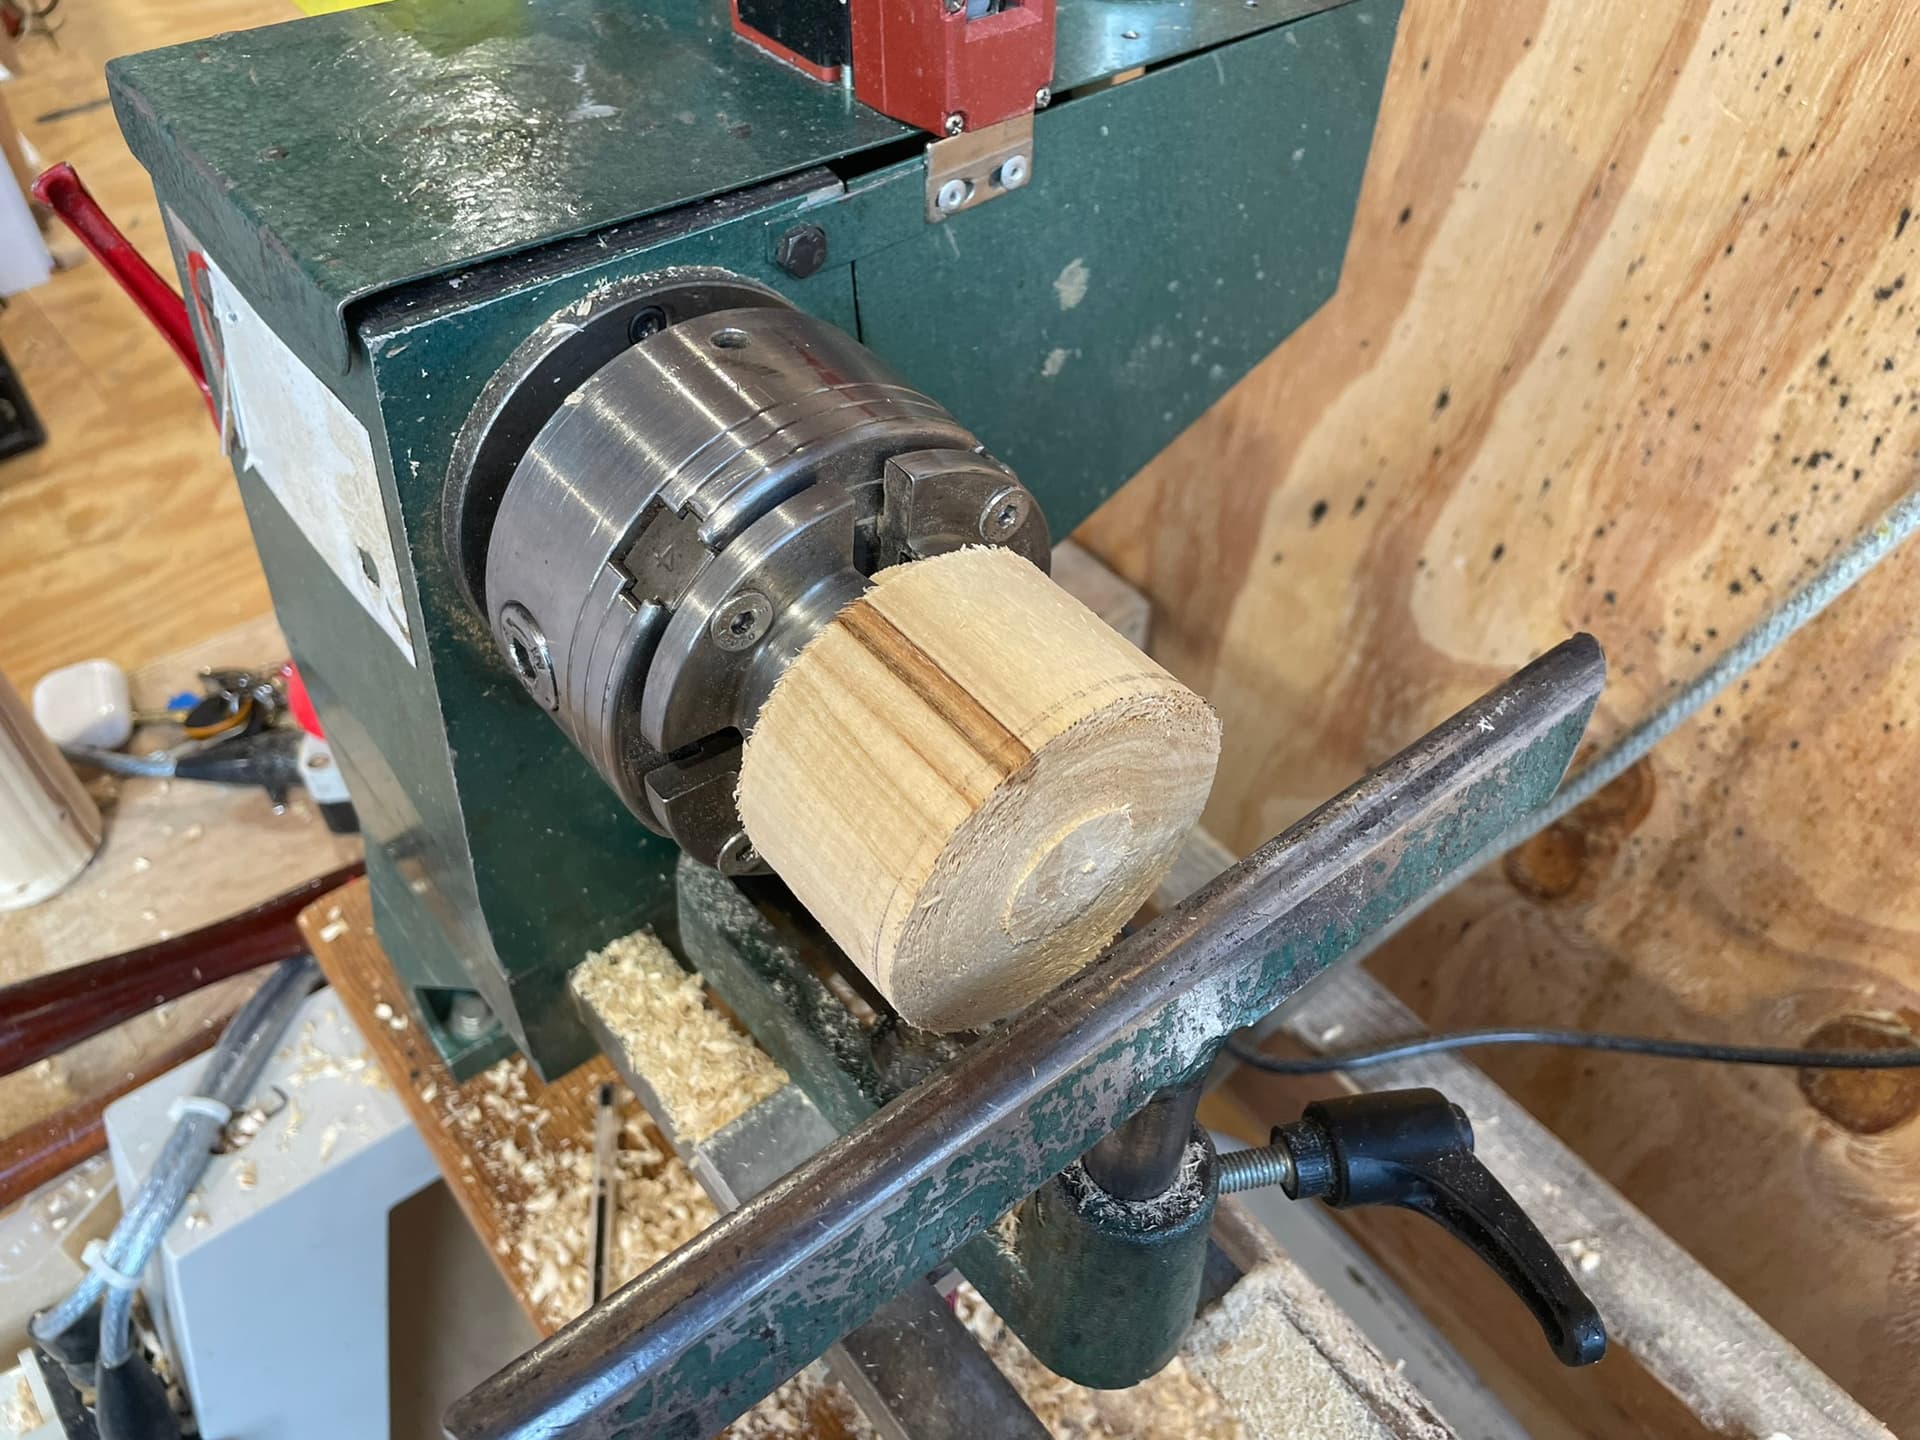
Finally I removed the live centre and cleaned up the end using a scraper. I sanded the whole thing down and applied two coats of melamine lacquer. Finally I put the forstener bit into the tail stock and drilled the recess into the end of the handle, which resulted in a much cleaner result than my earlier attempt.
The handle has a large hole at its base in order to put a threaded insert. Not learning from my earlier mistake I used the drill press to make that hole, which wasn’t super clean nor concentric, but good enough and won’t be visible. If I’d been more careful about order of operation I could have easily made that hole on the lathe as well.
I was a bit too brutish when putting in the insert and ended up stripping the inside of the hole. I had to epoxy the insert into the handle to keep it secure.

Stainless base
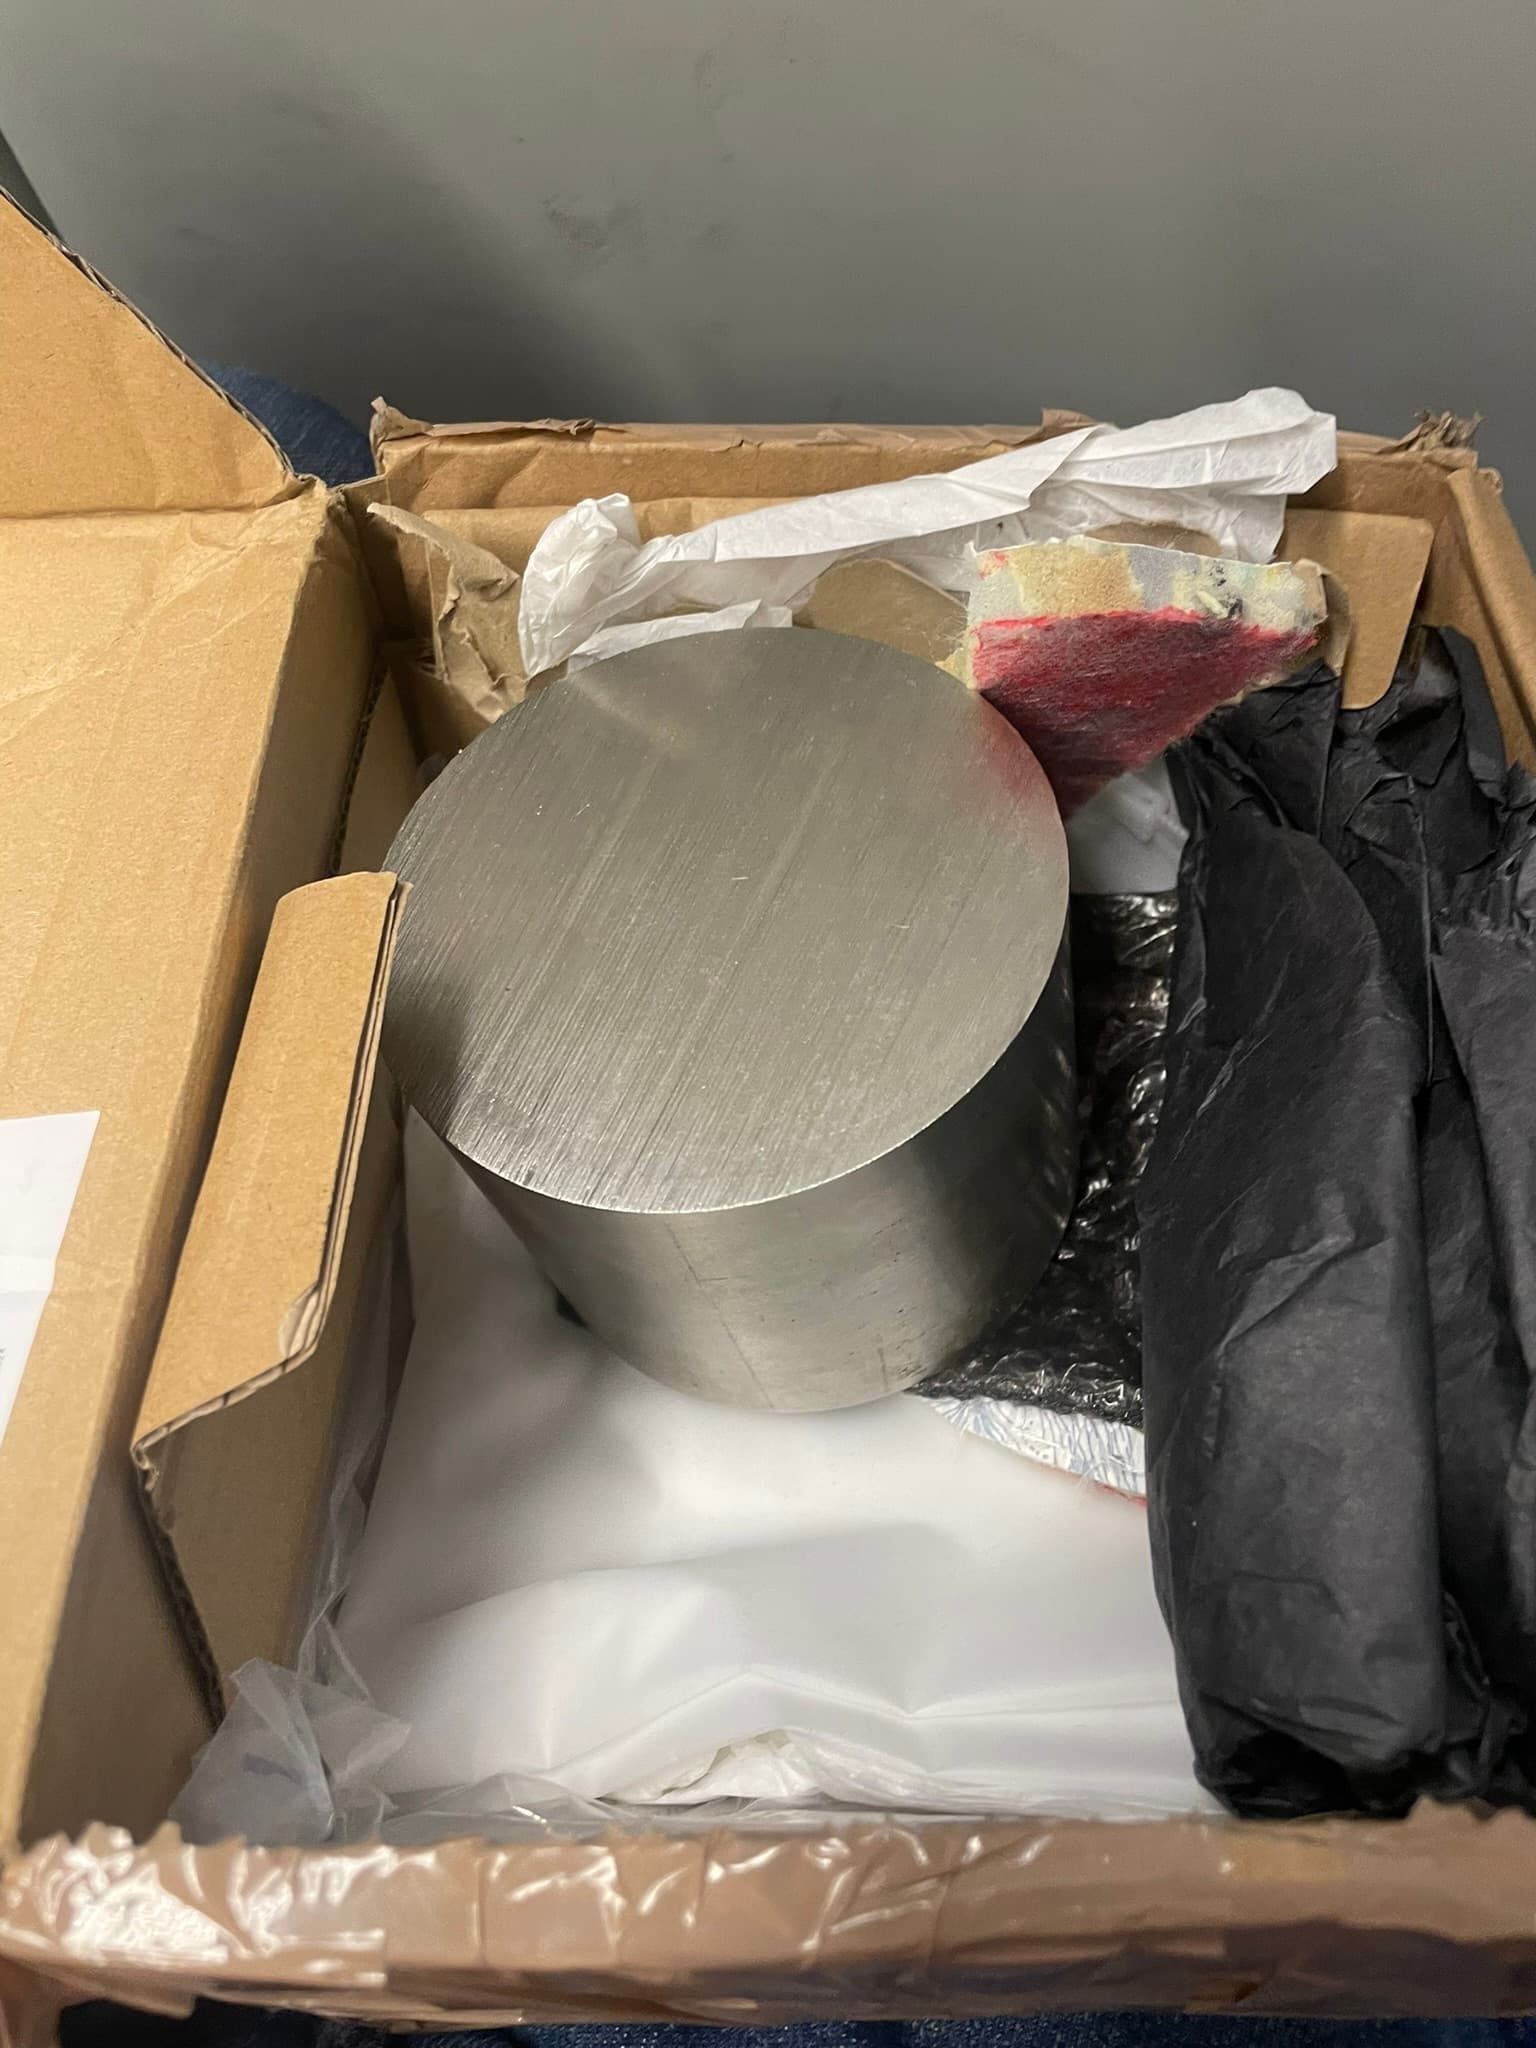
My target dimension for the base was 57mm diameter and about 25mm length, but the only suitable offcut I could find from eBay was about 90mm diameter and 80mm long. The alternative would have been to buy it cut to size from a proper supplier but this would have been roughly the same price and I wouldn’t have gotten to keep the rest of the material (not that I have any idea what to do with it now).
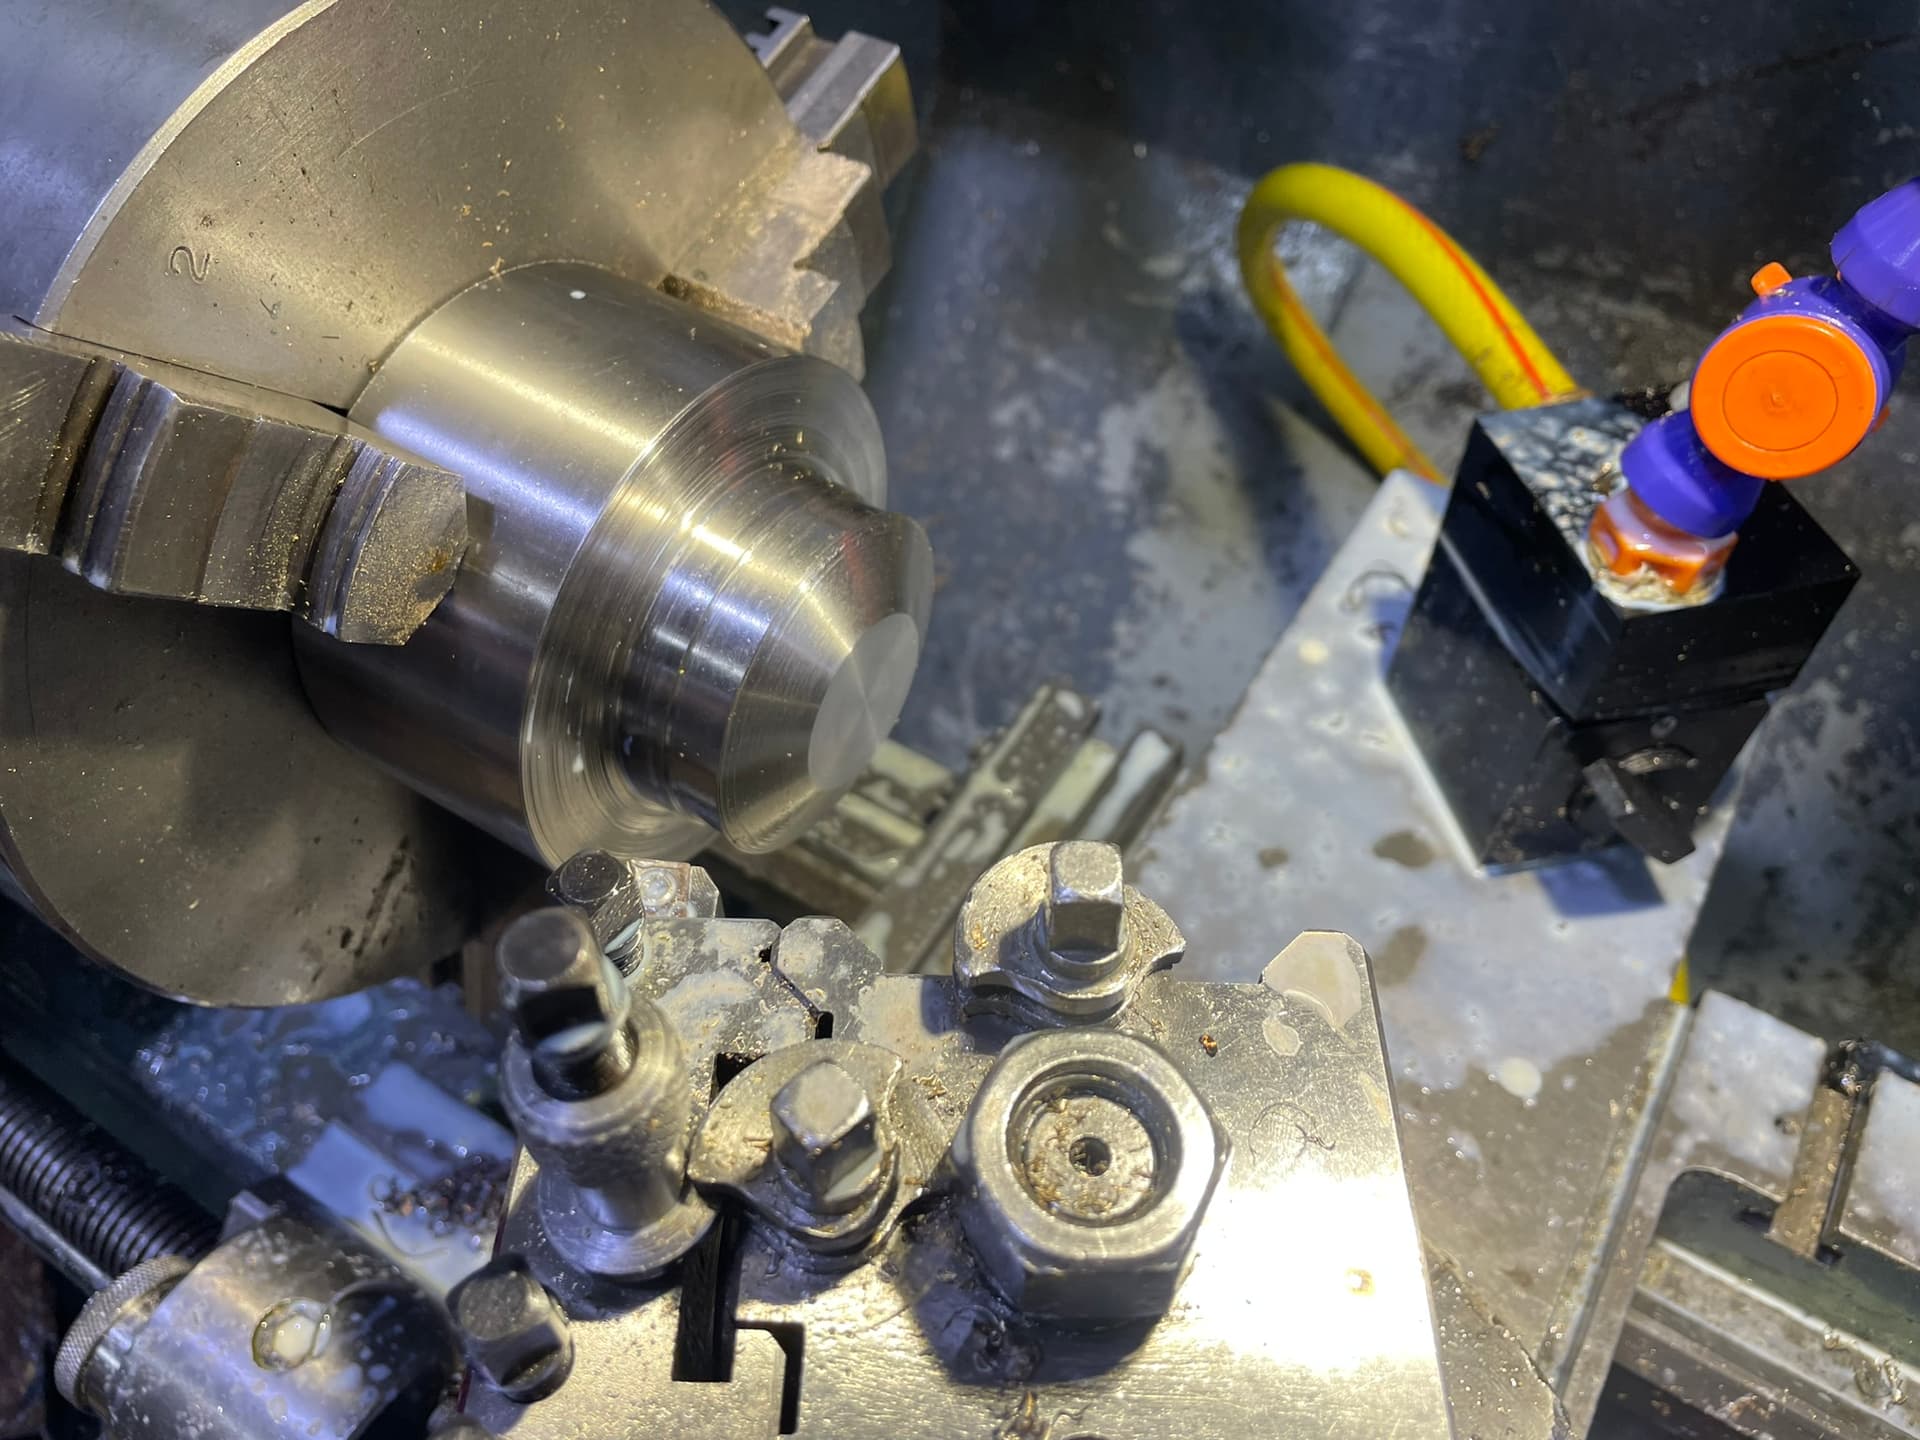
The first step was to face it and turn it down to the approximate diameter. It took a long time to get through all the material, but given that I had very little prior experience on the metal lathe it was good practice.
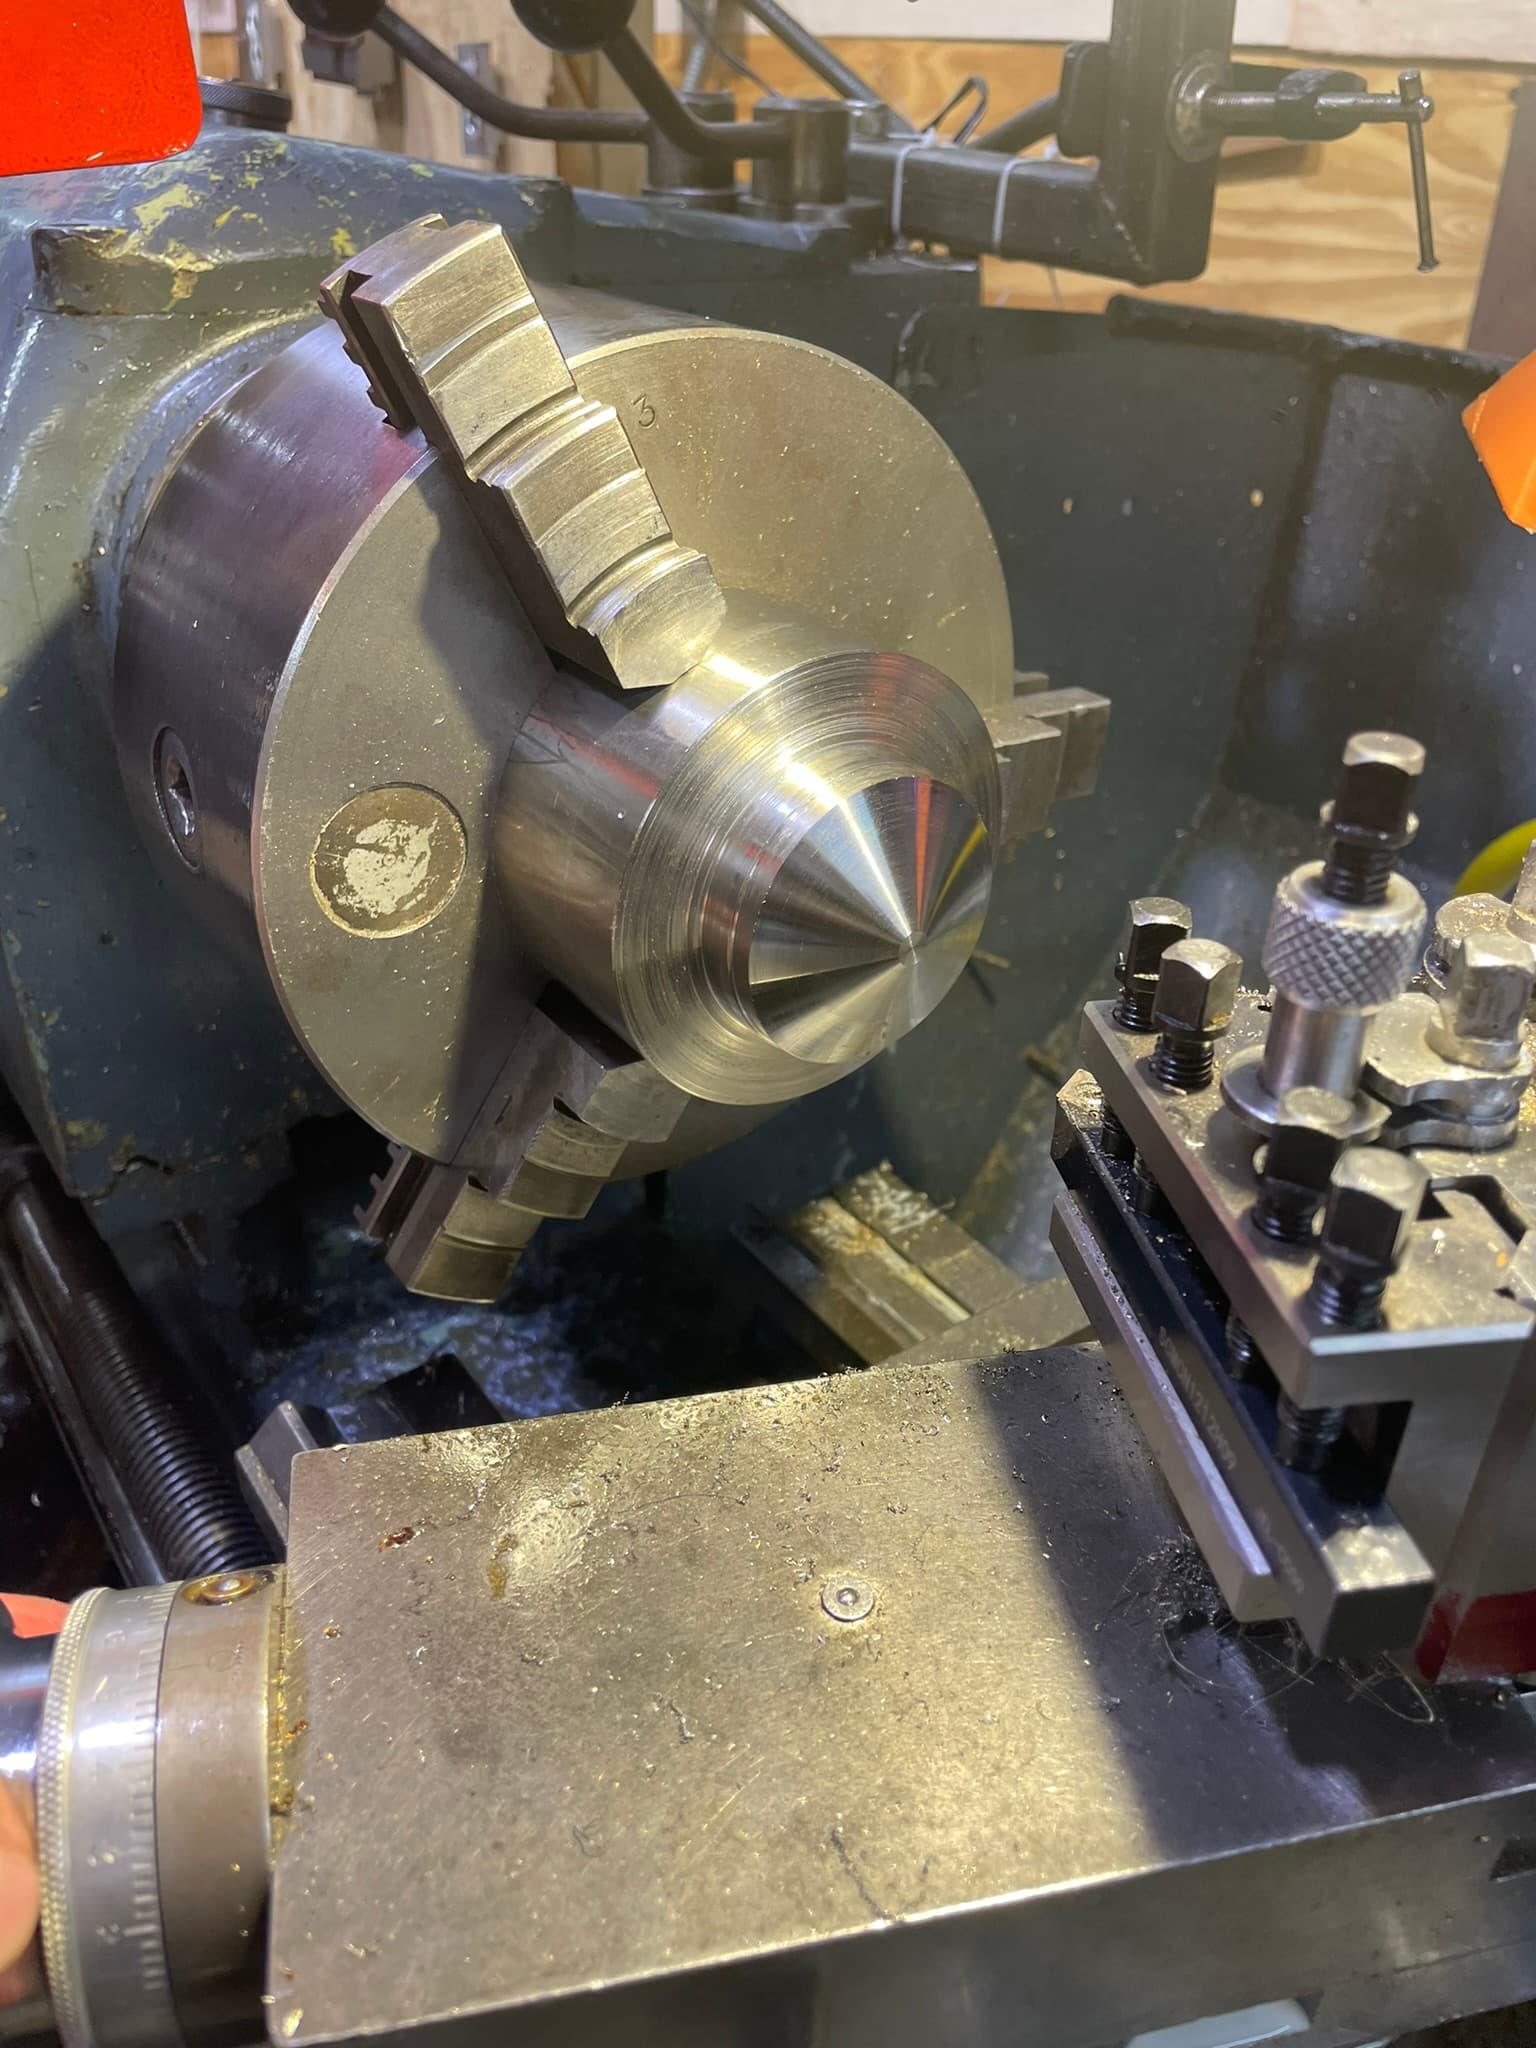
I added a very wide taper to the end, using the compound slide. The angle was based on my own tamper and some sketches I made. For some reason the surface finish on the taper was awful, even with all sorts of feeds, speeds and tools and different people having a go at it. Eventually Joe managed to get a decent enough finish by taking a deep cut with carbide.
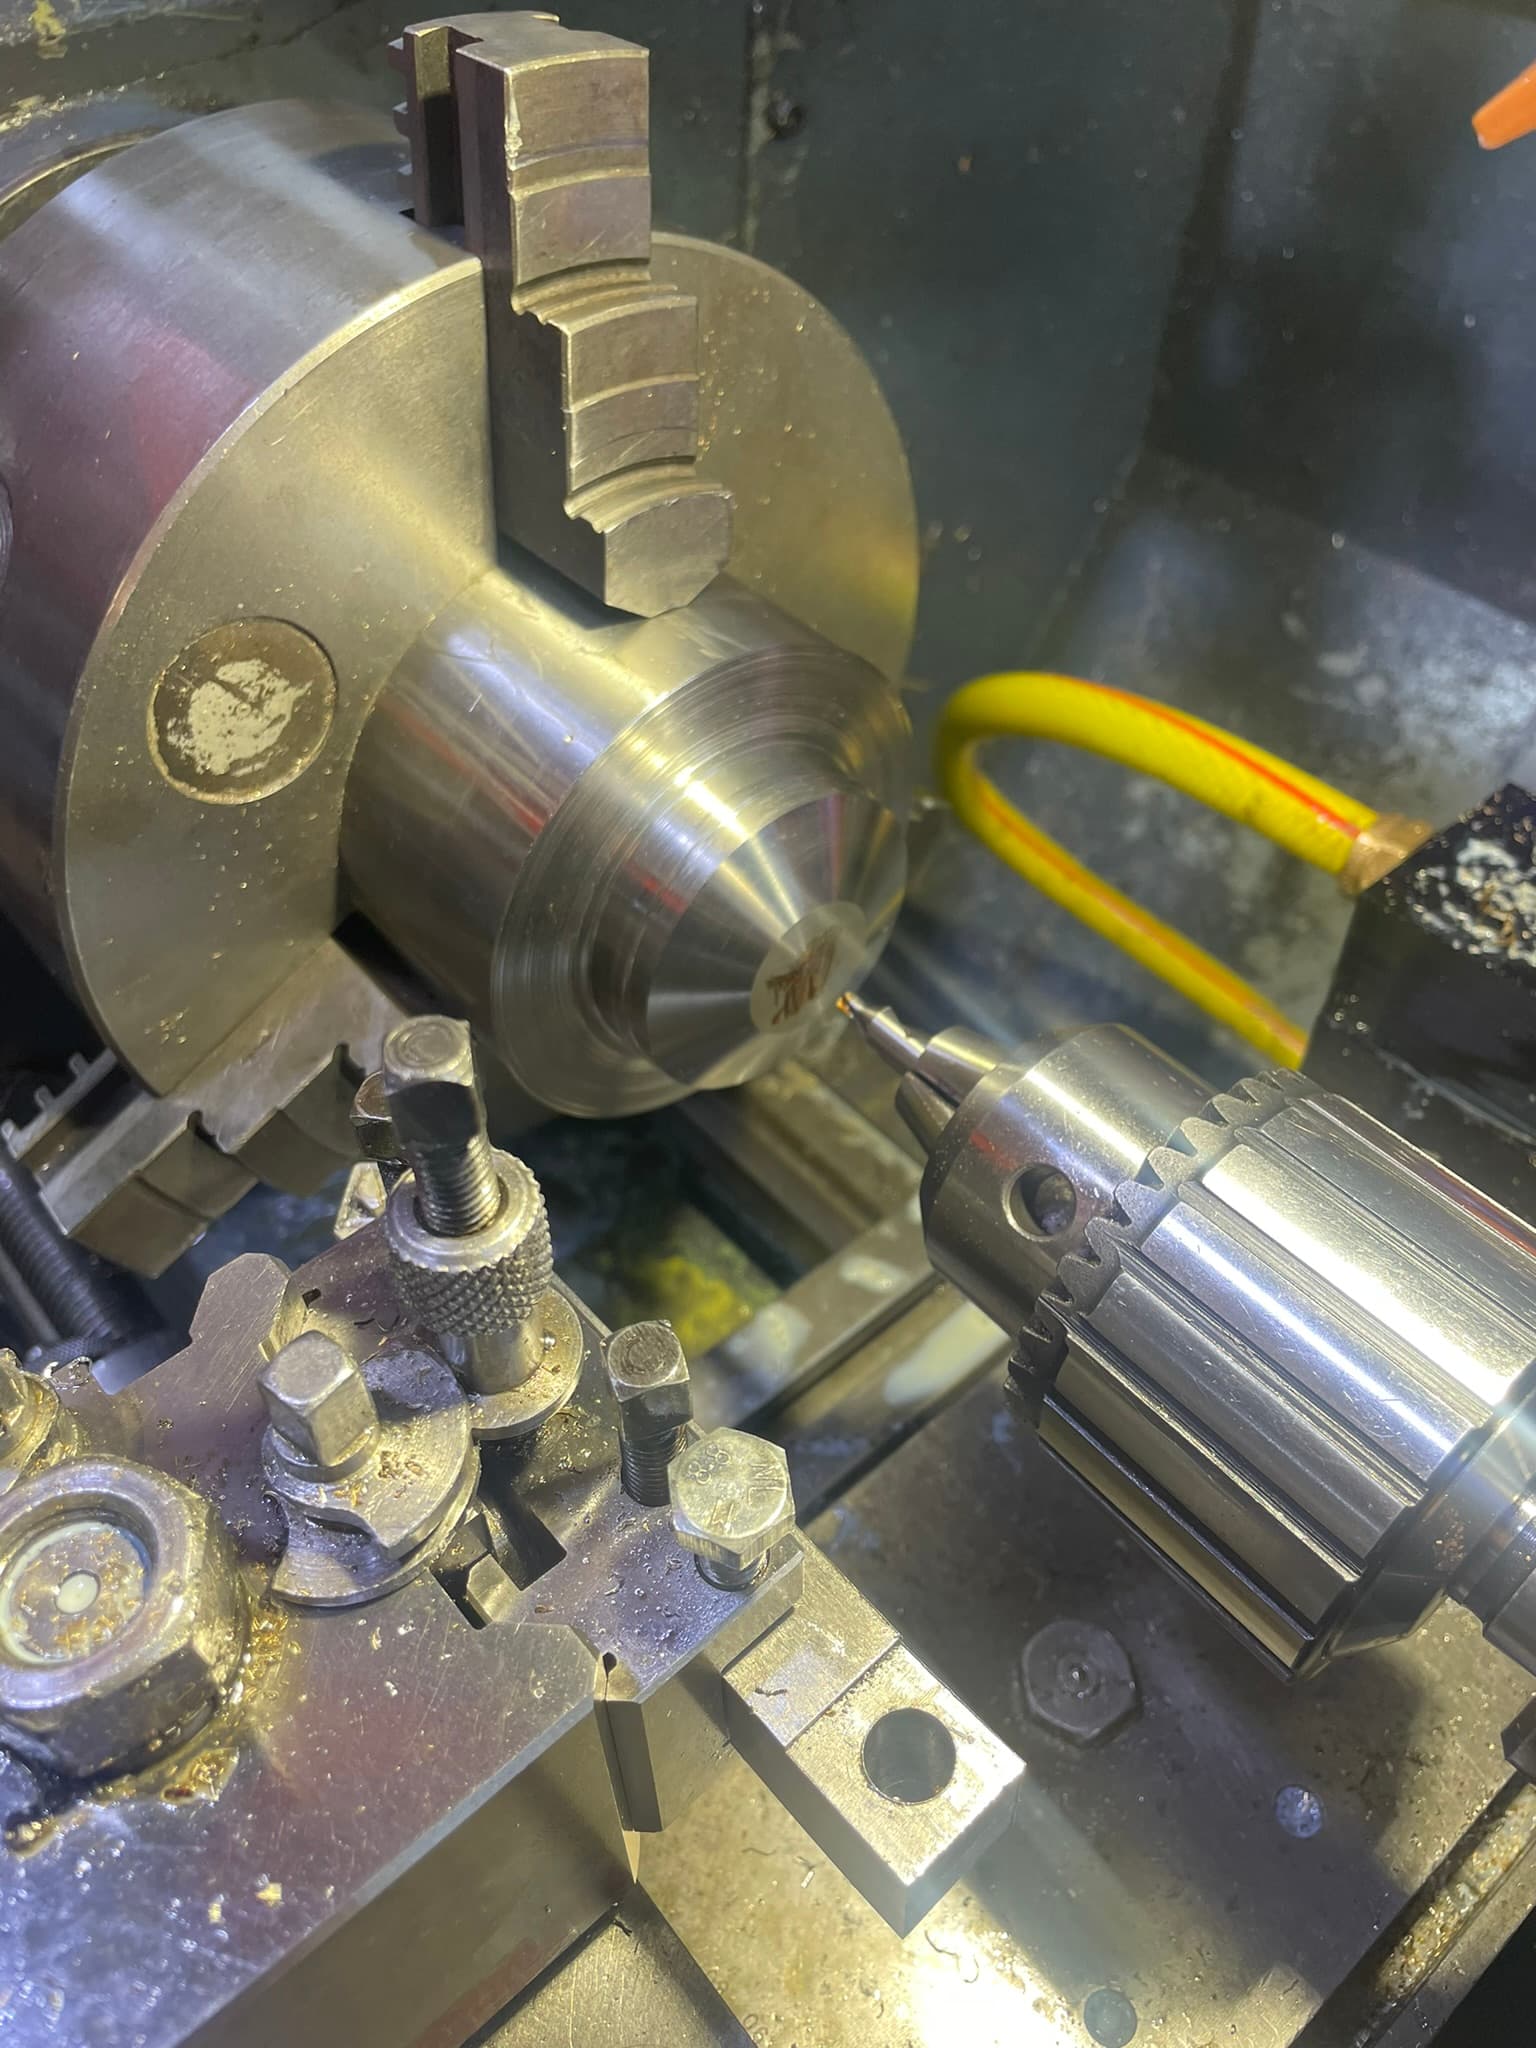
With the piece cone-shaped, I was able to face the end again until the diameter at the top of the cone matched the wooden handle. I turned the diameter down to the final diametre as well.

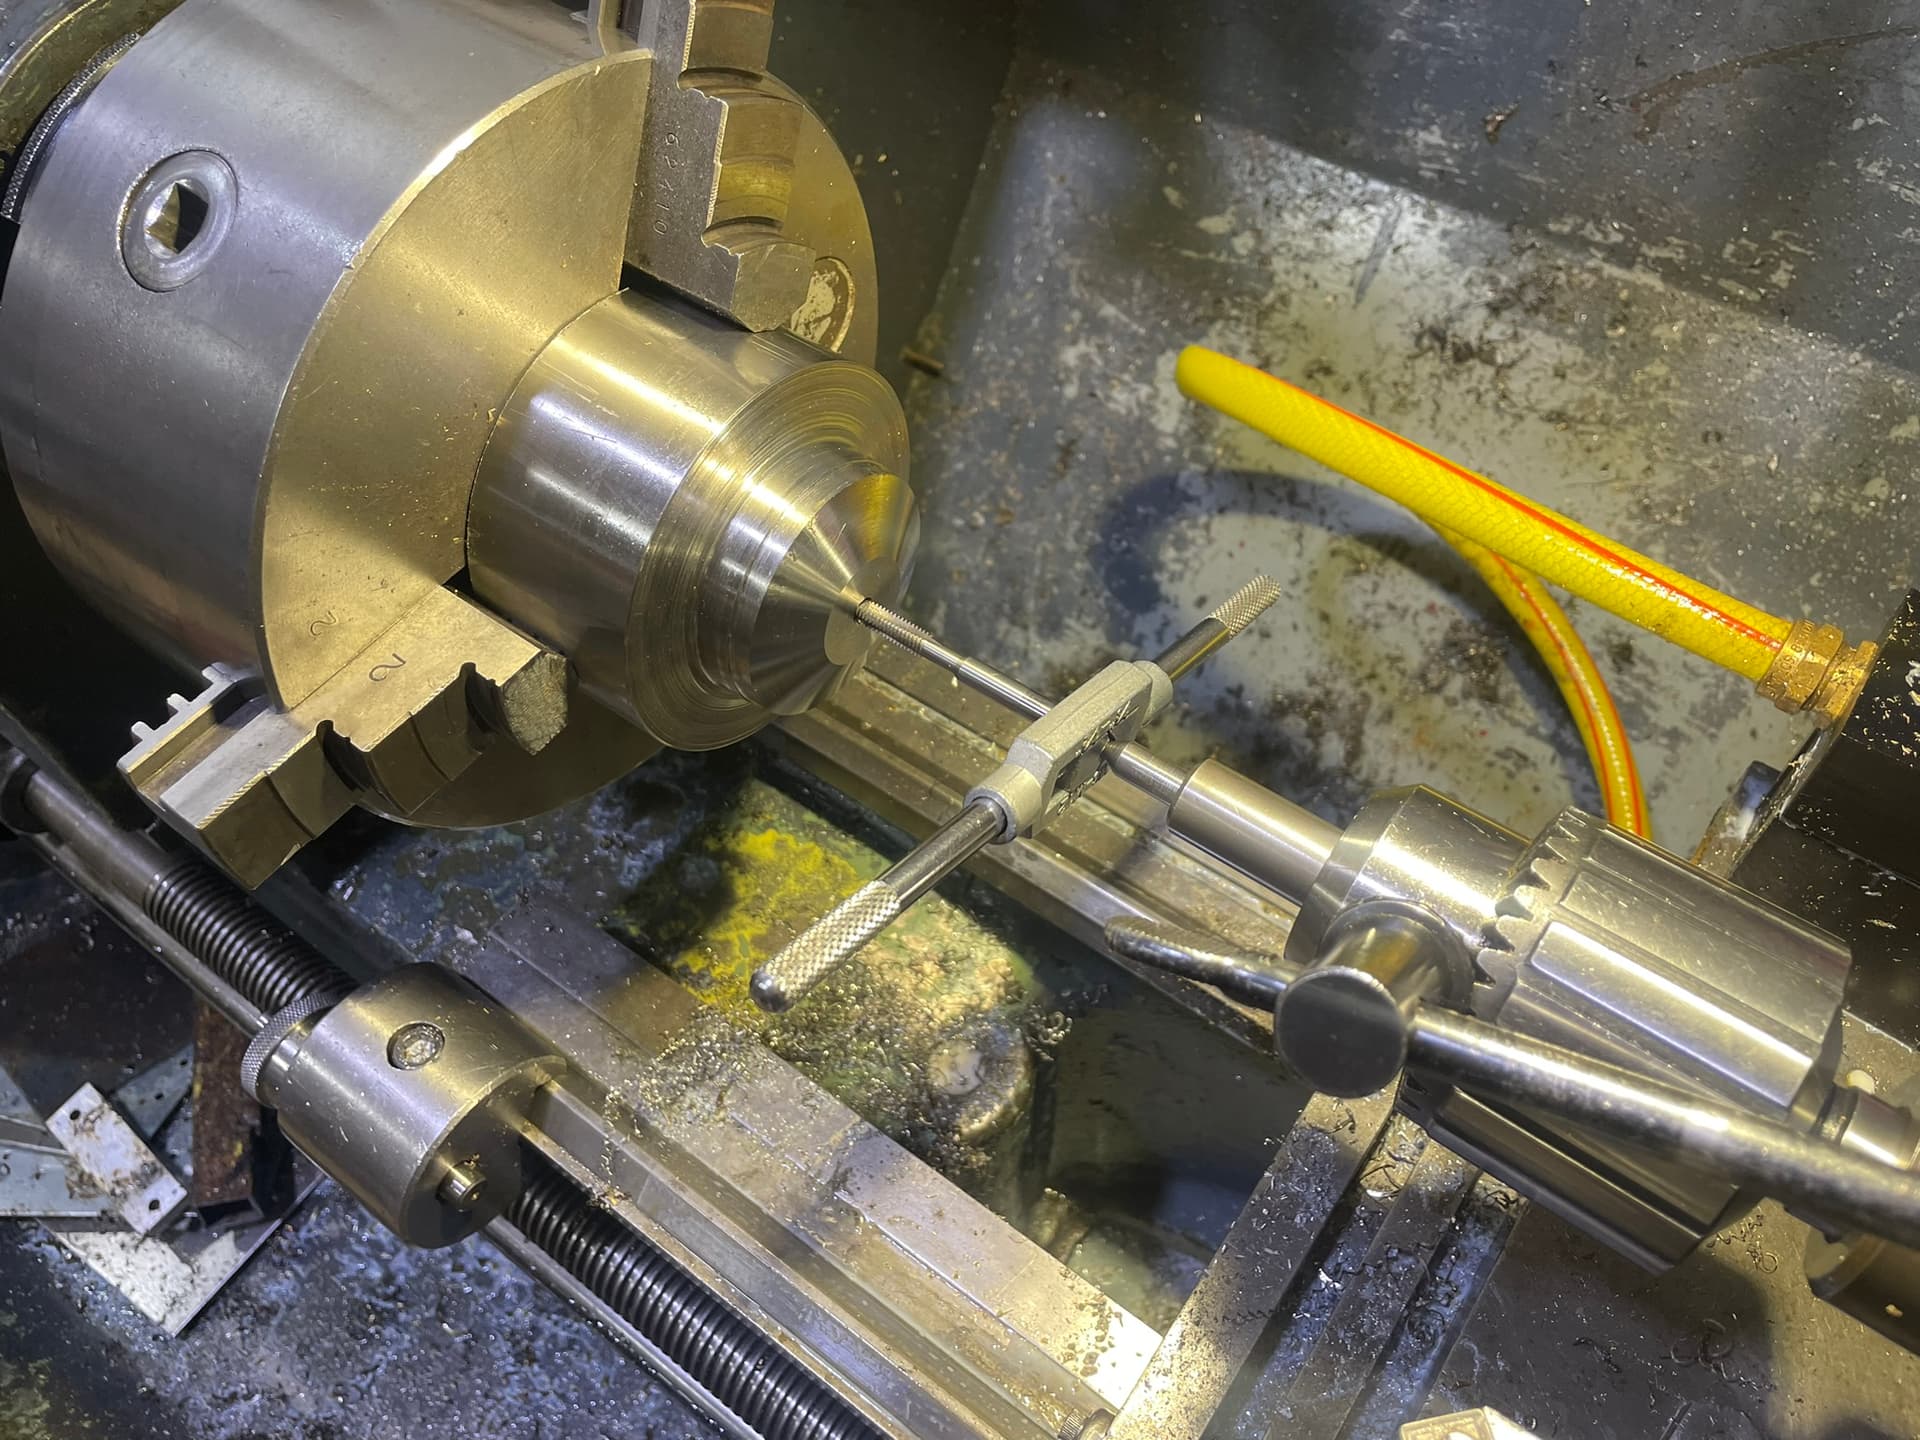
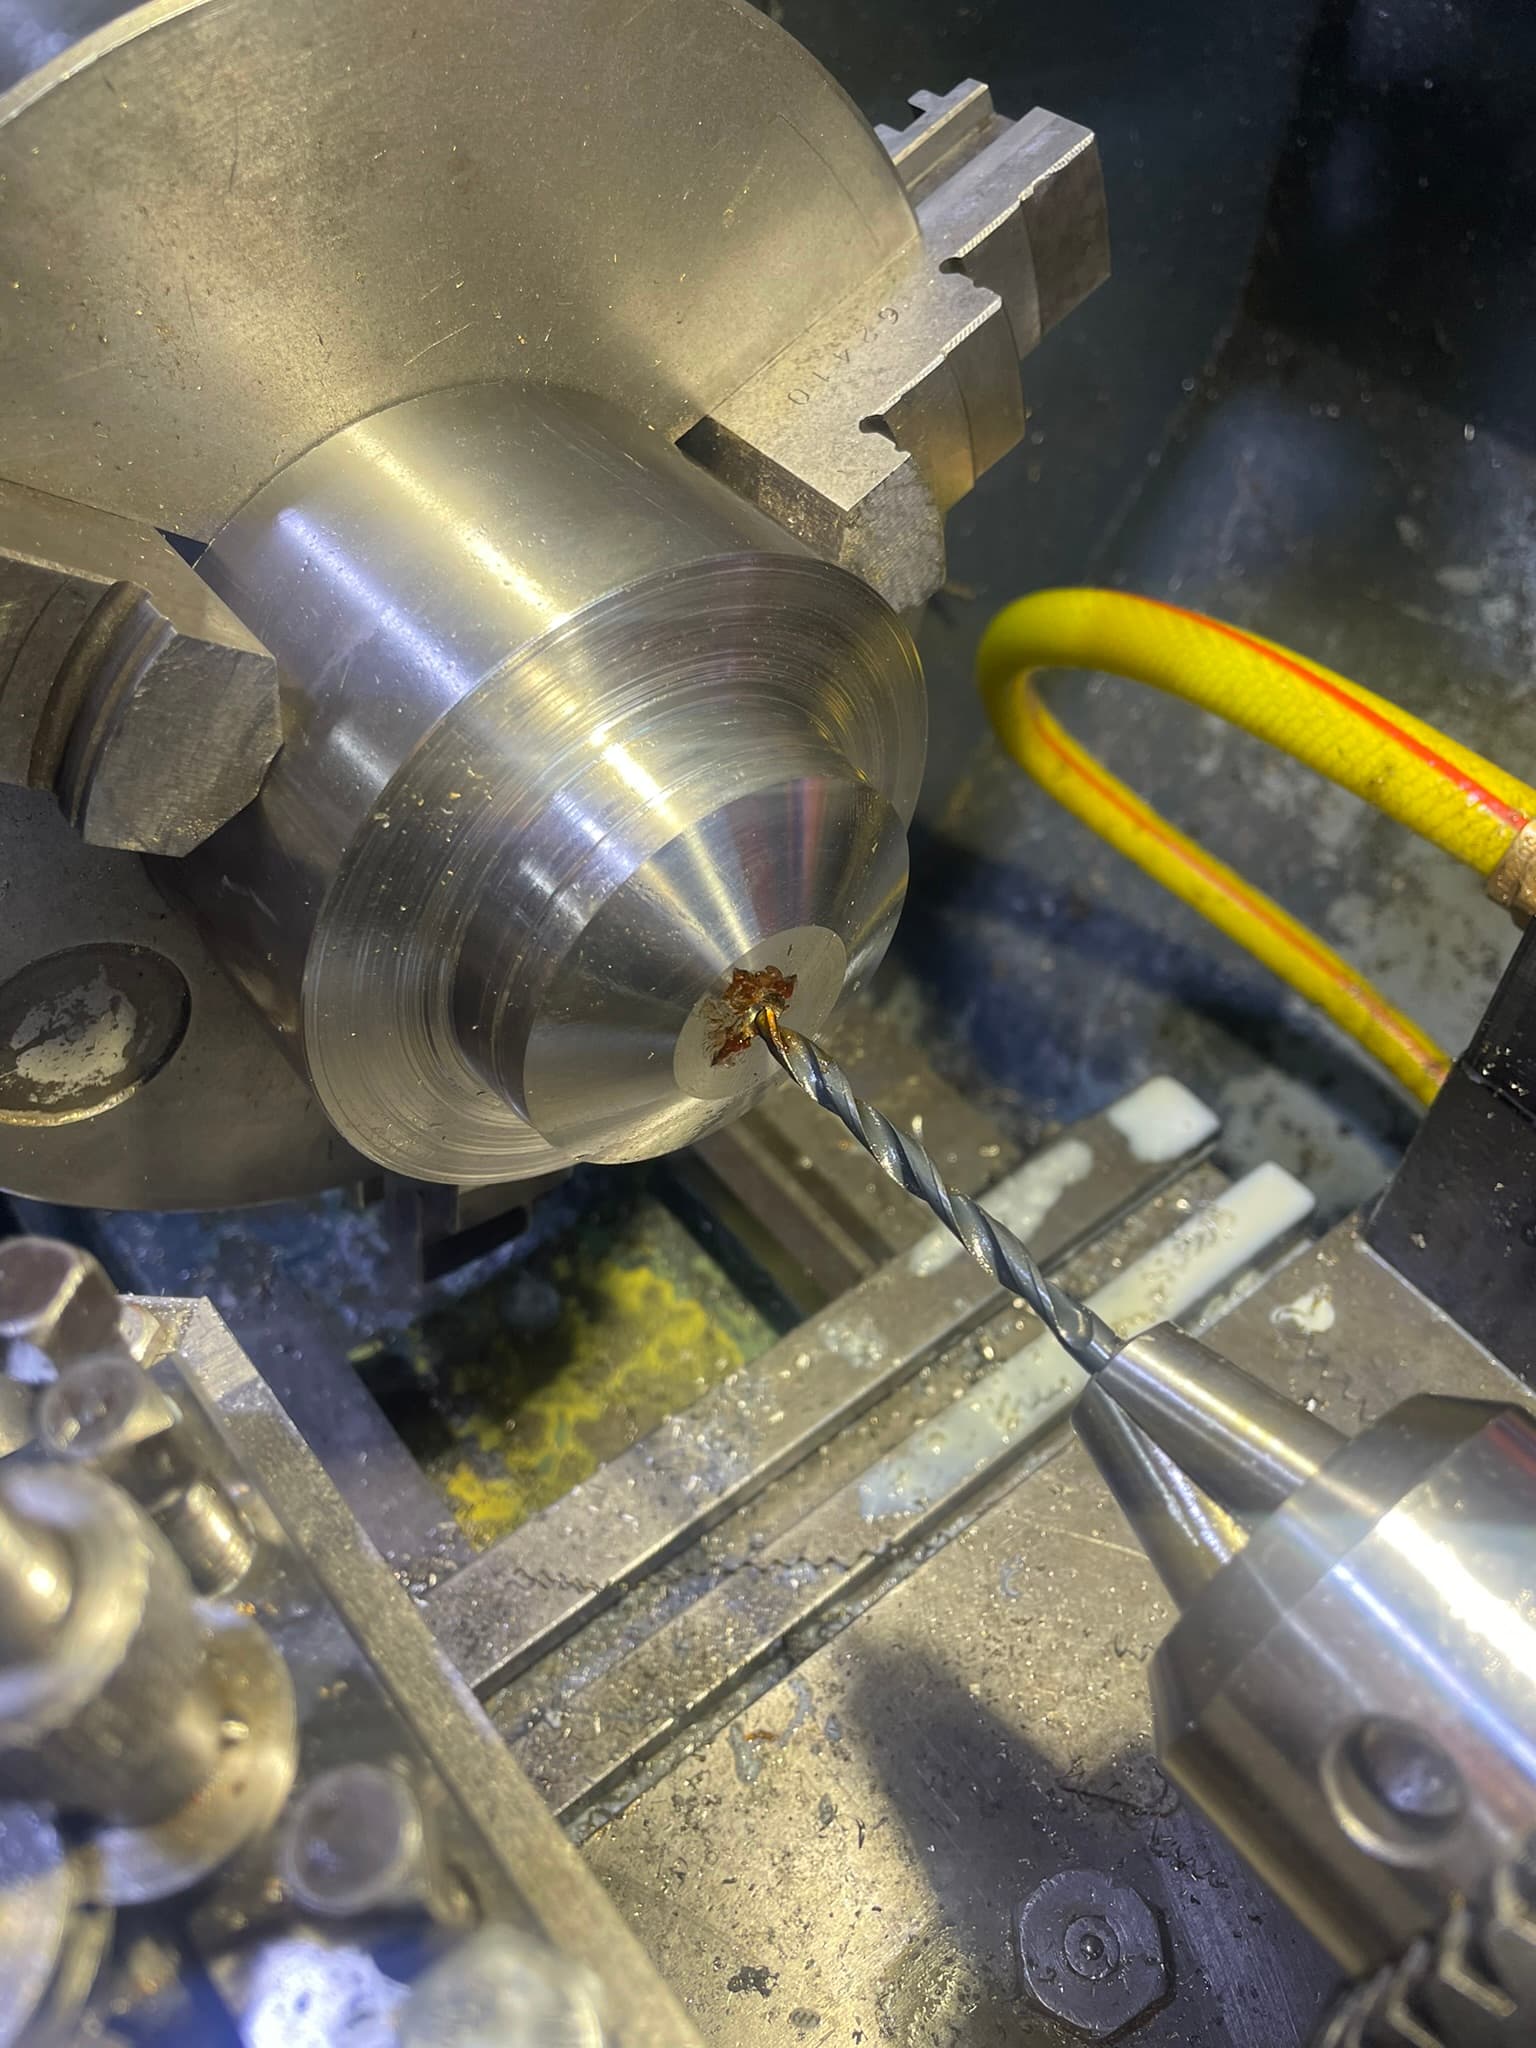
I centre-drilled, drilled and tapped the end to allow the handle to be attached (thank you @Moikle for the tap follower). The center drill I used was a bit larger than I expected (turns out the numbers on them don’t mean what I thought they do) which left the hole with a slight chamfer. It won’t be visible, and can even pass of as being intentional anyway.

I parted the piece off as far as I could reach and then finished it off with a hacksaw. It took a good 45 minutes of sawing to get it off.
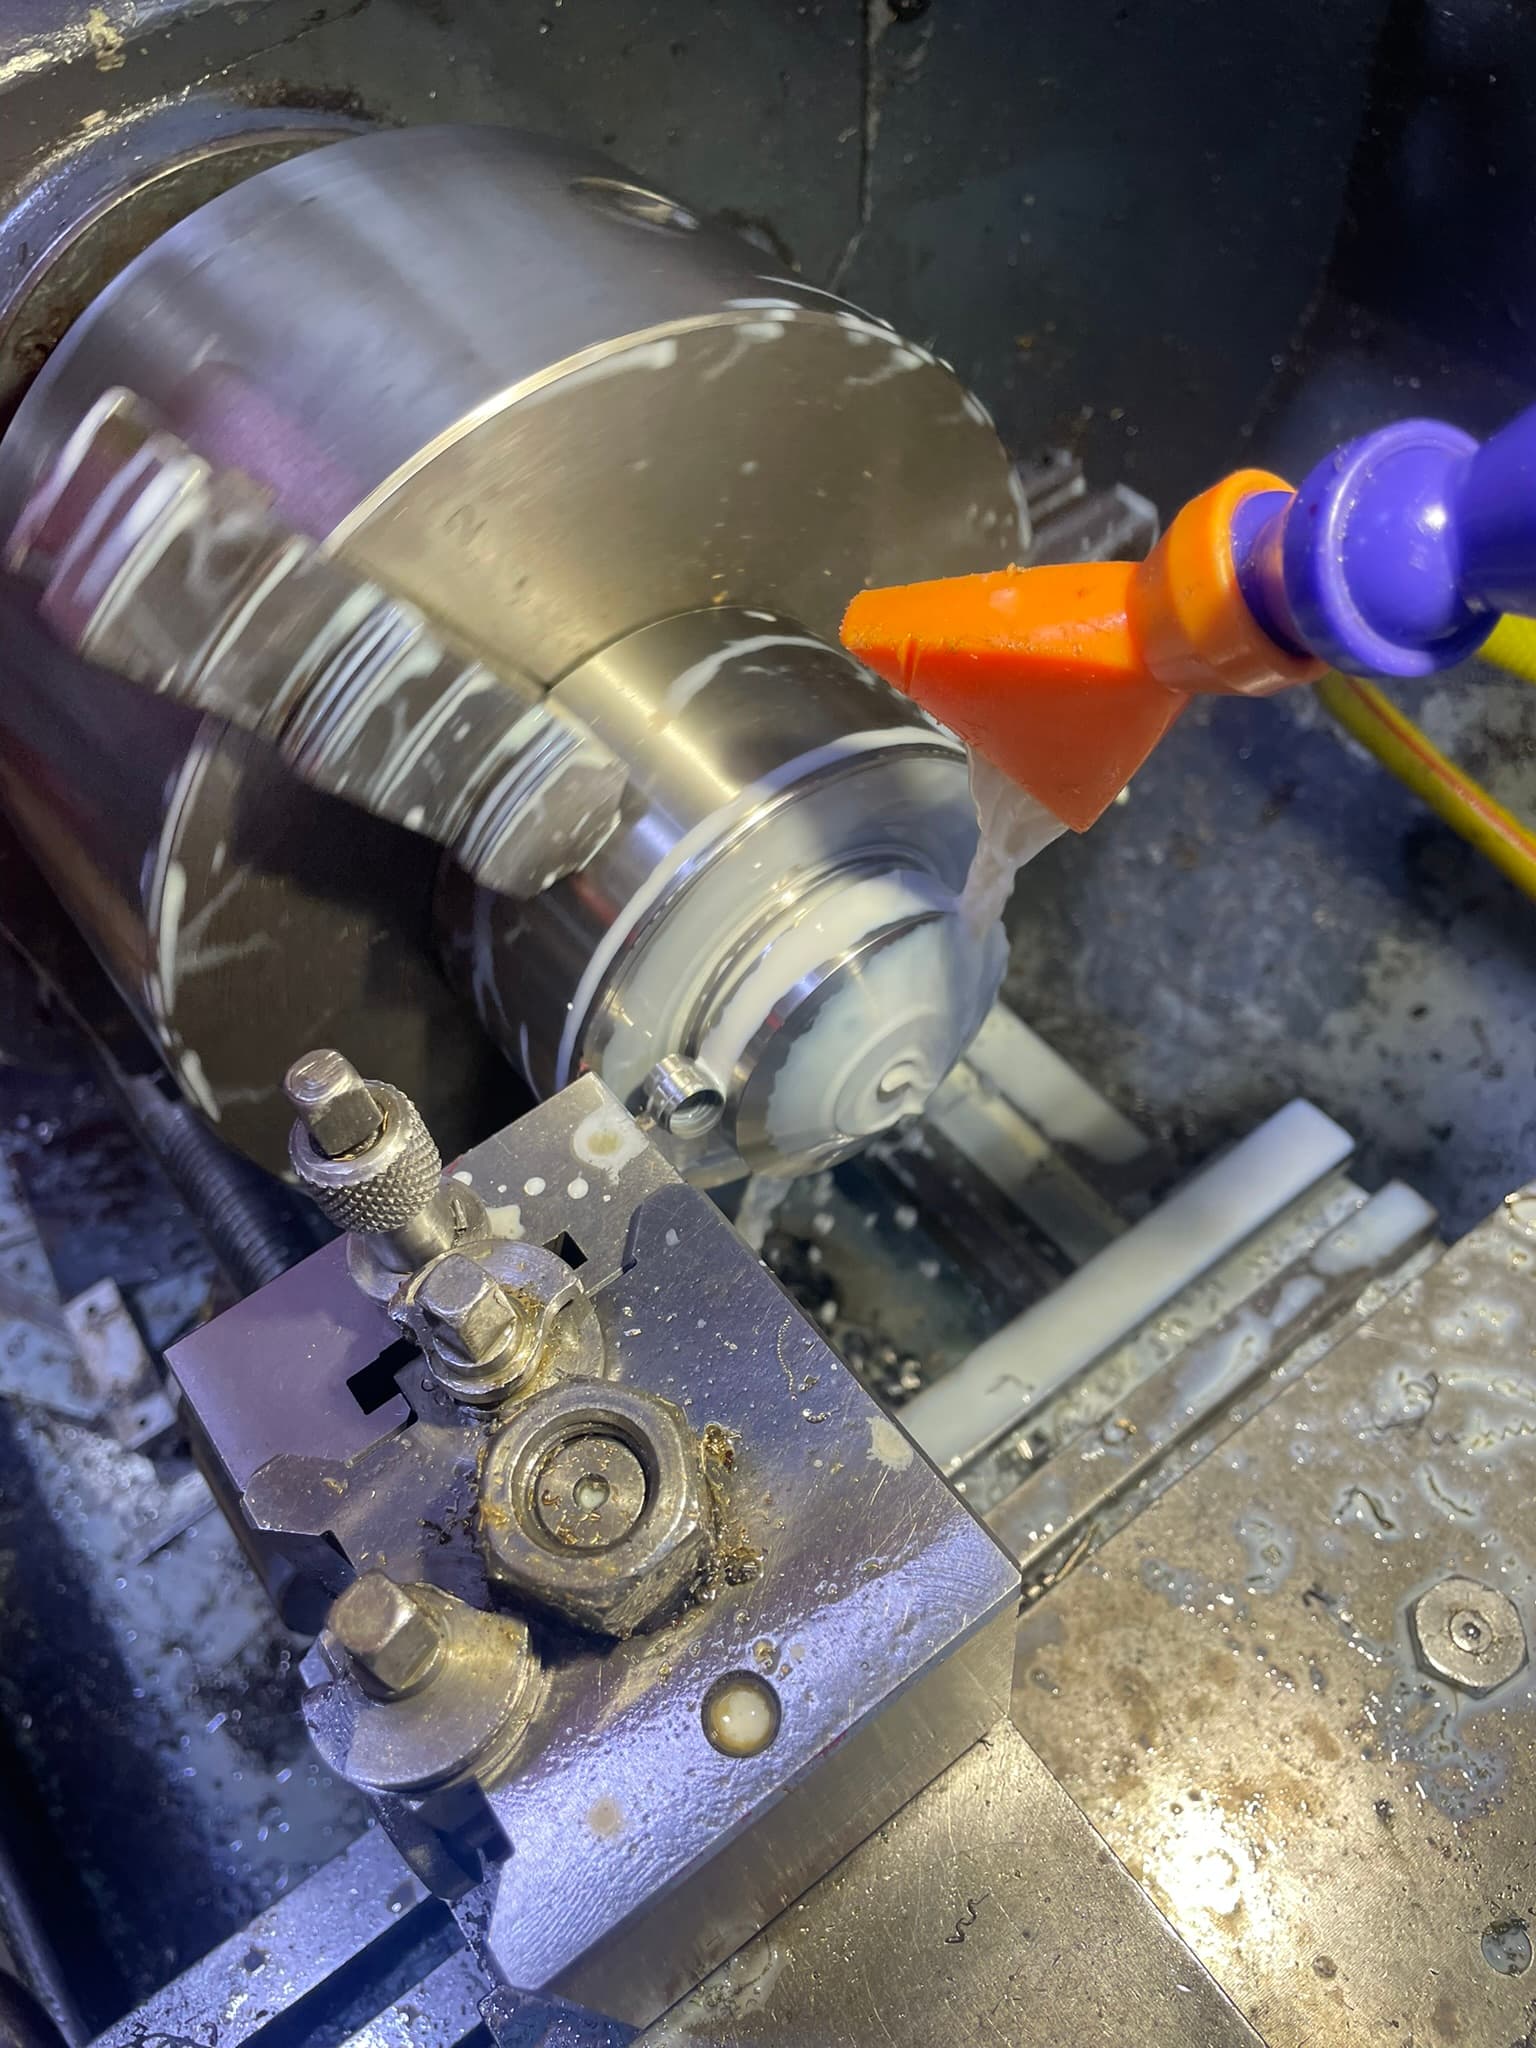
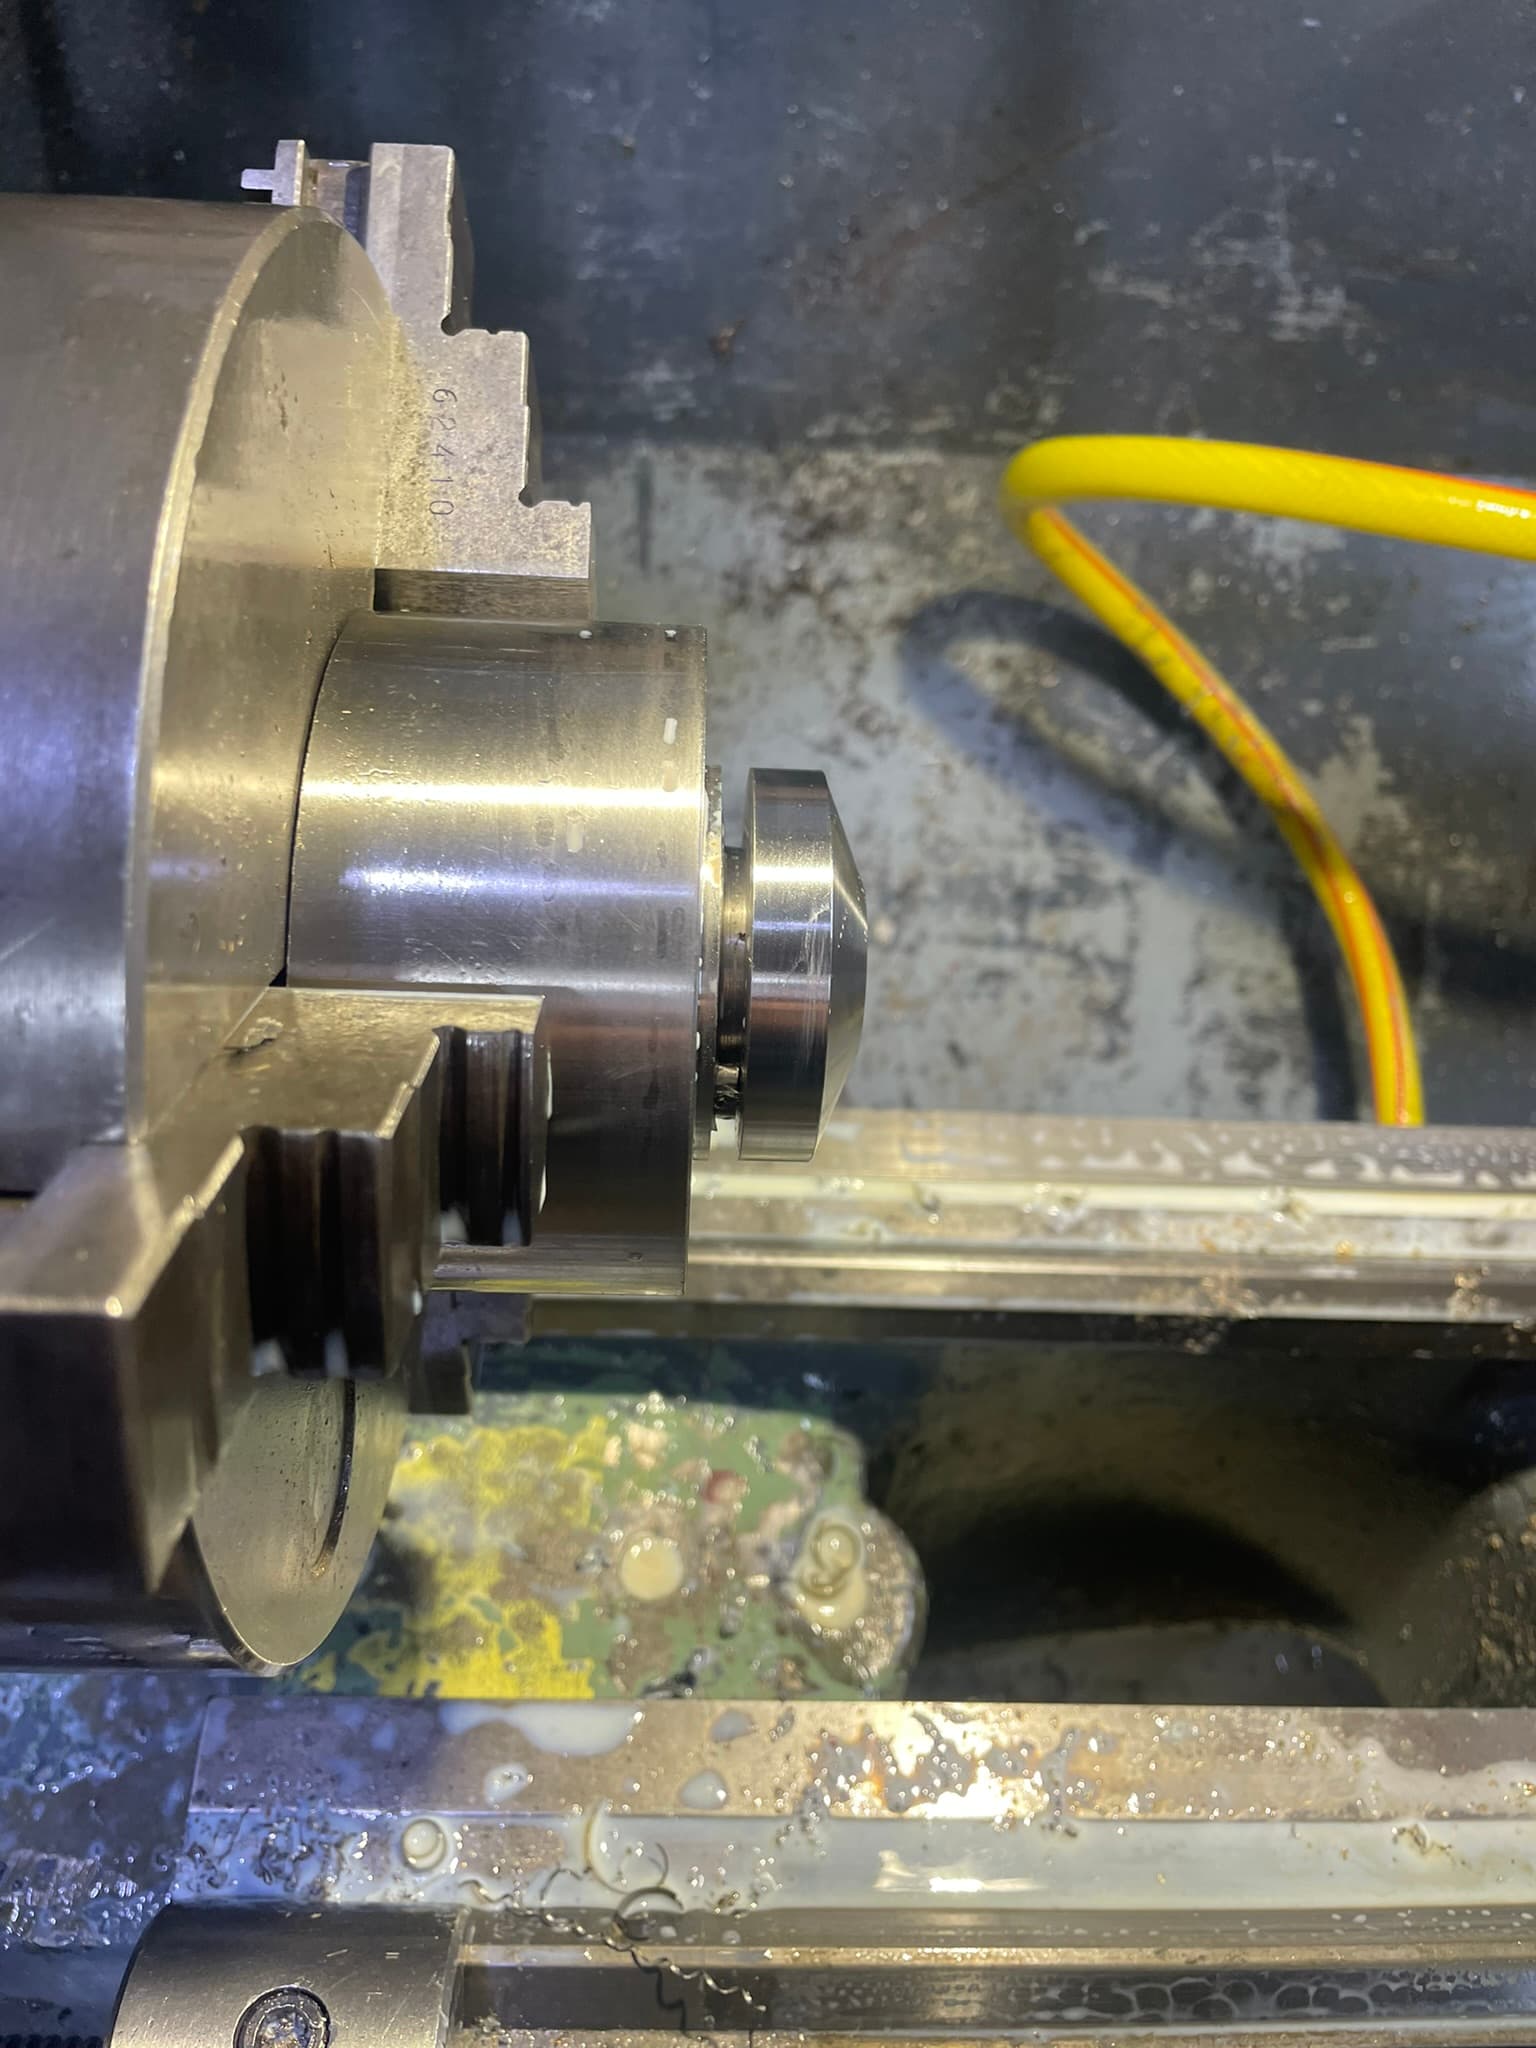
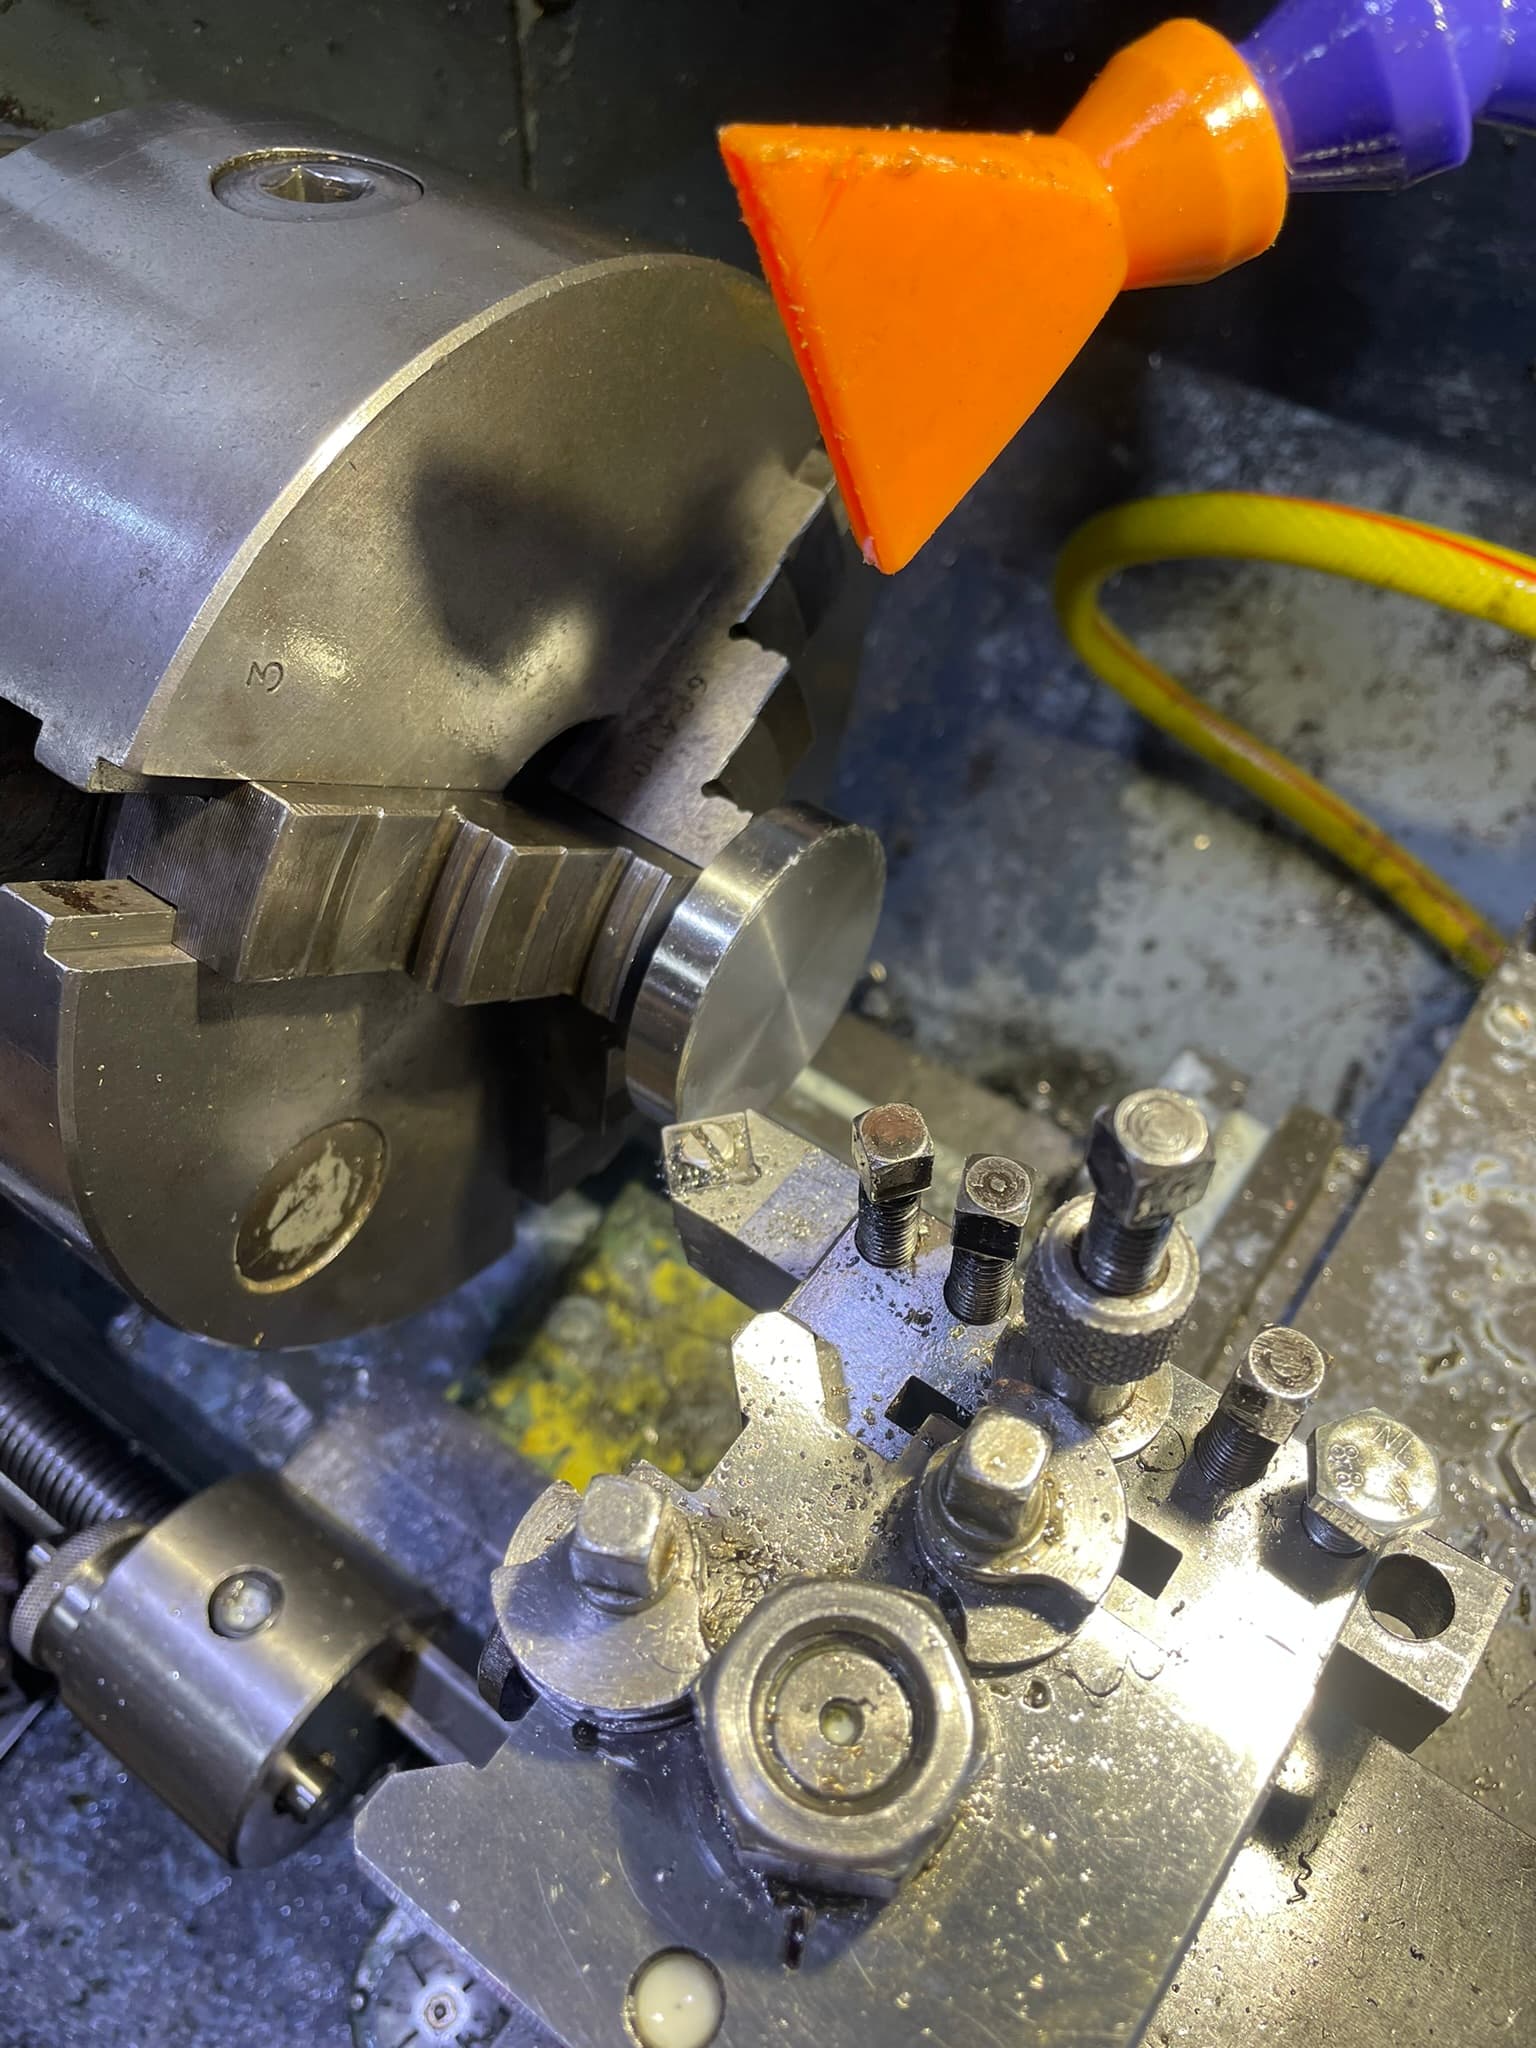
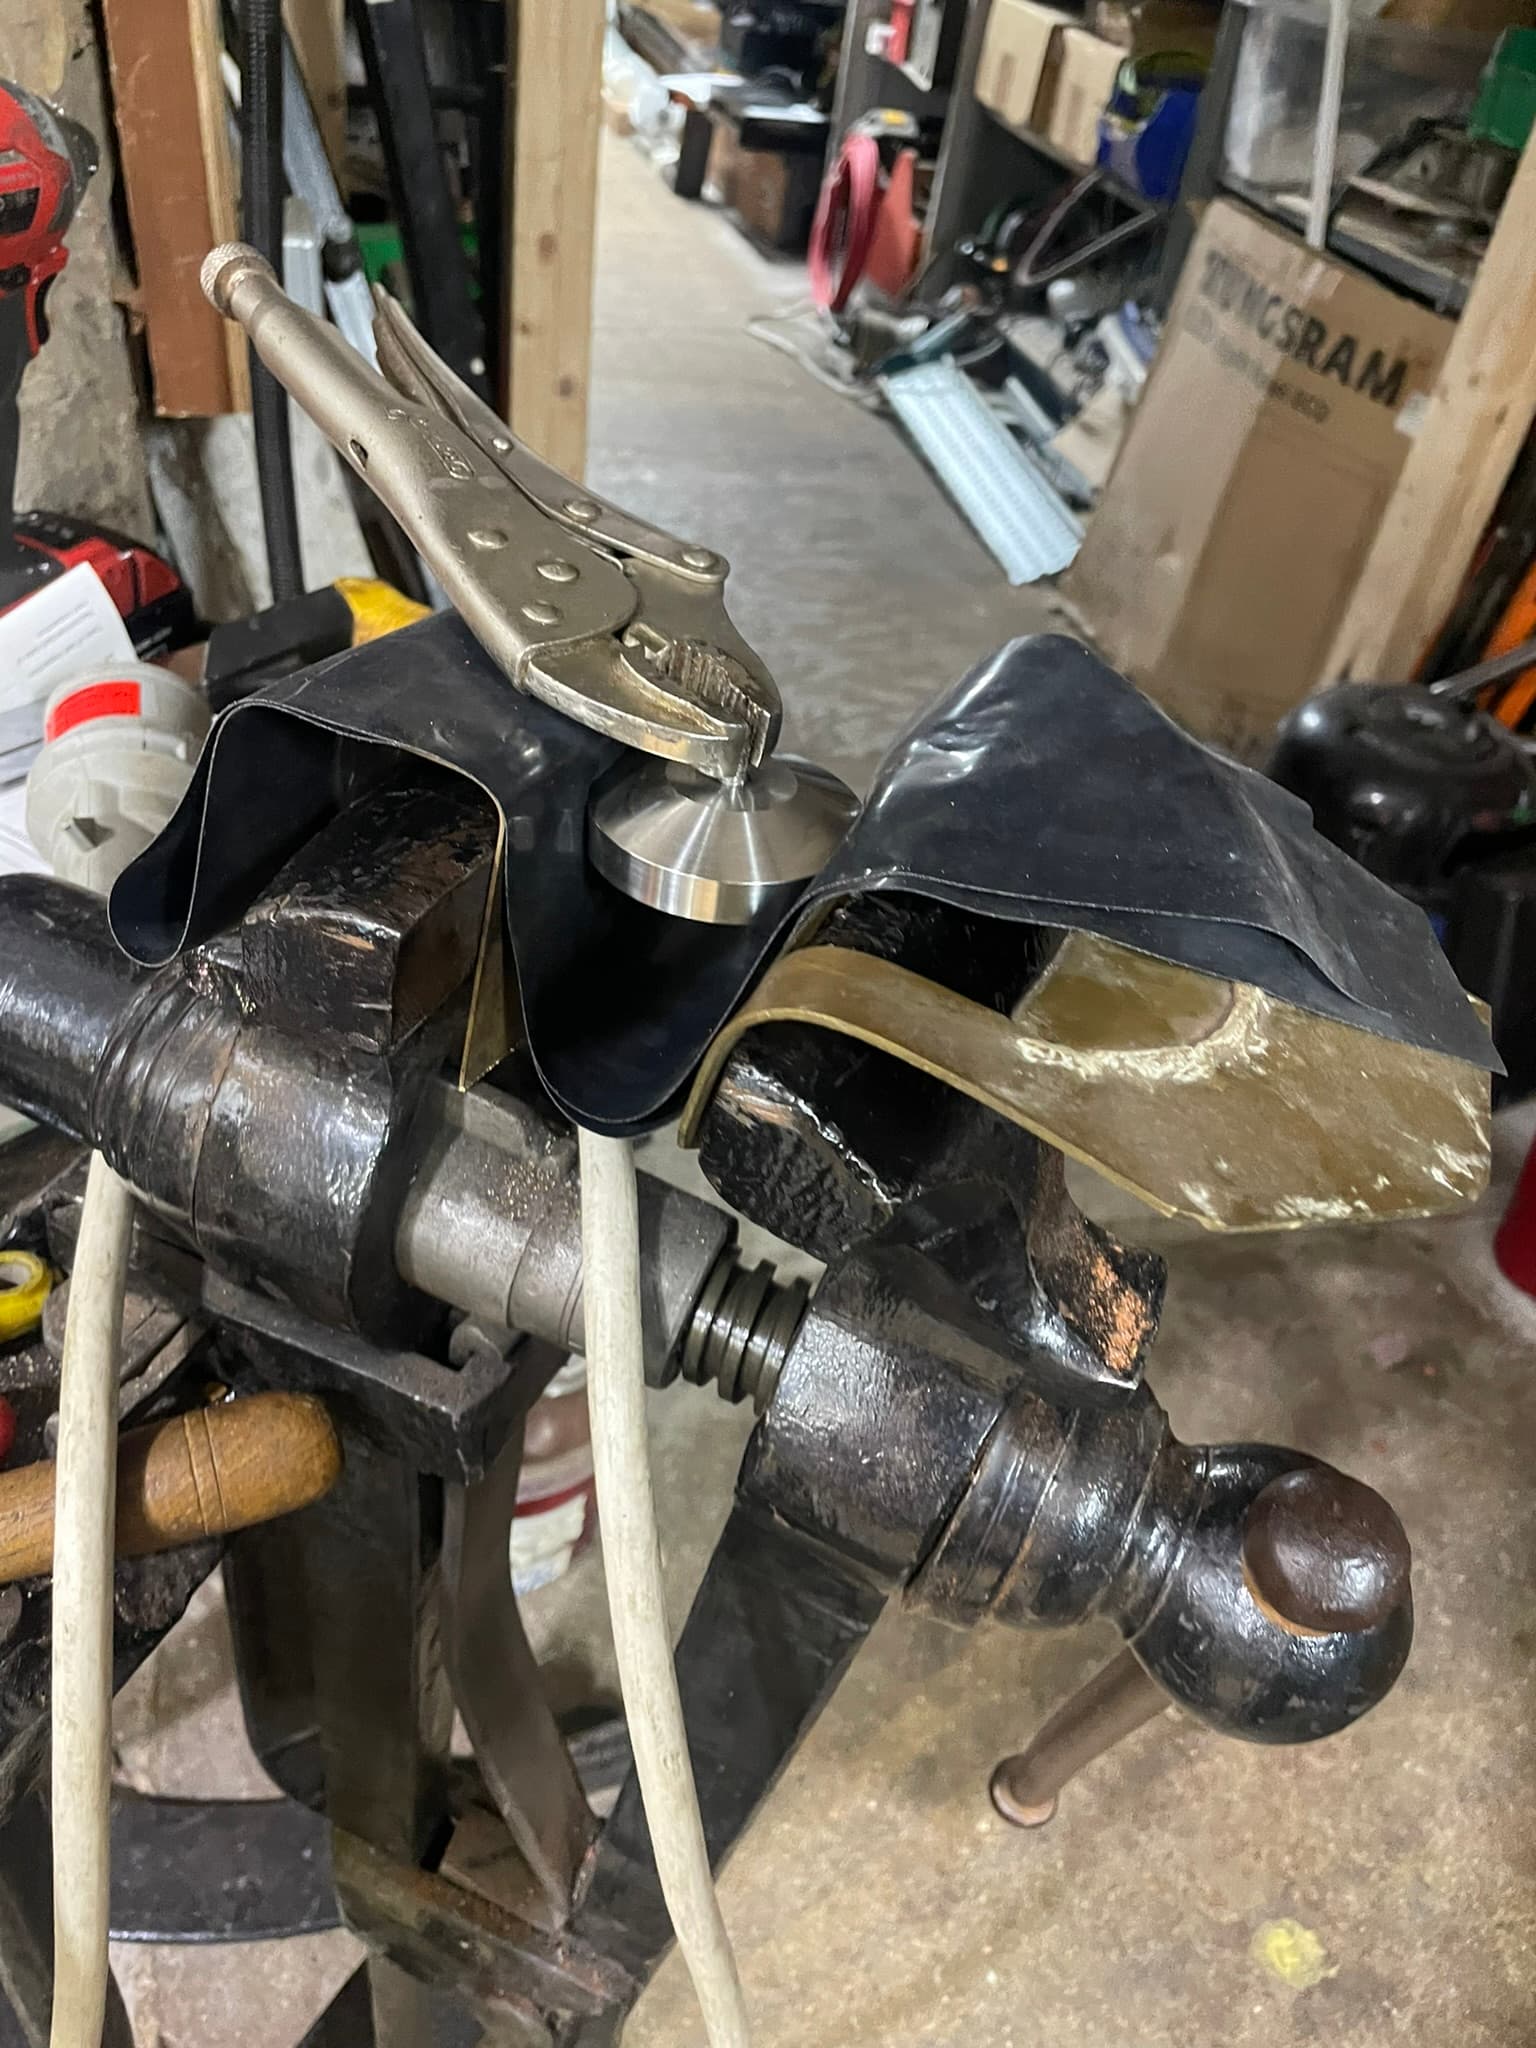
I needed to flip the part around to clean up the other face. I didn’t want to grab it with the chuck as that would have damaged the exterior finish. In what was the worst mistake of the project, I decided to thread a bolt into the hole I had made and put the bolt in the chuck. The whole set up completely lacked rigidity and I was getting a horrible surface finish. With incredibly shallow passes and many spring passes each time I eventually managed to get something half decent.
The real trouble came when I had to get the part off. The bolt had wedged itself into the partial threads at the bottom of the hole and didn’t want to come off. The smooth and round surface of the part meant I didn’t have anything to grip on to. After a lot of different attempts, I managed to get the bolt out by grabbing the part in the vice, sandwiched between pieces of brass and rubber to prevent the surface from getting damaged.
I’m sure there would have been much better options for this, such as using soft jaws on the chuck (do we have these?) or making a fixture with an external thread short enough to not get jammed at the bottom.
Engraved brass coin
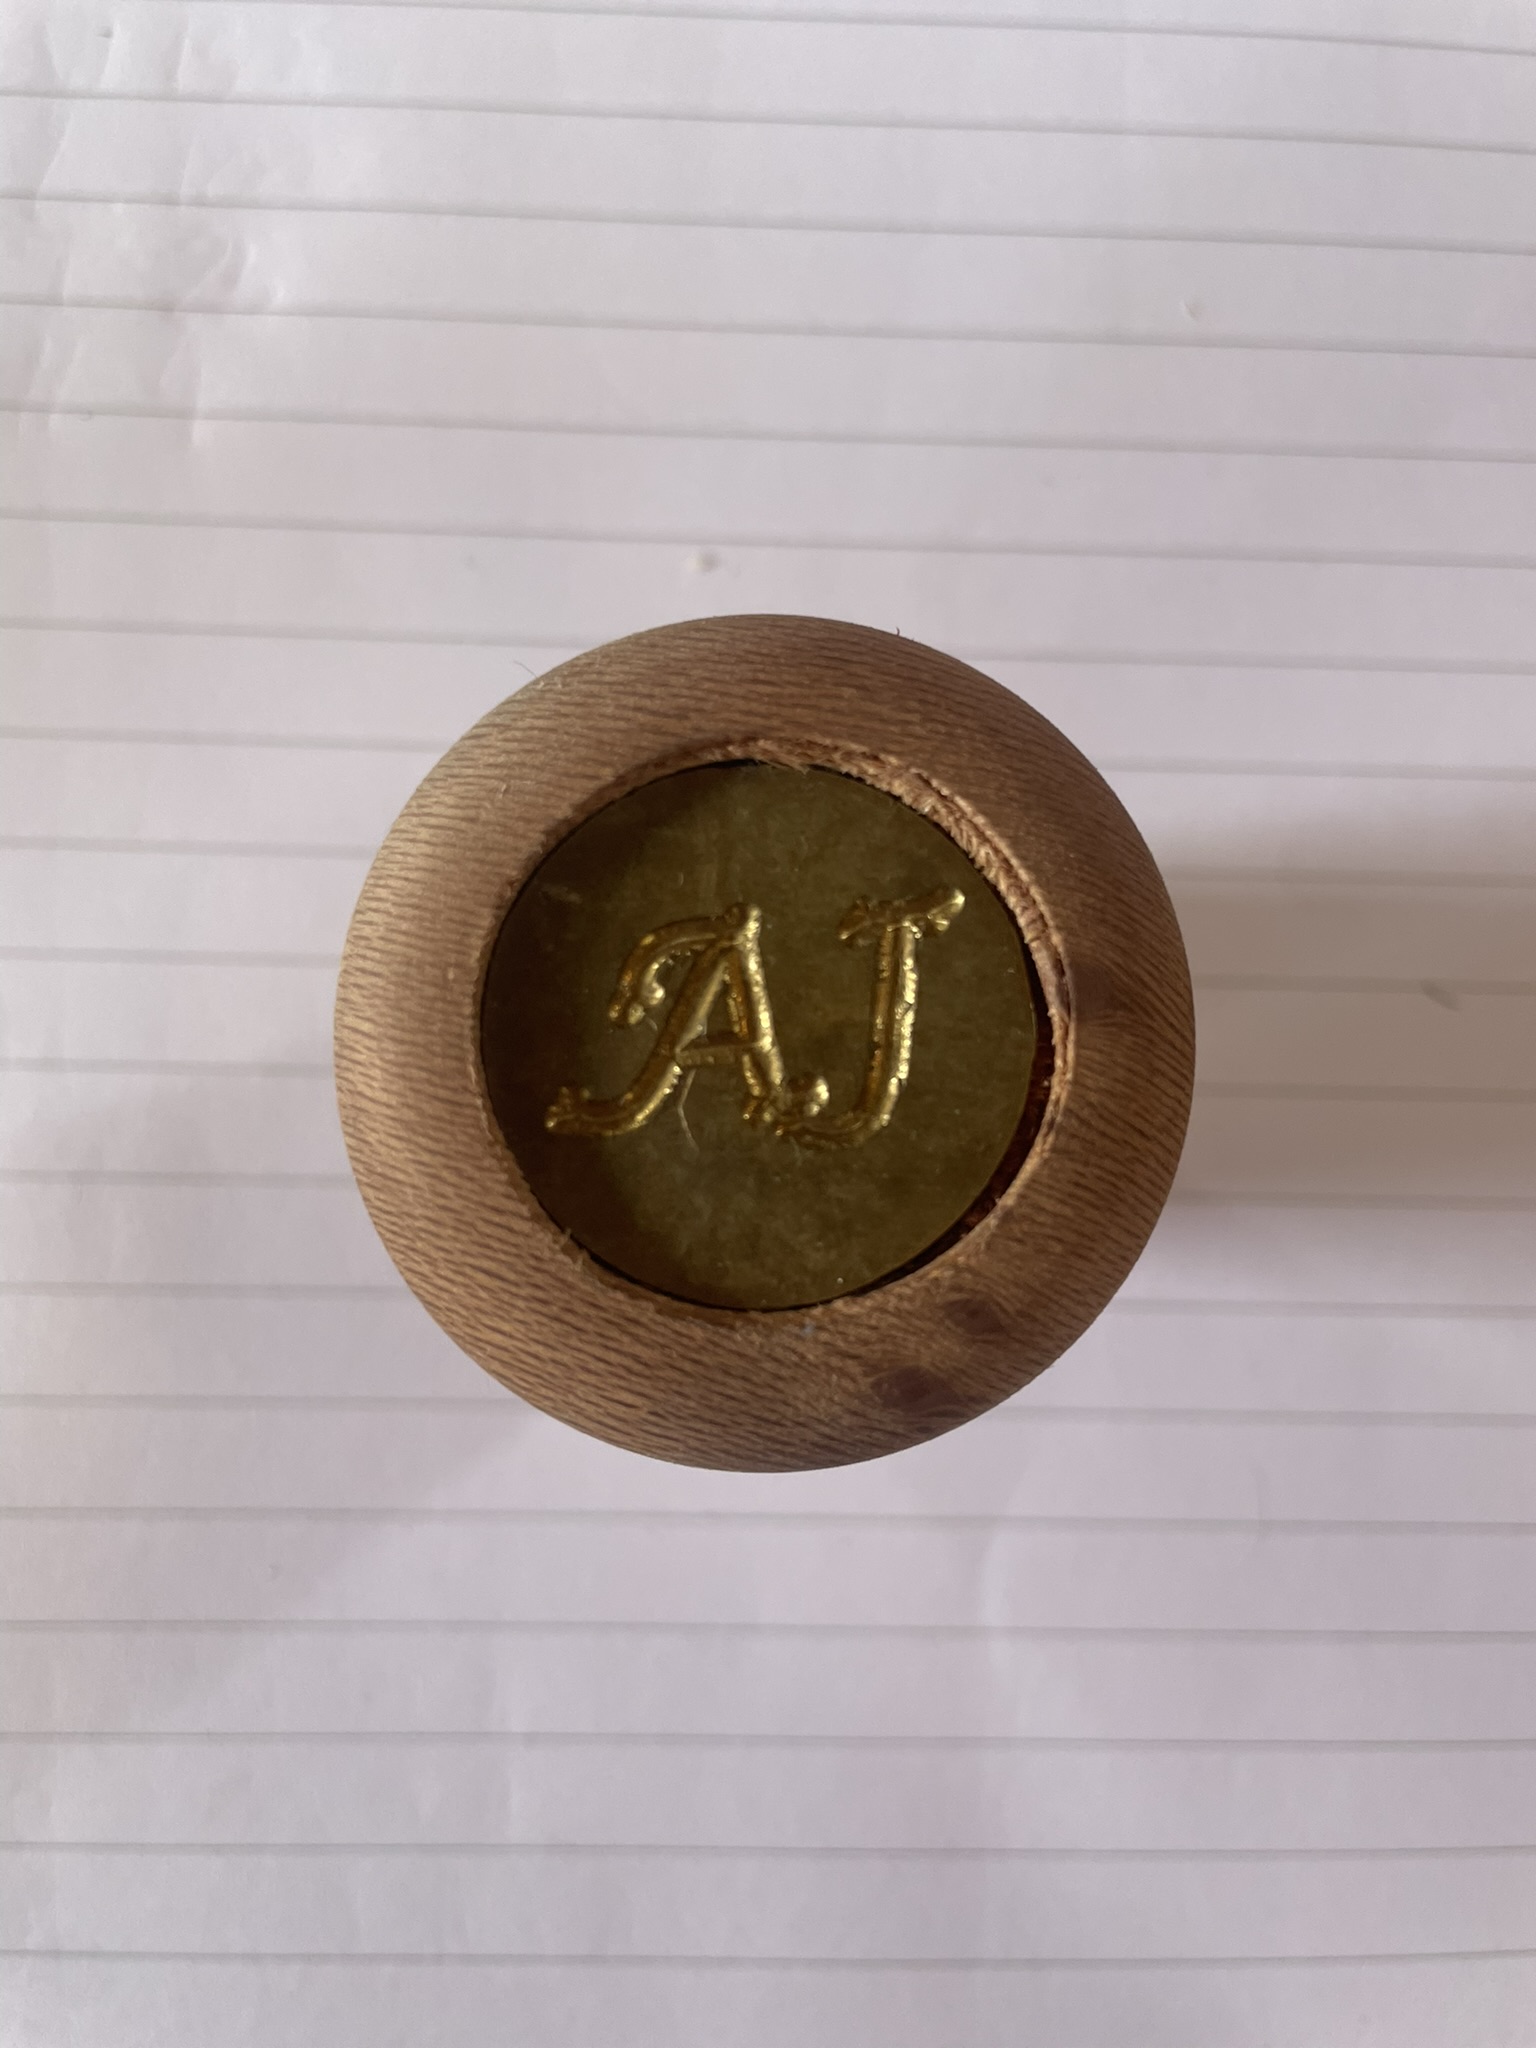
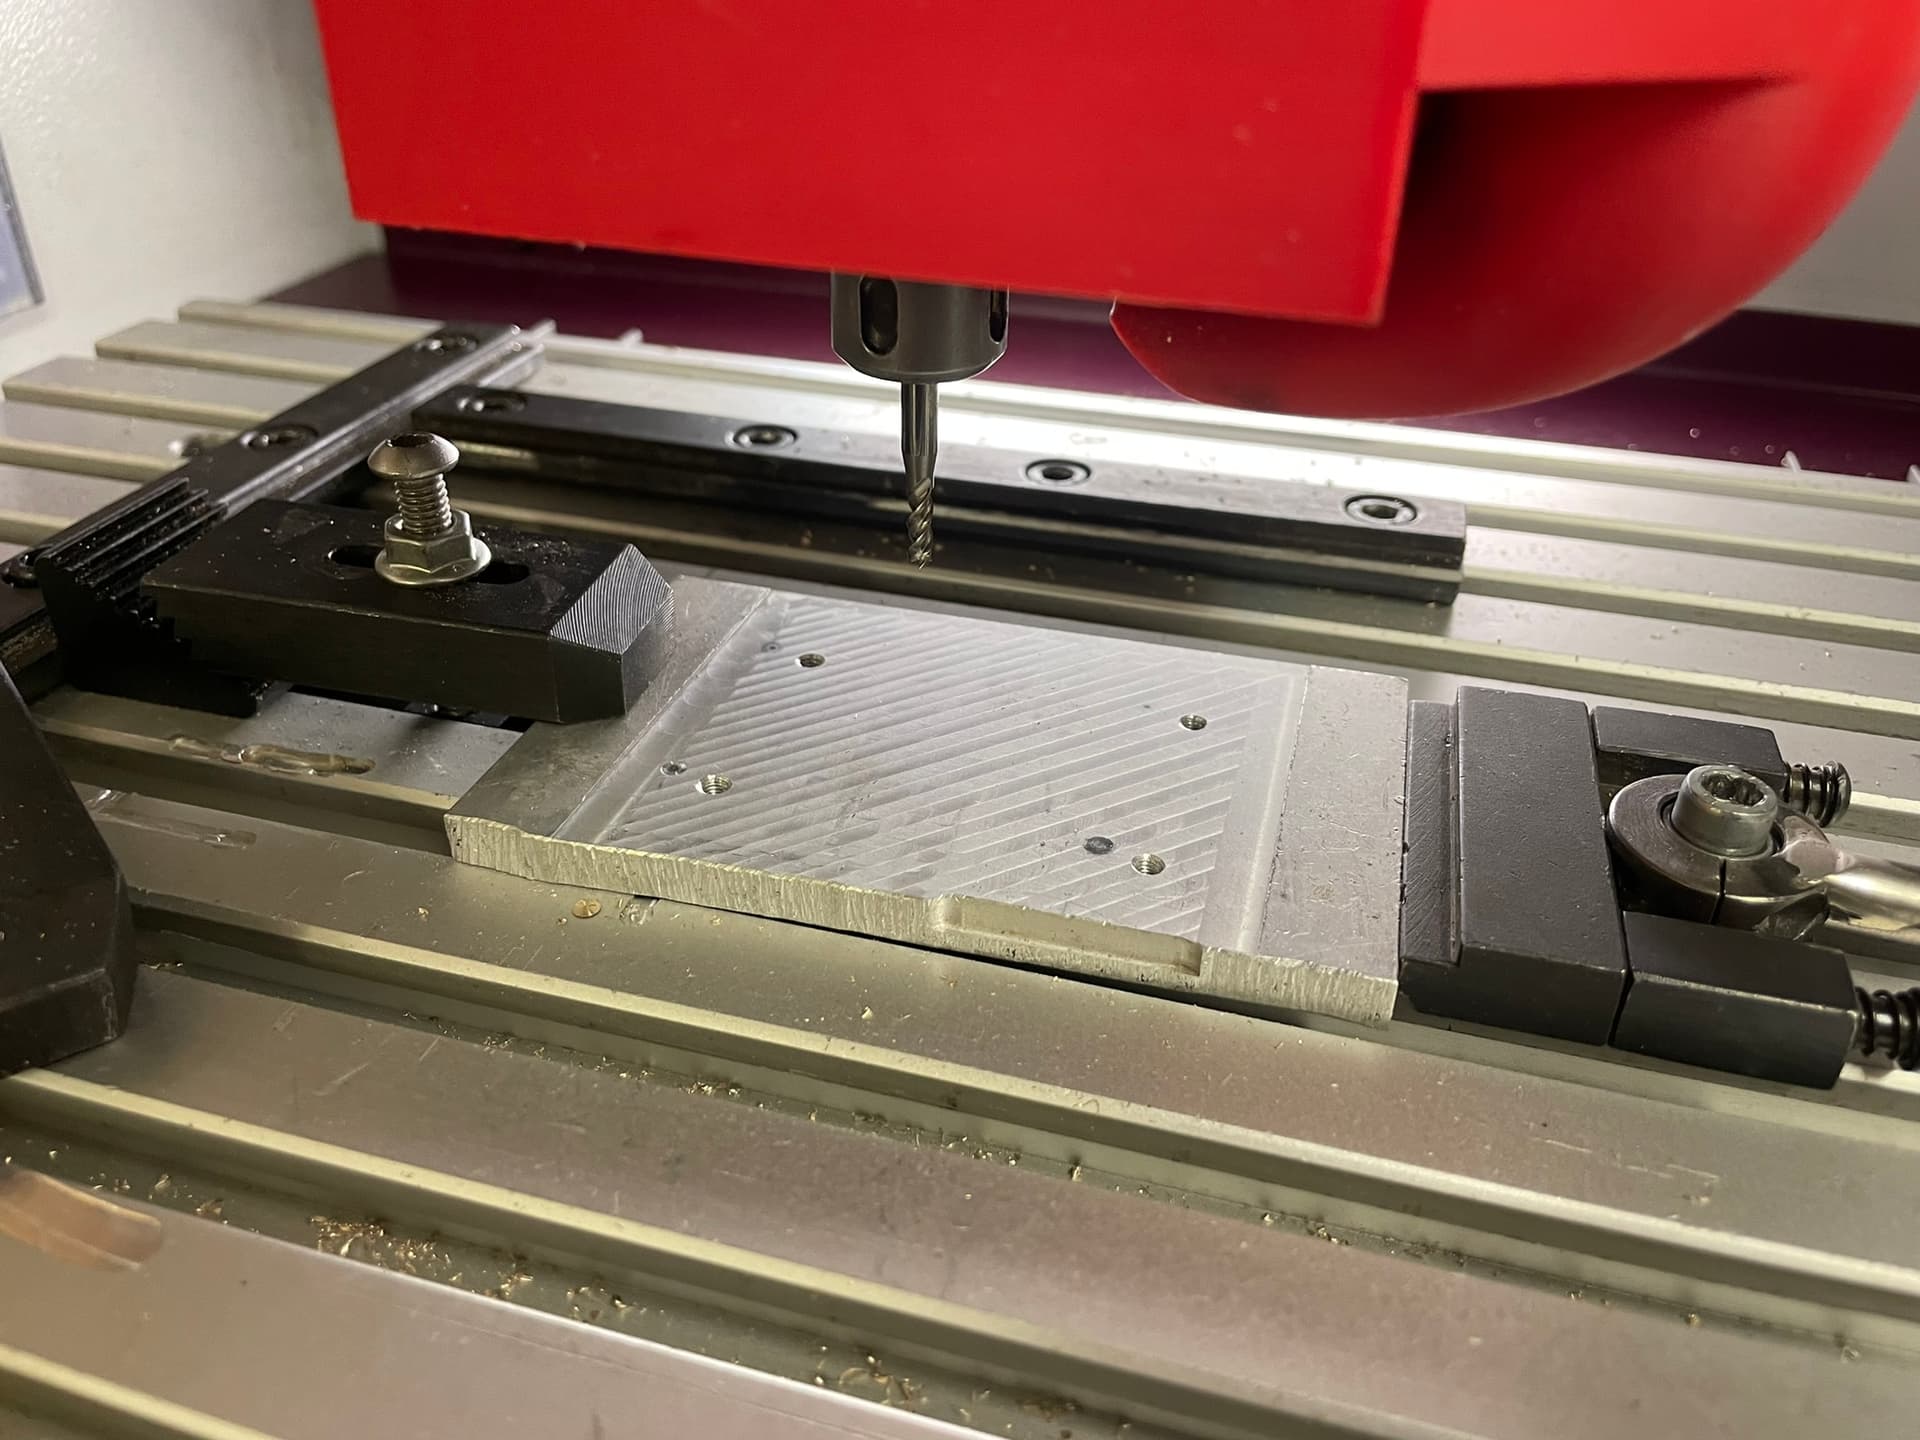
I used the mini CNC to engrave initials into a piece of brass that I was going to add to the top of the handle. Because I was also going to cut the outside edge through the material, I needed a sacrificial backing, which also doubled as a mounting fixture.
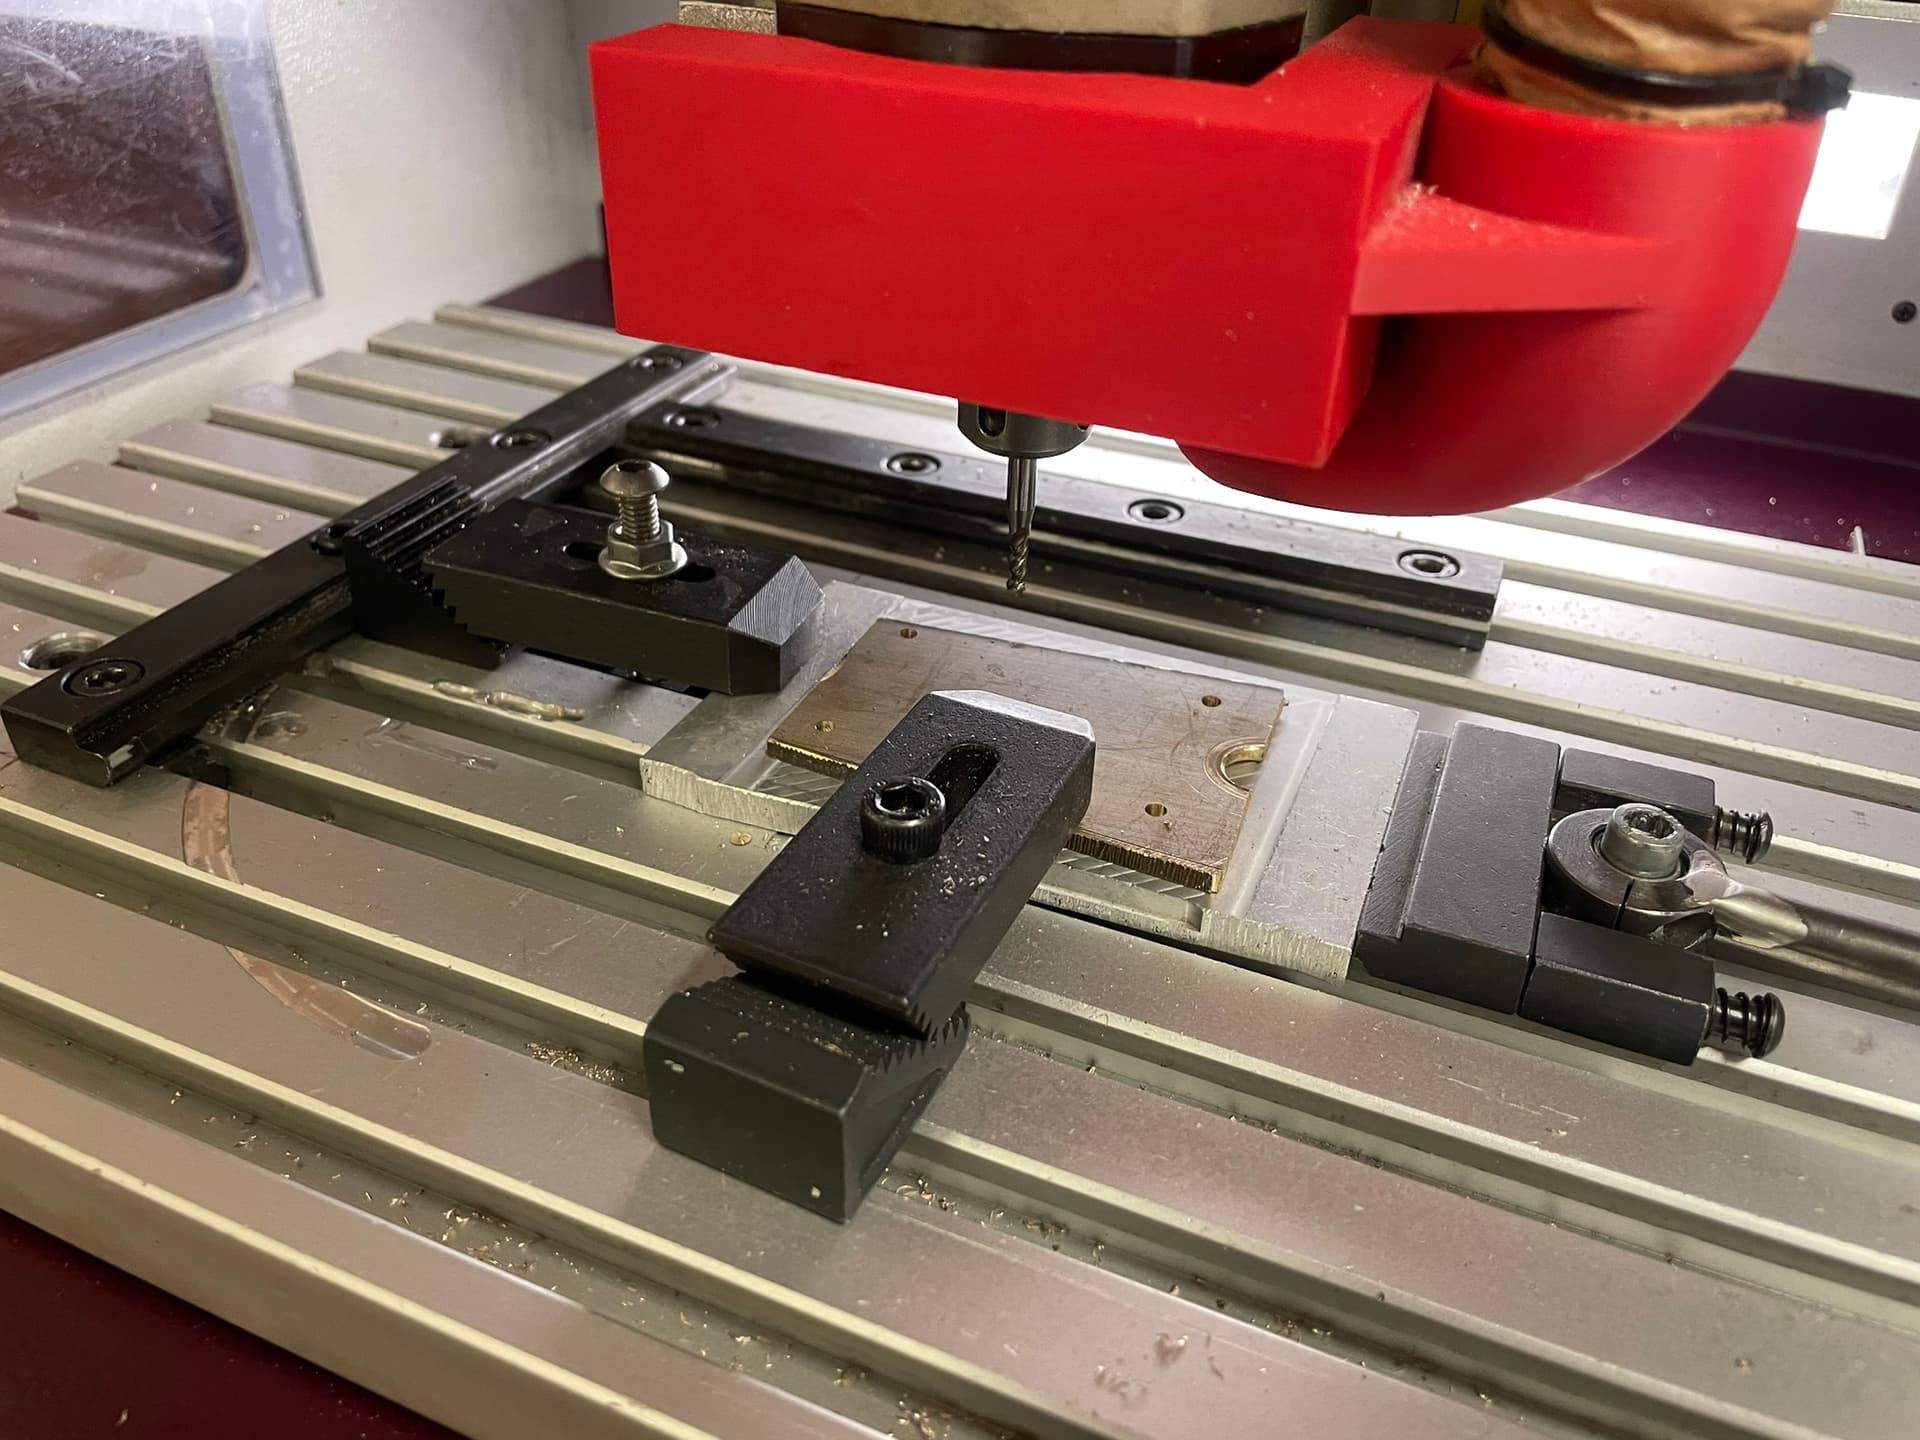
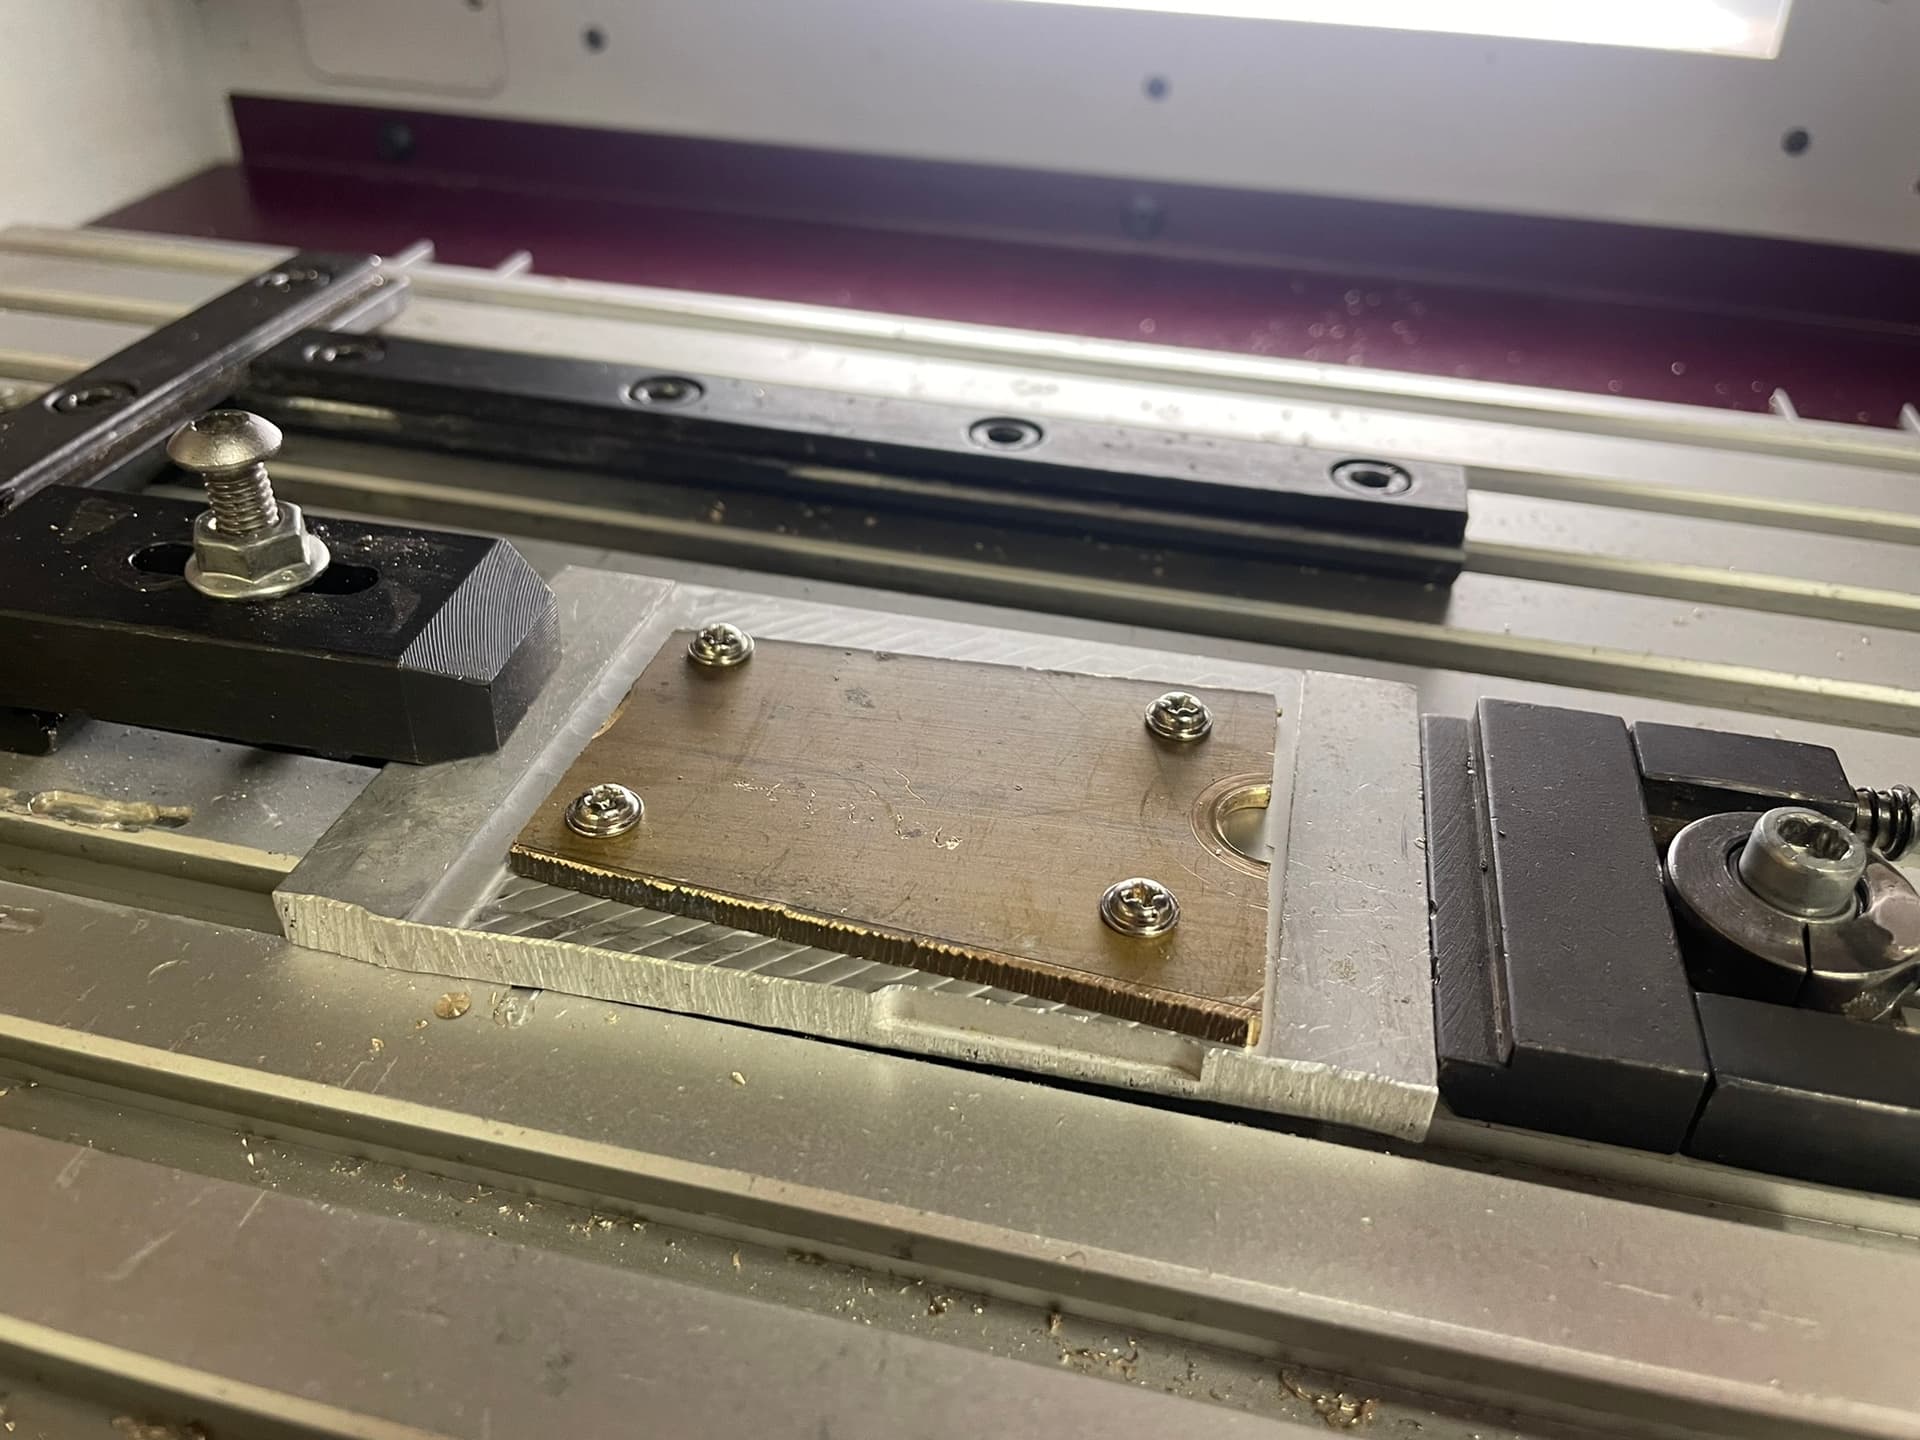
I took a piece of scrap aluminium which I flattened and into which I drilled 4 mounting holes, using the CNC itself. I tapped these by hand and then used the CNC again to make 4 matching holes in the brass plate.
The brass plate was thicker than what I needed so I used the extra material to play around a bit with the font and engraving settings. The CNC was used to cut the round shape as well (no pictures sorry) and I tried to use tabs to keep the part from flying off. Unfortunately I must have messed up my Z calculations, the tabs were too thin and the part did come loose at the very end. It thankfully didn’t cause any damage.
I used epoxy to glue the coin into the handle’s recess.

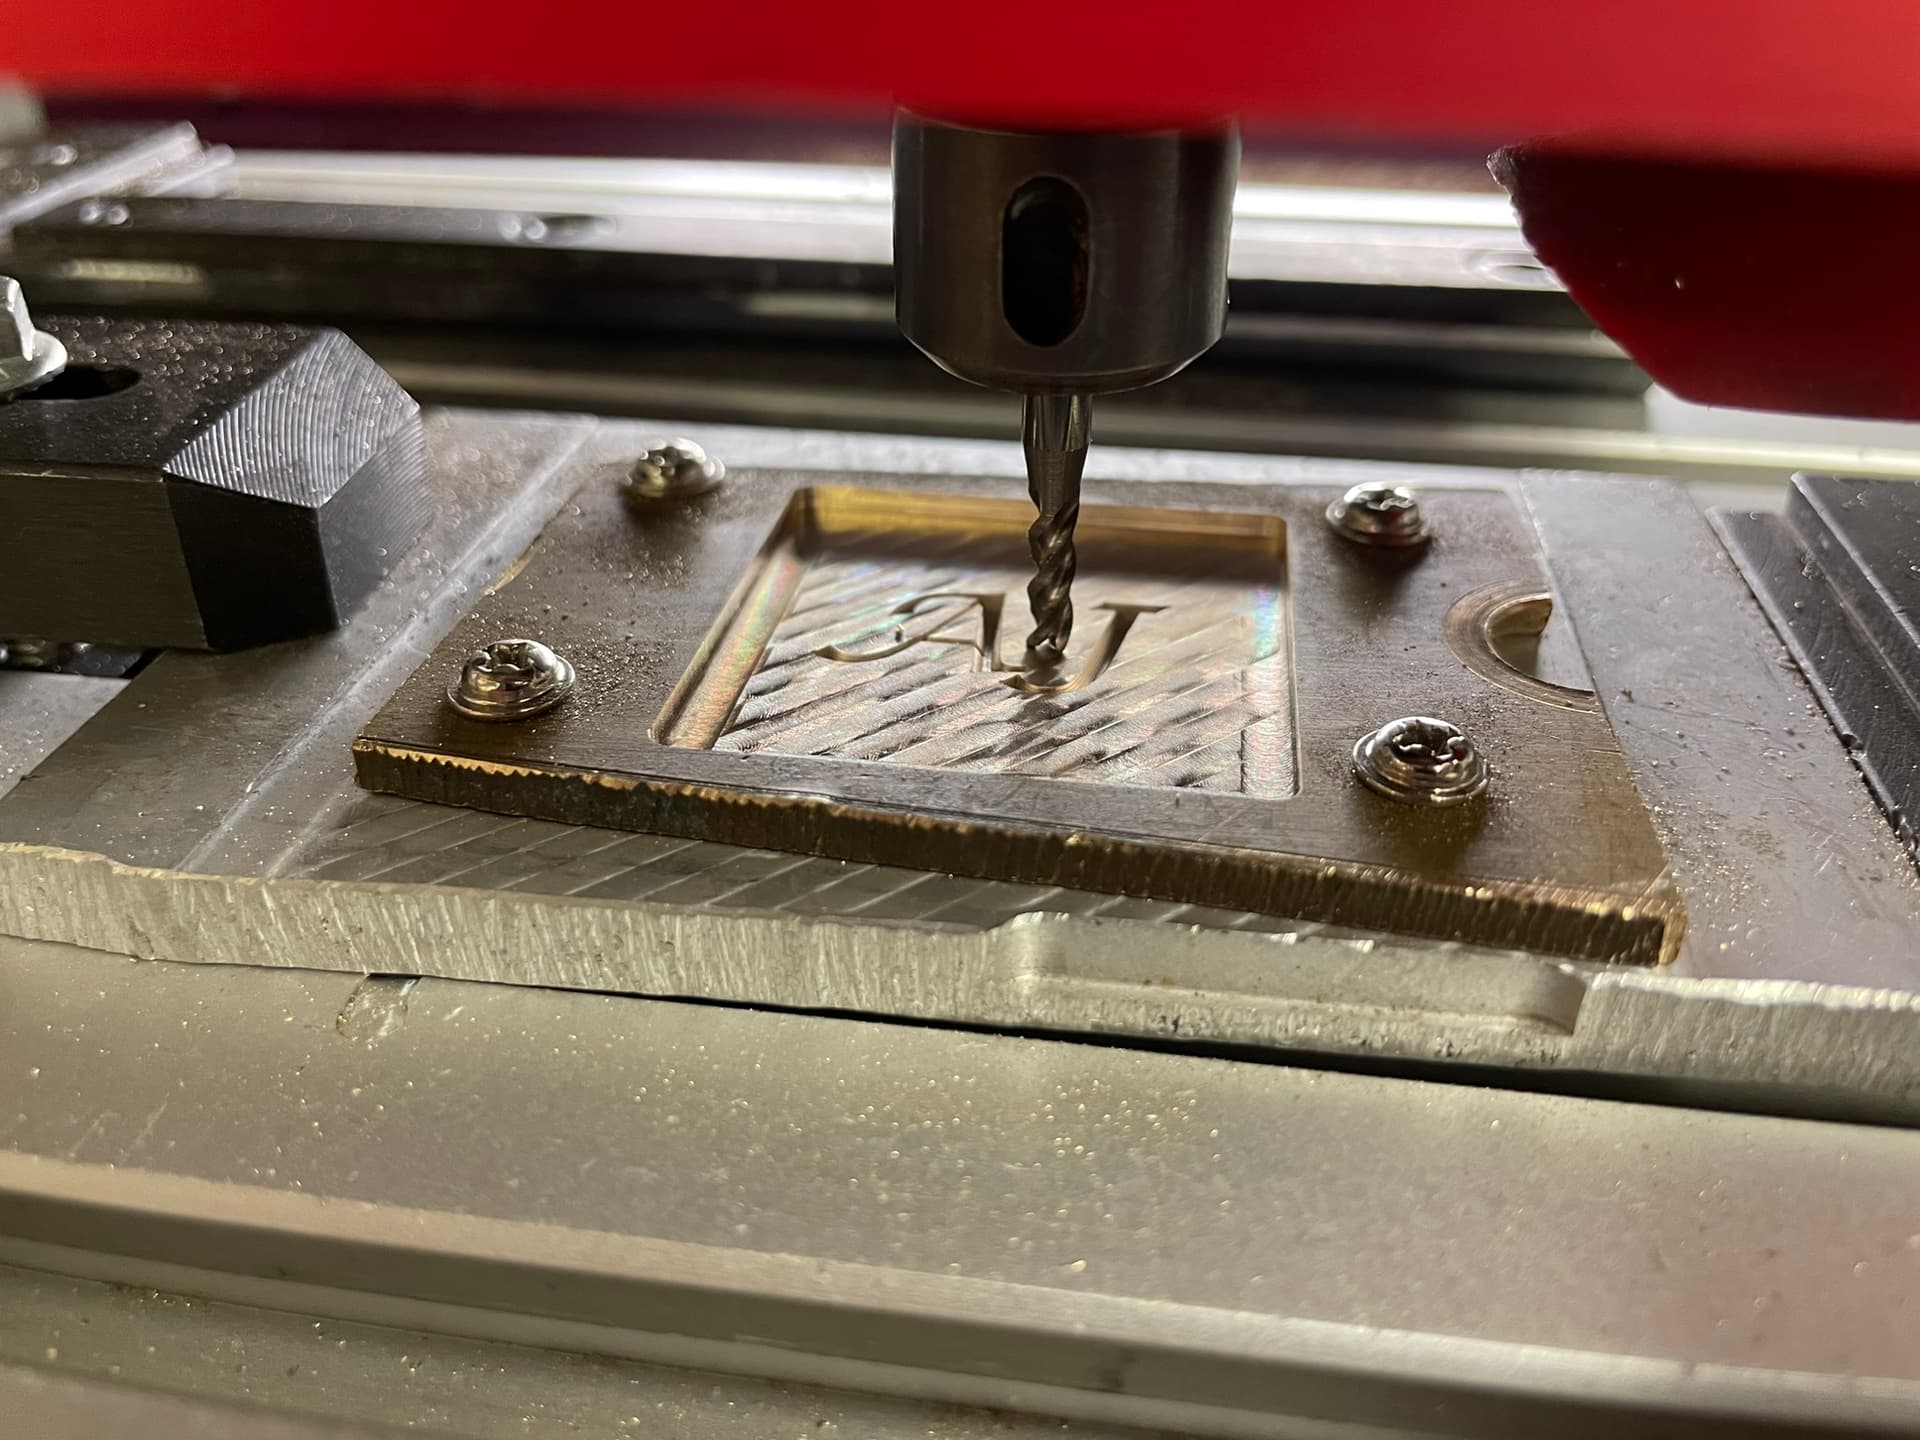
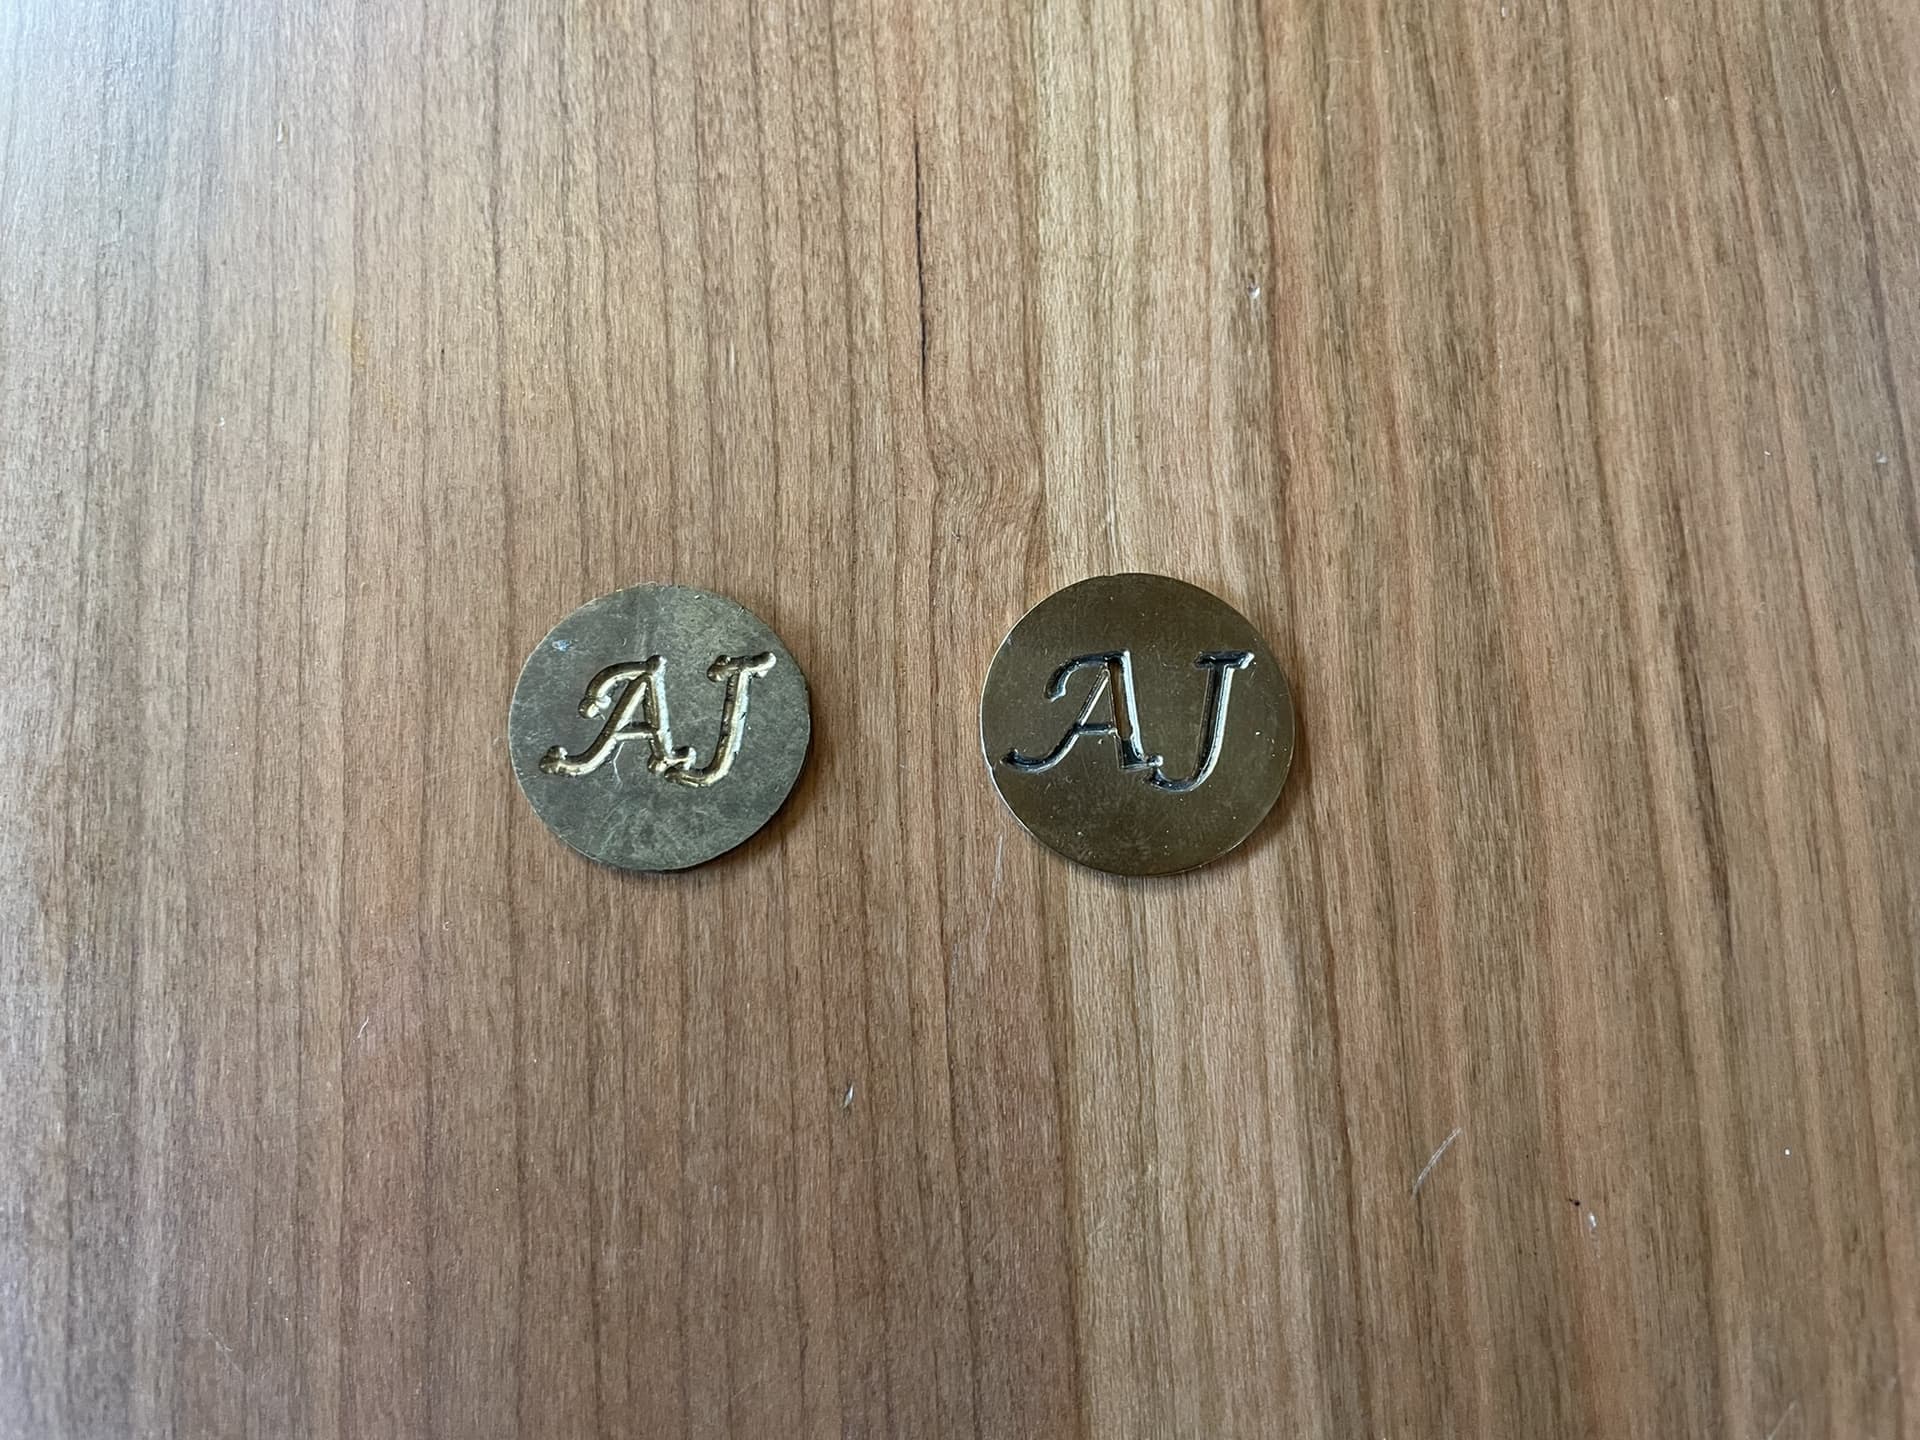
The pictures above are actually from my third and final attempt at this. On my first attempt (left below) I used a regular square end mill, which did not make for very crisp details. I had expected that but figured it would still be a good practice run. I ordered some V-shaped bits and got much nicer looking results from them. Unfortunately, after having done lots of successful tests, I forgot to touch of the Z axis when changing tools for the real go and dug straight into the material, breaking the bit along the way (right below, you can see the vertical line on the A goes all the way through).
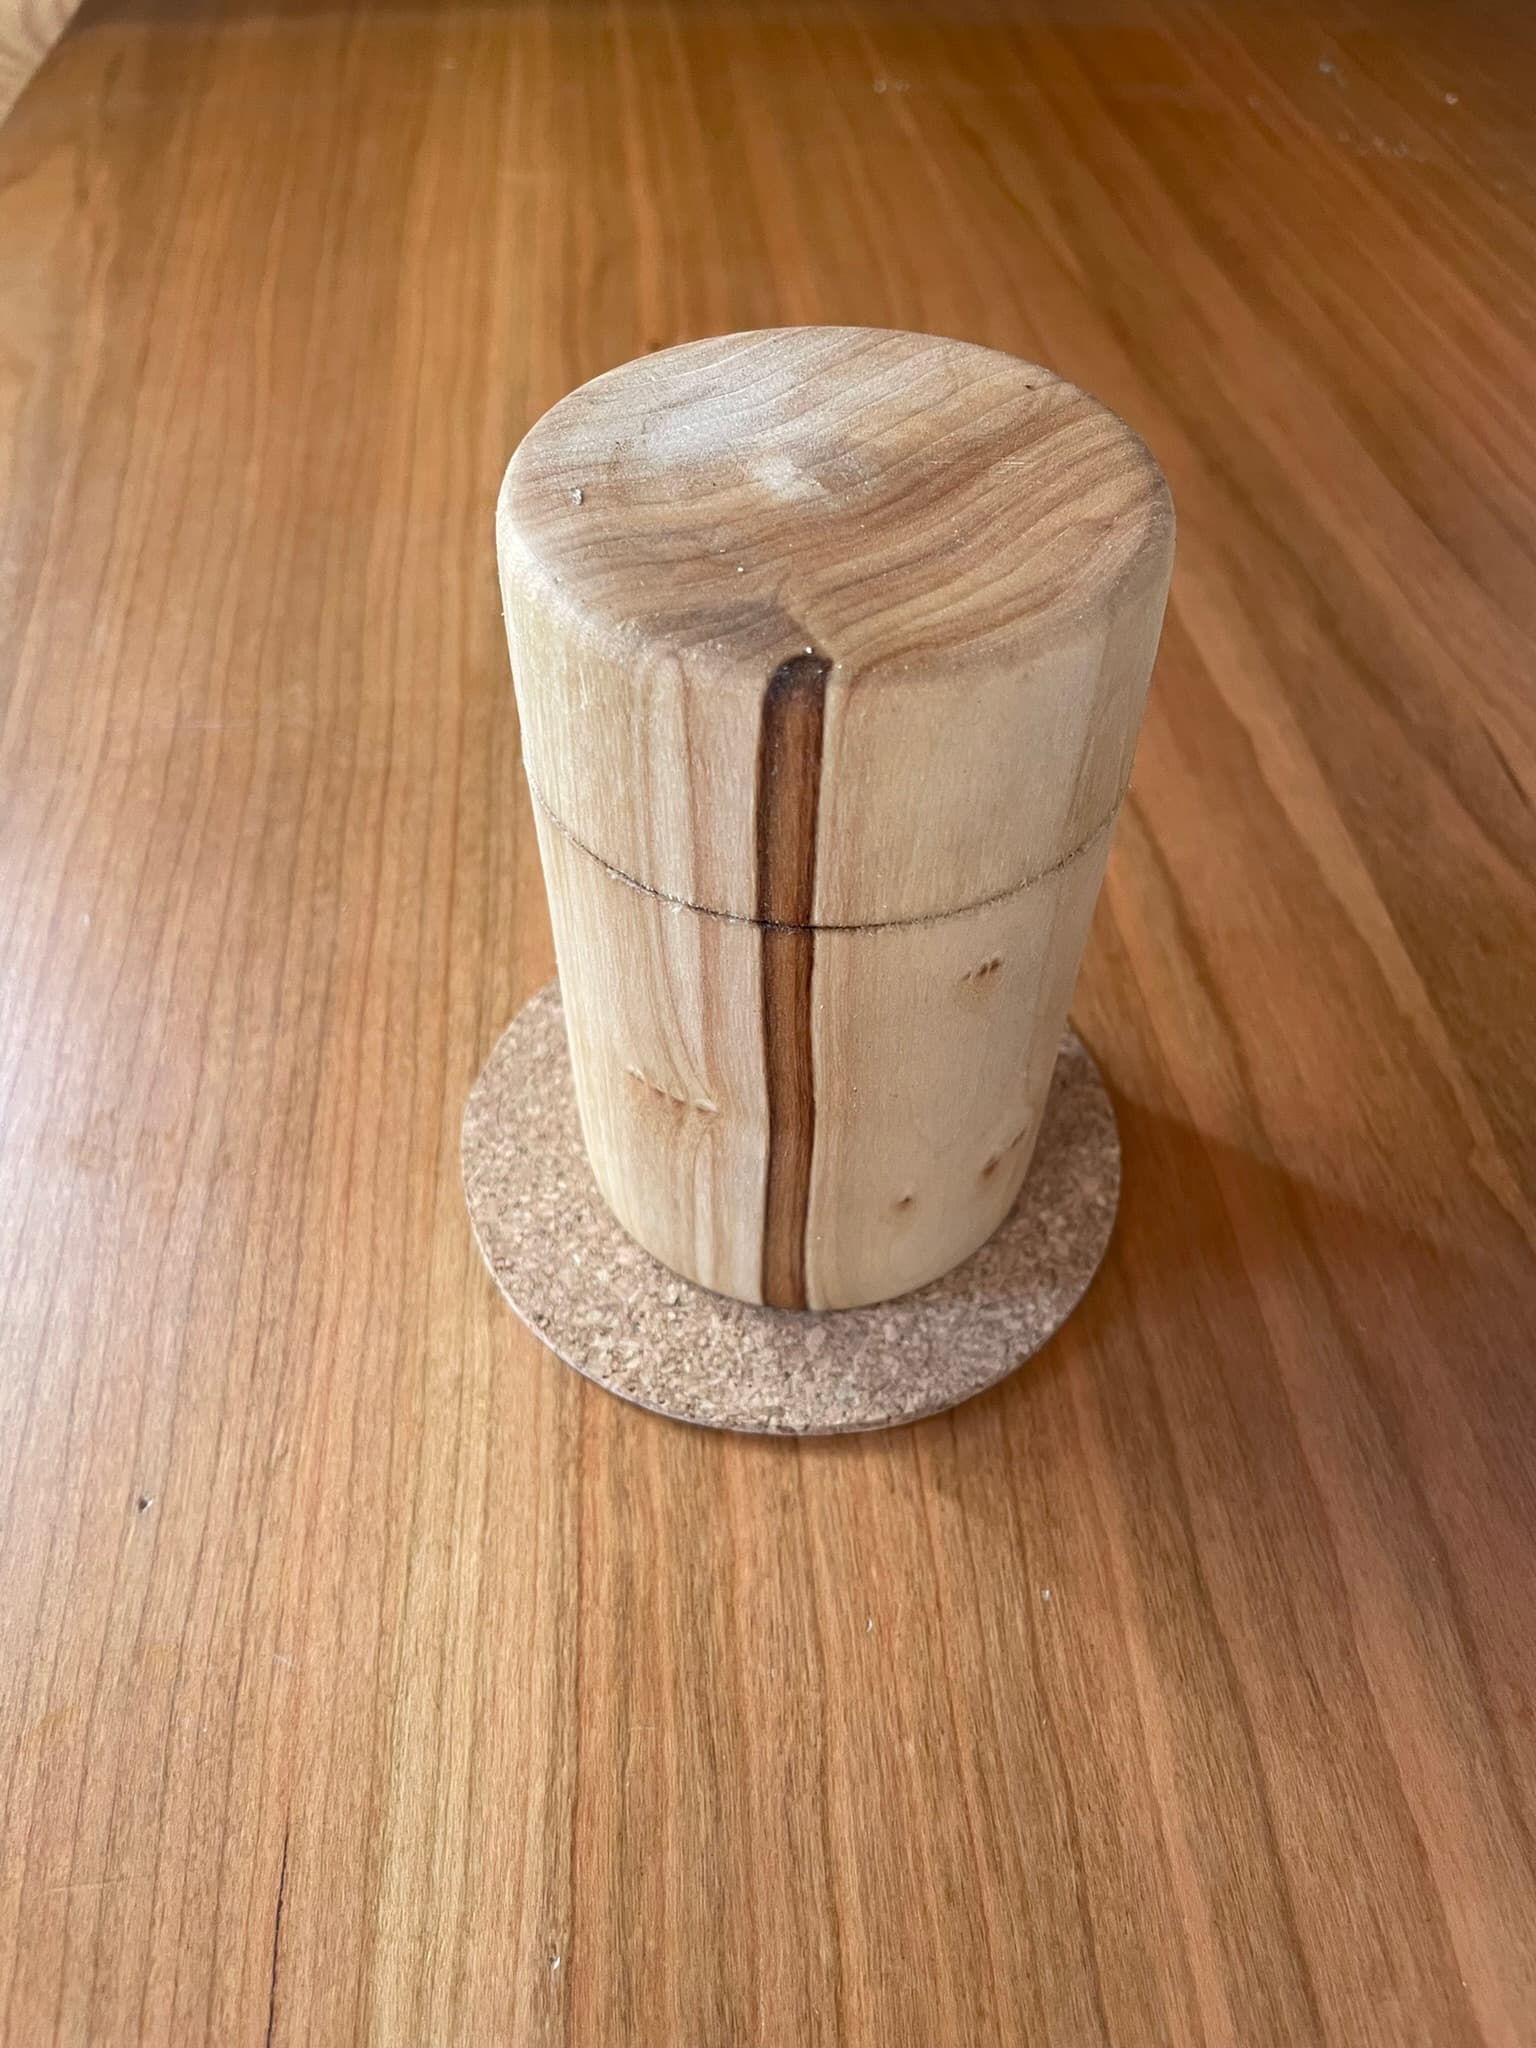
Box
As a late addition, and because I had just done my L2 wood lathe induction, I decided to make a box for it. The box is made of tulipwood, which is not the nicest to work with (it feels a bit like turning cardboard) but is what I had around.
I don’t have a lot of pictures of that part, but the process is pretty standard and well-documented on YouTube and elsewhere. The main mistake I made was not sanding inside of the lid while it was mounted, by the time I had shaped the outside I had nothing to grab onto any more.
It was my first time making a box on the lathe and it was more of a quick side project than anything else. The result it okay but not great.
Final words
As always lots of small mistakes along the way, but overall it went quite well. The only regret I have is the joint between the base and the handle. It is two flat surfaces coming into contact, but the wood side is neither perfectly flat nor perfectly square to the thread. There’s an ever so slight gap between the two that can be seen if you look closely. I think this could be avoided with a different design, such as making the mating surface a slight taper, or creating an intentional recess in the base to hide the joint line.
The whole thing took just over a week to make it in total (a very intense week though). The project was largely out of my comfort zone and usual skills, but I managed thanks to a lot of people around the space:
Thanks to @dario and @Giles for their help and guidance on the wood lathe, @scythian @stefanoromano @VintageSteel and @joeatkin2 for helping me on the metal lathe and for showing me around the metal shop, @James_Nahajski for answering my many question about the mini CNC. Joe in particular in total spent a handful of hours at the metal lathe with me, including very late at night.