I am going to make some boxes seeing as the maker space is pretty much out of commission for what I would like to do. So I decided to make a donkeys ear shooting board to go with my shooting plane. In my opinion joinery looks awful when done badly so a donkeys ear is a great way to create really tight mitres. Perfect for making boxes. I thought I would have a bit of fun with it by including a couple of dovetail keys. I hadn’t used dovetail keys before so it gave me a good trial run. I put a reasonable level of attention into the keys and I got a really nice tight fitting result. If I was using keys for a piece of wooden ware or furniture I am confident I will get a similar or better result. I used the keys because there is a shake in the board I used. I have seen a lot of dovetail keys in furniture and when they don’t fit correctly it is noticeable. So I am chalking that up as a successful learning opportunity. For the long mitres on each board I first had to give myself a 45 degree angle I new I could trust. I used basic geometry to construct a square using large dividers. Then I drew diagonals from each corner. I checked that my sliding bevel was dead on both of the diagonals, I new then that I had a very accurate 45 degree setting on my bevel gauge. I used a router with a tilt base to get me in the ball park and then I was able to dial it in further with a block plane. I have made a donkeys ear totally by hand before but as I am working off a workmate I felt that I could get good results with the router and some fine tuning by hand. I didn’t want to have to make a jig to hold the boards at 45 degrees for hand jointing. So I was really surprised at just how accurate I got my mitres off a workmate. They were both great once I used the block plane. Gluing up was a challenge. I used blocks to reference against. Then I tacked the wood in place with superglue. This allowed me to drill screw holes. I took it all apart glued it up with regular glue and put the screws back in until the glue set. I just used it on a piece of scrap and amazingly the subsequent mitre exactly matches the original setting on the bevel gauge with no lateral adjustment to the plane. I am really amazed just how accurate I have managed to get it. The beauty of the true donkeys ear is that it allows mitres to be referenced off the face and edge for both ends of a board. You can’t do that with the other designs people use to shoot mitres. So I am really happy with what I achieved and the mitred boxes I am going to make will be reasonably easy to construct. I am so glad I did this project because I think of mitres as being a difficult joint to do well.


I thought I should say that I decided to reinstall the screws I used for the glue up. I invested quite a bit of time and effort so I thought I would go the belt and braces route. I used a shinwa bevel gauge because I heard they were good. Well I realised that the stock and the blade are woefully inaccurate. There wasn’t a straight surface anywhere on the stock or the blade. If you are setting a Windsor chair leg it would be okay, but for most other uses it needs to be true. I never had any problems with my old wooden and metal version. Yet another example of good reviews of a modern supposedly good tool being inferior to the old fashioned version. I spent half an hour (at least; I trued it until I knew I could reference and mark accurately, it needs even more work) truing one face of the stock and blade. Good reviews are all very well, but only worth the paper they are written on if, the people writing them have fully functional brain matter. If I was getting a bevel gauge again I would get the really cheap starret version from workshop heaven. It’s got a plastic stock which is easy to true or replace with wood and I would be really surprised to find starret unable to engineer a straight blade. It’s only 6 pounds, a quarter of the wonky effort from shinwa Also a quick word about using the tilt base. It’s a high risk use of a router. The bit is exposed and about one inch from the nearest finger, so I was extremely careful. The merest finger movement can be disastrous. I took small bites with the router and moved the guide a couple of mm until I had mitred the full edge.


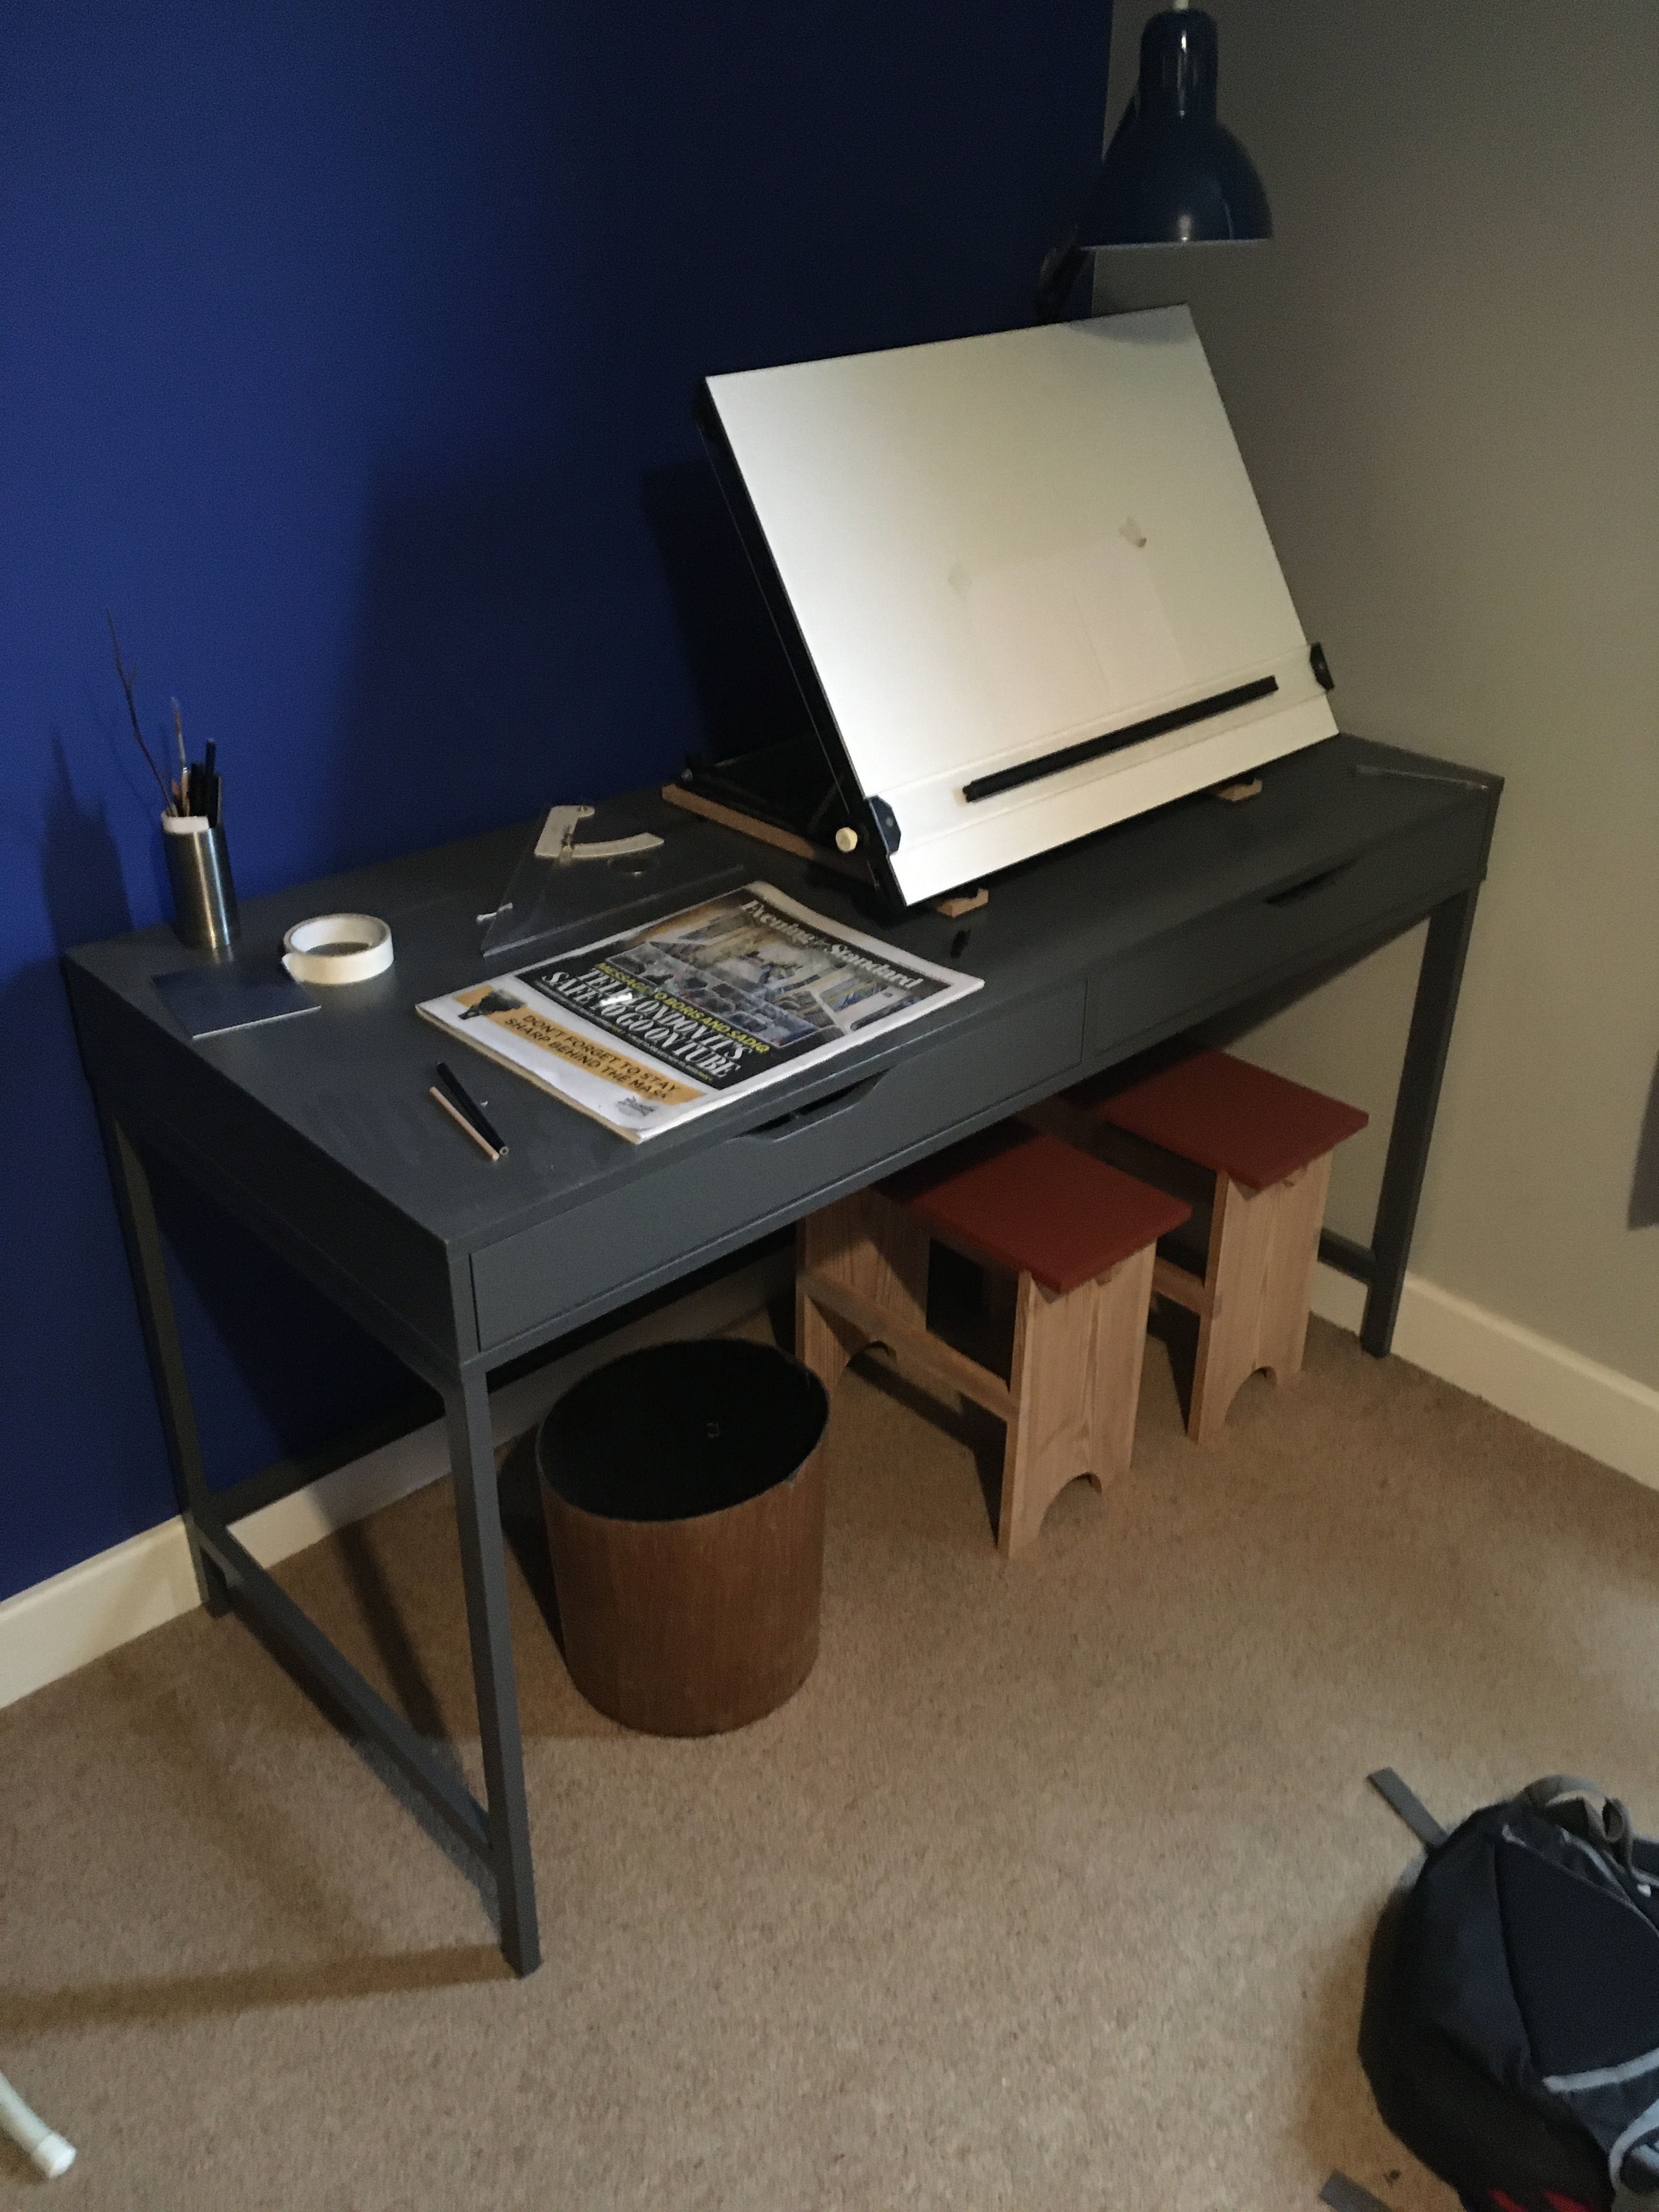
Nice! Is this your home set up workbench?

Update:
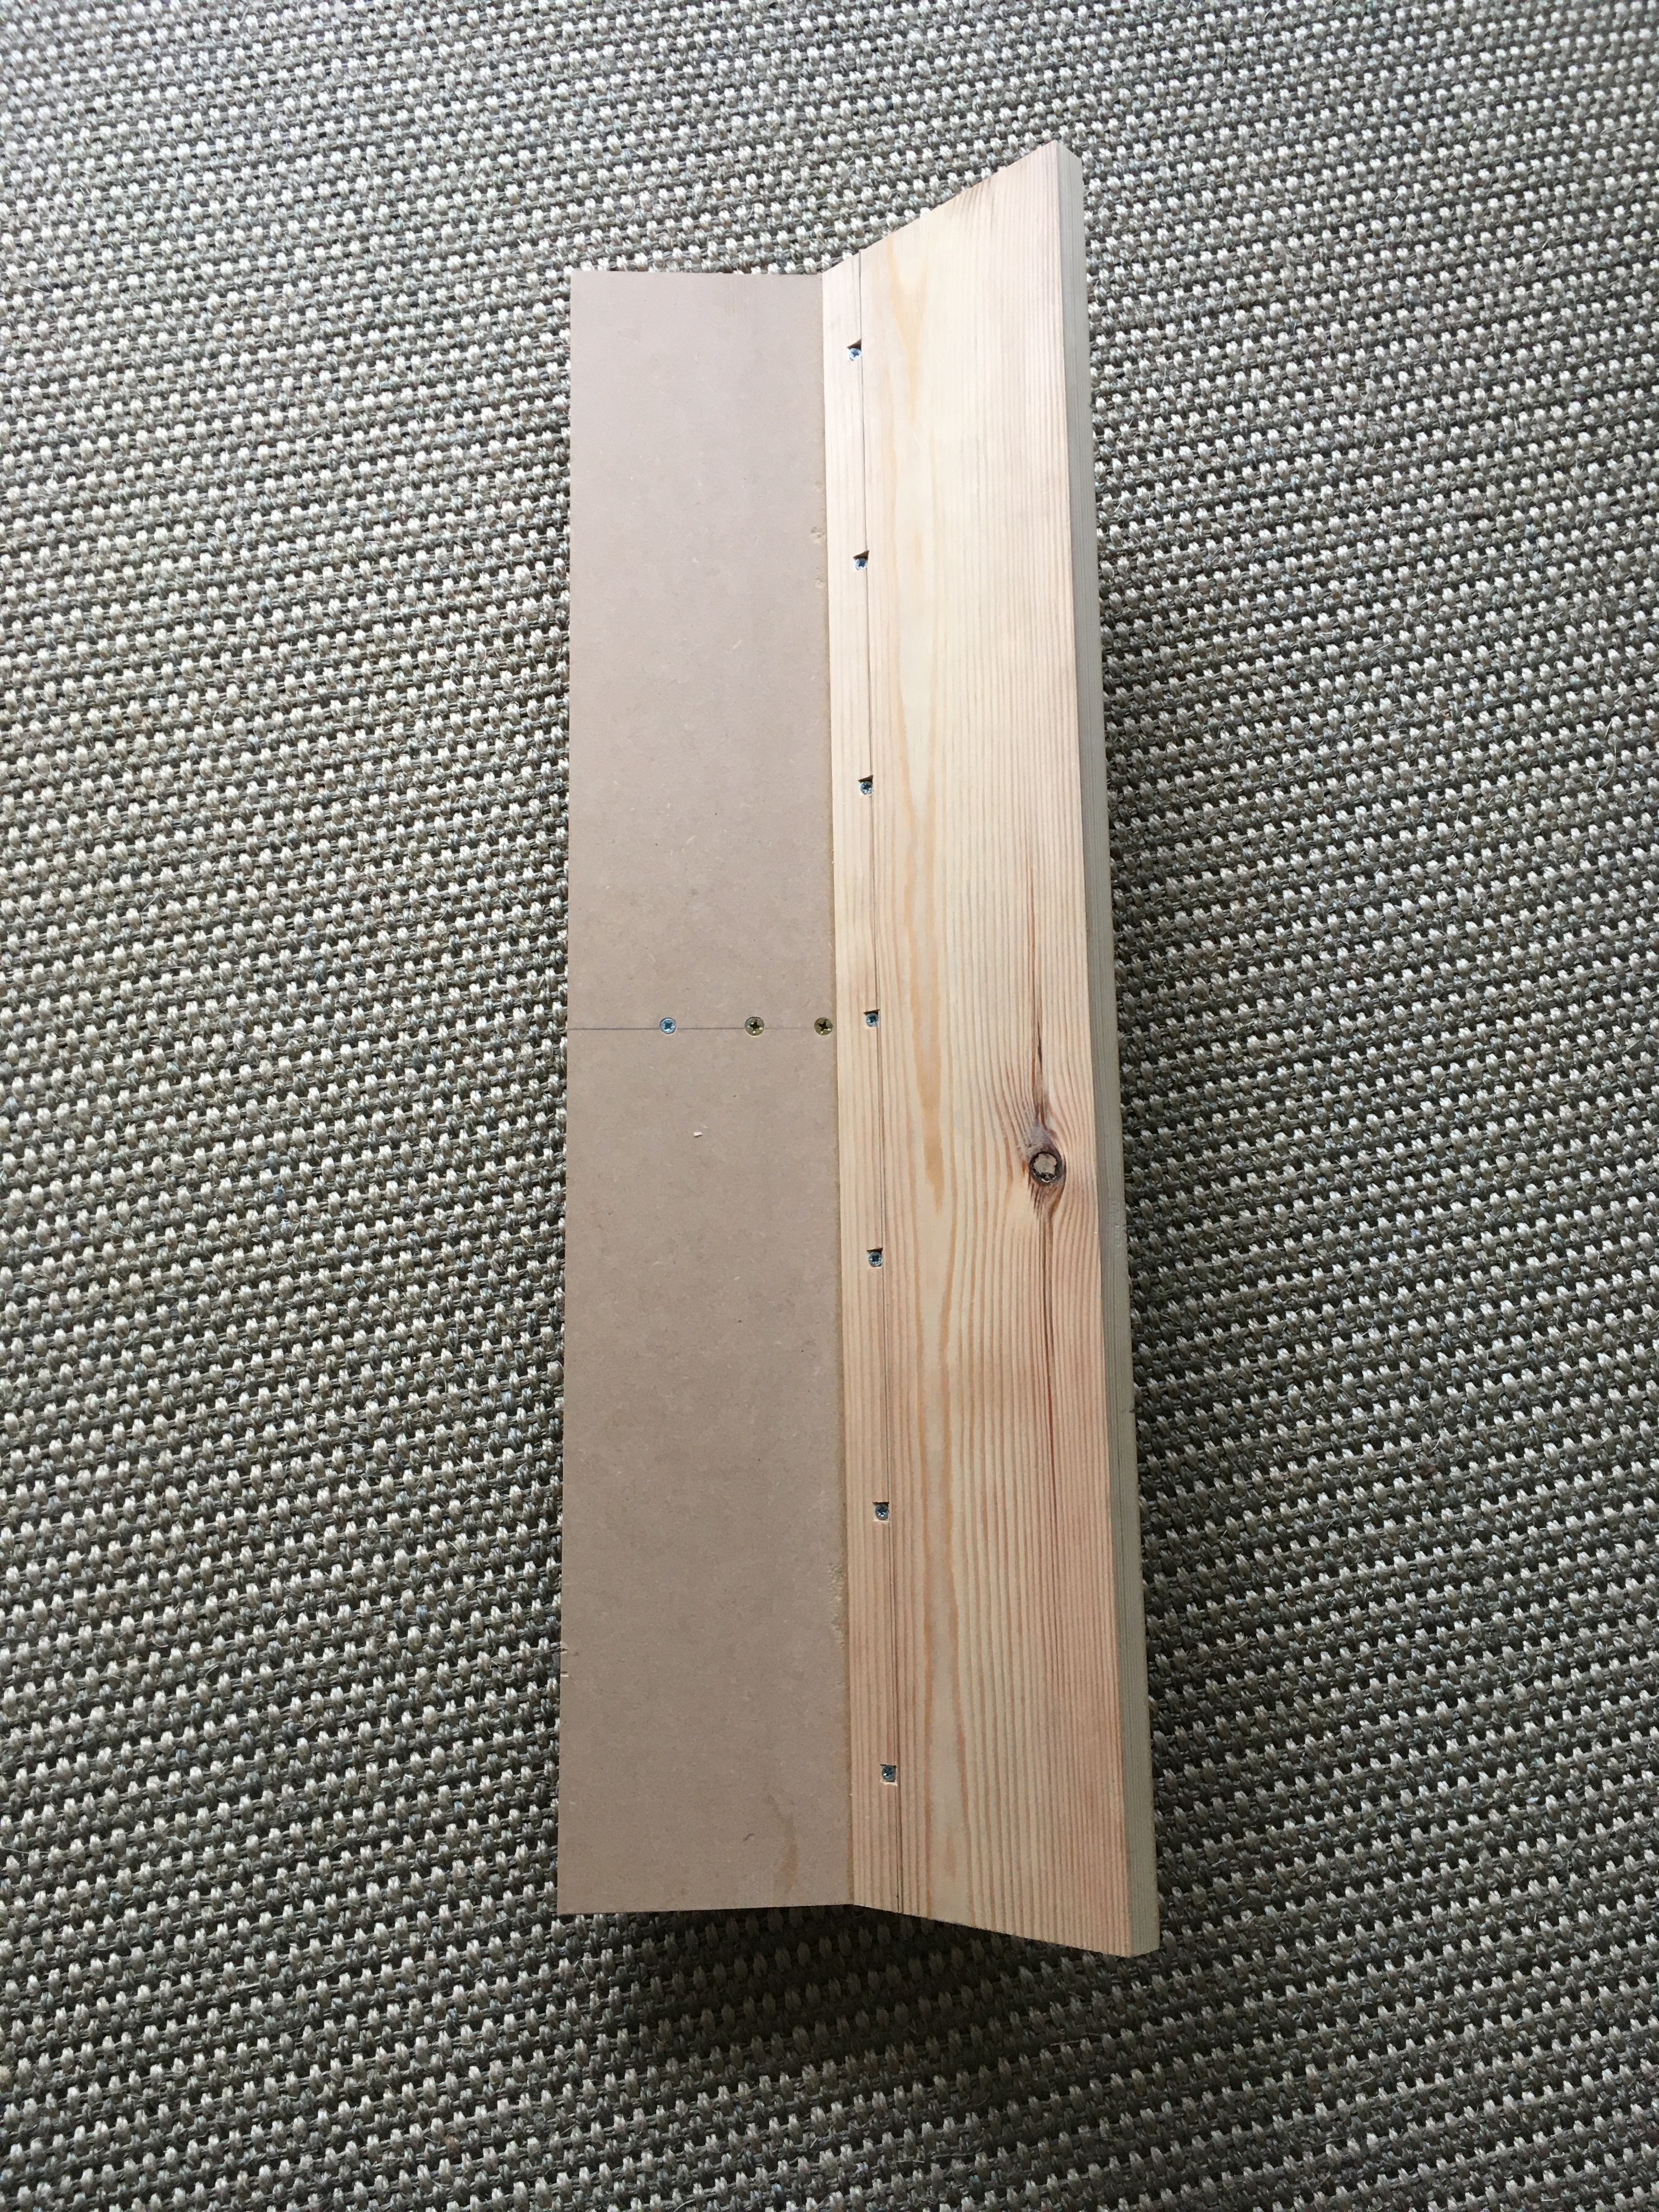
I have made a new stop. I layed out the original 45 on the end of the stop. It was a thickness of paper short and when pulling the plane I got blow out. So, I made a new one, fitted it in place with screws and marked from the bed with 90, thereby ensuring the exact length. This resulted in a stop which just misses the plane blade by the absolute minimum possible. I haven’t used it yet but it’s an improvement definitely, there may be something happening when I am pulling the plane which is exacerbating the issue but I am sure I have improved or fixed the issue completely.