I split the design into two halves, top and bottom and sent them into different prints files.
My first few attempts failed as I selected the wrong plate type and plastic, first TPU then ABS.
You can see the failed prints of the top half of the covers below as it moved out of place after the first 5 layers. There was warping very early on. In some of the cases, the actual base moved completely out of place.
Thanks to the advice of John and Leia I’ve made a few changes:
Out of curiosity, is there any reason you’ve not tried printing it with just PLA or PETG first?
They’re obviously less durable, particularly outdoors, but I have PETG parts last for years without any issues. It would give you a chance to make sure you’ve got things like splitting the design right much more quickly. You could then come back to more exotic and expensive materials once you’re confident with that.
The first two attempts to print the top half of the case failed after the 3rd layer.
The machine (Robert) seemed to struggle with a loose filaments and get stuck in a loop, moving the printer head to areas of the plate that are not in my design.
In order to ascertain if this a problem with the printer or my design, I have started to print the bottom half of the case, which is in a different file
Bambu printers will from time to time move to a corner or closer to the camera, its a self check - totally normal.
Just checked your files, look fine though I would use normal support on items like this instead of trees (everyone loves trees). How old is the filament?
I’m not sure how old the spool is. I’m fairly new member.
So I made changes to the print as Sam recommended; reducing shell layers back to the presets, using a simplified filling pattern for the interior and most importantly, slowing the filling time to 50% which did doubled the print time.
This was a big improvement so the first 15 layers works very well, with no warping.
However unnoticed to me early on, the print somehow became offset to the left by 5mm. This might have happen when I paused the print to remove filament that was building up in the wrong place on the build.
Twice the front cover of the printer head dropped off which I had to replace.
The second time this happened the print went very wrong and it started to print a layer in the air about 10cm offset from the previous layers. At this point I abandoned the print and called it a day.
I’ll have to come back another day to see what more I can do. I believe slowing the print might help avoid the build up of plastics in the wrong place
There were a few hiccups, the Toolhead front cover came off twice, which I replaced.
This time I didn’t cut away stray fillaments that looked like there were going to cause the print to fail. The machine overwrote these blobs and the walls formed correctly.
There where a few flaws in the print where the side wall along one axis printed a few millimetres off. However this shouldn’t be a problem in my case.
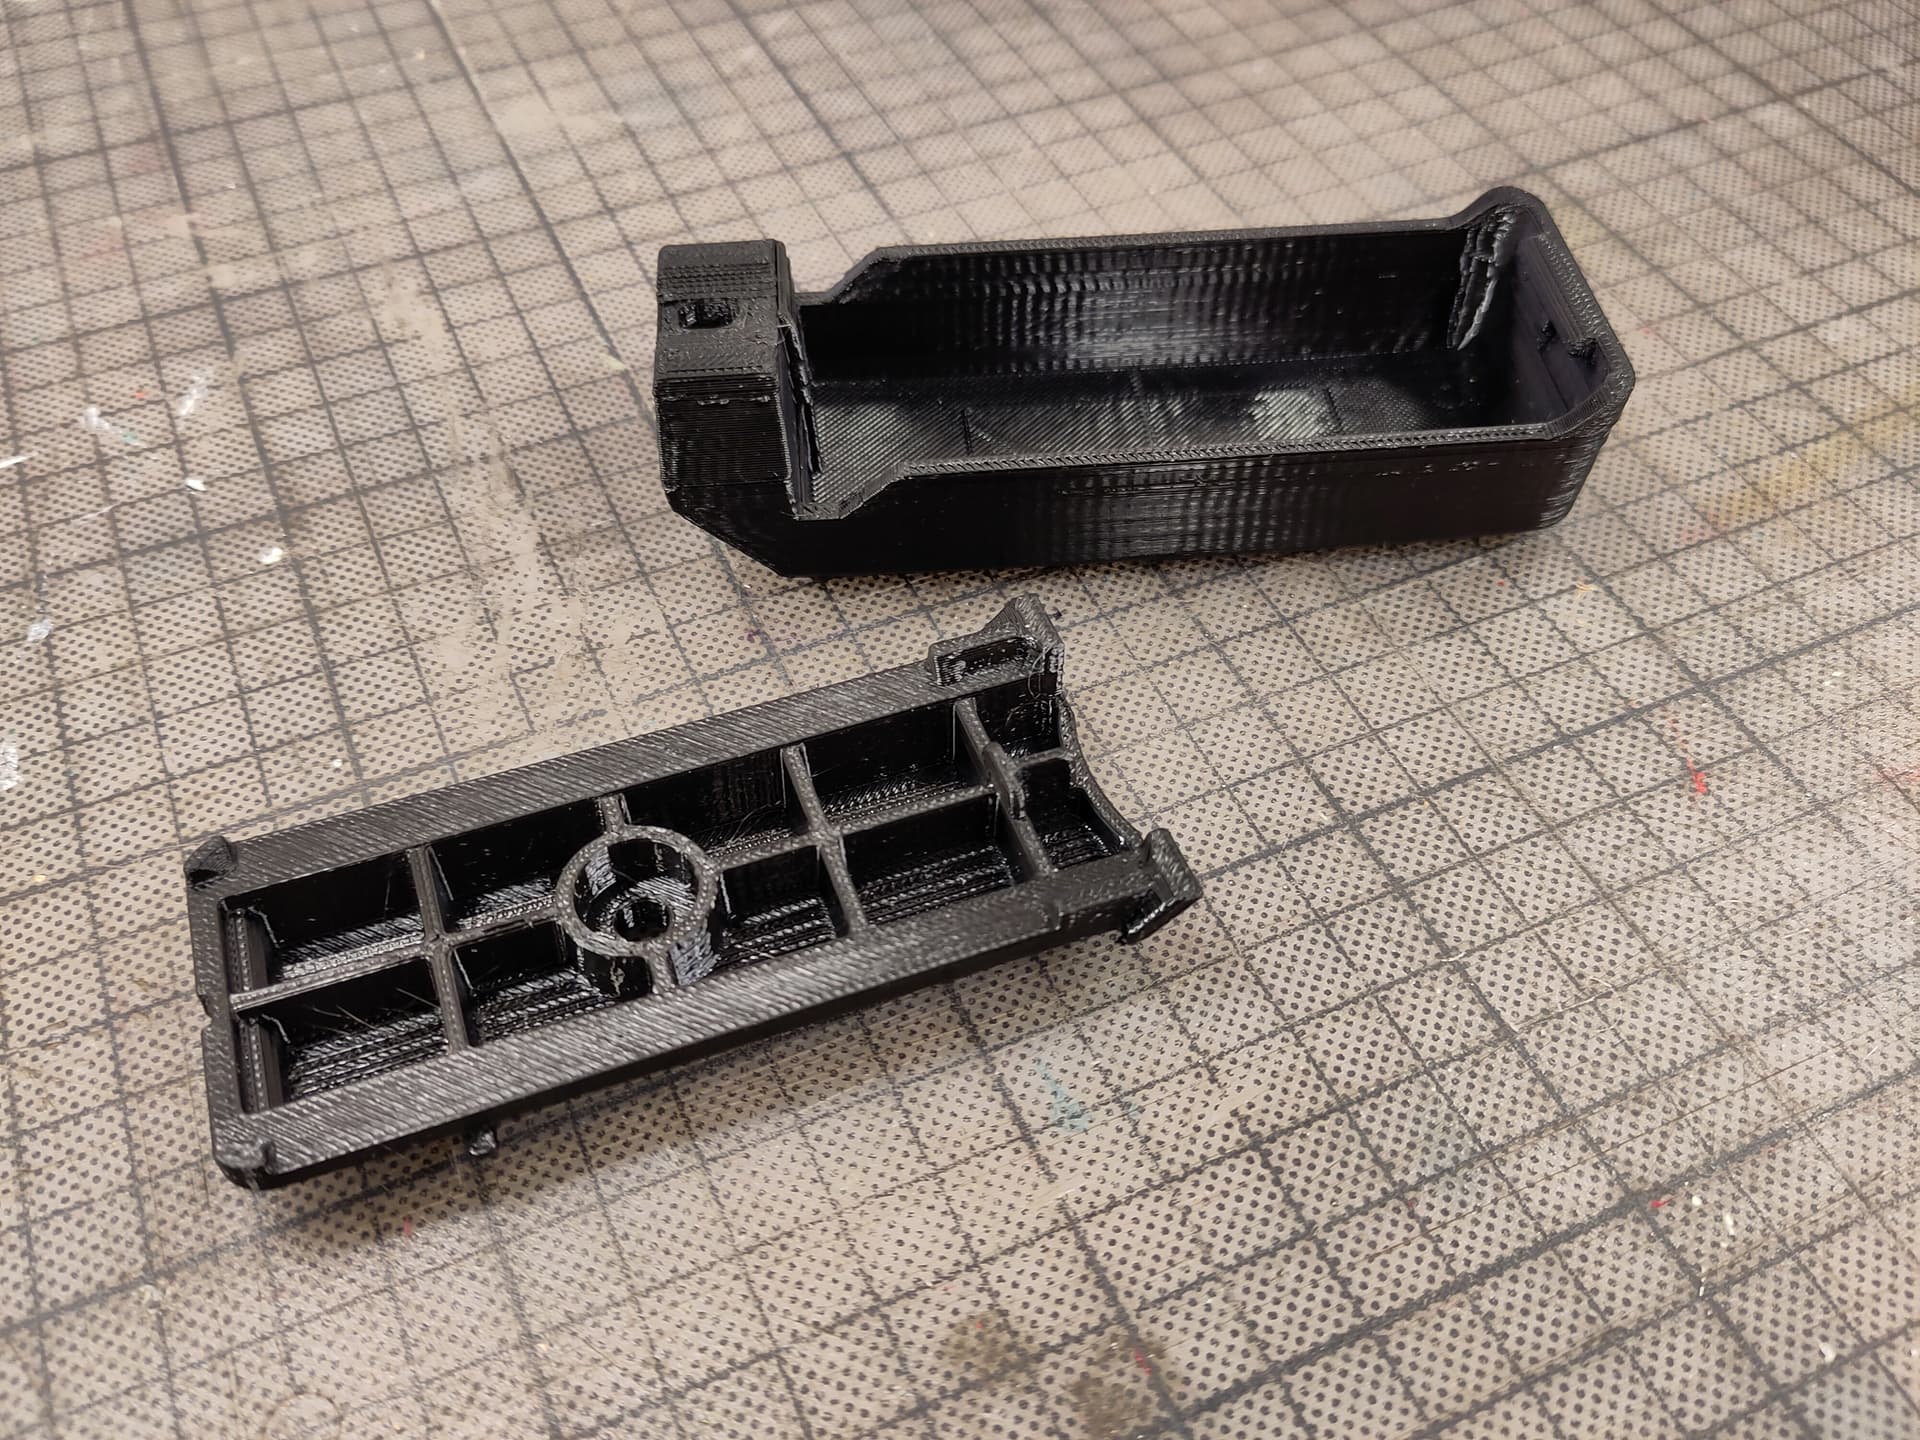
PC is very tough material. I have the top half of a weather proof case for my bike part. Next stage is to print the bottom half of the shell to complete the project!
Thanks to those who helped me in the Maker space, not gonna lie, Tuesday was a long & frustrating day with failed prints, but yesterday everything came together