Computer build

Hi All

Just thought I would share one of the projects I am working on at the moment.
So before I joined SLMS I did this computer build.

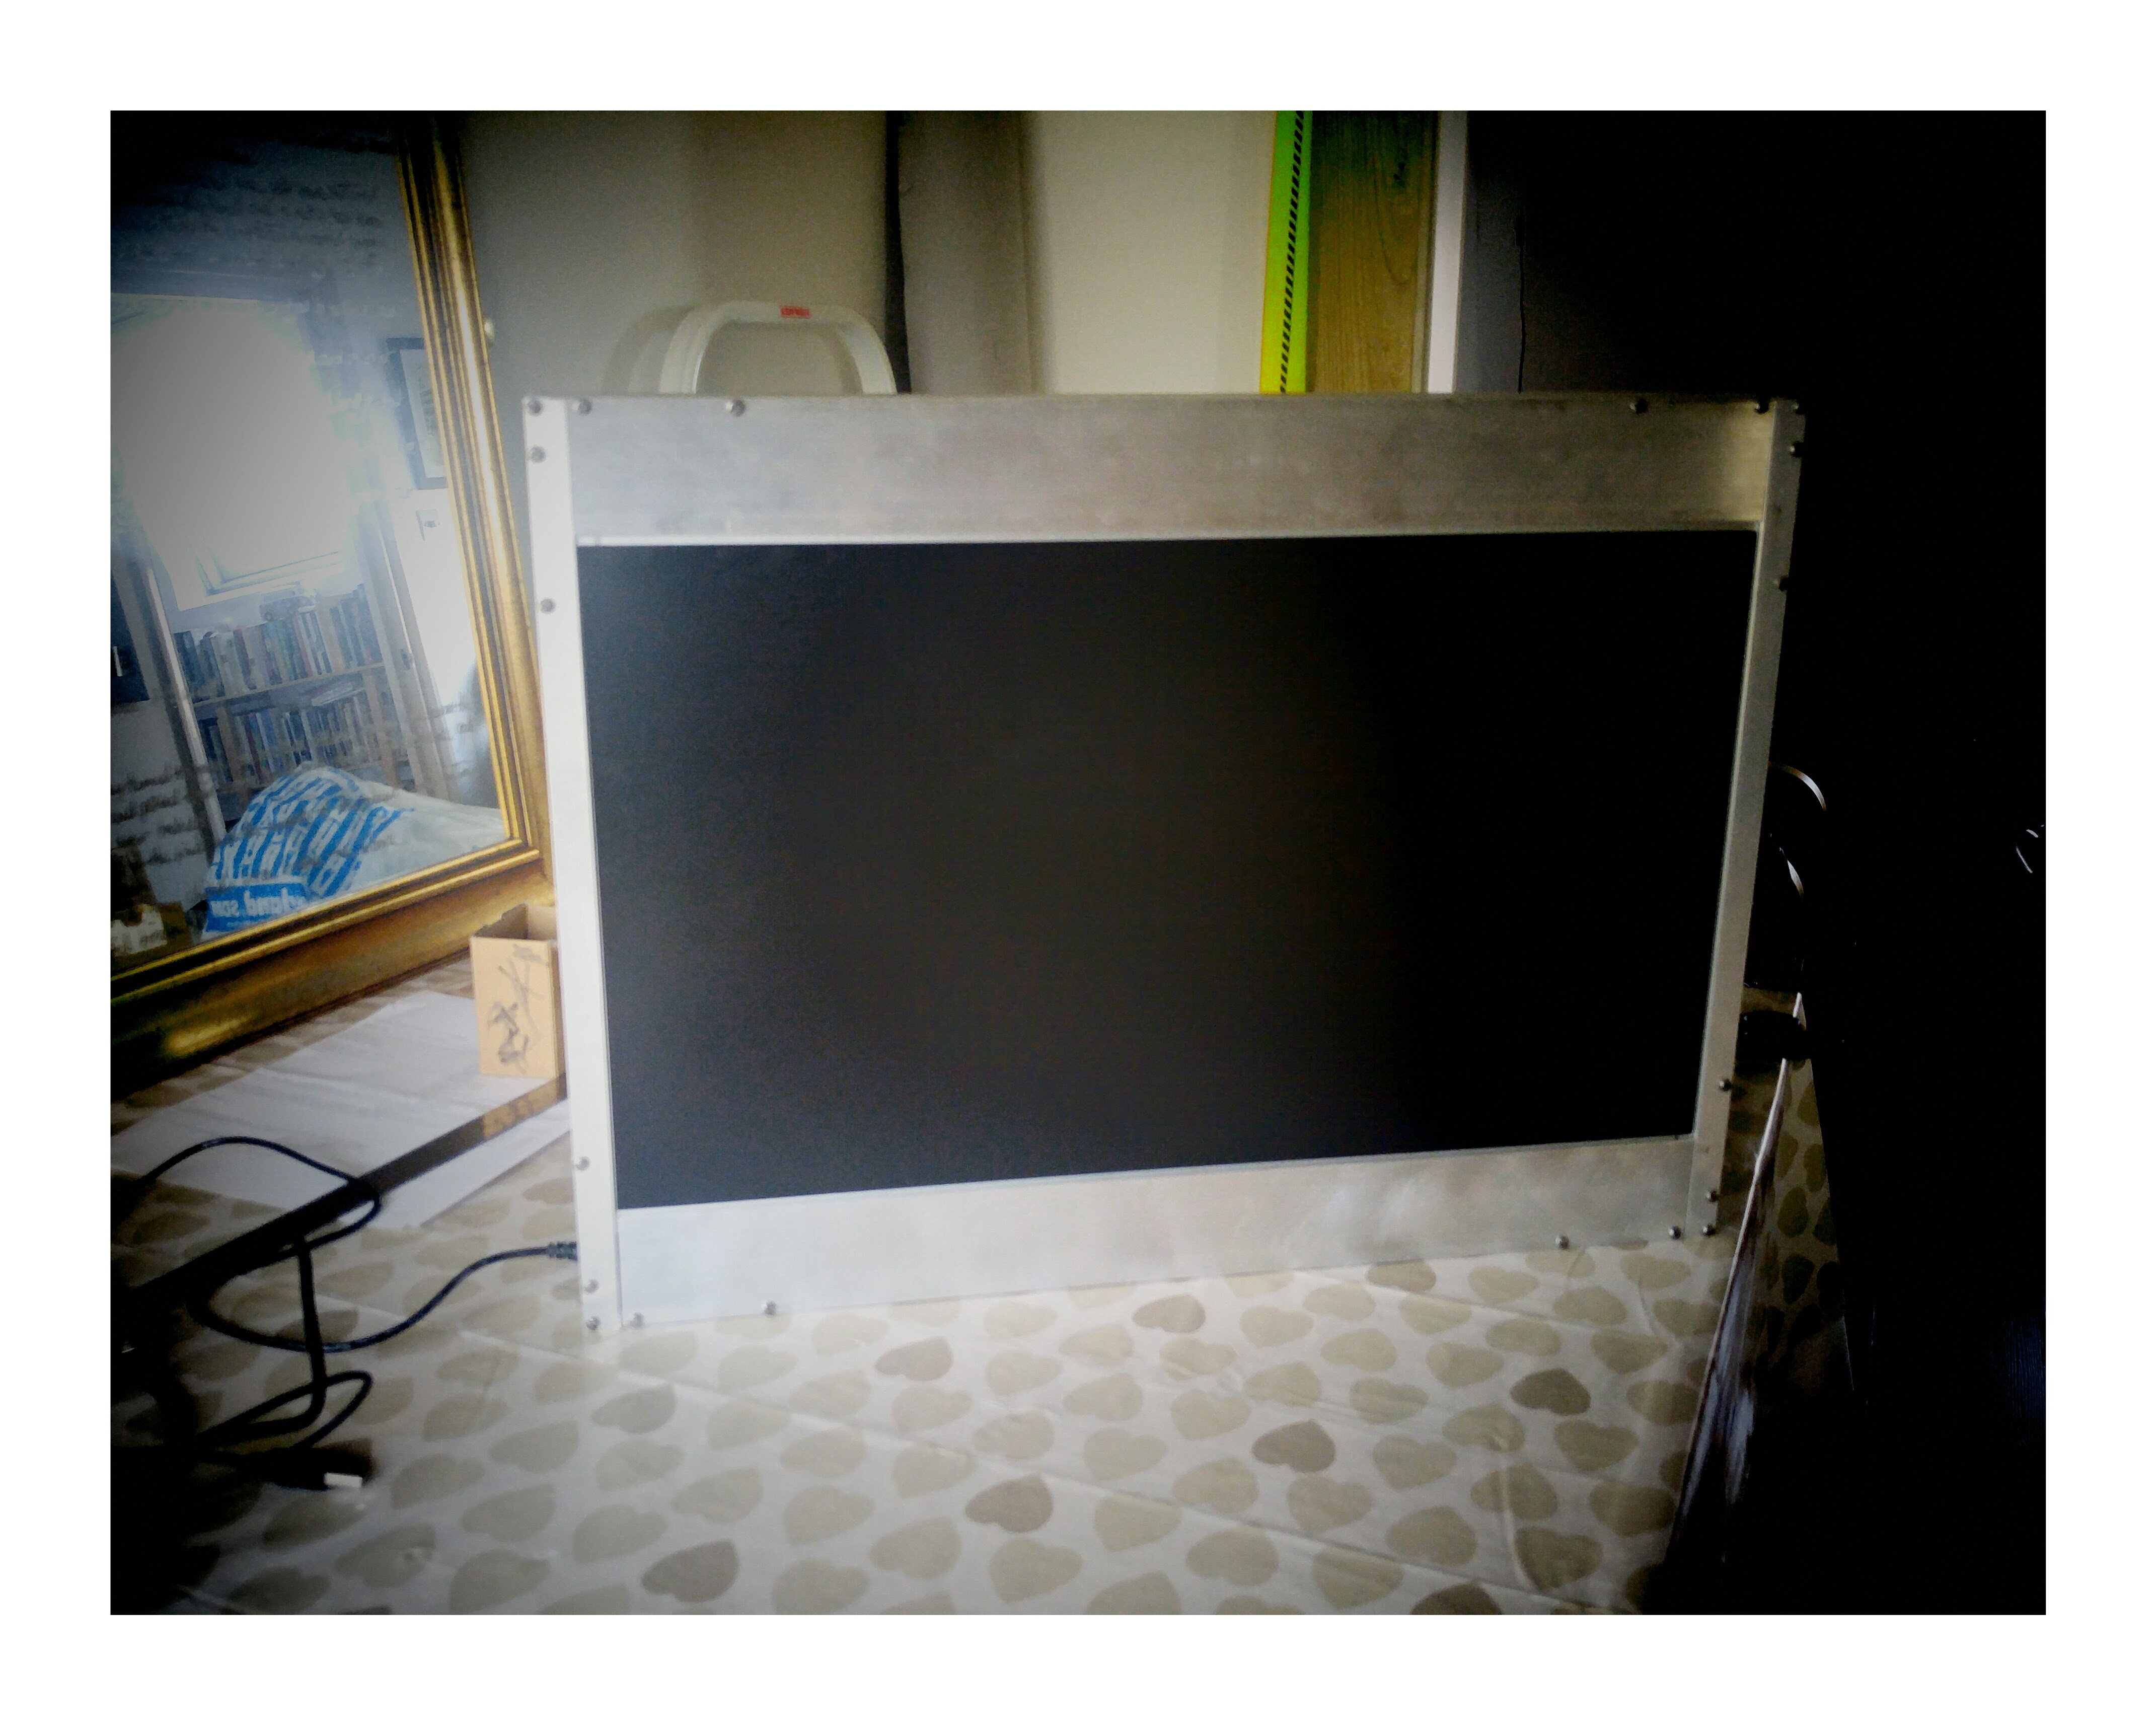
After my laptop dead I didn’t really want to spend a £1000s on a new one and I needed something powerful that I could be relatively mobile as I sometimes need it for photo shoots.

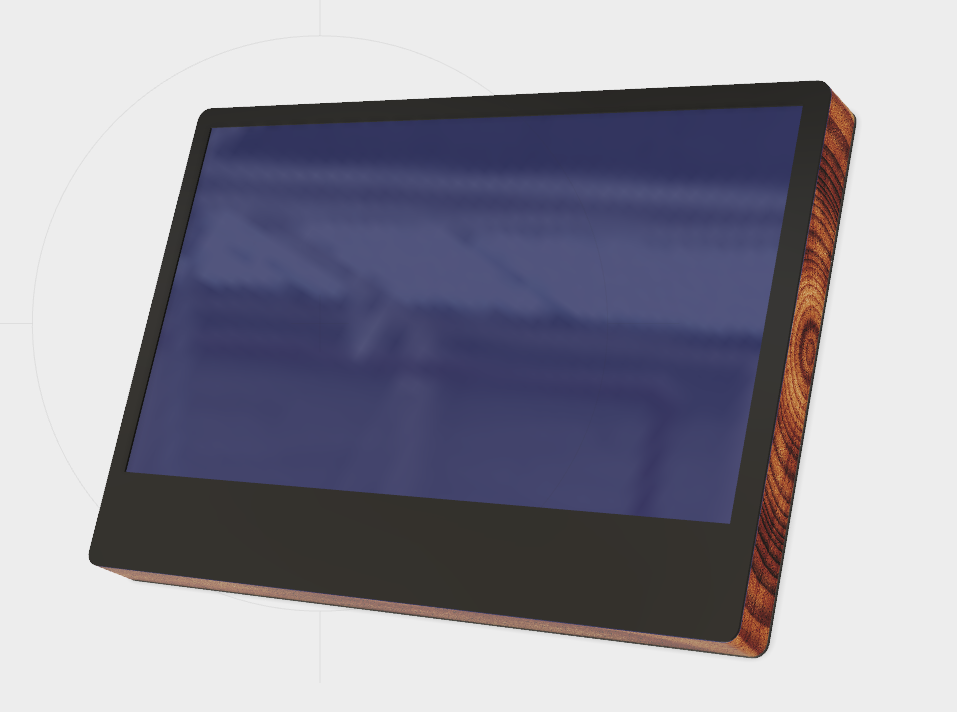
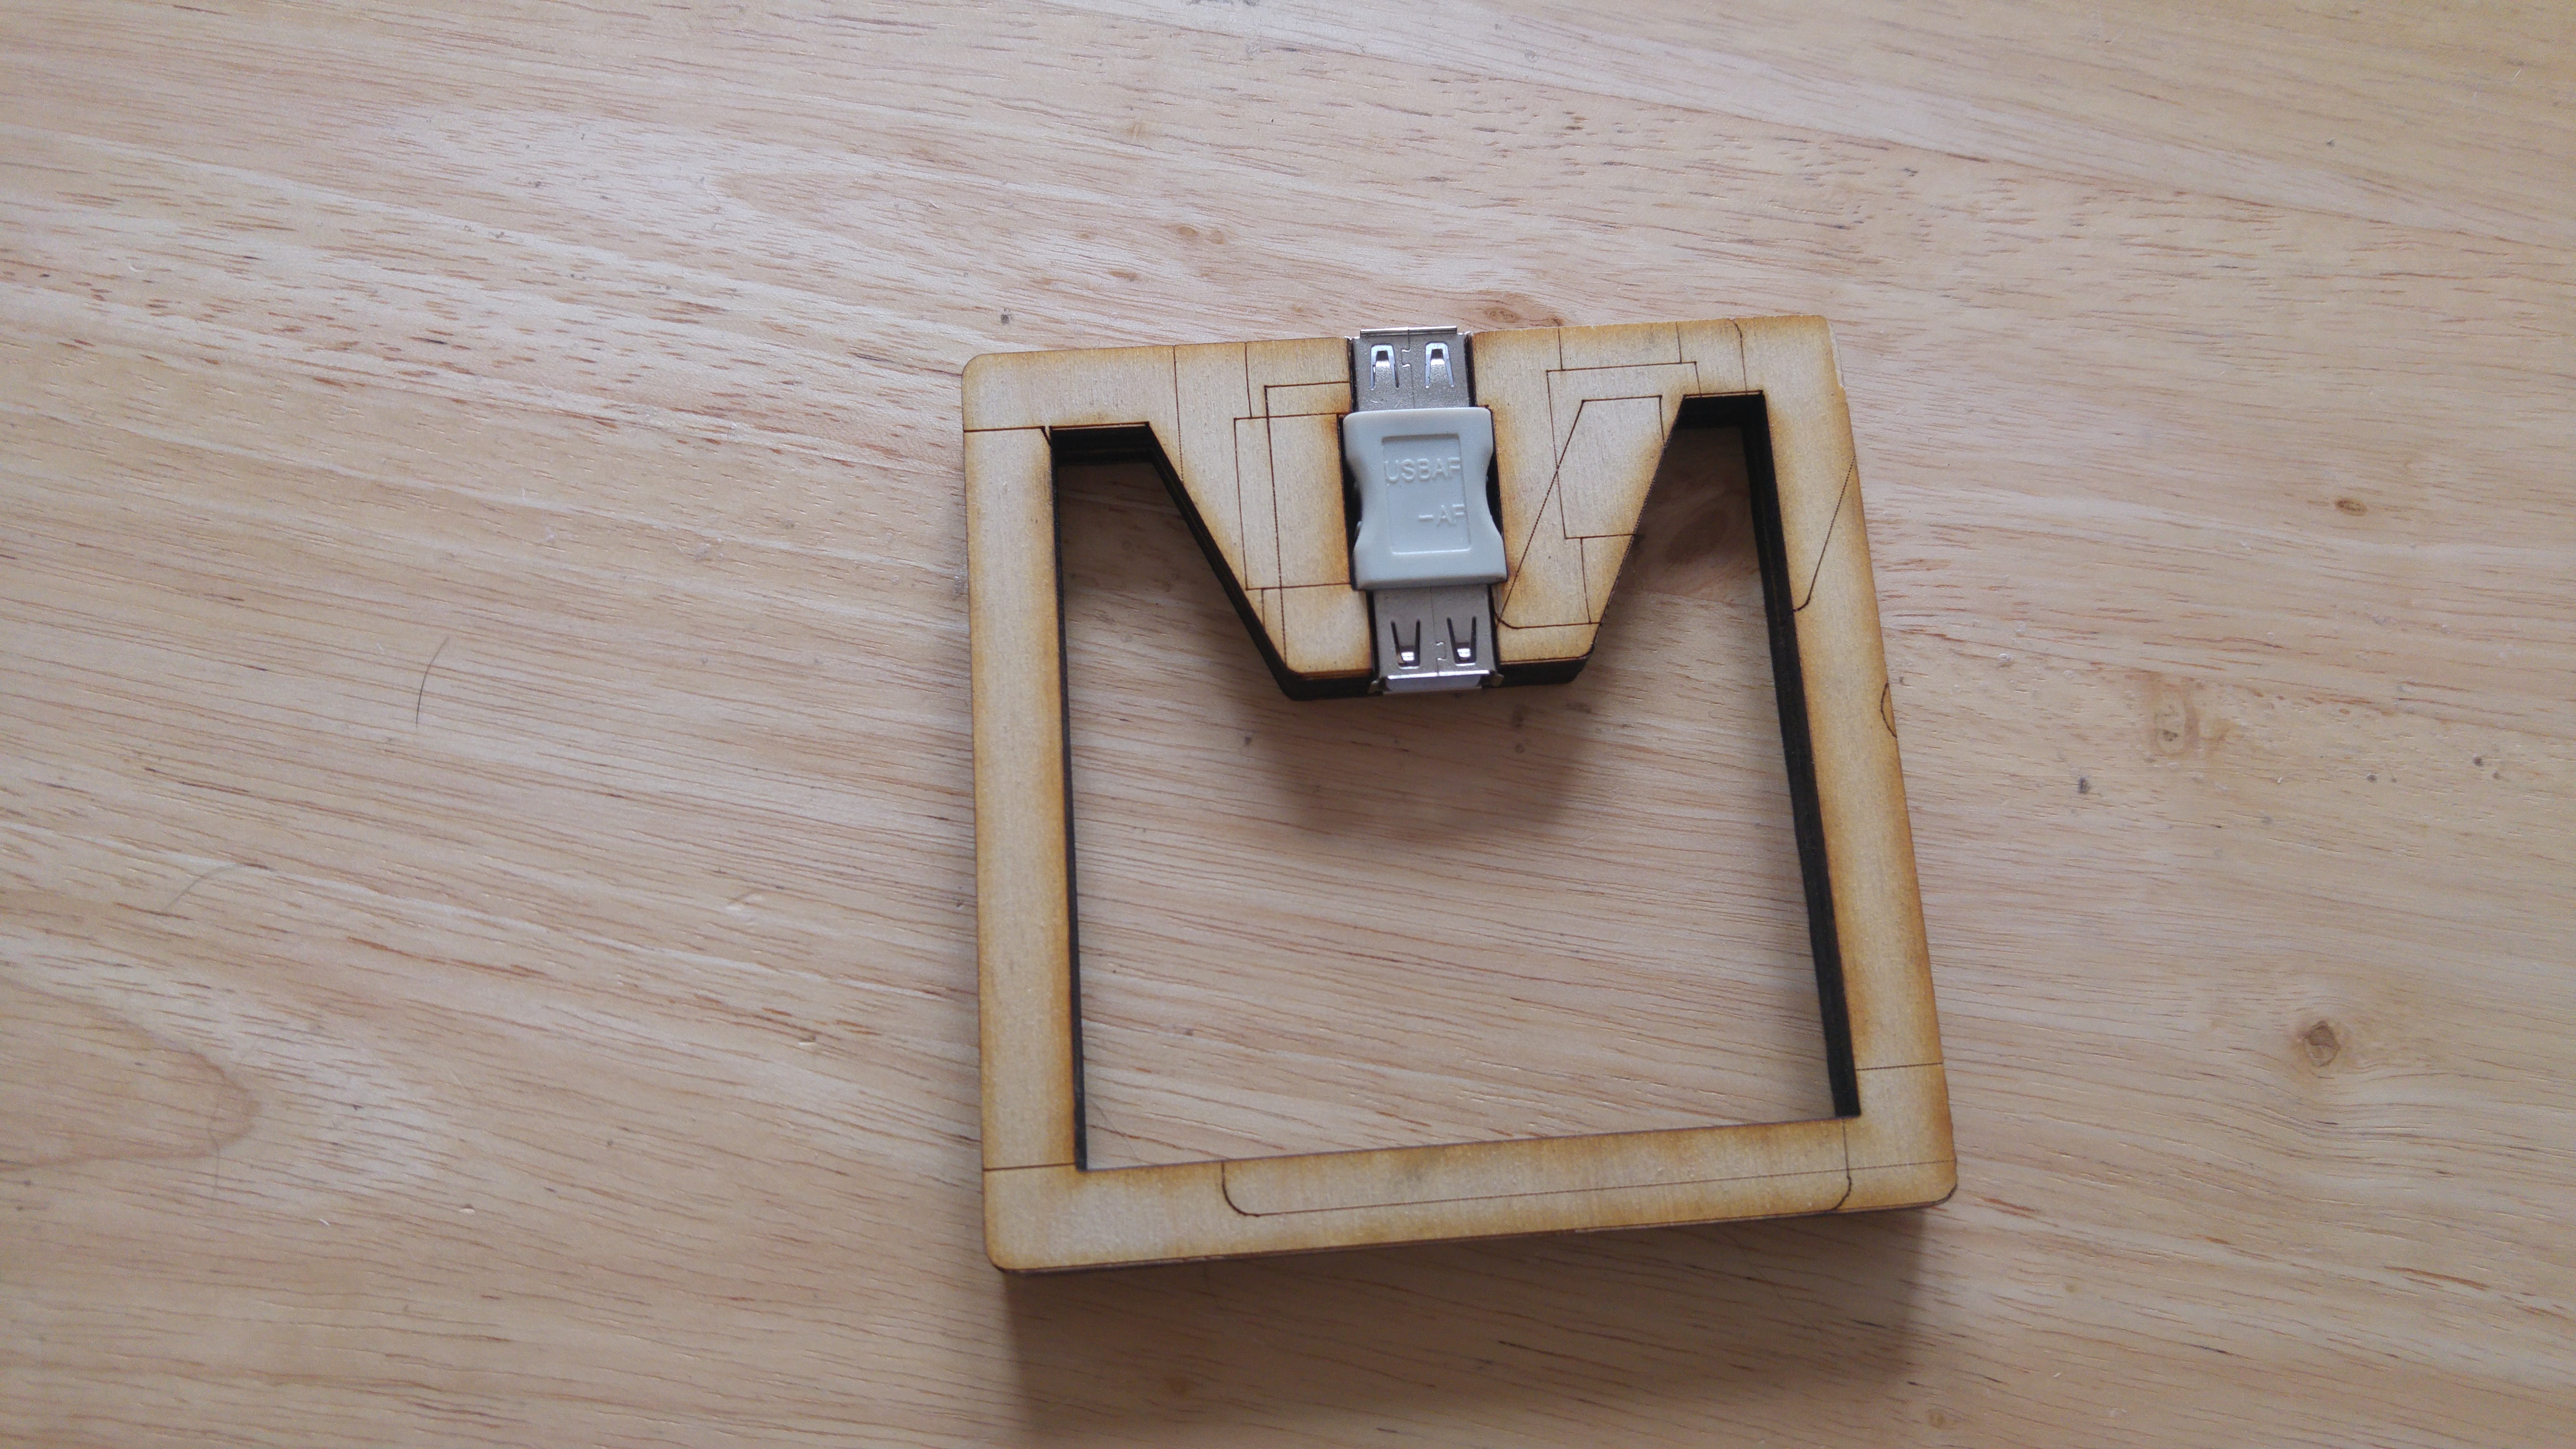
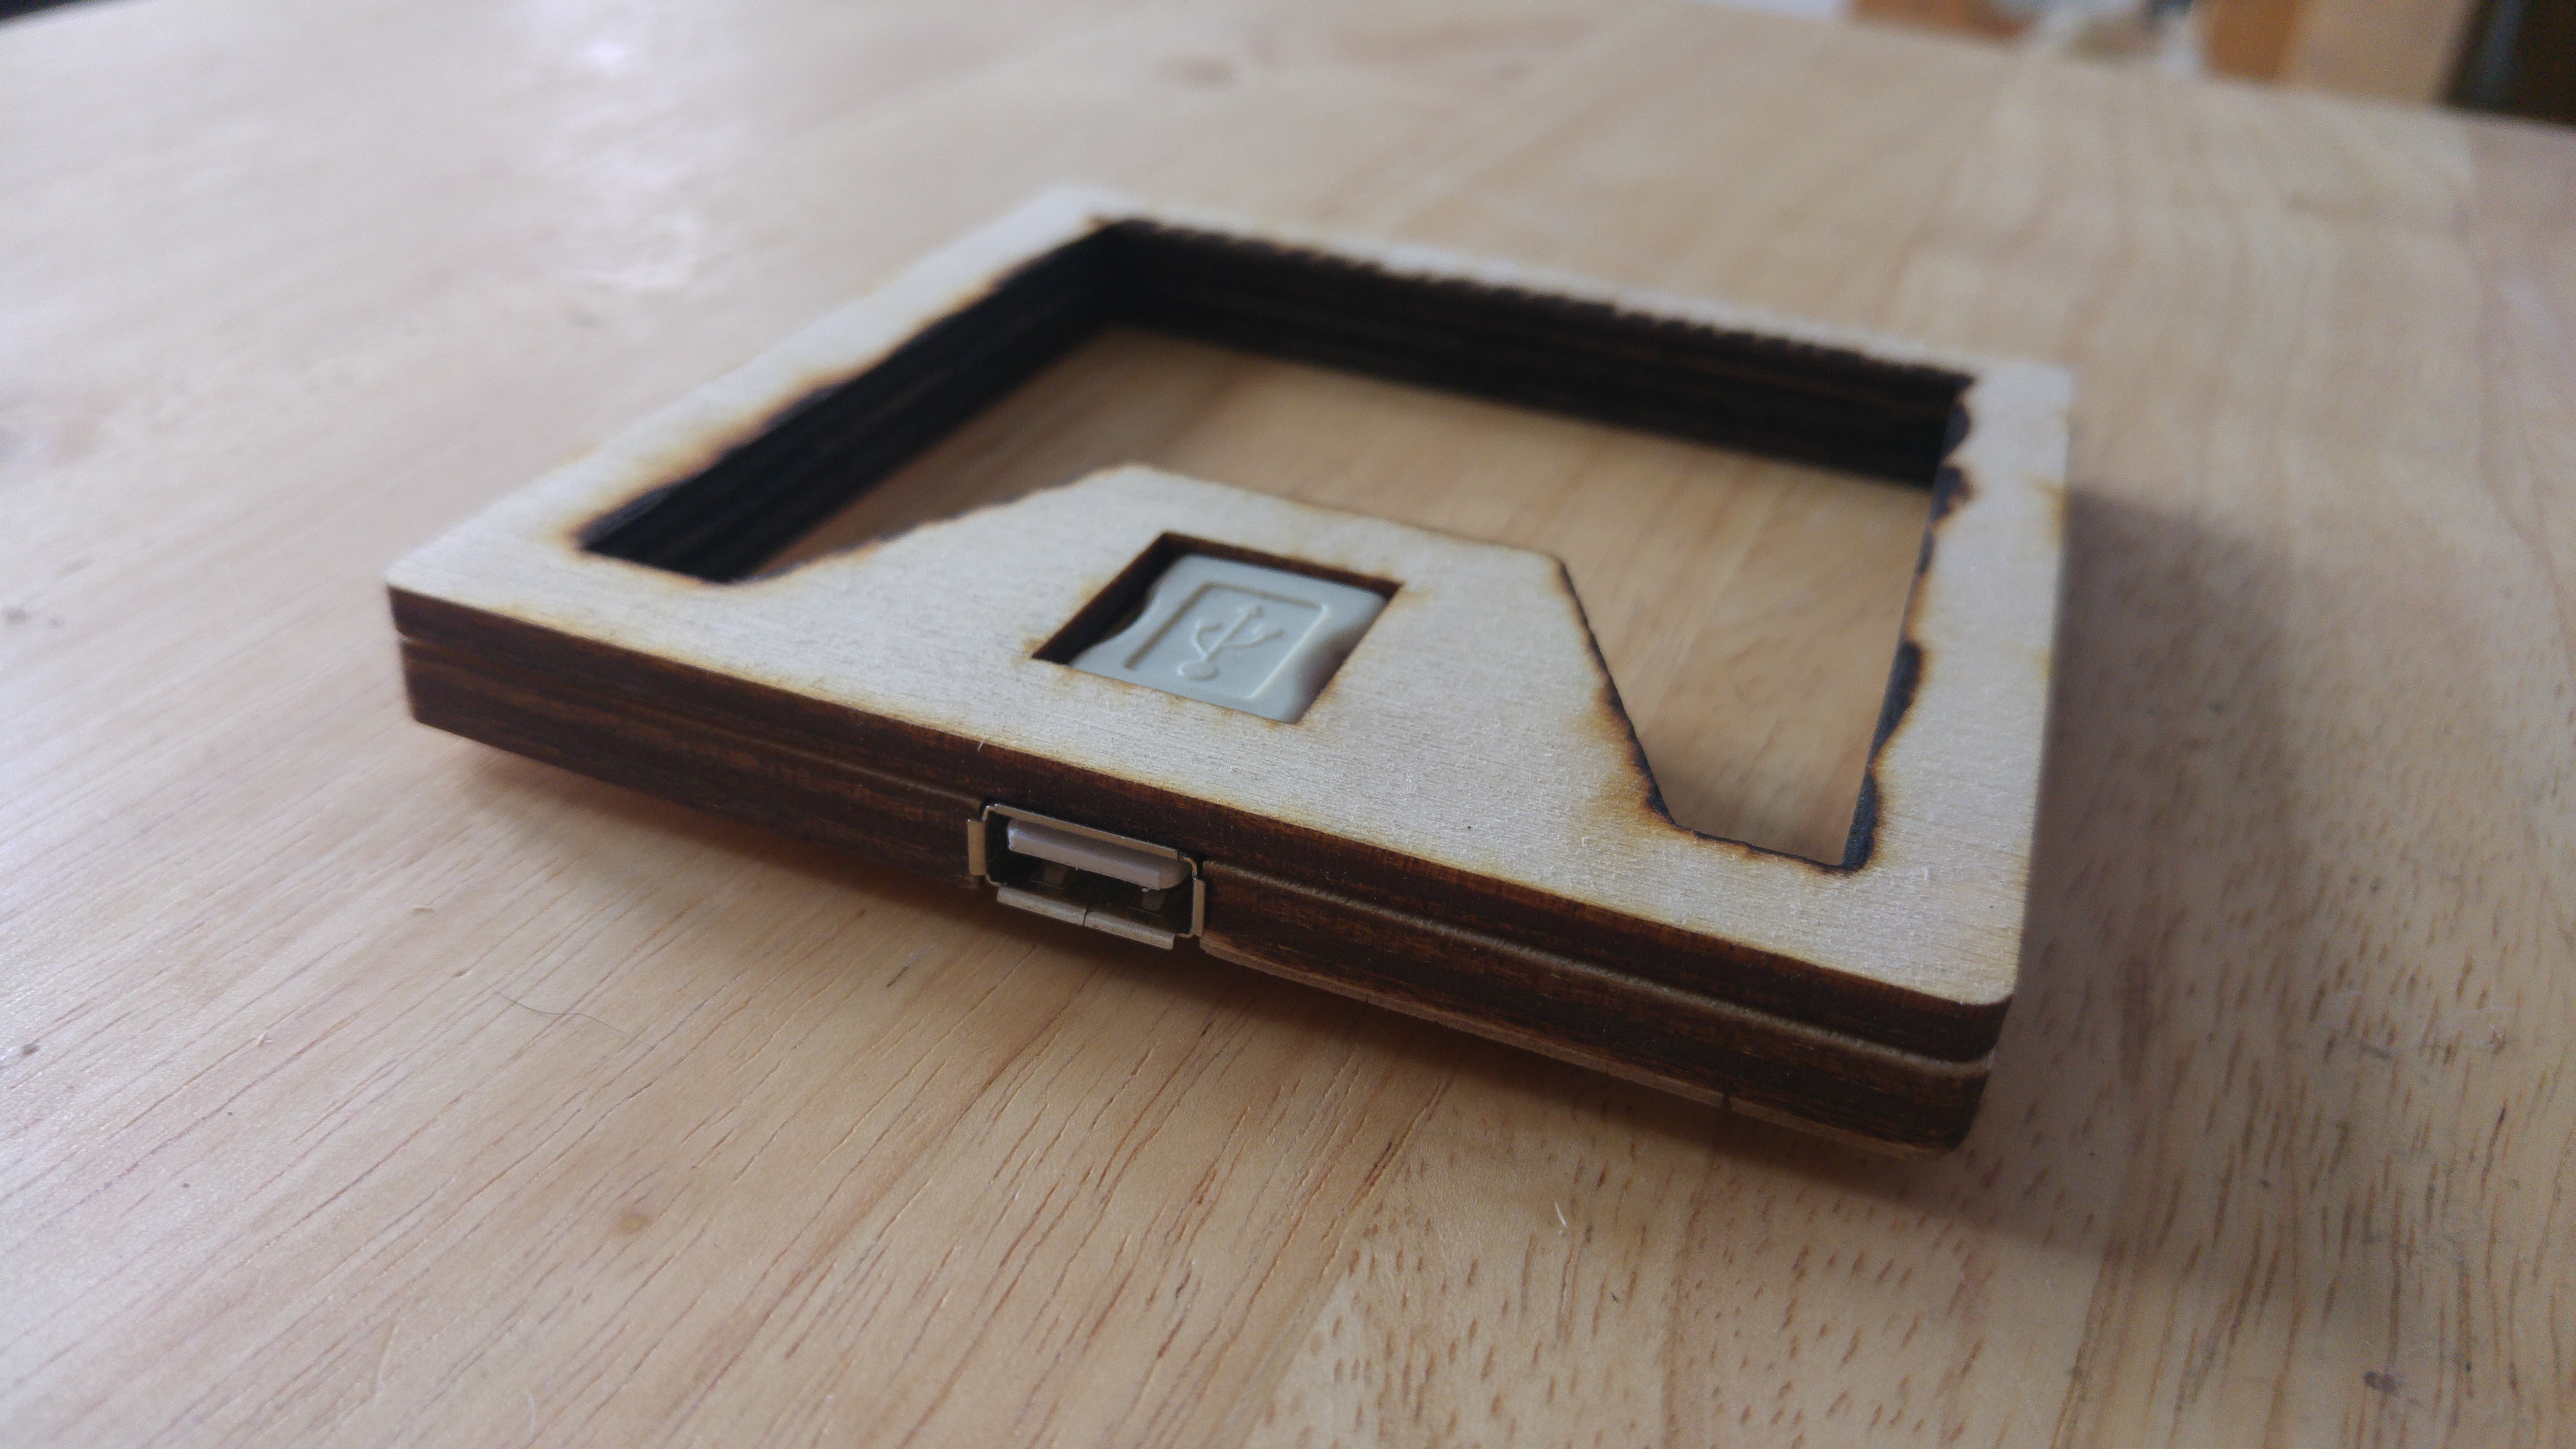
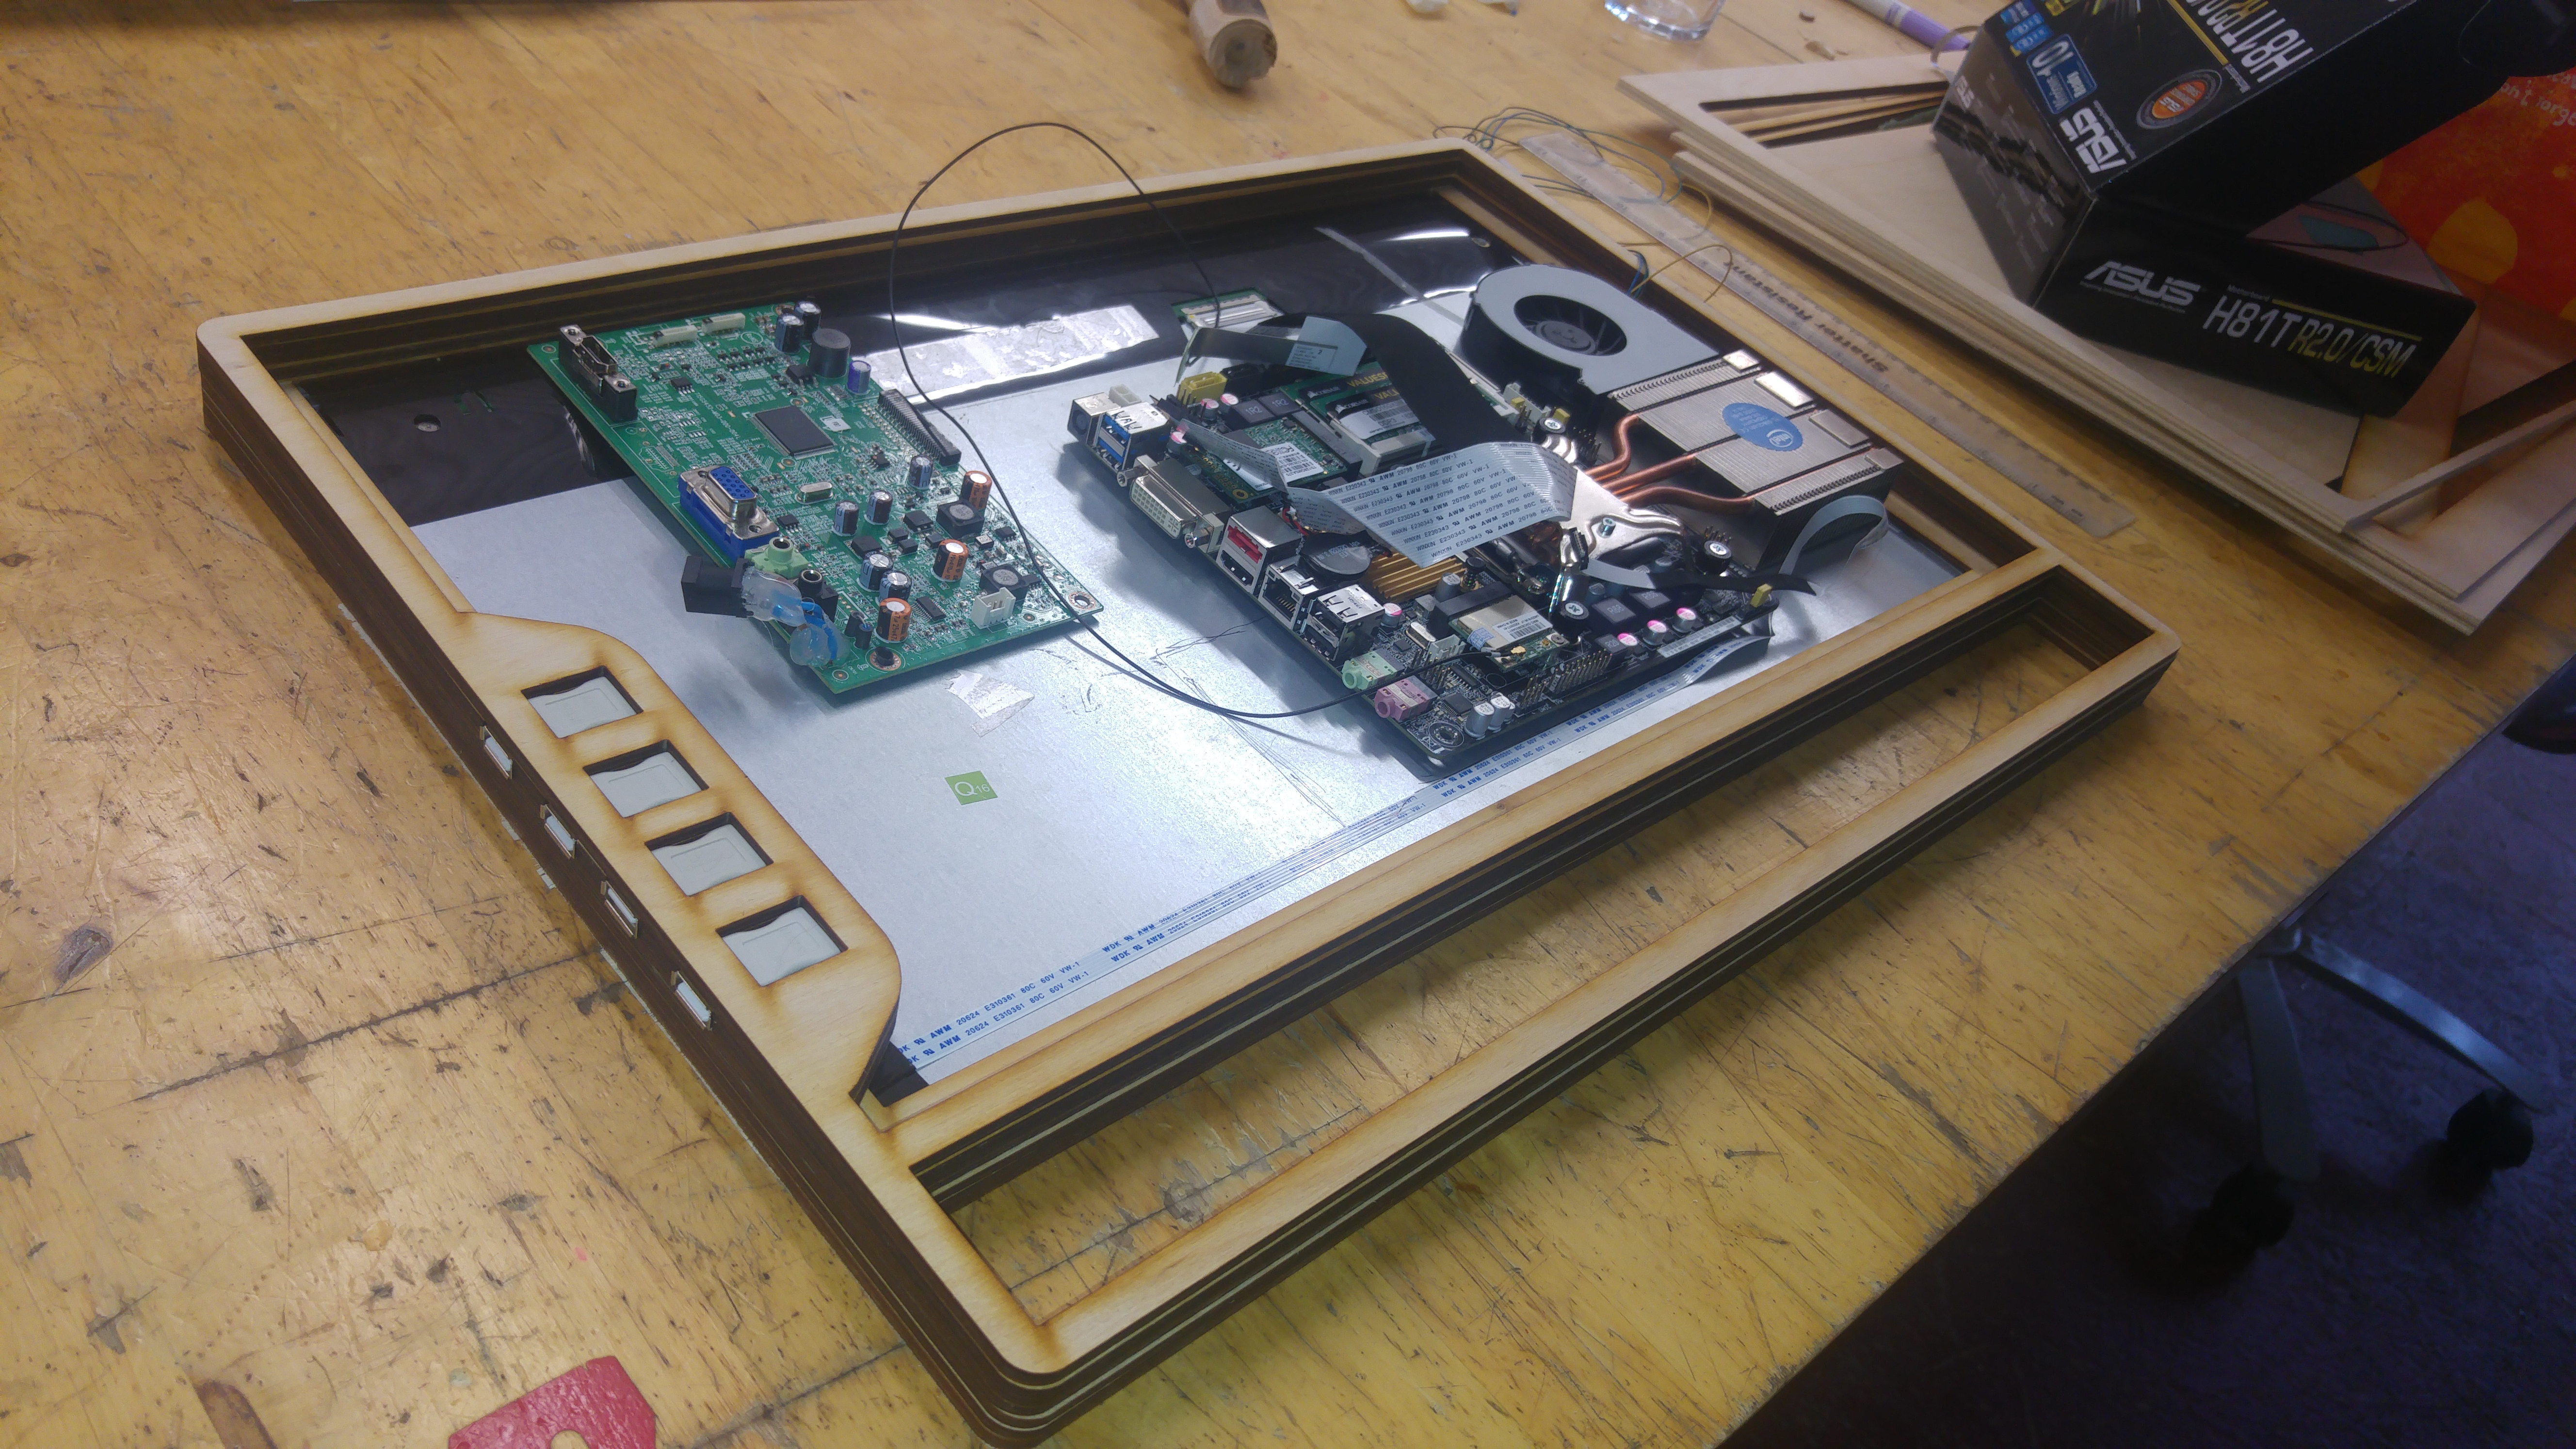
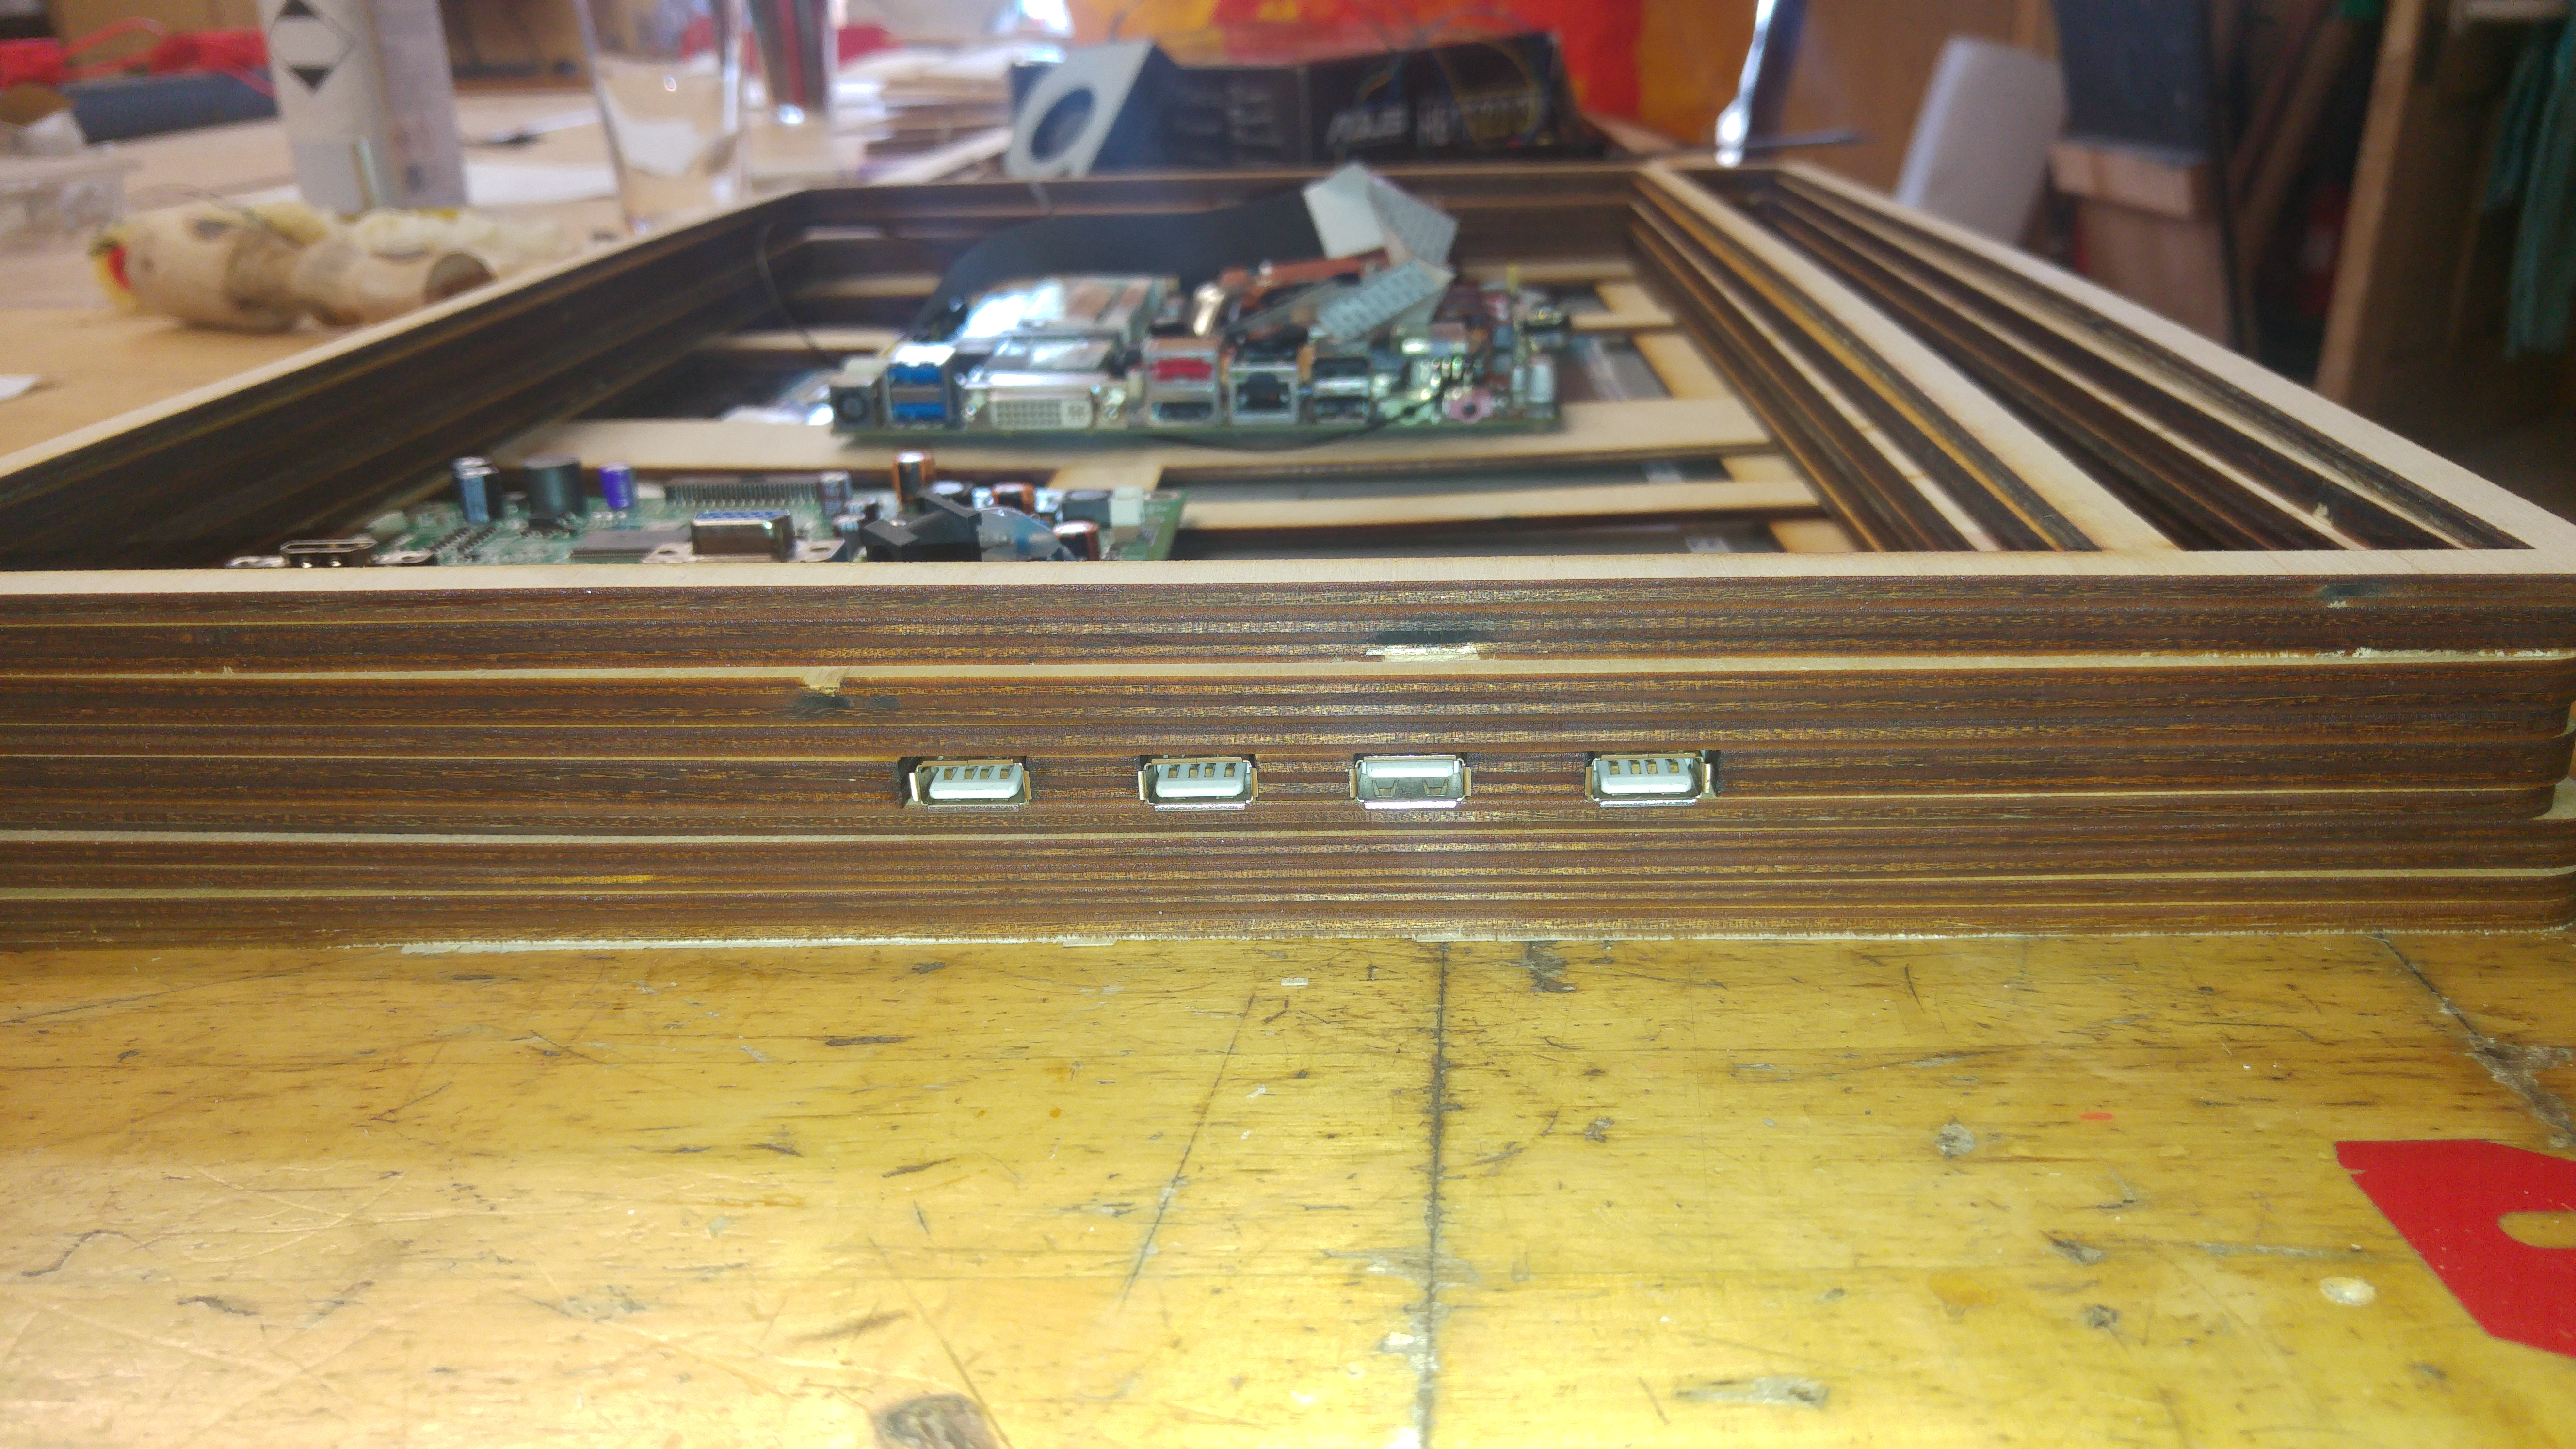
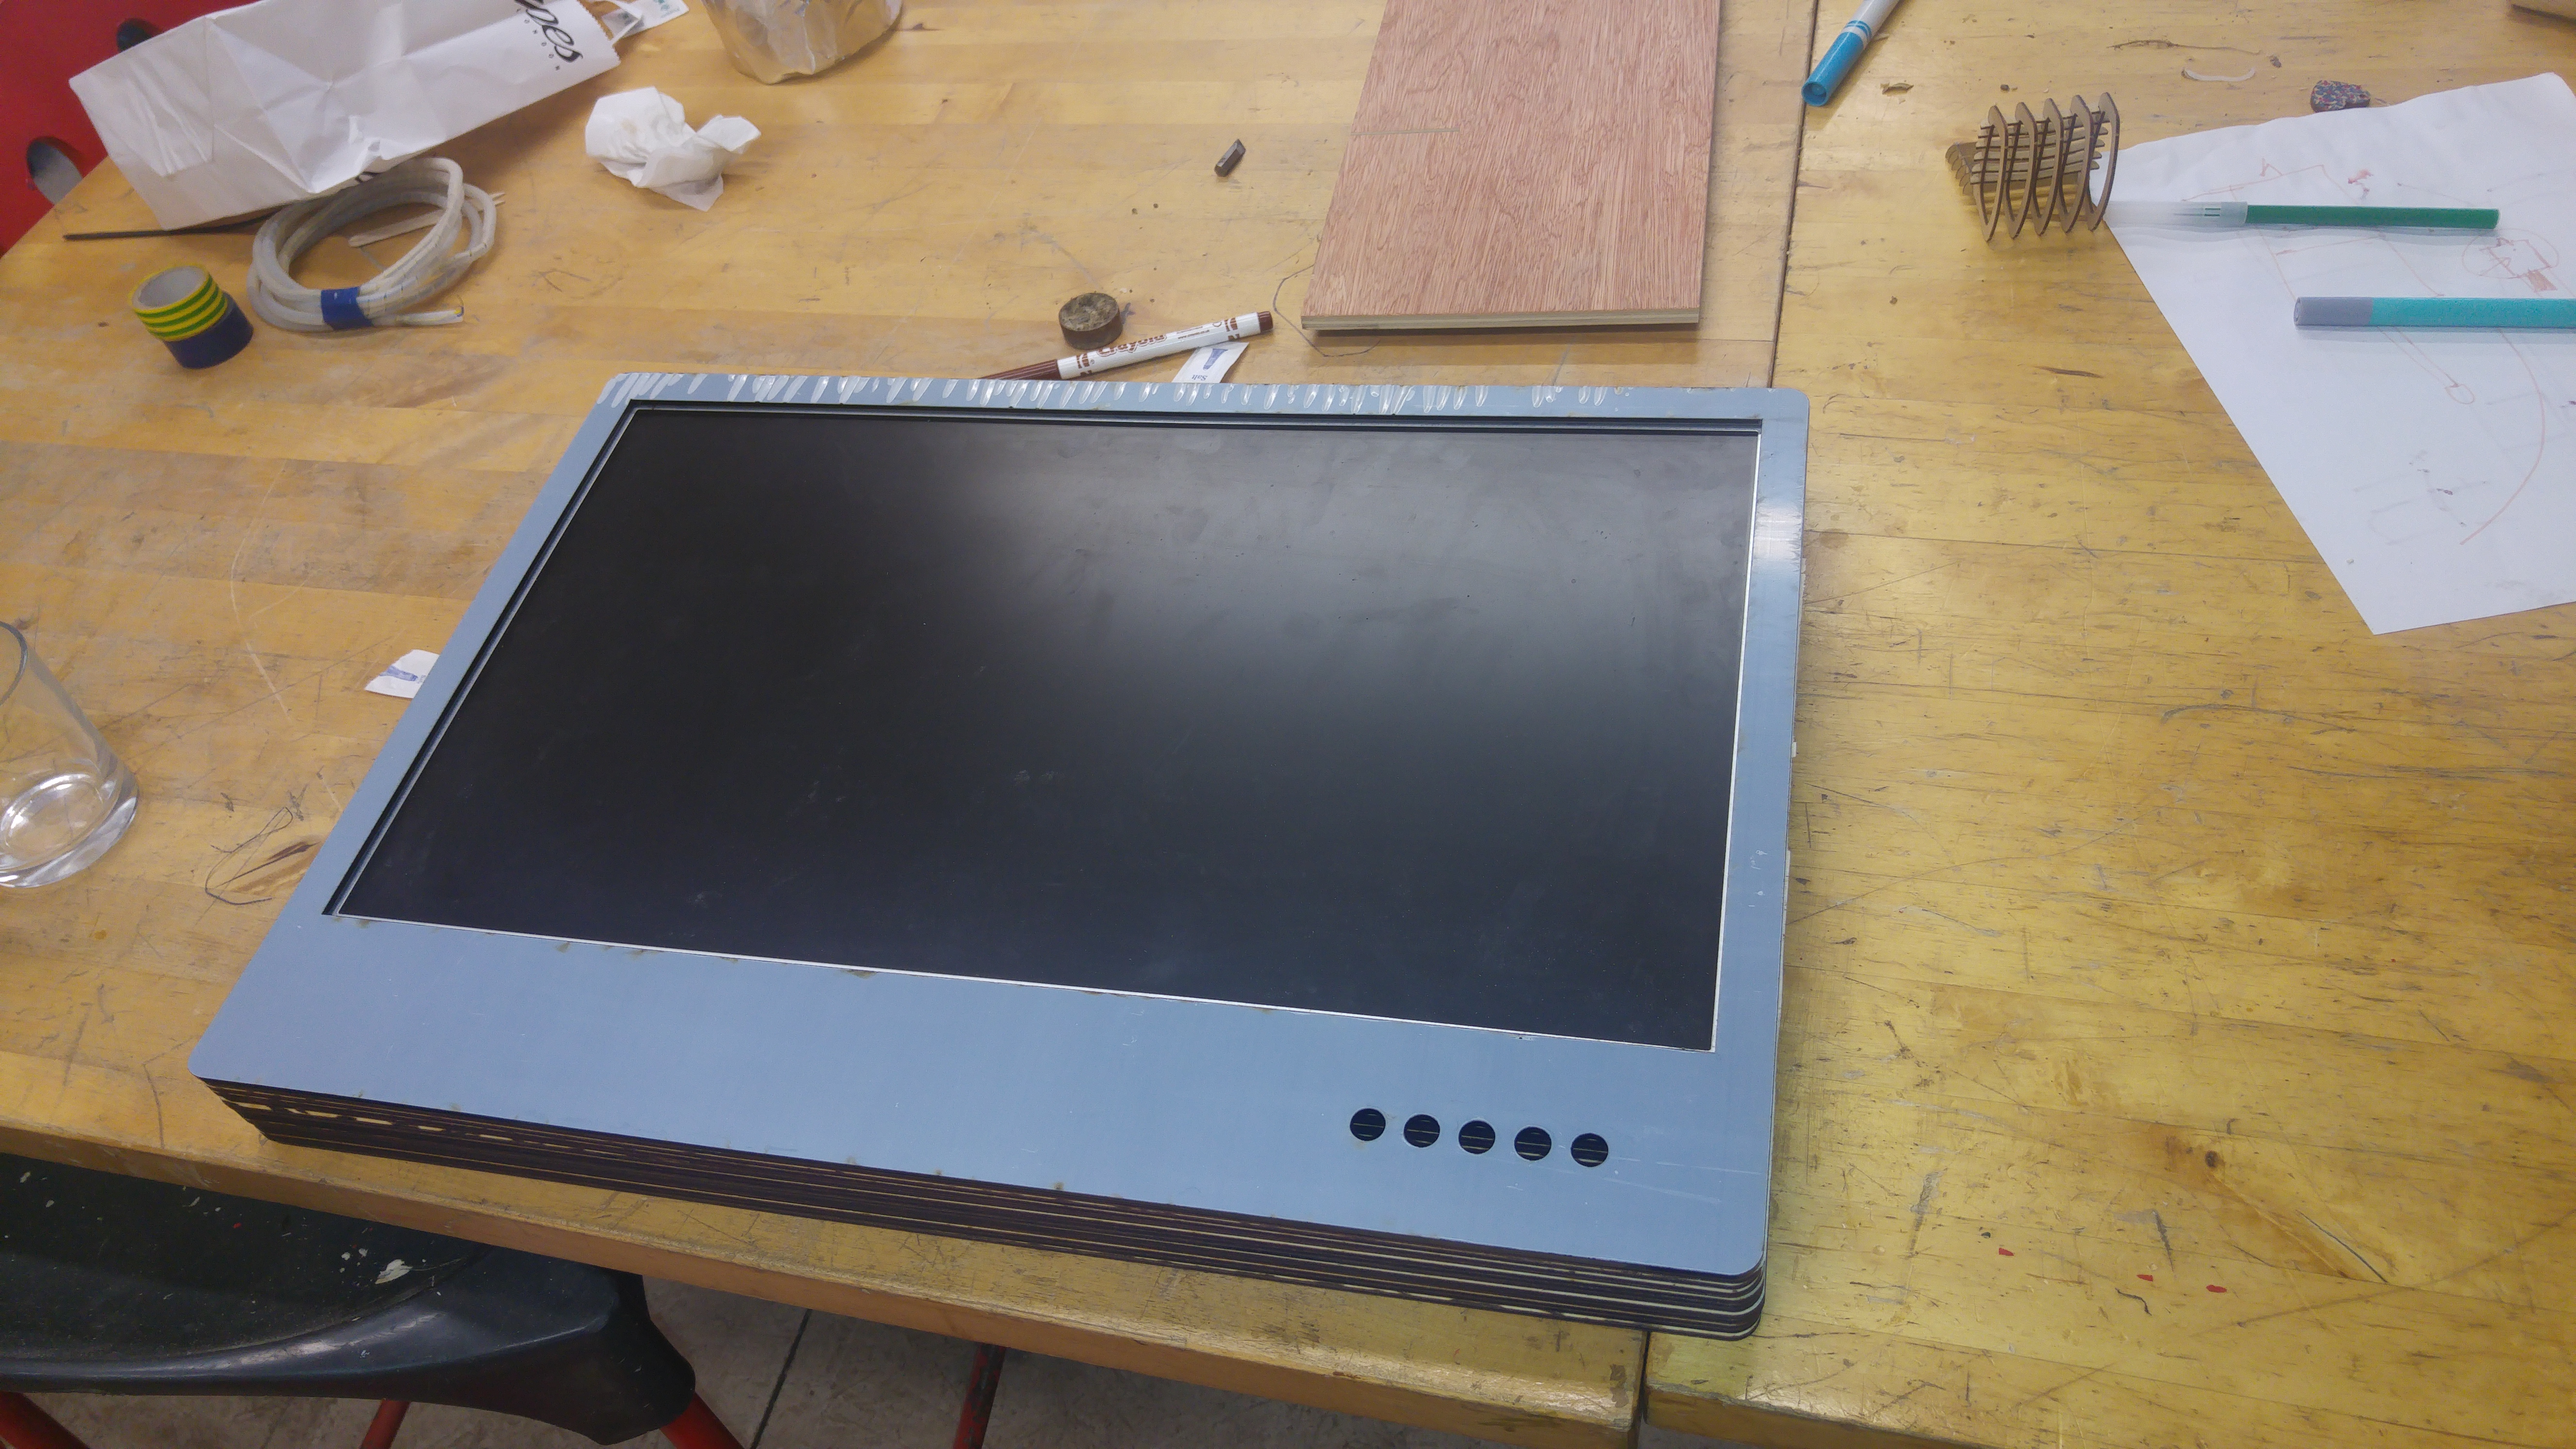
Anyway it turned out ok but it was a bit on the heavy side. So one of my 1st laser cutting jobs will be to rebuild the frame. Hopefully it will look something like this.

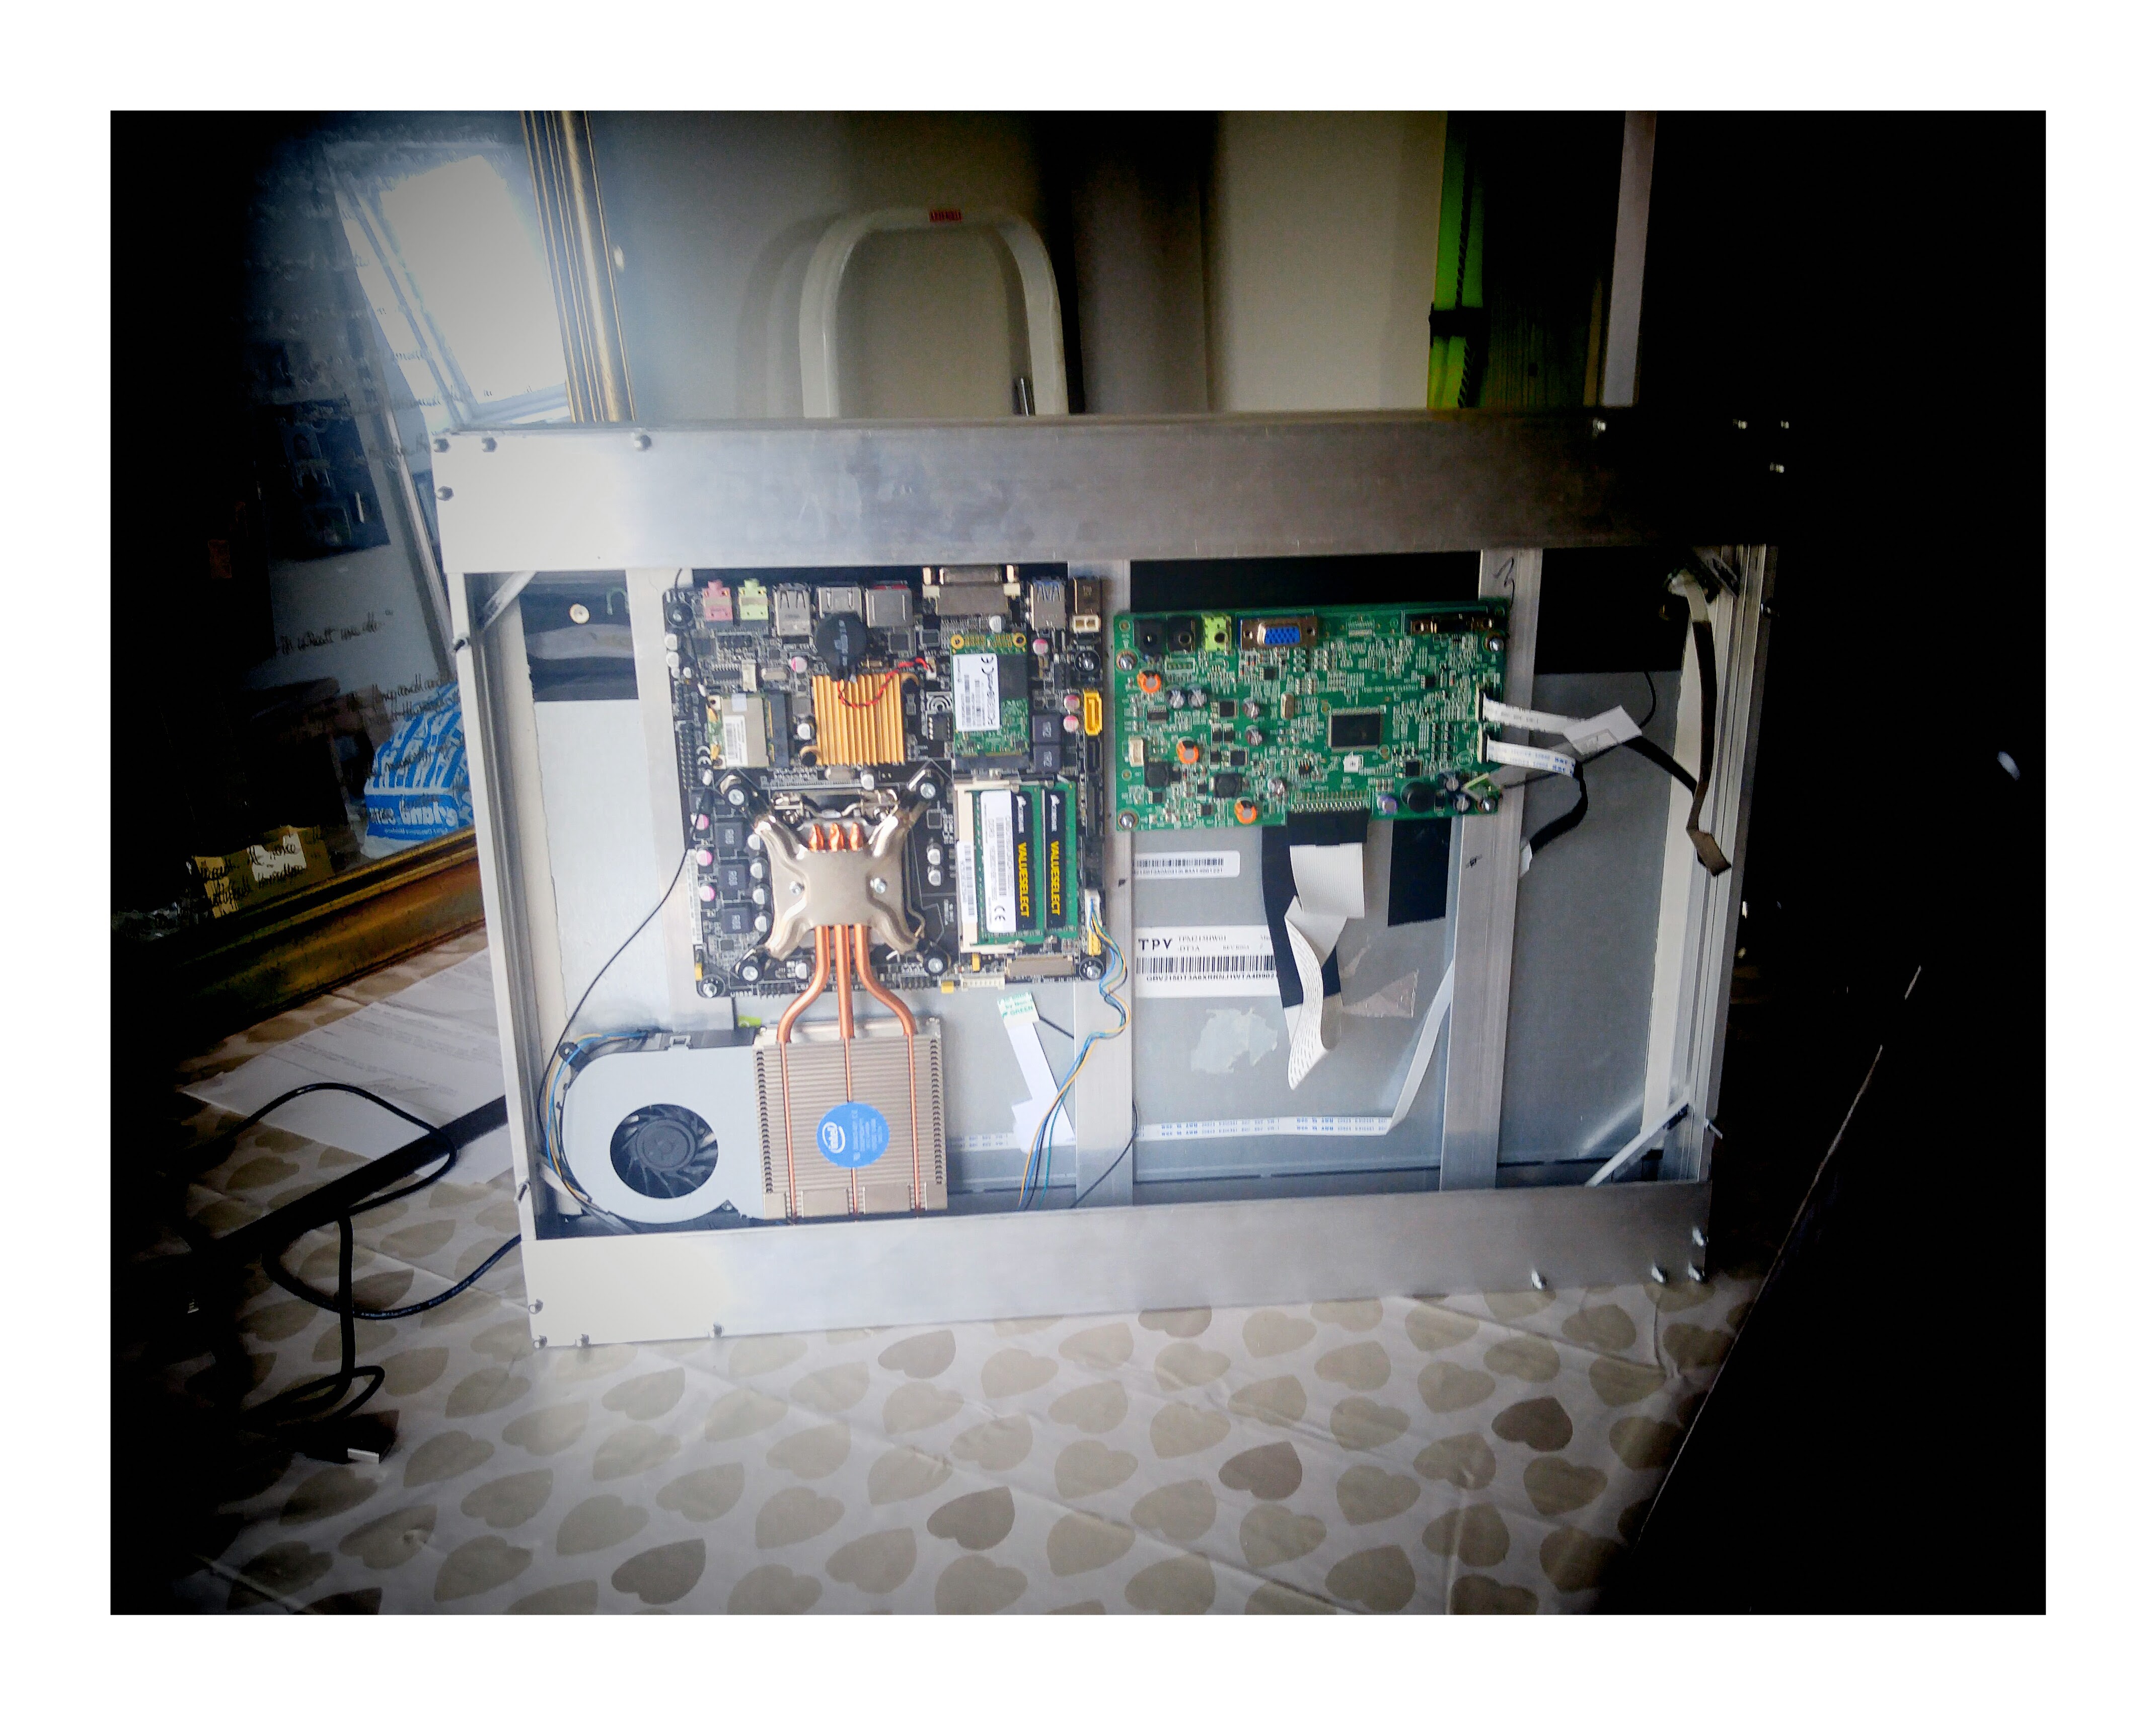
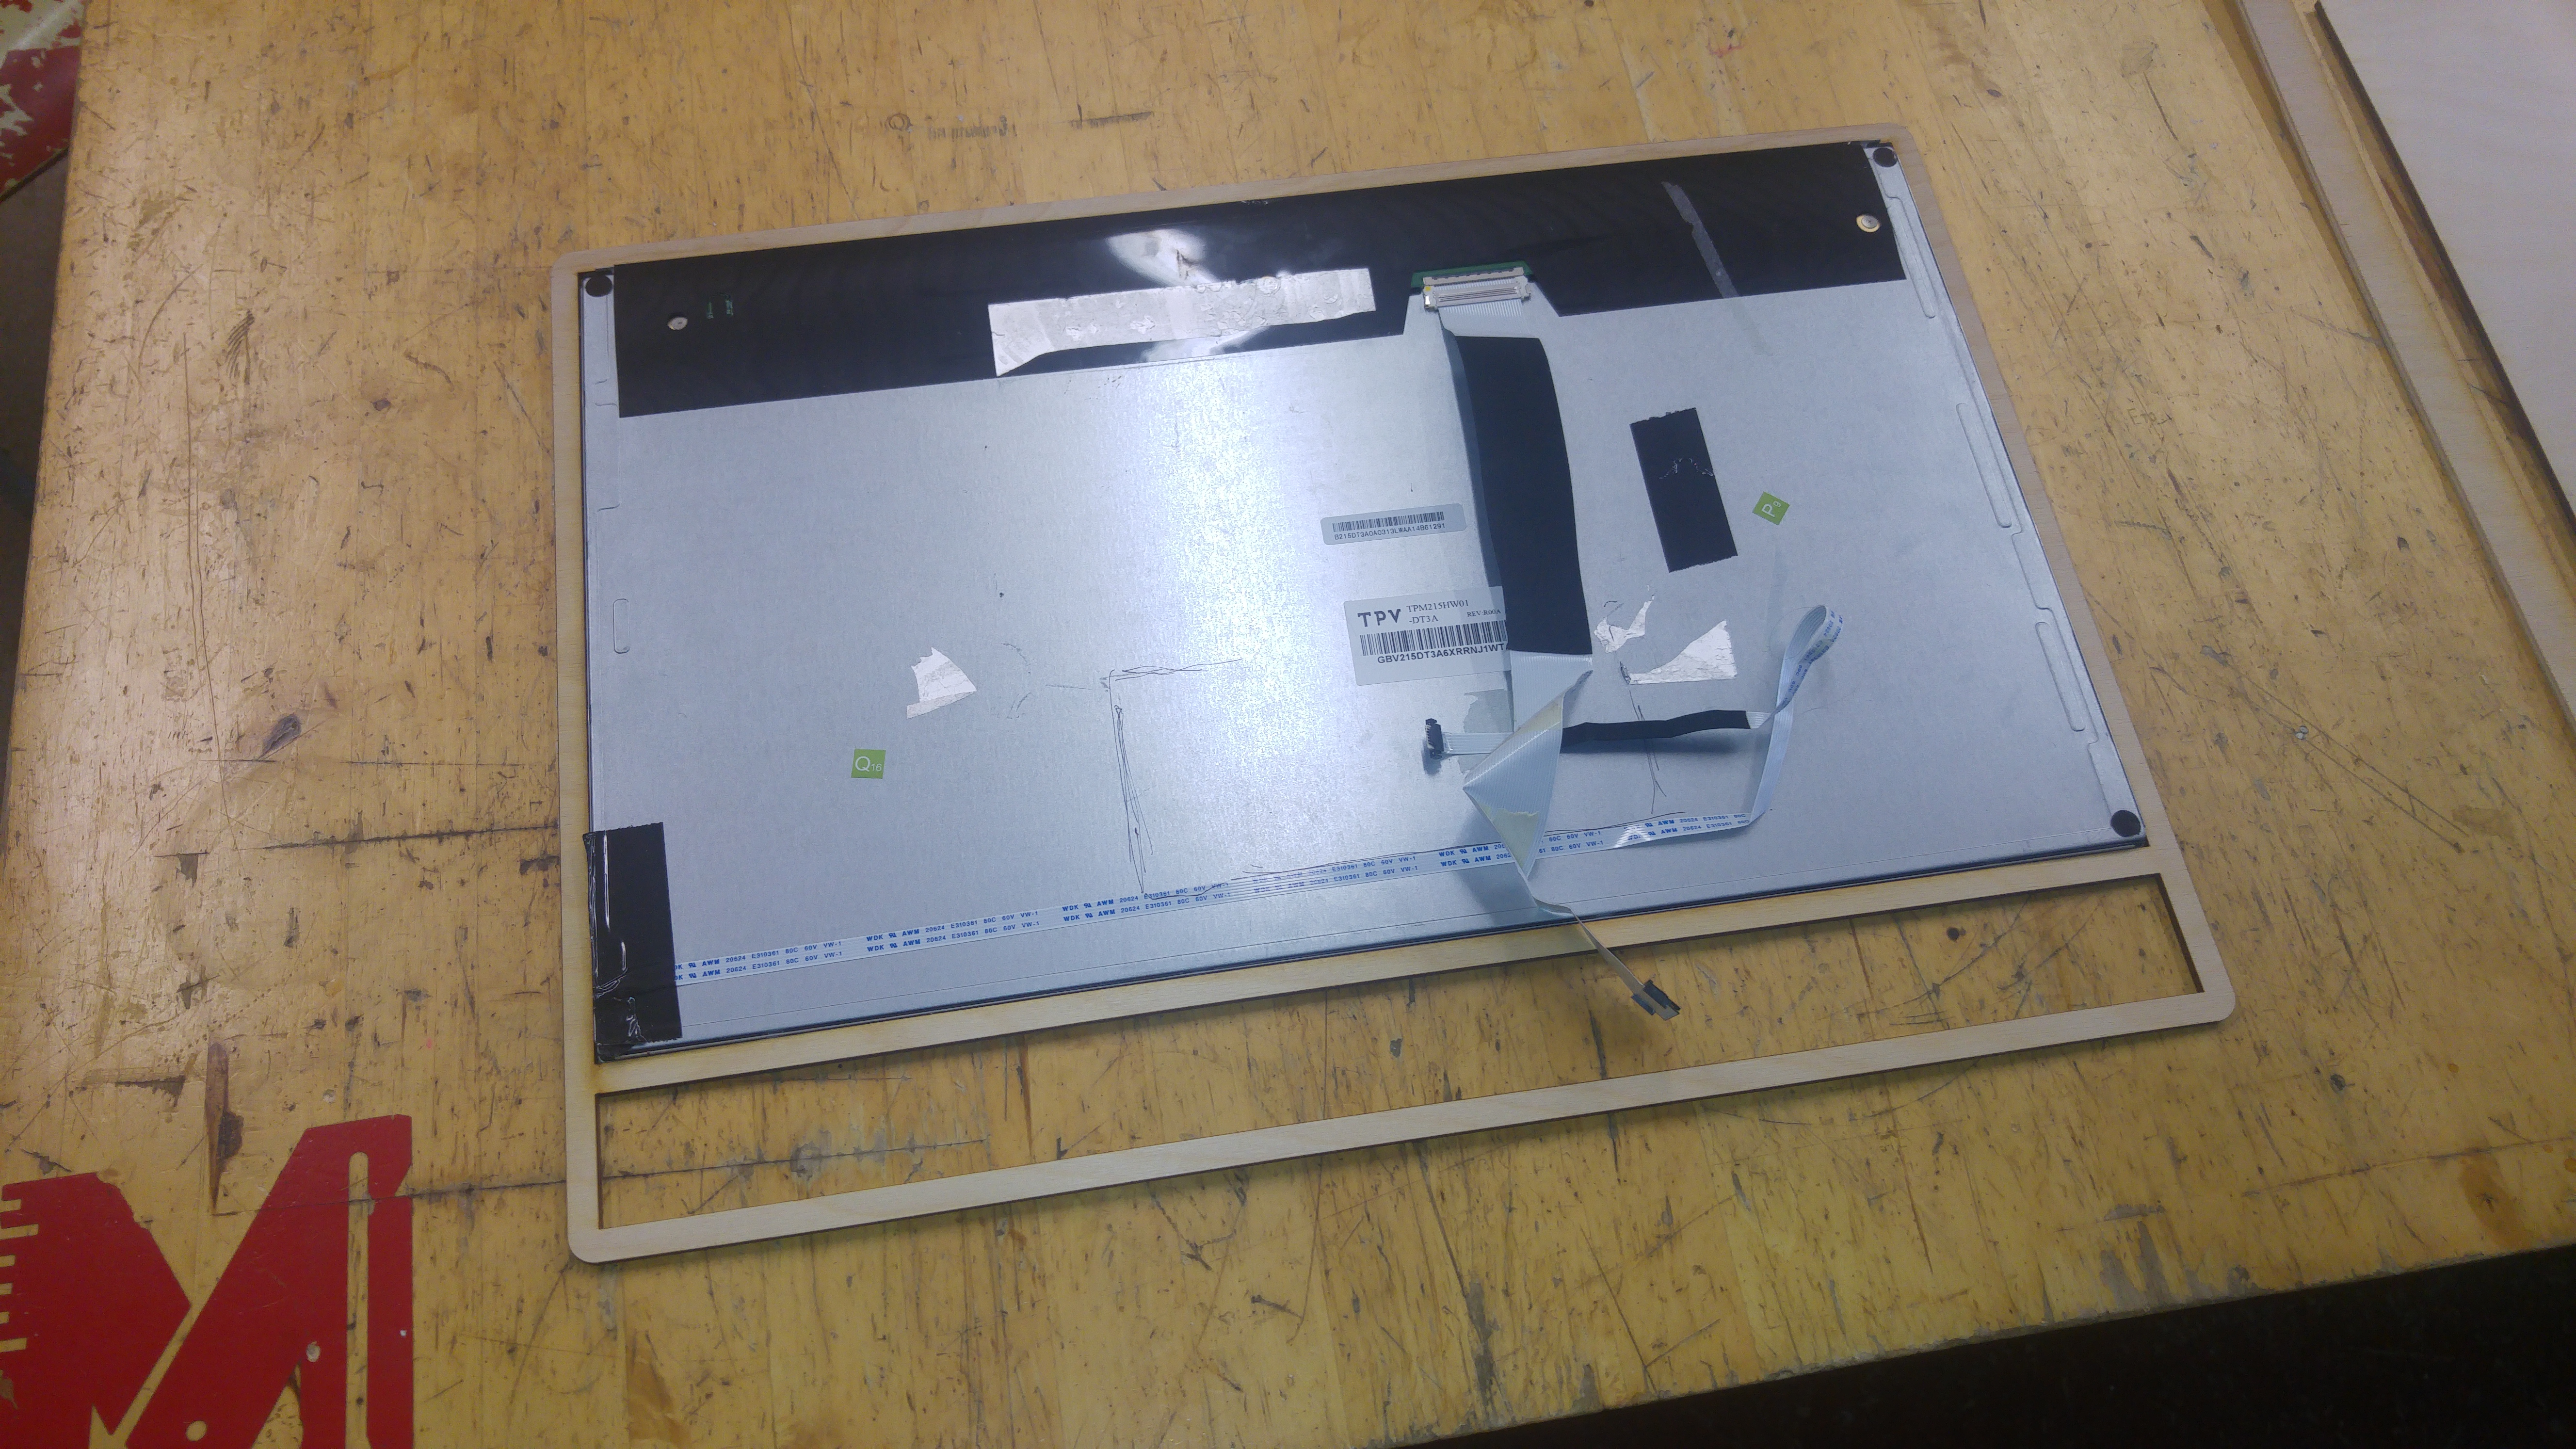
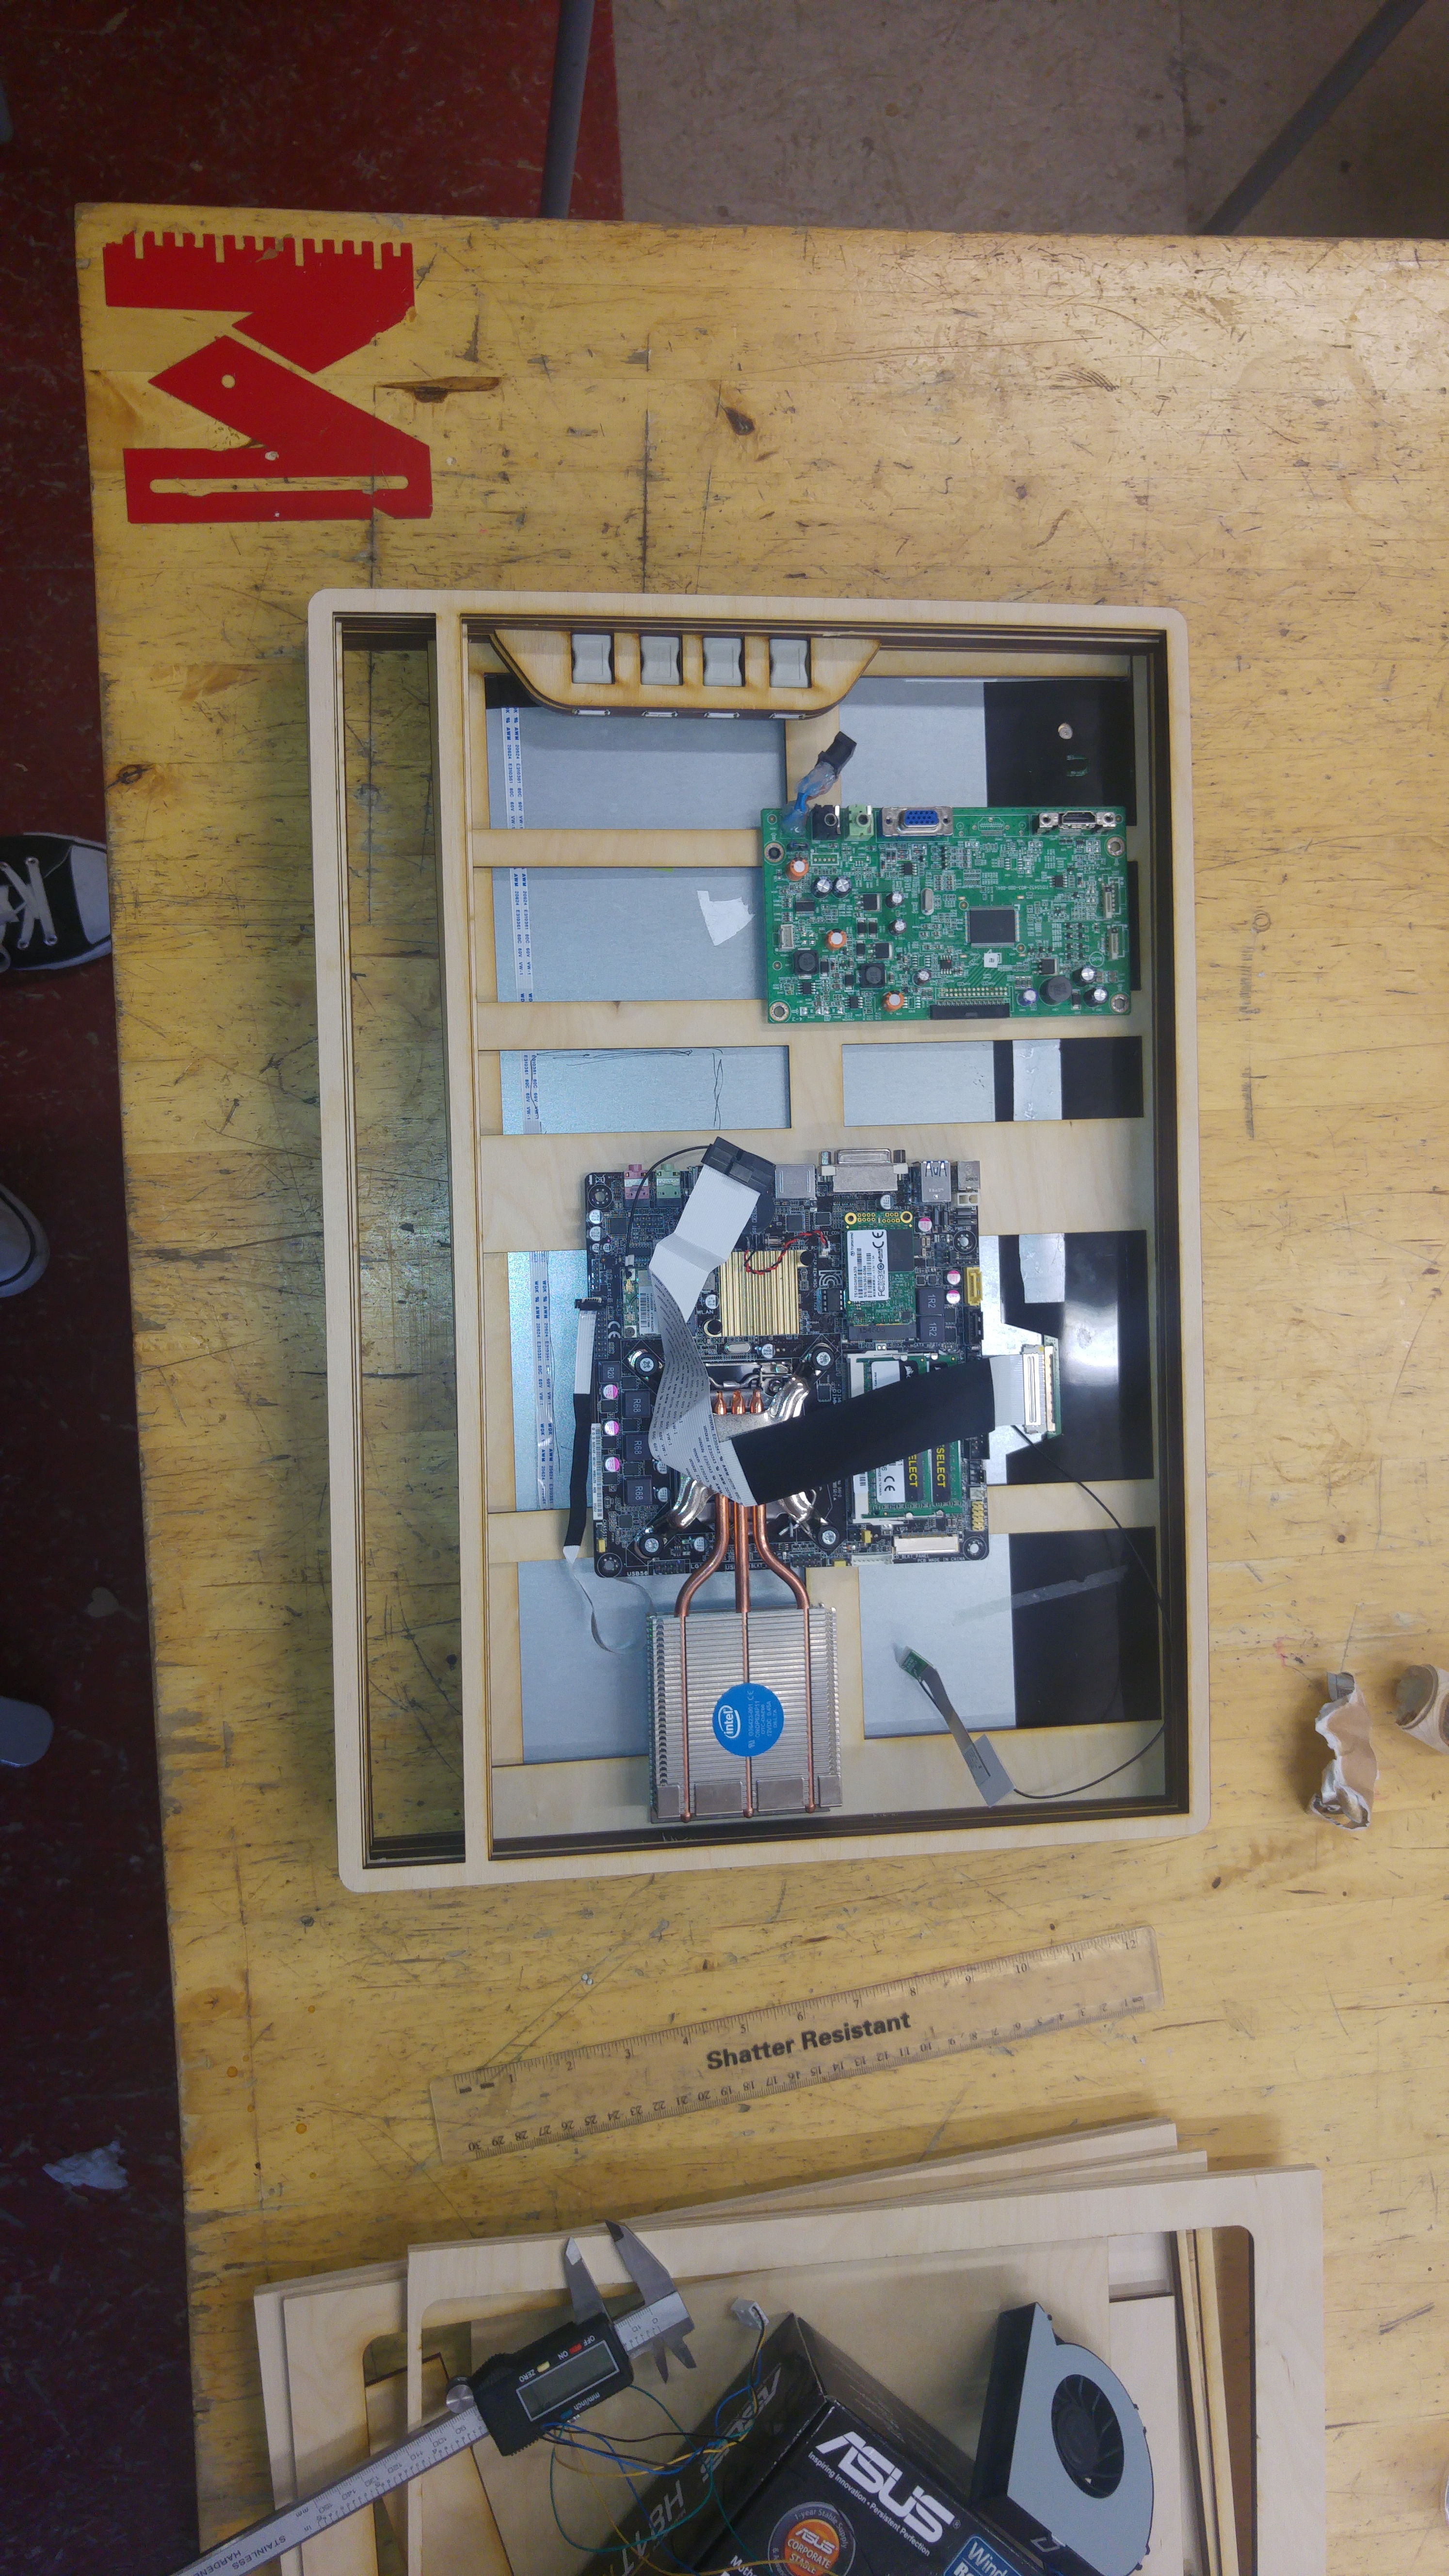
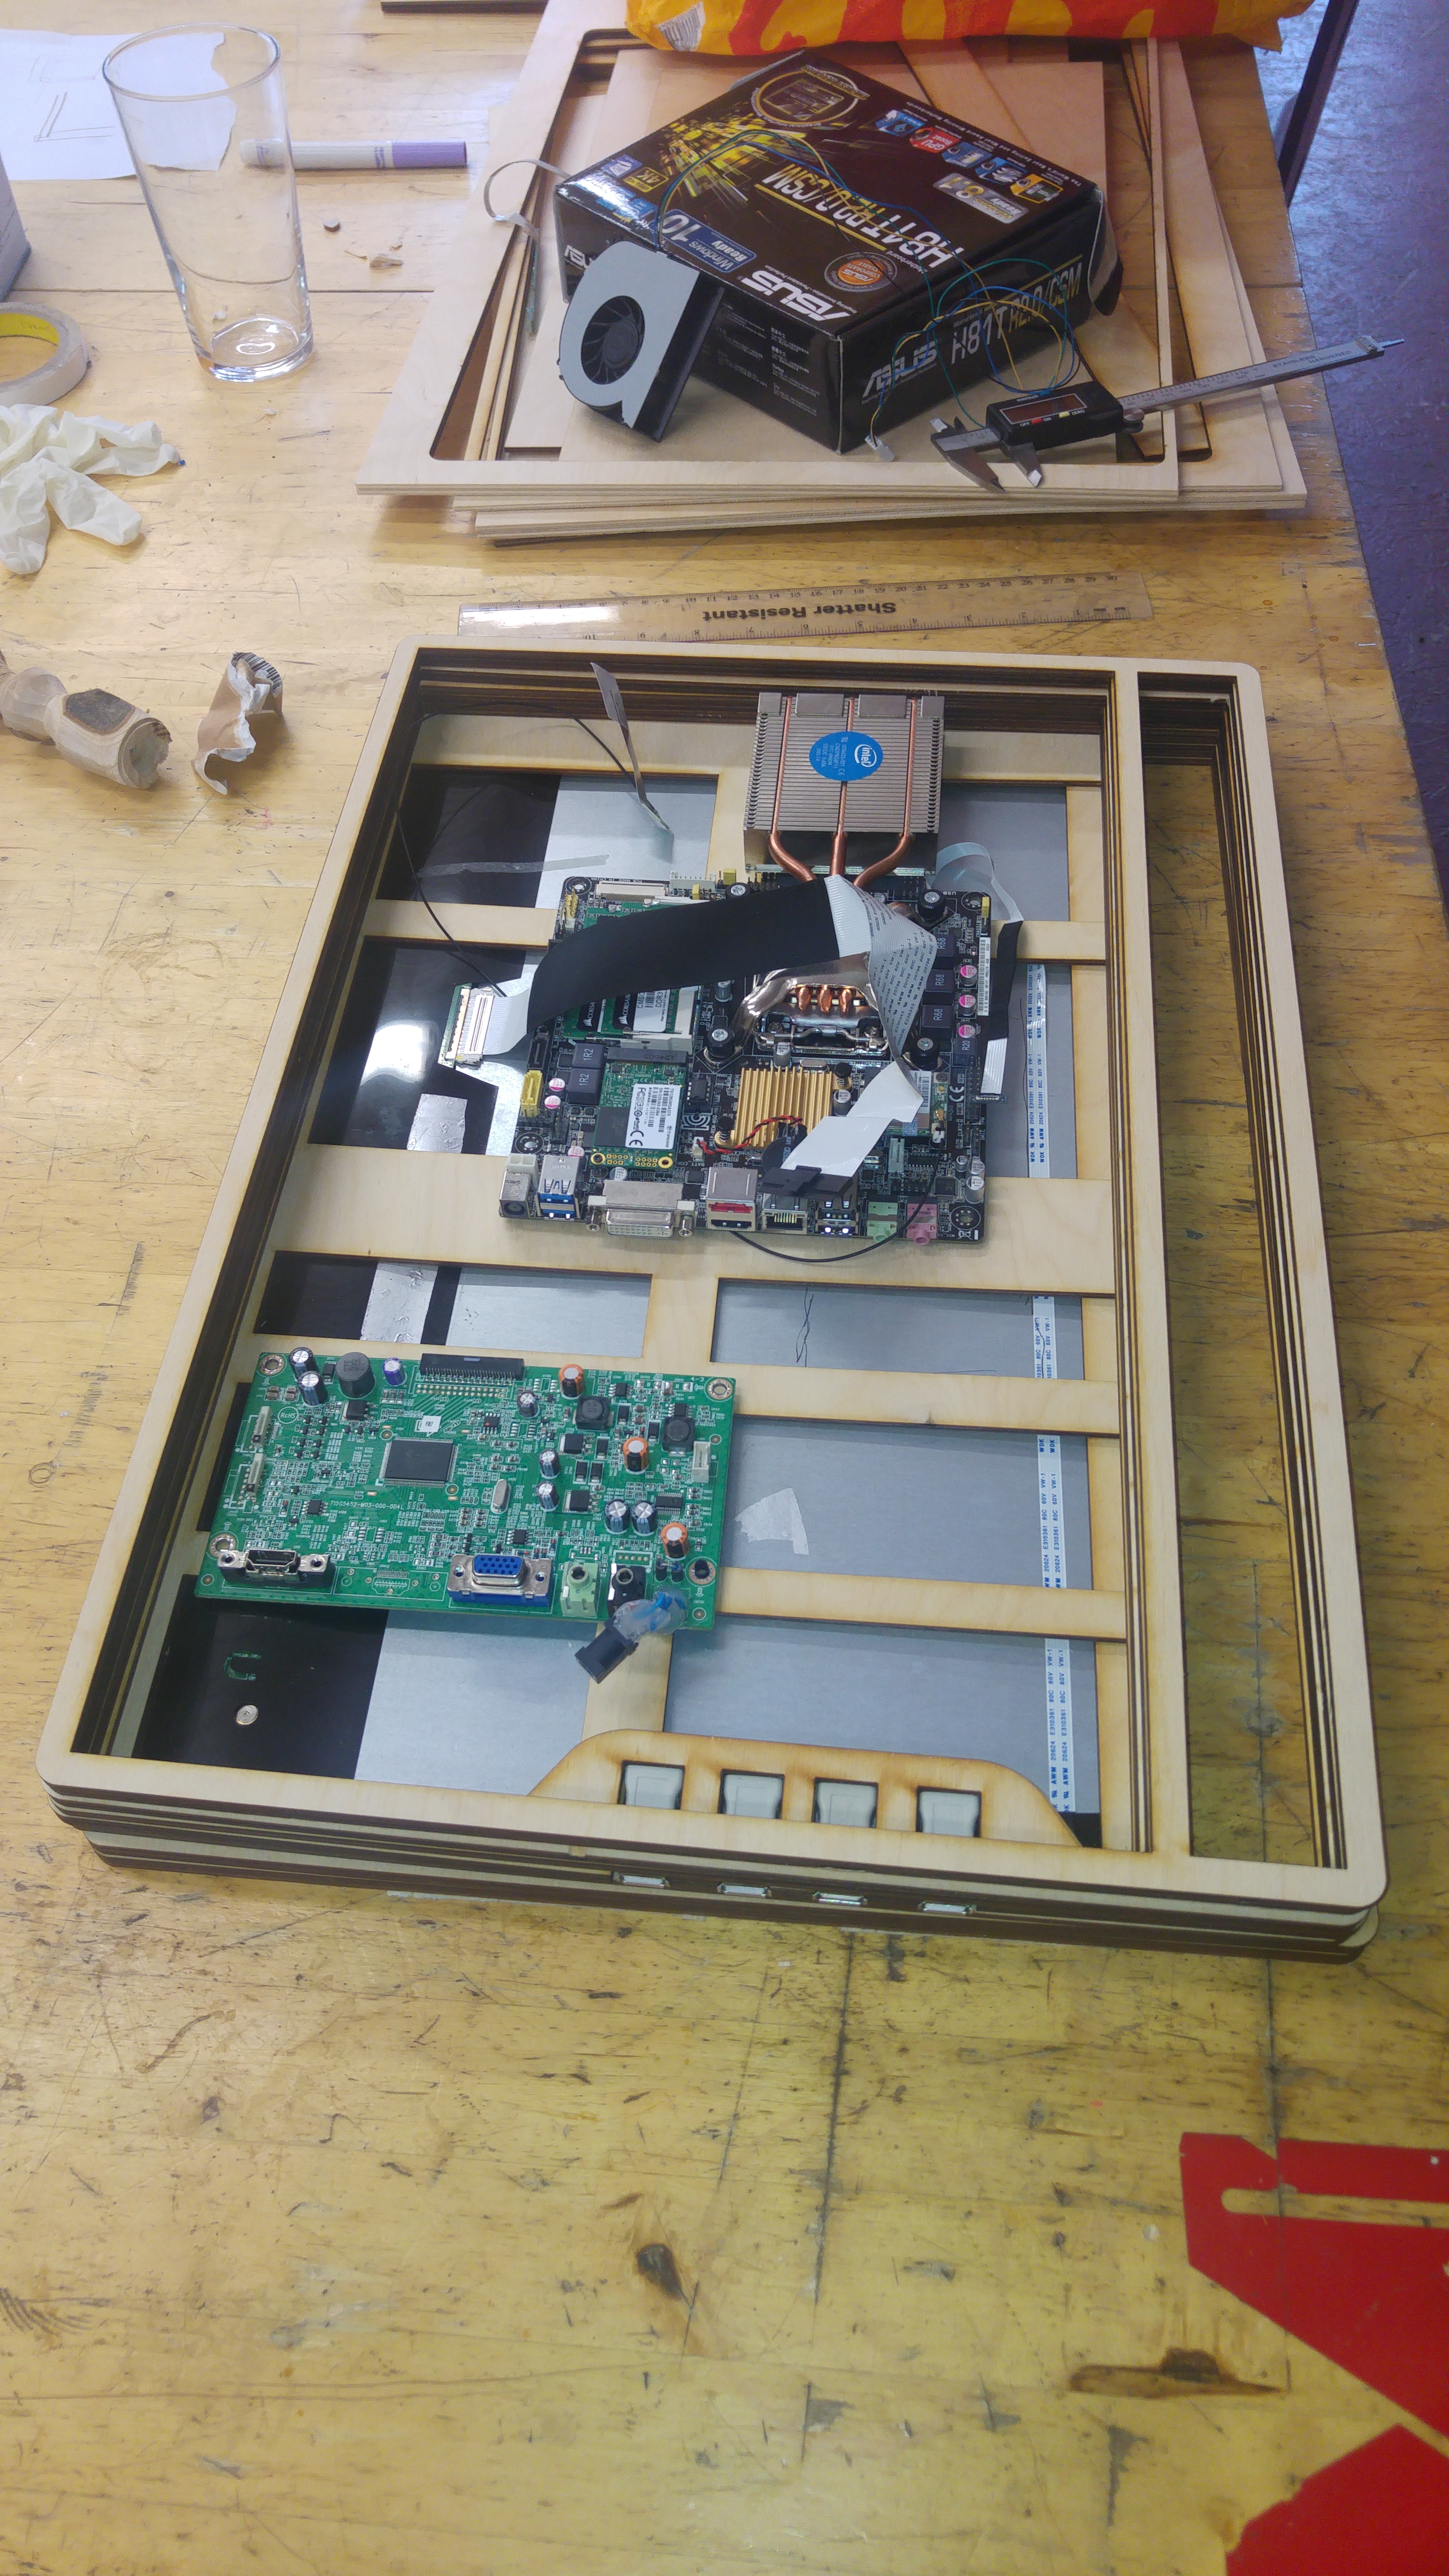
I have one slight issue I am trying to get my head around. The screen controls are on a touch sensitive board as below.

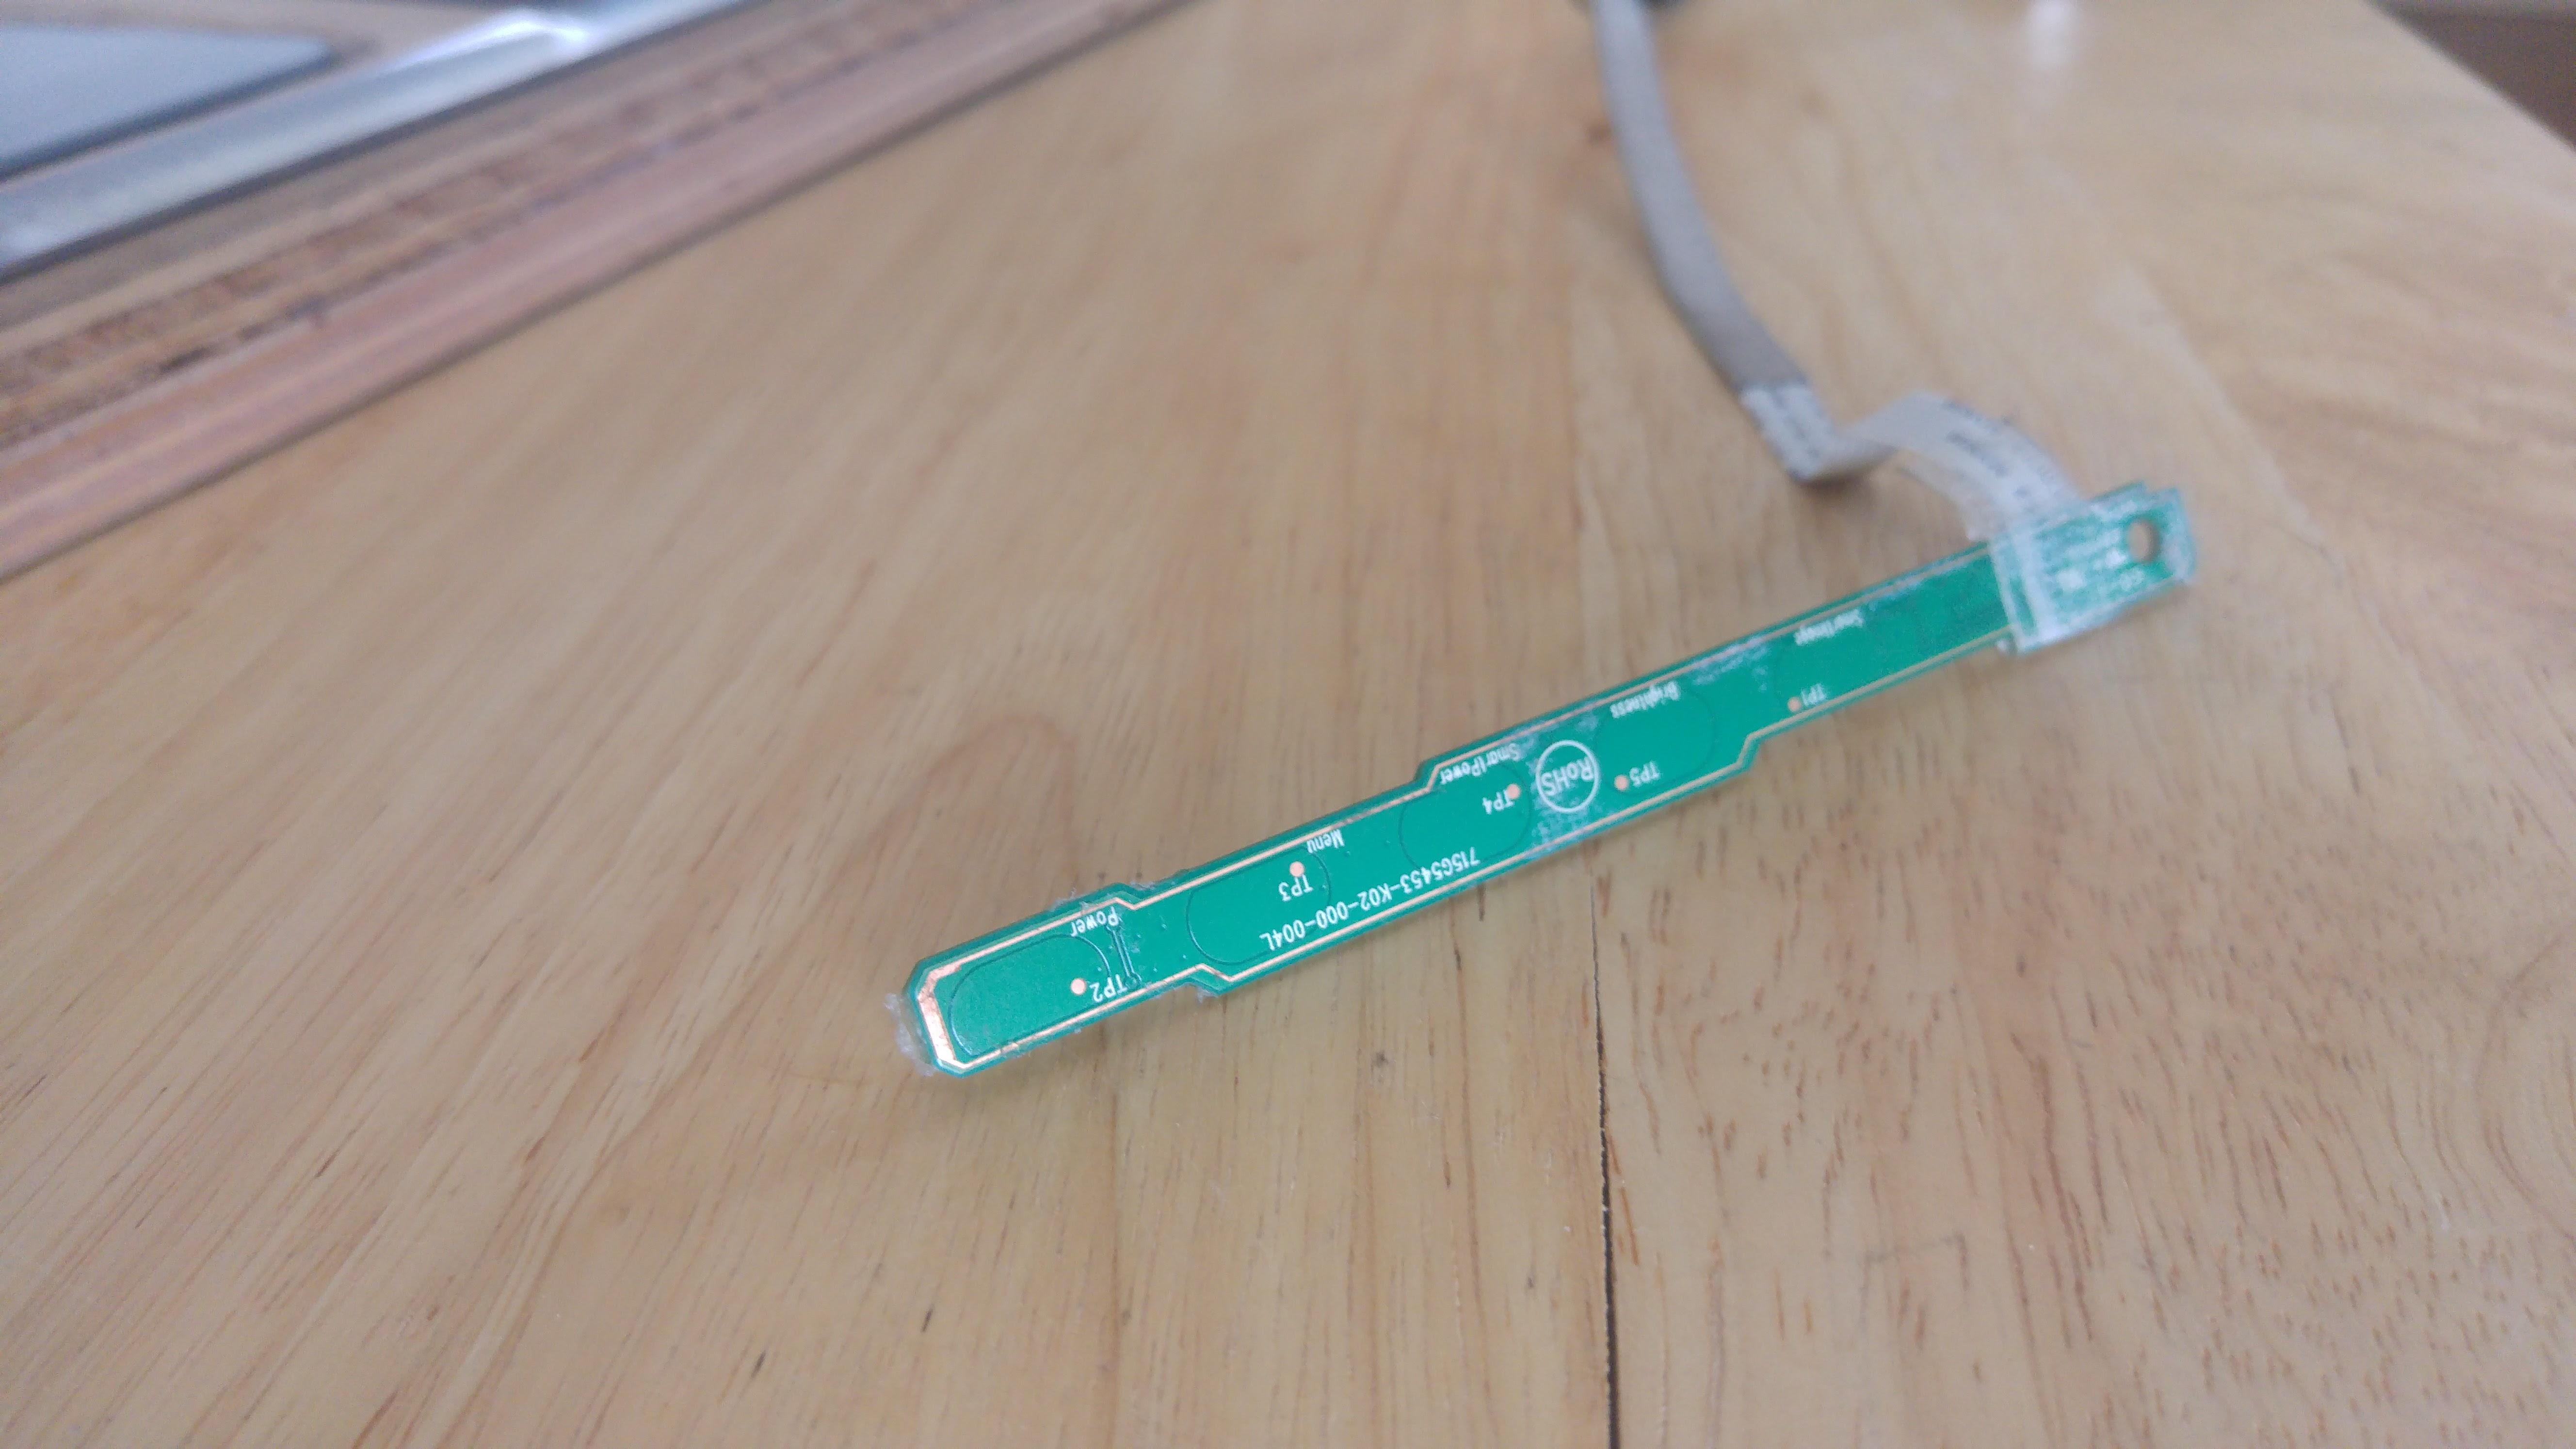
In the original screen the control board was just below a very flexible plastic cover. When you pressed it it engaged with the board. I’m currently trying to work out how I can recreate this. Is there anything that we can laser cut that is flexible enough to give way when I press it?

Here is a link to my FUSION 360 design

http://a360.co/2fWTQCi

1 Like

1st go on the laser cutter today with a down scaled test of an idea of how to deal with the usb connectors.

Nice solution! Guessing something like this doesn’t work in your design, then.

For the laser cut buttons panel, what about using a kerf bend in some way? Also, those look like capacitive buttons - maybe you don’t need to have something mechanically touch them to work?

Actually that probably would be a good alternative and I would of maybe gone down that road if it had of come up in the goggle surch at the time `:grinning: . Turned out quite fortuitous actually as the look of usbs I’ve ended up with will be more low profile.

In terms of the buttons I’m thinking something like this

This is done in wood but the final will be acrylic.
The idea is to cut a hole and then cut a fill slightly smaller and use maybe use mastic to bond them and fill the space. The mastic will mean I can press down on the fill part which will engage with whatever is underneath.
Does that make sense?
Thanks for the input by the way.

What I did today on the laser cutter.

4 Likes

What hardware has gone in there?

ASUS H81T R2.0 thin mini ITX
128gb mSATA SSD
16GB RAM
Intel Core i3 3.2 Ghz

running OSX

1 Like

I like this project :slight_smile:

1 Like

Cheers Tom

Would you be happy for this to be shared / happy for this to be written up as a blog to show Trotec some :heart:️?

1 Like

Lookin’ good! It’s a ‘Hackintosh’? Doesn’t seem expensive from a part POV…

I would be more than happy. Still a bit to do on it though. Would they be interested in work in progress or a finished thing?
On the original I had a tripod plate on the back. I was thinking about using carbon fiber as a back so that it would be able to support the plate.

Yeah it’s a hackintosh. Yeah keeping the cost down was a big part. It’s not the best screen in the world but it was only £20 of gumtree. :grinning:

1 Like

That’s great!

You need more RGB tho.

1 Like

Thanks Andrea. RGB?

3 Likes

Ahhhhh lol

Also maybe some of those wheel rims that carry on spinning when you stop

2 Likes