Induction Requirement
All members must undergo an induction before using the ceramics area. The induction mainly covers the safe use of the space and good housekeeping practices. It doesn’t cover how to throw on the wheel and use pottery tools. If you like to be inducted please read through this document and write a message to @CeramicsTechs to arrange an induction. The induction will take around 30 minutes.
Turning On the Ceramics Area
The area has a Tool Control system that will only turn on the electricity for inducted users.
- Touch your key fob to the tool control
- The red light will illuminate
- Press the red button
- Push the green button

Don’t forget to sign out of tool control when leaving the area.
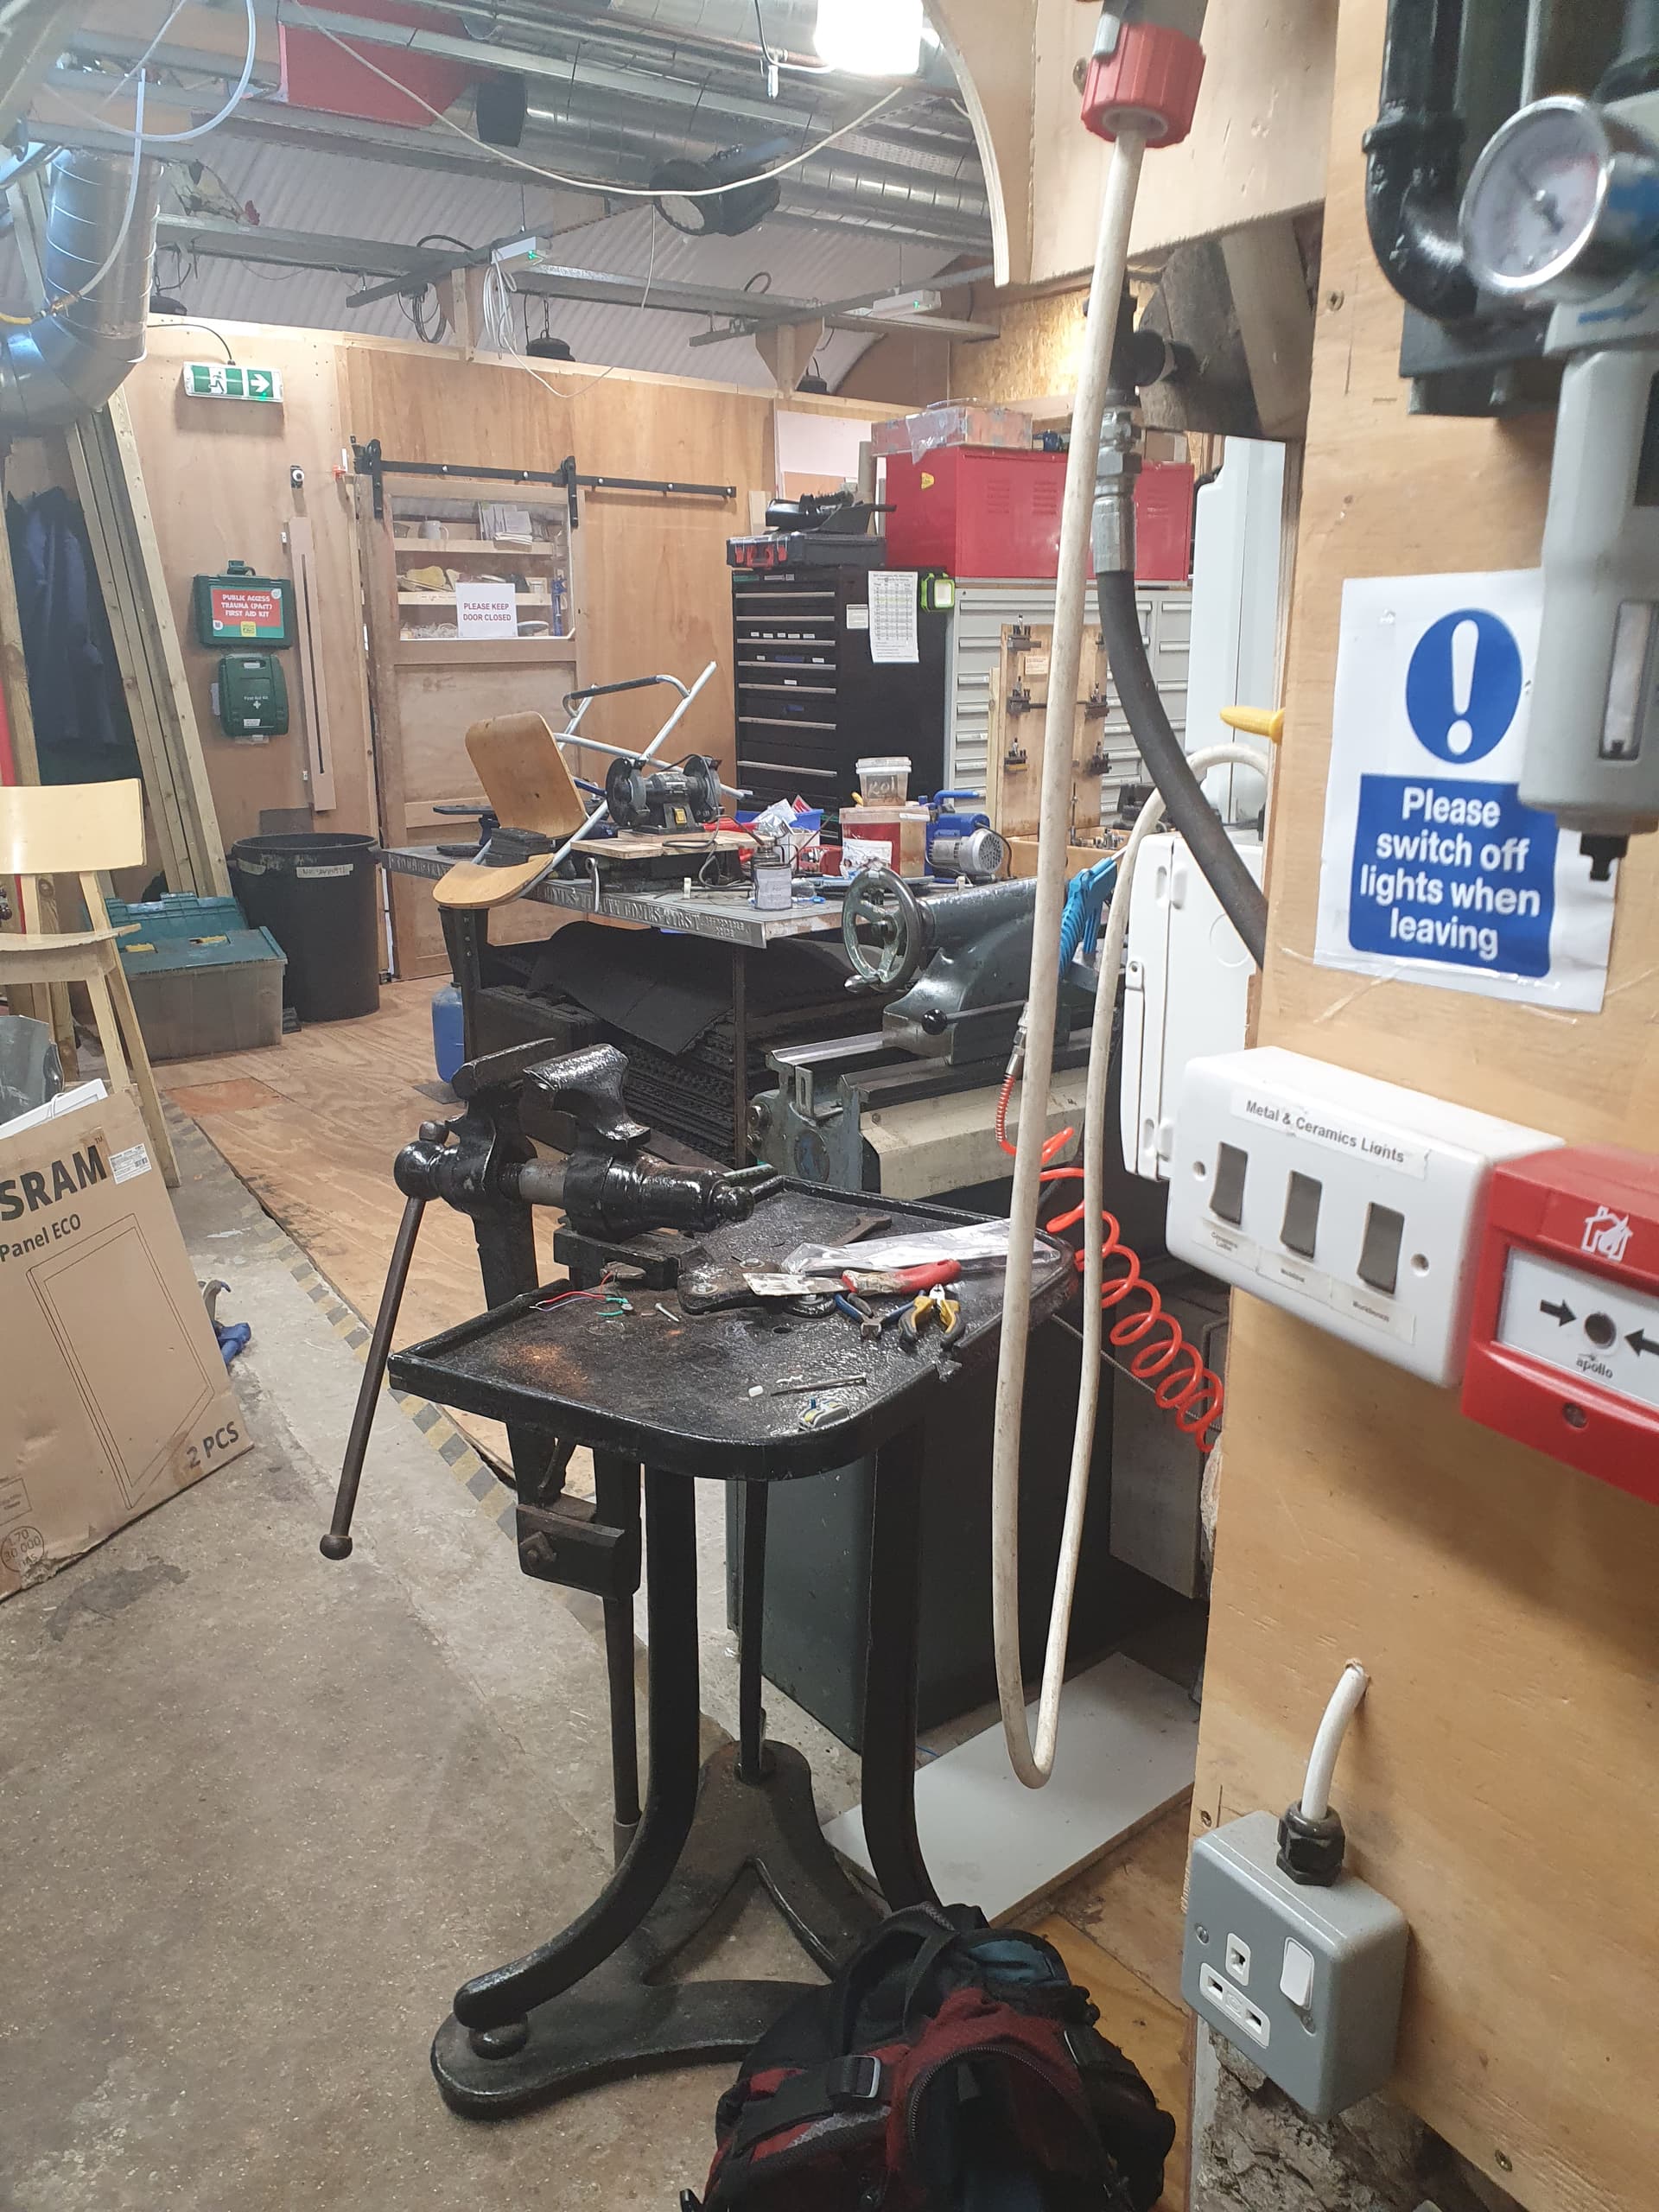
Turning on the lights
The light switches are located in the Metal area, one at the entrance to the snug and the woodshop (see pictures). When switching off the lights, please make sure that no one is operating the metal lathe, as it is connected to the same switch.

Health and Safety
Dust Control
Crystalline silica, a substance that is present in clays and also some glazes and plasters, is one of the biggest health hazards to be aware of. When these products dry out, dust forms that can be breathed in. Long-term inhalation of silica dust may lead to serious health issues (silicosis). It is therefore important to control the dust level in the ceramic area.
Avoid all actions that will cause clay dust to become airborne! Anything that creates dust should be done outside while wearing a mask (P100 filter will offer the highest level of particle protection)
- Only use wet cleaning methods (sponges and mops) to prevent harmful dust particles from becoming airborne. Do not sweep or hoover the area as it causes dust to become airborne for hours.
- Collect clay trimmings from the floor while they are still moist you can also rehydrate any chunks or trimmings with a mist sprayer if needed.
- No sanding, felting or grinding of dried or fired ceramics projects is allowed in the workshop. This must be done outside with proper safety gear.
- Safety equipment such as goggles, gloves and masks are available (PPE box on top of the electricity box).
Using equipment and tools
- Loose clothing and long hair should be tied back to prevent accidentally finding their way into equipment such as the wheels.
- Use shard tools such as a knife carefully
Housekeeping
- Always clean your work area, all used tools, and equipment after use, including wheels, ware boards, reclaim bat, and hand-building area.
- Ensure you leave time at the end of your visit to the space to clean the areas in which you were working. Plan a minimum of 20 to 30 minutes of cleaning time when using the pottery wheel.
- Clean the floor around your work area.
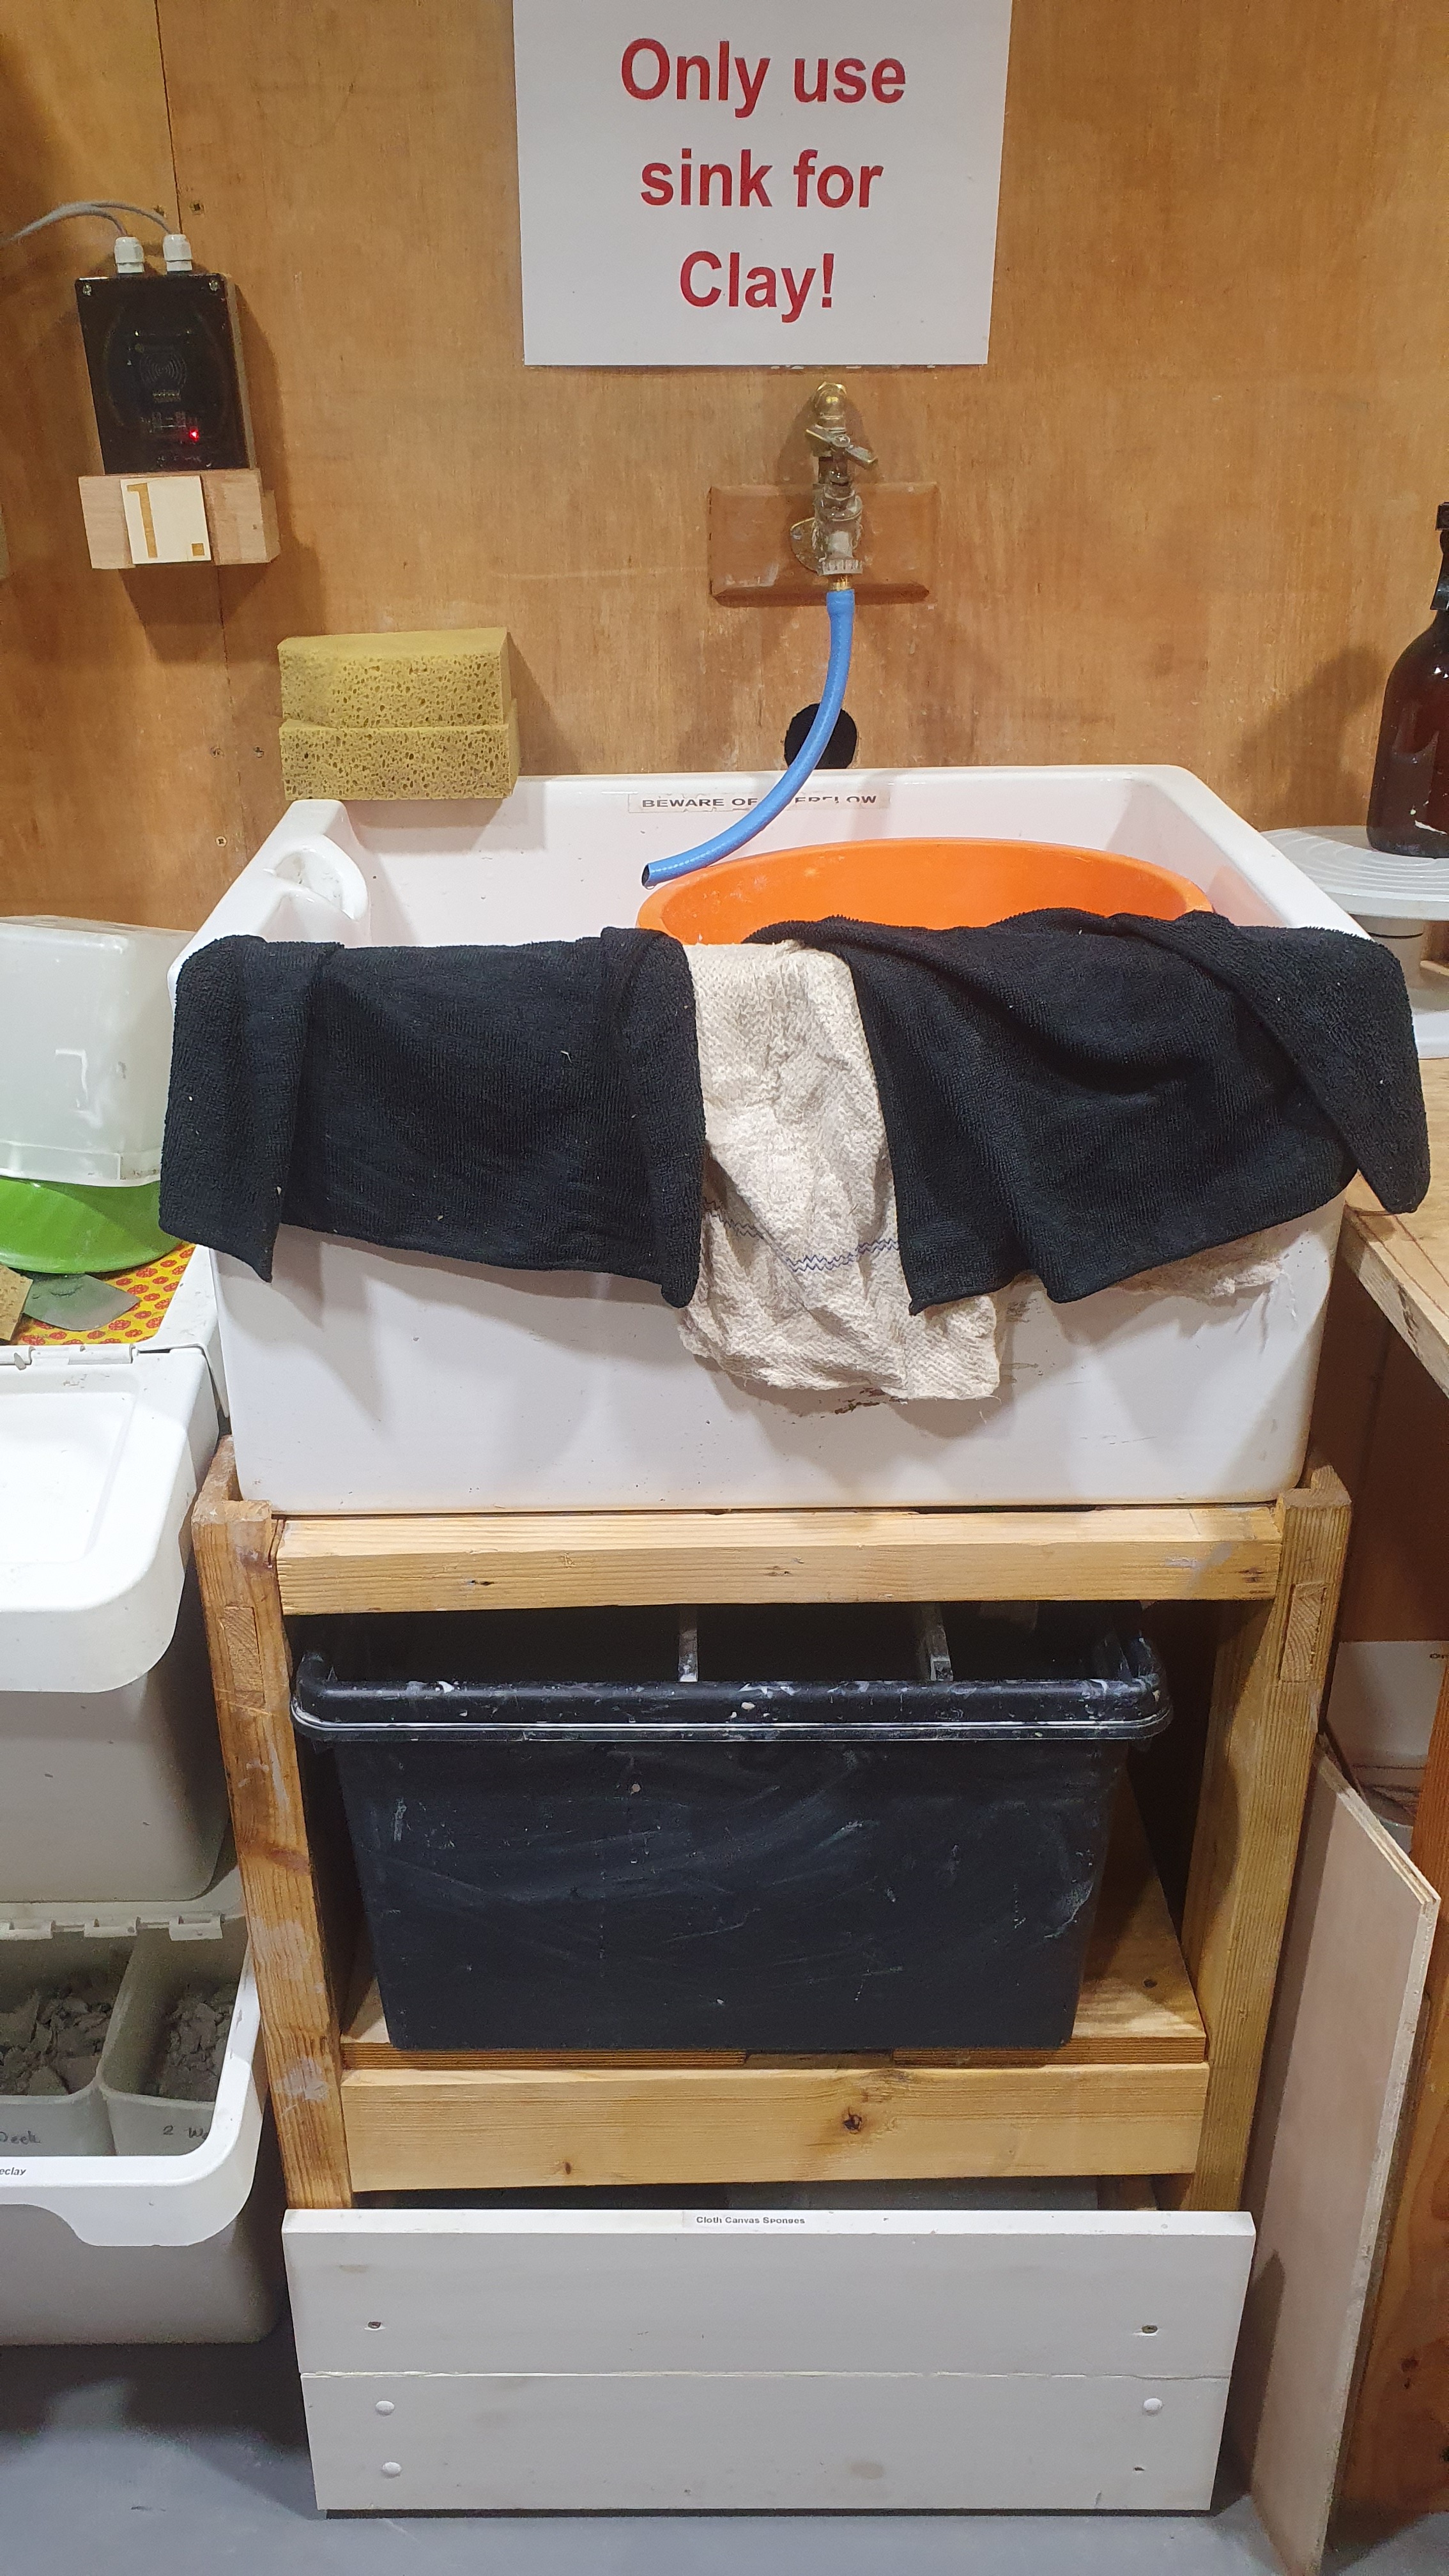
- Wash out all used sponges, cloth and mops after use and hang them out to dry. Clean sponges, cloth and mops can be found in the drawer under the sink.
- Turn off electric equipment after you have finished using them and don’t forget to sign out of tool control when leaving the area.
Clay
Buying Clay in our shop
We offer one type of clay in two forms: new clay (as provided by the manufacturer) and reclaimed clay. Only the new clay needs to be paid for. Both types are stored under the wedging table. While it is allowed to use outside clays, they should not be mixed with the in-house clay.

- In-house clay can be purchased online via the shop or the QR code in the ceramics area.
- Clay is sold per kilogram (measure on the scale).
- Reclaimed clay is free of charge but needs to be wedged before use.
- Cut clay using a wire.
- Close the plastic bag immediately to prevent the clay from drying out.
- Do not put leftover clay from your project in the “new clay” bag; place it in the reclaim bag.
- After emptying a bag of clay, keep the bag as it will be needed for reclaiming clay.
Information on our clay
- Can be fired at Earthware and Stoneware temperature.
- Total contraction (shrinkage) at 1200°C is 13.40 %.
- colour - buff

Storing your project
Place your project on a ware board and attach a project note with your name and the date. Once your project is bone dry, please stack it carefully. Make efficient use of the ware boards to ensure there is ample space for the many projects from different members.
Clay disposal and reclaiming (Recycling)
We aim to reclaim as much of our in-house clay as possible. Use the slip bucket to rinse most of the equipment and tools.
(If using clay different from what we provide in the workshop, please see the additional guidelines below.)
- Avoid pouring clay-laden water down the sink. While we have a clay trap (black container under the sink), it has limited capacity and excessive clay can clog the pipes. Additionally, the clay trap may overflow if too much water goes down the sink at once, so please keep an eye on it when emptying buckets of water.
- Slip (liquid clay) from wheel throwing goes in the green bin, which has a mosquito net to prevent bugs from laying eggs. Try to remove most of the slip from the splash pans into the slip bin (silicone kidneys work best for this). Before leaving the space, ensure the slip bin is covered with the mosquito net.
- Scraps from trimming or unwanted projects (whether leather hard or bone dry) should be thrown in the scraps container (white), in the front not in the 1st week or 2nd week smaller containers inside the back.
- Clay debris from the floor should go into the rubbish bin, not in the reclaim bucket.

Rules for using outside clays
- Do not mix your clay with our in-house clay, even if it fires at the same temperature.
- When using red clay, please be extra diligent with clean-up as contamination with red clay can ruin other pieces. Additionally, do not use the plaster bat.
- Since you cannot mix your trimmings and slip with ours, you need to dispose of them separately. We have small containers available in the space (from Koi Ramen). Remember, you cannot pour your slip down the drain.
- Take extra care when cleaning equipment and tools to prevent any mixing of different clays.
Using the plaster bat
The plaster bat is predominantly used to reclaim clay. Plaster is a great absorbent and dries out clay quickly. It can also be used for wedging.
- Scrape off your excess clay with a plastic kidney (NEVER use metal), and wash the plasterboard after use.
- Do not use the plaster bat when cutting out pieces.
- Be aware of chippings from the plaster bat. They should not be mixed with any clay body.
Glazing
At the moment we do not provide any glazes in the workshop. Glazes are used to colour or finish clay pieces and may contain a wide range of hazardous chemicals such as lead, barium, lithium, chromium, cadmium, nickel, arsenic, antimony, cobalt, manganese, or vanadium, among others.
- Only lead-free glazes are allowed in the workshop. If the glaze does not state “lead-free” or “leadless,” assume it contains lead. “lead free” does not mean that the glaze is also free of other heavy metals.
- No Lustre Glazing is permitted in the workshop as it creates hazardous fumes.
- Wash your hands after working with glazes or use gloves to avoid skin irritation and accidental ingestion.
- Avoid dust. It is best to use premixed liquid glazes.
- Cover the table with newspapers before beginning any glazing.
- Wash off any stains or glaze droppings that may seep through the papers.
- Throw newspapers in the bin.
Firing
We do not have a kiln at the moment. Until we get our kiln, we’re fortunate to have a ceramic artist in the Arch who offers her kiln on kilnshare. For firing you will need to organise directly with her. Her firing temperatures are as follows:
- Bisque firing to 1000°C (suitable for both earthenware and stoneware) - min £10
- Glaze firing to 1080°C (specifically for earthenware) - min £10
- Glaze firing to 1250°C (requires hiring the entire kiln, as she primarily works with earthenware) - £45
Prices may change please ask before organising your firing
Pottery Lingo
- Wedging: Blending clay for even moisture distribution and removing air pockets.
- Kiln: Heating unit for firing clay.
- Leather Hard: a stage in the drying process of clay where it has almost become rigid but still damp. This is the ideal time to trim your piece.
- Green Ware: Unfired clay, usually dry and very fragile. If soaked it will return to its original state.
- Bisque Firing: The first firing that hardens clay, making it ready for glazing. The firing changes the composition of the clay from clay to ceramic. A bisque-fired pot will not disintegrate when encountering water.
- Glaze Ware: Bisque ware that has been glazed and fired to create a non-porous, vitrified ceramic body.