We It’s been a while since I documented a project, this one’s wierd and wonderful enough to merit a little more attention and documentation…
Those that frequent the space often will know that I like to play a lot of guitar, and more to the point more or less one single composition that’s been in the works for years and will continue evolving until I can no longer play at all.
I’ve spent some time fiddling around on left handed guitars in the past and have reached the point where I can reverse the symetry in my body as to be able to play the same song in reverse string orientation so I thought hey, rather than adding more guitars to my hoard wouldn’t it be cool to have one that ticked all boxes and thus stemmed the idea of a centered body and a one piece neck sprouting out either end…
Thus began the journey.
I started by grabbing an image of an acoustic guitar of the internet, mirroring it in all axis as to build a body with rotational symetry (in so far is is possible when using a crumby converted image…), standard scale length of 650mm and an image of a headstock scaled to size to end up with this (ommiting the fingerboard and nuts and rosette and binding and beveled edge and…):

Good enough as a rough and ready to get started while I wait for the rather expensive shopping list of tools; the means to make more tools; and timber: to arrive.
The sketch is more or less to scale though the piece I have for the neck will dictate the final dimensions.
I never tend to travel beyond the 9th fret which I can easily reach under the constraints of this design (hands will comfortable reach from the cut out to the sound hole - the end of the fingerboard - so all is pukka!
Impatient to have the finished thing in my hands I then got to work cutting a template for the molding form for the sides on the laser and tracing this onto some offcuts of MDF I salvaged from a recent job, cutting a little oversized with the jigsaw, and flush trimming to the laser cut template using the router.
I did this to make pieces for both the outside and inside, then cut down some threaded bar, laser cut some nut holders and pieced it together into the form below:


I then went about building a prototype bending iron using a couple of halogen bulbs I had lying around inside a bit of steel tube, it managed to reach temperatures of 150° and would happily bend smaller pieces but struggled on pieces of timber much smaller than the bits I have in the post, perfect for the binding strips I plan on installing around the edge of the guitar and the rossette though… Back to ebay… and more waiting…
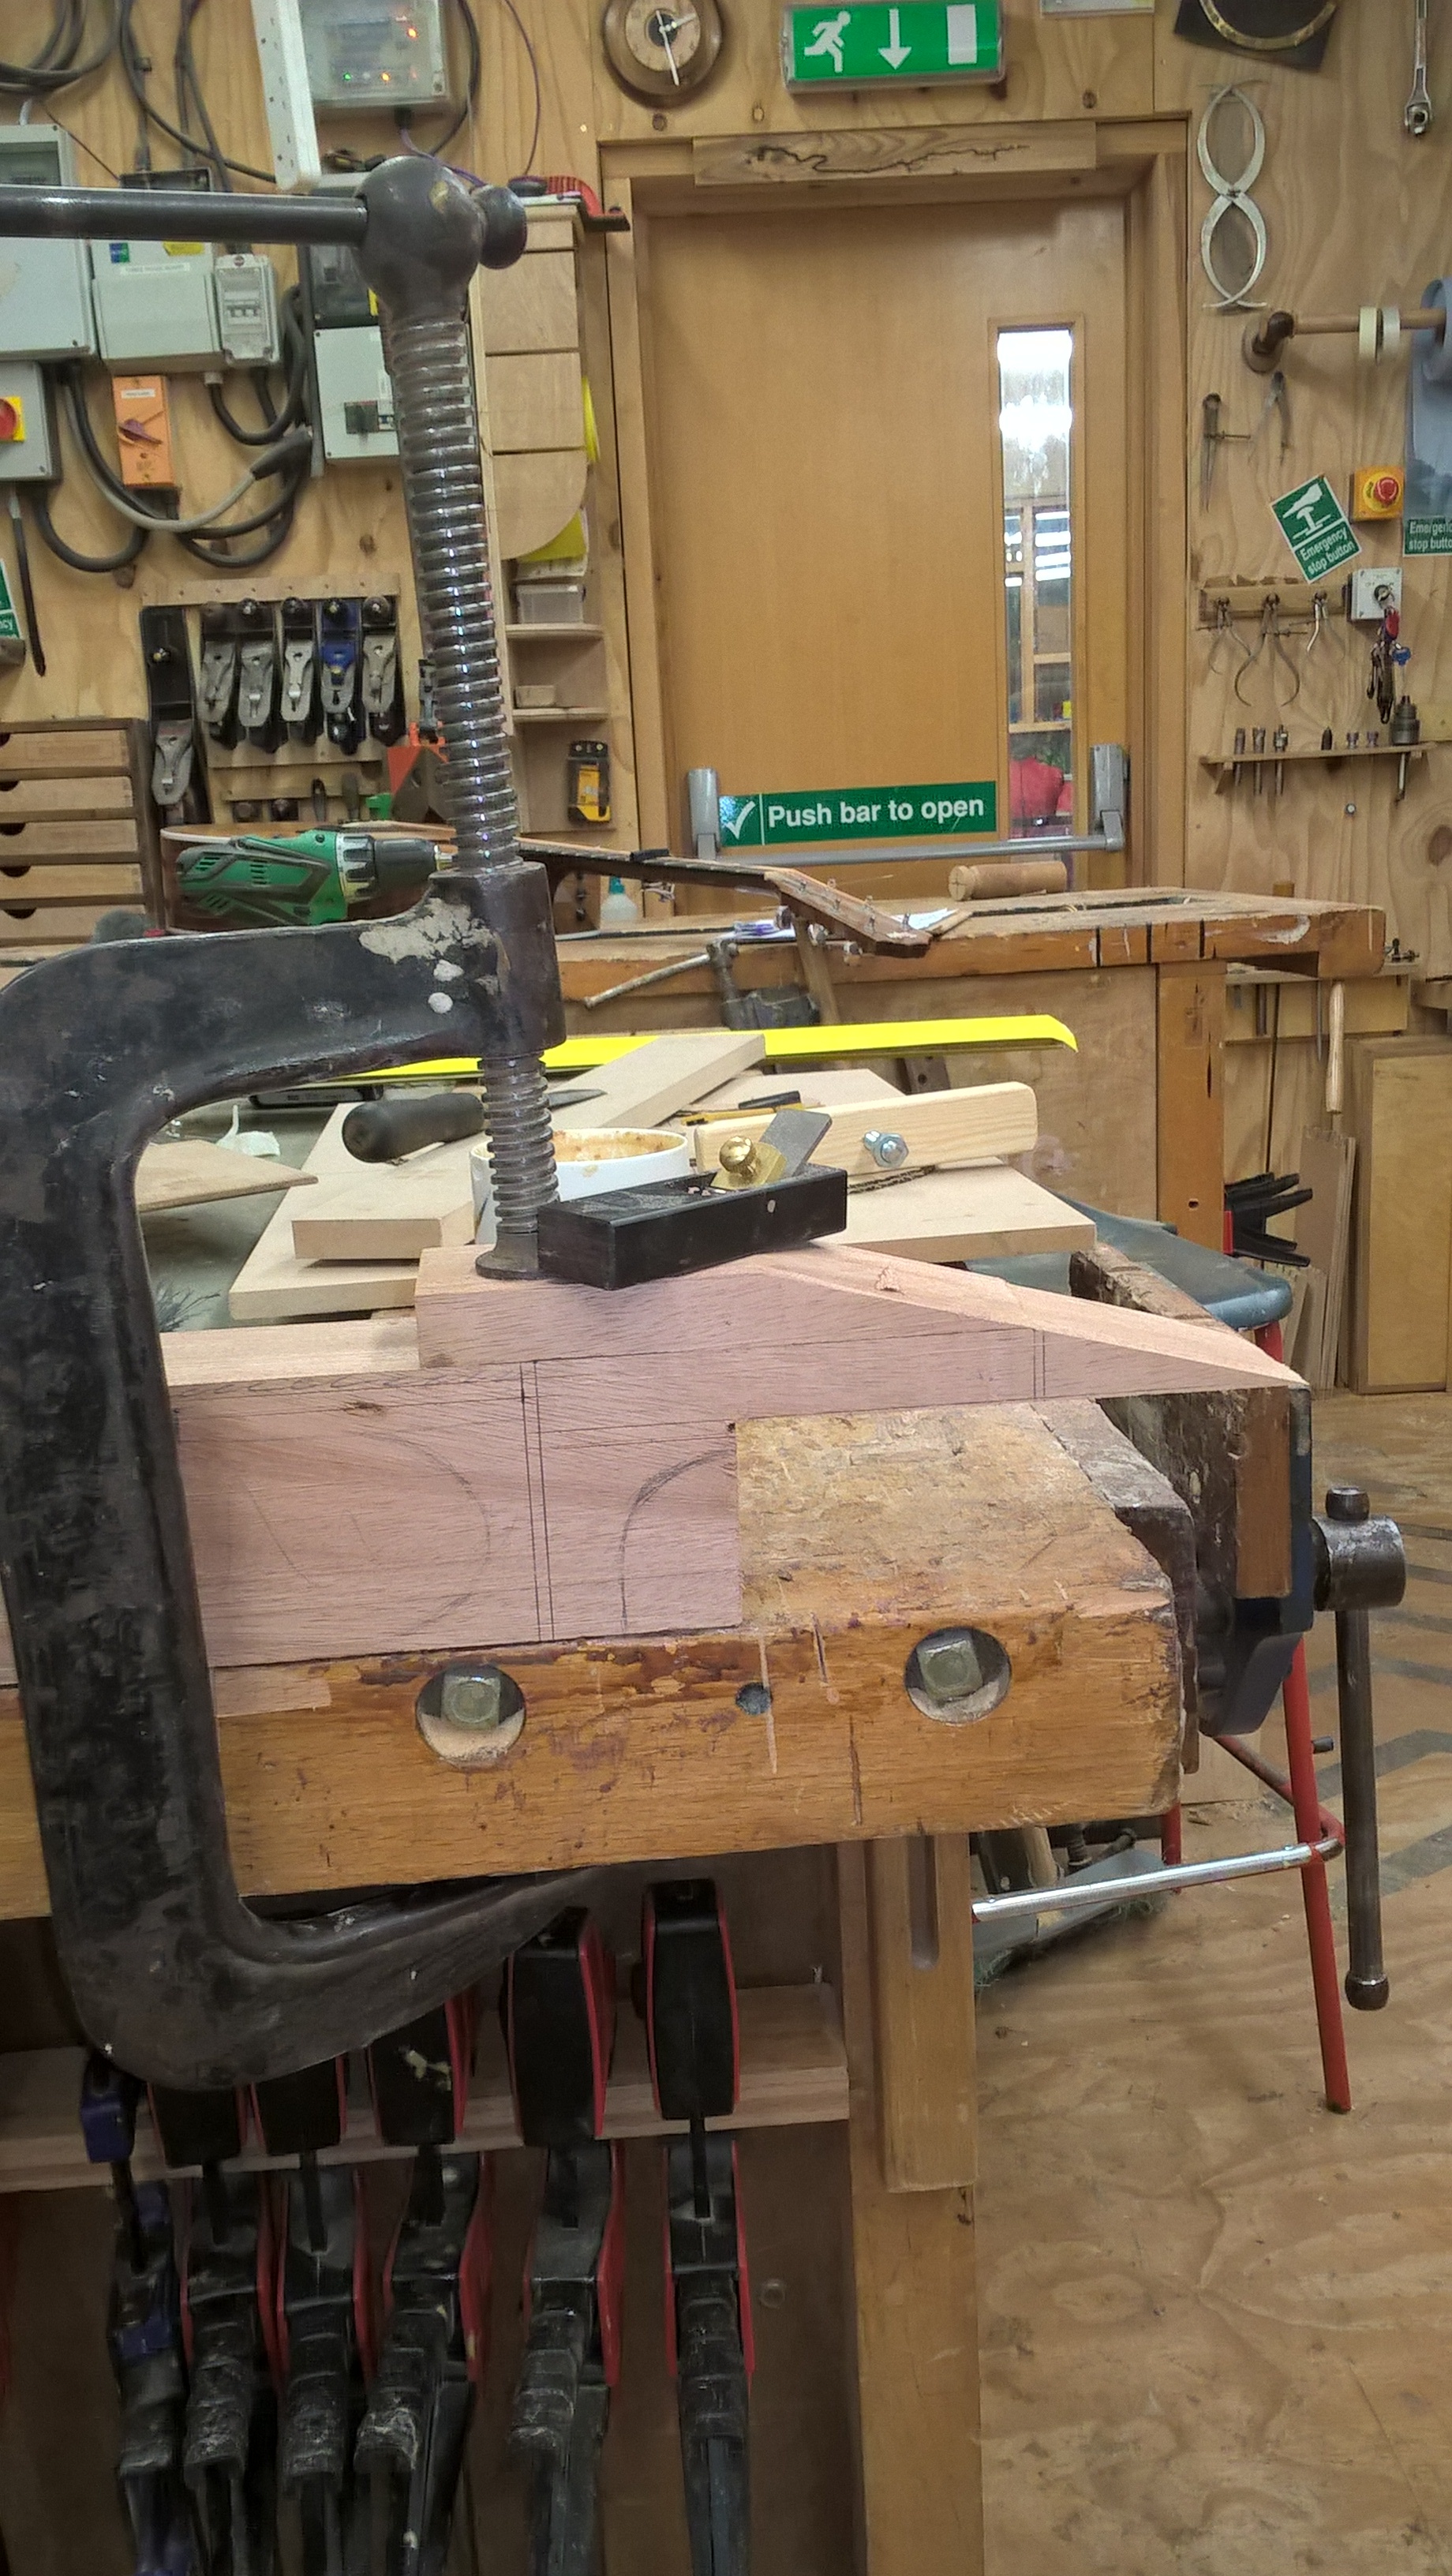
To get a better feel for the final form I then decided to roughly mark out the neck piece and screw the laser template onto the top which looks like this:


The neck will run throughout the instrument and be the mounting point for the top and bottom bracing as well as the sides in a sort of amalgamation of typical methods. A couple of the offcuts will be laminated onto the sides of the headstock to bulk it out onto which will be mounted bookmatched indian rosewood and machine heads at both ends.
Inside the lines of the edge of the body will be routed down by the thickness of the cedar soundboard so all sits flush to the top of the piece of timber pictured and on top of that an ebony fingerboard. I’m currently undecided as to whether to cut frets or leave the neck blank, I’ll likely do the latter to start and perhaps fret it later.
Given the double neck I’m thinking a single trussrod running from end to end adjusted (with difficulty) via the soundhole might be best to counteract the tension from the strings. I was planning on brass bridges which will help spread the load due to tension in the truss rodd. That alongside the glued rosewood headstock shooouuulld be sufficient to stop the as trussrod popping out the ends!
Neck roughly cut, headstock scarf cut, and planed flat, tomorrow morning and the resin will have dried on the one side then I’ll be glueing up the second, bulking out the sides of the headstock then ready for further shaping.
!


Headstock glued, I’ve cut grooves into the sides for loose (or in this case rather snug) tongues to join the outside pieces to give me the size that I’m after for final shaping, these should act to reinforce the scarf joint also giving me less chance of a fracture further down the line.
I drilled some holes through the central section of the neck that will be within the main body of the guitar at the desired width to give me an idea of what needs carving out and up to where.
Slots have been cut in one side of each neck (according the the rotational symmetry of the design) which the one curved side will sit in, the other side has been left as is where the cutaway will be. This section will be taken out later and probably pinned as well as glued after the wood arrives and I manage to get it bent to the right shape.
I then set about shaping the neck and heel of the instrument doing a rough saw cut to remove as much material as possible before paring with a sharp chisel to the approximate final shape I’m after. It’s important to take fine shavings (pictured) to minimize the risk of lifting the grain in sections of the timber where this fluctuates. It’s worth building competency in both hands to make sure your chisel strokes run with the grain of the wood given the multiple necessary angles of attack for a nice finish. There are a few defects but on the whole I’d say good enough!
Lots of undocumented progress this last week now that all my pieces of wood have arrived!
I got the soundboards glued up, very pleased with these and the glueing process and method. The sides were passed over the jointer at an angle to get them straight and maximize the glueing surface area. Clamped in a similar manner to picture three below (headstock veneer) with some wedges and weights on a large board with masking tape along the centre line to make sure that it didn’t glue to the glueing board.


Finished the final shaping neck, cutting the recess for the sound board at to the thickness of the cedar top then tackled the internal cavity, very pleased with it’s profile and resonant response, reactivity, flex, etc.


I then cut the soundboards to the rough sizes needed, straight cross cuts on the table saw to the exact width of the recess cut in the neck then the wavey sides all slightly over size. This was then glues to the neck as a template for the final shape of the sides.
Next I made a bending iron and started wrestling the sides round to the desired shape. The body of the guitar is relatively small compared to that of a normal guitar so the sharper curves proved too much for the stubborn mahogany so I made some kerfing cuts in the piece that makes up the cut away, cut a piece of mahogany to the profile of the horns and got all this glued up, the kerfing cuts proved incredibly helpful as the sides hooked in making the glue up super easy.
The kerfing I ordered never arrives to I ended up bending some strips of oak to the same shape and installed these instead which worked out pretty damn well, I did the same for the top and bottom of the instrument, with the bottom having two strips of wood while the top has just a single piece.


Next step was getting the back flat which I did on a large sanding board, rotating the piece and making sure to be sanding in a direction with minimal vibration, then came the next glue up, almost all the woodshop clamps made it round the circumferance and an additional two F clamps, some weight and a centre strip should give me a good enough clamping force and spread.


