Some of you might have noticed me camped out in front of the Bambu quite a bit lately. It’s because I’m building a 3D printer that itself is composed of quite a few 3d printed parts, which the Bambu produces quite nicely:
These are printed in Bambu’s own ASA filament. I’m not super thrilled with the colour choices they have available but functionally the parts appear top notch.
The design itself is a VORON 2.4 which is the result of an open source effort you can read more about here. It’s a pretty uncompromising fit out which should be competitive with the Bambu X1’s performance… at nearly twice the price (sigh). One benefit will be the larger build area, which will be 350mm x 350mm x 350mm when all is said and done.
Progress is going a little slow, not just because it requires probably over a 100 individually printed parts, but because my 6 year old son and I are building it together and he insists I make no progress without him, so it’s been a great bonding activity in the evening.
I recently built a 350mm voron 2.4. I bought a cheap formbot kit, and I’m reasonably happy with the end product. Let me know if you get stuck on anything. I found a few things tricky when flicking between manuals for the exact hardware you’ve got. Biggest piece of advice I got was to quadruple check the frame and the gantry are square.
Thanks I appreciate it, I’ll almost certainly pick your brain. Getting the frame to this stage and keeping it square was certainly a challenge, particularly as the surface plate I have is laughably small, luckily I had access to a stone counter top which seems reasonable flat, plus the trusty machinist’s square.
Going for a kit seems the way to go. I self sourced but in the end half the parts I purchased were ones you’d find in kits anyway (my frame is LDO). Much cheaper to go with a kit and if you’re unsatisfied with a part just replacing that bit.
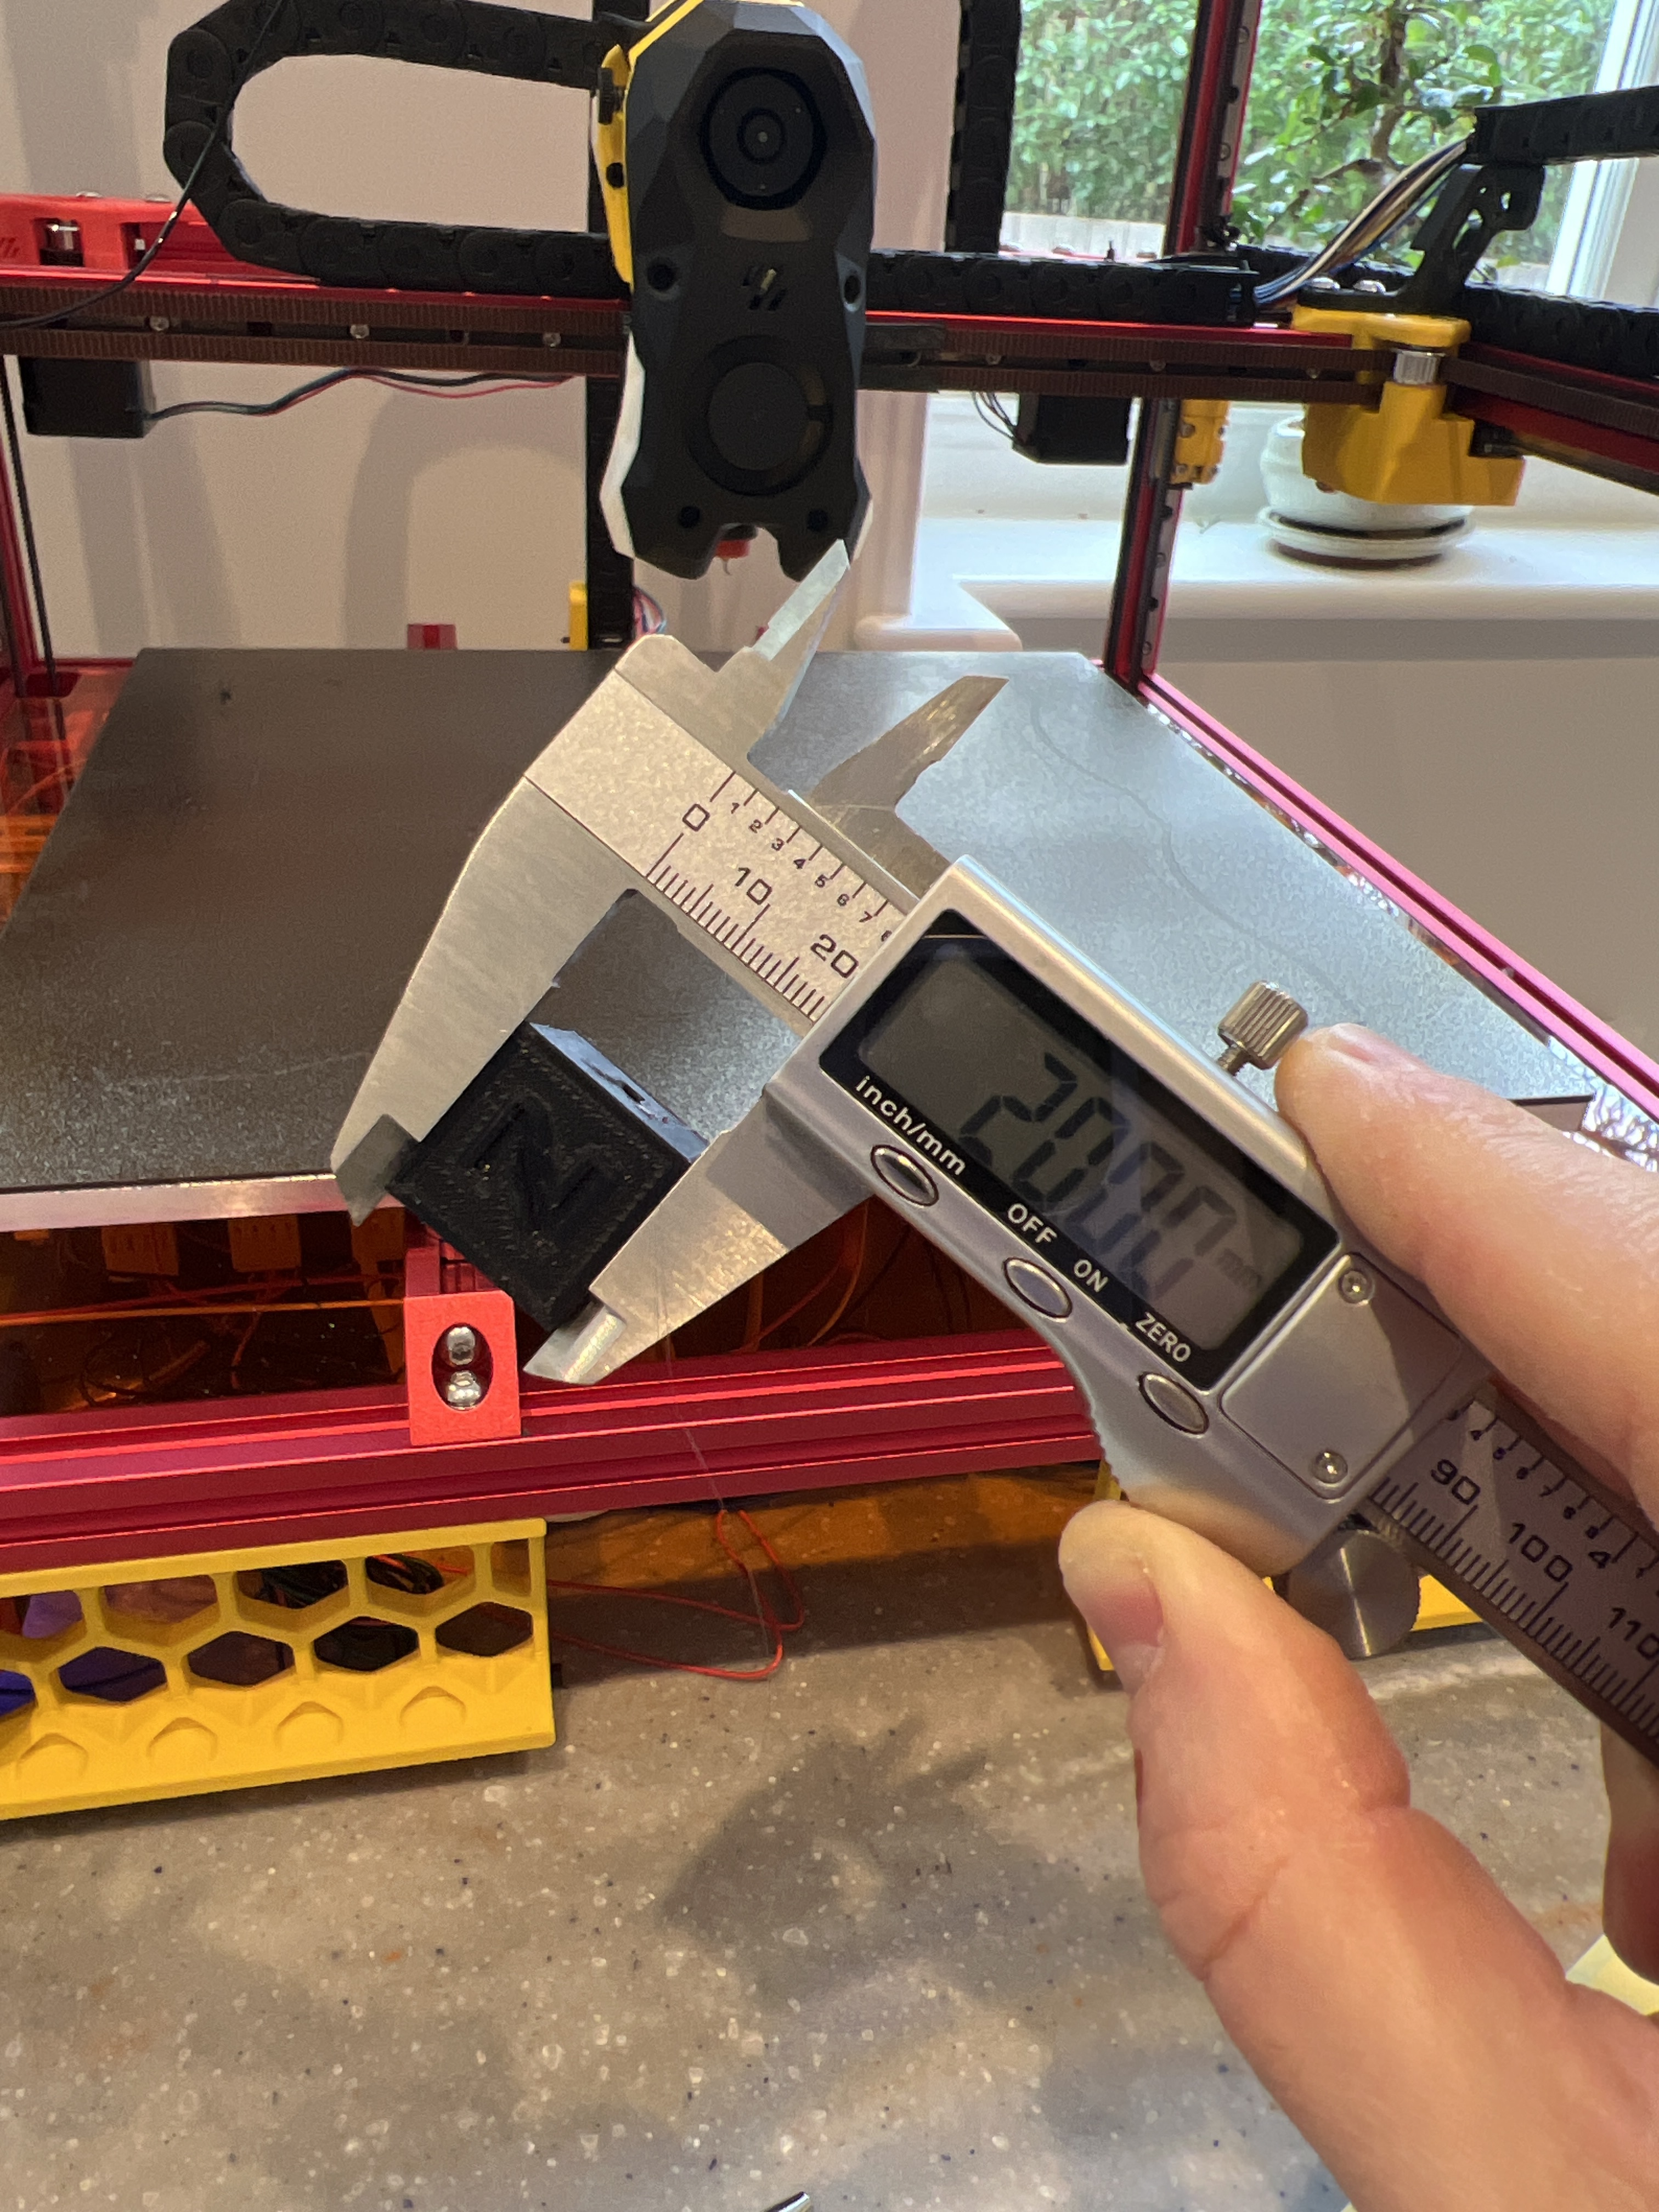
Threw my back out a few days ago while moving house and got myself bedridden for a moment there. Managed to claw across the floor today and get these z rails on the frame and also do one my favourite tasks: heat set inserts!
Slowly plugging along. Cut the back and bottom panels on the laser cutter. Z drives and motors are installed and now prepping the plate. Going to lock down the edges of the heat pad with some RTV hight temp gasket silicone. Never had one peel off before but never hurts to play it safe. Also going to install a temperature fuse here but haven’t decided whether I should install it to the plate or the pad itself. Spec says the plate and I think that’s the way to go, if thermal runaway takes place bad enough for the adhesive holding the pad down to the plate to fail then any adhesive I use to attach the fuse to the pad would be at risk of being compromised as well (that’s my take anyway).
My first big whoopsie. I failed to anticipate how much slack the drag chains were going to require and my wiring harness fell a fair bit short. Luckily they all made it to the electronics bay, but I still have to cut and crimp extension cables for everything so it’s basically like doing the whole harness over again. Not a huge deal as this harness is planned to be temporary anyway and will probably be reused on a smaller printer later. I plan on eventually replacing this toolhead with one armed with a fancier hotend and a toolboard like the duet 1lc which will require much less wiring.
This Duet 6hc is beyond overkill (got it half off as an open box type deal) and the stepper connectors took me by surprise. These JST VH plugs are chunky and my crimping pliers are designed for much smaller pins so it’s requiring some sketchy crimpwork that is well short of my usual standard. That’s my second whoopsie. Got larger crimpers en route for tomorrow but might just soldier on regardless as my improvised solution seems to be holding up to firm tugs.
Sensorless homing seems to be decently dialed in on the x and y axes. Z probe (tap) works too. Unfortunately the suspiciously cheap clone V6 hotend predictably crapped the bed right out of the gate, so I’ve ordered the genuine article this time and will bitterly swallow the £17 loss.
I had the cheap clone lying around for a different project so planned on building a temporary toolhead while I took my time deciding on the “final” hotend (mosquito, rapido, revo, etc.). I did go for the revo six to replace the failure in the end! Since it has the same compatibility and I don’t have to print a new housing. All worked out in the end!
This is probably my penultimate update as the machine is up and running and churning out the rest of its own parts. Here’s an adapter printed in ASA designed to hook the printer’s rear exhaust port to my 100mm extraction ducting. I’ve got young kids so those fumes go straight into a carbon filter and then out the window.