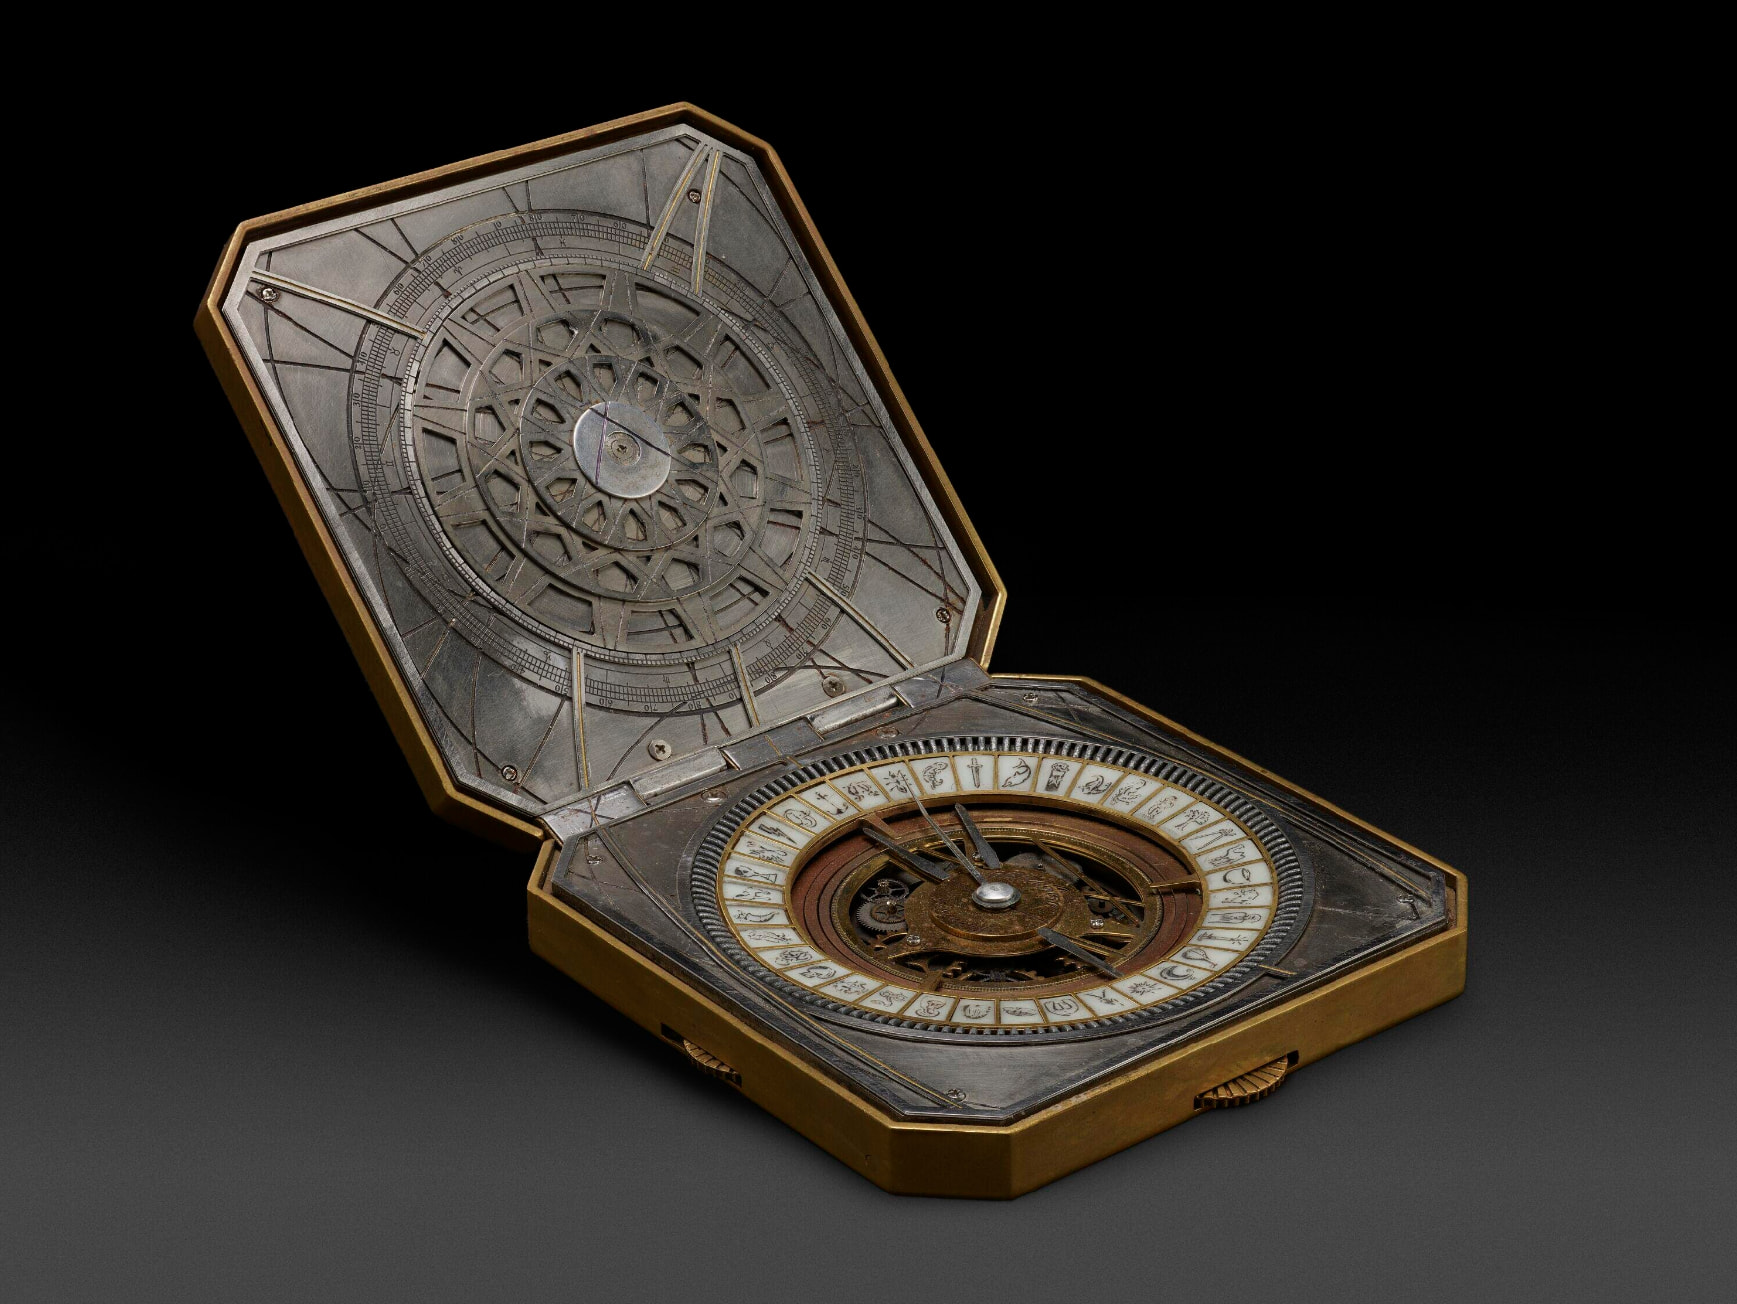
As every parent of young children knows and dreads, World Book Day is nigh. My daughter is dressing up as Lyra from His Dark Materials, with her truth-telling device, the Alethiometer. There’s several on Thingiverse but they’re all defective in some way according to the comments. So I’m making my own based off the version from the BBC series, which we’ve been watching recently.
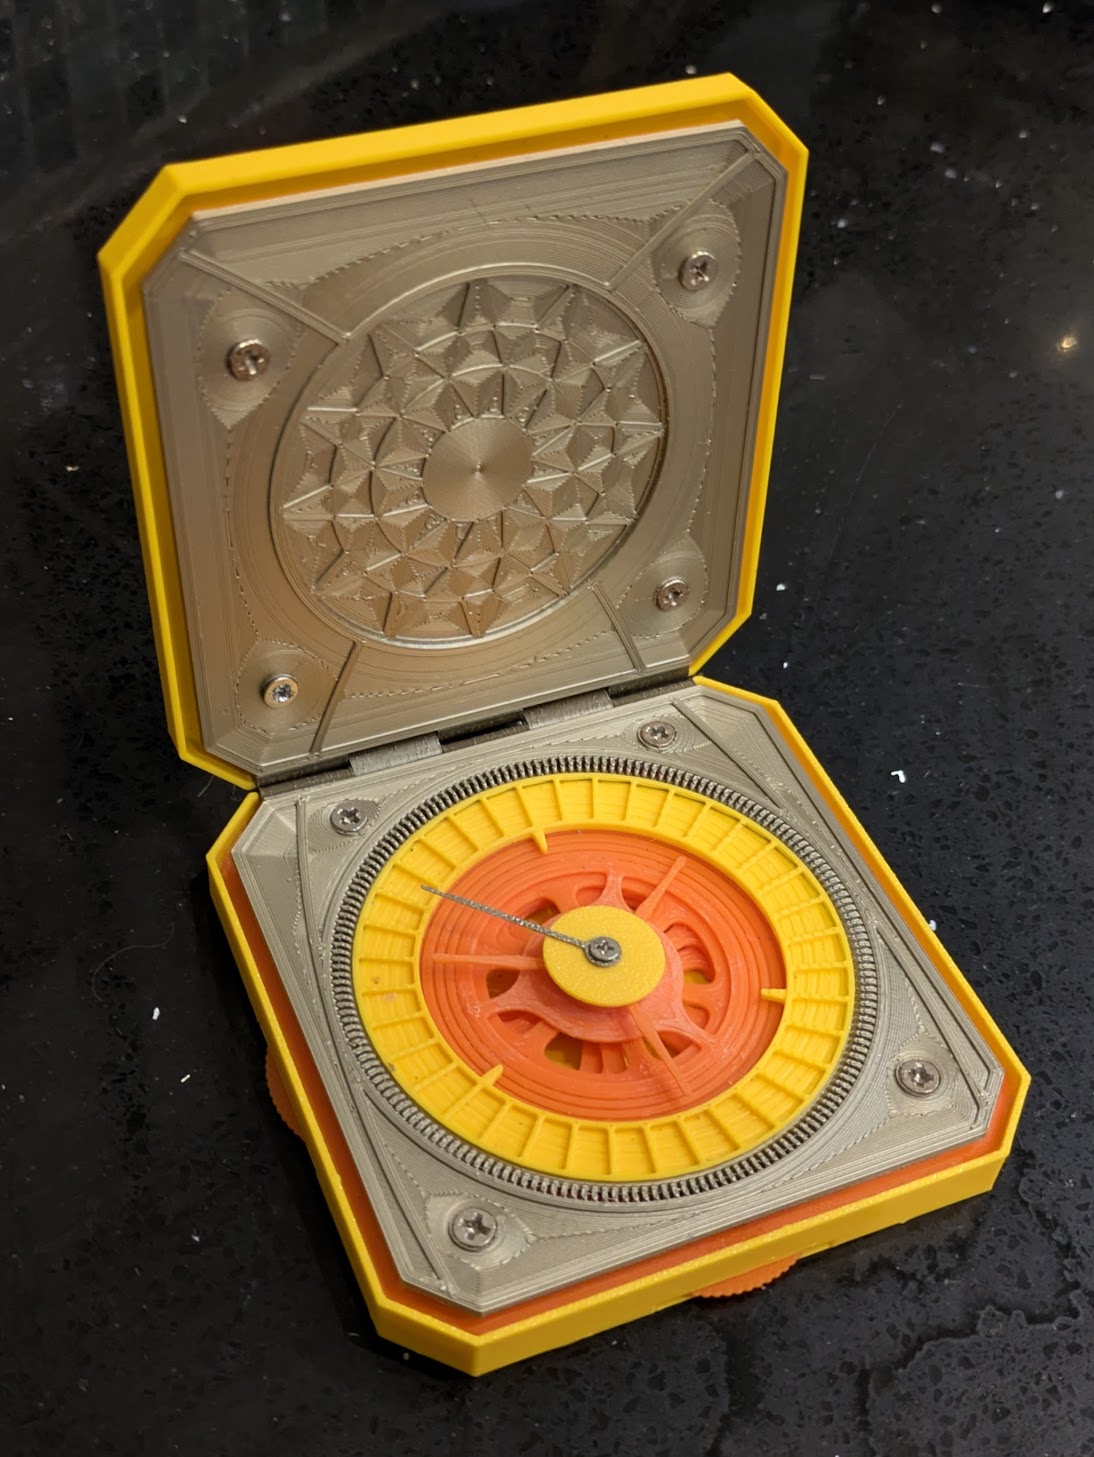
It’s a really nice prop:
Modelling
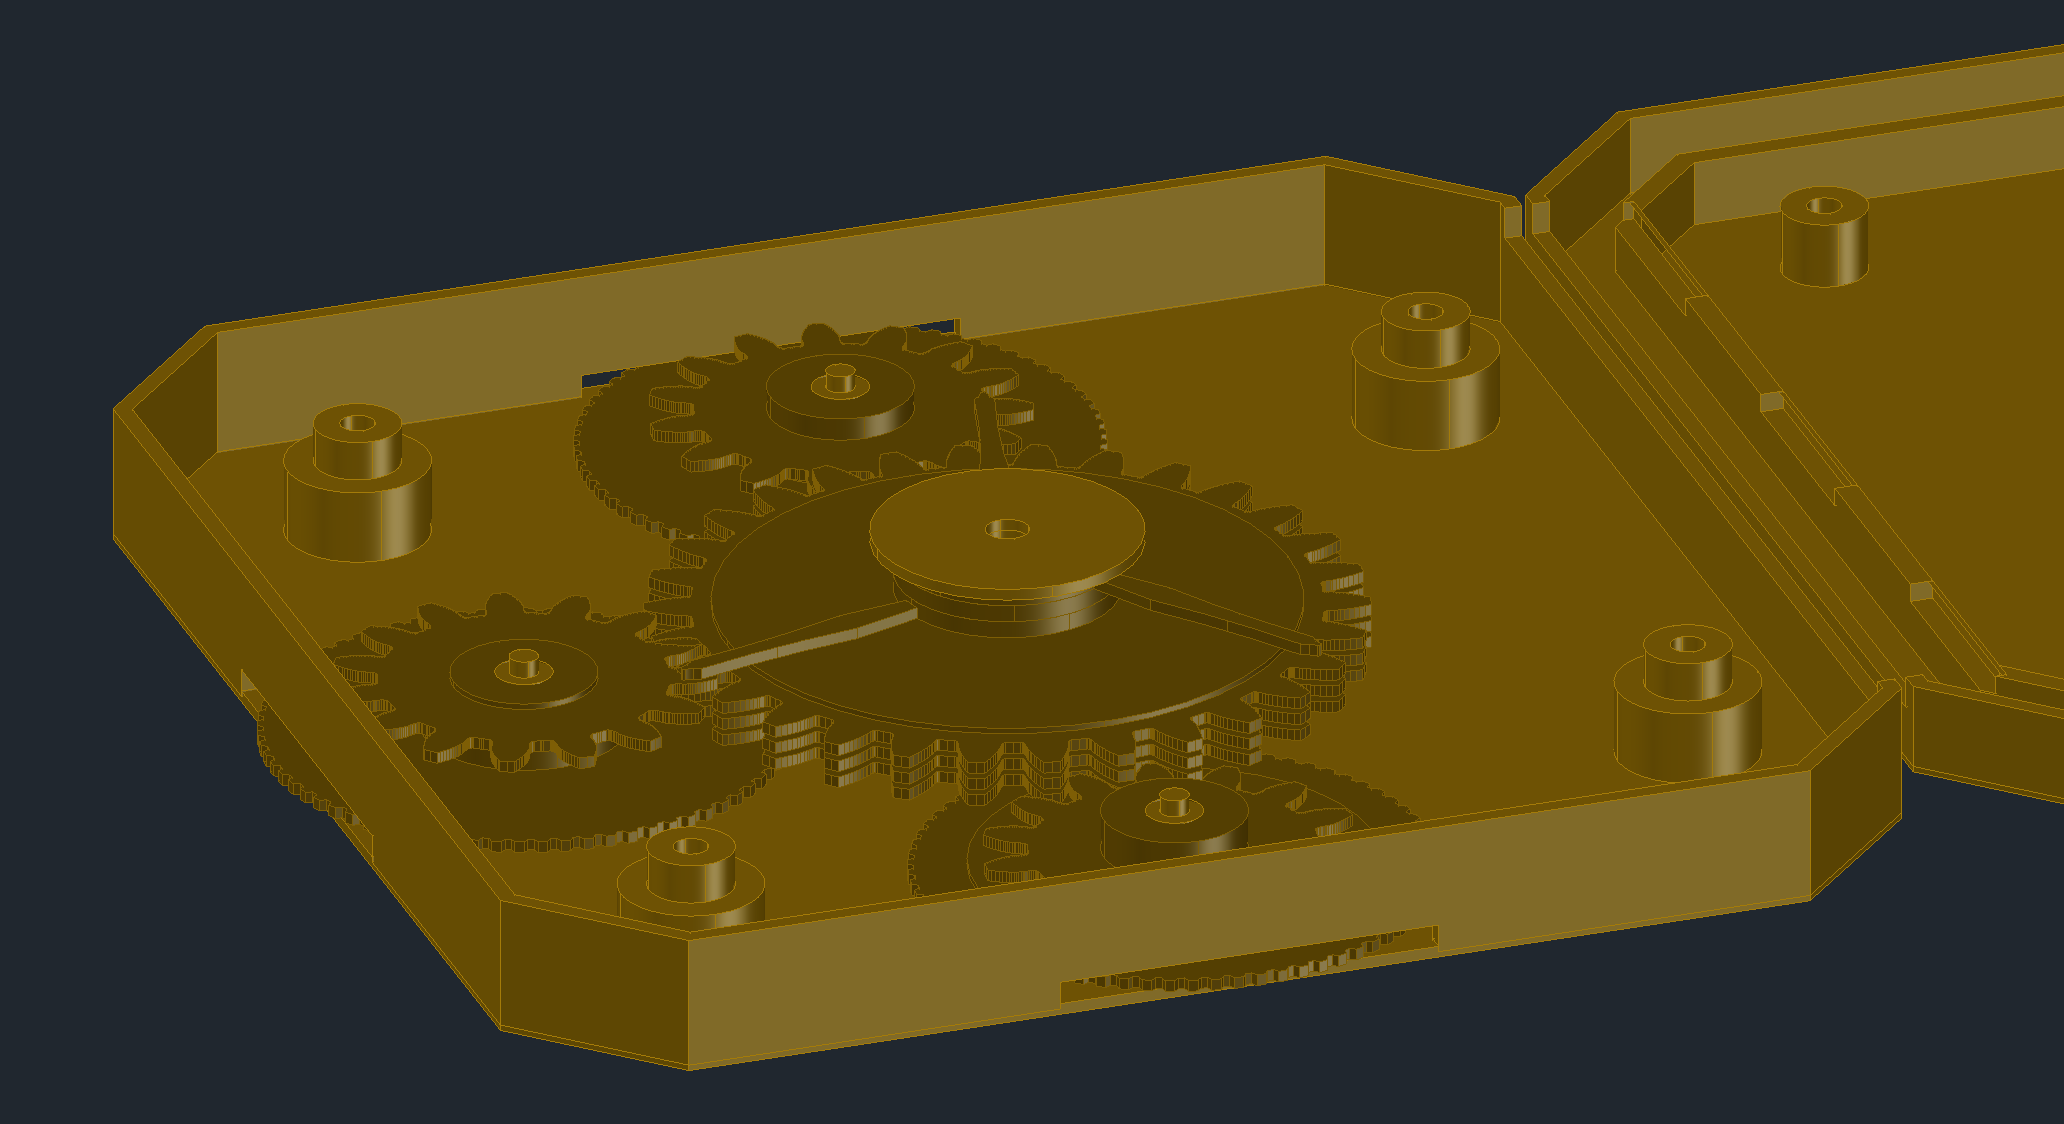
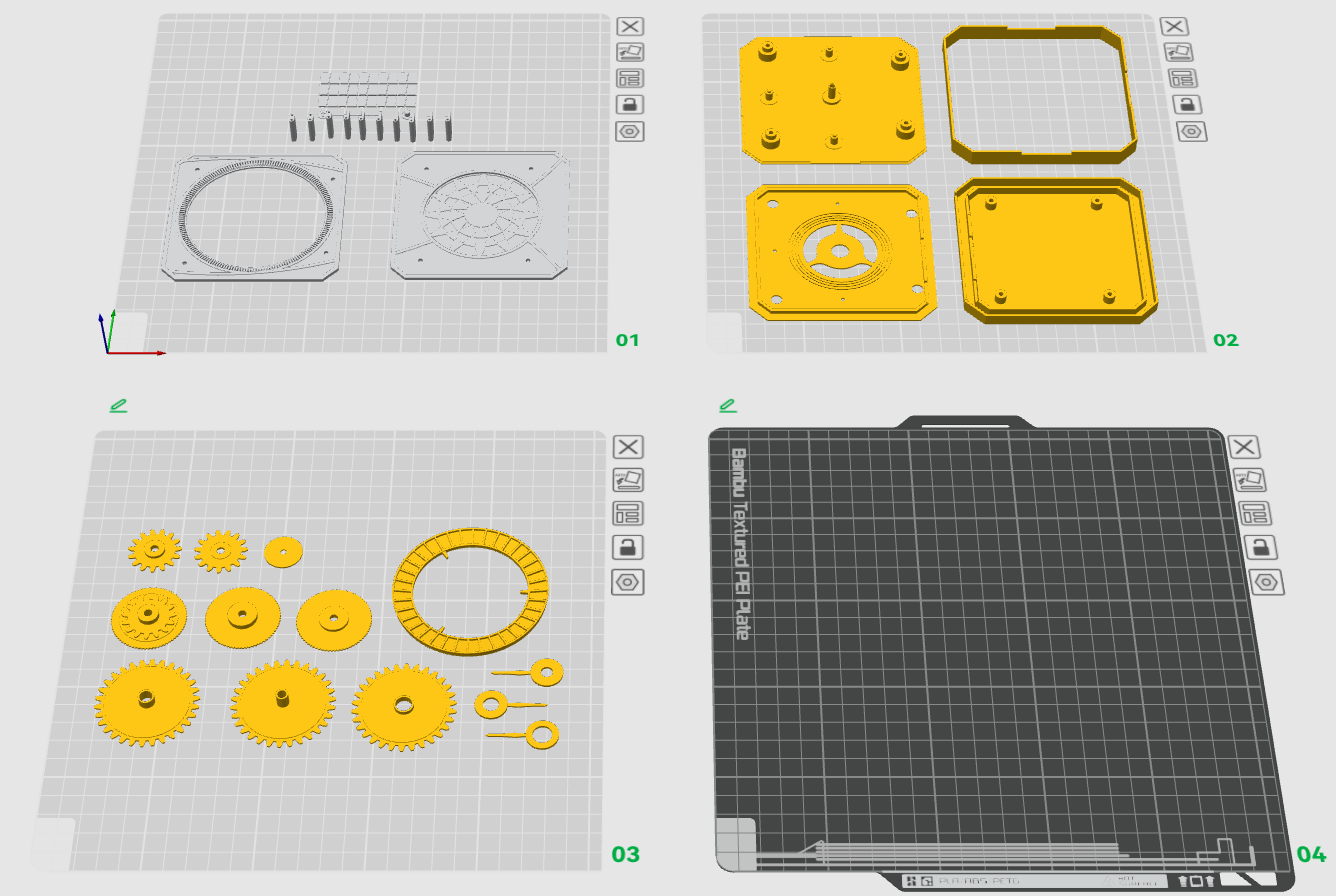
I made it in Autocad with solids. All destructive modelling, nothing parametric. I really should learn Fusion or Onshape but this is what I know! It’s 100x100x15mm when closed.

It was going to be a dumb inanimate block, but I couldn’t help myself. The Question hands can all be set with the side dials, via gears with concentric shafts. The Answer hand has to be turned manually. It’s all modelled for printability with almost no overhangs, and everything should register in place for gluing.

The grey top plate gets screwed into posts in the case to hold everything together, and runs into the hinge to relieve the case of any stress while opening & closing. I’ll have to find some 1mm rod to make the pins.
Slicing
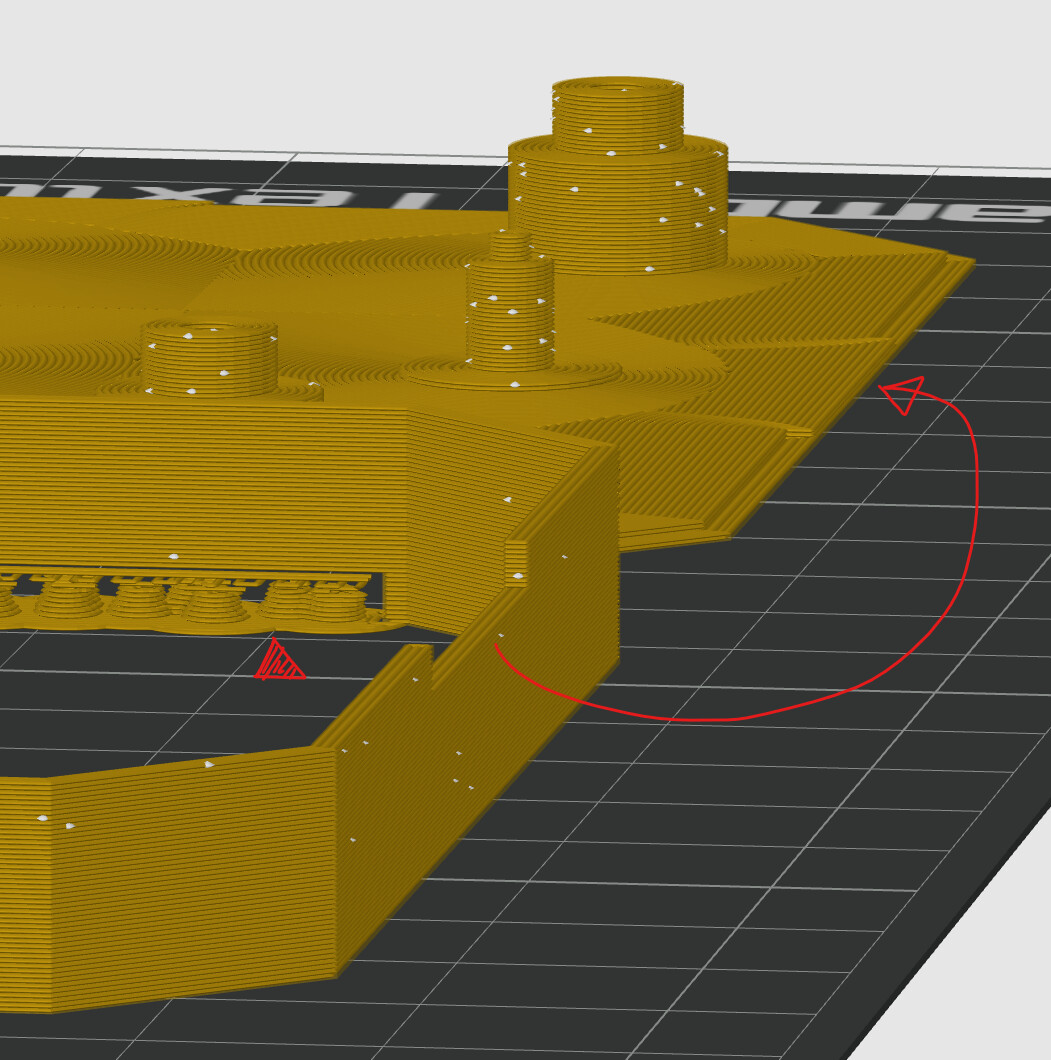
I made sure my modelling dimensions were multiples of 0.2mm vertical and 0.4mm horizontal, for neat slicing. Case walls are 1.2mm thick. The top is all one piece, but the bottom has to be printed in two parts in order to get the dials onto their shafts first. The sides register into a rebate on the top/bottom for a clean fit. Seam is set to random to avoid a noticeable line. The only overhang support in the whole job is the slot for the hinge in the bottom case side wall.
The gears are all 0.8mm thick with 0.4mm standoffs. The top layer is set to Concentric to reduce friction. The shafts have .1mm tolerance in them. The vertical tolerance can be adjusted with some sanding.

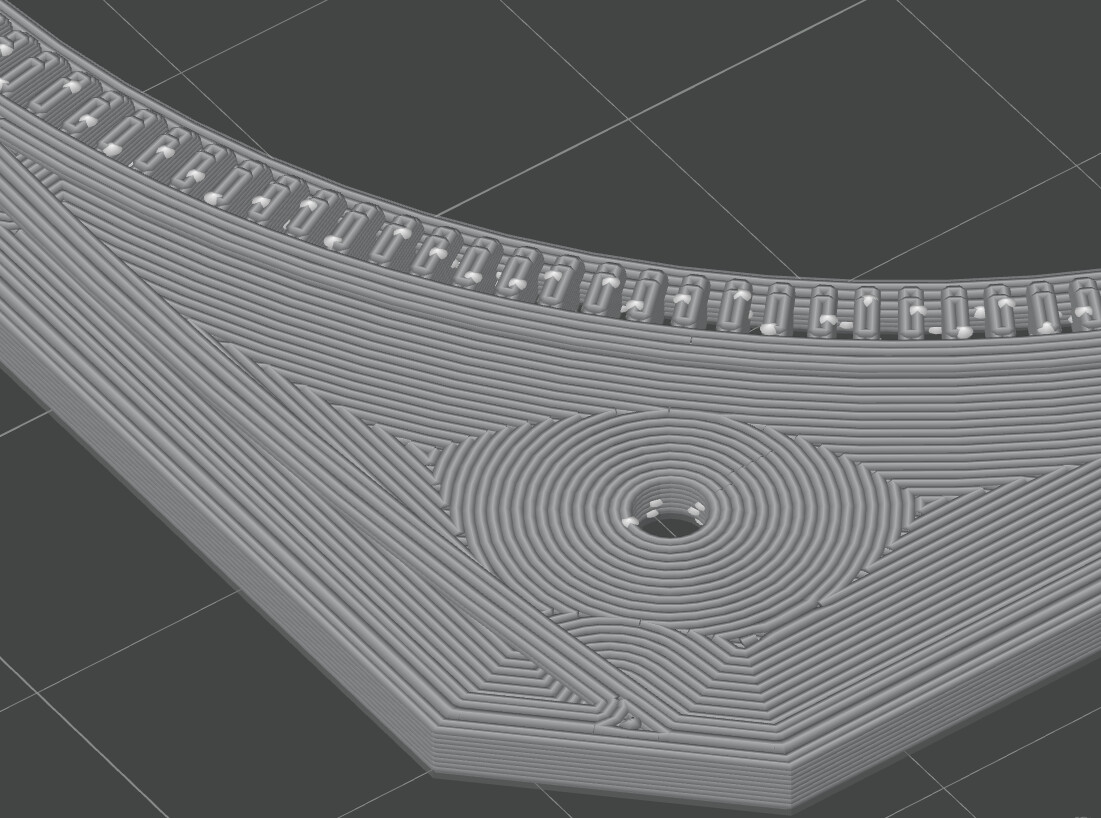
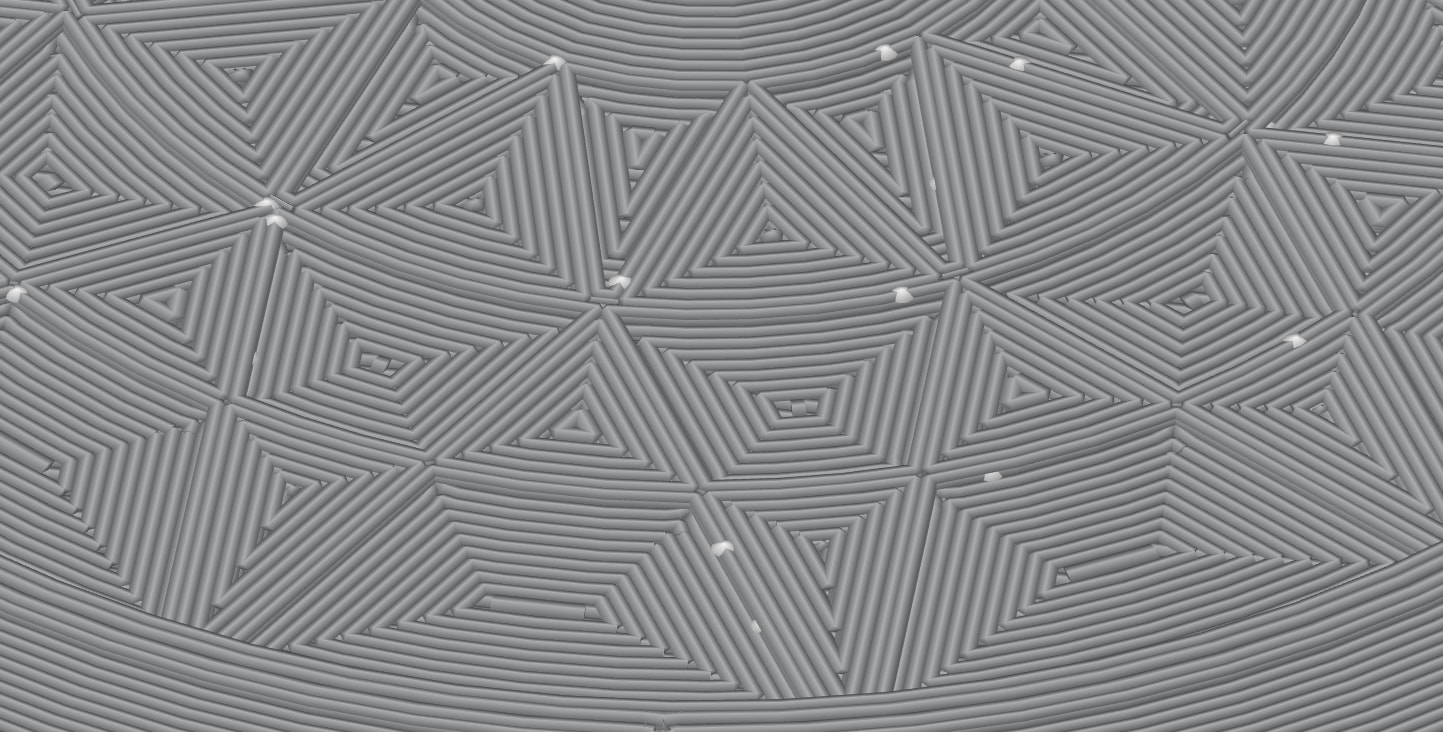
Concentric also works well on the top plates, responding to the geometric detail.
The hinge parts are printed vertically for optimum strength
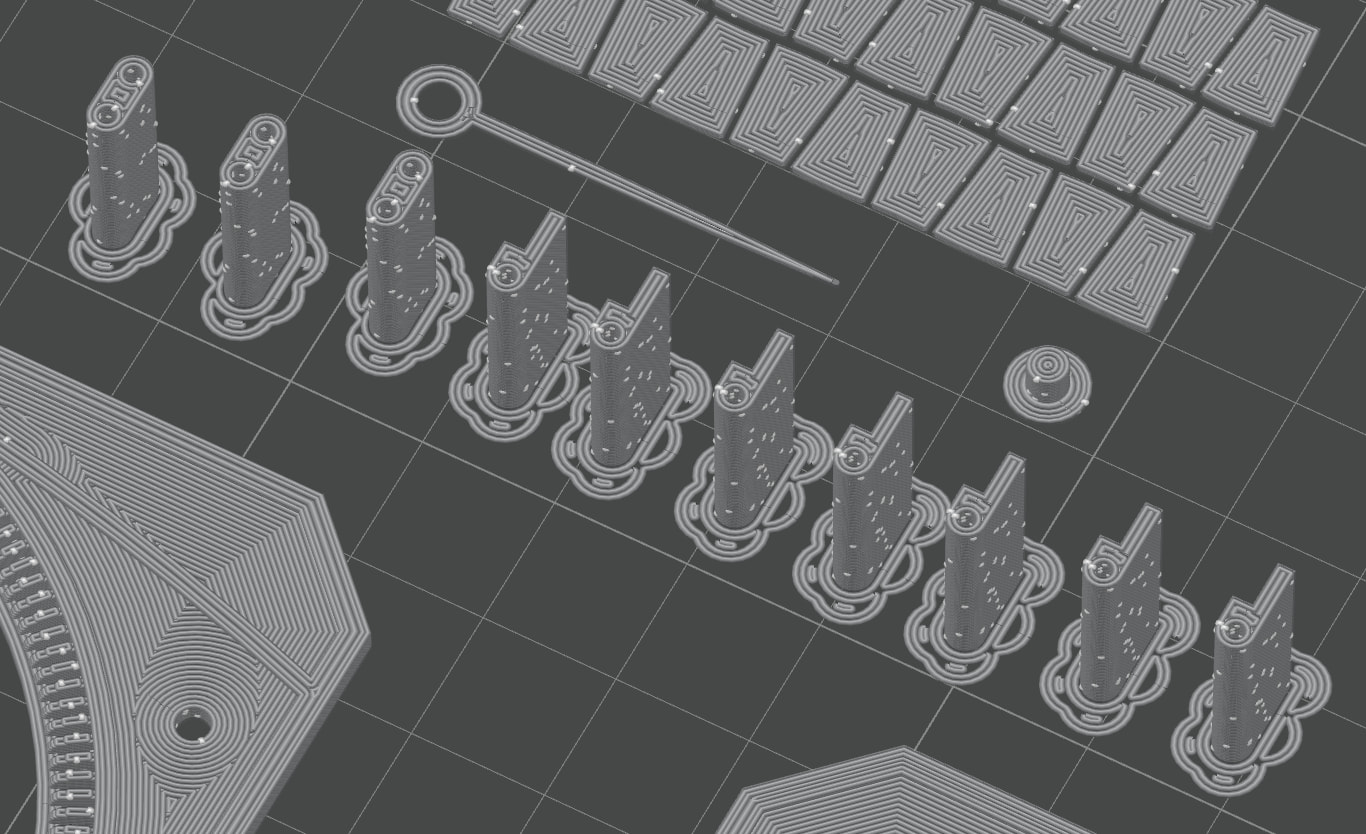
Three plates in all, about an hour each.
The 36 answers are 3D printed as little tiles which I’ll glue laser-printed symbols onto and press into place.
Hopefully there’s some matching colours in the space!
Printing
Coming Soon… Wish me luck!
If it all comes together well, I’ll fix any bugs and share the files.