Hello All,
I wanted to share two more bowls I made yesterday. I only intended to make one, but found myself multitasking due to a knotty yew blank that I began the day’s work on:
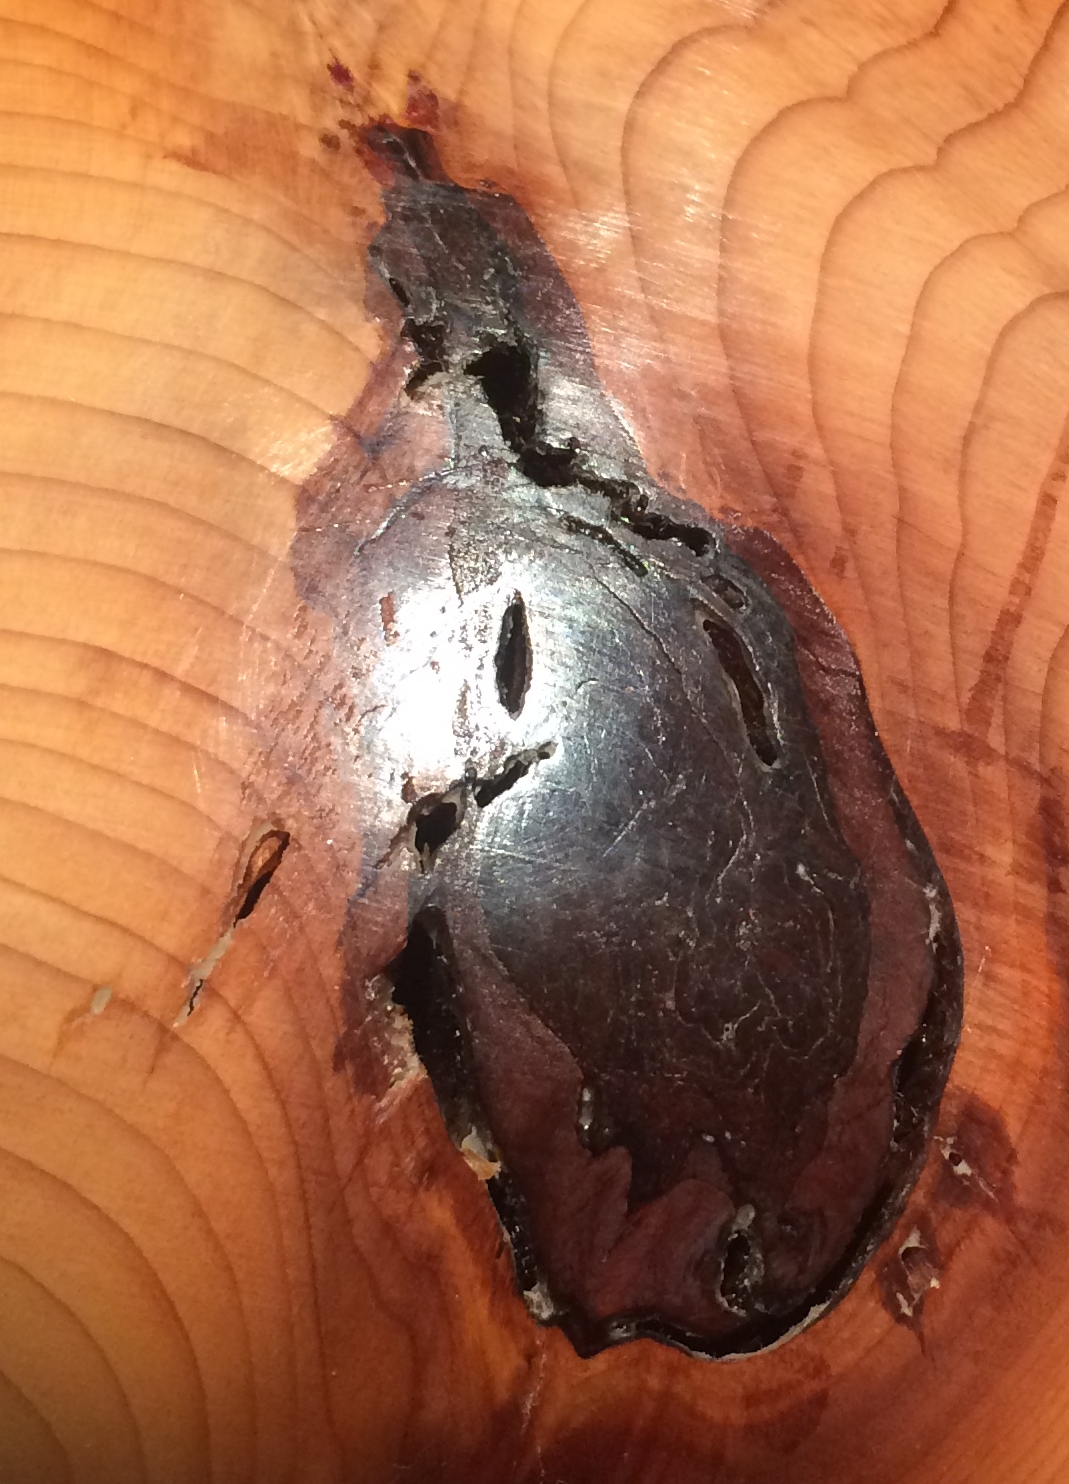
To keep these knots on the walls of the bowl together as I cut them it required I pull the bowl off the of lathe and infuse the knot and surrounding wood with as much CA glue as it would soak up. Without the glue, the knot and surrounding wood tore out making for an ugly surface (I list a part of the knot along the rim before gluing began).
So while I was treating the knot on the outside of the bowl, I grabbed a small sweet chestnut blank from my bag and began a second project I had in mind: a milliput (an epoxy putty) accented bowl.
The chestnut cut easily and quickly, and one into a basic shape I liked I used two of the parting tools to carve in the accent channels:

Once carved I got my milliput out, mixed it up and applied it to the channels:
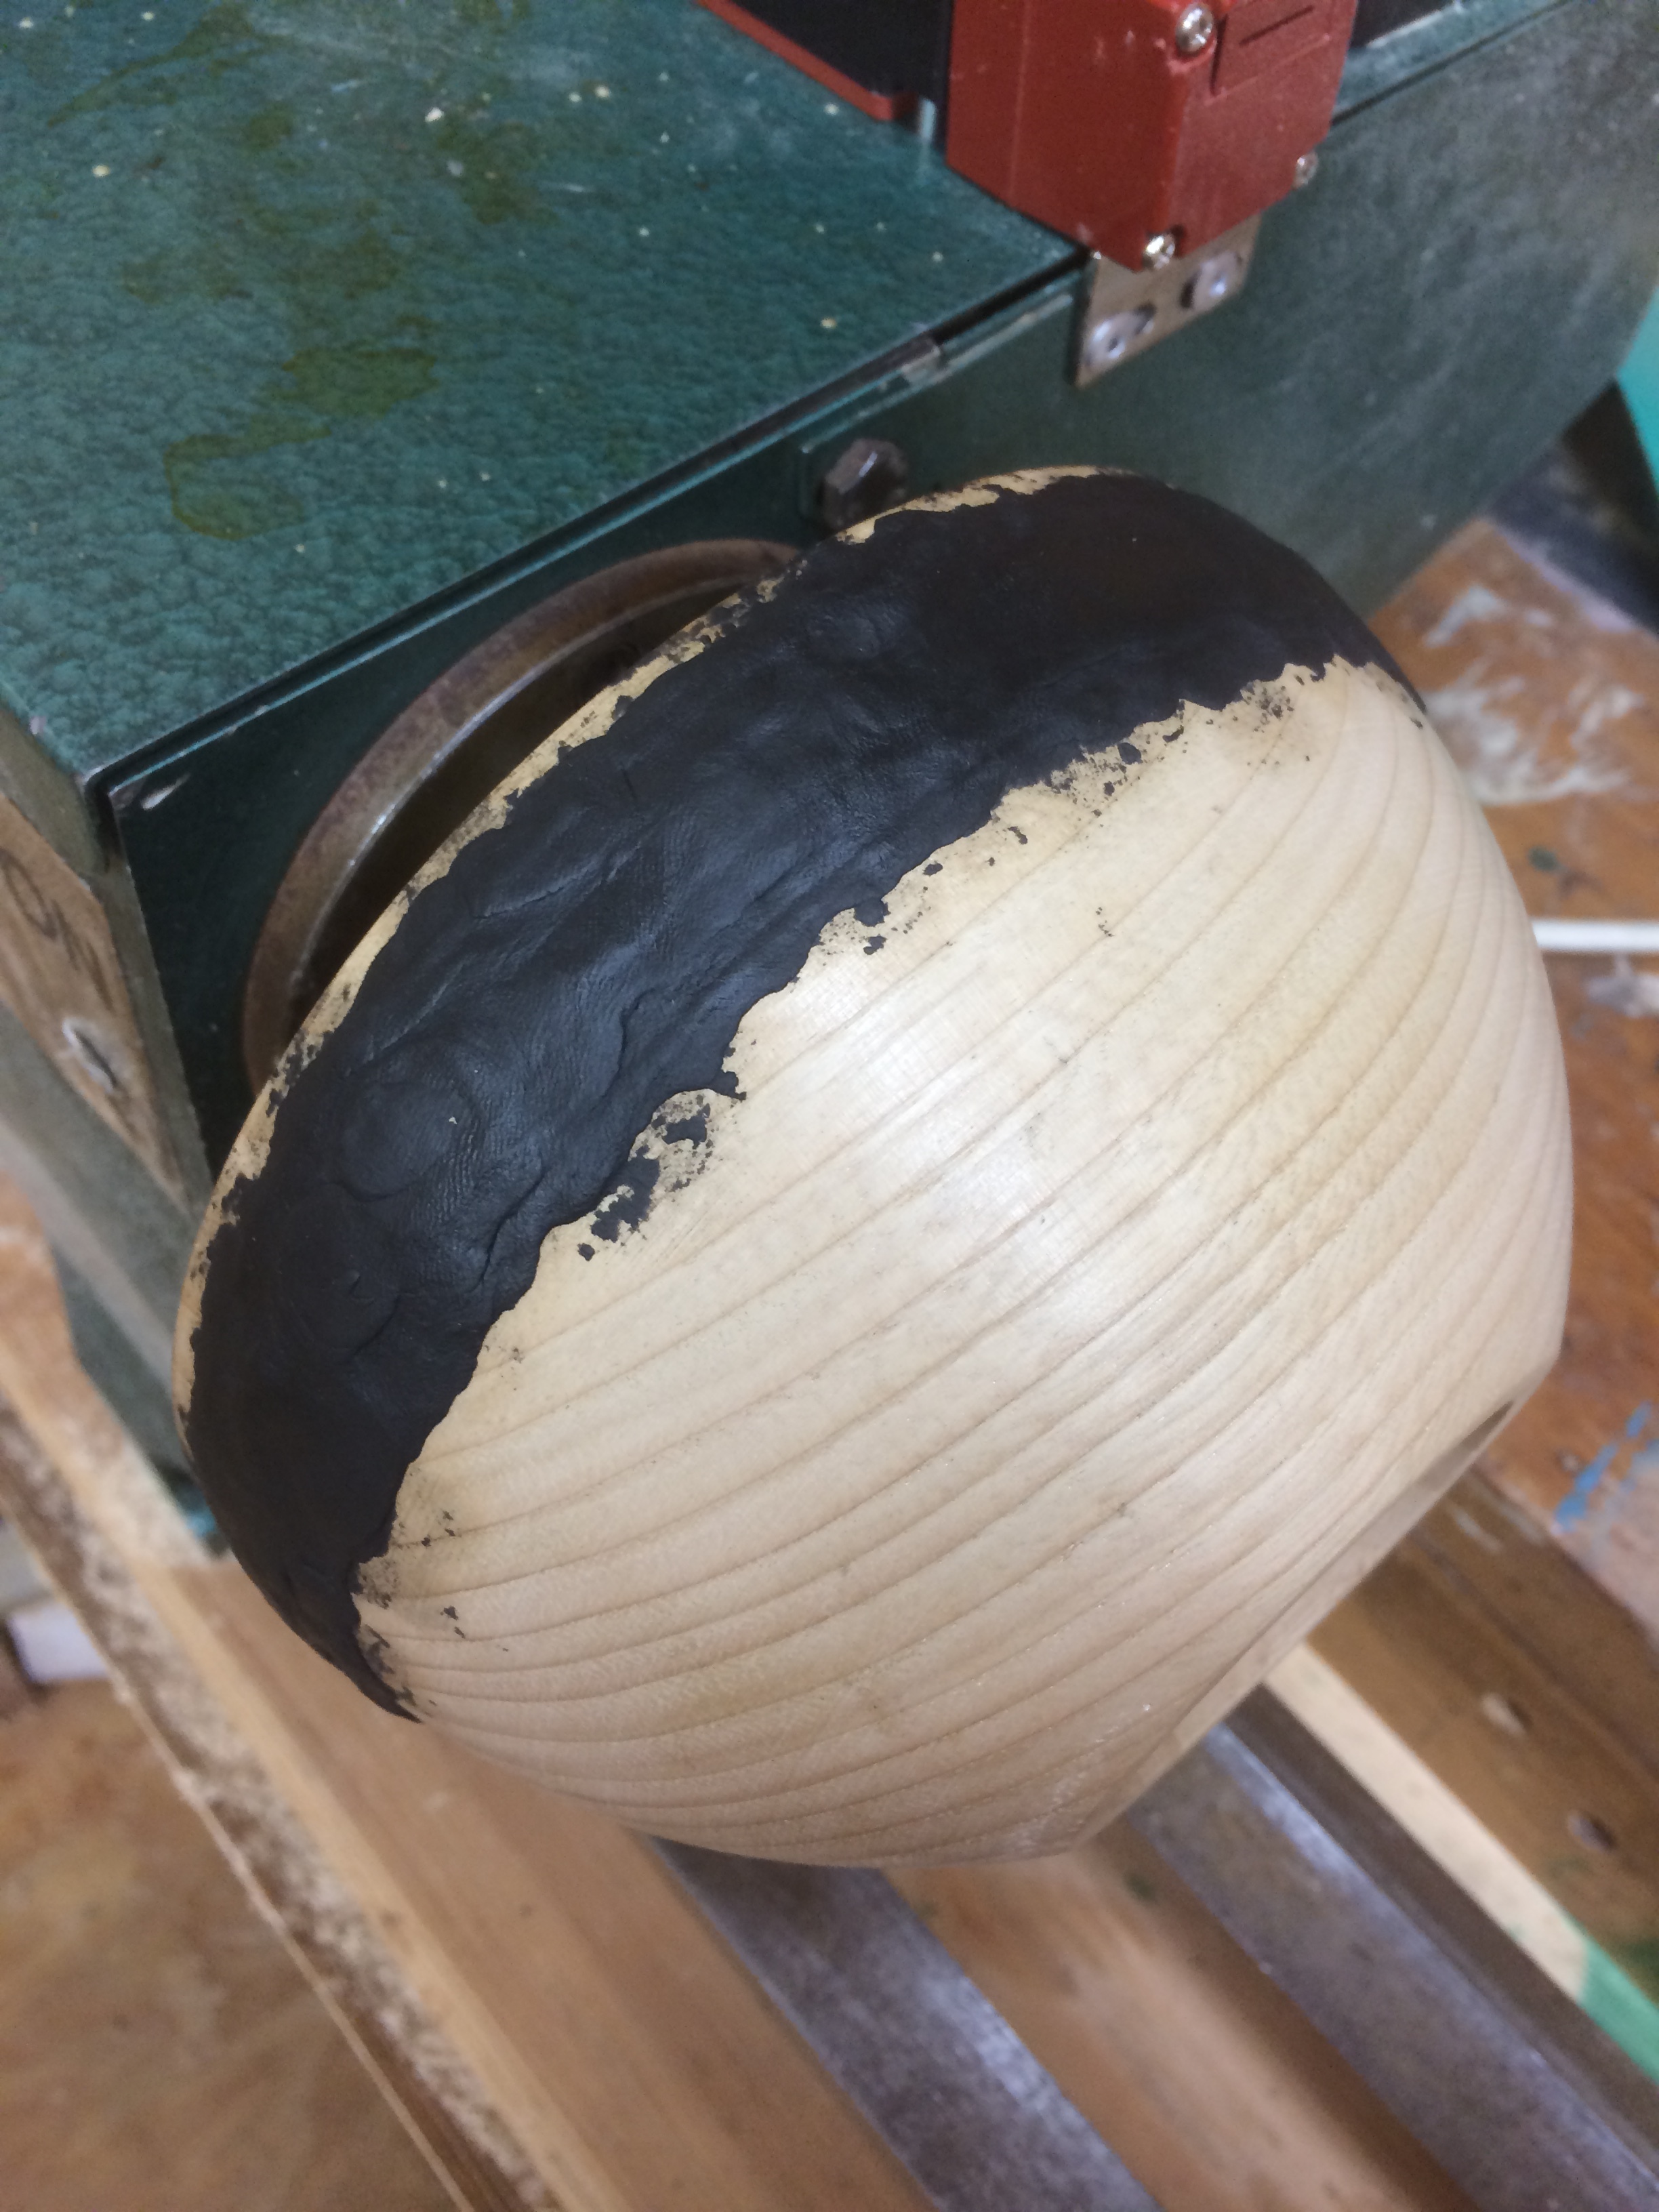
I had oroginally intended to make the thinner outside channels in white, but after unintentionally mixing up far too much black, all accents became black. Opps! 
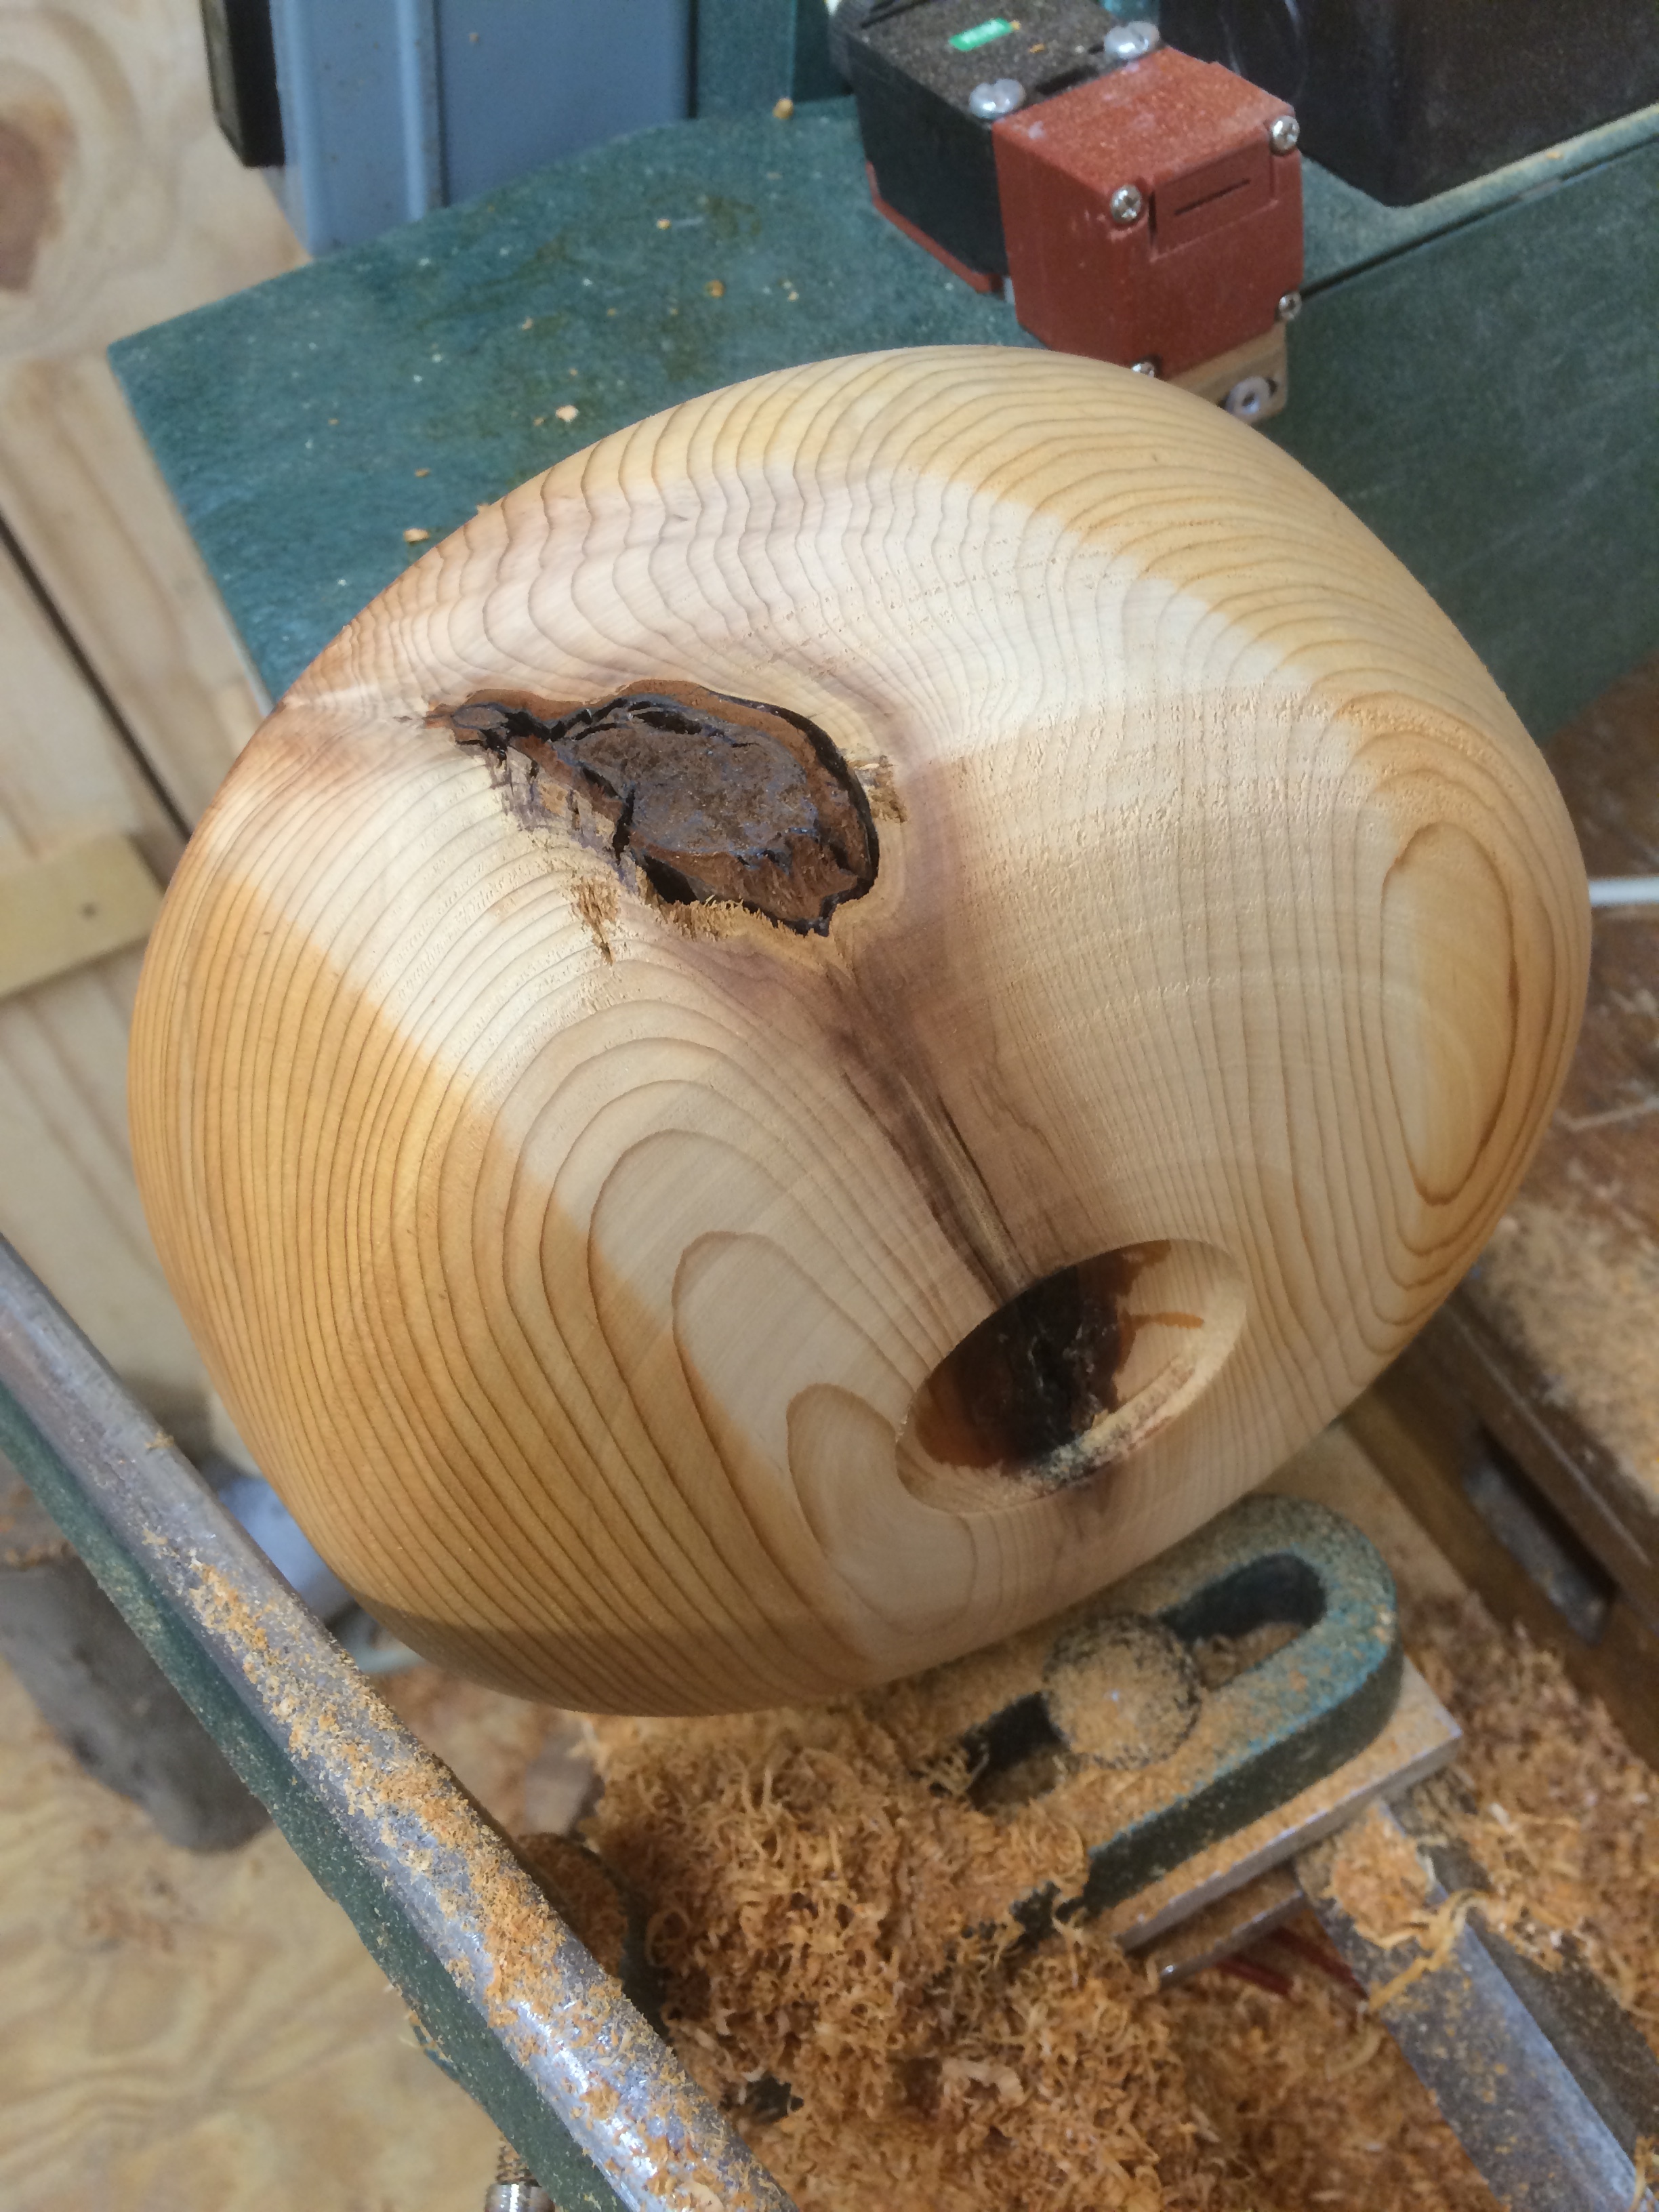
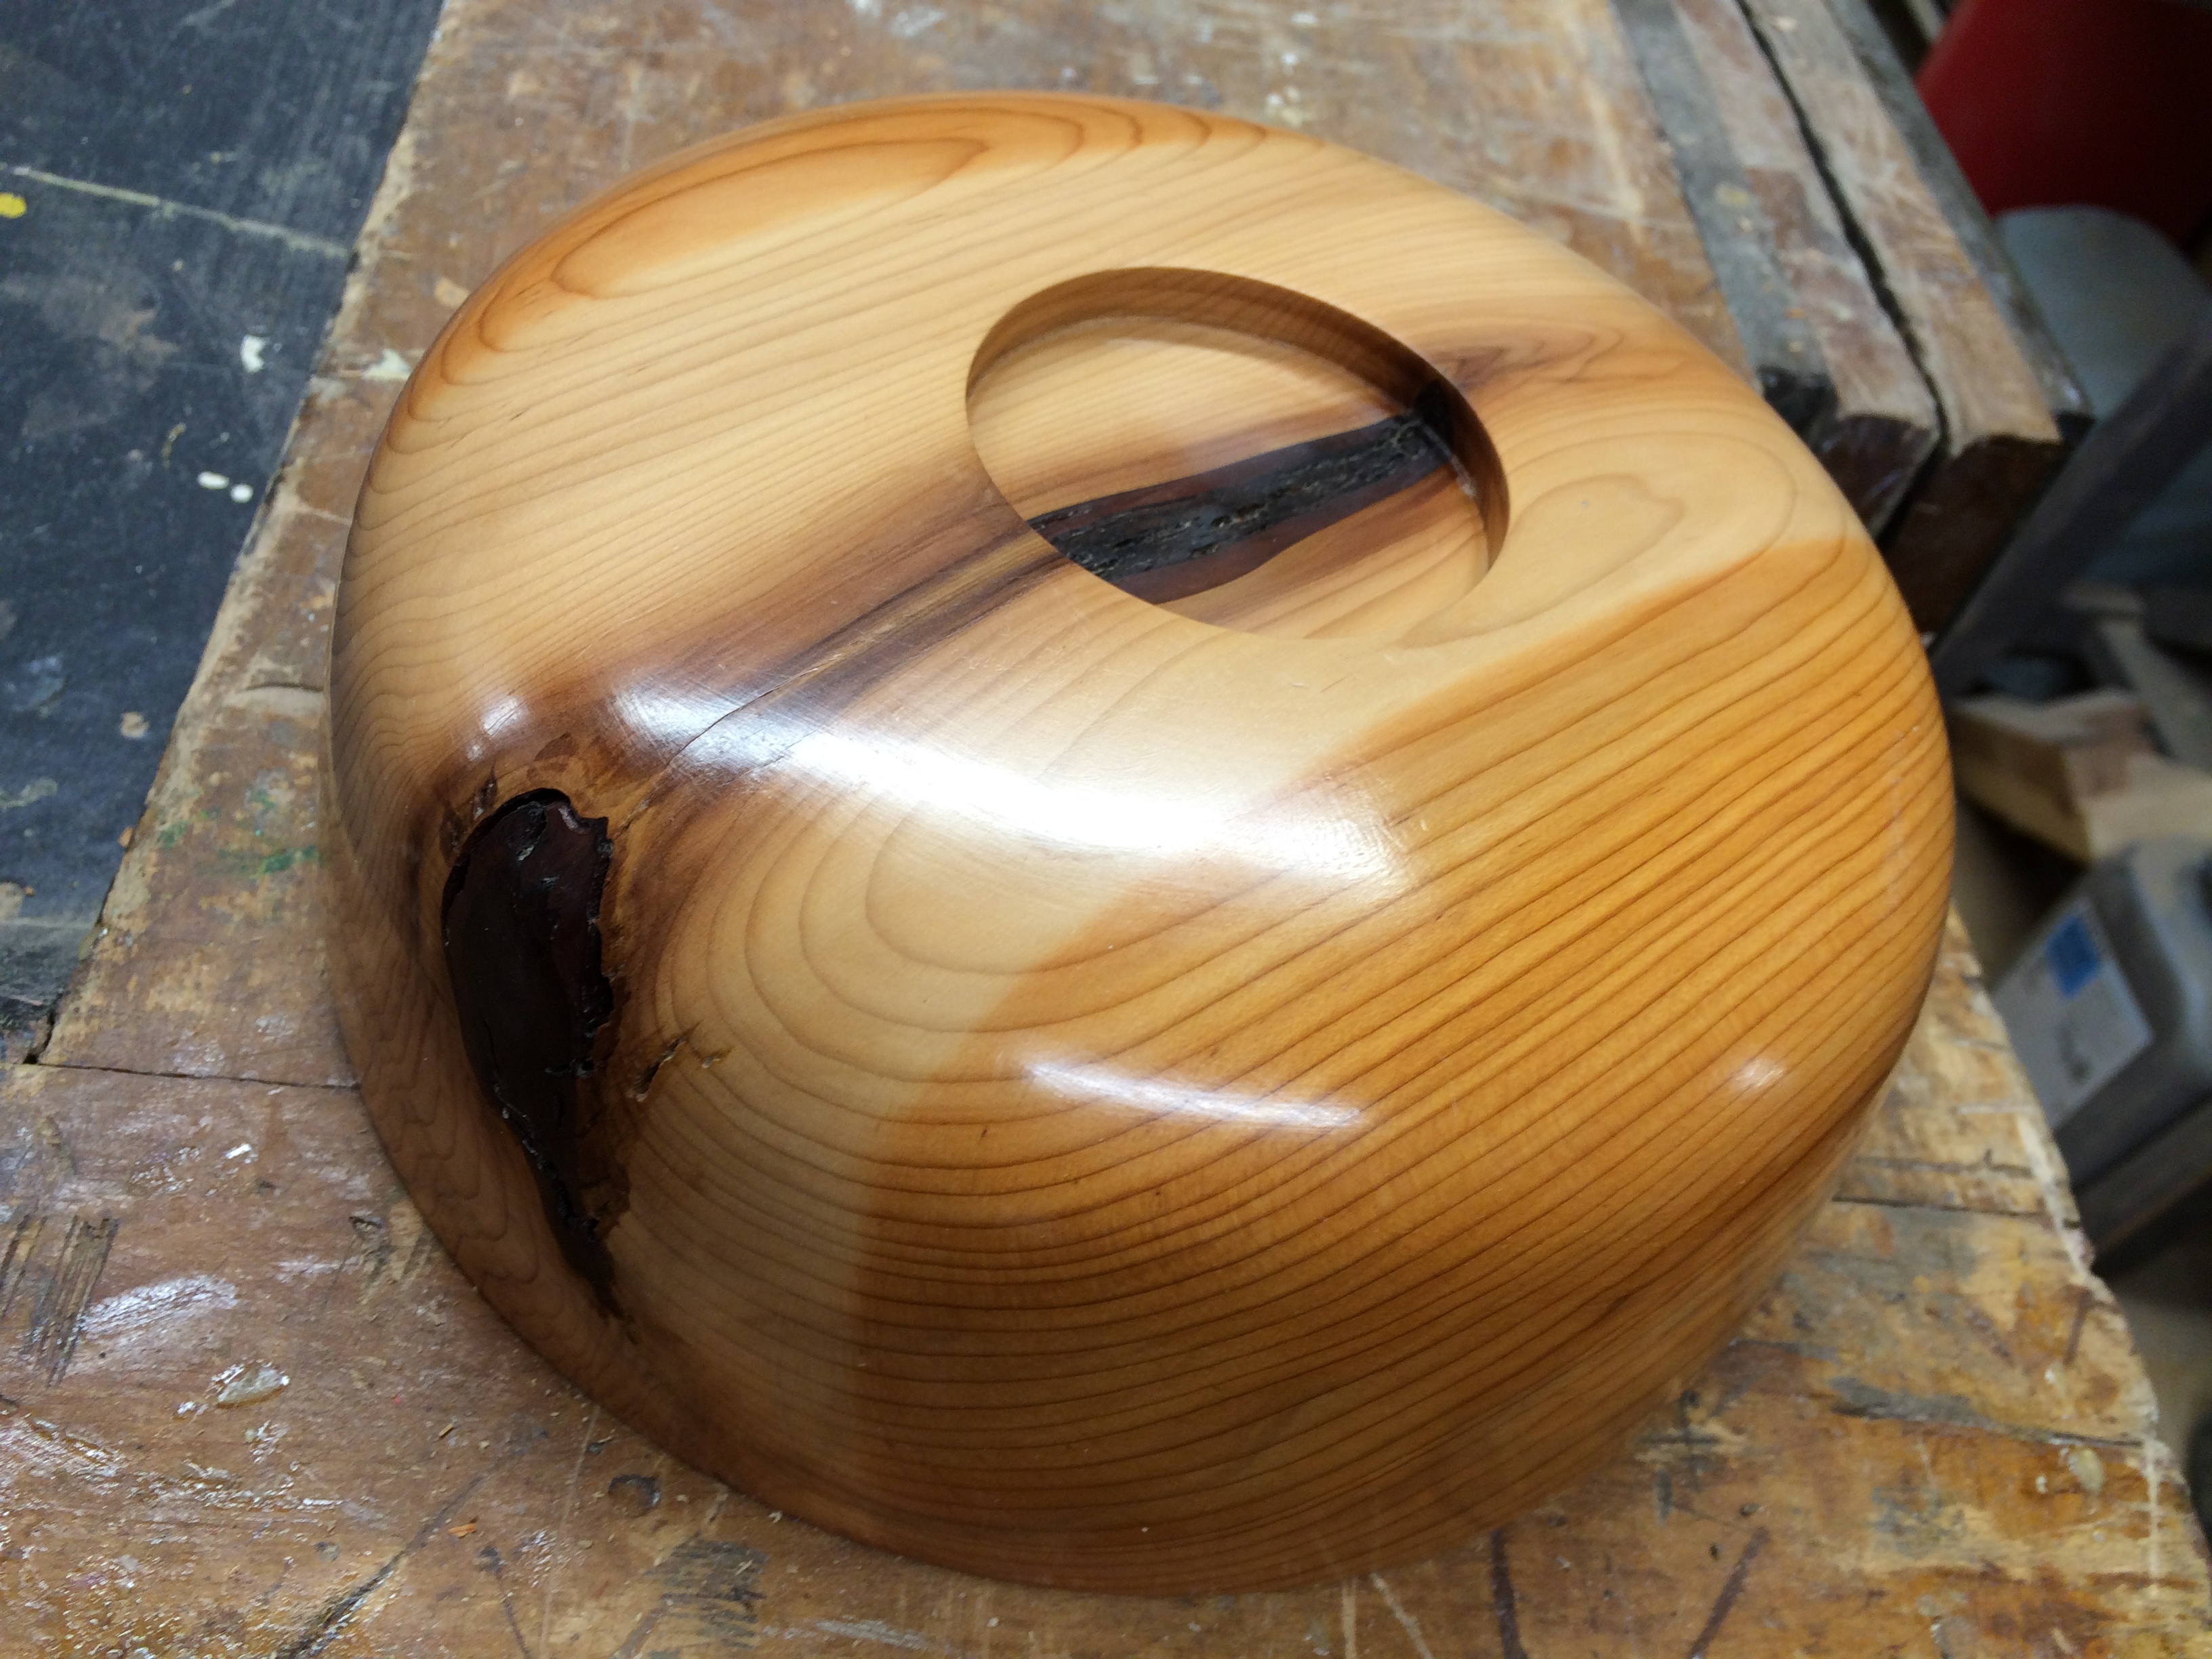
The milliput takes 3 - 4 hours to harden, so I took this bowl of of the lathe and began carving out the center of my yew bowl now that the CA glue had a chance to soak in and dry. As I cut out the bowl I discovered that the two surface knots on the outside of the bowl were connected through the center of the bowl:
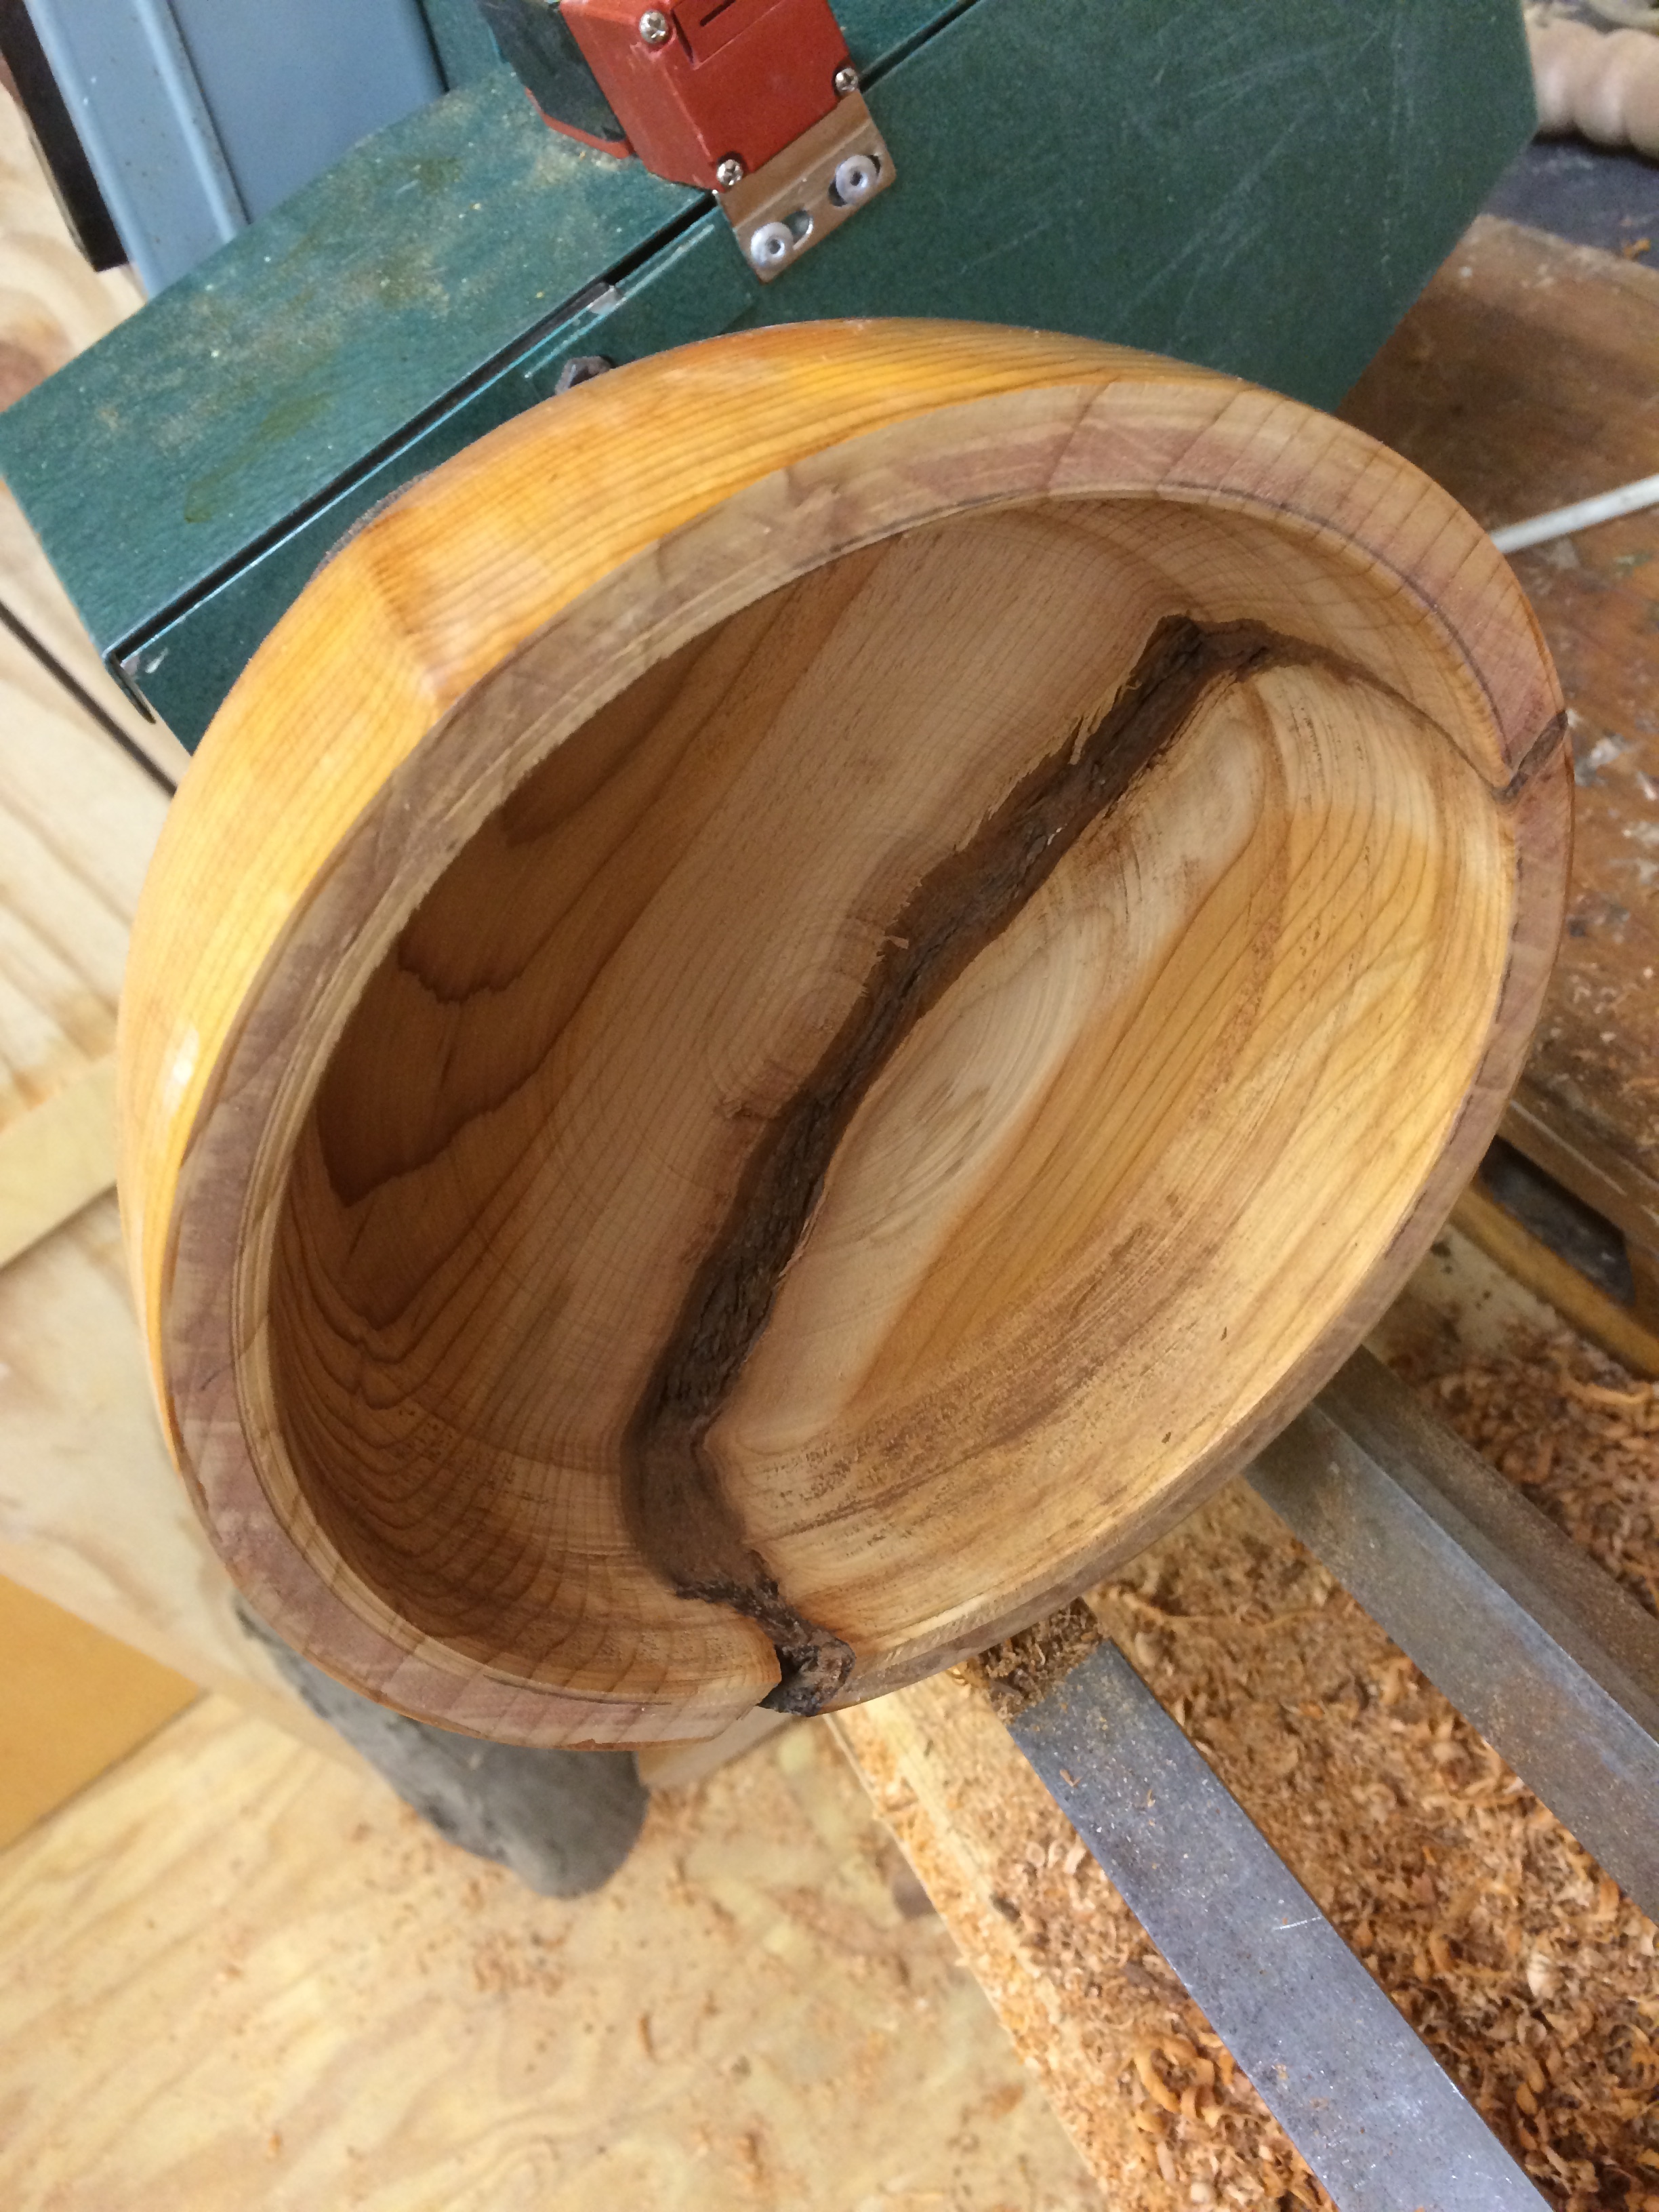
From the looks of it this know would run straight through the center of the bowl. This concerned me about the bowl’s ability to stay in one piece, as the knot wood was much weaker. I was concerned that the force of the turning on the lathe alone might break the bowl in half down this knot spine, let alone my ability to finish cutting the inside of the bowl. After spending all my CA glue and the wood was still thirsty for more, @boldaslove gave me a good tip that the store out front had some in stock so I rushed over and cleared them out and began soaking the knot spine in as much CA glue as it would take.
Caught again in a waiting game of CA glue applications I switched back to the chestnut bowl, now ready to have the milliput turned down to reveal if the accents turned out or were nothing more than a black mark on my bowl making career:
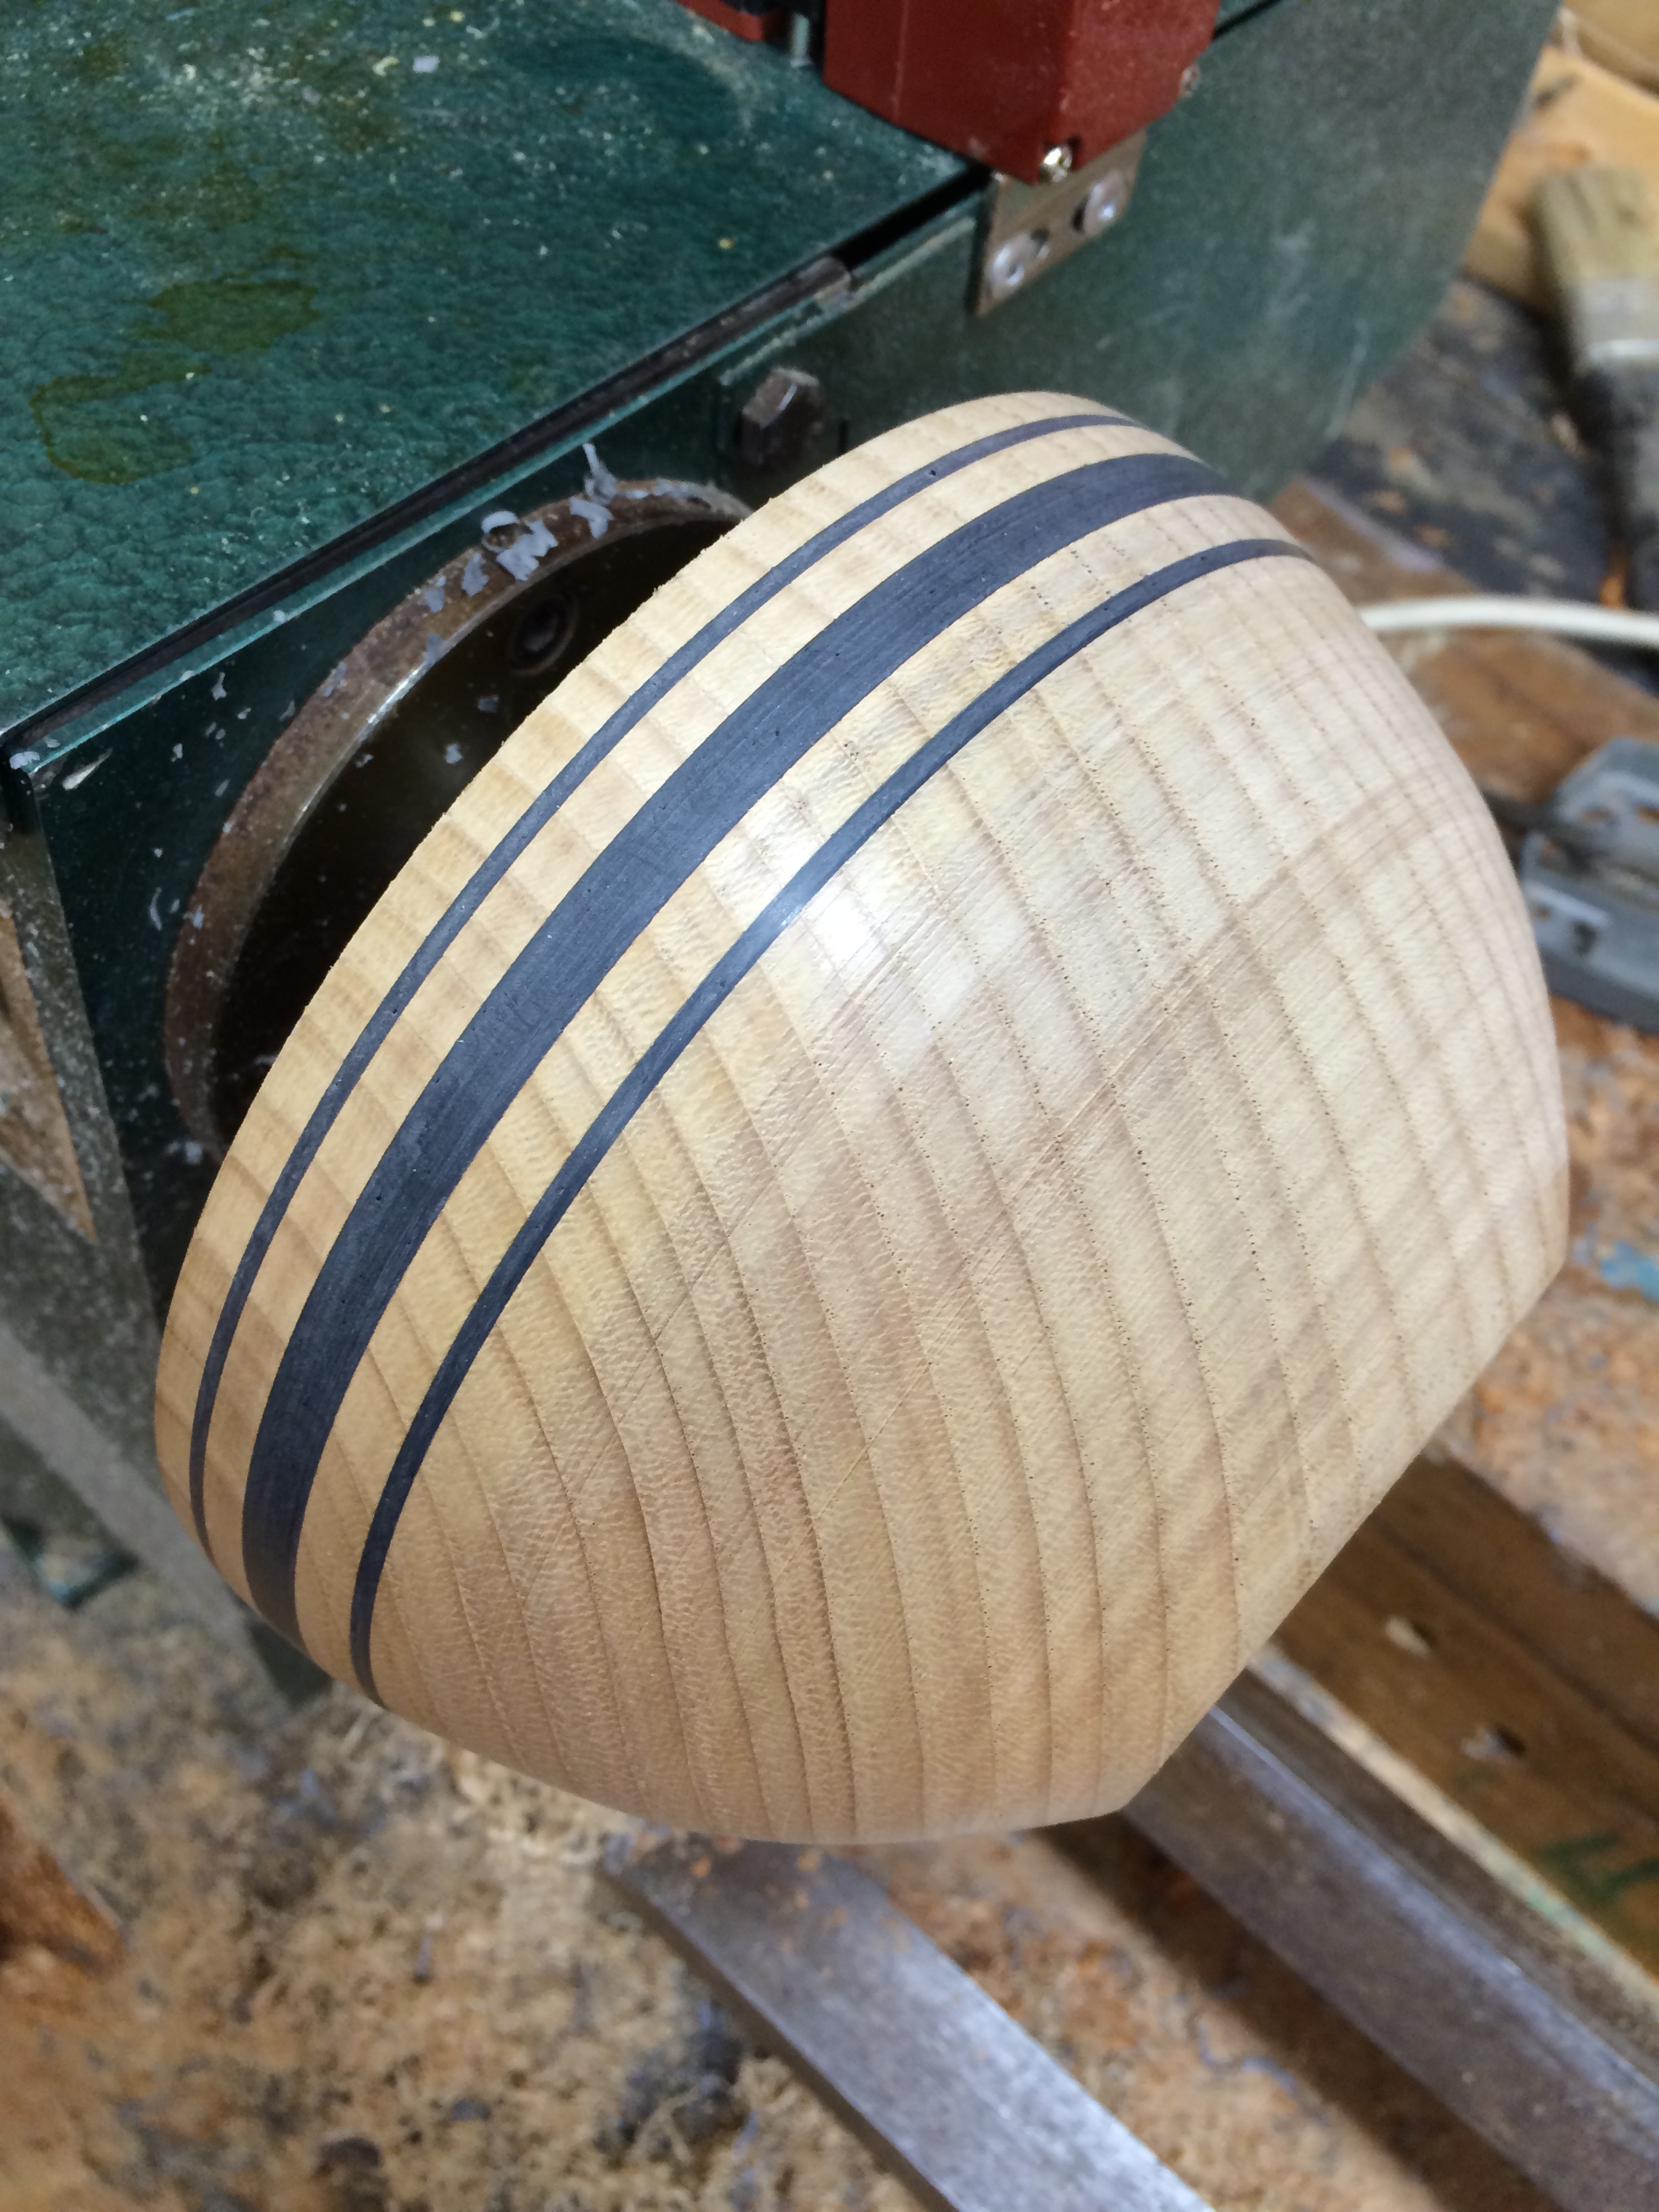
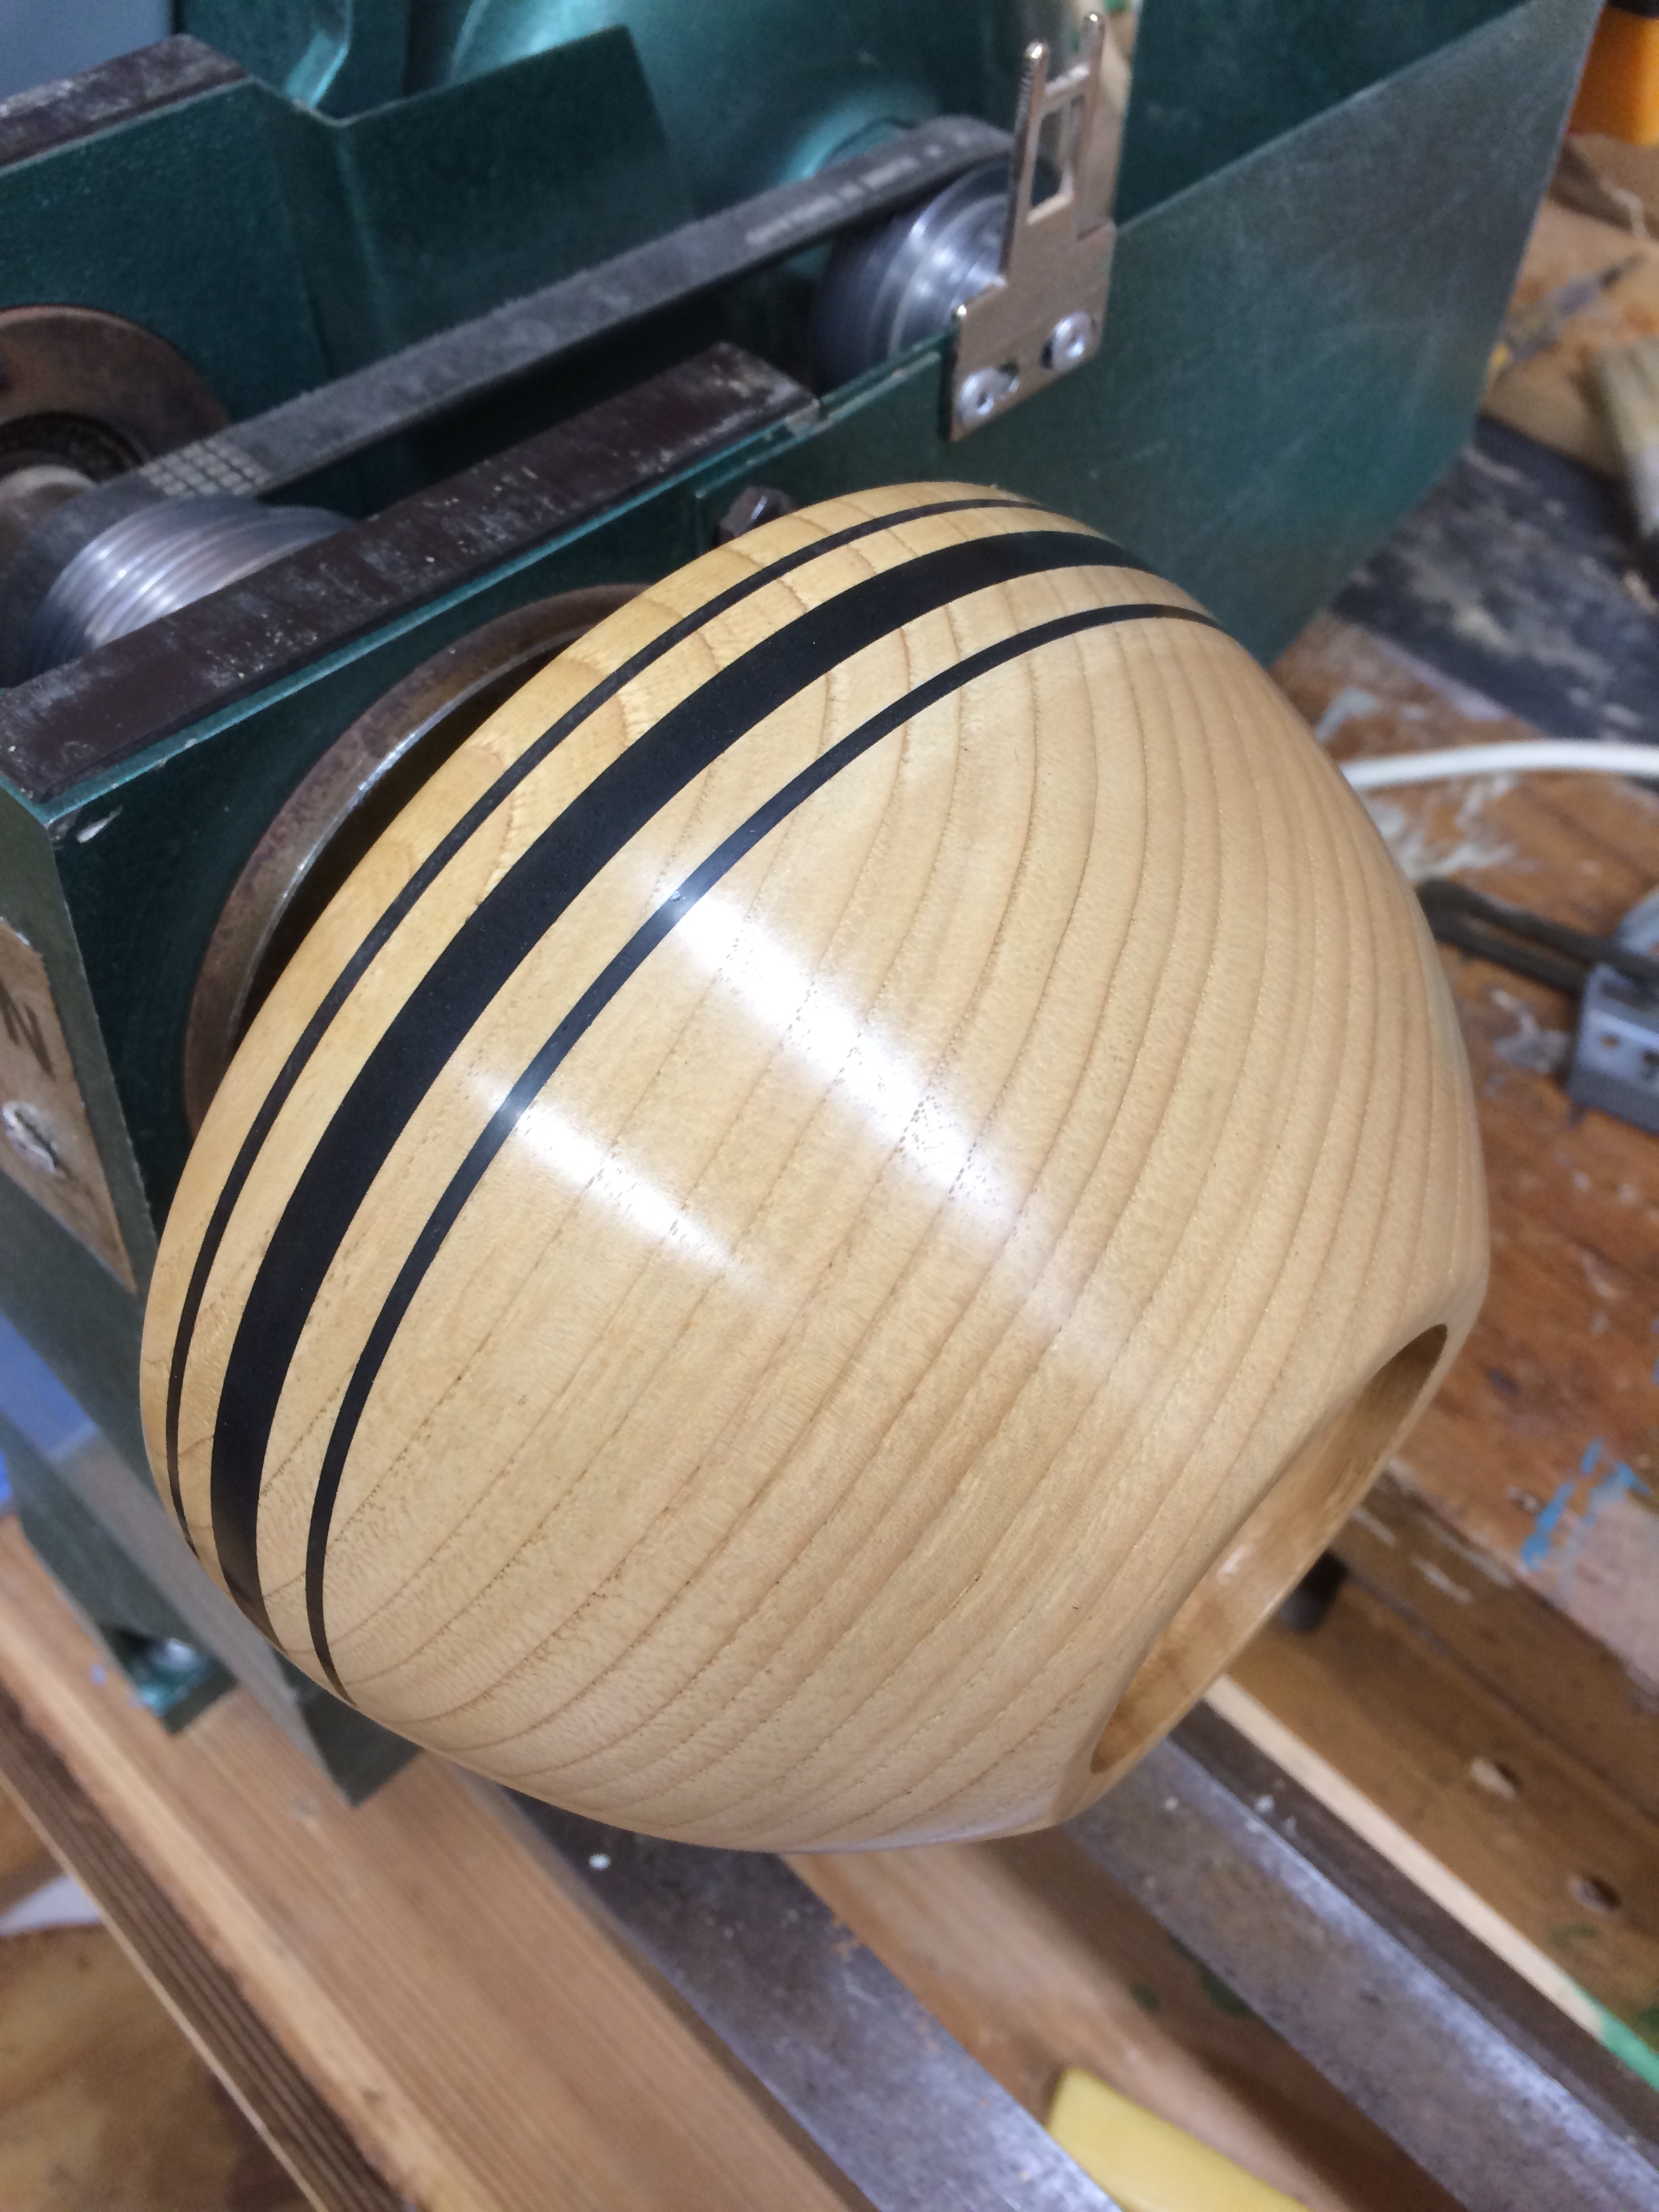
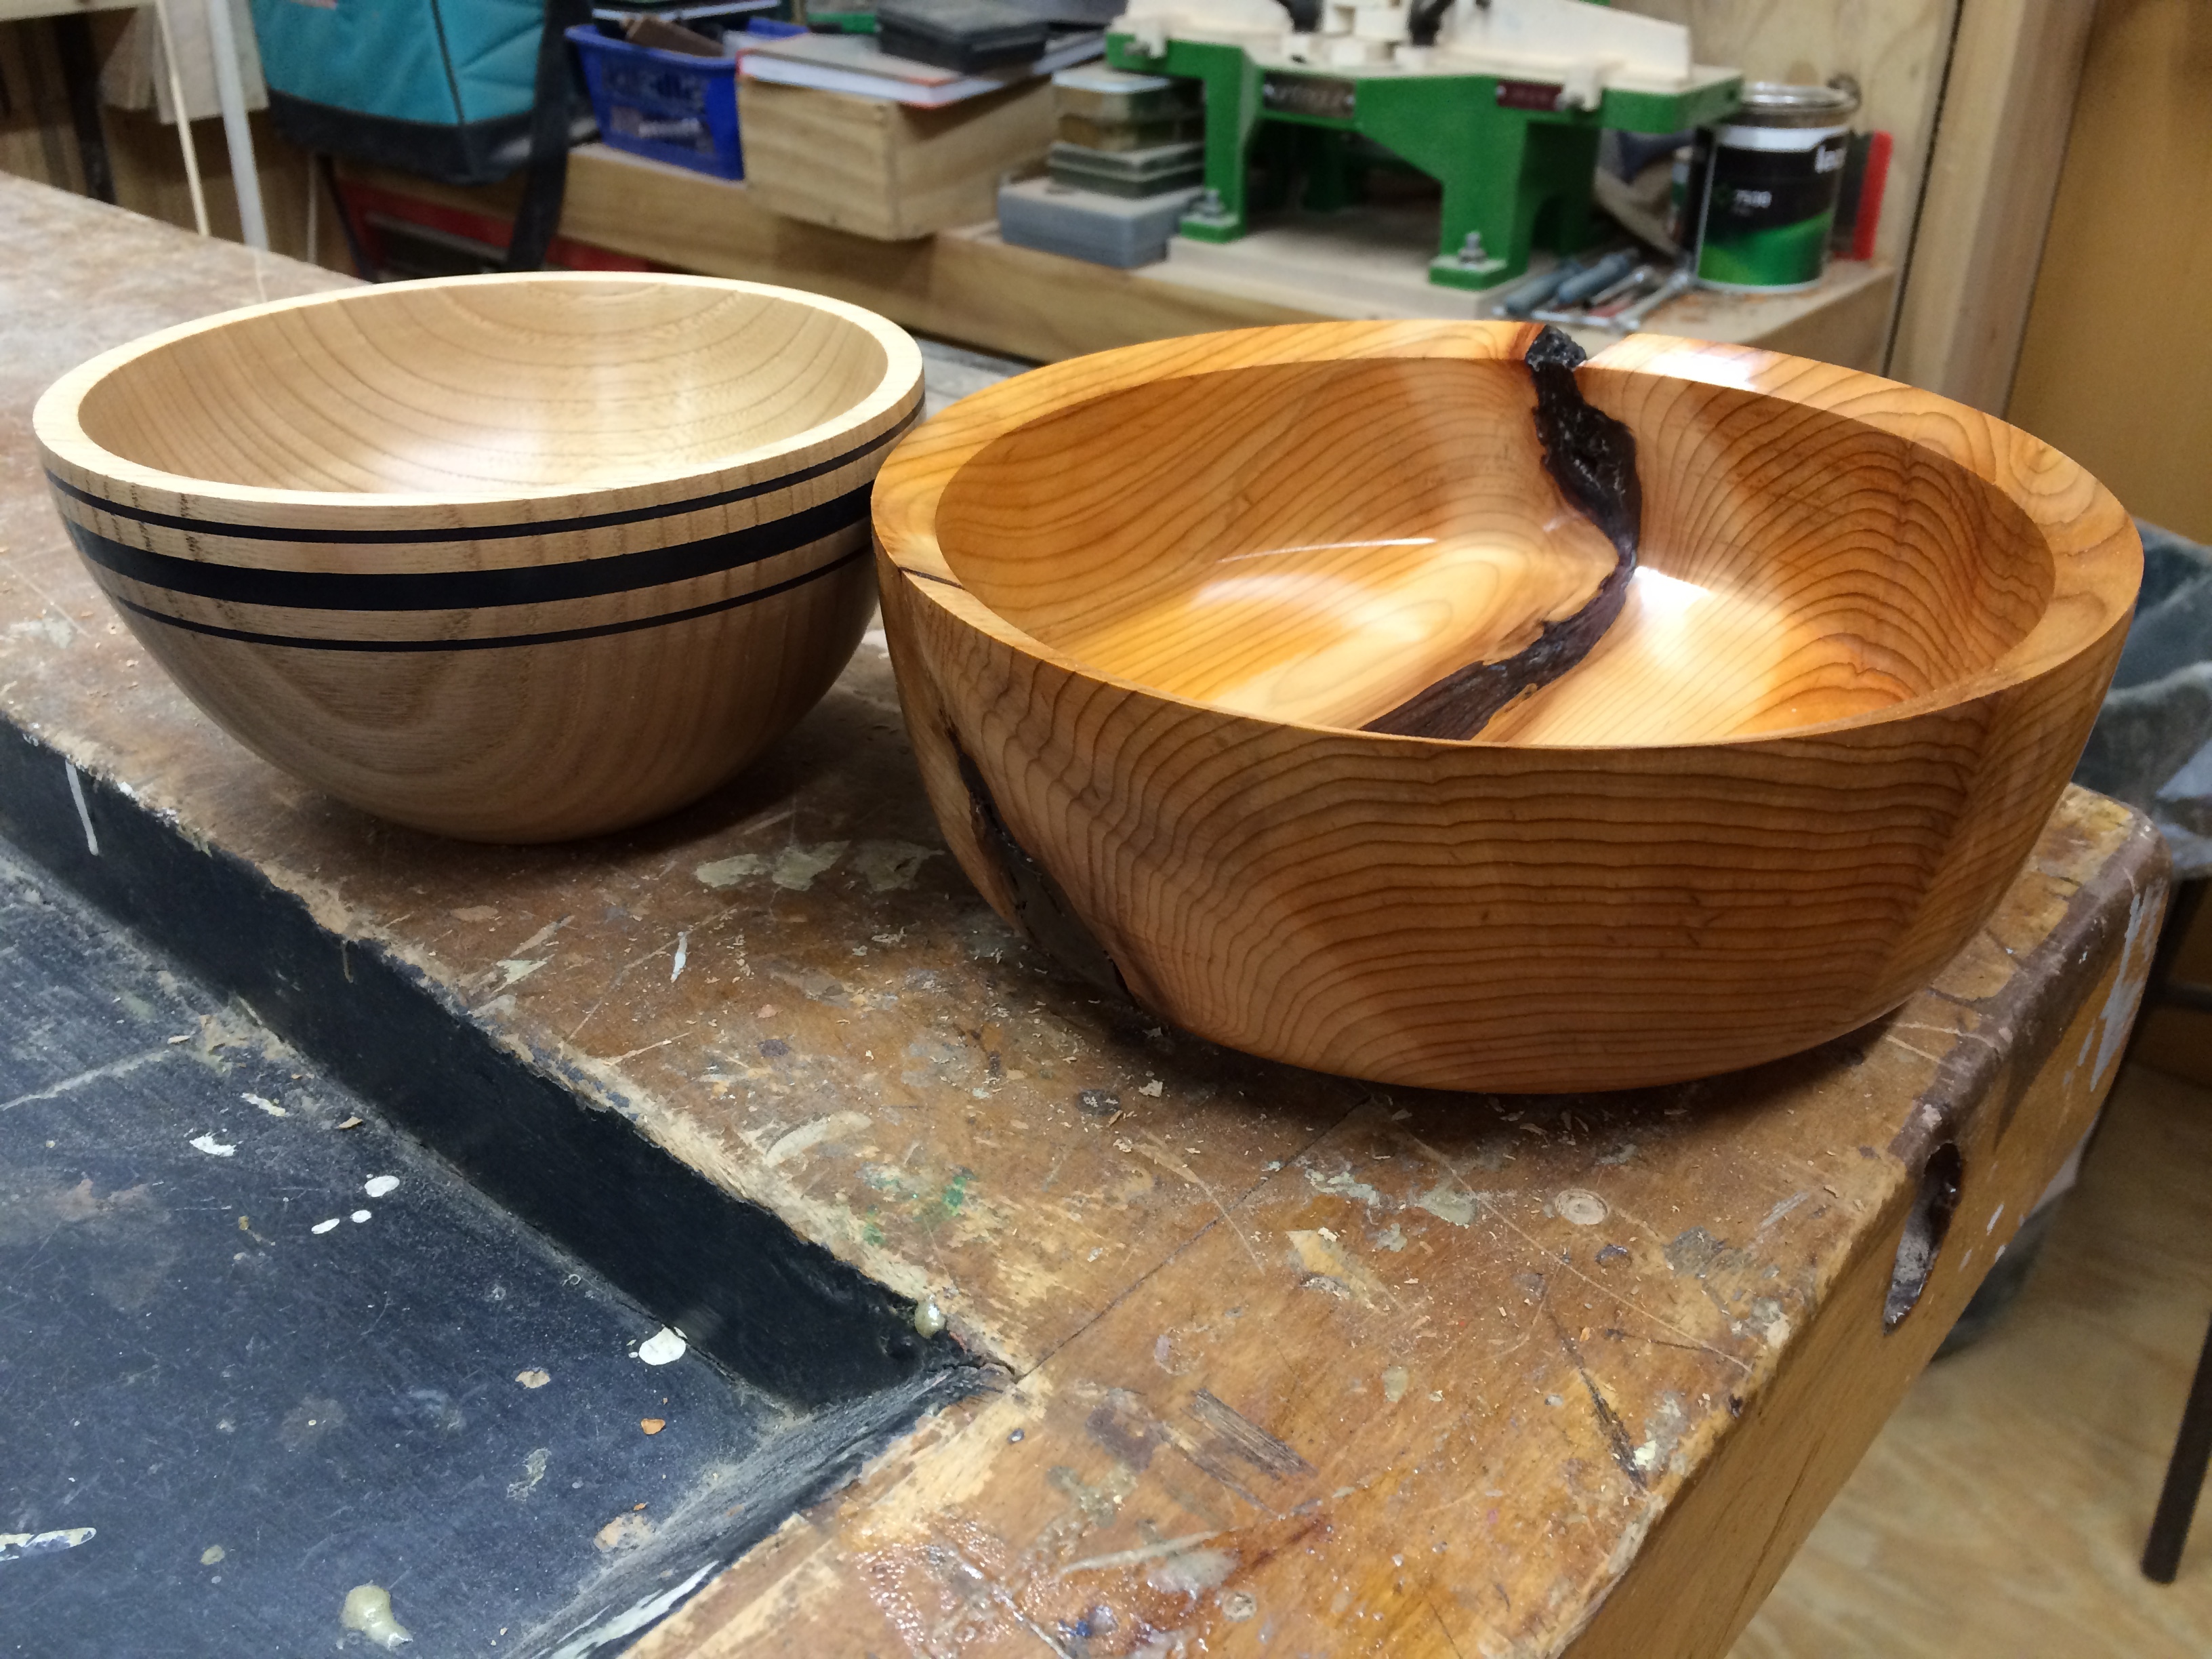
Thankfully the accents came out crisp and clear. Aside from some minor milliput in the surrounding grain that didn’t come out with turning or sanding, this was a complete success! I applied a simple beeswax finish and then switched back to the yew blank:
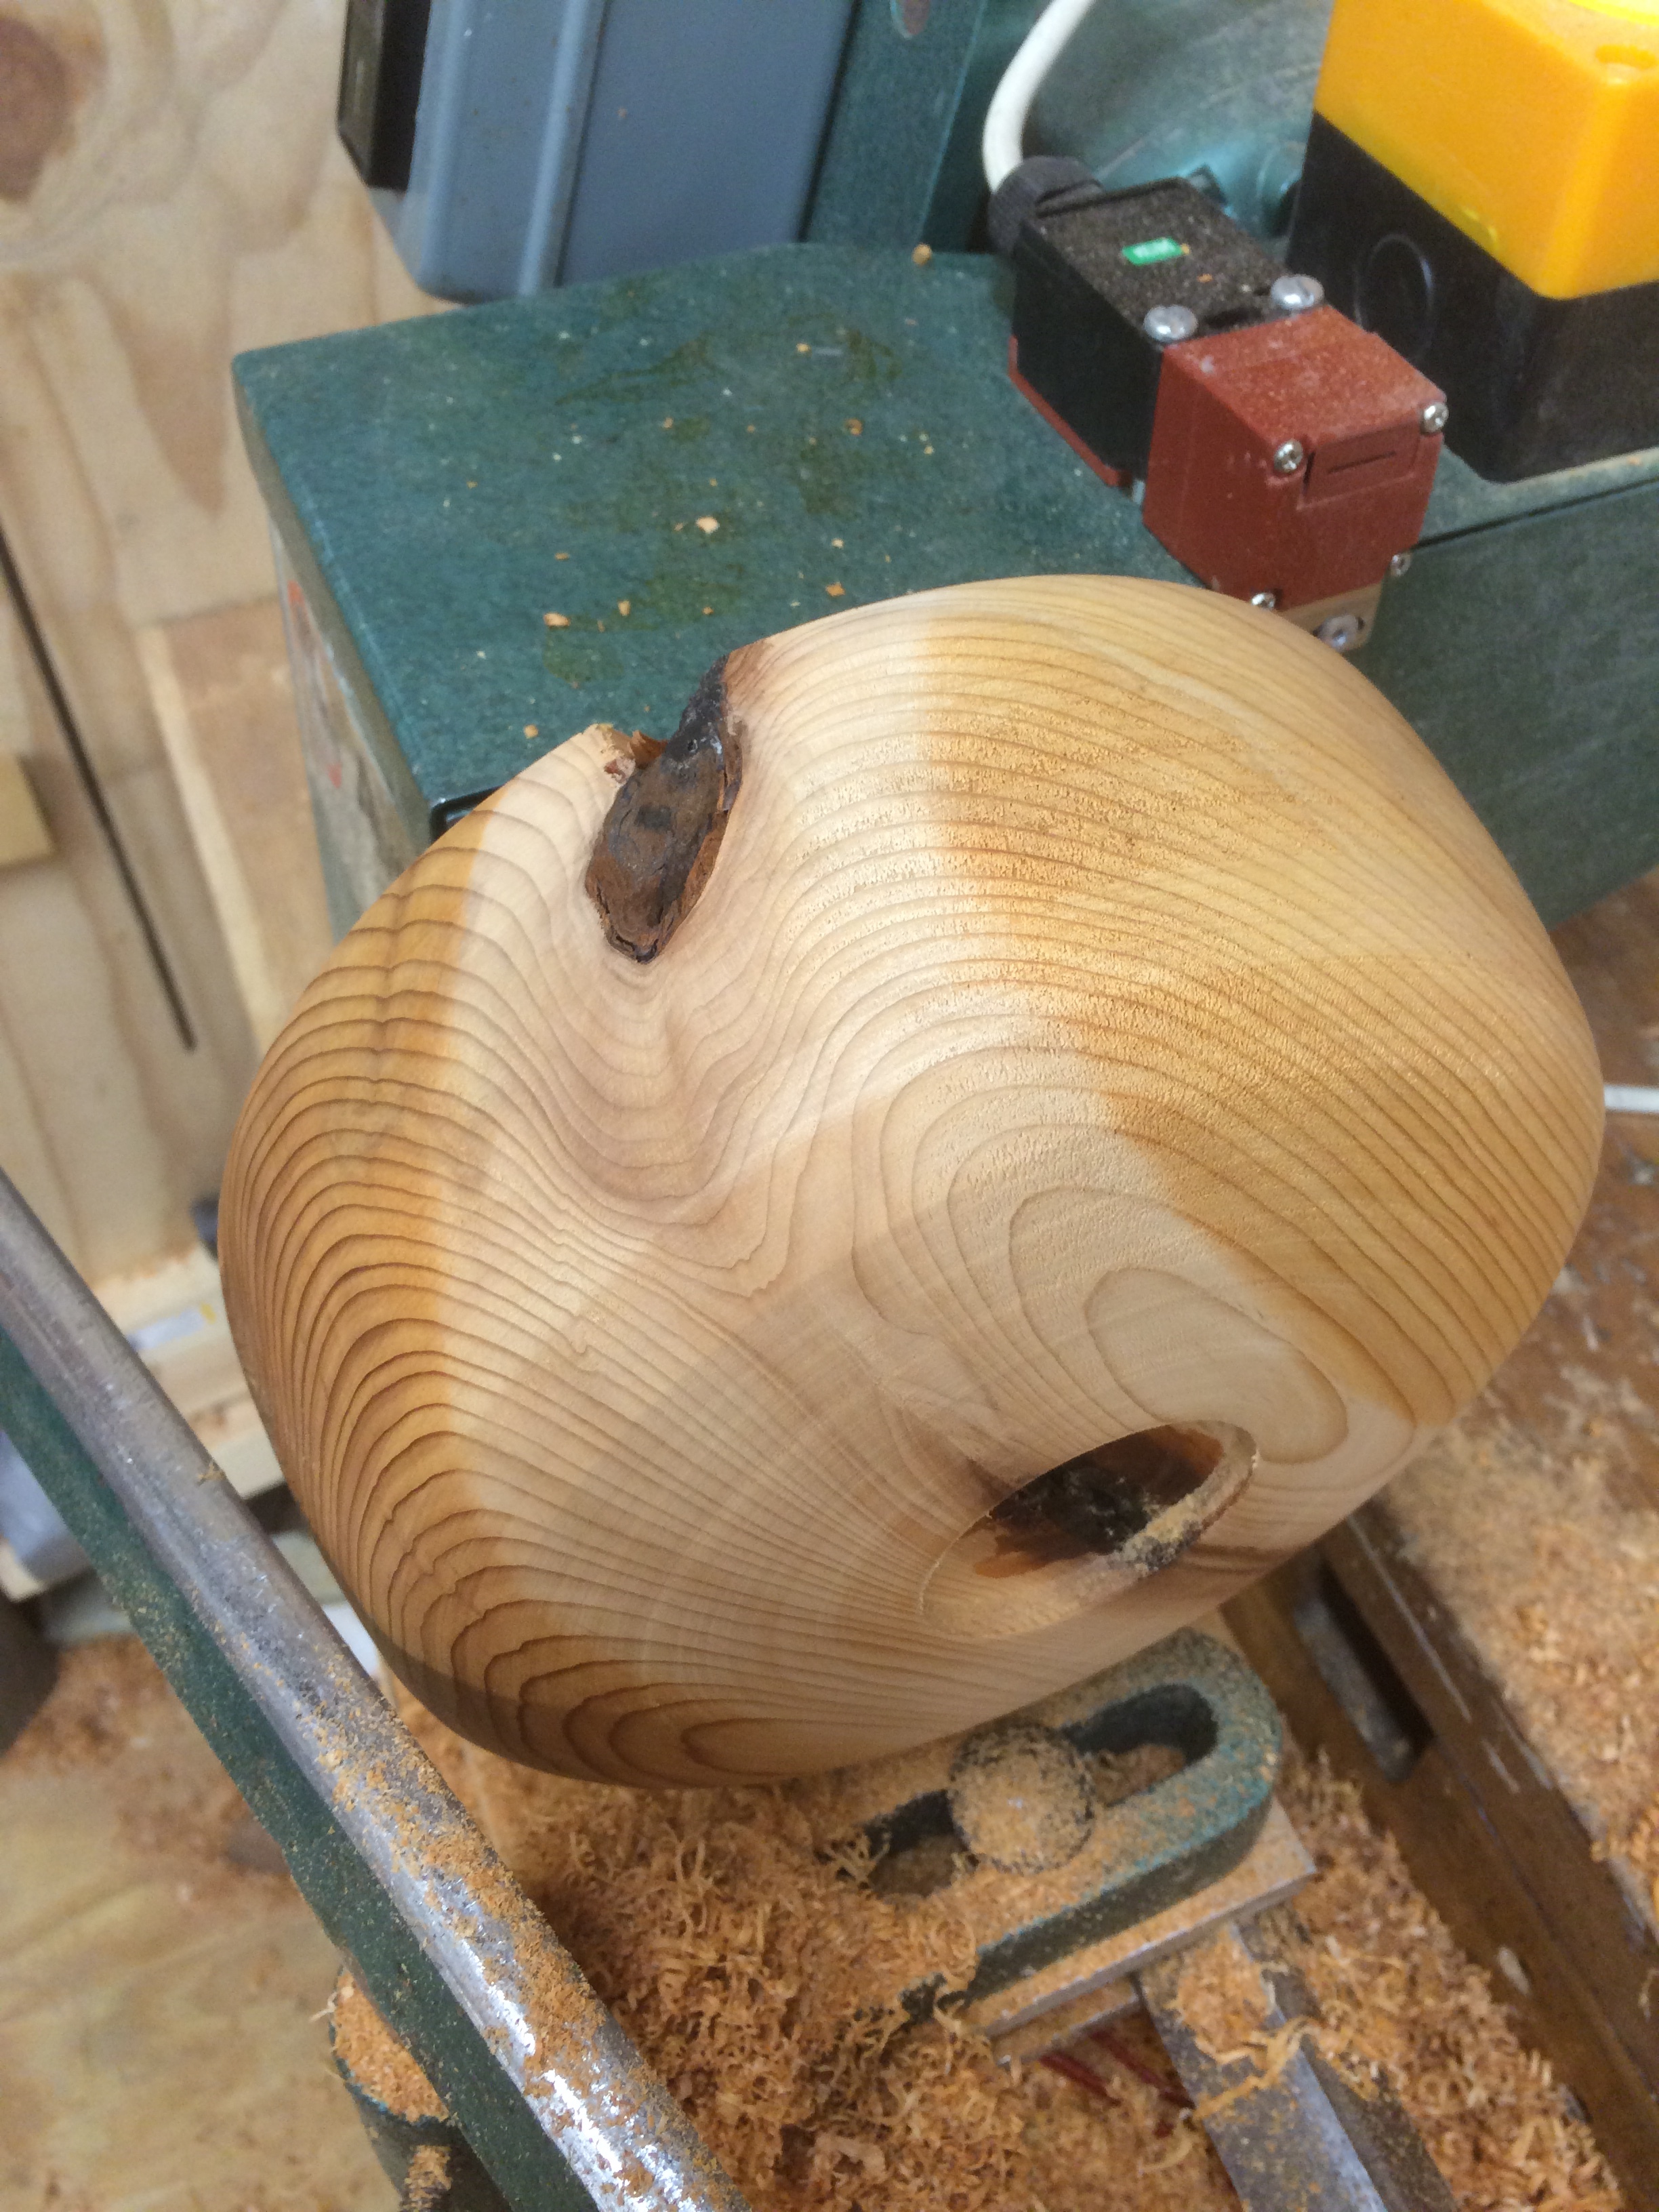
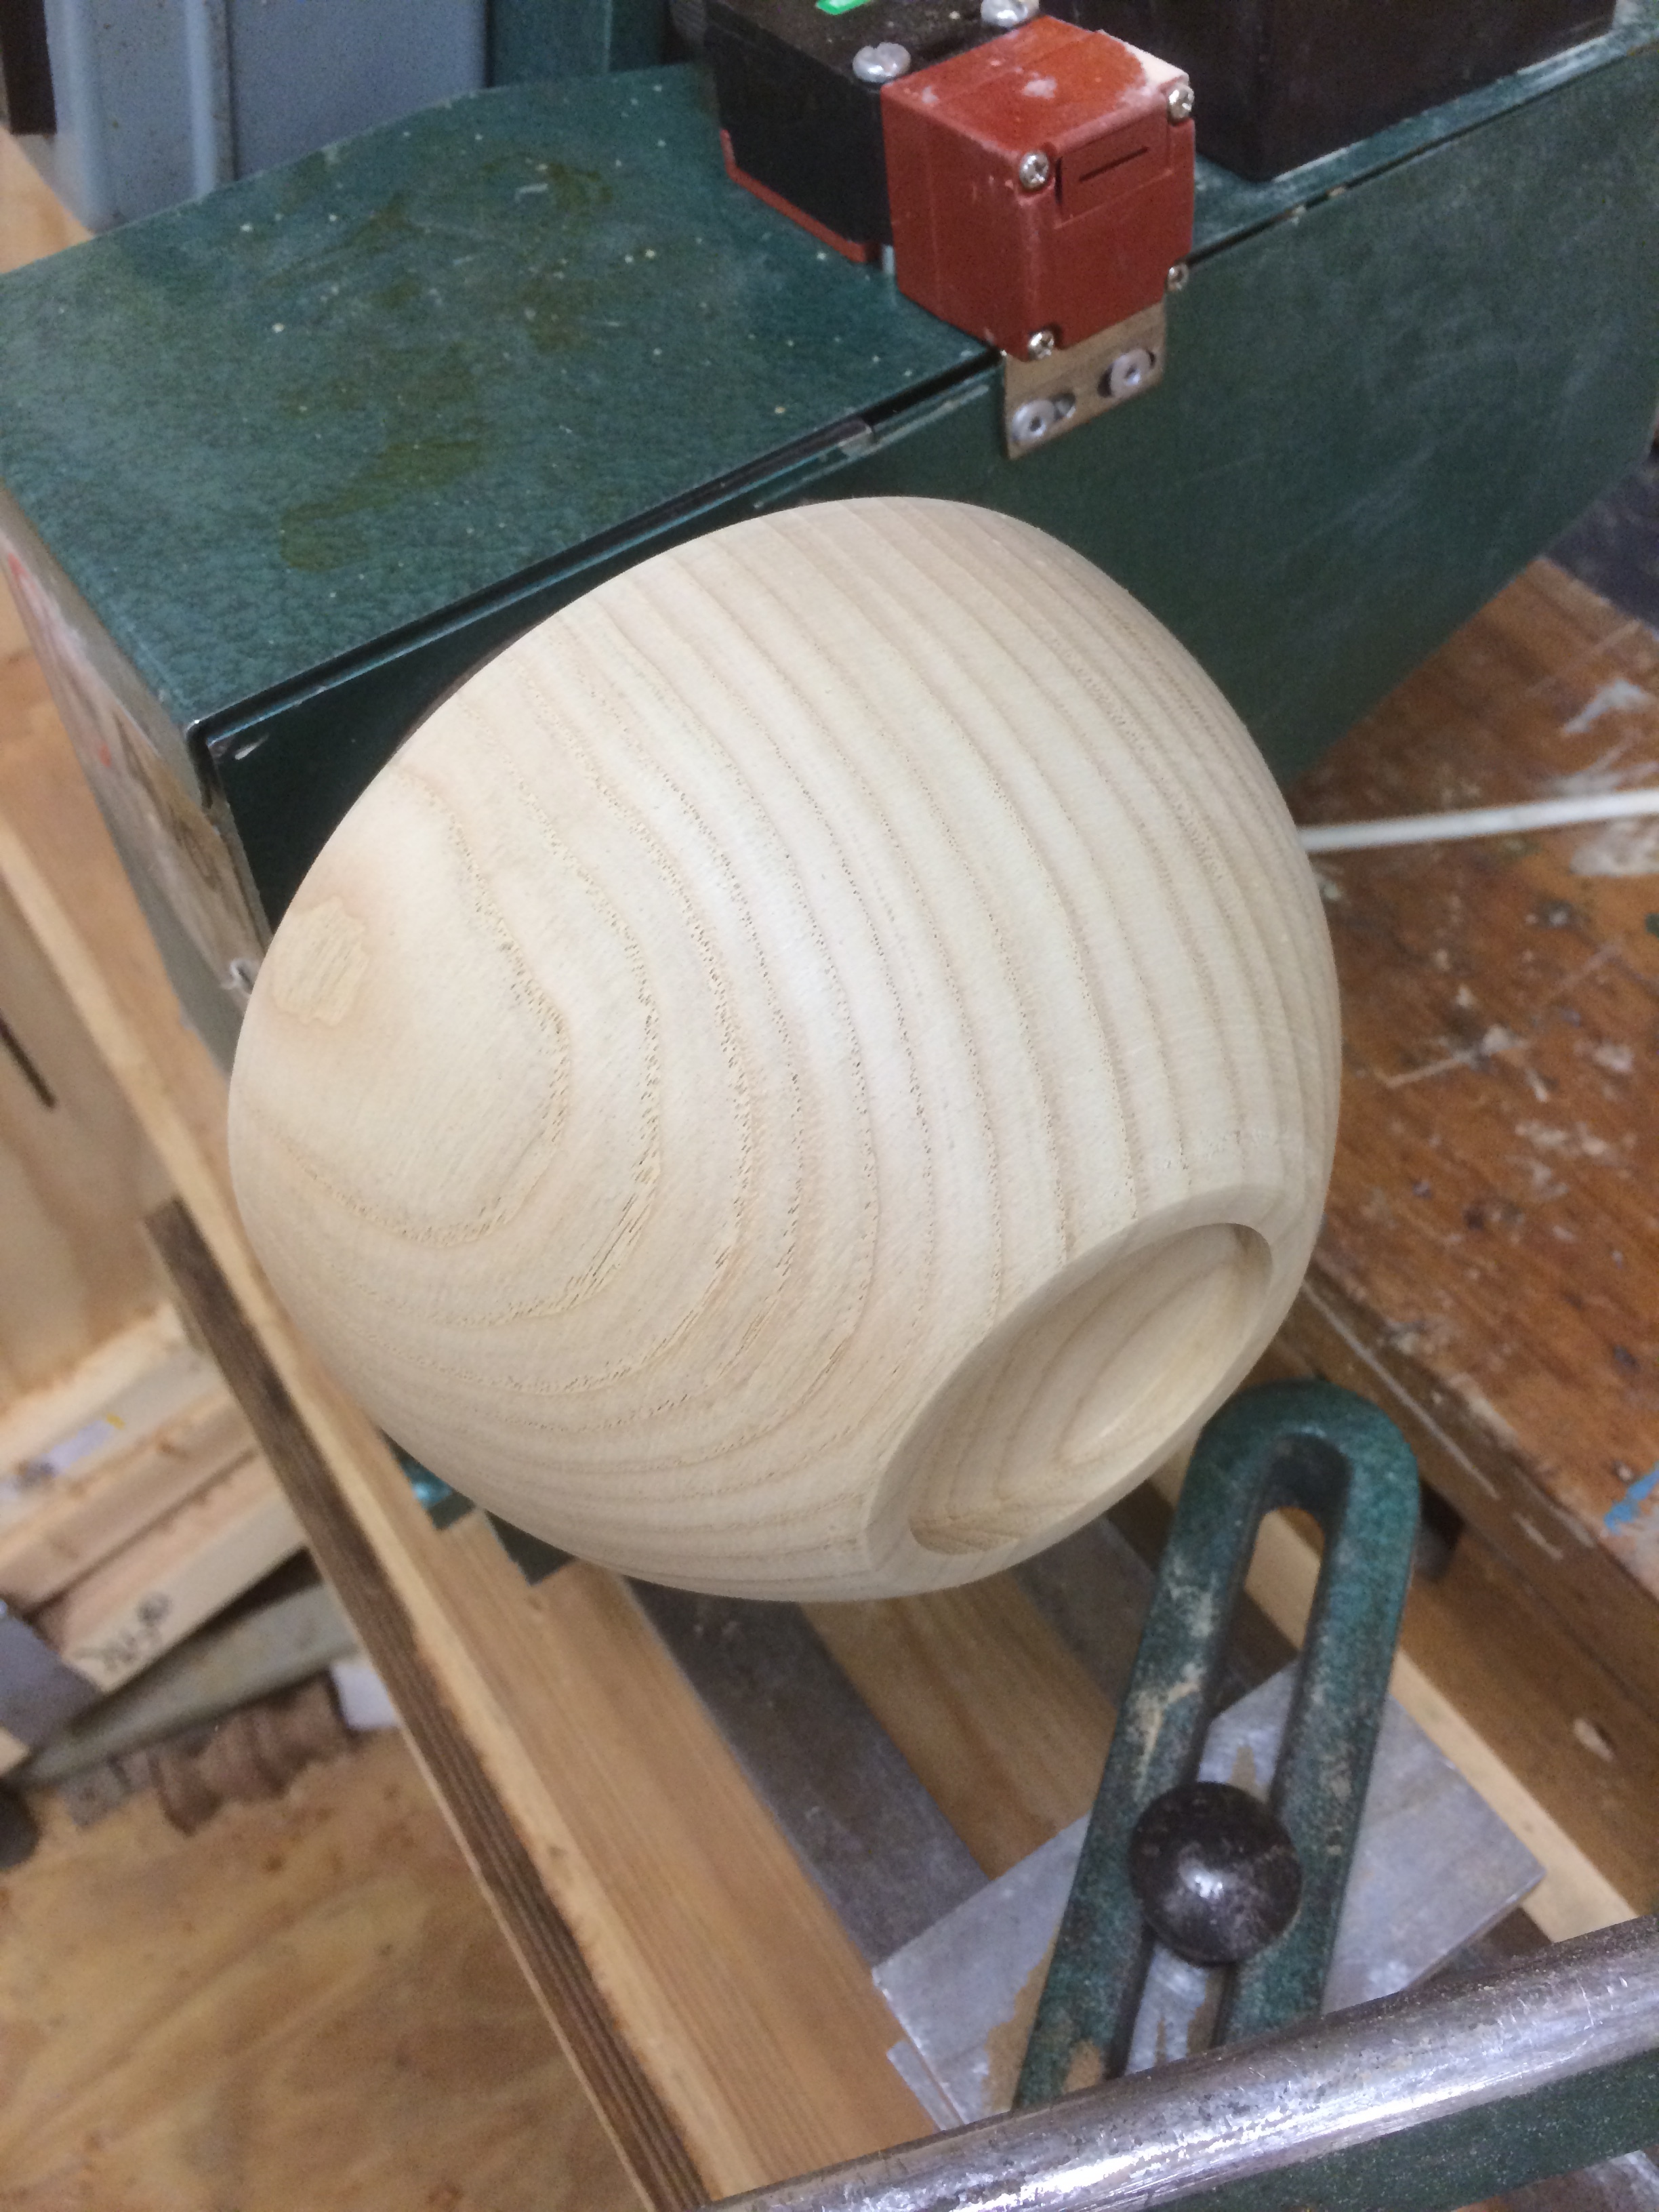
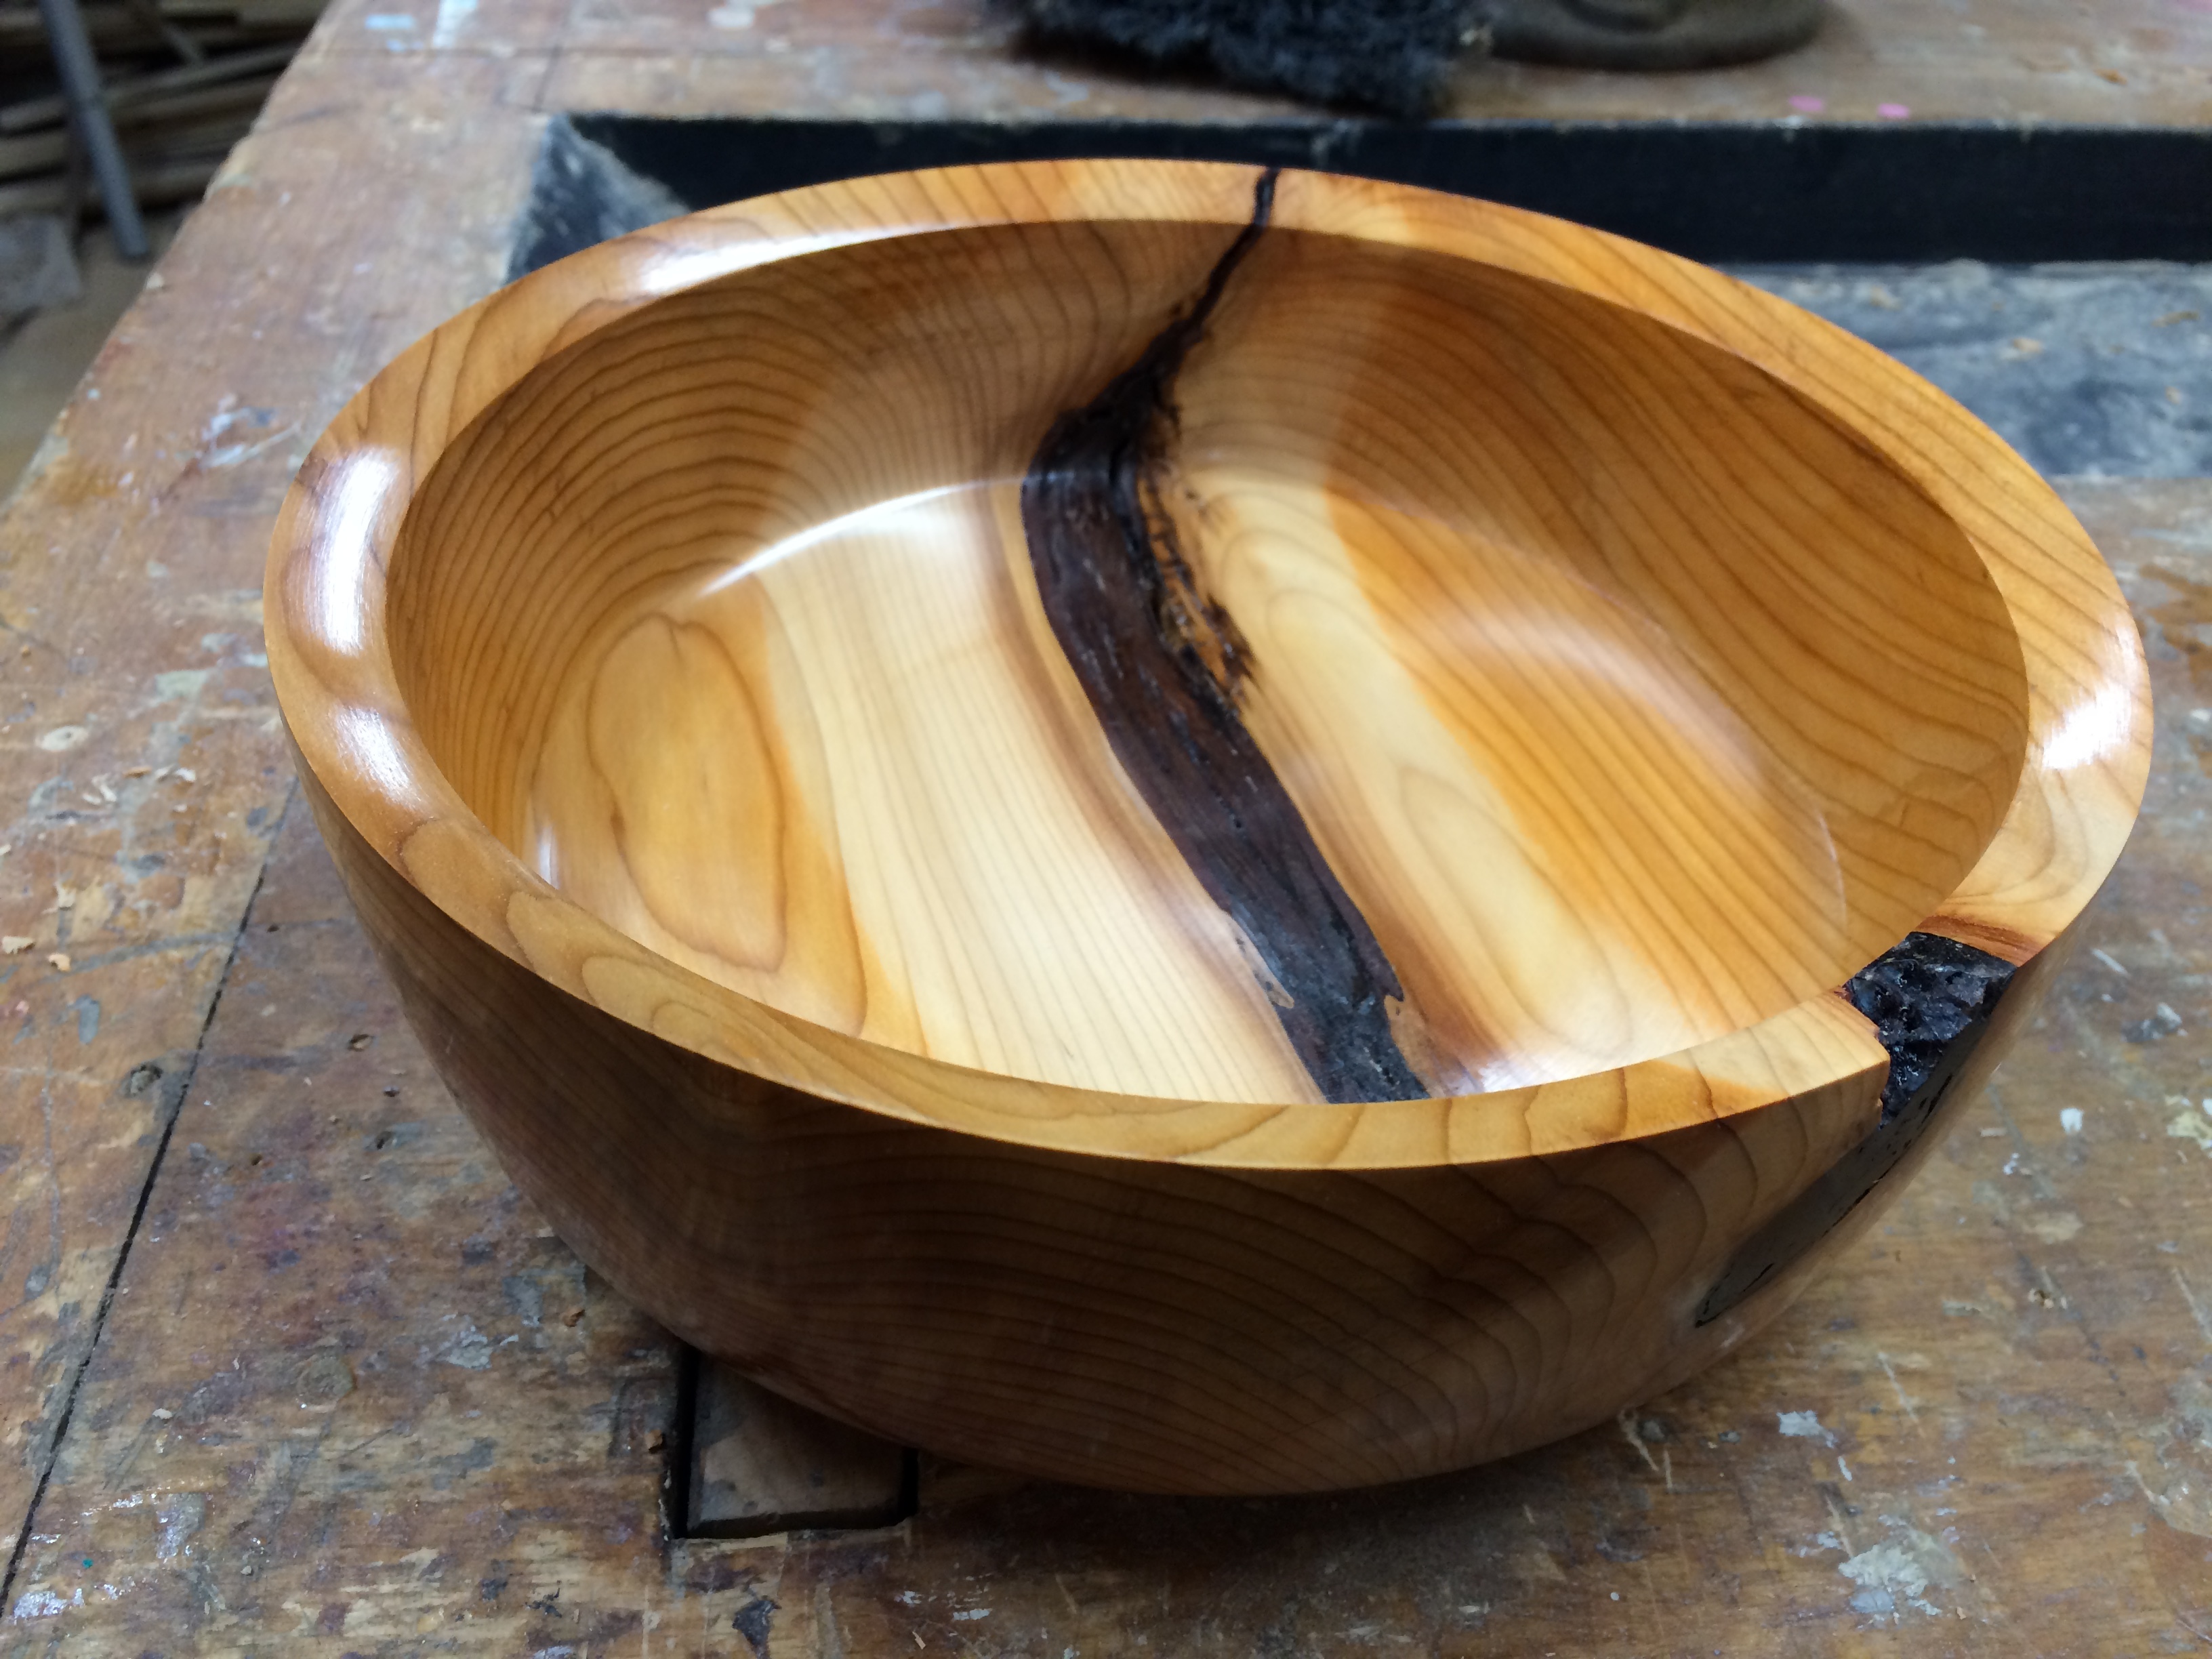
With the knot spine built up with as much as possible with CA glue I gingerly cut the last of the bowl’s internals. I decided not to press my luck too much and finished the existing shape rather than cutting further material out of the spine or thinning the walls down further (it was making a really concerning howl whenever i worked on the walls. It was clear that the bowl wouldn’t stand up to a lot of continued work). This left me with a less rounded shape internally than I wanted, but overall i’m still happy with the outcome.
The knot, while troubling, makes for great character in this piece. I had originally intedned to cut down the height of the wall to remove the appearance of the torn out chunk of knot along the rim. However I felt at this point that the bowl would become far too shallow in appearance, so instead I decided to put an angle on the rim, sweeping it into the bowl and leave the tearout as further character.
I applied cellulose sanding sealer and then a coat of microcrystalline wax for a hard, high-gloss finish:
Overall I spent a lot longer in the shop than I anticipated for that day, but I’m super happy with the results. 
Thanks for reading!
–James.