
Think of bringing the replacement Arduino
Prusa I3 on a budget
Spreadsheet update:
I’ve created a few tab that allow procurement management as the fixings is a bit tricky due to the various build options
-
Fixings: A product catalogue of all the fixings we’ll need to order and the blue column represent the order quantity based on the amount define on the Fixings BOM sheet.
– Build quantity is the amount required for the total 8 printer for each type of fixings
– Order quantity is calculated based on the minimum quantity each fixing has (the selected supplier has minimum order size of 100 for most product) so even if we only need 208 M8 nuts we need to order 300
– Order price: is an estimation of the cost for the fixings order (I says an estimate because some price might change and other come from my stock e.g square nuts) - Fixings BOM: A list of all the fixing required for each part of the 3D printer and a column calculating the amount required for the group build.
- Products and BOM: Are still work in progress that would all me to have a references of all the product there price and link to the source etc and the BOM would ultimately allow us to build a Bill of material for a build and get a more or less accurate estimation
I’ve tried to go over the spreadsheet to make sure there is no error (I recognize that I simplified things a bit for the fixings and the total order is split by 8 this don’t actually reflect the exact cost per the exact options you’ve picked but the diff is close to a couple of £ ). So anyone is welcome to double check everything in there or calculate the exact cost for the fixing but for now I assume this is pretty good.
Finally the order sheet will list your outstanding balance and how much this as cost you. When Peter has received all of the outstanding deposit, I will catch up with him and we’ll make the order for the fixings and smooth rods and that will close the ordering part and money management of the build.
1 Like
Afraid I’m still out of action and can’t make it to the space.
Sorry delayed at work and don’t think i will manage to make it down tonight.
Me neither, I can’t make it down tonight 
I’m delayed at work but will be coming in! ETA 2130
Hi everyone, well done on yesterday progress. We had @peter_hellyer, @Vagwin and brave @dsikar still stopping by the space on his way back from work at 11pm. Shame not more of you could come but yes sometime life get in the way. While I’m on the subject next week you’ll be on your own as it’s my Birthday.
- Peter soldered wire extension on all the print fan
- Peter and Elliot assembled 2 hotend and the 3rd one need to have the thermistor replaced. I hope either Peter or Elliot can be here next tuesday to show other how the assembly is done
– I’ve left my thermal past in a bag
– Be extra careful when tightening up the thermistor I’m even considering adding a small washer as it should be.
– The hotend fan need wiring extension as we noticed yesterday the cable is much shorter.
– Do one at the time be methodical like a dictator with OCD it is important this is done correctly
– Once the hotend is assembled and fan wiring as been extended put it in the extruder box. - All the LCD have been mounted in the 3d printed part (@vagwin we do yours once I printed your parts)
- All the PSU are now assembled so if any of them magically become undone it will confirm my suspicion
Just the FYI we are missing one alu bed carriage I have no idea where it went, For the missing 3d printed part I’ll just assume I made a mistake. As previously mention one PSU socket is also awol. I’m pretty up to date now with what we have in stock so if anything go missing you are going to read about CCTV in space again.
I’ll review things over the week and make sure we got clear direction for next week
Have all a great day.
2 Likes
Great, good work, we’re getting closer! I’m pretty busy this week and next, so weekday evenings will be difficult. However I might be able to drop in at the weekend to get some things done.
Let me know if there’s anything I can do without breaking something. Or if anyone is around over the weekend (@laurent_muchacho, @peter_hellyer, @Vagwin) they could show me what’s needing done.
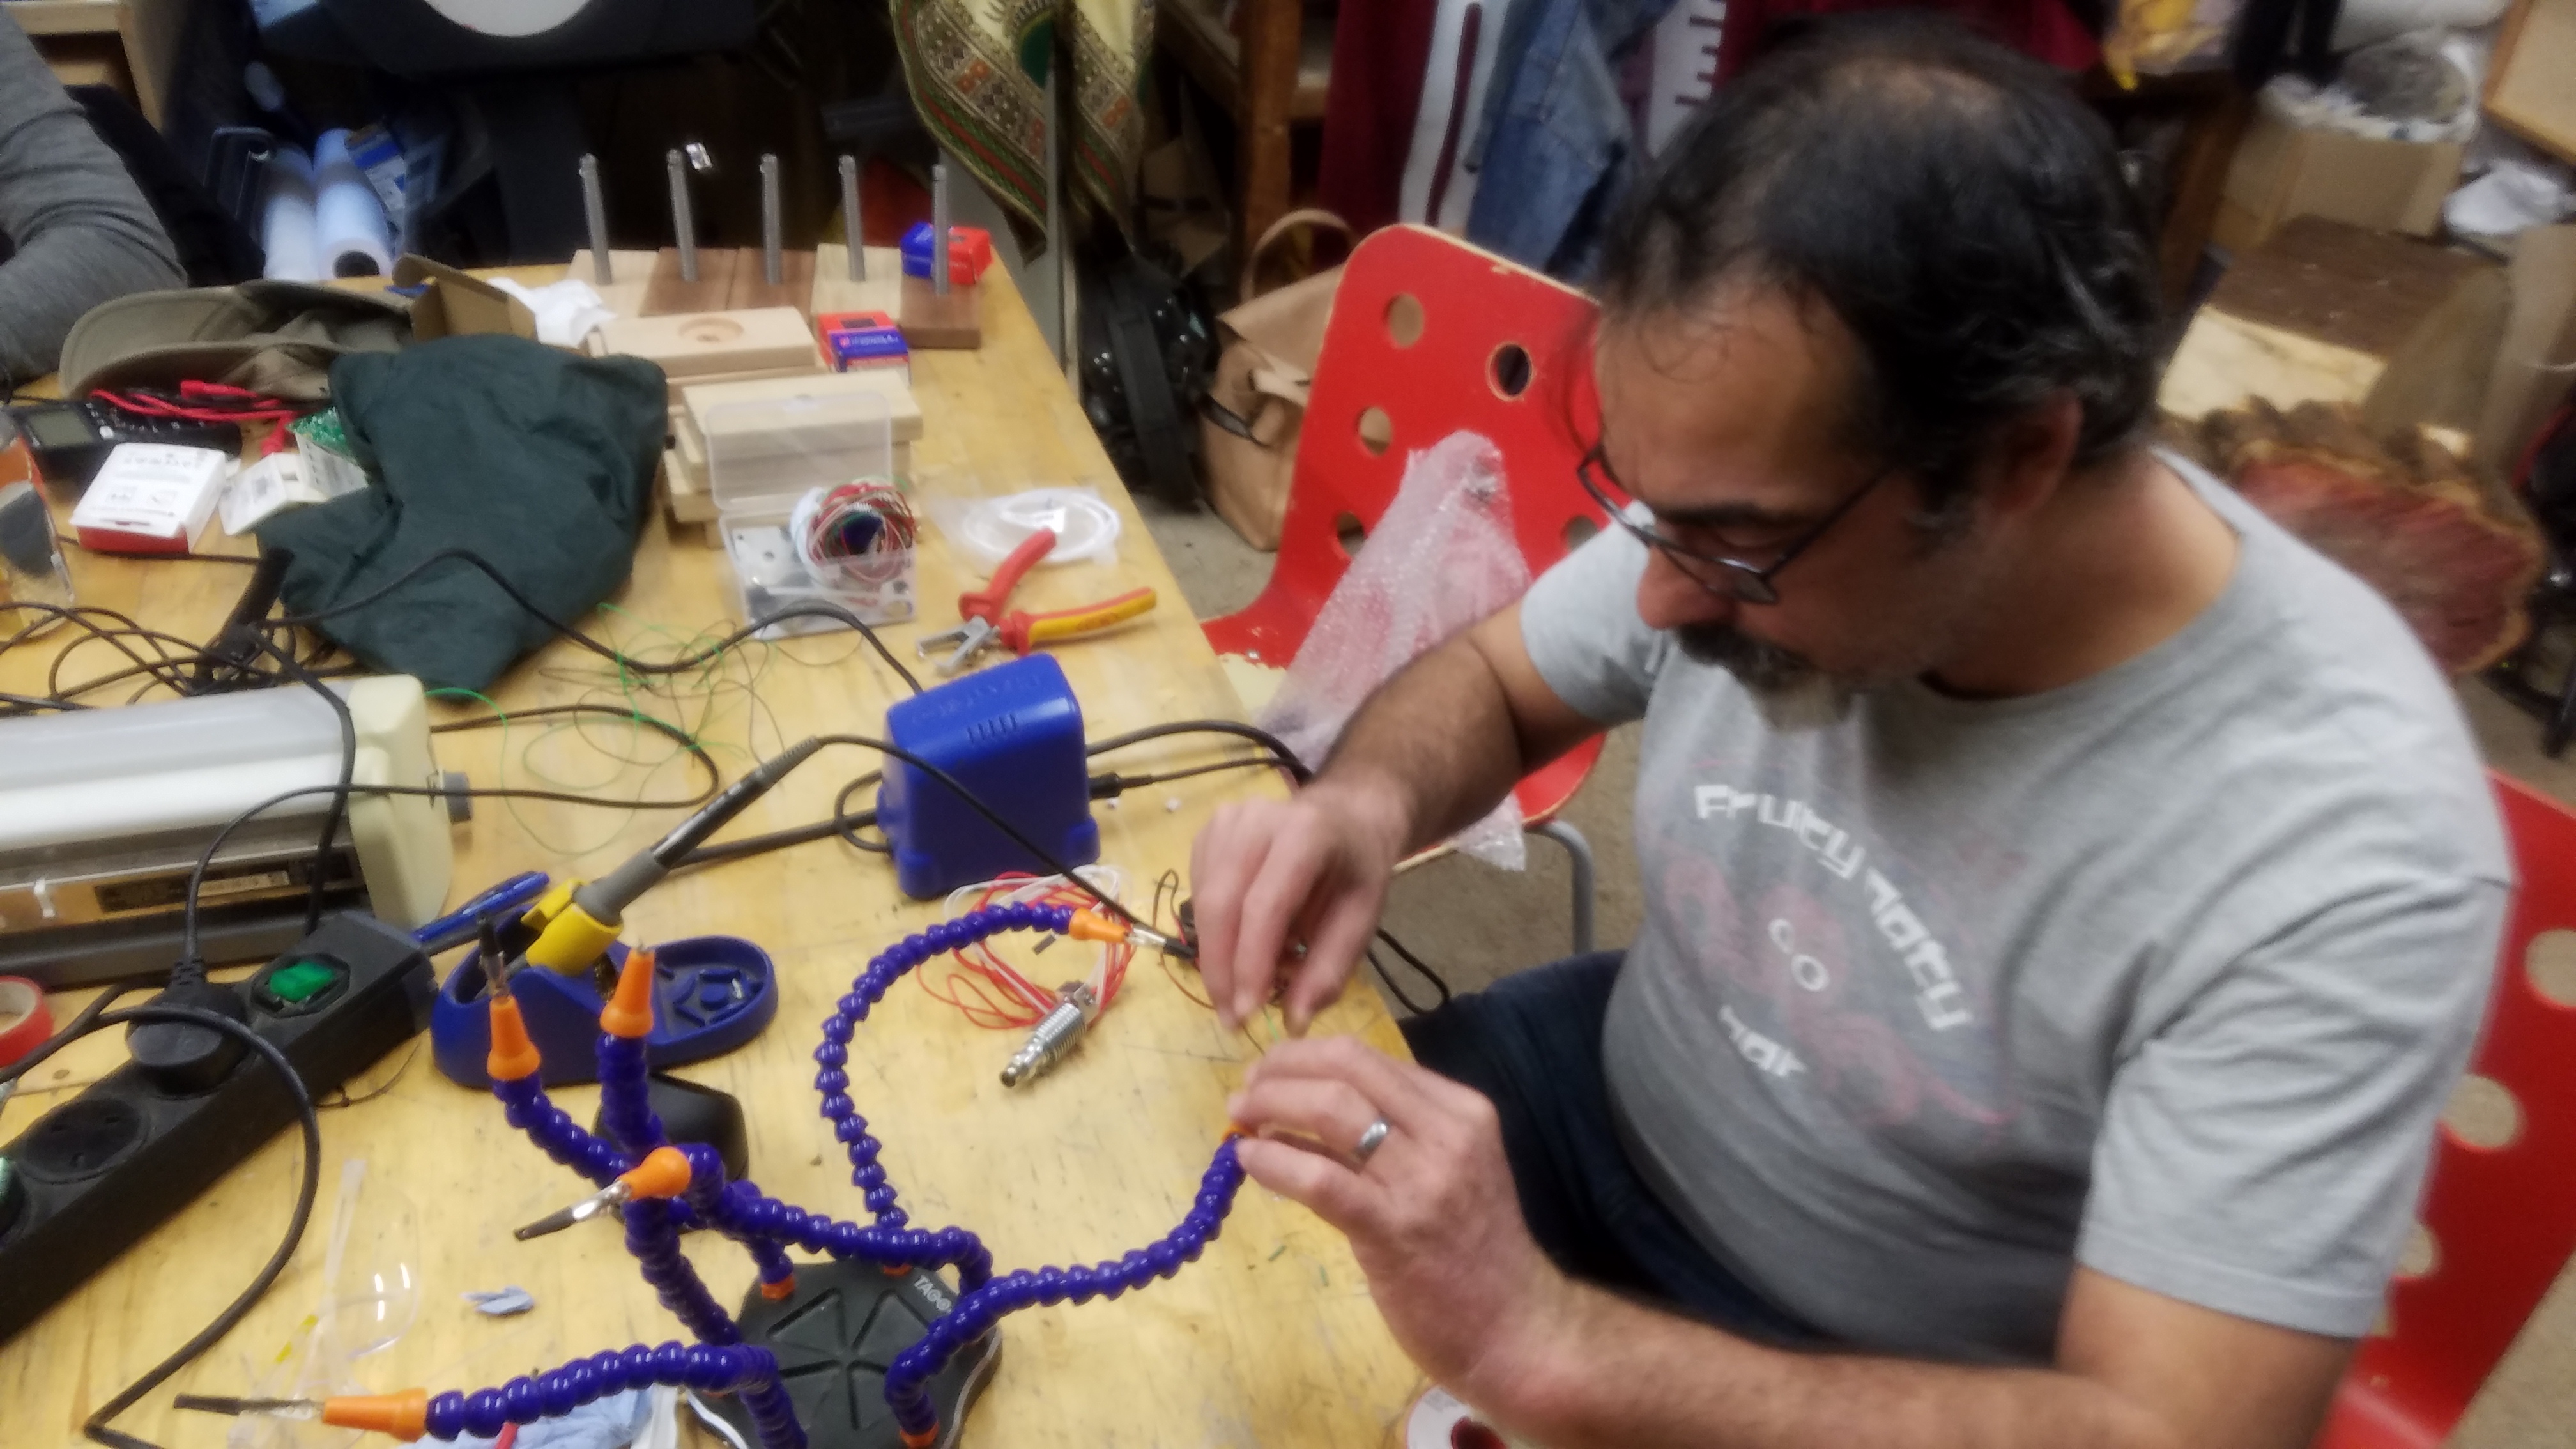
I can do Tuesday evening if anyone can show me how the hot end assembly works. Meanwhile, yesterday’s action
Laurent soldering hot end wires
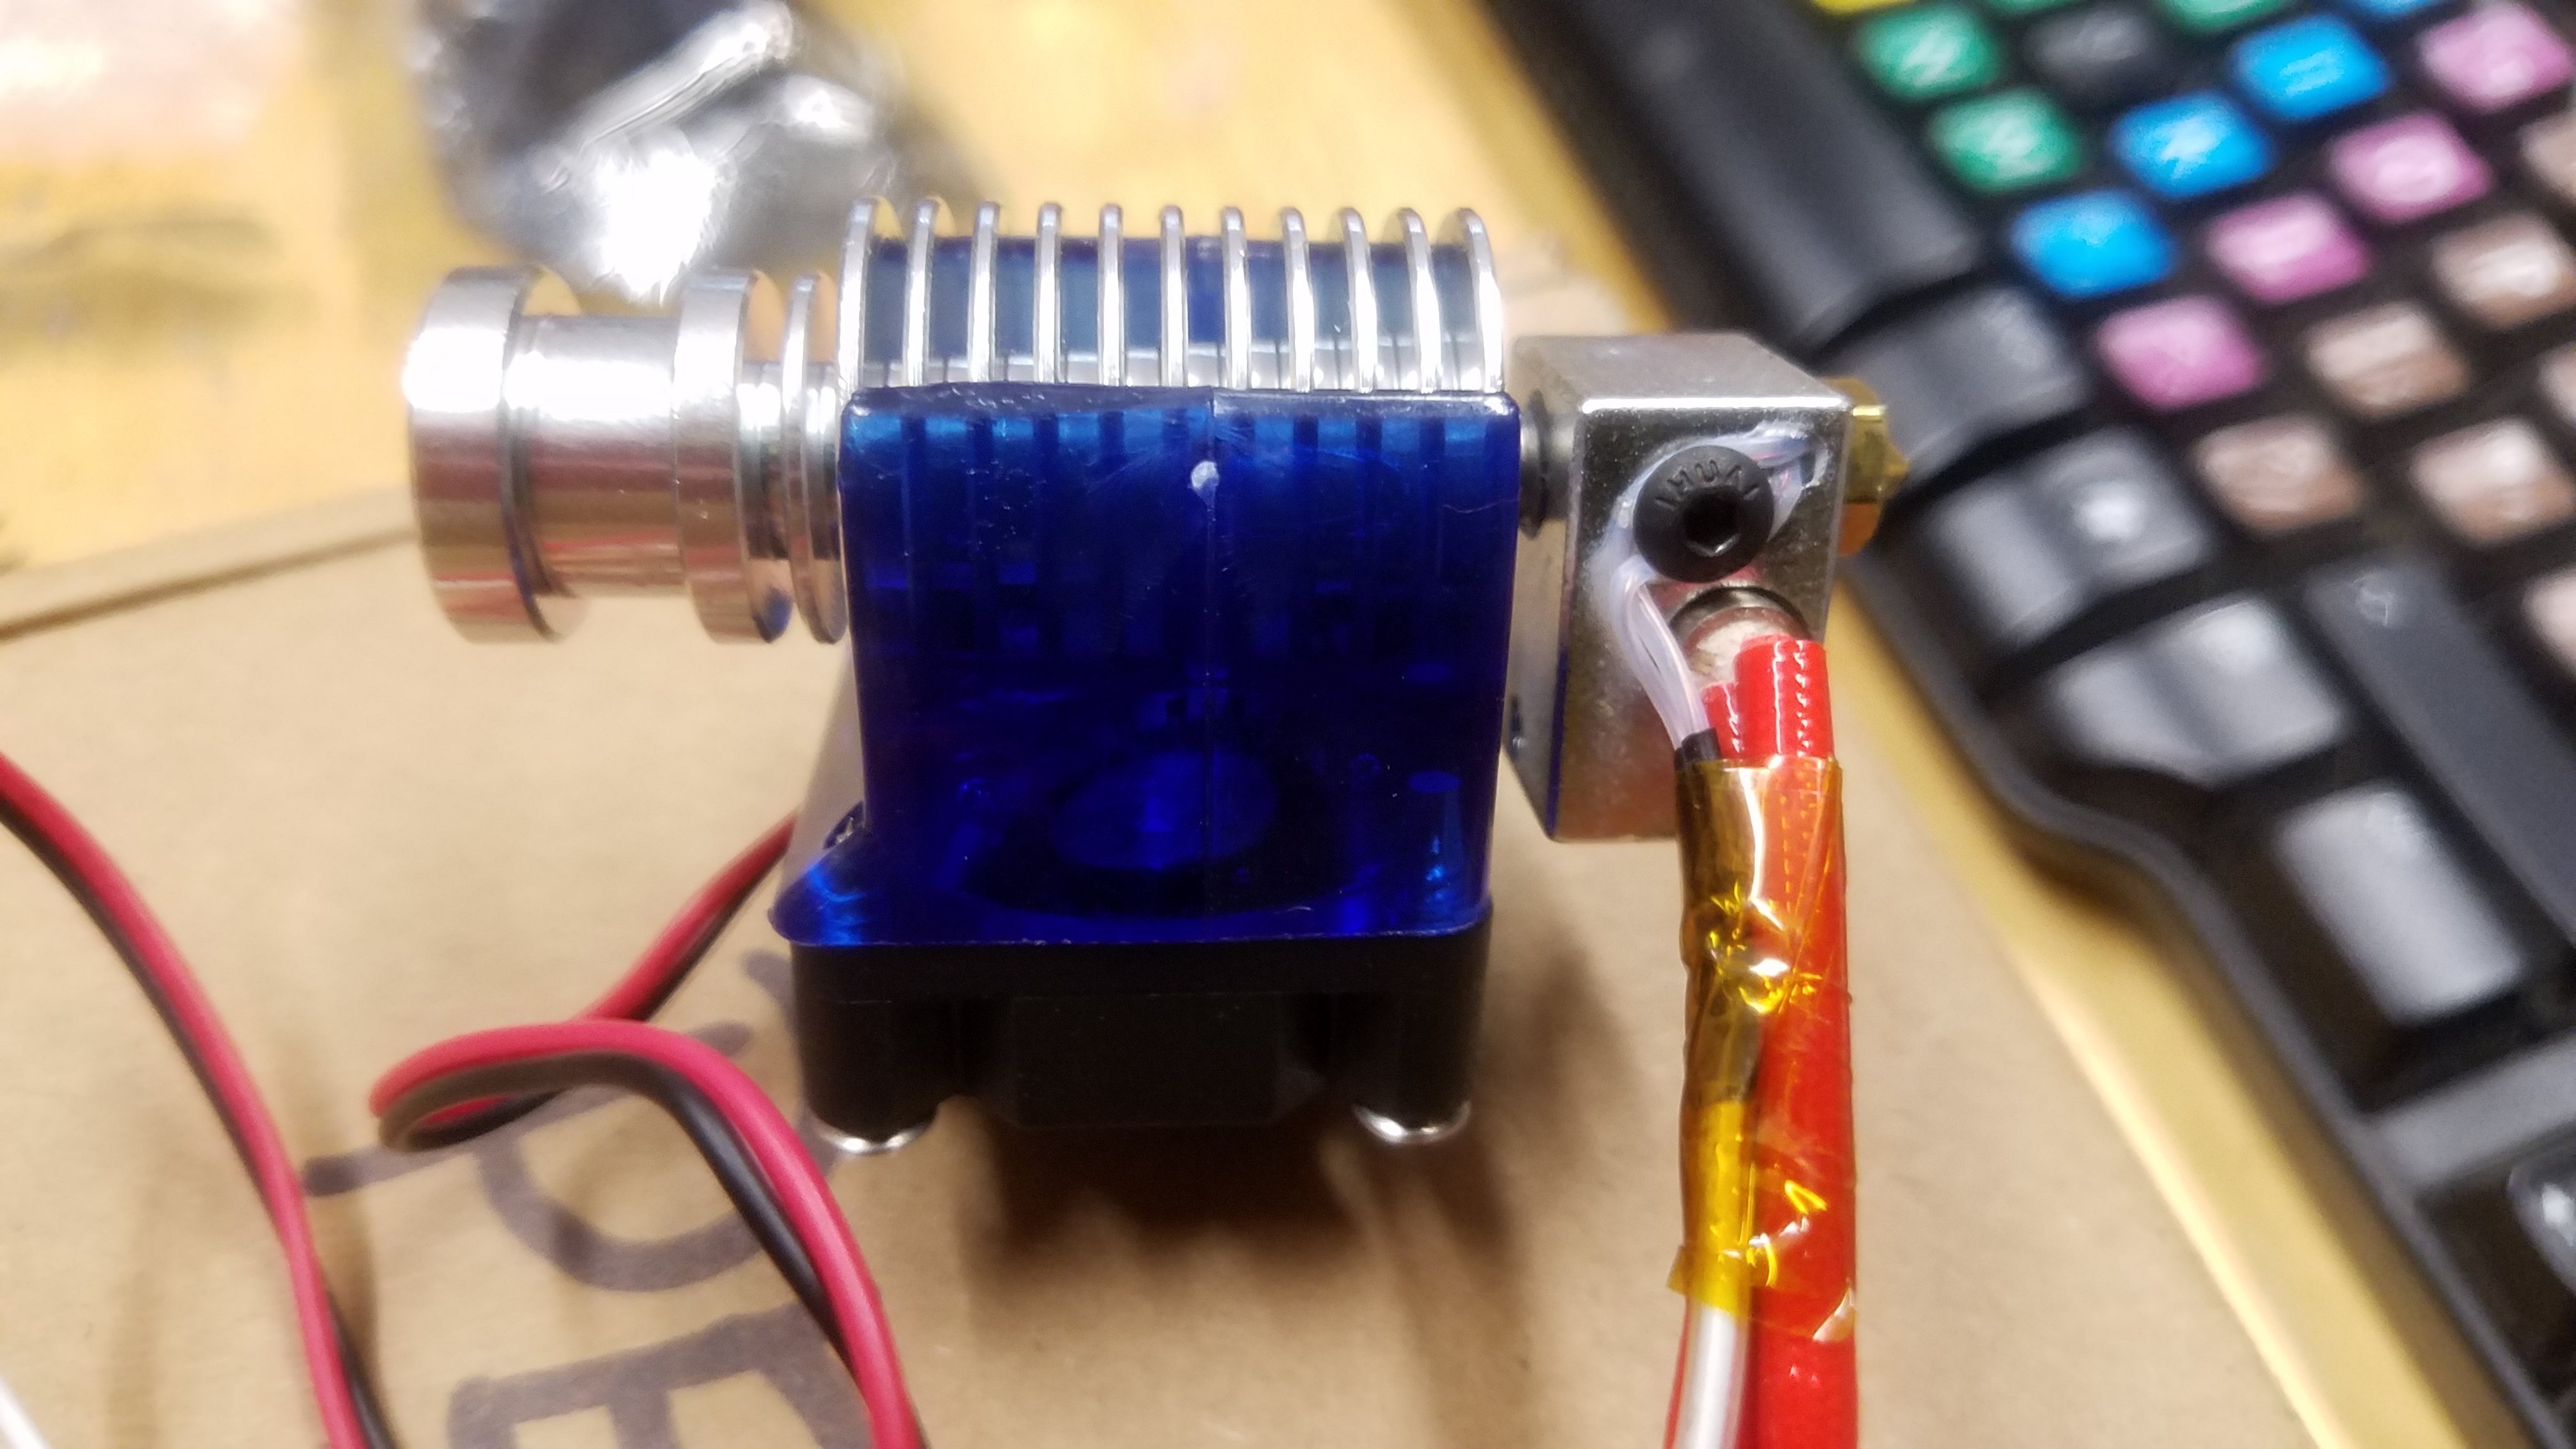
Assembled hot end
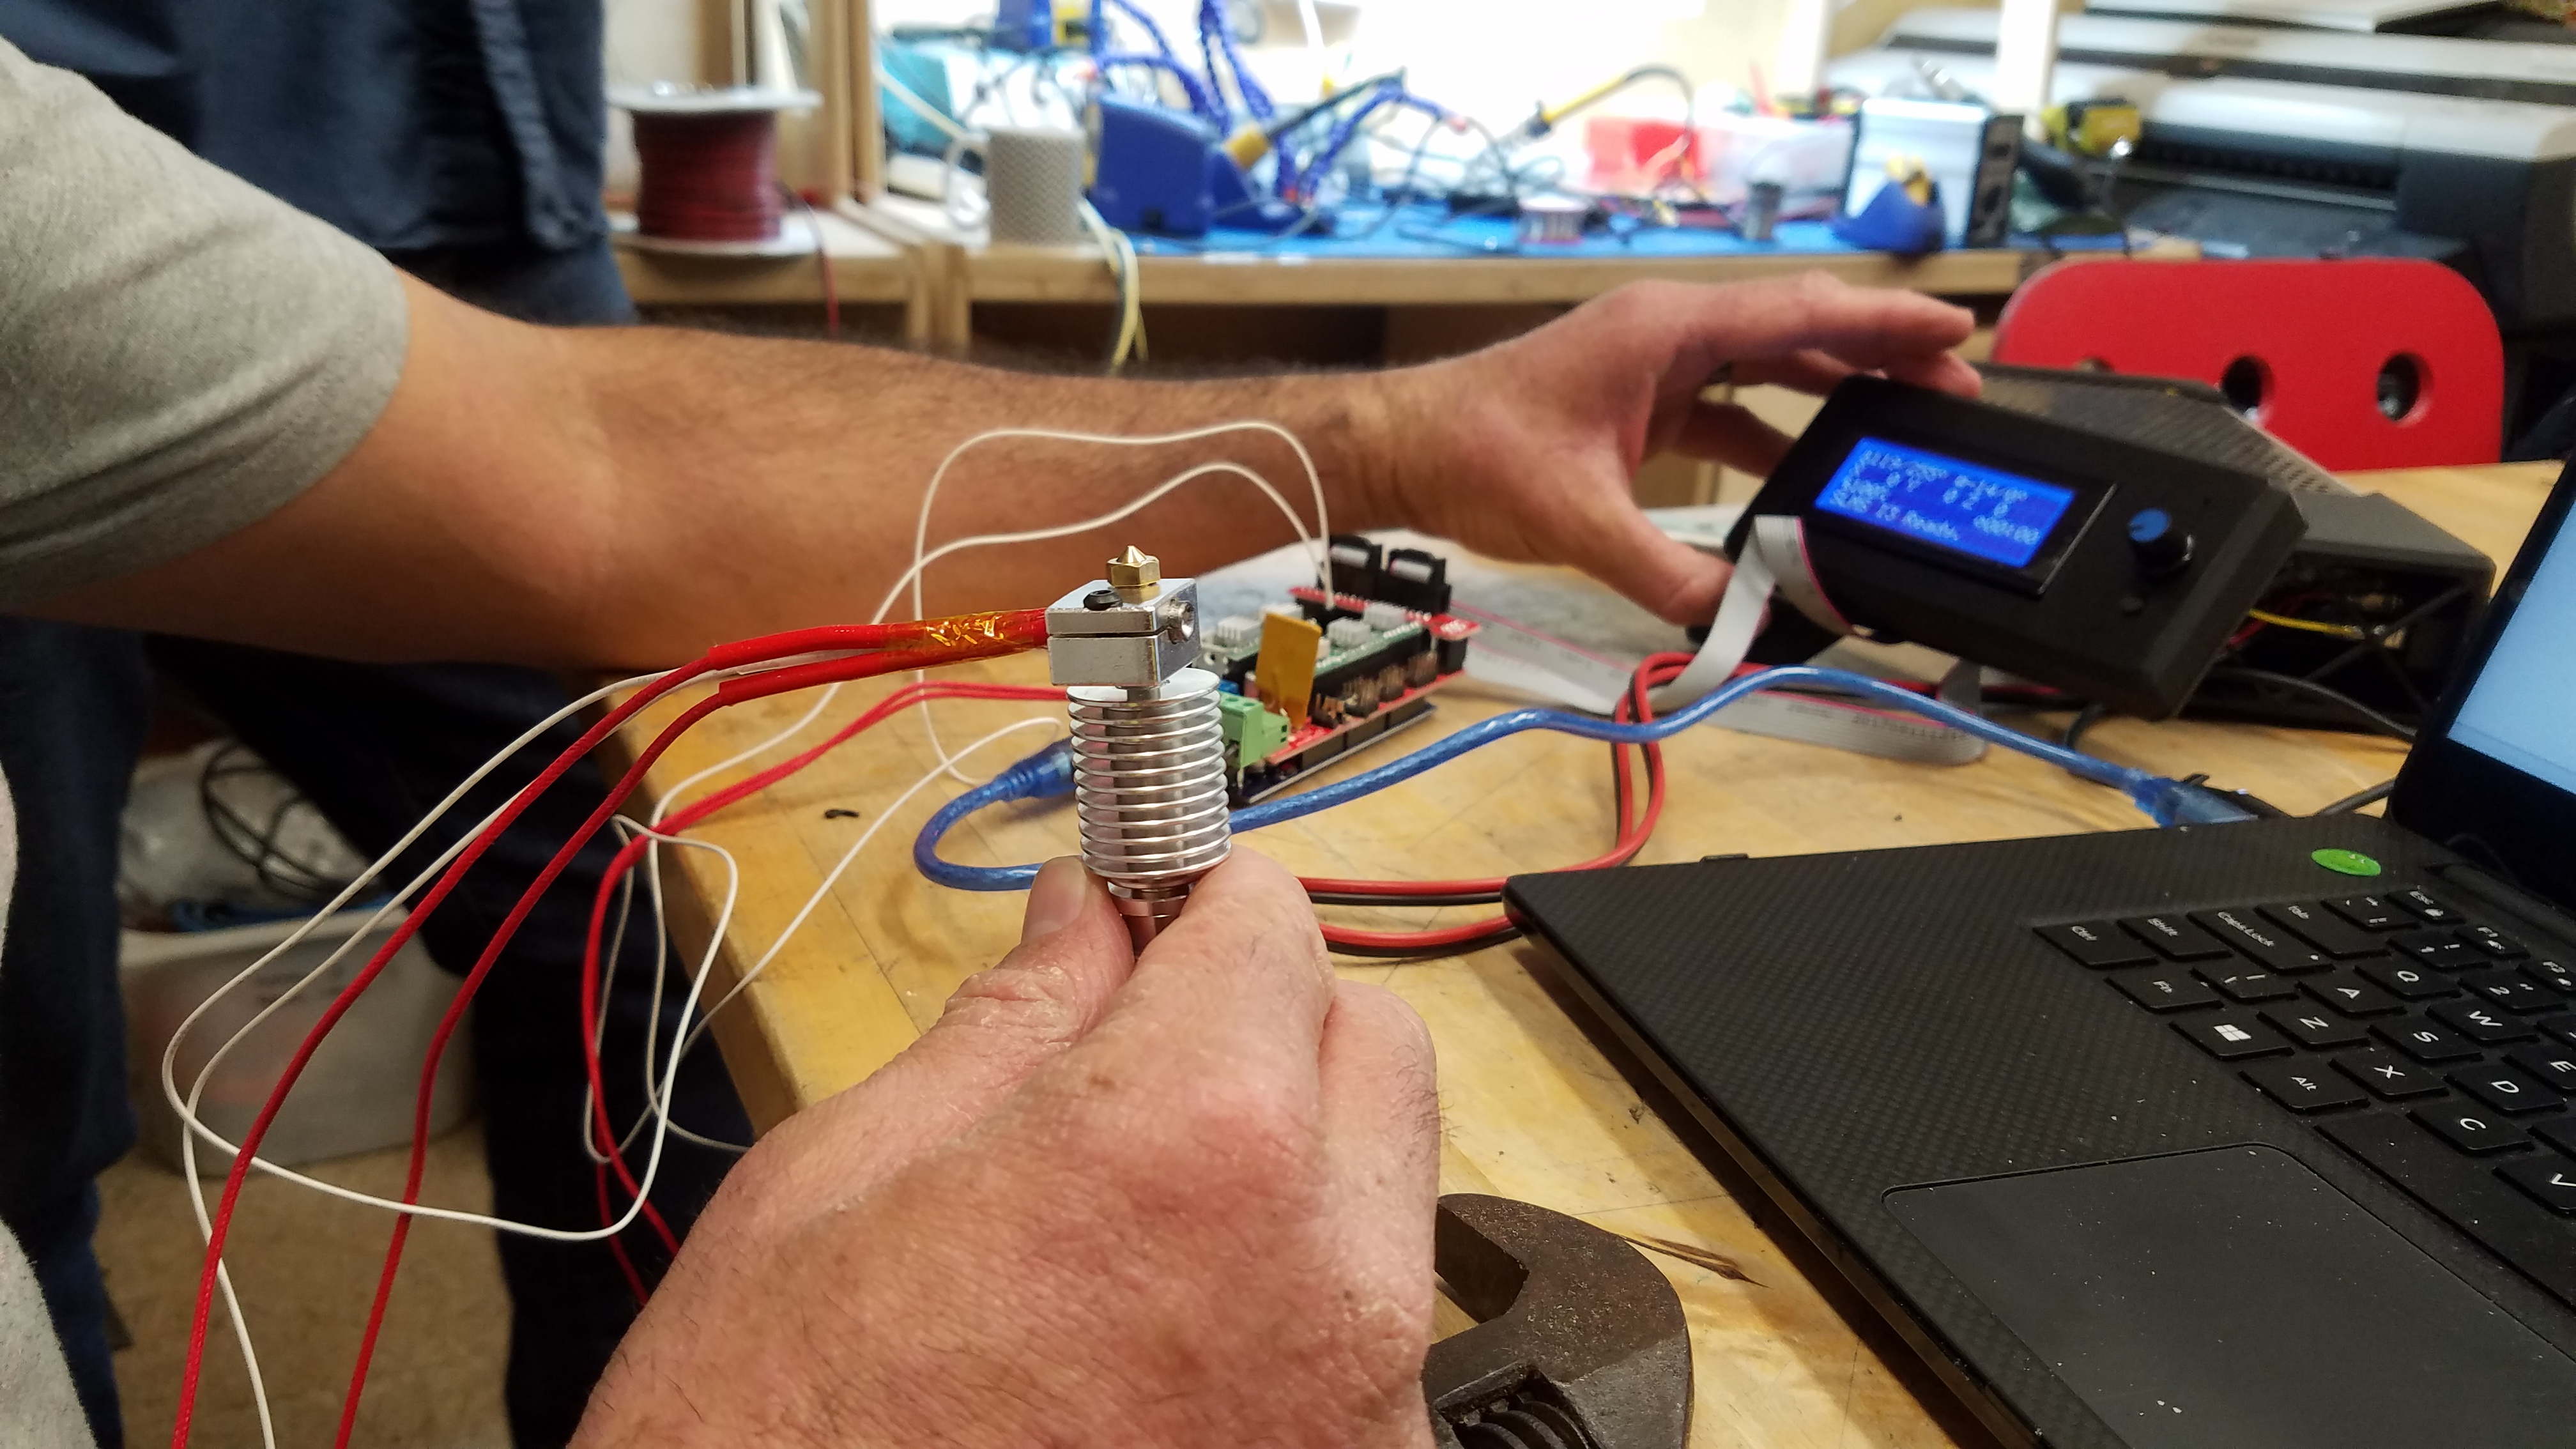
Hot end heated assembly
1 Like
So, who’s along tonight?
Especially we need people know what’s what – @Vagwin @peter_hellyer ? – as @laurent_muchacho is off doing Birthday things. Happy Birthday Laurent!
I’ll be down, and am flexible on time tonight
What can we achieve?
2 Likes
I’ll be passing by early most likely before 7pm for a short hello and drop some donuts. So if
anyone is there I can show them how to assemble the hotend.
Most importantly if you do anything be methodical. When you start a task, finish it. Don’t start multiple things and don’t finish them it’s better not to do something than doing half way done for other to wonder what has been done. **Please clean up after yourself **
This can be done by anyone who know some basics
- The fan on the hotend need wire extension solder onto it (colour don’t mater but try to pick multicore wire) the length of the wire need to match the hotend wire length. There is some that are already done so you can take examples onto them. There is a bit of heatshrink in a box on the electronic workshop.
To assemble the hotend you’ll need your laptop with the Arduino IDE and Pronterface installed (make sure this setup work and your computer can connect to arduino via the USB connection vagwin had some problem last week making him unable to connect to a board)
-
Get a copy the Marlin firmware from the this location or if you have dropbox I’ve sent you an invite and a folder called 000_SLMS_PrusaI3 should appear in your dropbox (Sorry everyone only got view permission for now, I’ll upload it to a GIT repo tonight and you’ll get edit permission)
-
Flash the firmware onto the board if you do this with the LCD connected you get some visual feedback when the firmware boot but all of this can be done without connecting the LCD
-
Connect to the board with Pronterface
Following the wiring diagram from this instruction manual page 58
-
Connect a PSU to the board don’t power it yet (FYI preferably disconnect the USB from your computer, turning the power on and off while the USB is connected often create a surge back that make window more often than Mac to crash )
– Turn on power sequence should be
– 1. Switch on PSU
– 2. Connect the USB
– Turn off power sequence should be
– 1. Disconnect USB (On window make sure you click disconnect from Pronterface before pulling out the USB cable there is a high risks that the USB drivers get confused and fail to connect the USB again if you don’t properly disconnect from the software first)
– 2. Switch off PSU -
To assemble the hotend we’ll follow roughly those instruction
- Remove the small screw holding the thermistor and put a bit of thermal past in the hole (this can be done neatly by applying the syringe in front of the hole and pushing really gently to get the paste in the hole) put back the thermistor in the hole and tighten the screw gently be too rough and you’ll pinch the wire clean up any surplus thermal past
- Now follow the the steps describe on the link above in the Hotside section first 3 pictures
- Put some thermal paste onto the heatbreak thread and fit the heatsink by tightening it by hand gently be too rough and you’ll break the heatbreak in half
- now connect the hotend and thermistor to the board
- Power the board, connect pronterface read the temperature (it should be above 20 C ) a negative value or no value mean the thermistor wire is most likely damaged.
- Set the temperature in Pronterface to 250C hold the hotend by the heat sink (the heatblock is about to get really hot so don’t touch)
- When the temperature reach the set value grab the heatsink with a Multigrip plier or a wrench (be quick because heat transfer is going to make the temp drop really quick this is why the Multigrip plier is better smaller contact surface)
- tighten the nozzle gently with a socket wrench
- let it cool down and tidy up everything in the extruder box
Hopefully I can show all of this to someone this evening before 7pm 
Hi Laurent,
Just let me know when I should be there, and I’ll be there!
I’ll try to aim for 5 like this hopefully by 6 we should be done. As long as I can be home around 6H30 maybe 7 at latest it will be great
I’ll aim for 5 then
1 Like
I’m on my way and should be there before 5 too. Happy birthday laurant
Five minutes away
I’ll be there but only around 7.15
Not sure how useful I’ll be.
1 Like
@david @Vagwin @dsikar we’re pretty much done here
@Esther_Gladstone and I are just wiring up the last hotend
2 Likes
Sorry but Thameslink says otherwise. All trains cancelled for the next hour or 2 so that’s me done.
Hi,
I was planning on coming after bedtime duties, but sounds like I’ll miss all the action by then. Maybe my time would be better spent debugging my mac/serial issues?
Elliot
1 Like