I’ve been meaning to get this up here since I finished the project in the August Bank Holiday but I have just started back at college last week and have had a lot on since then and frankly, its so comfortable that I can barely get myself out of it.
I sourced my timber as PAR over the dimensions I needed and used the huge beast of a Jointer/Planner in SLMS to bring the timber down as I needed it and to be sure it was square.
I boarded up the timbers at about 2 mm from final thickness and ran them through the thicknesser again to get final sizes.
I had intended to do a wedged through mortice and tenon but after talking to @Barnaby_Coote about the project he suggested I do some reading about the movement of timber over time in large tenons which i’m glad I did.
Some of the tenons would be over 10 inches across, so after some research I changed my joints so they were pegged or draw-bored haunched stub tenons. the peg sits in a slot the width of the tenon so that if the tenon moves over time across its width the peg still has the same effective force to hold the tenon tight into the mortice.
I used the Morticer to cut the mortices in the bed posts.
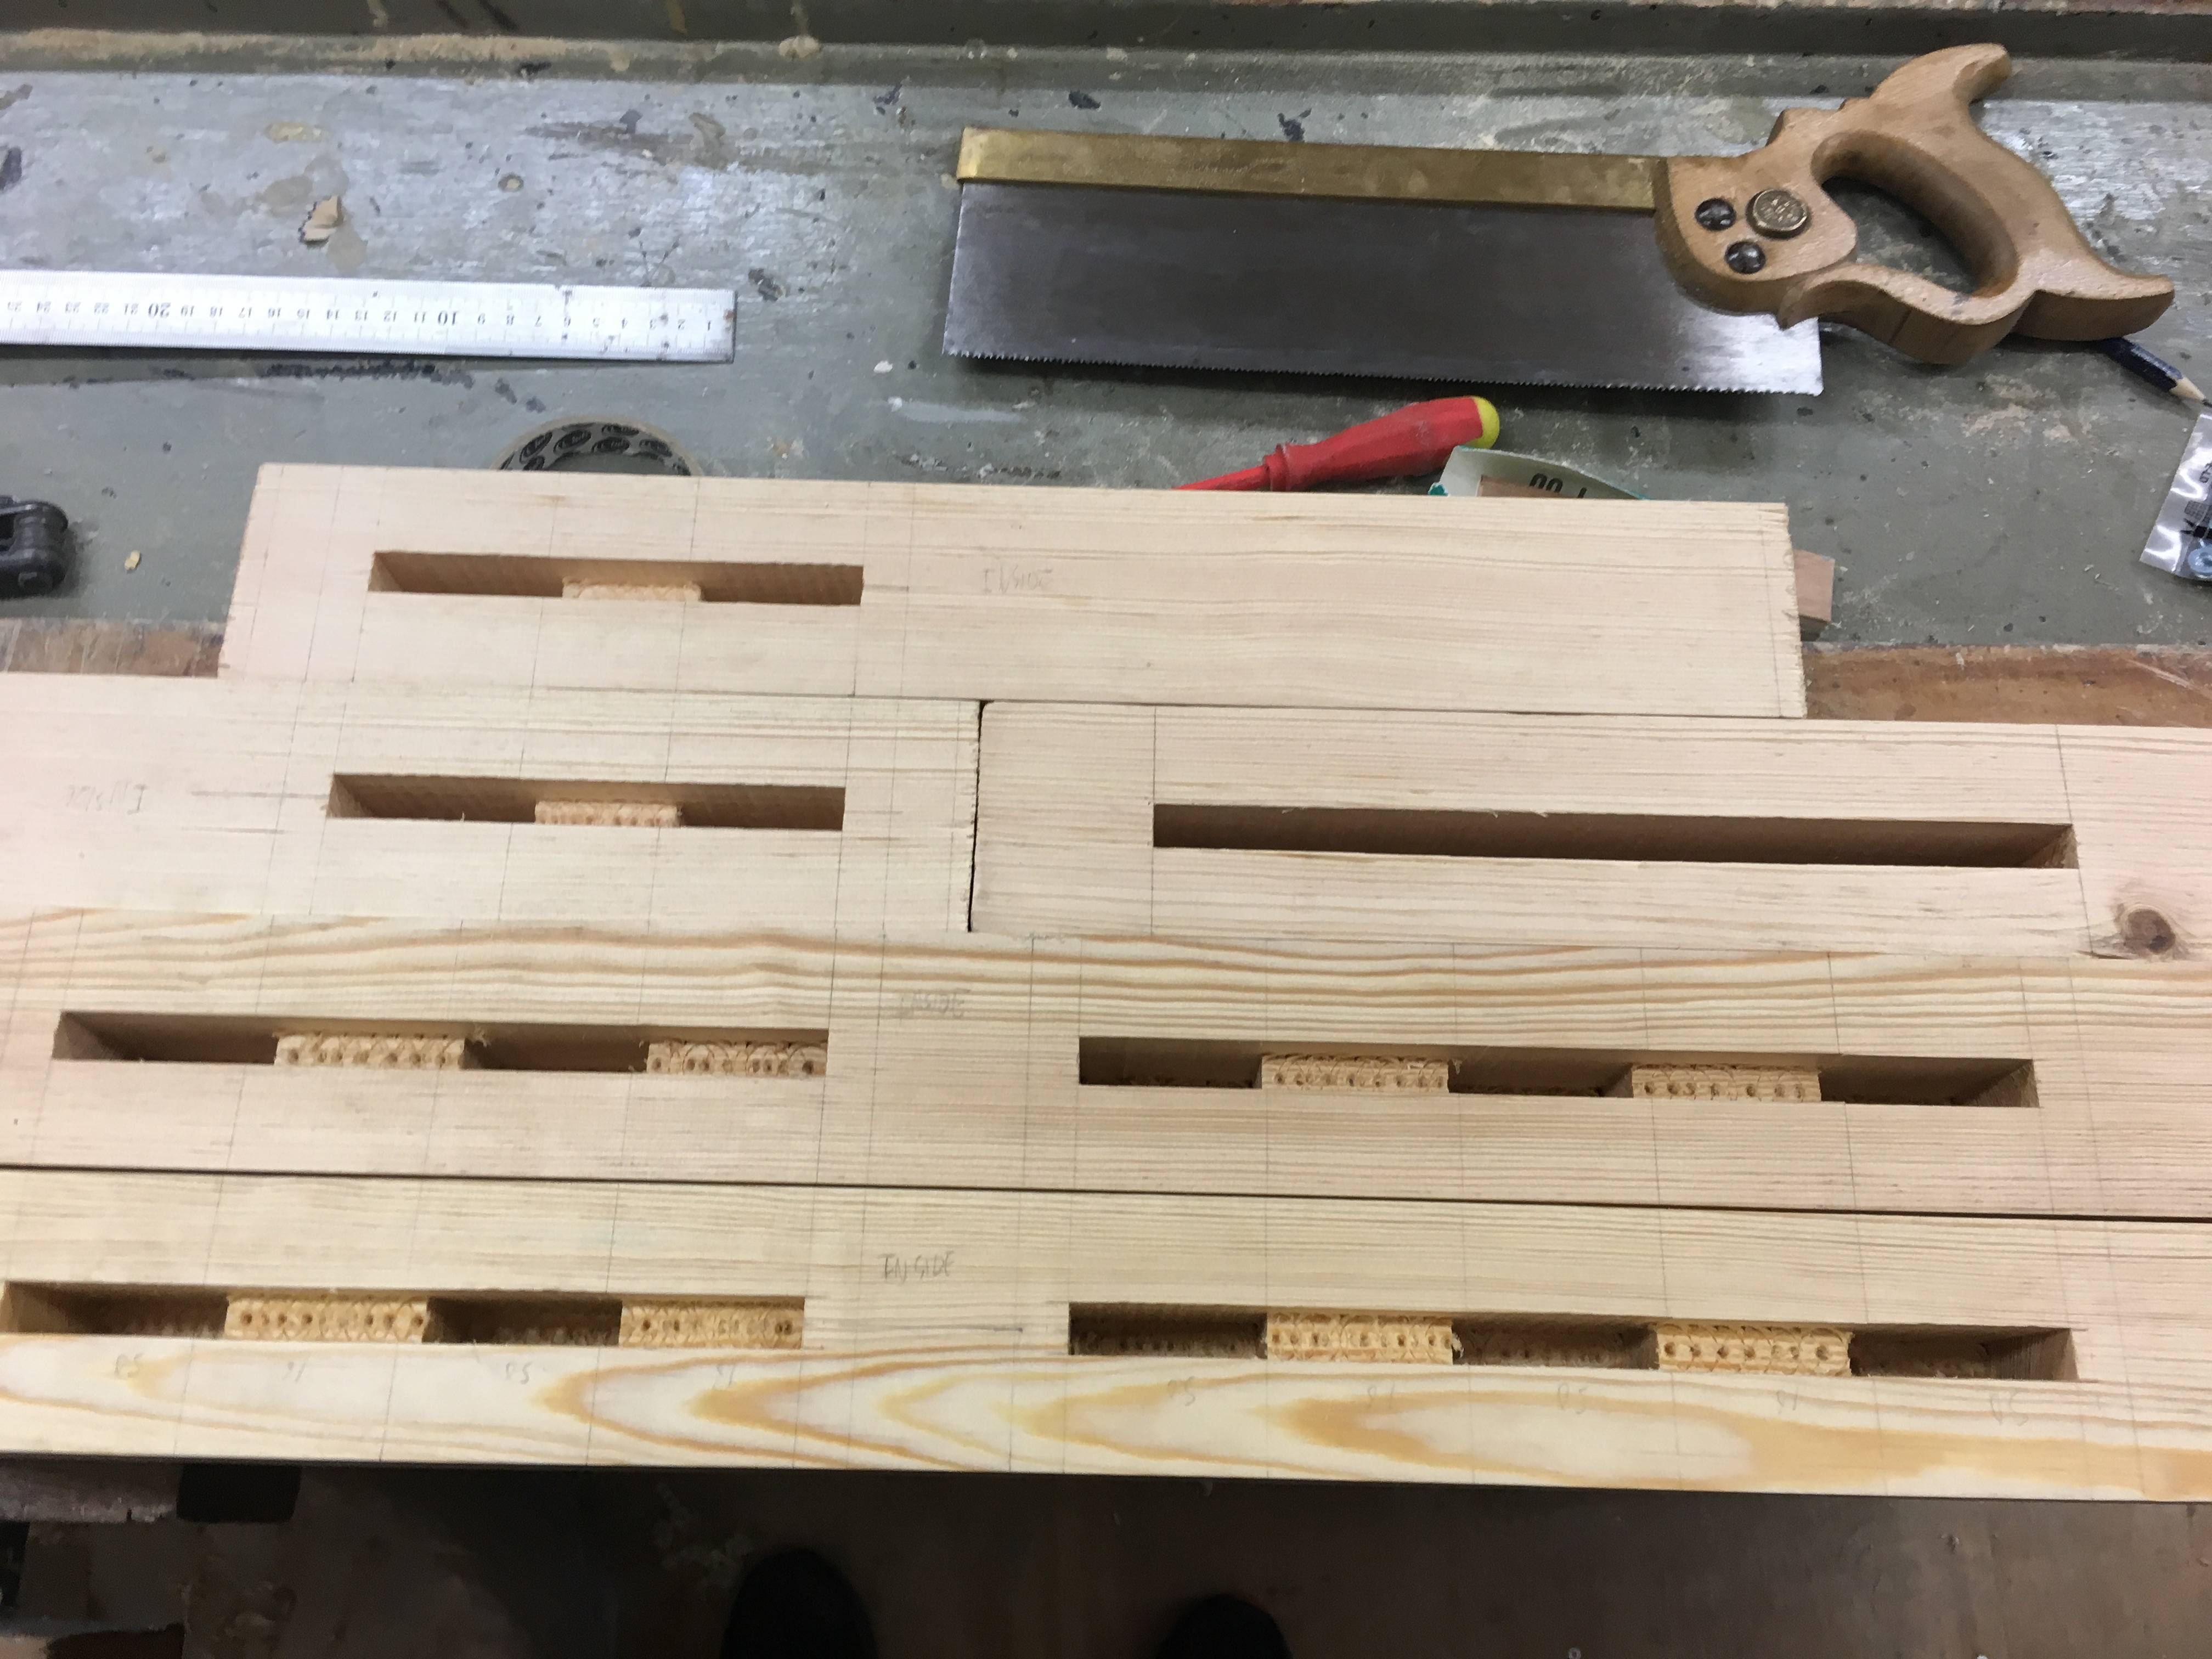
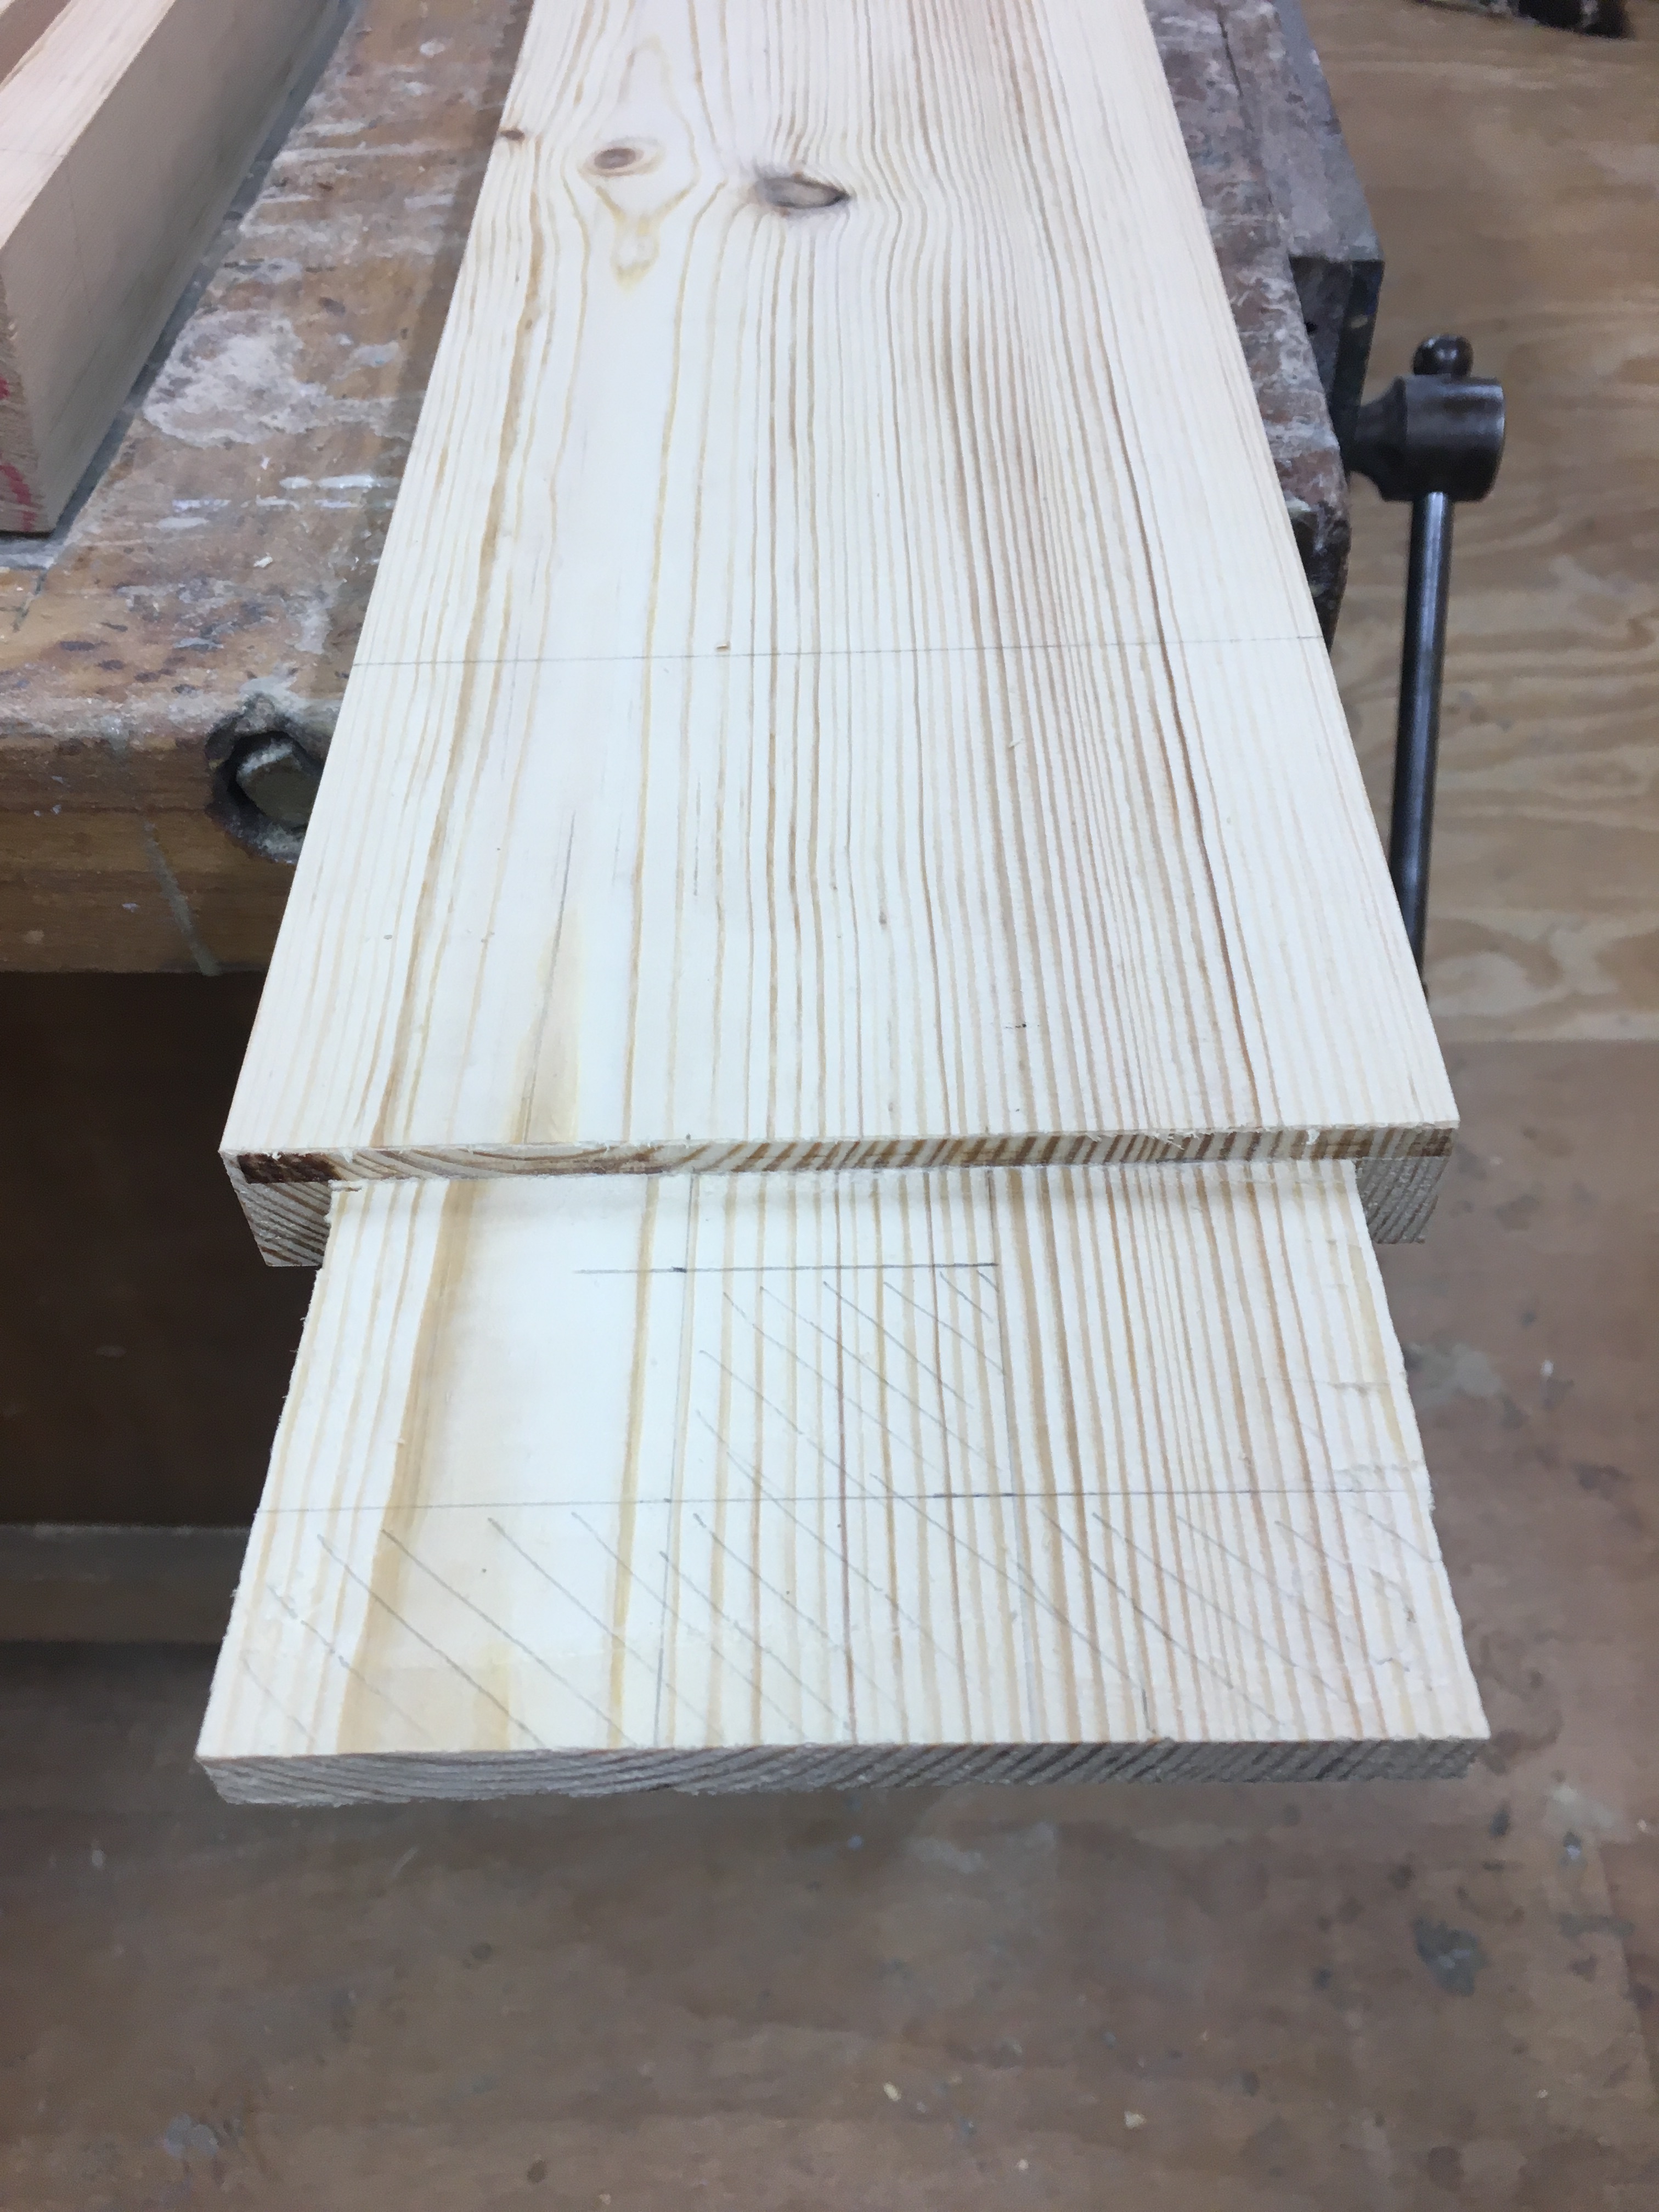
The tenon shoulders were cut with a router because of the size. I think it would have been impossible to get them so clean with a saw at these dimensions. I would probably ask a wood tech to help me set up the spindle moulder to do anything of this size again but this worked well on the faces and left only the shoulders on the edge of the work to cut by hand.
I marked out and cut the haunches using a tenon saw and a coping saw and chisel to clean them up to seat properly in the mortices.
I dry fitted the joints and thankfully due to a careful setting out, the true privilege of having access to a floor standing morticer and using the router to cut the tenons they required little work to get the joints flush.
This was the main portion of the bed done as the side rails were to be fixed in place with bedlock fixings so that I could dismantle it easily and move it from place to place in future.
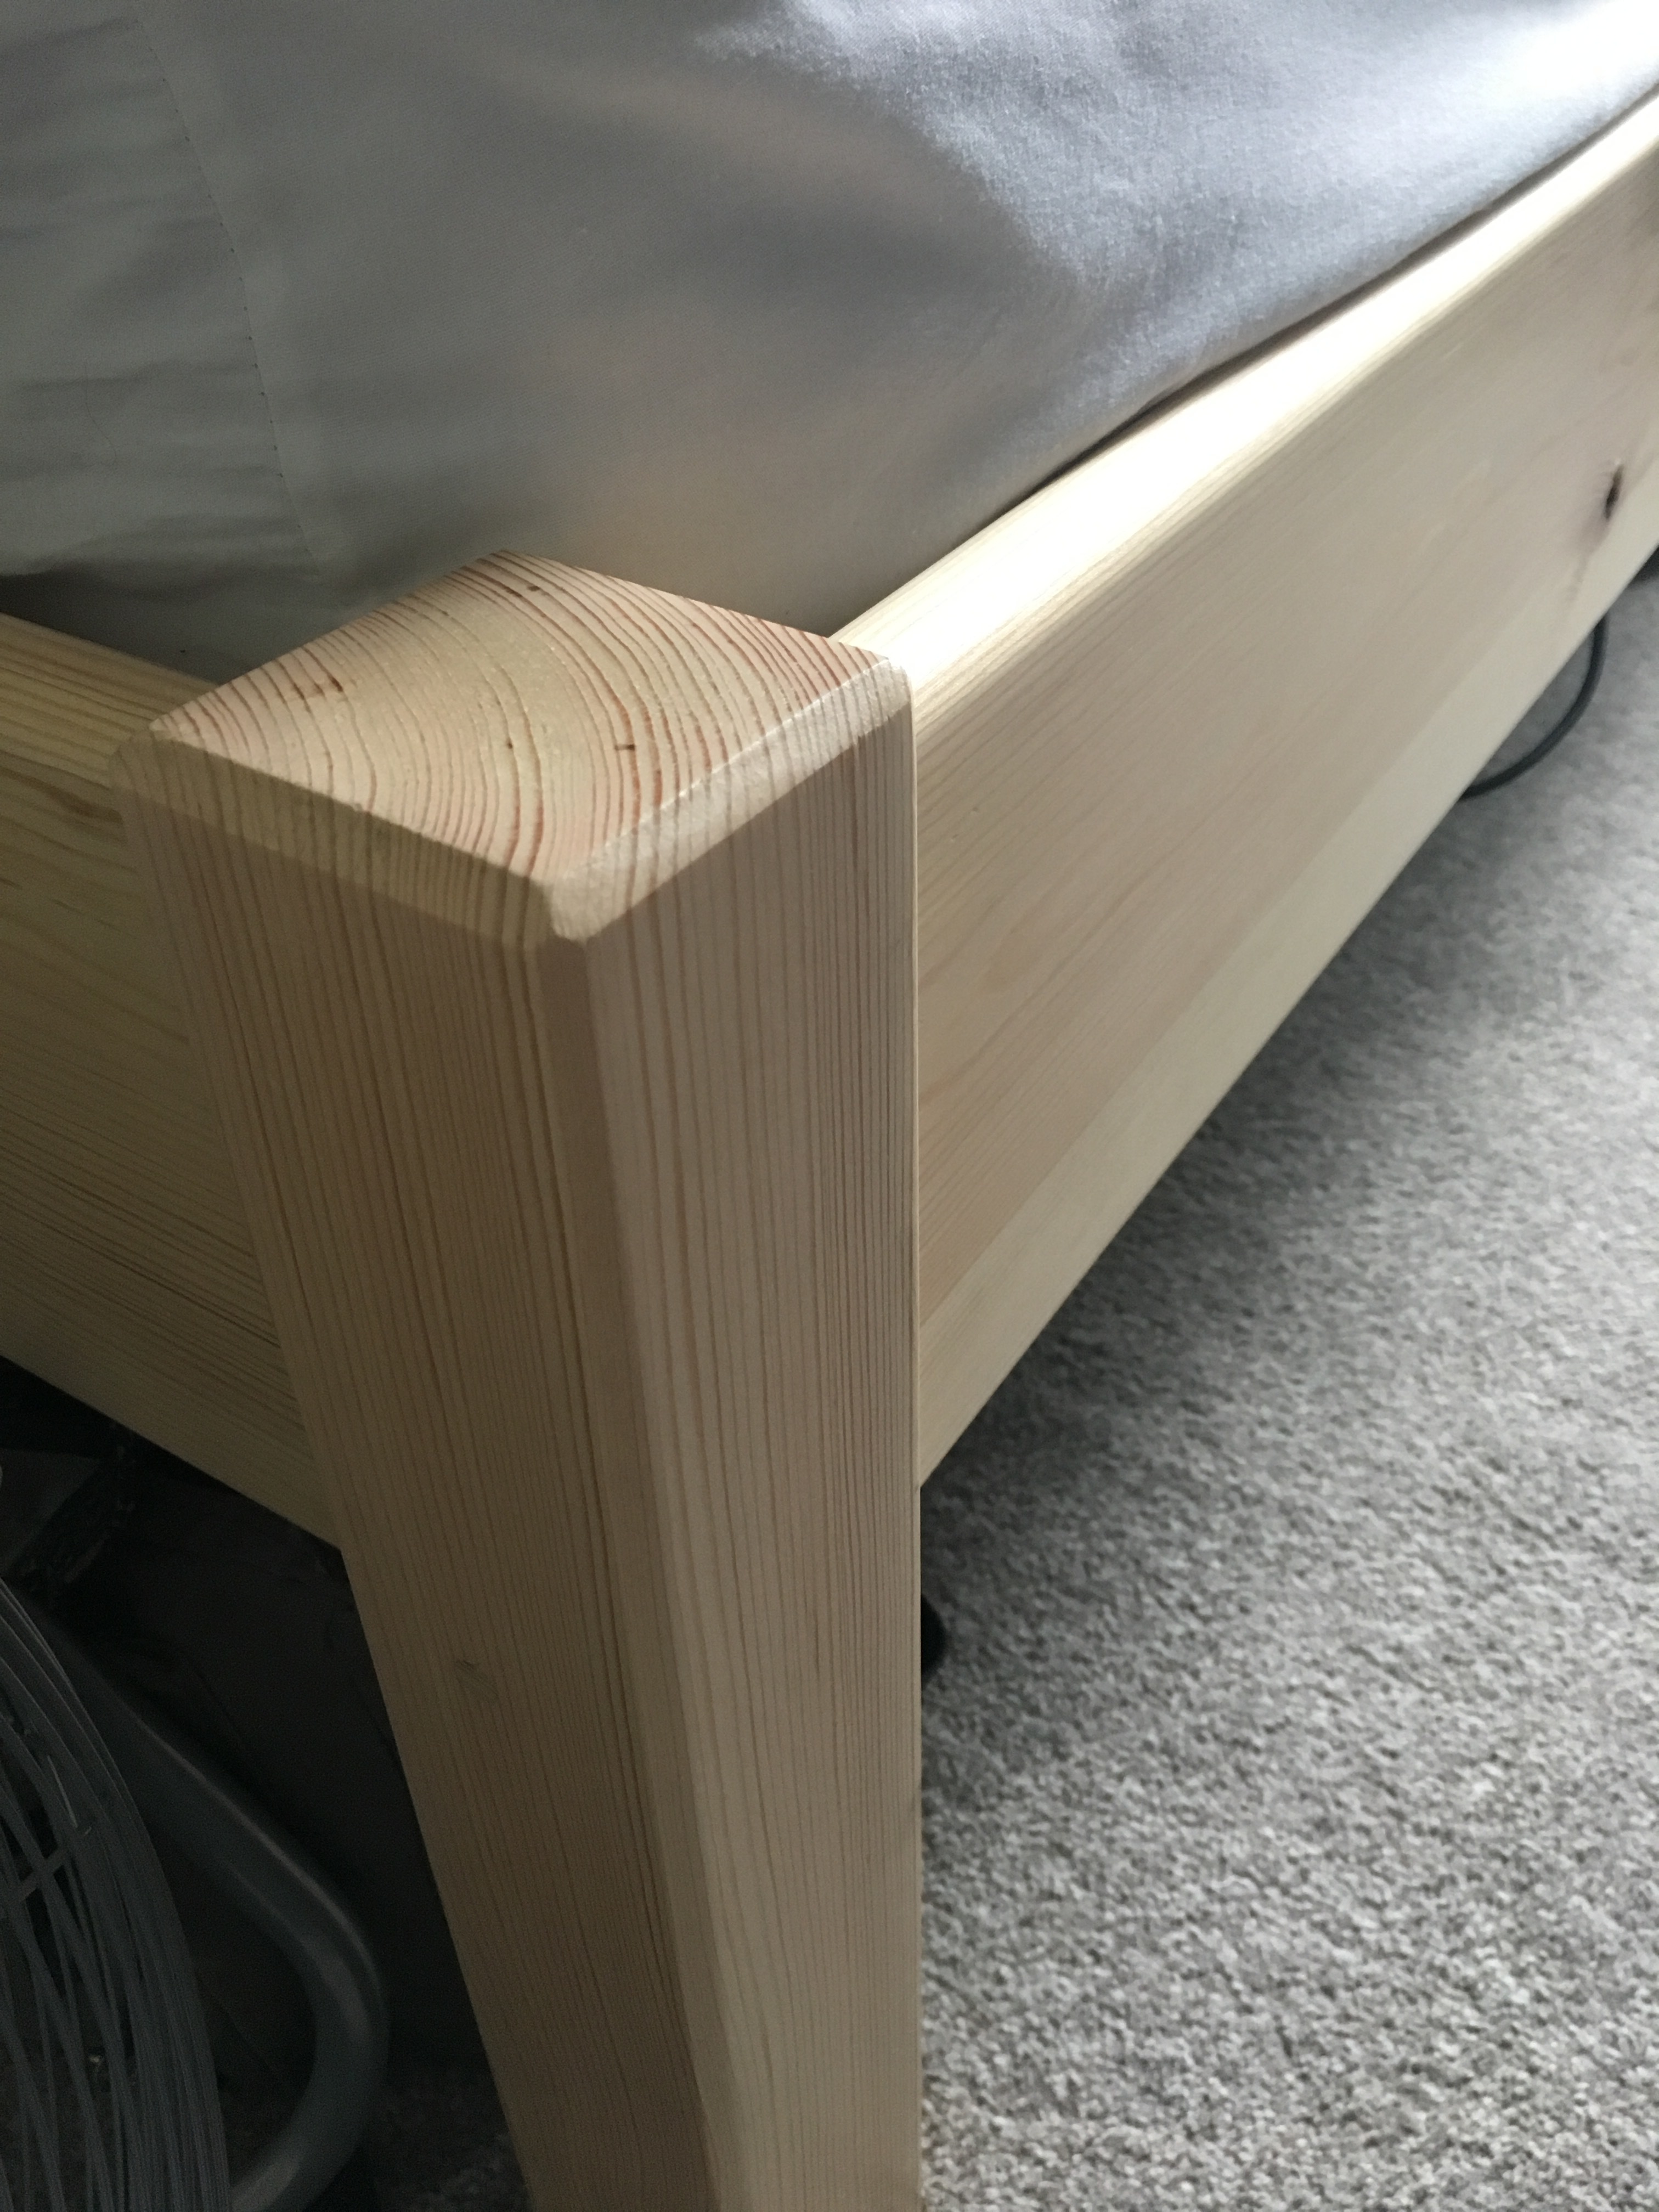
I used a router to give the rails and the headboard and footboard cross beams a round over and I used the table router to give all of the bed posts a 5mm chamfer down all edges and on the tops. This is only visible in the pictures of the finished bed as I failed to take pictures as I did this.
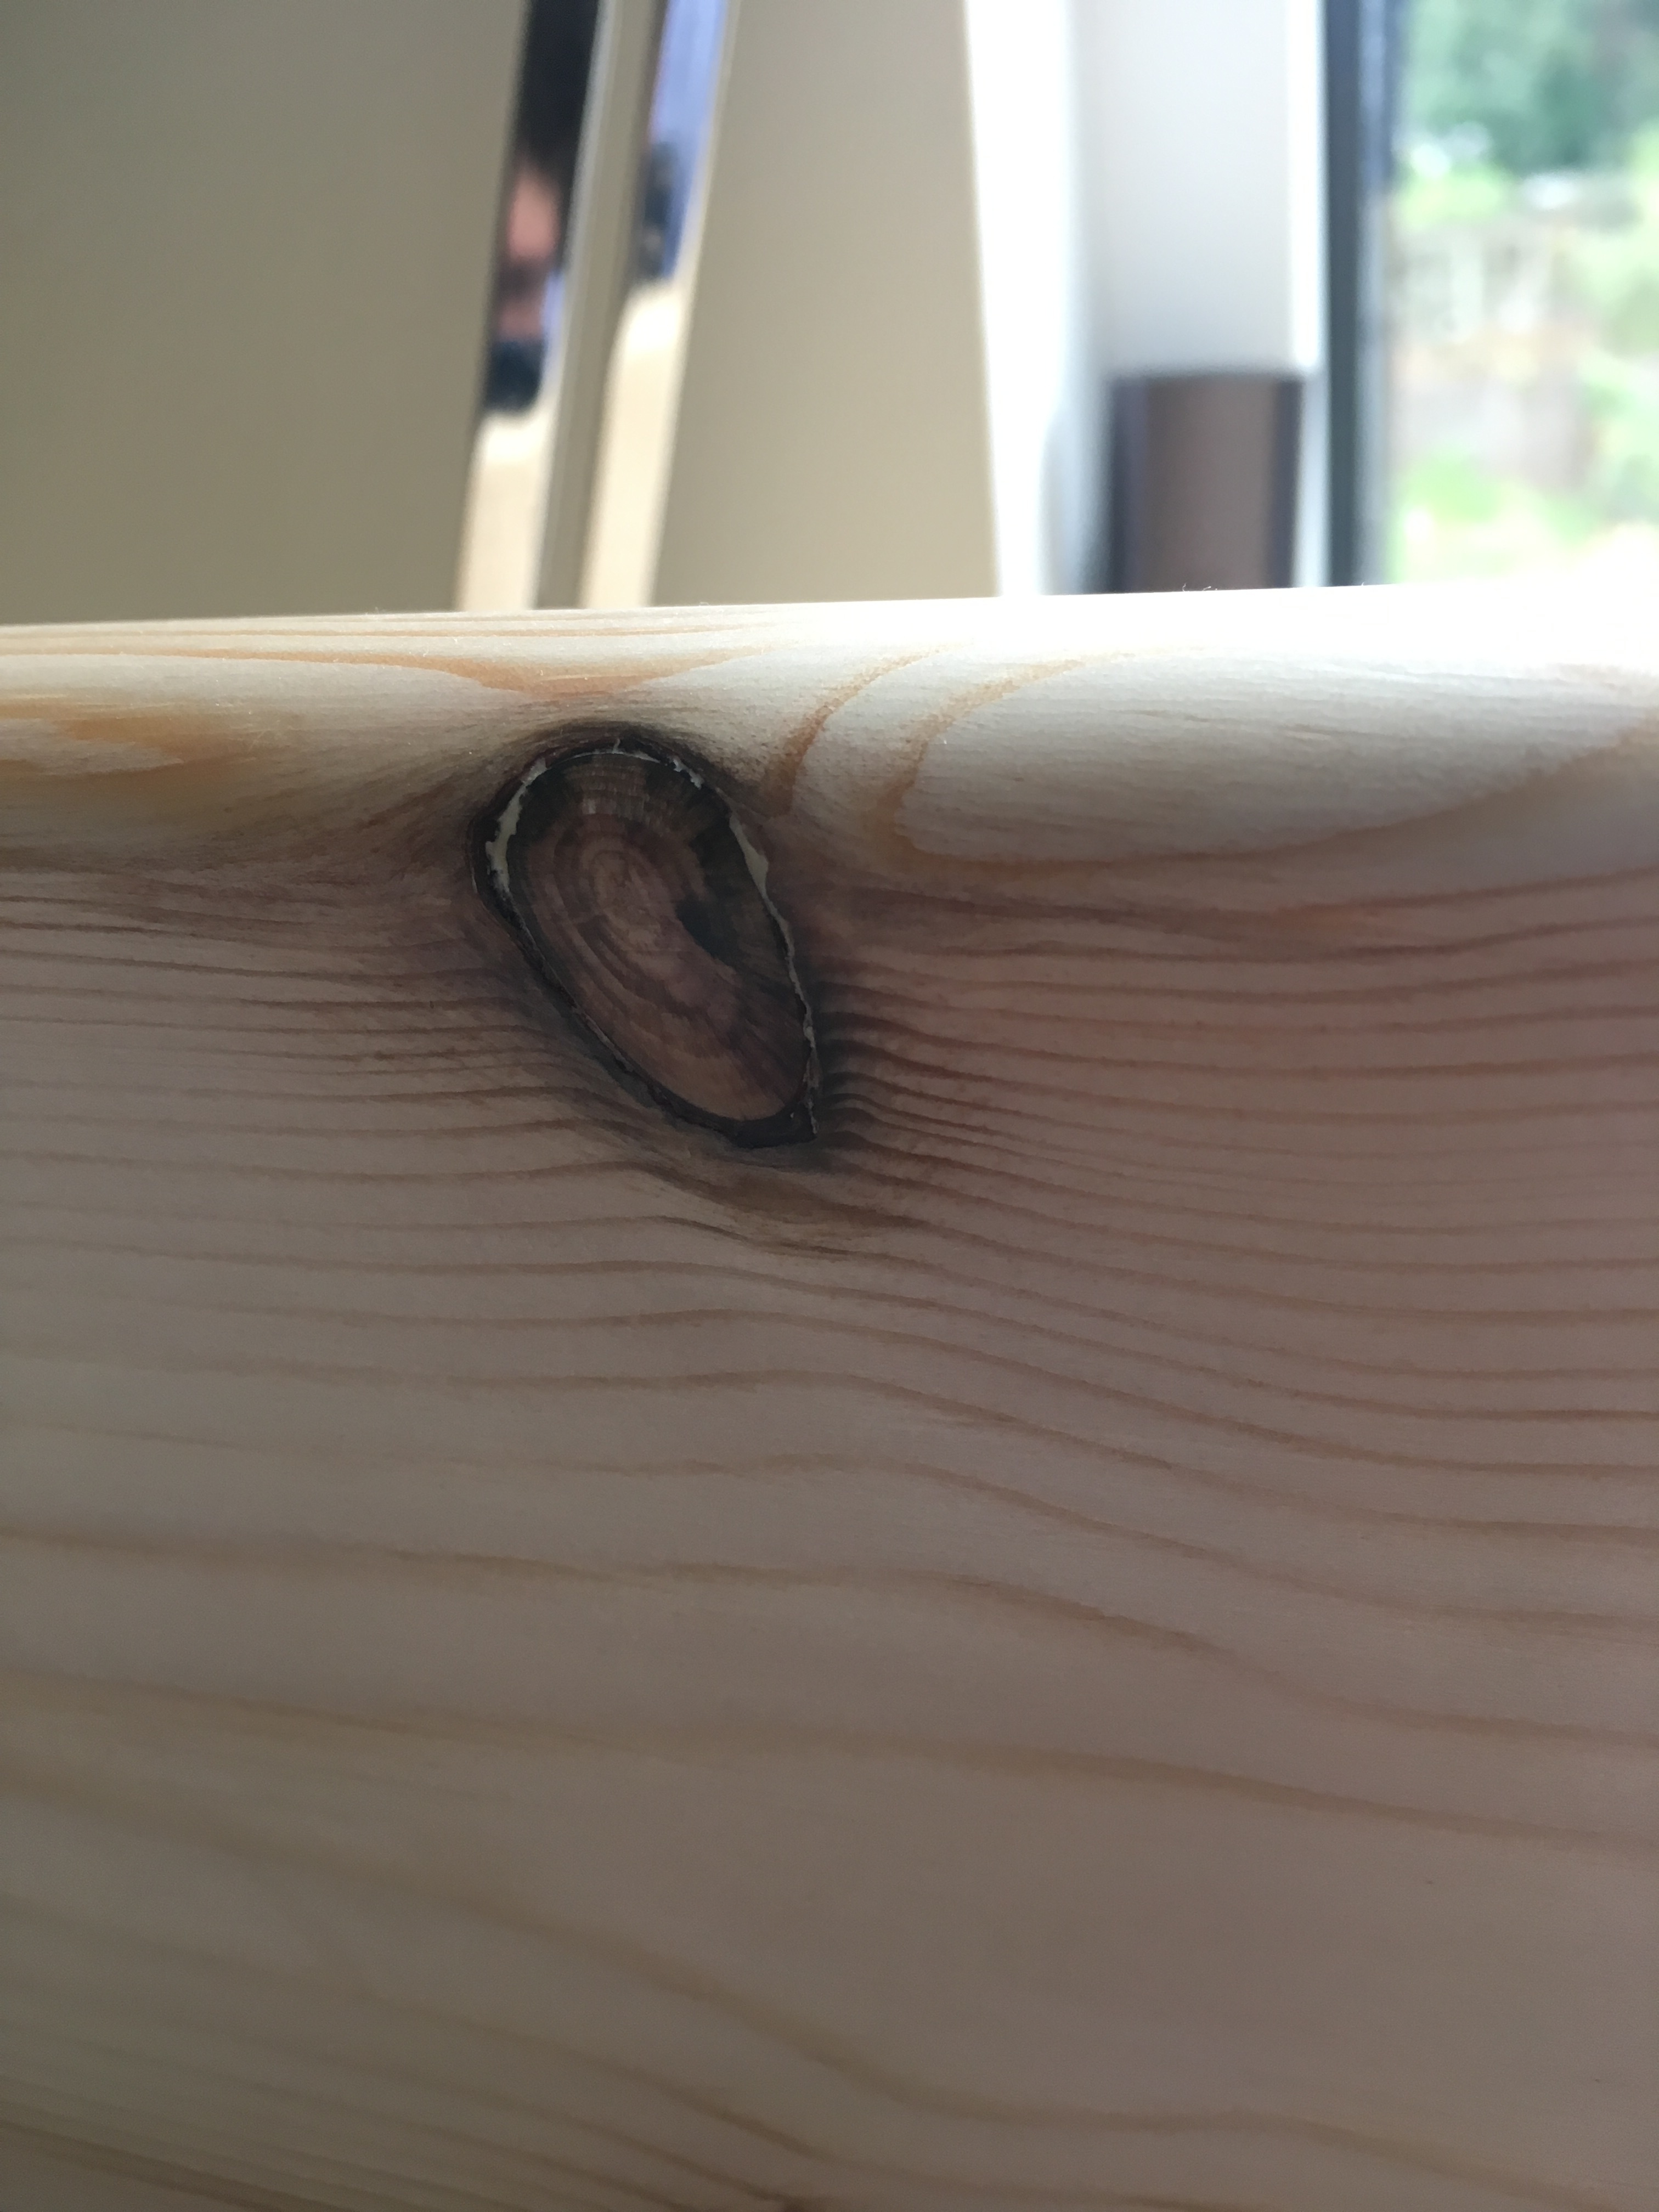
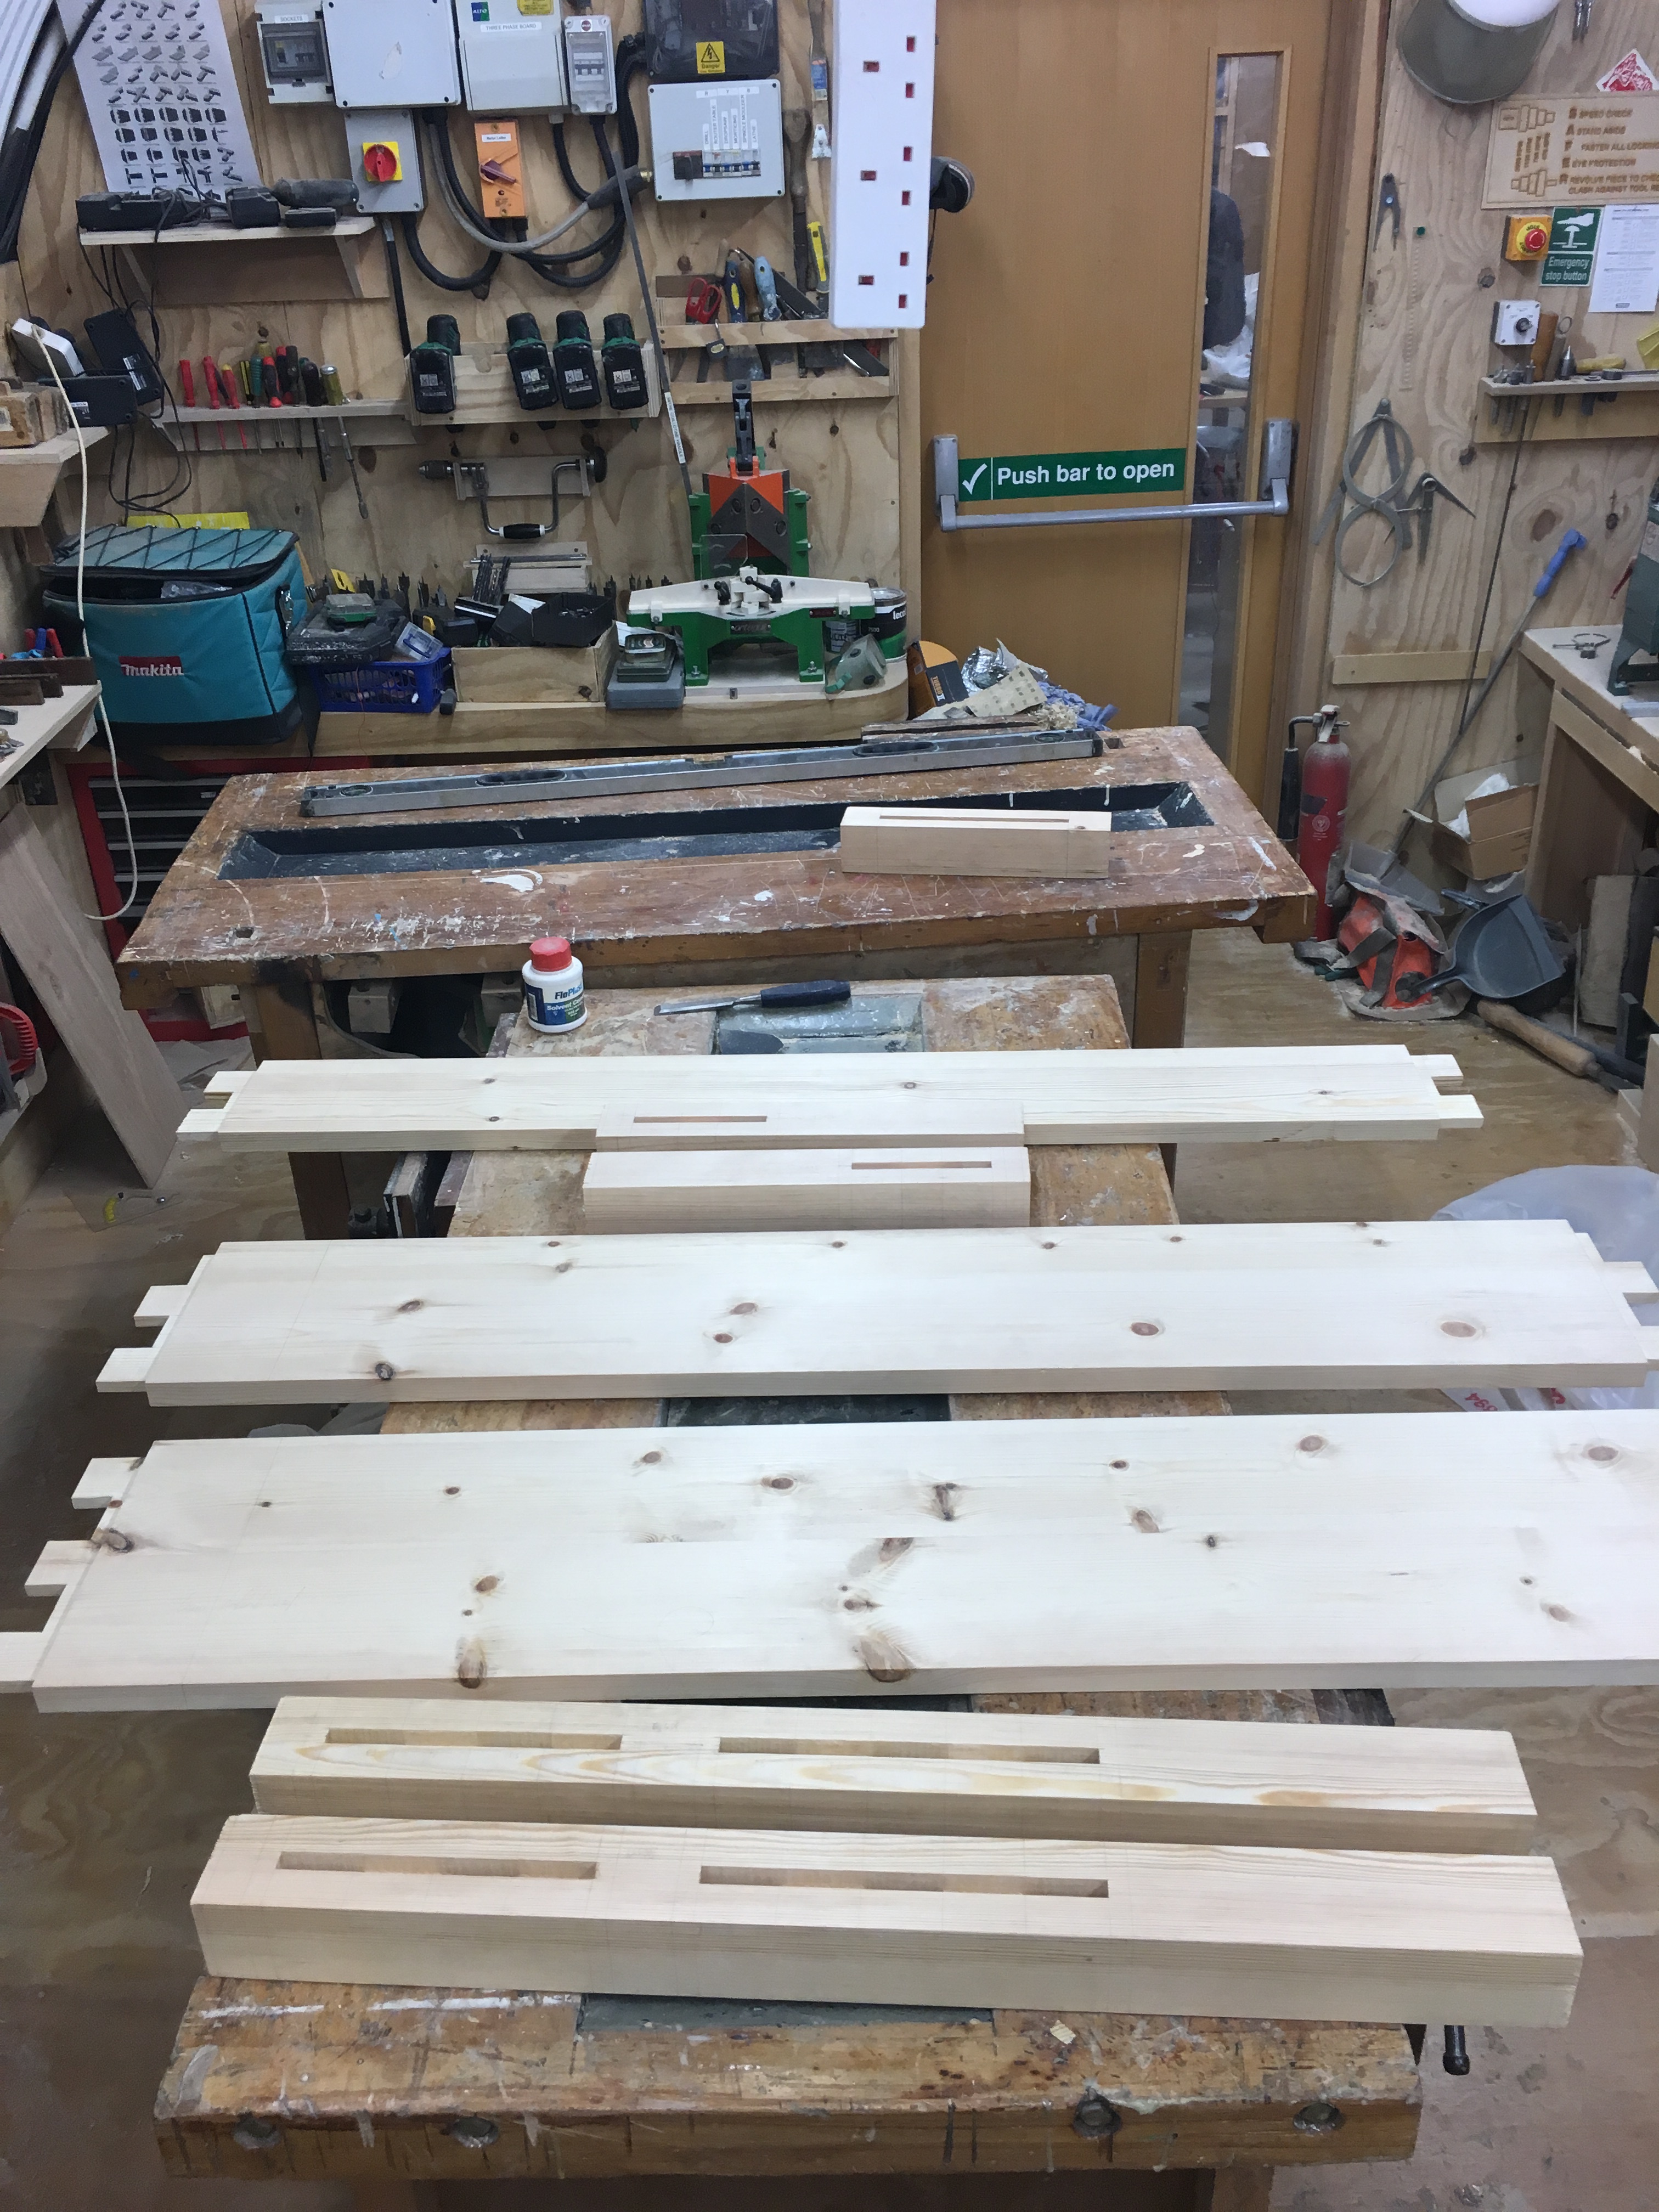
I glued up and pegged the headboard and footboard, you can see the peg in the picture above. for the large board at the bottom of the headboard there were two pegs in the lower tenons with the top tenon glued and for the others just the lower tenon was pegged.
A benefit to jointing the head and foot boards like this was that it did not require extra long sash cramps to hold the work while the glue in the joints dried. The peg hole in the tenon is off set a mm or two closer to the shoulder than it is in the post so when the peg is driven home it pulls the joint tight.
Once these were done I marked out for a baton to run the length of the rails, cut the batons and de-arised and screwed them on. I fitted the bedlocs and the fixing I had bought for a central supporting beam for the slats which was also de-arised and fitted to its bracket.
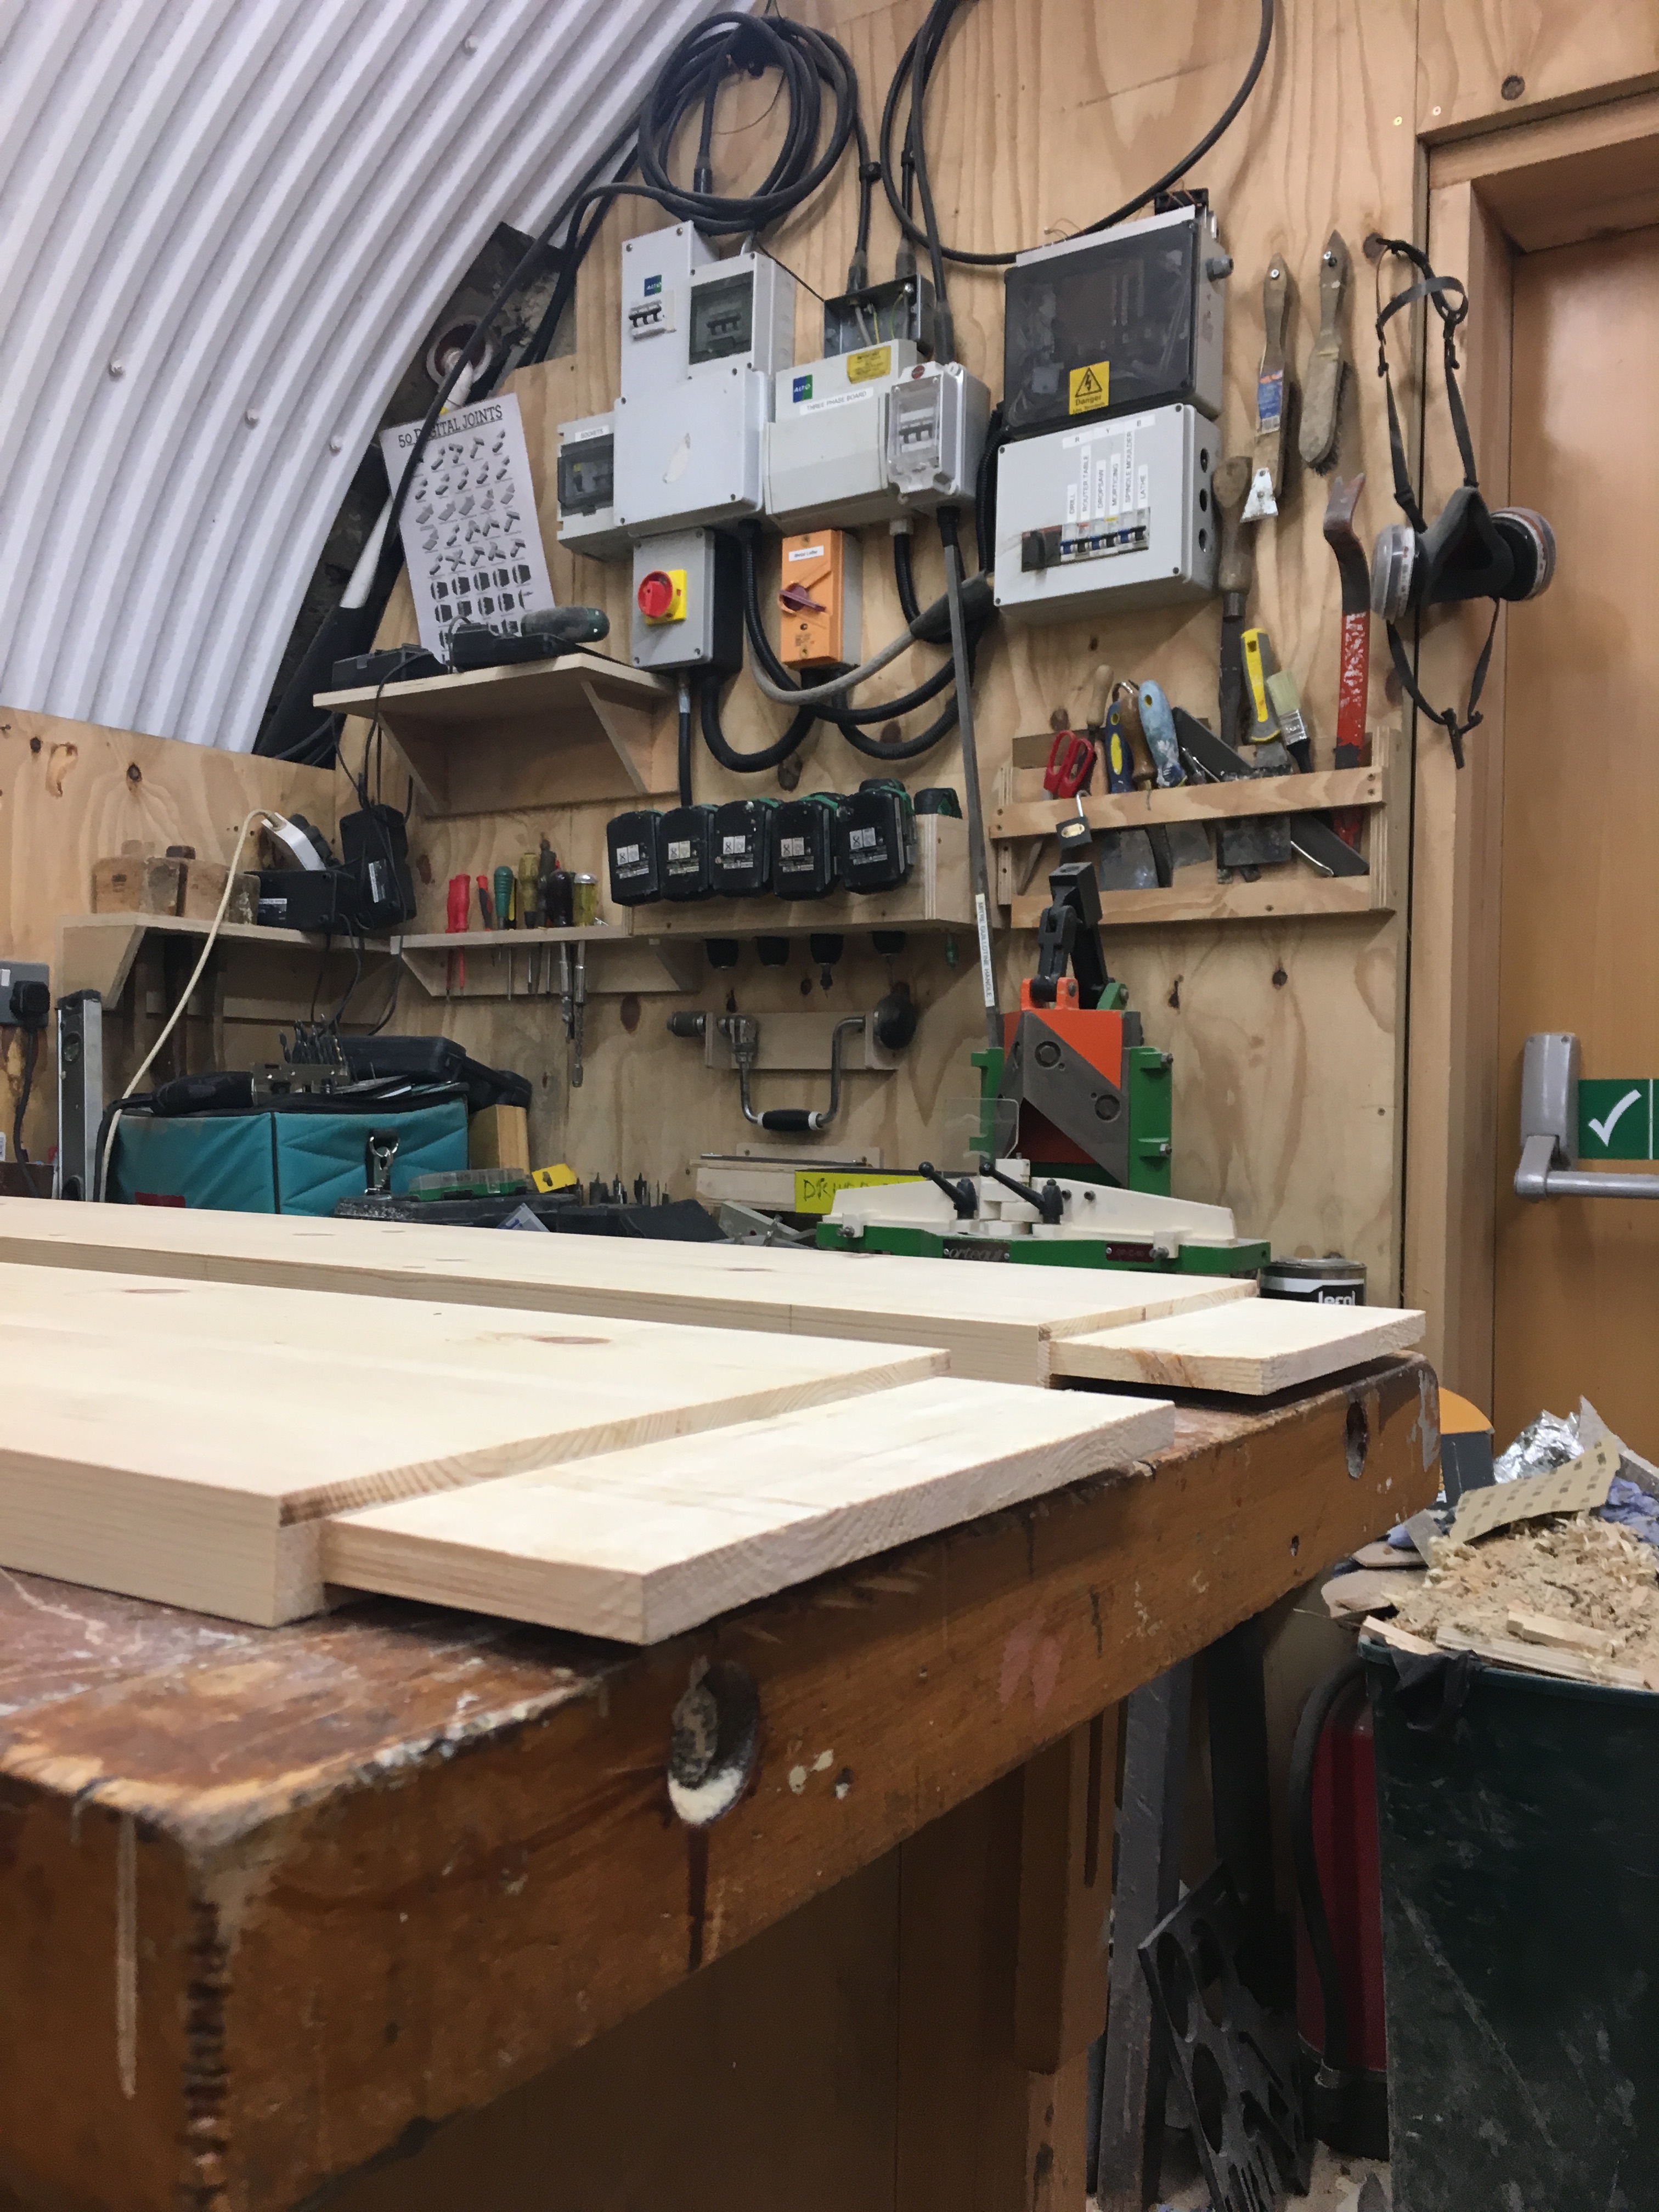
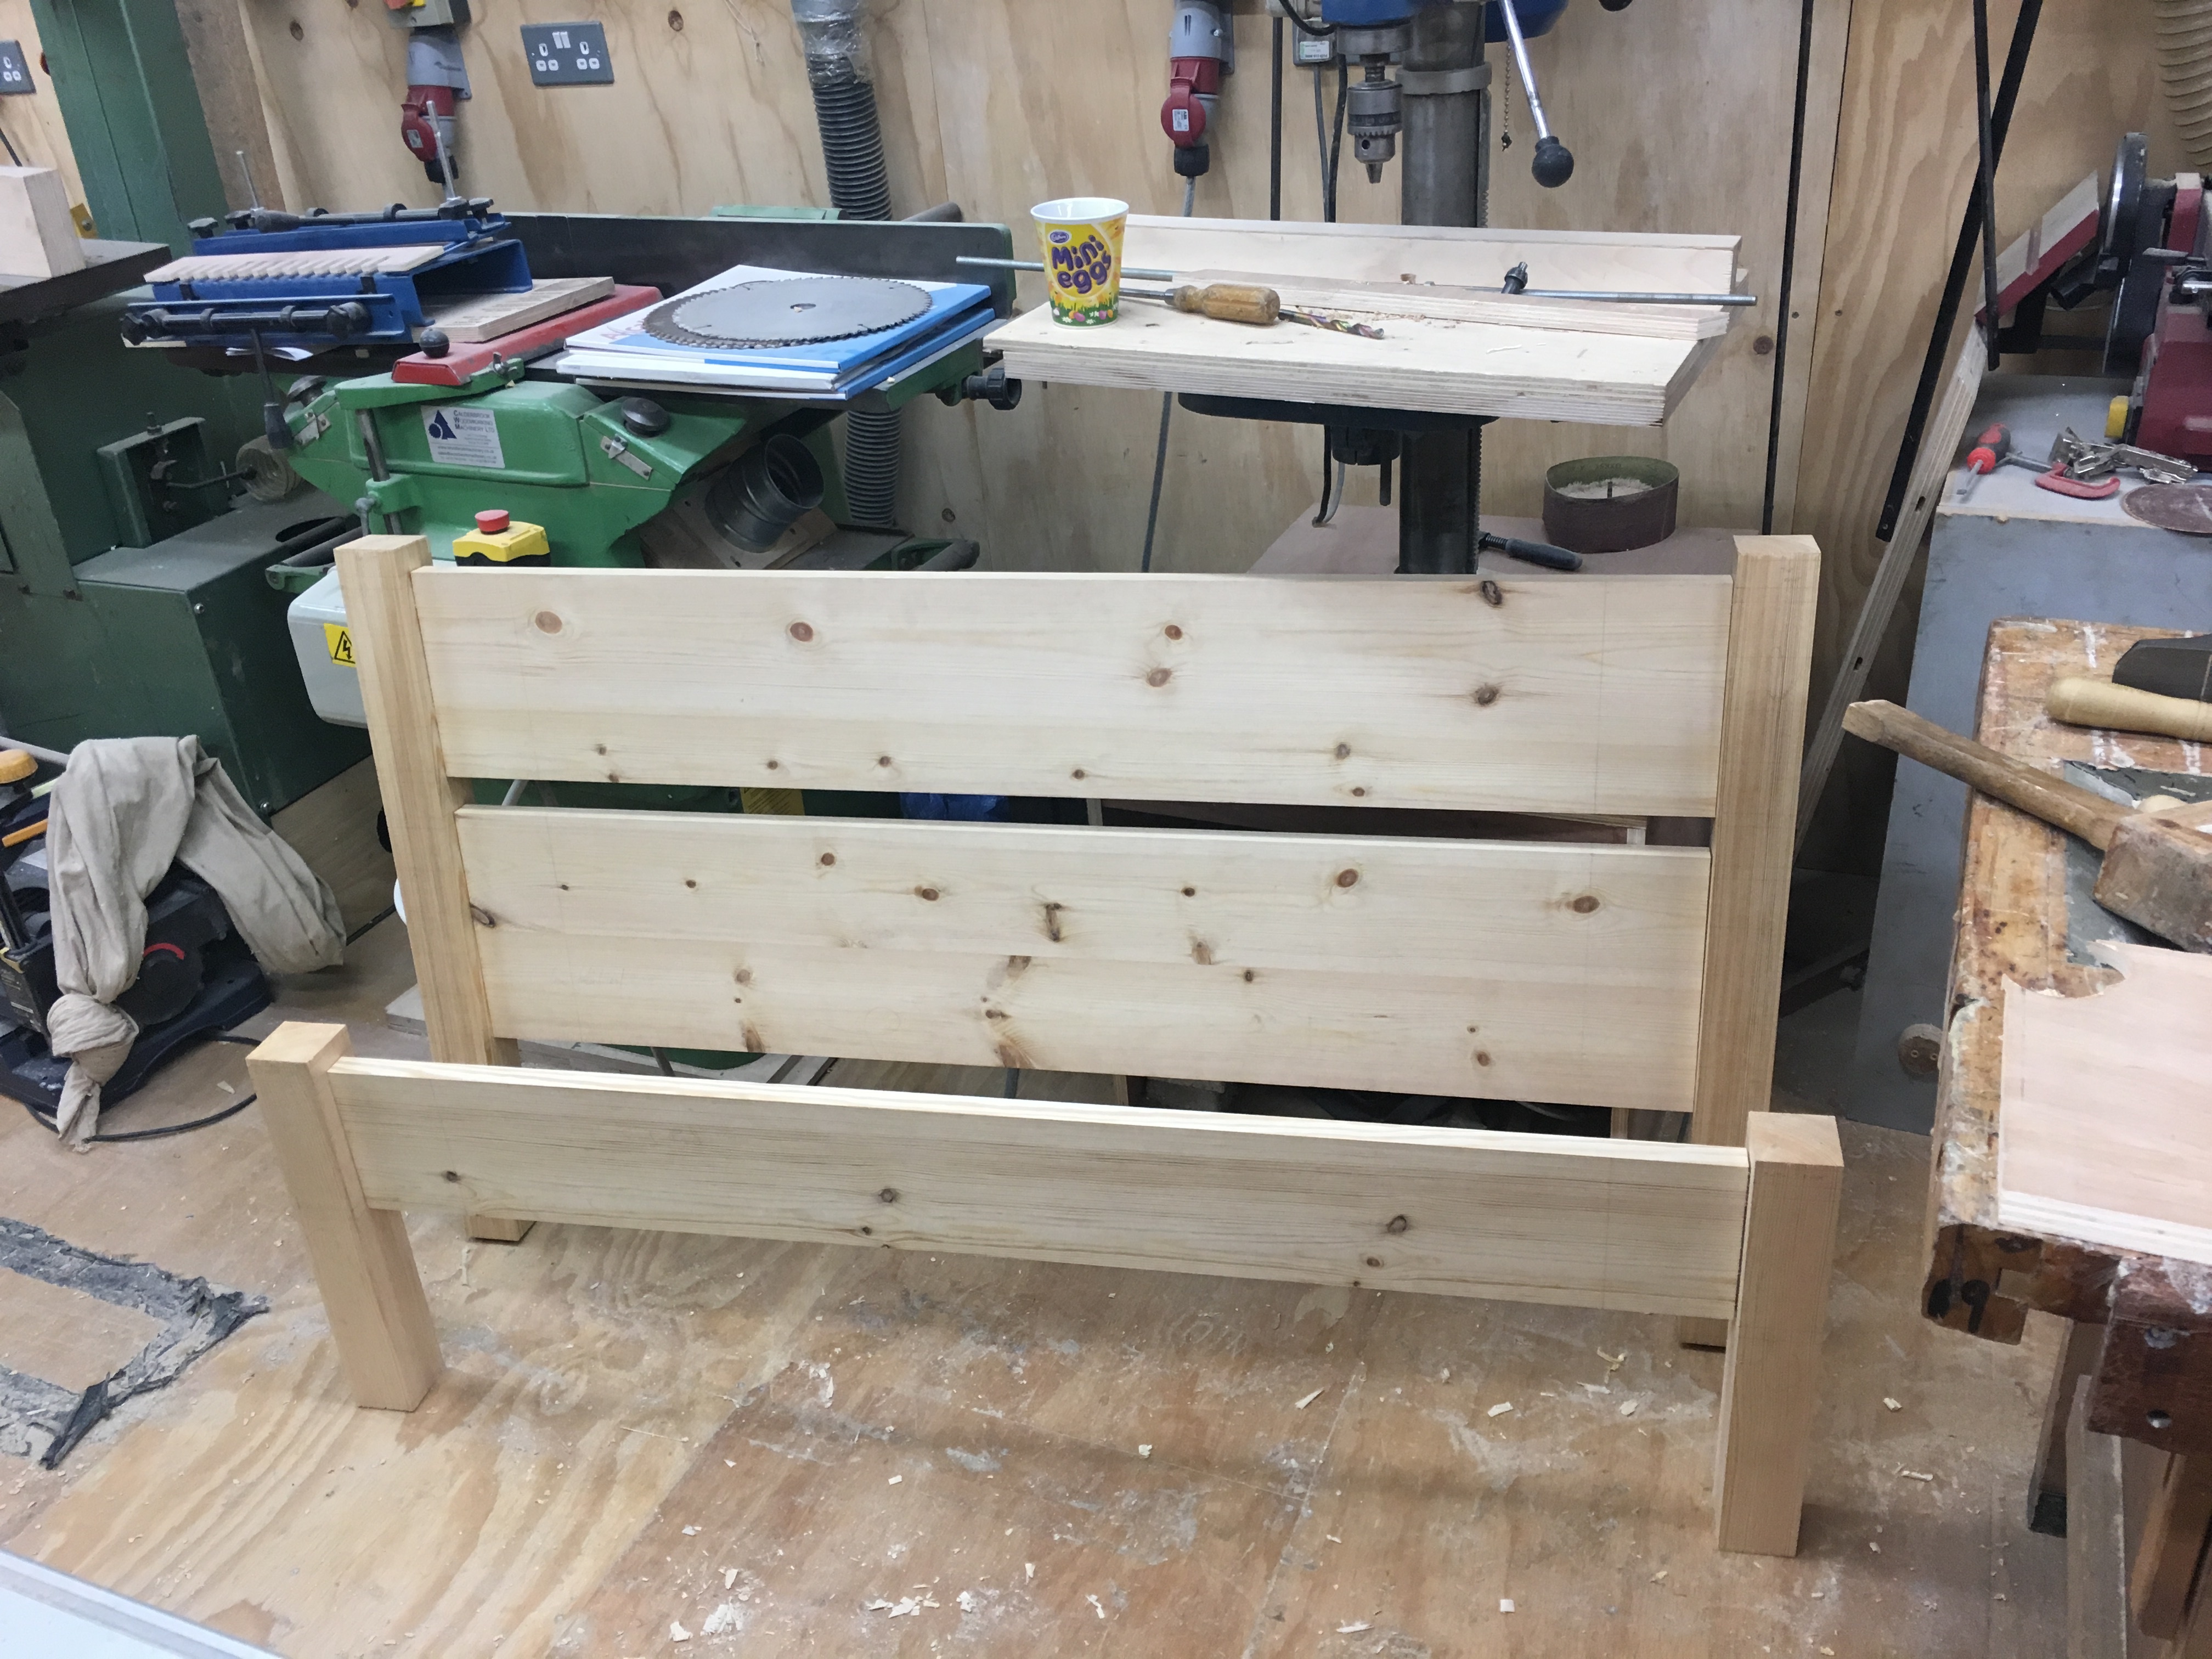
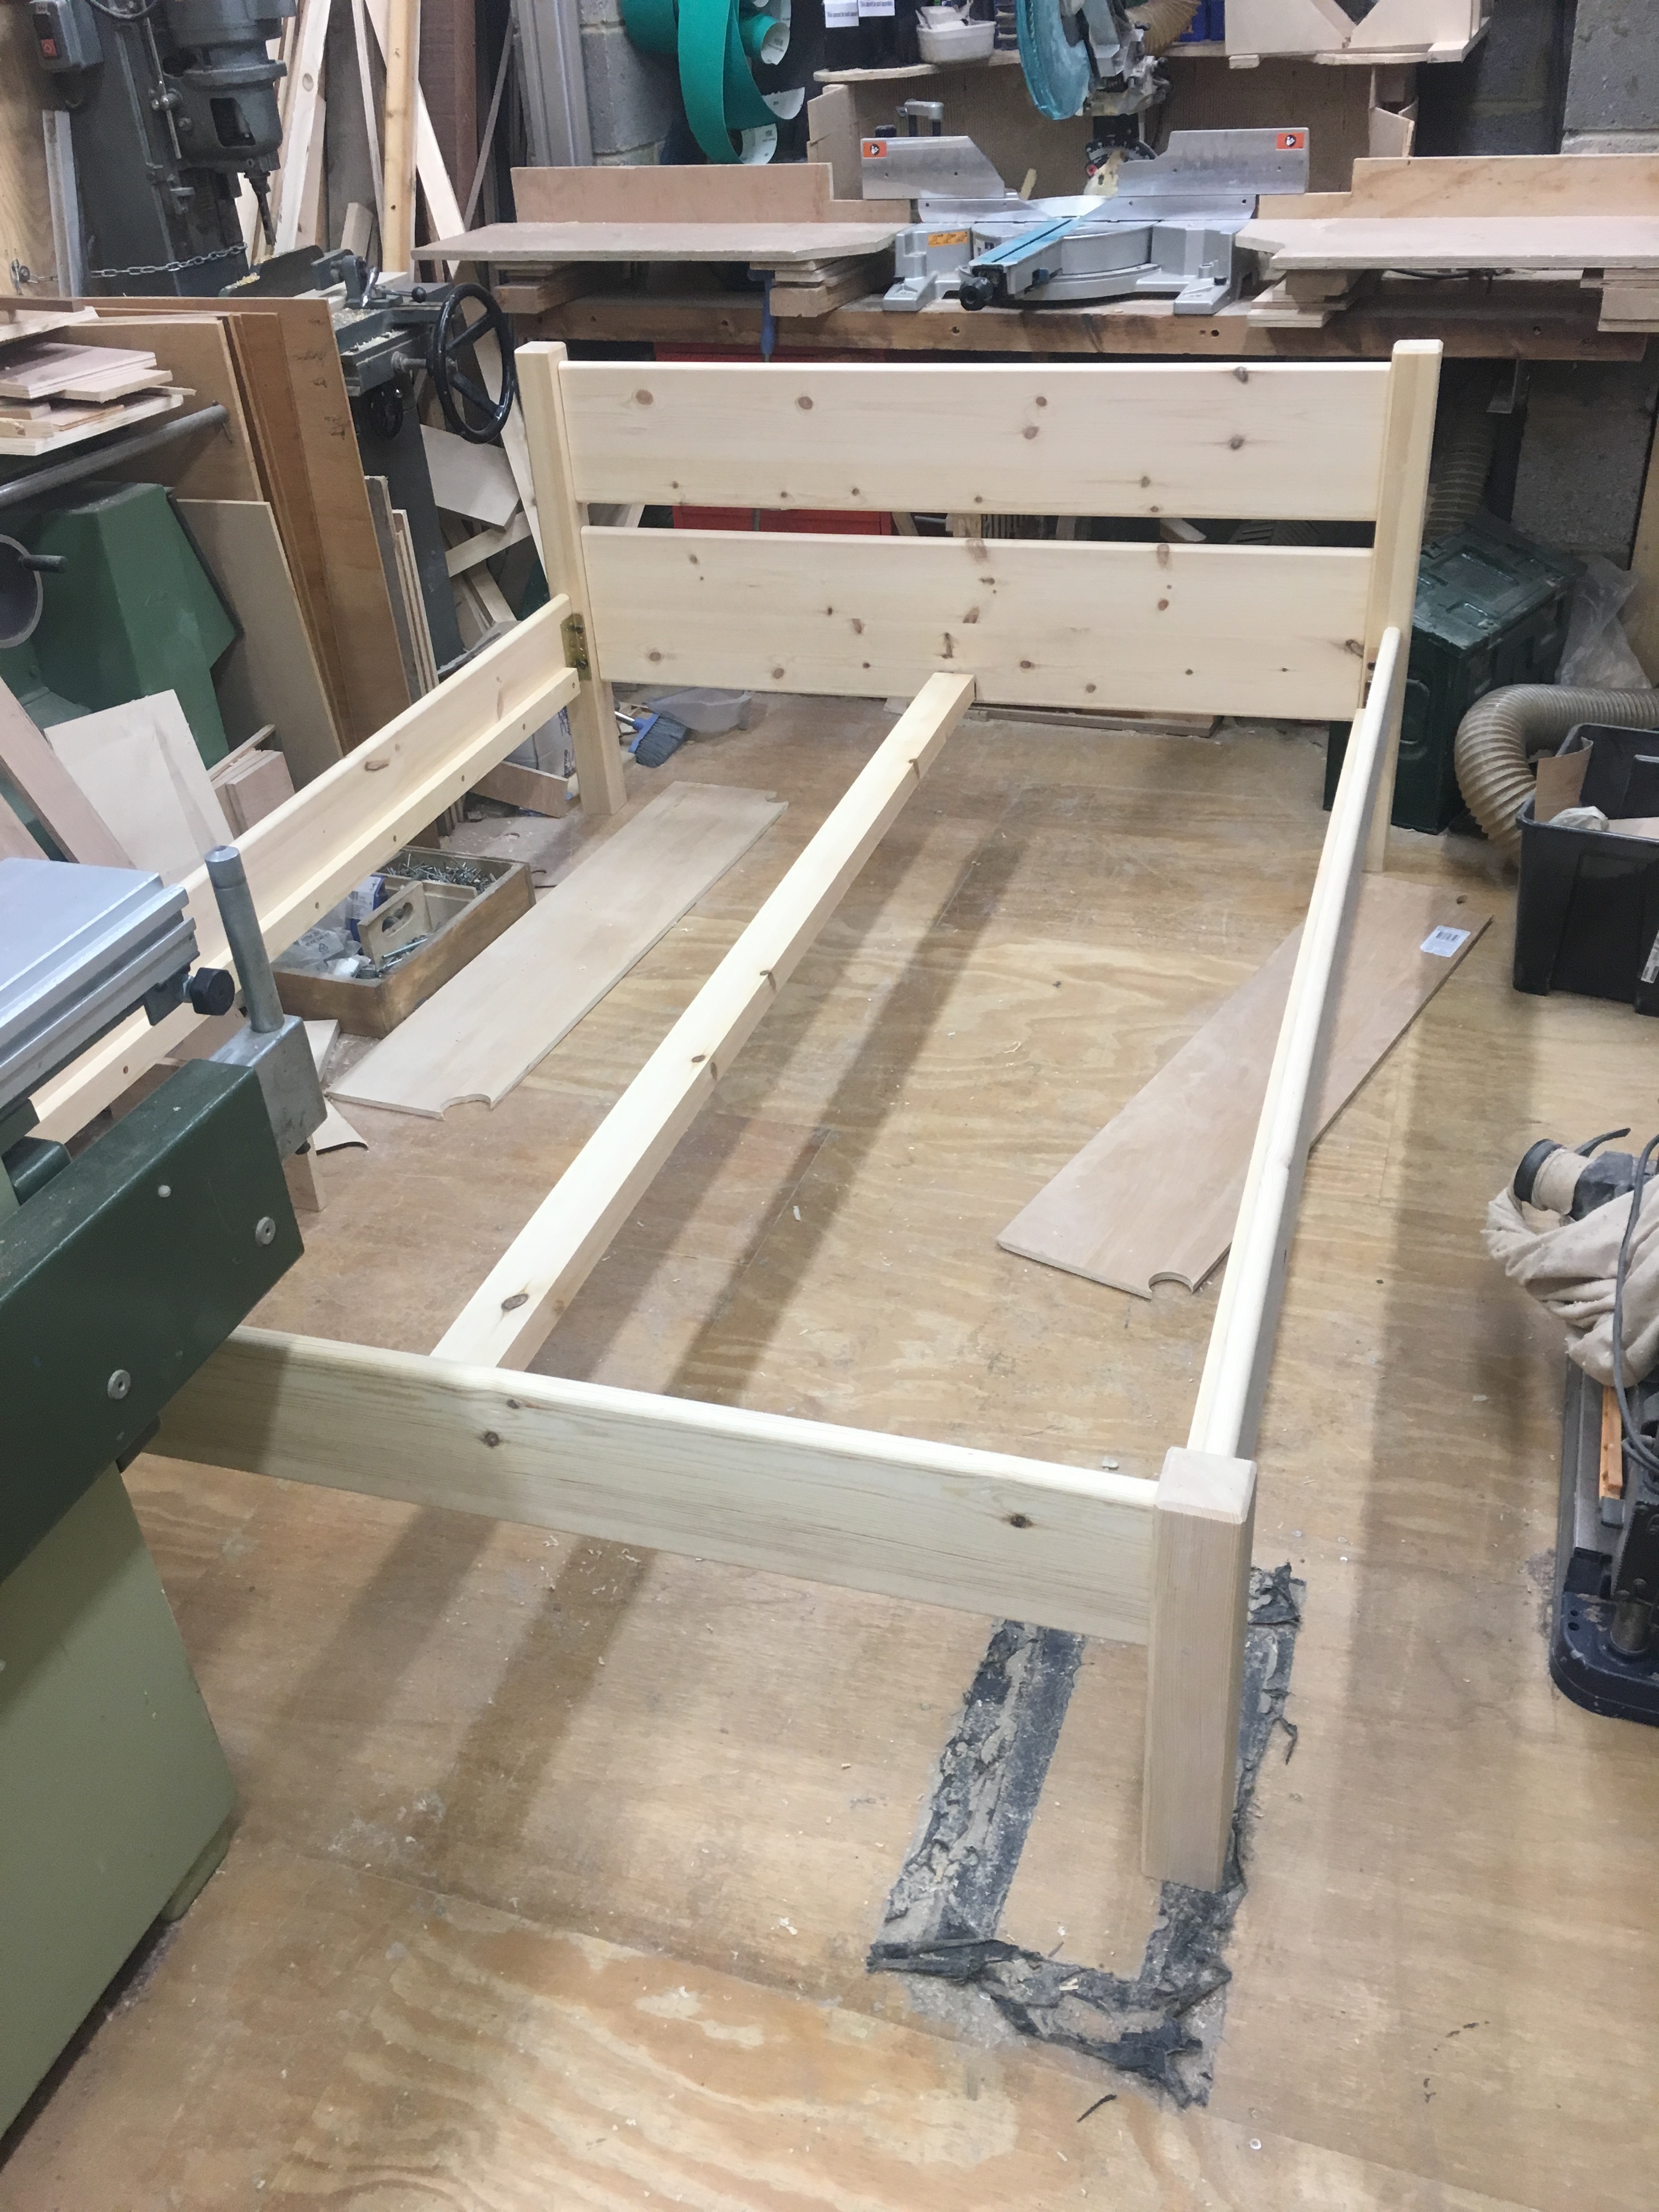
Here’s a picture of my final fit in the workshop to make sure everything was square and level and flush before taking it home.
I took the bed home to finish it as I thought it might be better to do it in my garden than make a sandstorm in the workshop with the orbital sander.
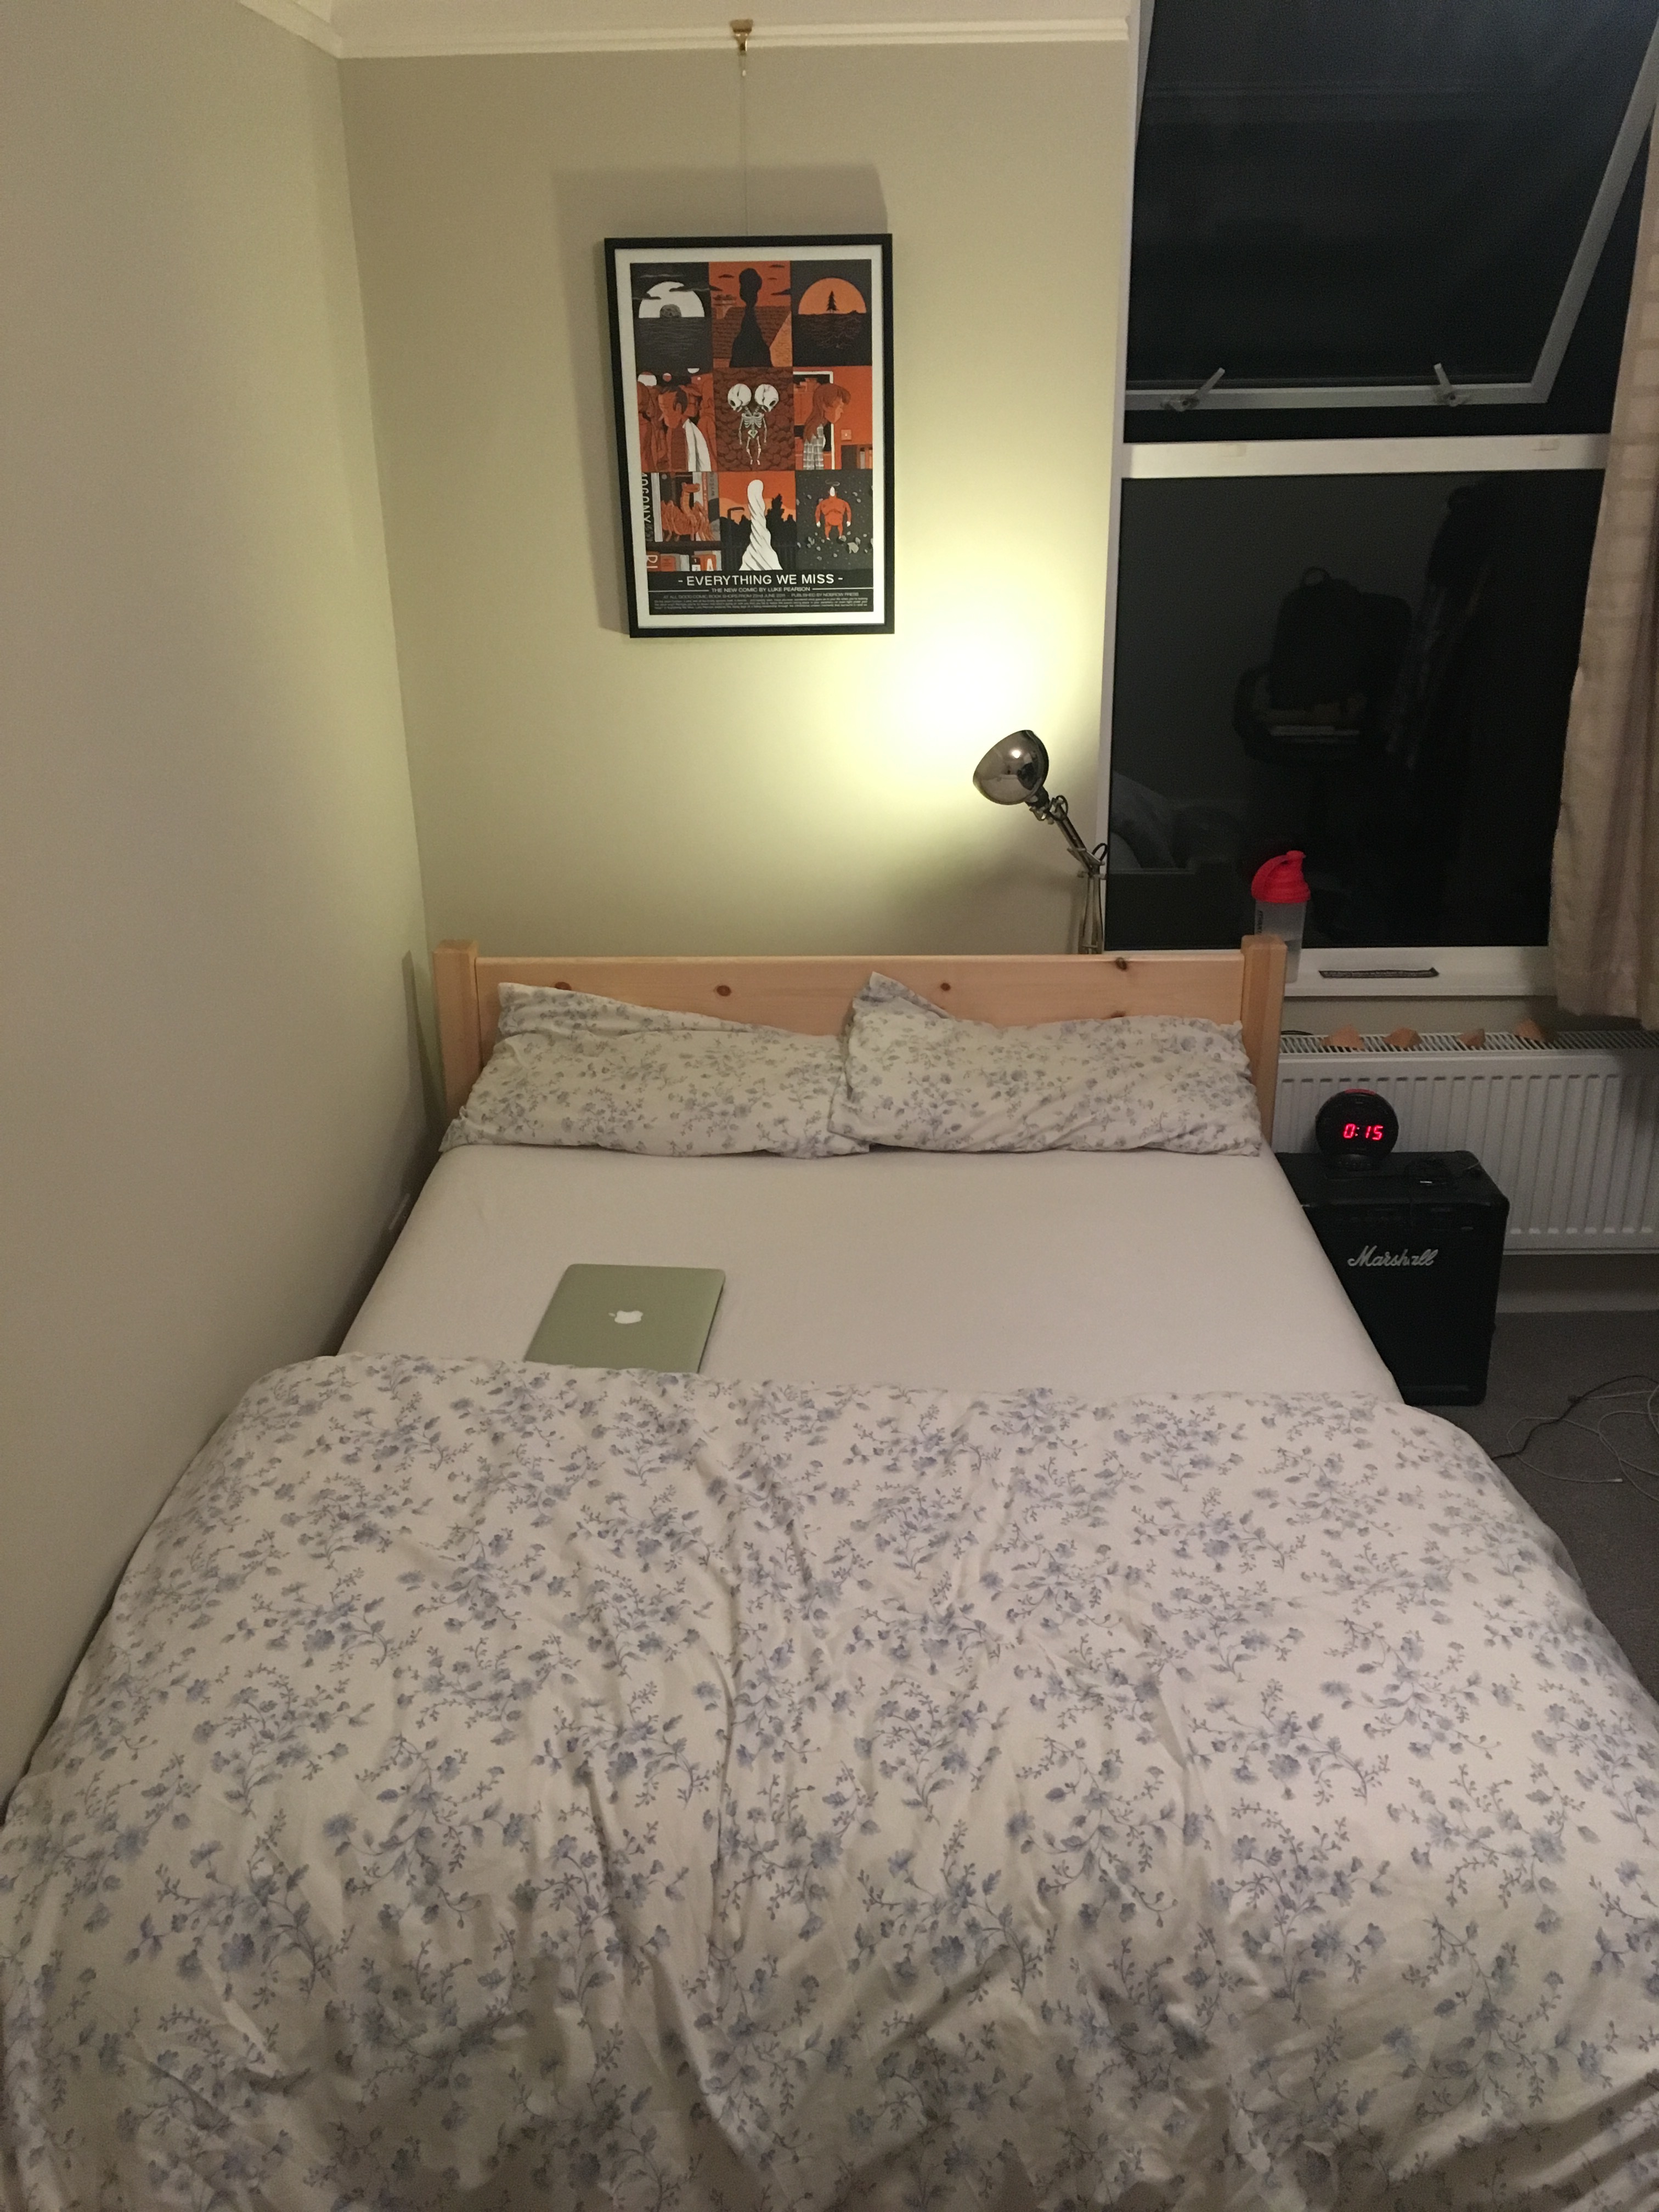
I had Whitten Timber cut me some slats from PAR which I de-arised and sanded at home and after 2 afternoons of sanding from 180 down to 240 grit sandpaper by hand I gave the bed 3 coats of Briwax, put it back together and screwed in the slats and had the best nights sleep I had had in months. 4 months to be precise, which was how long it had been since I moved to an unfurnished house and stubbornly refused to buy a cheap terrible bed.
If I did it again I would probably use the spindle moulder for the tenons, do some jazzy detail in the headboard with a laser cut router jig or something like that. I would also have liked to have made it from some higher quality timber but there is always time to make another and I’m just overjoyed to have a bed again like a real human.
I realise that this is a bit of an essay for what is really quite a simple bed but I thought it might help someone else in future. if anyone wants the sketch up file for my design i’m happy to send it, it doesn’t have the tenon details and the dimensions are specific to the Casper double mattress I built it for.
Many thanks to @lewisss and @joeatkin2, @Barnaby_Coote, @TomHedges, @Esther_Gladstone, @boldaslove, @StudioNelle & @stefanoromano for their time, patience, knowledge, tea and good humour for the week that I basically lived in the space to get this made.