some kind of super 3d light resin printing thing would probably do stuff that small, but still teeeeeeeeeny tiny.
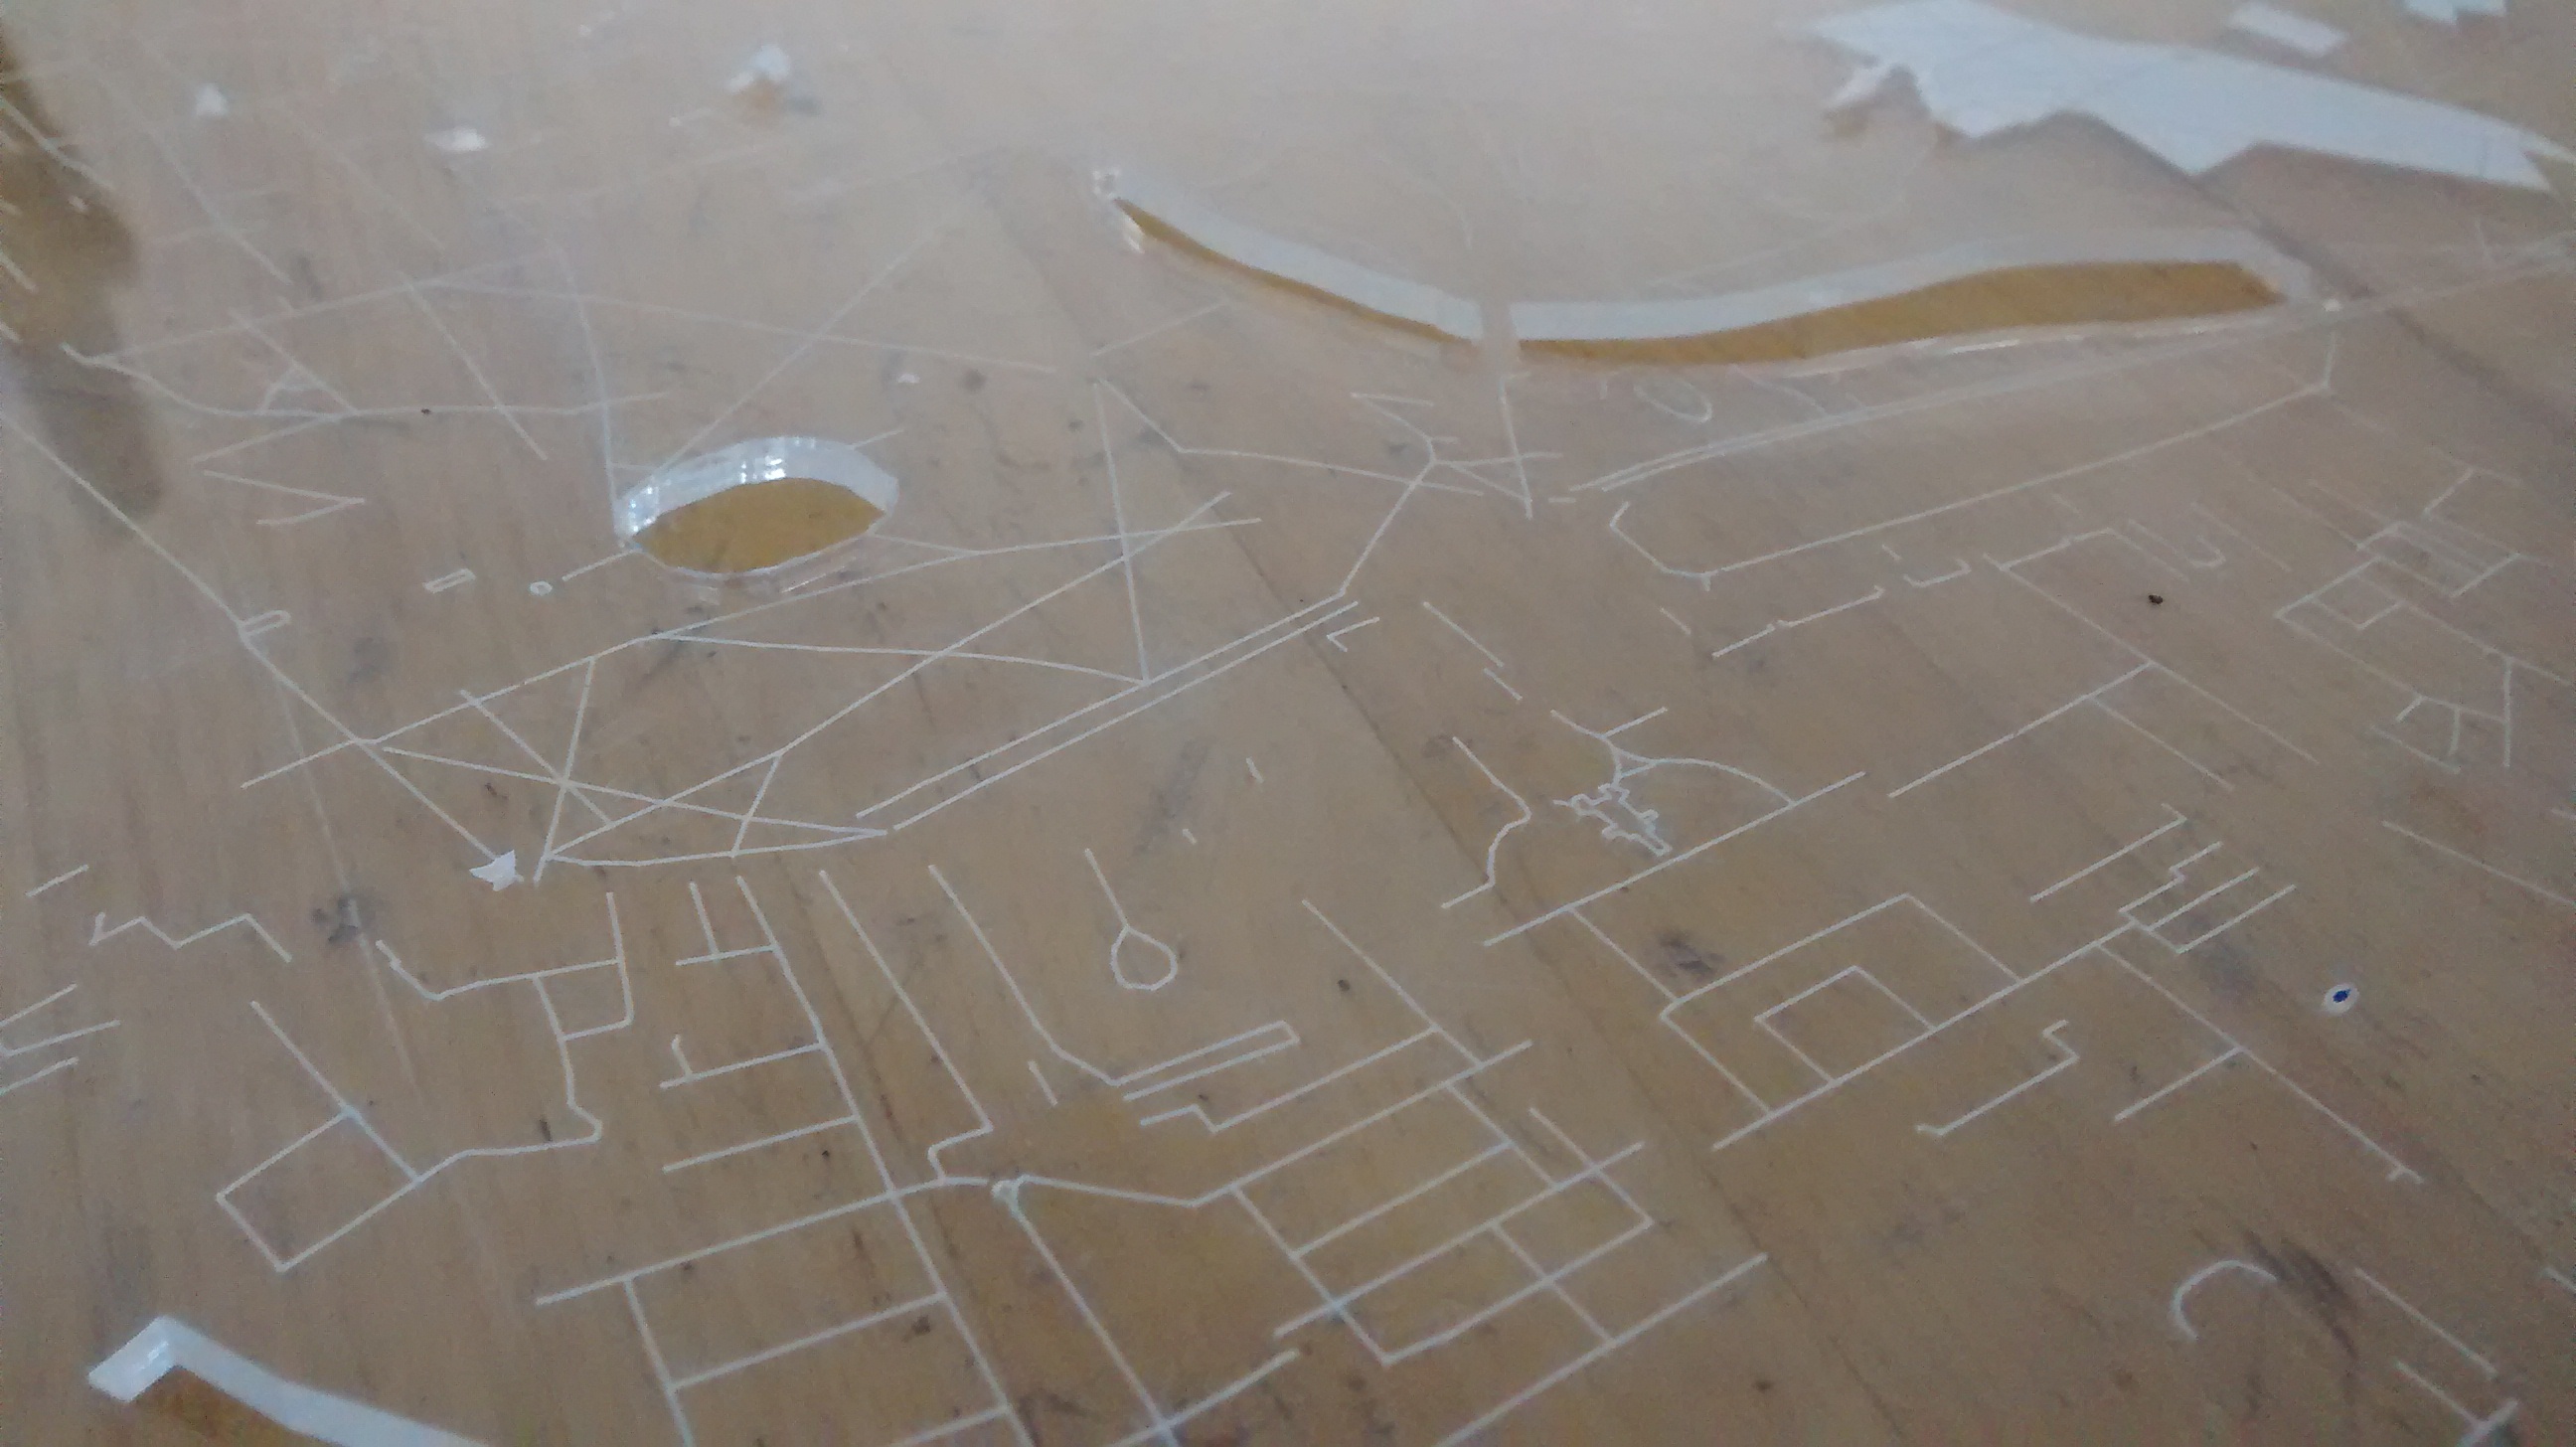
Last night, I put a 740x438mm piece of clear acrylic in the laser cutter. Then I loaded the full map PDF that I’d prepared earlier…

…and then ran into a host of issues. Let me list them:
- The maximum job size is smaller than the cutting bed. 740x438 is the maximum material size, but 730x433 is the largest job that JobControl will accept. I had to trim the edges off my job to get it to fit.
- It appears to be impossible to get DraftSight to print to JobControl. I rummaged through all the settings, but nothing comes through. Annoying.
- Printing complex documents from the PDF viewer or Inkscape results in a bitmap being sent to JobControl, sometimes with a black background. This is useless for cutting. I found that I had to open the PDF in Corel to get it to come through as vectors.
Finally, I got it to work, and JobControl accepted the job. There are three passes:
- Cutting out the river, canals, lakes and railway cuttings in red
- Scoring the minor roads (single line per road) in blue
- Scoring the major roads (exagerated outline) in green

I was in for a long wait

I knew from experience that more than half this time would be spent by the cutting head racing back and forth over the whole bed as it made the cuts in a completely random order, so I ran the Vector Optimiser.
“Too many lines”
 I was resigned to a 96 minute wait then. I sighed and clicked the play button.

Go laser go! Go laser go! Go la… Oh.

Job control crashed. Given the totally random order of cuts, it’s impossible to pick up where it left off. This sheet is ruined. I have learned three things:
- Break up a complex job into multiple pieces to reduce the risk of a JC crash ruining the whole thing.
- Peeling all these tiny pieces of protective film is a really really tedious job.
- It’s going to look great when I actually get it to work properly

2 Likes
Worried about those dimensions @dermot
As for the the protective film the induction did say take the covers off for small bits projects
The vapour deposition ruins the finish if I take the film off.
Don’t cut so deep and turn up the extraction.
They’re already very shallow cuts. What’s the issue with leaving the film on?
You have to pick it off.
Rather that then have a smeared finish! Besides, there are deep cuts in the same job. So long as it’s not a safety/damage issue, I’m happy with peeling. I’ll put a podcast on and while away an hour or so.
Rather than simply split the job up into 8 equal rectangles, I’ve split it along the centreline of major roads. This should hide any slight misalignments between cutting sessions.

and

and so on.
2 more sheets of acrylic on their way (just in case) express delivery in a rush to beat the baby!
1 Like
Please do not beat your baby Tom.

Well, the baby beat me, but I found 20 spare minutes this morning to test out the “pieces” method, which worked well. Note to self: Origin X:6 Y:4

More than half the main plate is cut now. Nearly there!
(extra-wide Strand and Tottenham Court Road due to mis-aligning one of the segments >_<)
2 Likes
Should’ve cut it the other side for the photo!
Base plate cut!

(apart from some missing lines where job control crashed half-way through a job)
Some alignment errors mean that there are some very fat roads and some very thin roads. This was inevitable given the need to break the design up into smaller jobs. I’ve since thought of a better way to align the sub-jobs: Split it up into regular rectangles, print them all into Jobcontrol and arrange them, then save the Plate. You can then disable all jobs except the one you want to run. So long as you put the sheet in the same place relative to 0,0 each time, they should all line up.
Anyway, this is good enough for me.
Here’s the water (translucent blue):

next job is to silicone the water pieces in place. Still undecided about whether to drop the water level a bit relative to “ground”
Have you considered the thin Tensol cement? You can put the pieces in place and then drop it around the edges with a small pipette.
How does it do with wide gaps? I haven’t adjusted for the kerf, so it’s quite a loose fit.
Also I presume it doesn’t cloud the surface of the perspex like Superglue does…
EDIT: Tensol 12 sounds like the stuff to use
Tensol 12 is a single component cement, ideal for bonding cast acrylic pieces where strength isn’t so important. Because it’s viscous, it fills gaps well without running.
You need to be quite neat applying it. It bridges quite big gaps - you can cut two of the same thing in different colours and swap the pieces over.
I’ve got some you can try, but I don’t think I’ll be back in the space for a while. The model shop in East London carries it, can’t remember their name. Otherwise eBay…
Typically with the thick stuff you apply it and then put the pieces together whereas with the thin stuff you put the pieces together and then apply the cement, letting capillary action draw it into the gaps.
Tensol is really expensive for what it is Plasticweld is cheaper and is very easy to apply, but like all solvents it doesn’t fill anything.