Laser Marquetry Tea Box

Tags: #<Tag:0x00007fa497baf408> #<Tag:0x00007fa497baf200> #<Tag:0x00007fa497baf020> #<Tag:0x00007fa497baedf0>

Hello all - thought I’d report back on my most recent project; a laser-marquetry tea box which I made as a gift and finished a couple of weeks ago.

The idea
To make a box for loose-leaf tea (four different teas) out of wood, using the laser to create marquet inlays for a bold design.

Early work
I started off down three parallel tracks - creating the design for the box overall, and testing the feasibility of using the laser for the various elements. On the second element I devised two tests.

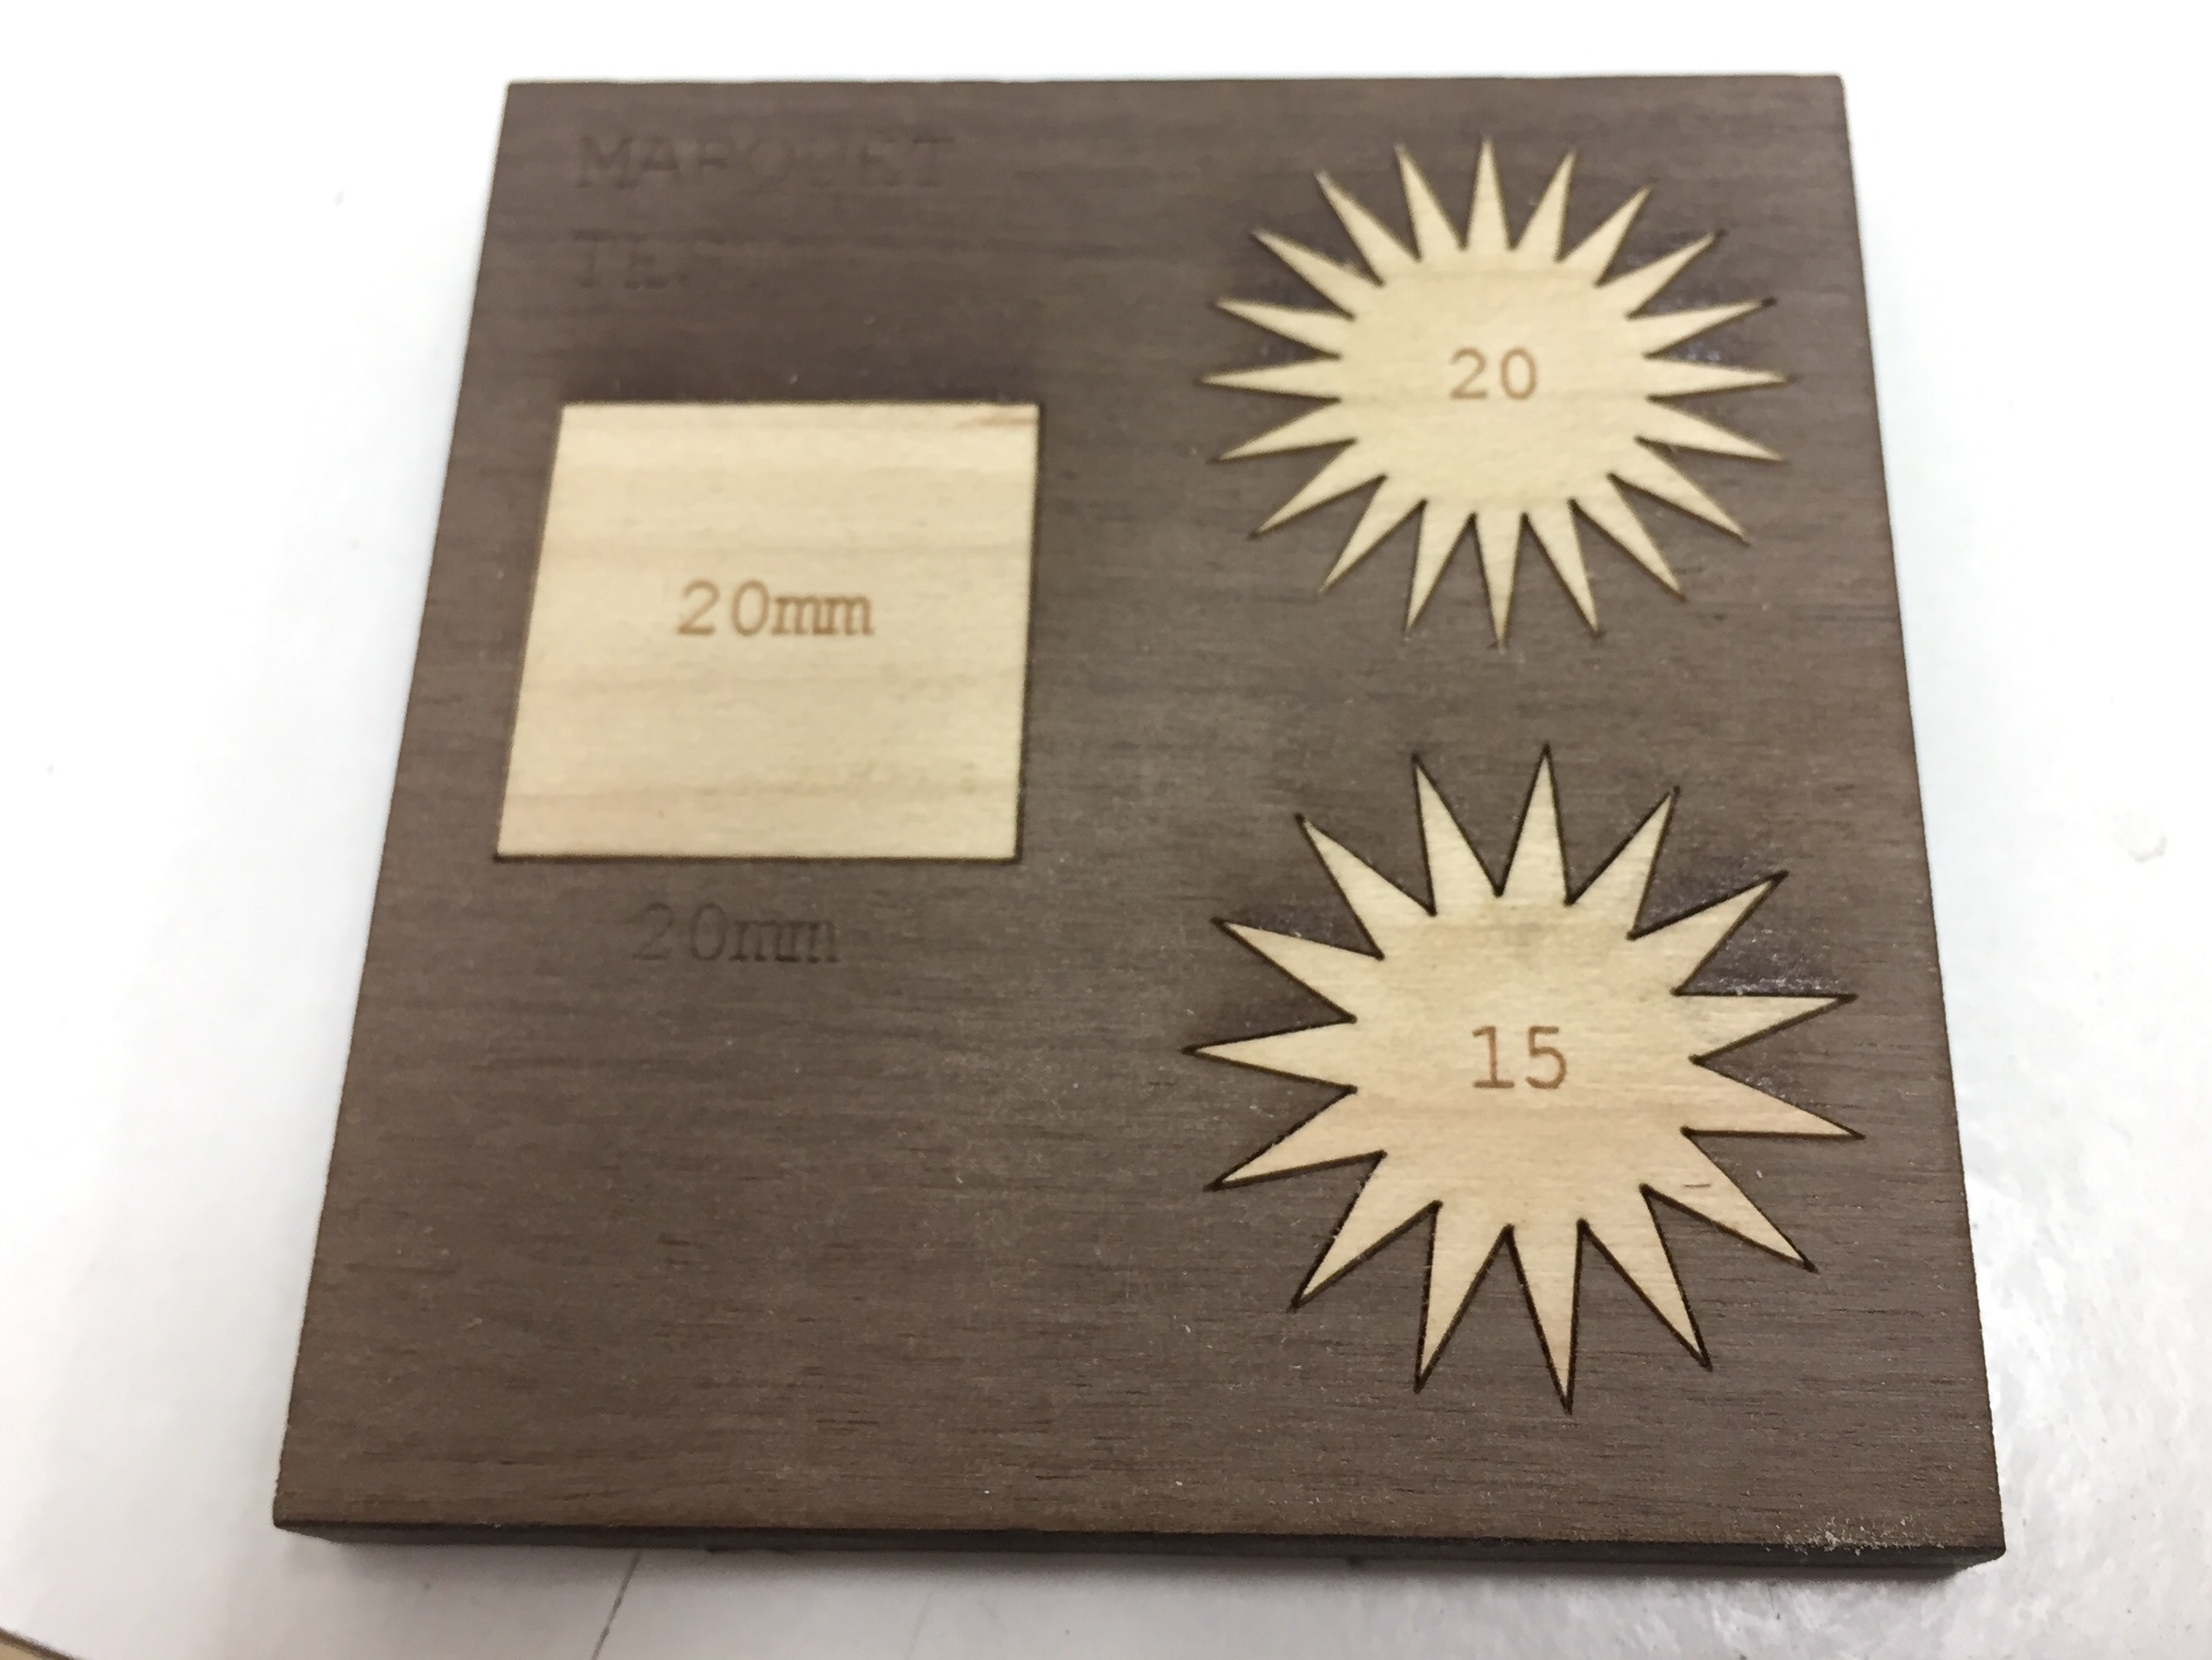
  1. Understand how to use the laser for marquetry work.
  2. Work out how to cut a finger joint that would be suitable for the box.

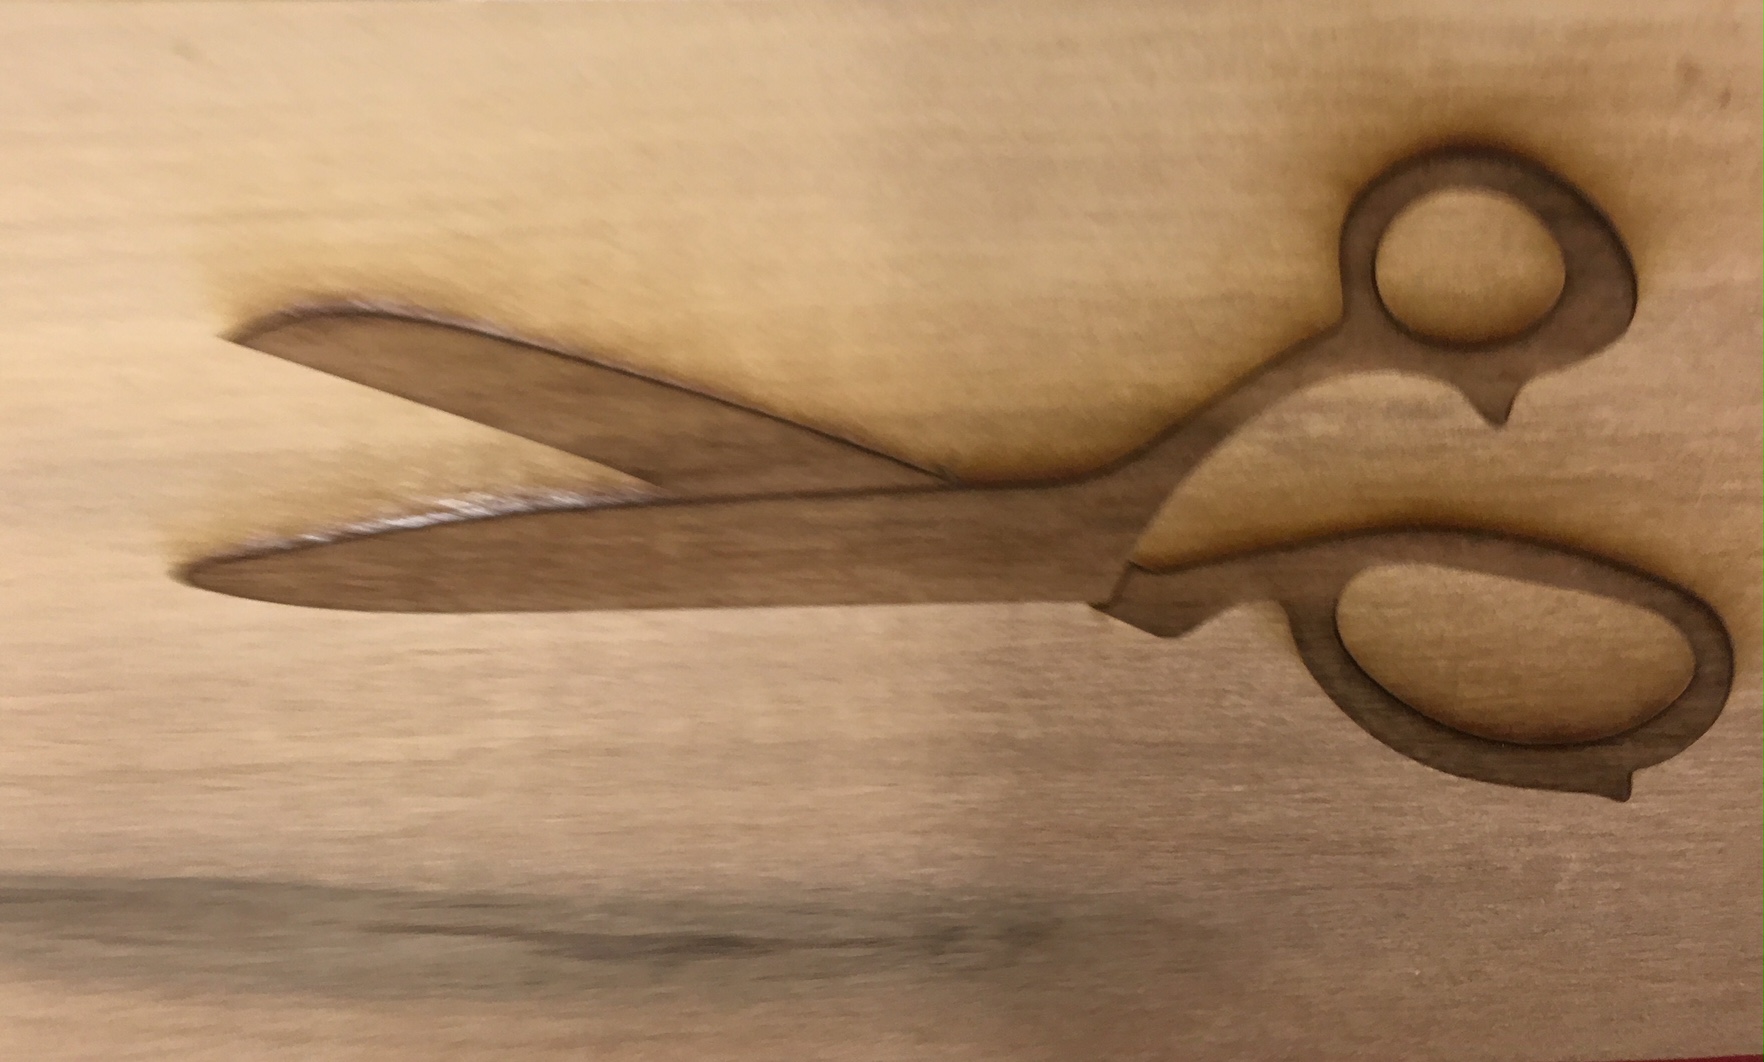
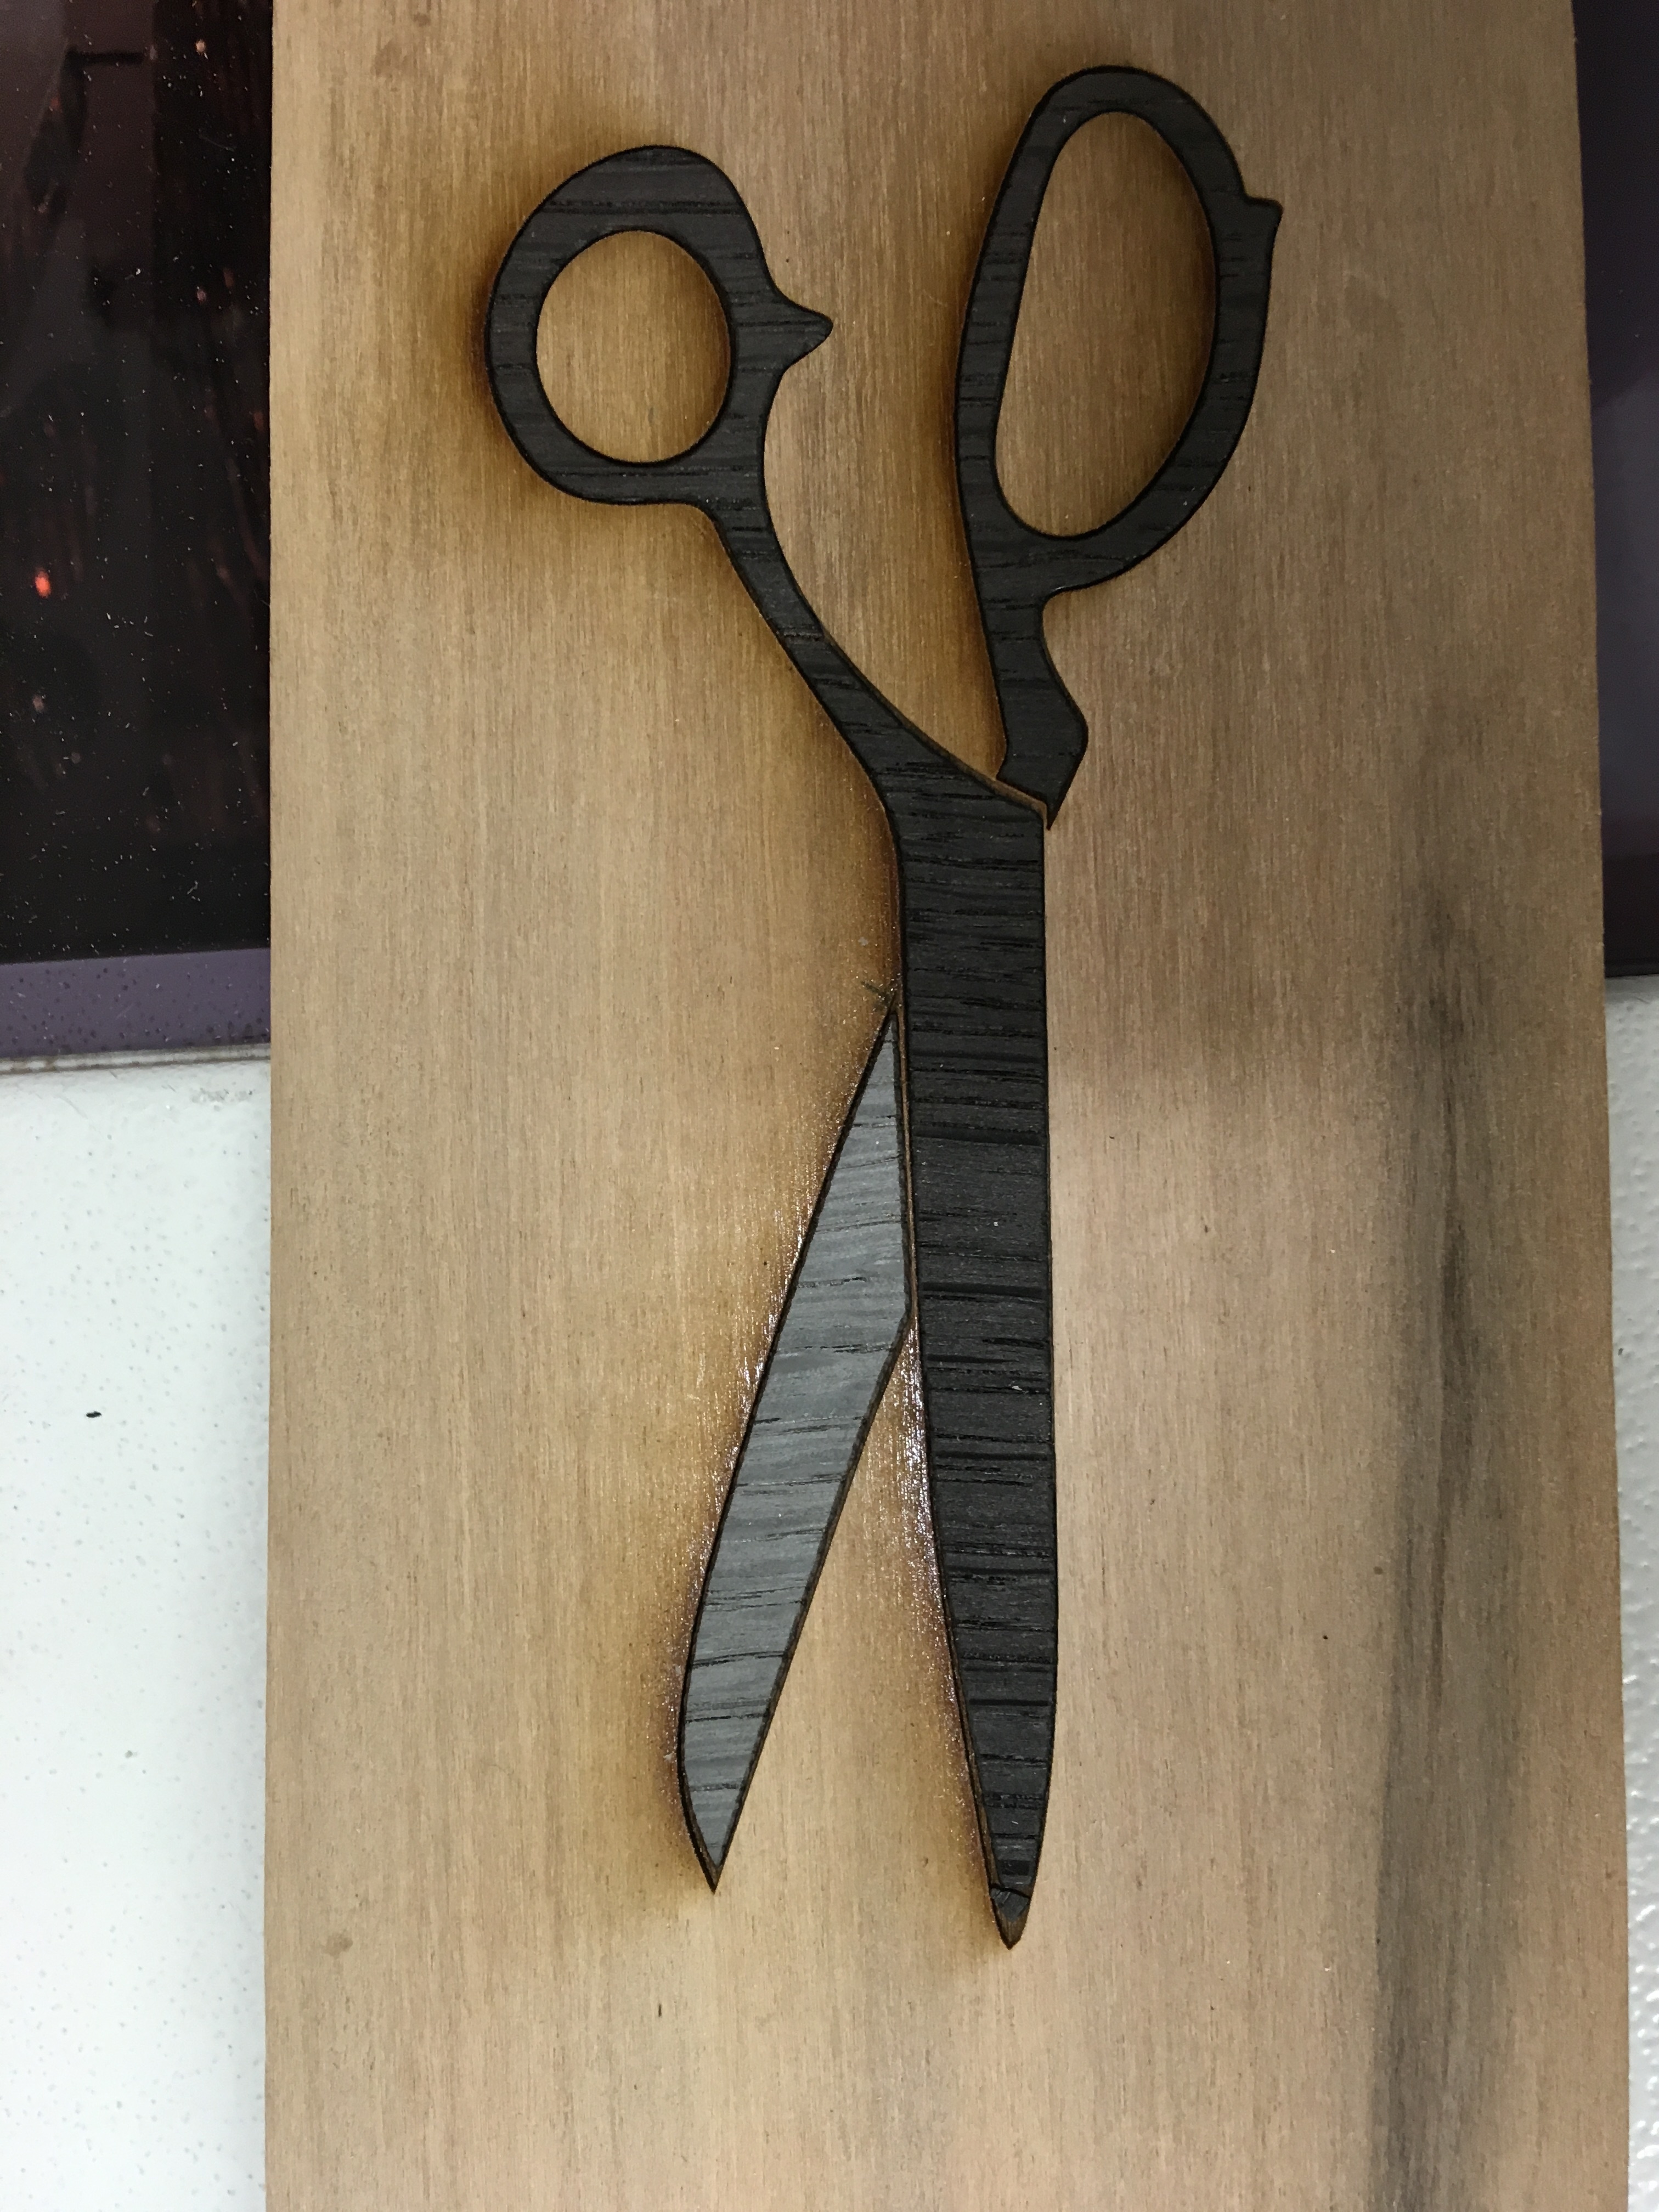
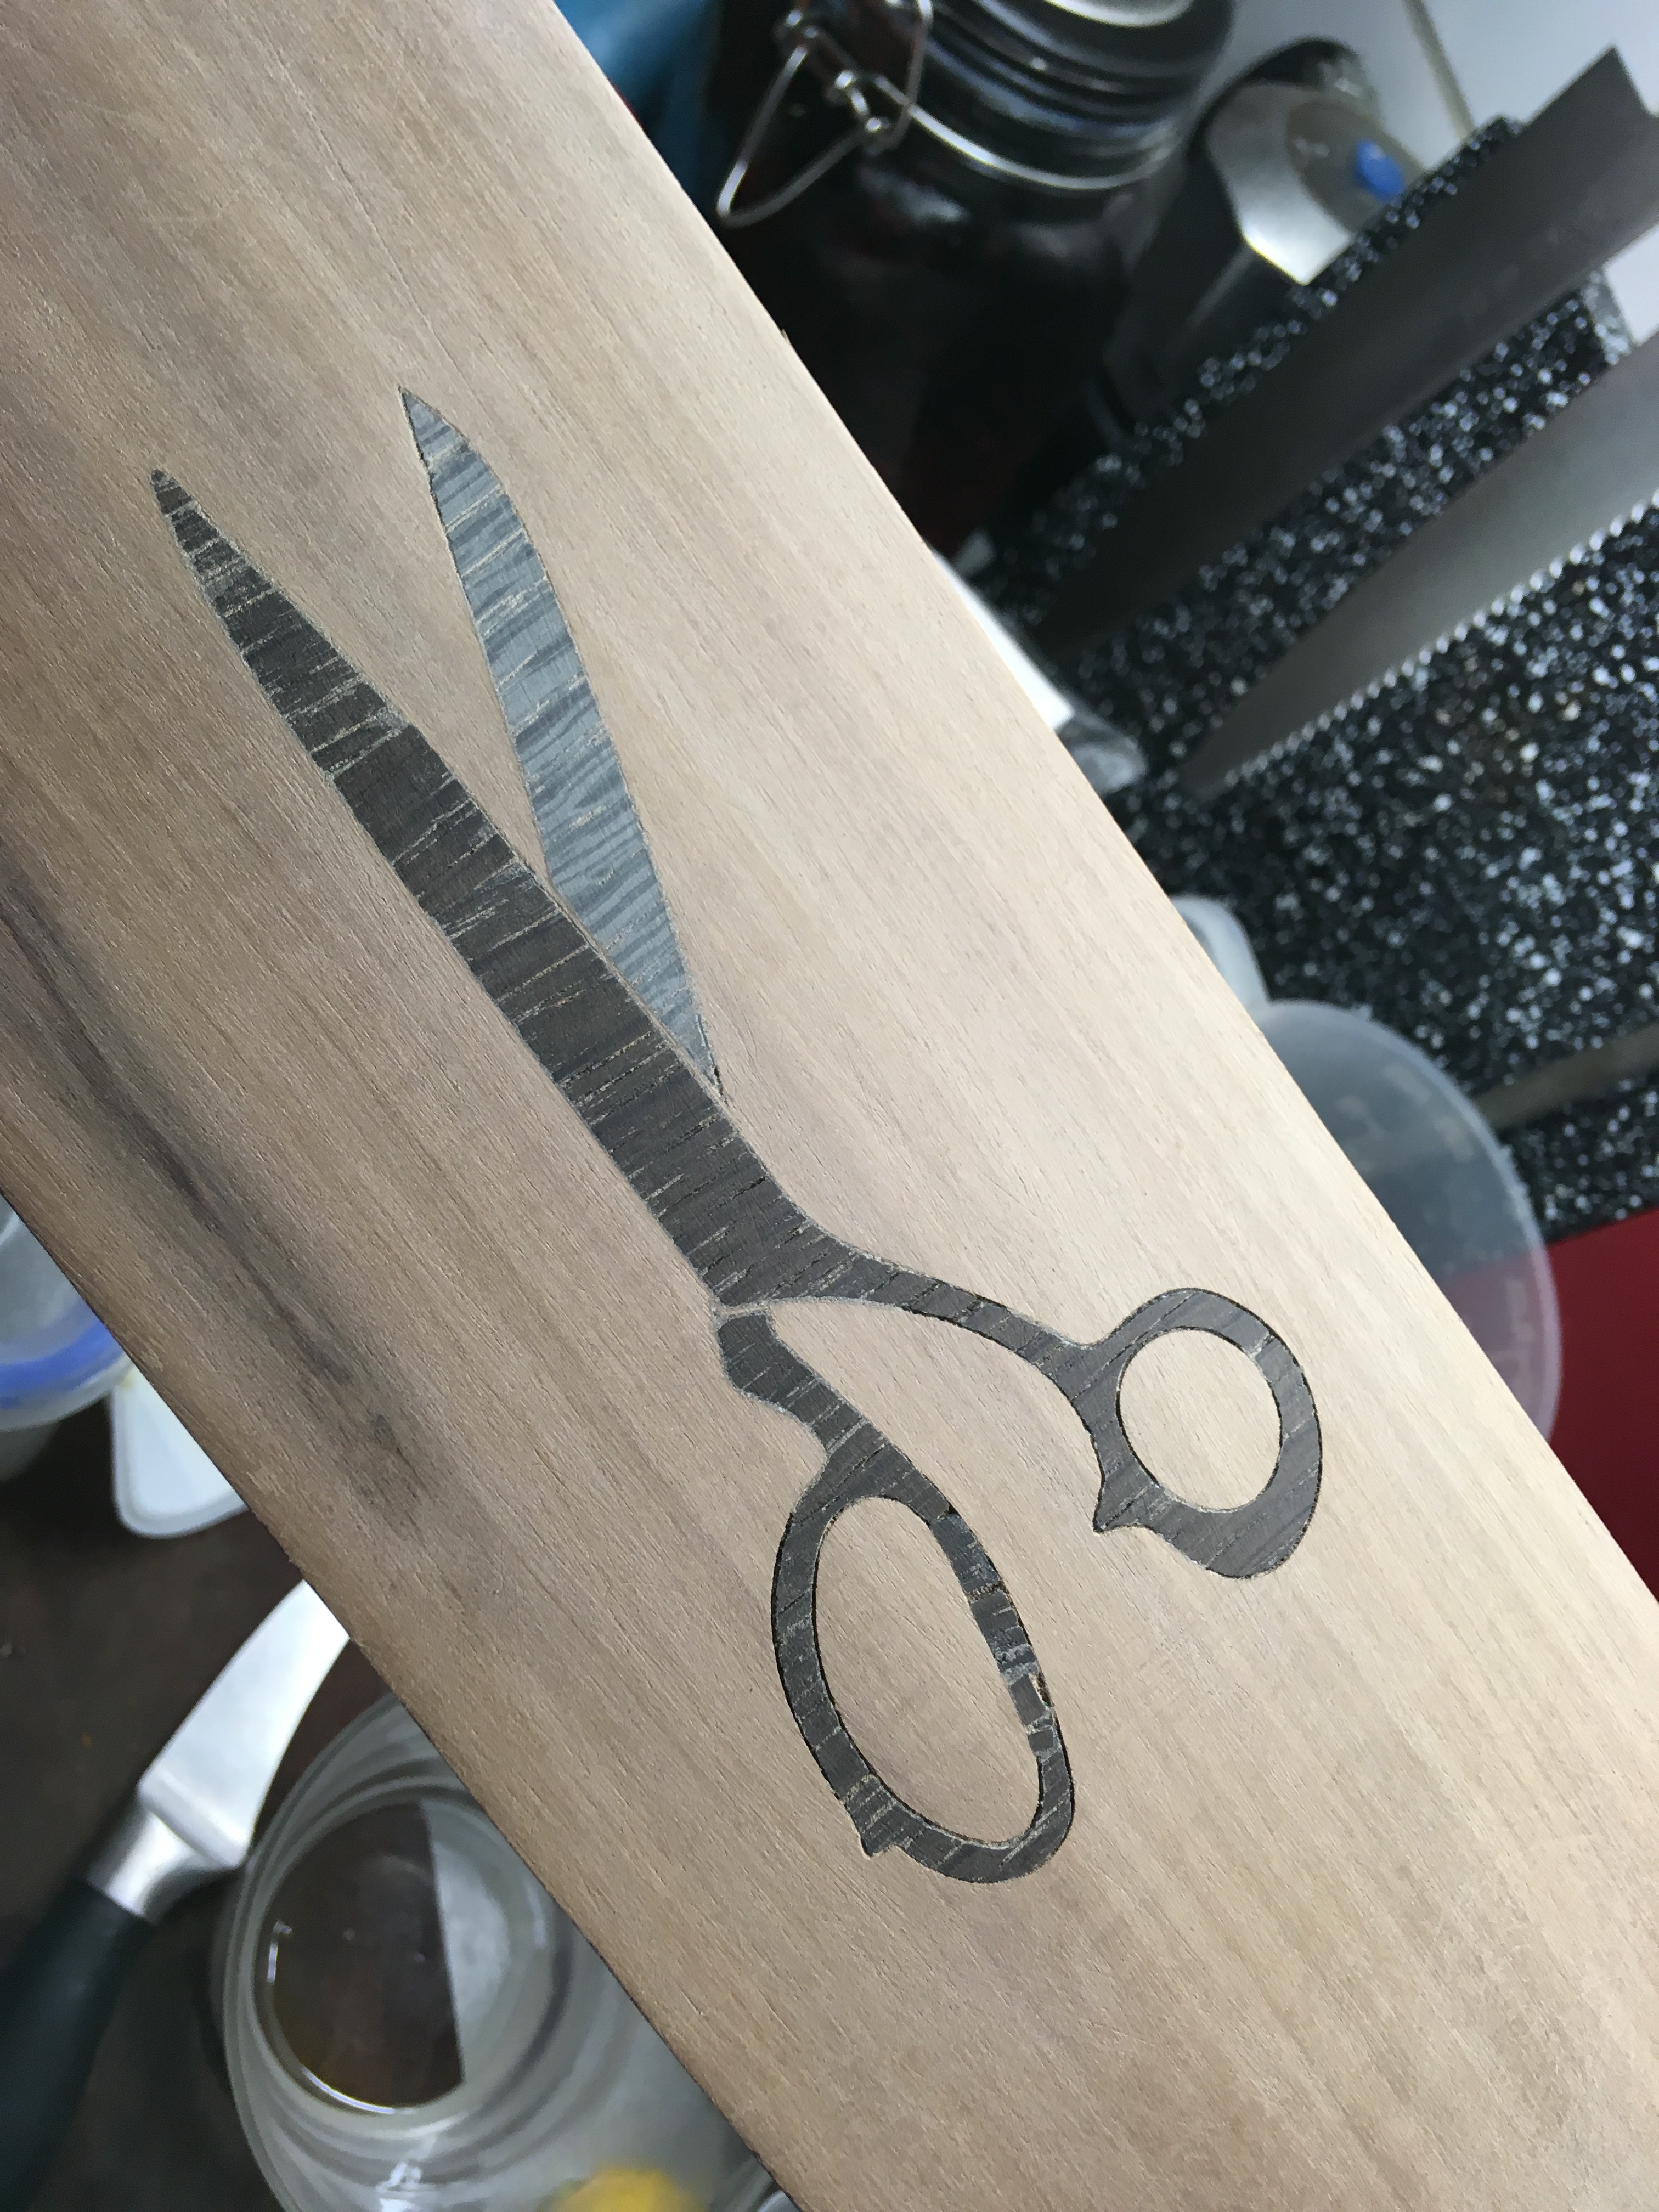
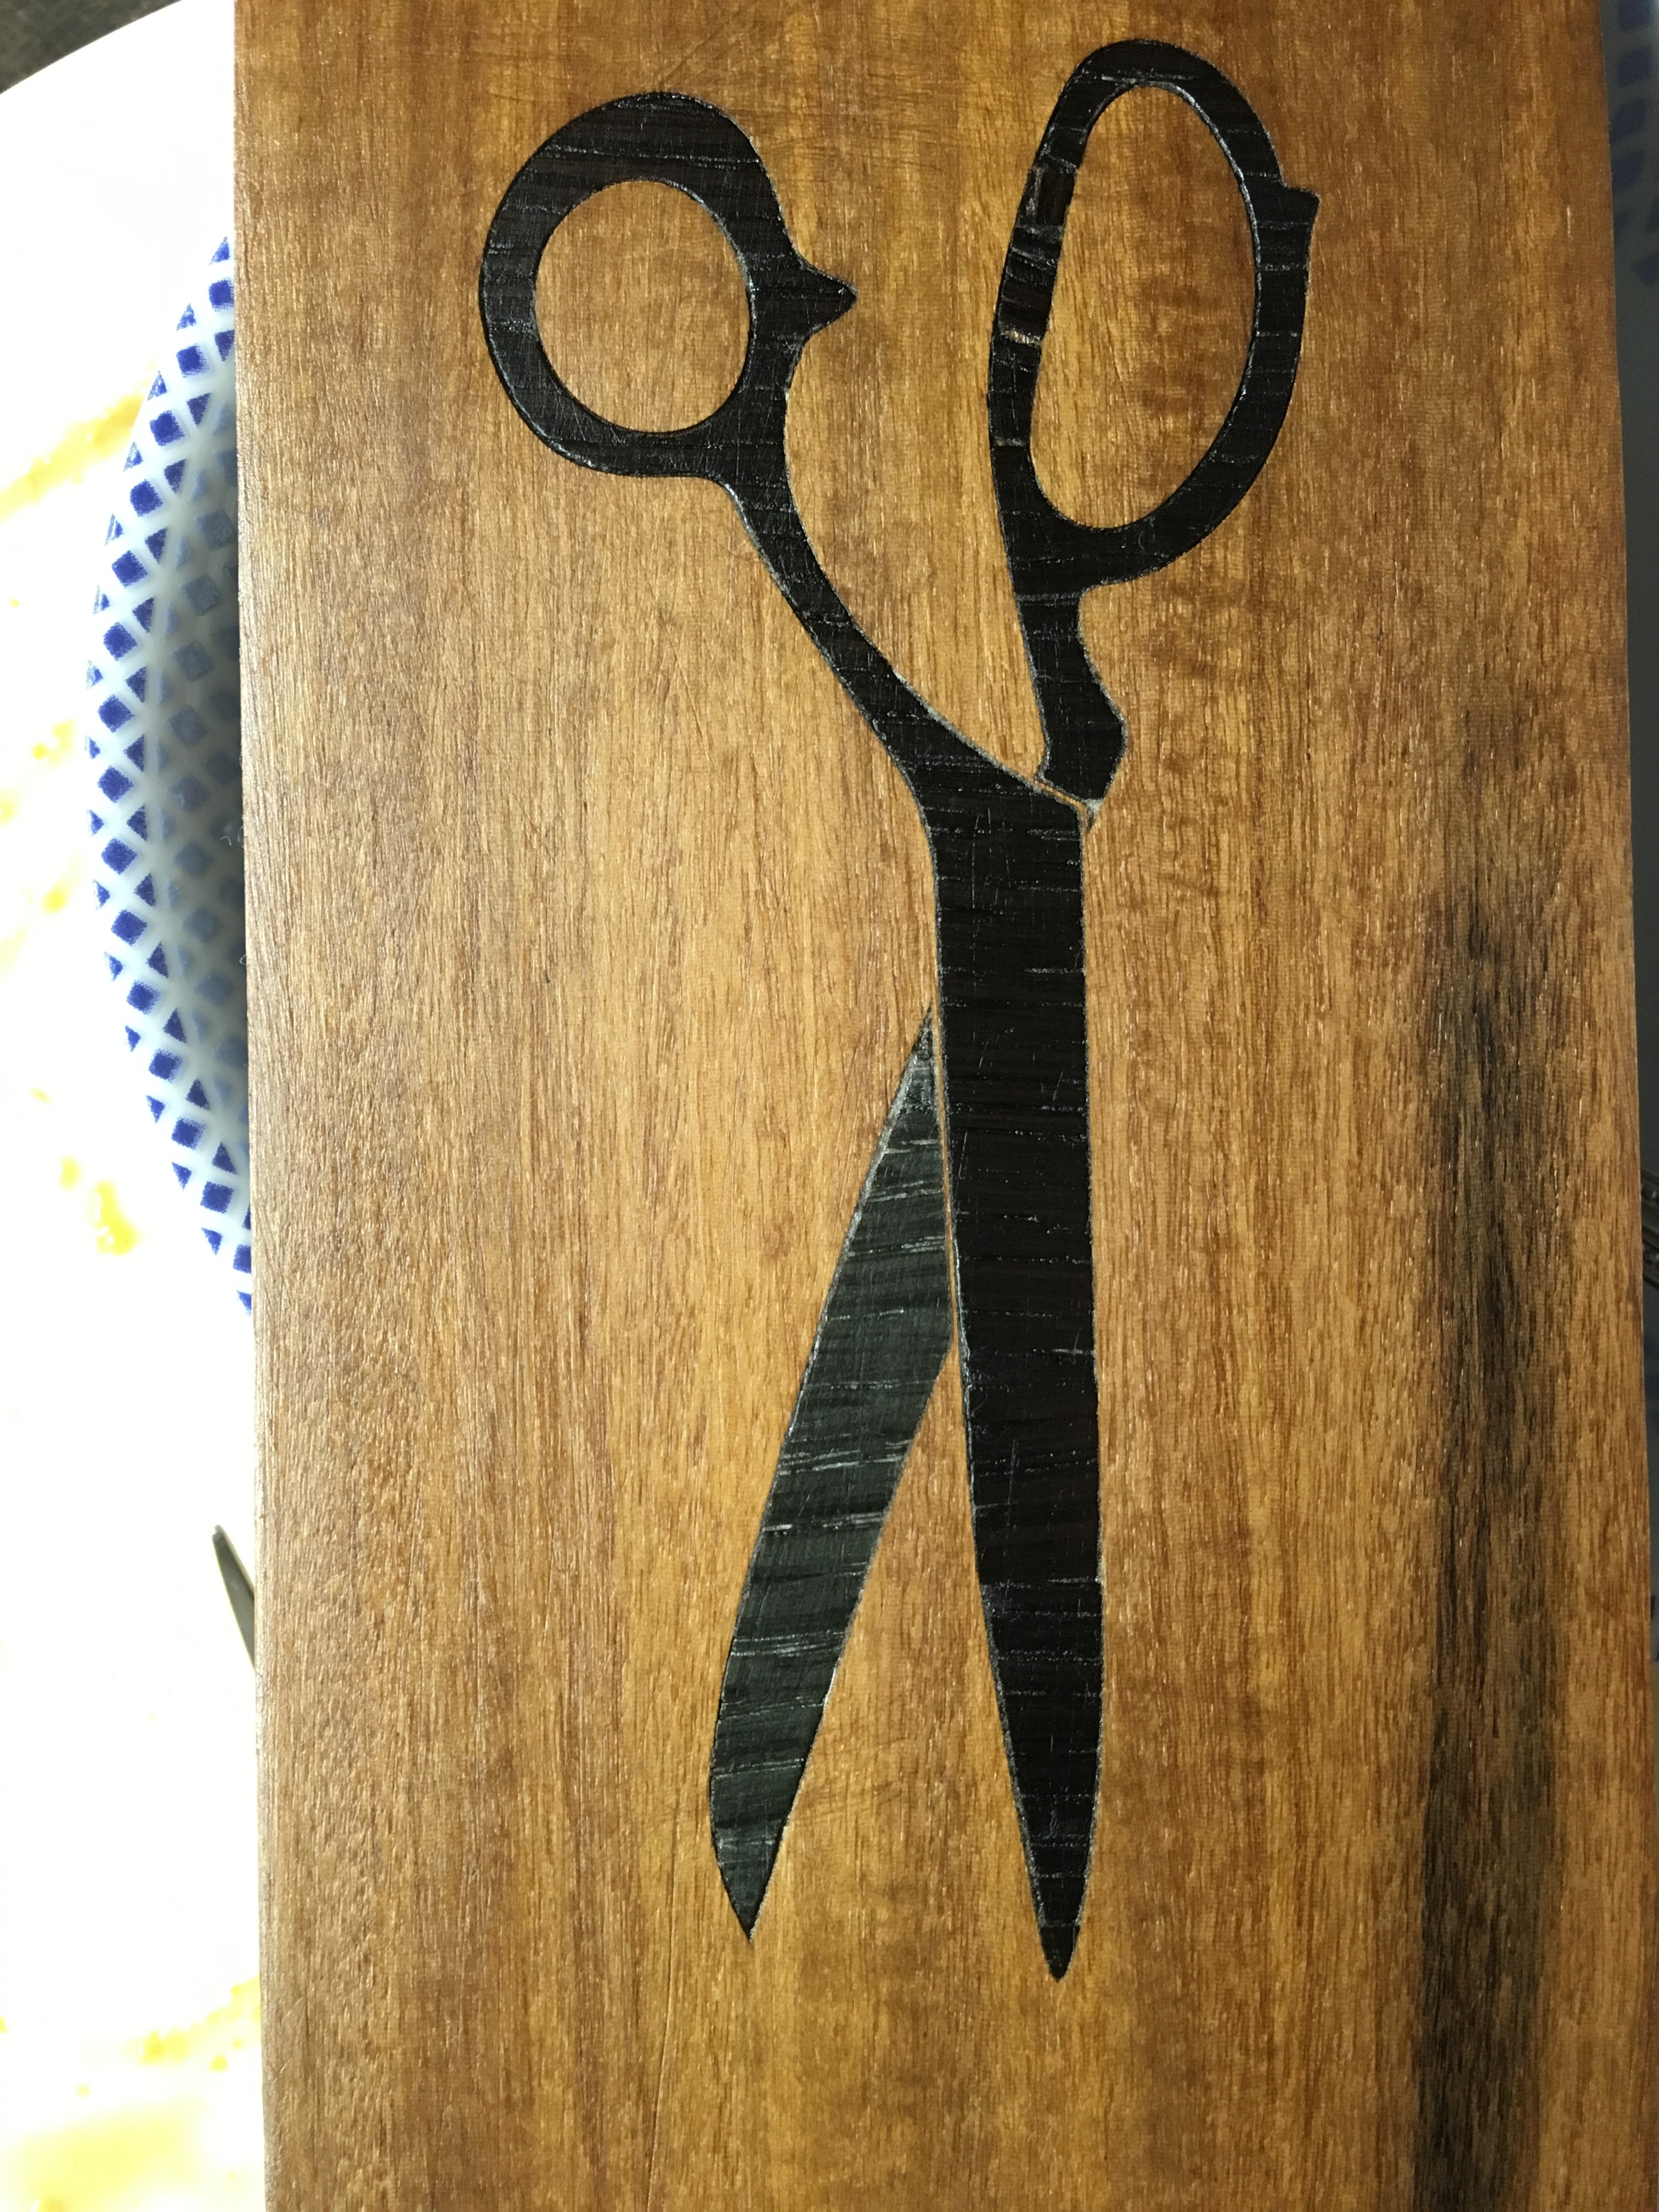
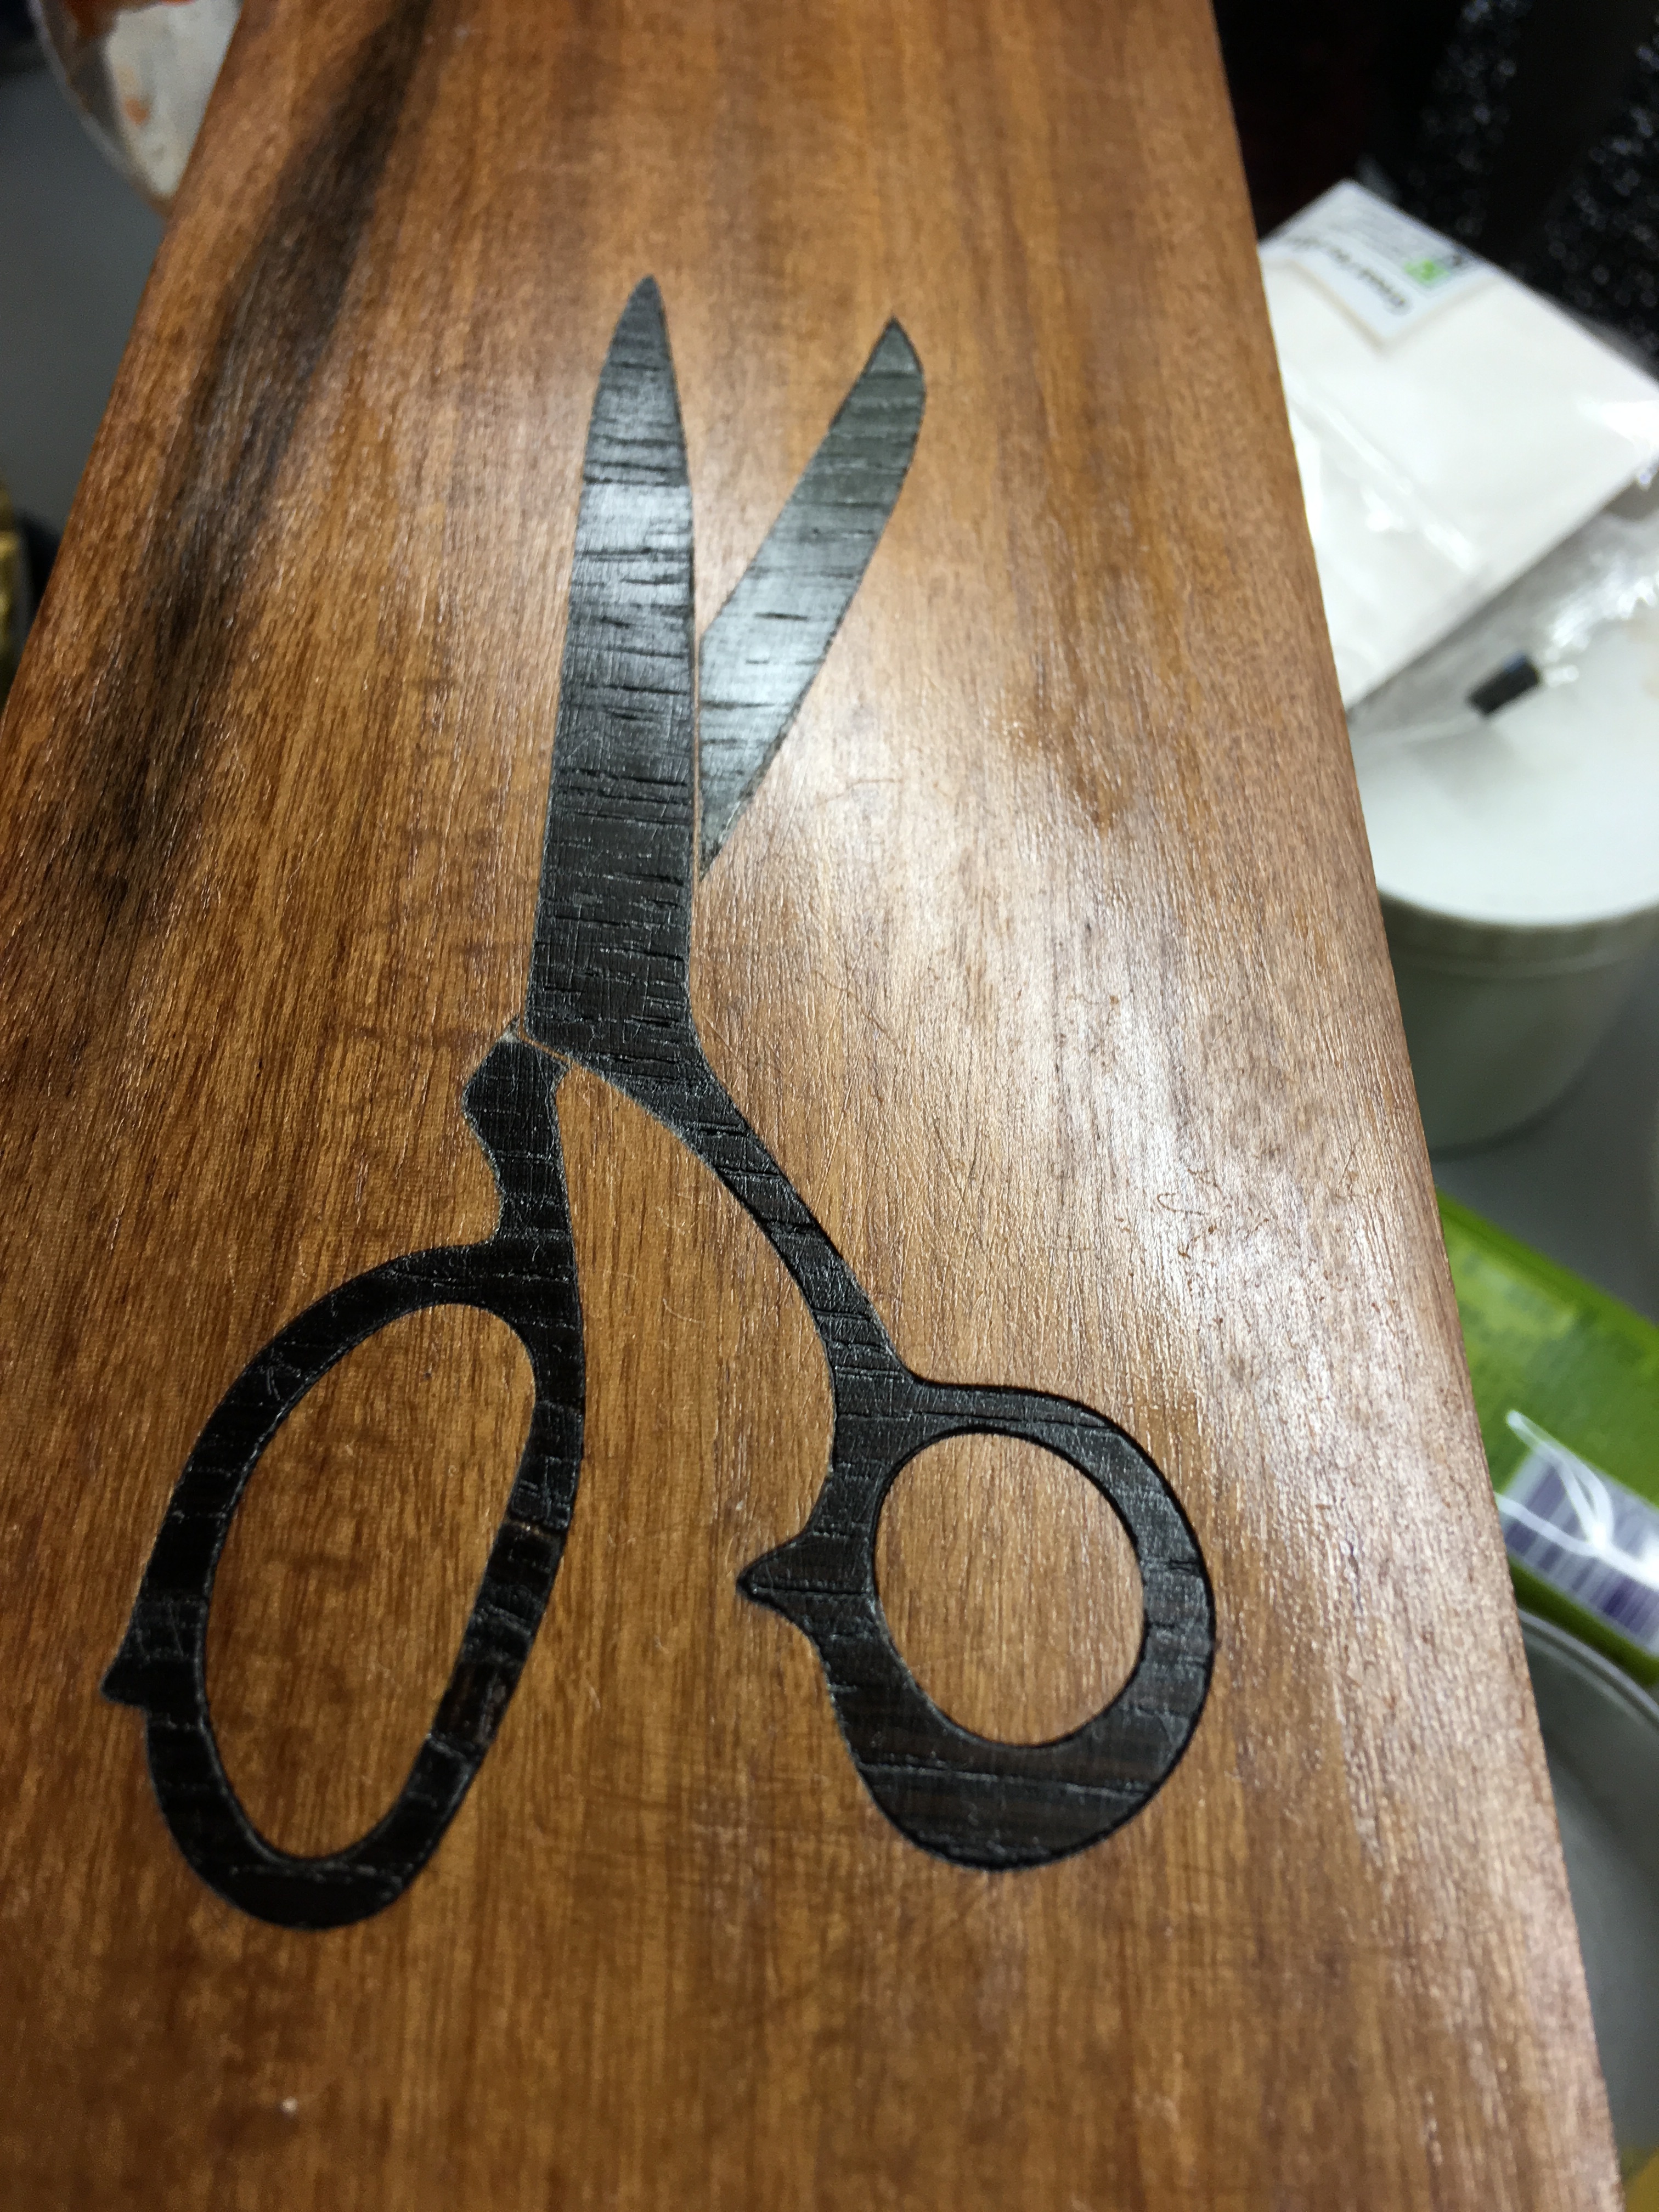
For the first test I created this piece, made from 6mm thick walnut which I engraved with the laser, and 0.6mm maple veneer - both from www.modelshop.co.uk - which I cut with a slight allowance (0.05mm I believe) for kerf:

For the second test I created a number of test finger joint pieces to check how much allowance for kerf I would need. I don’t think I have pictures of these but the answer I got to was that for a 6mm thick walnut, I needed to cut teeth that were around 6.1mm wide for a snug-but-not-too-snug fit. Some light filing was needed on the inside of the cuts to make sure the sticky resin didn’t stop them sliding together.

Main make
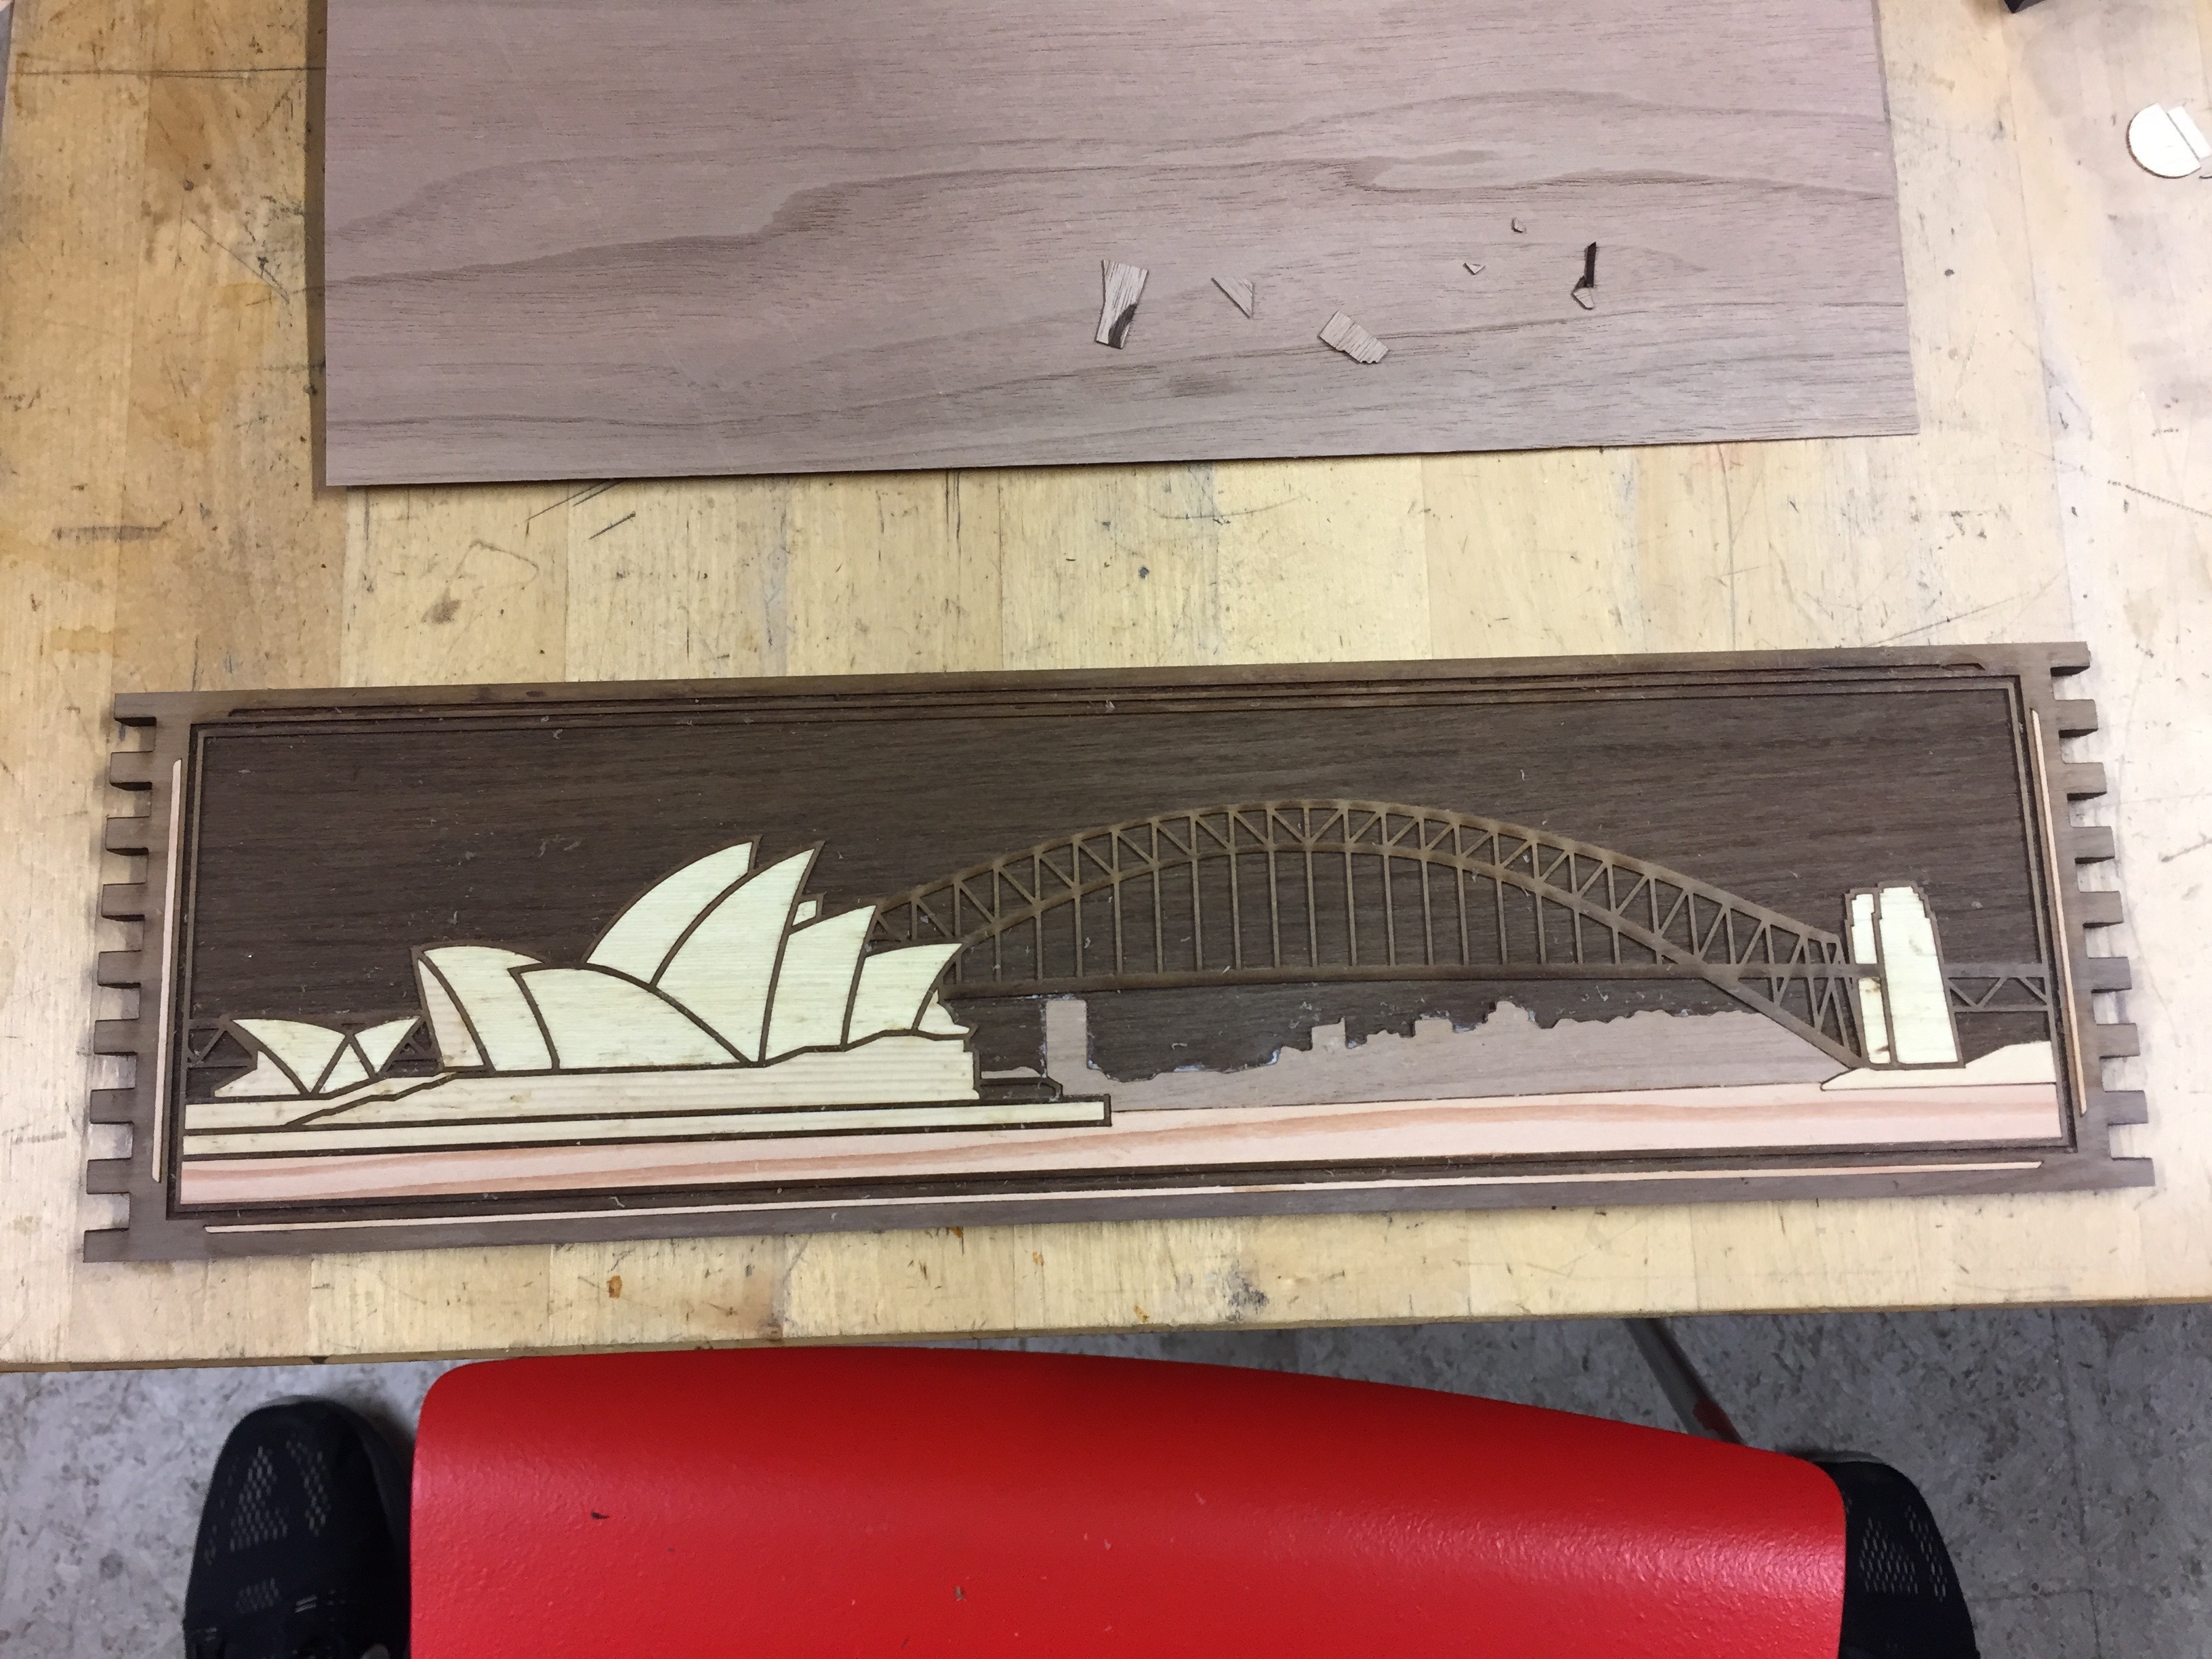
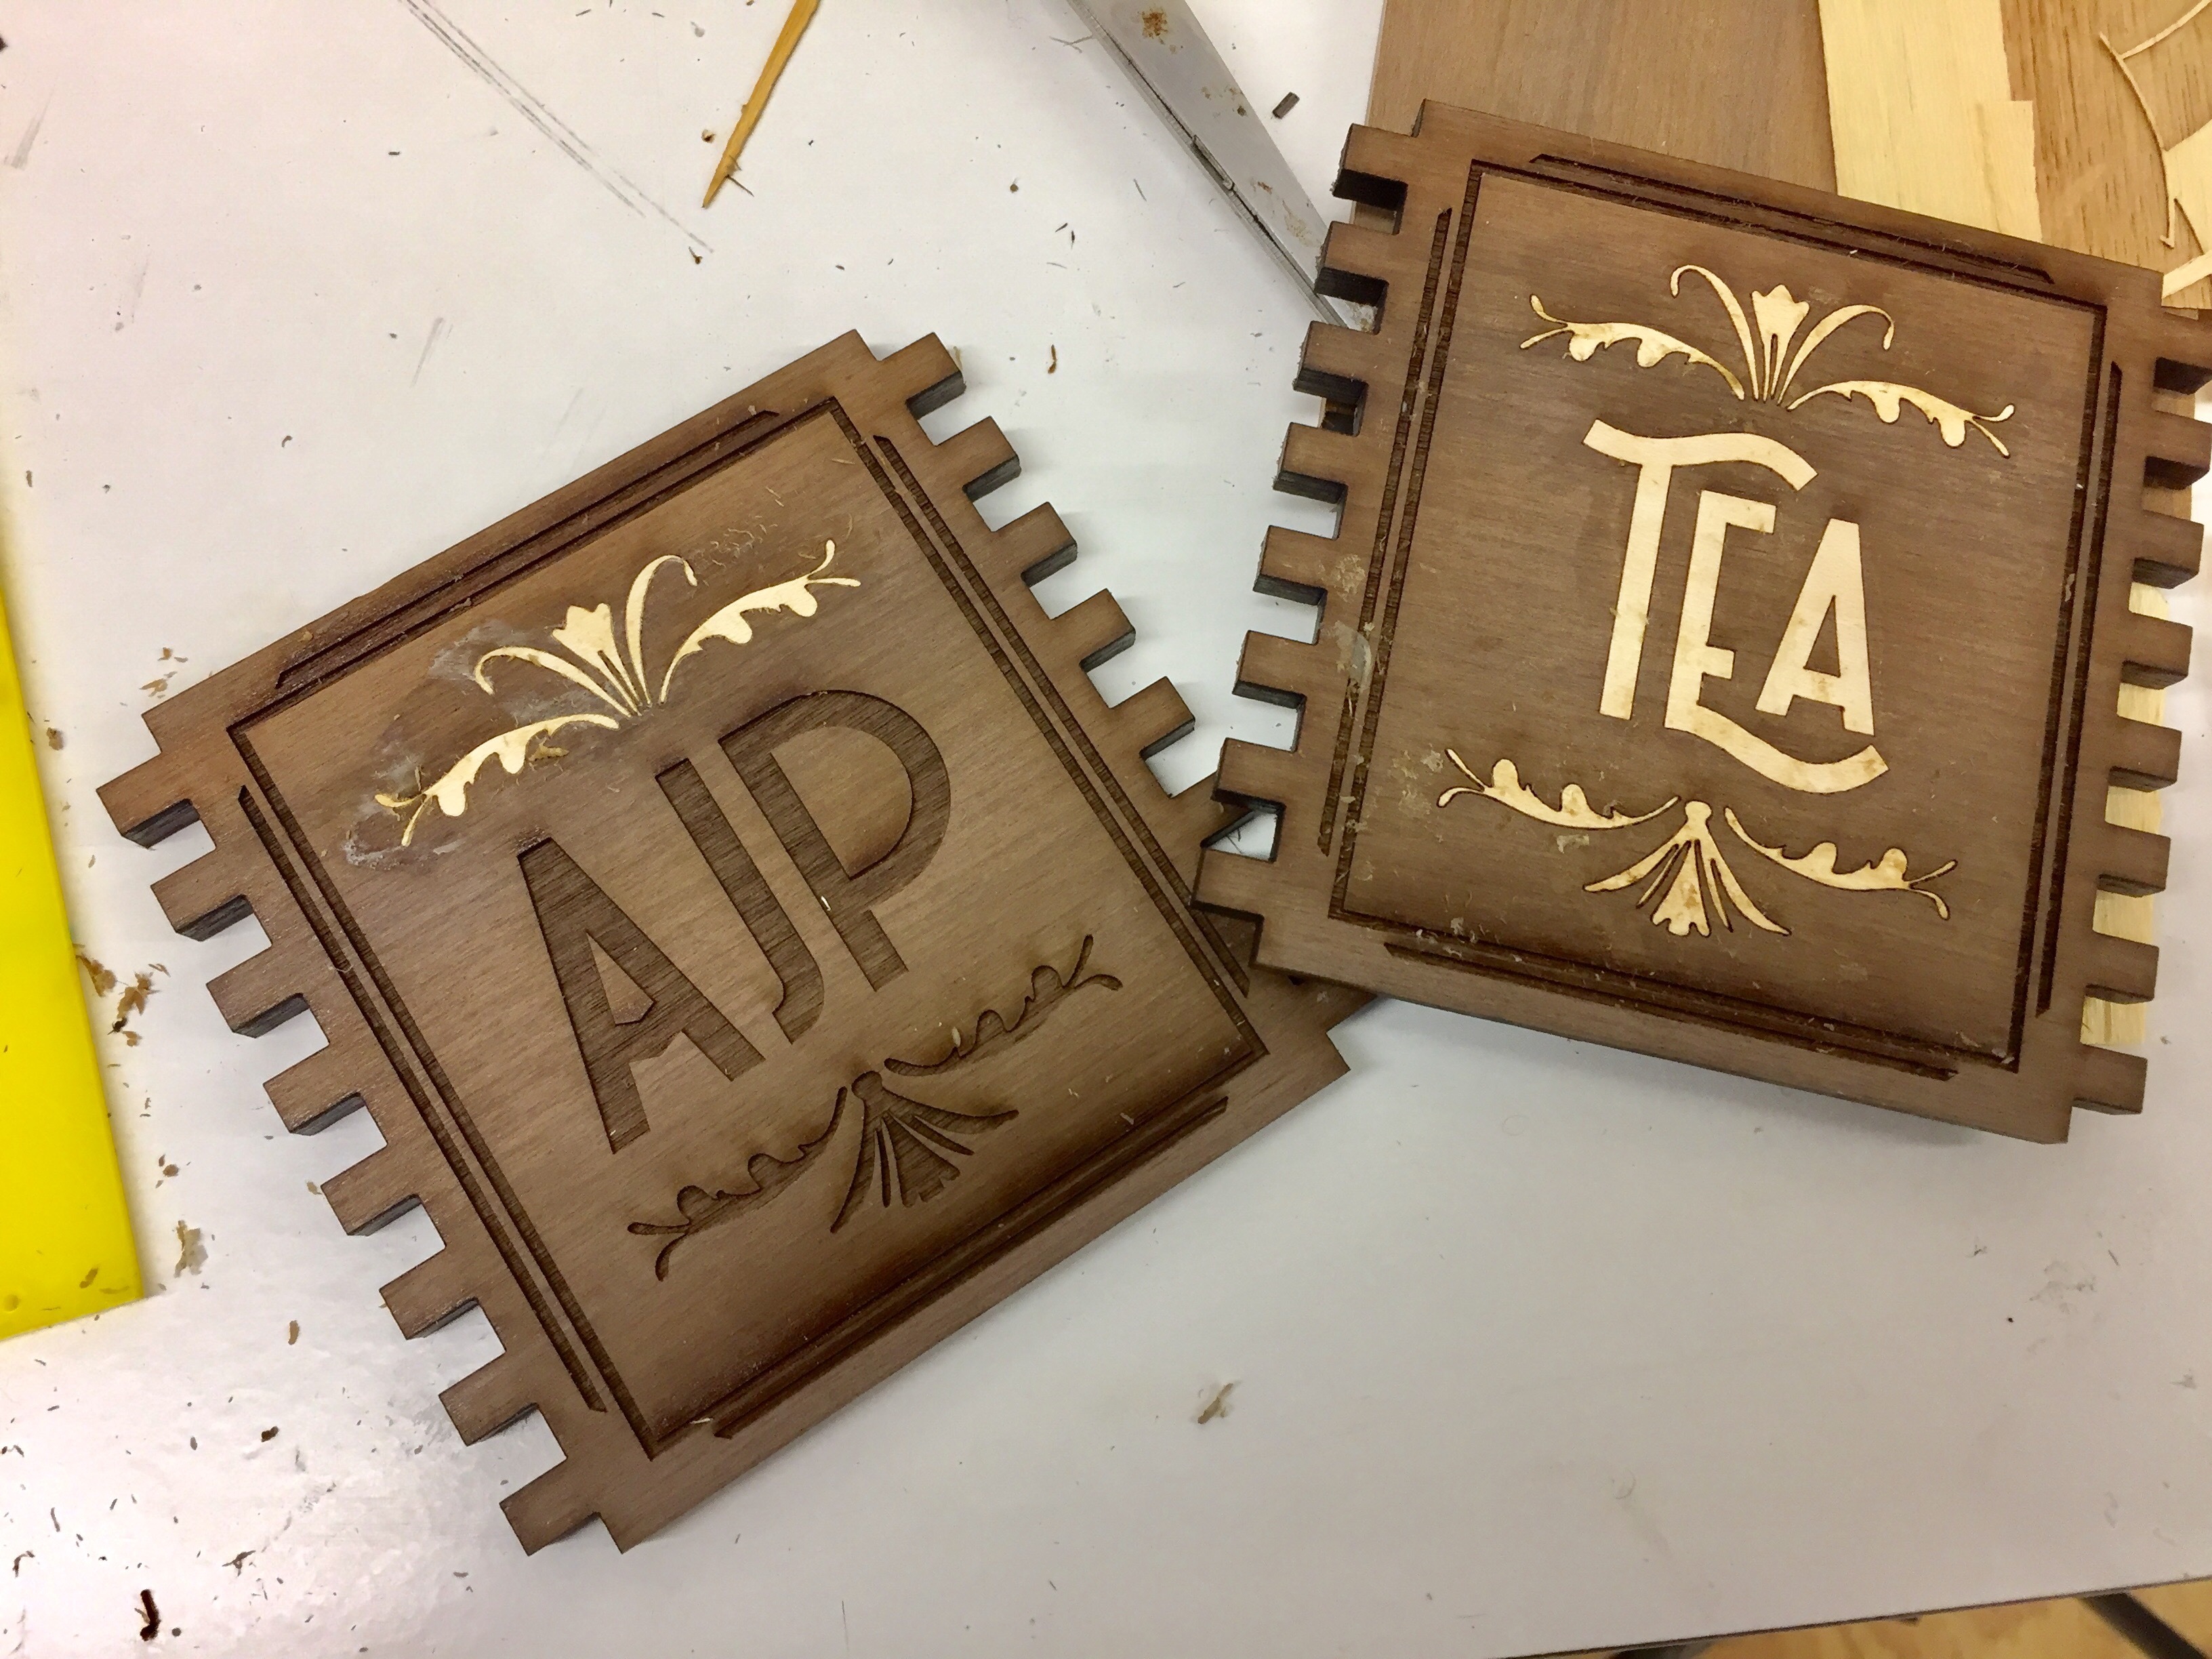
In typical style, having not really done enough preparation I launched into the make itself. I started by making the box front, following my pattern of engraving the walnut then cutting the veneer segments from a variety pack of veneer I got from eBay for £5:

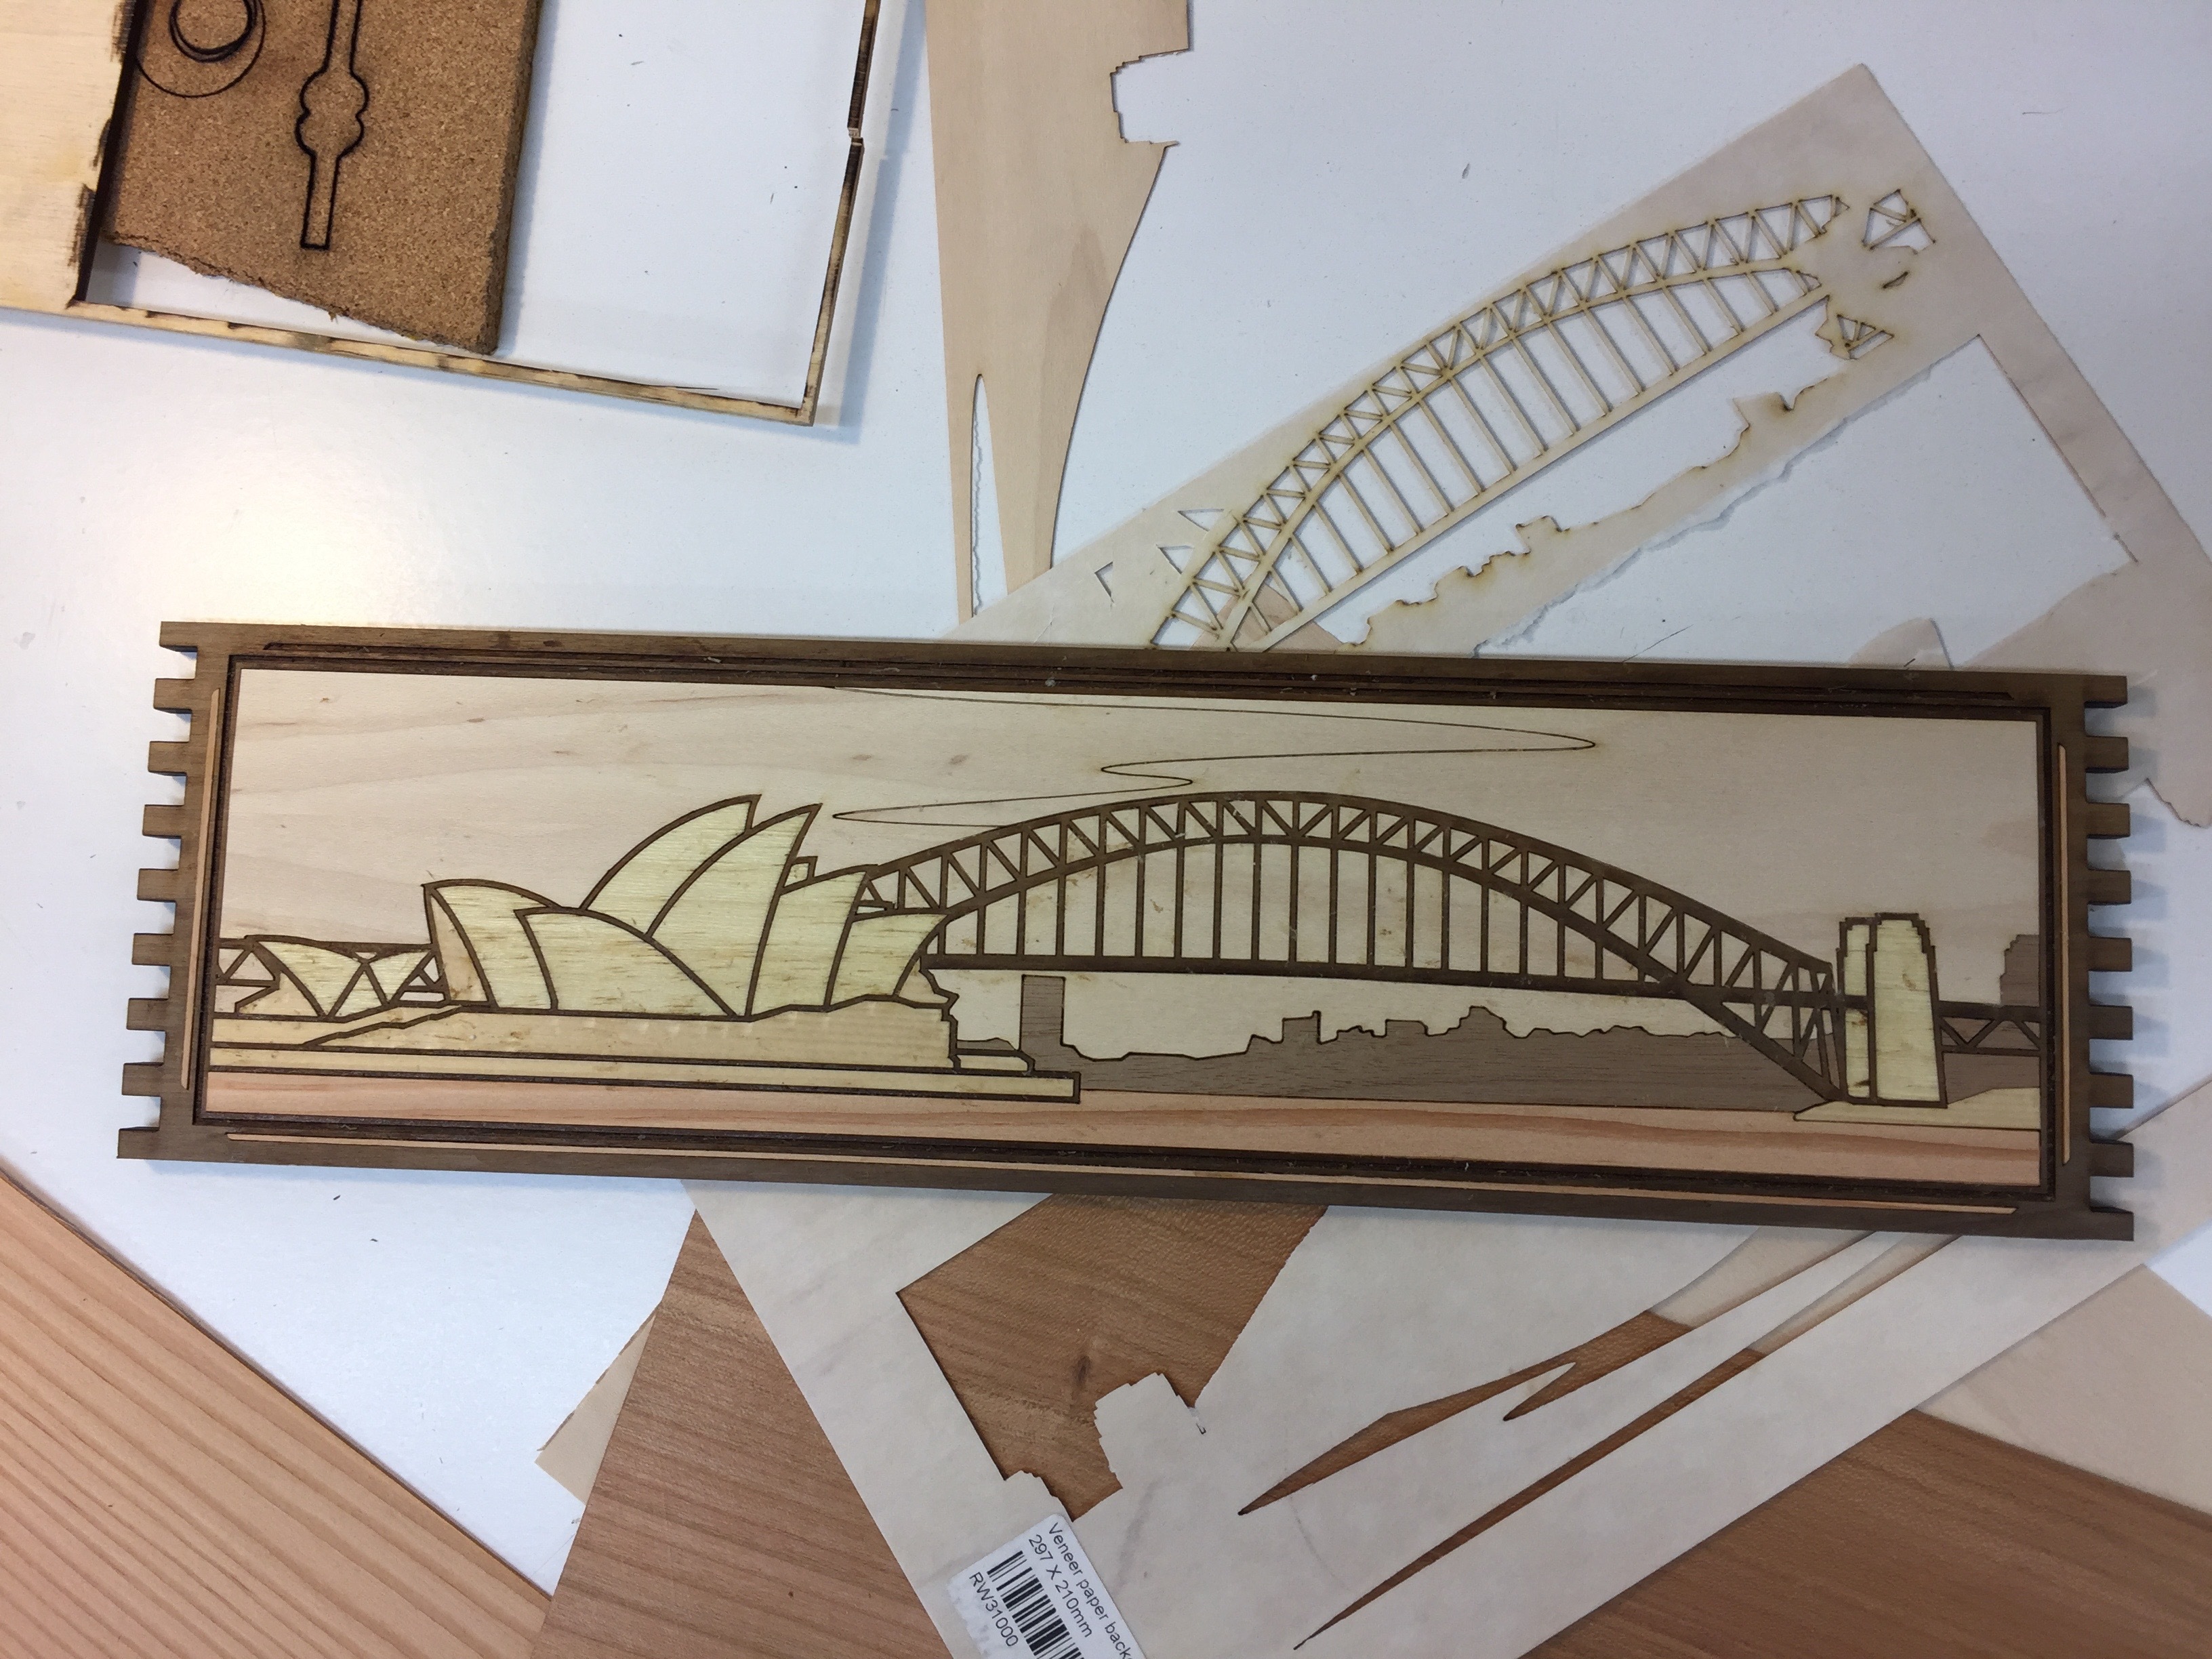
And here it is with all the pieces added:

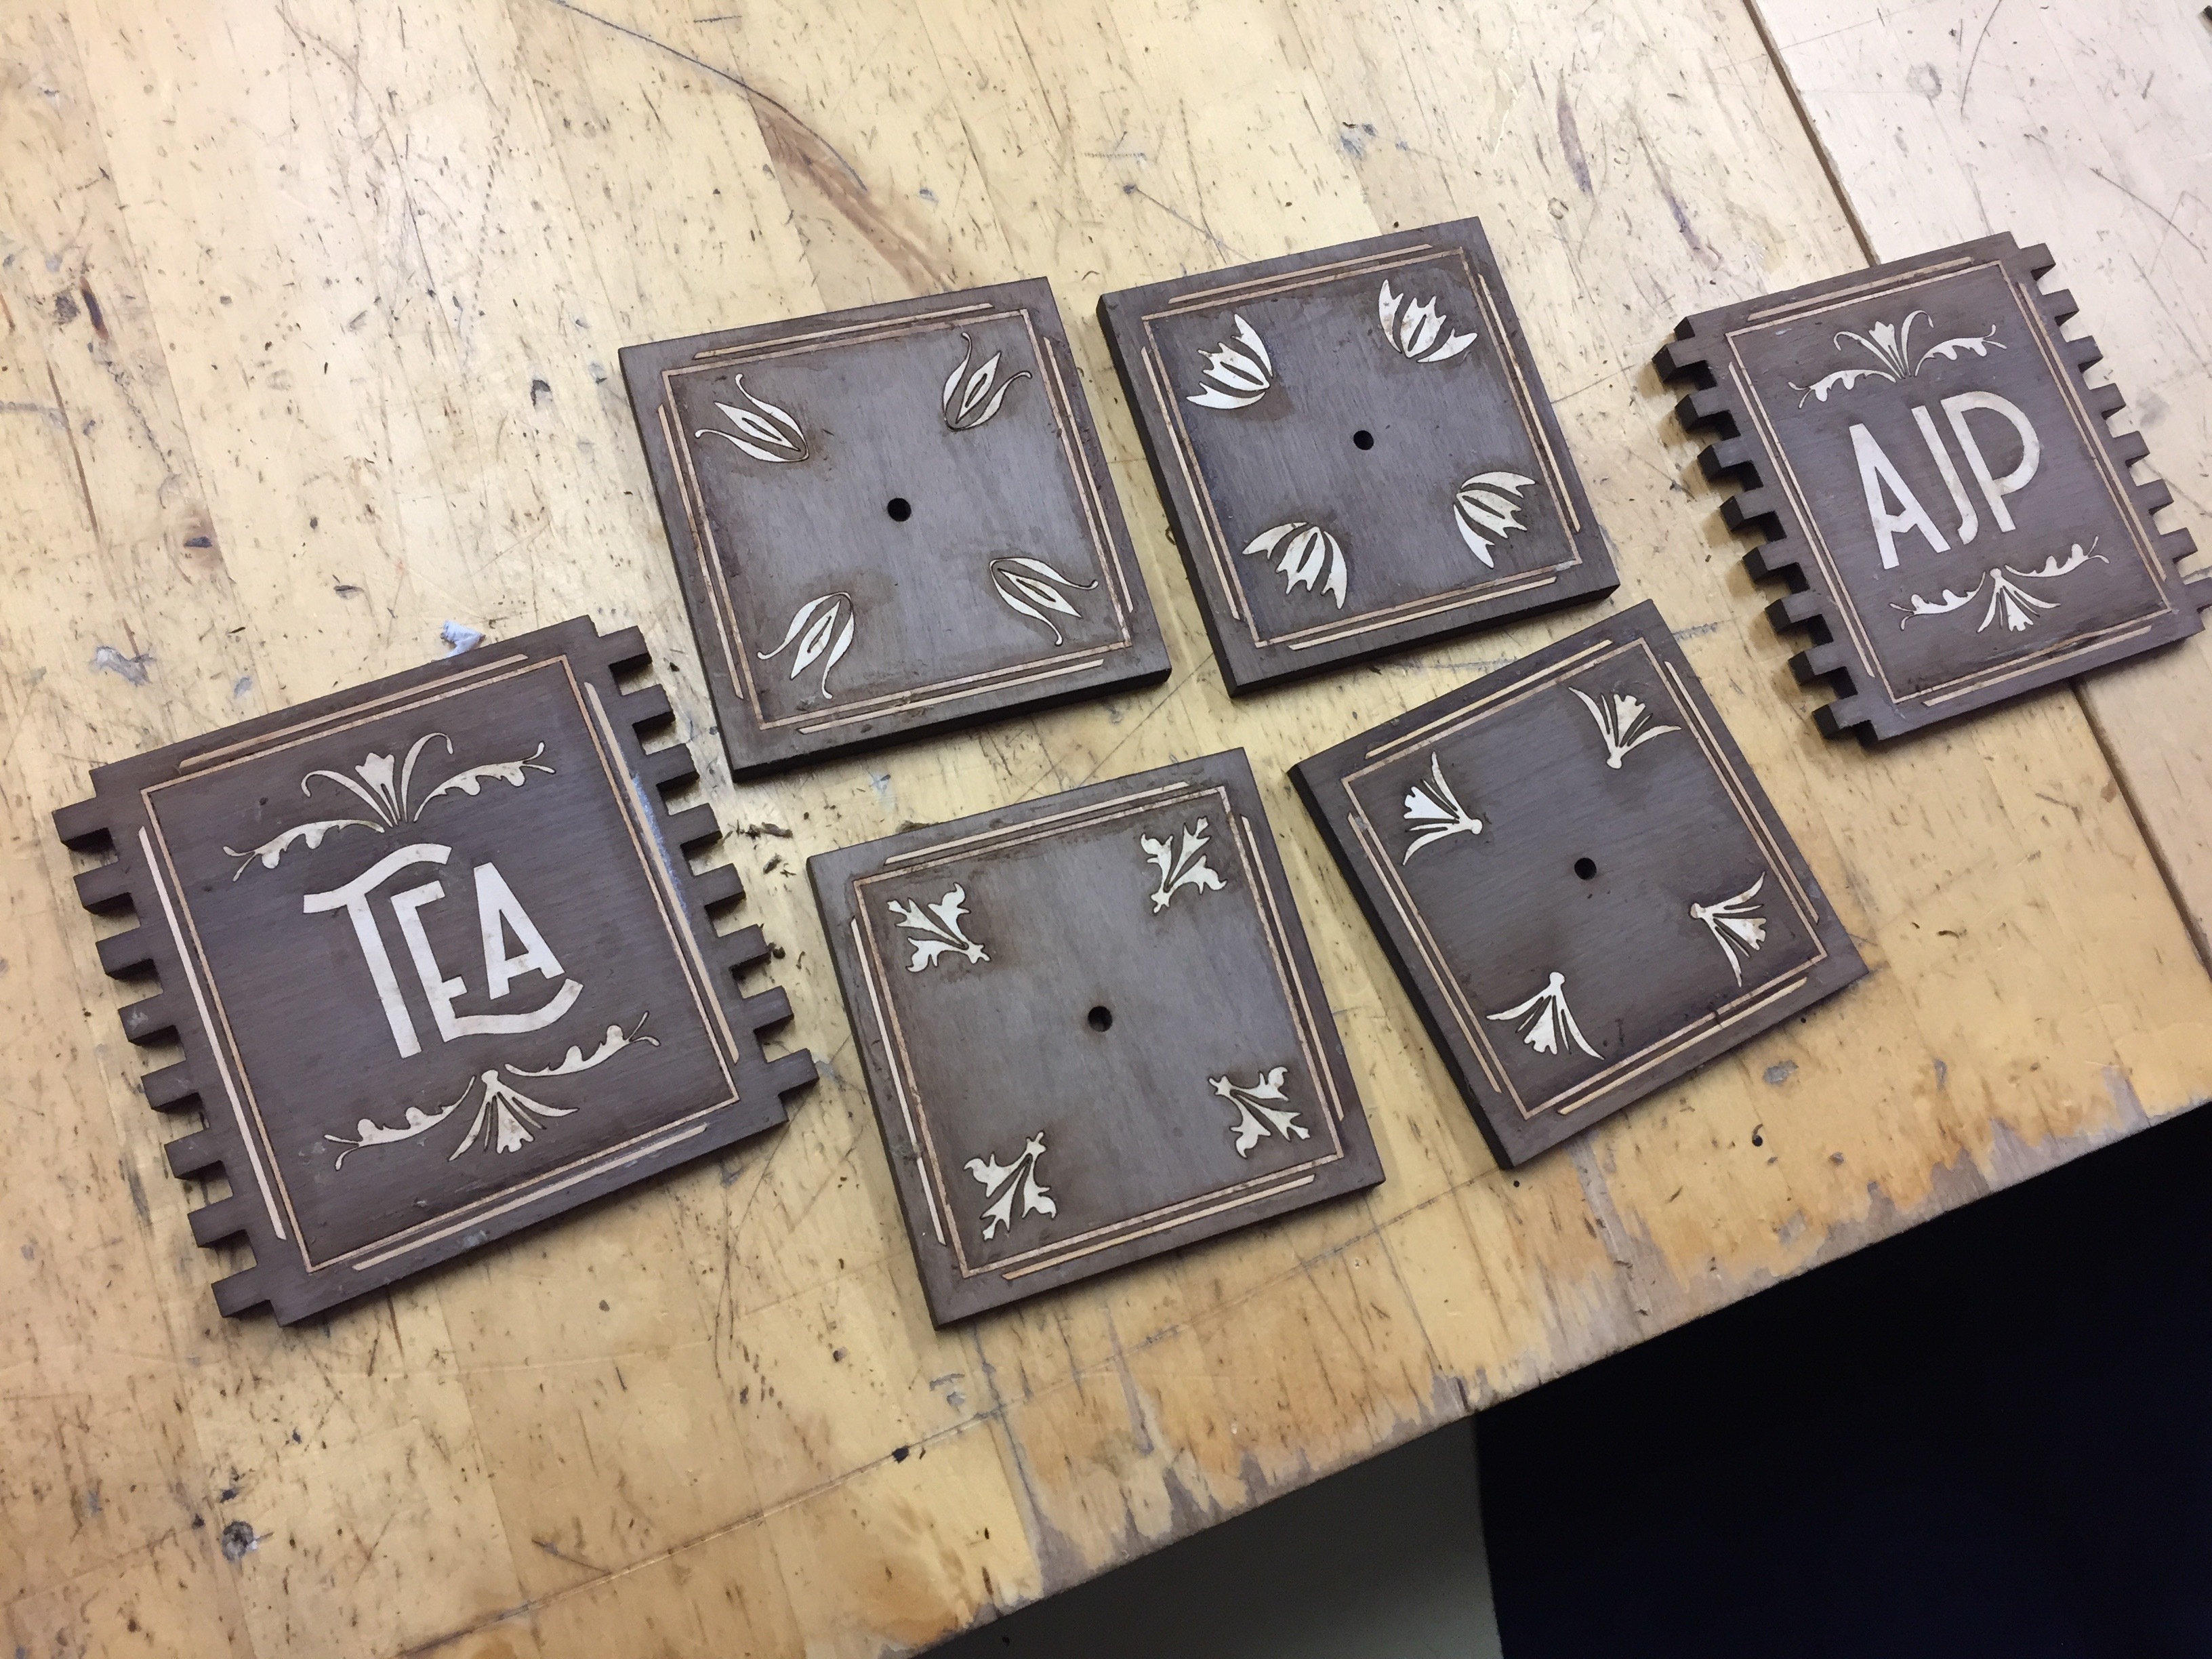
Then I moved on to making the ends and lids of the box, same method:

Here they are with all the pieces glued in place:

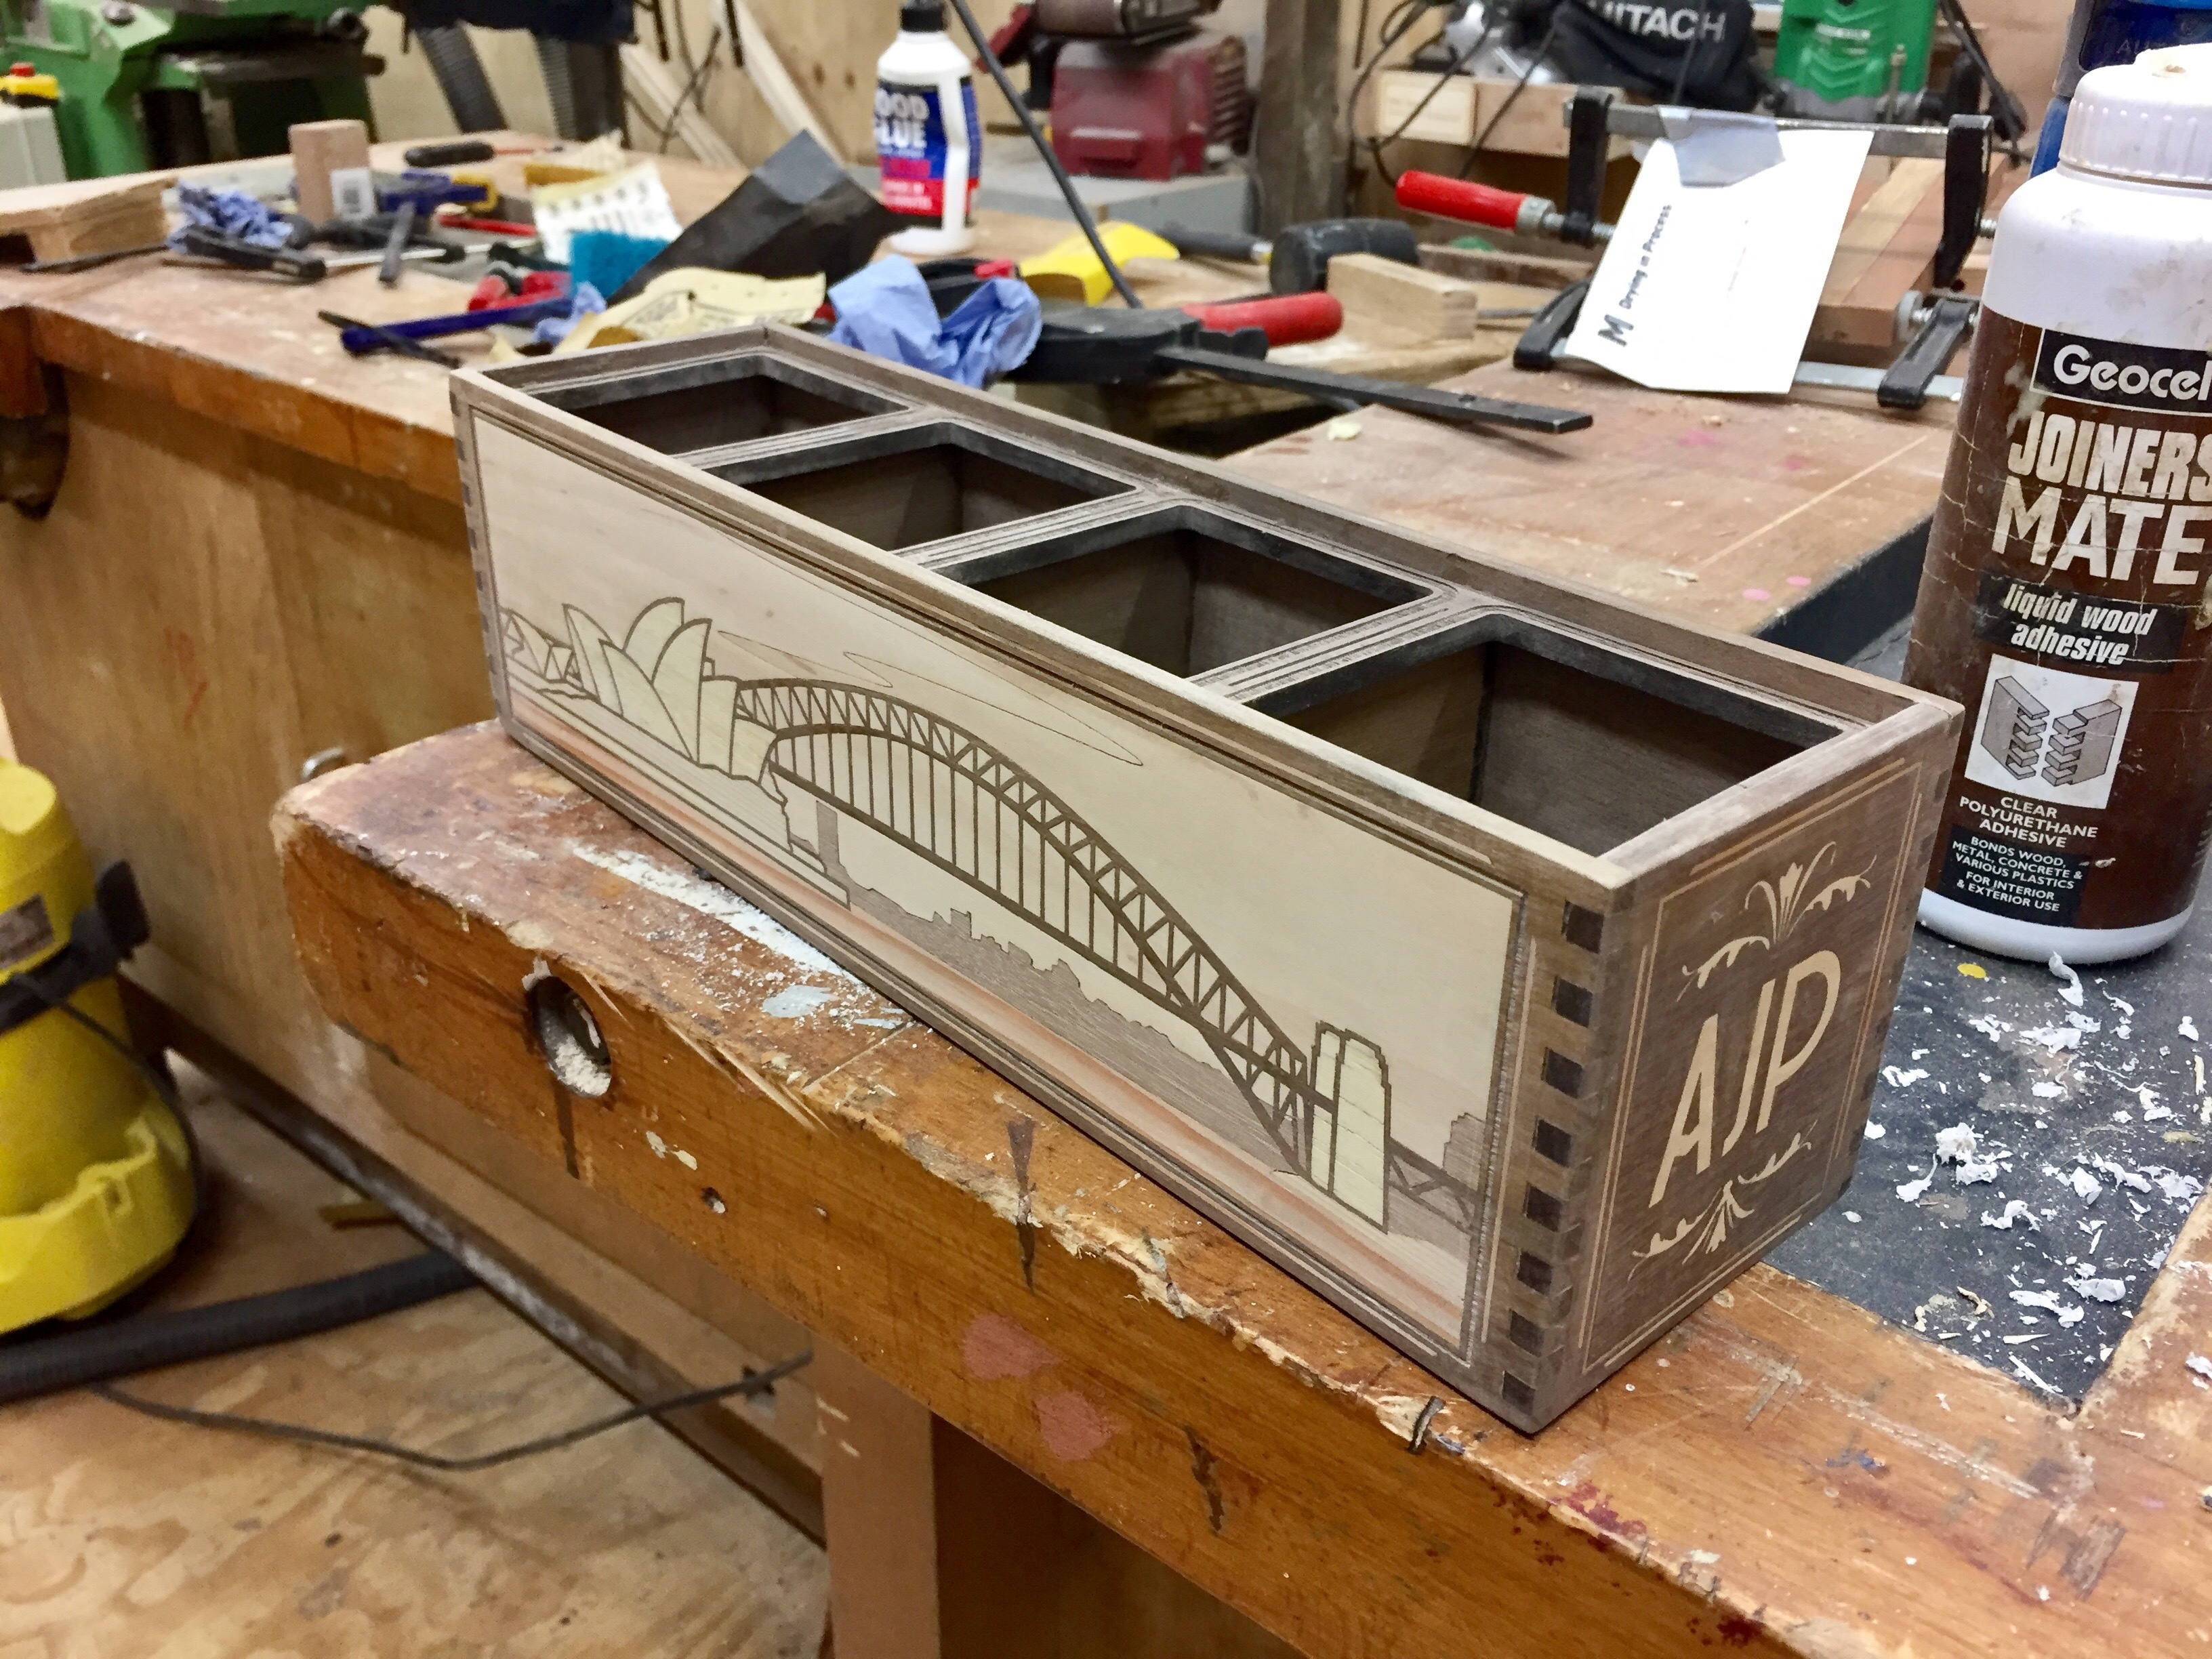
I cut the remaining pieces of the box and started sanding:

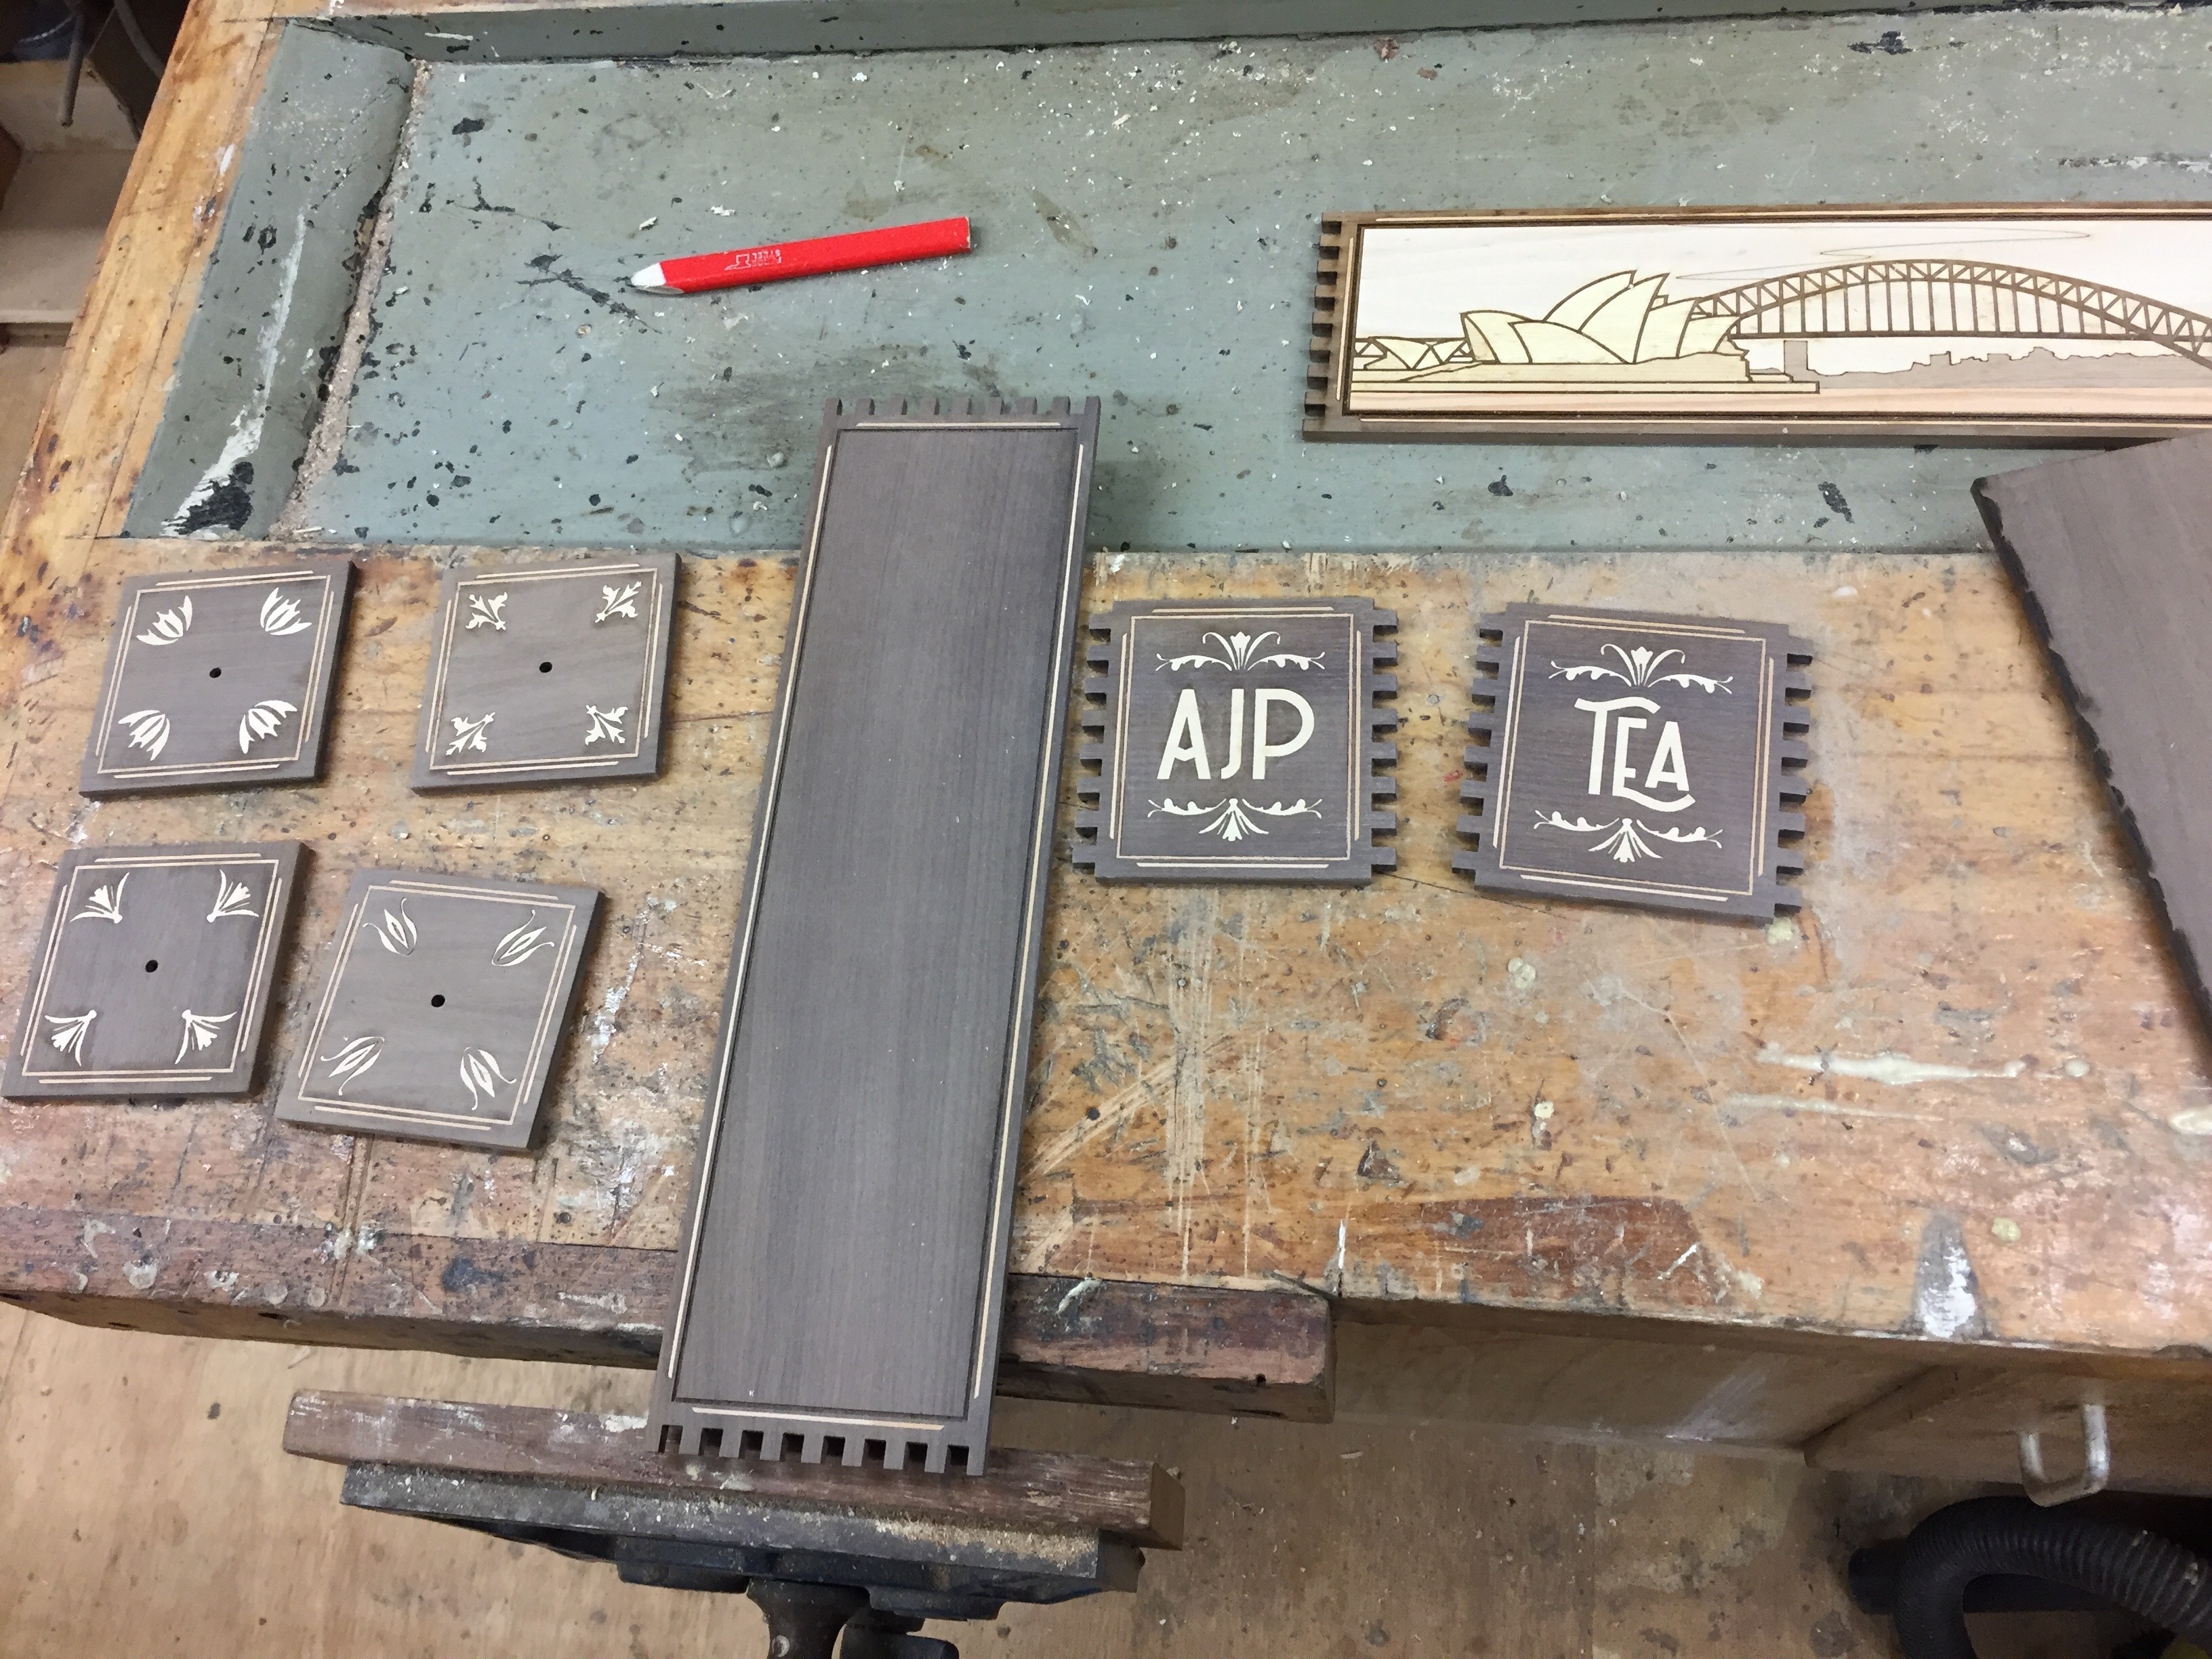
As well as the interior of the box which was comparatively simple:
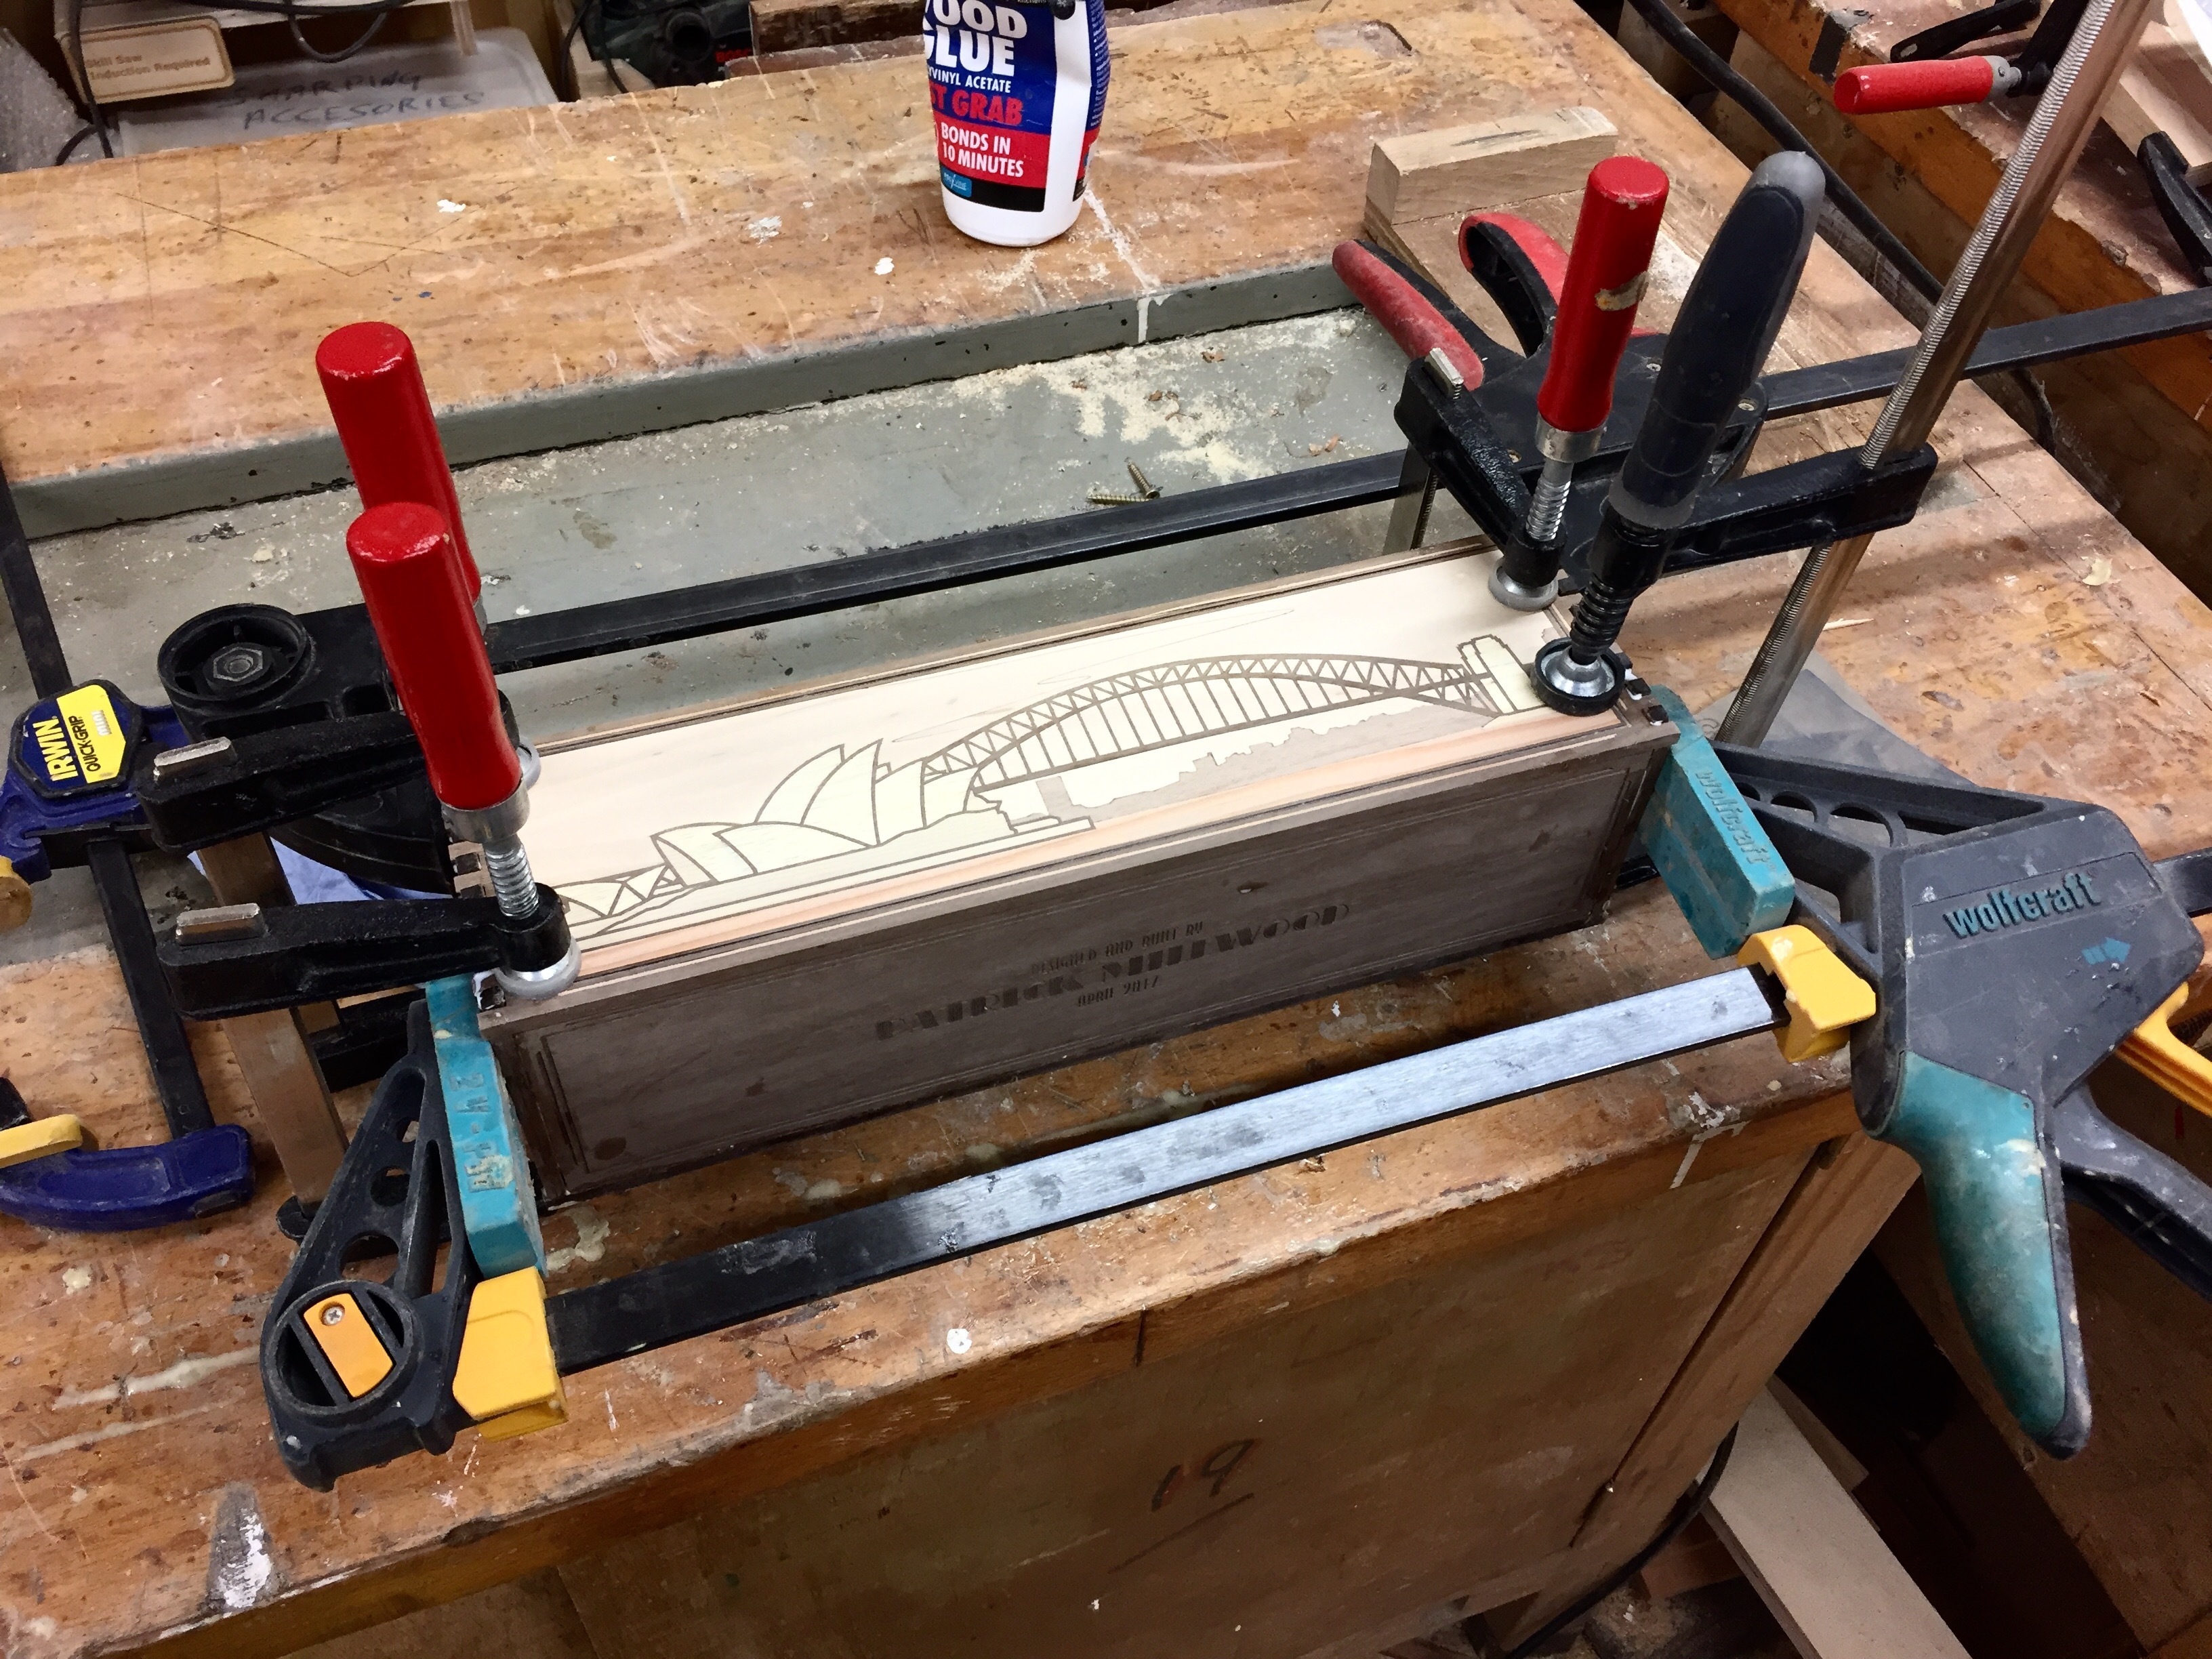
Assembly and gluing
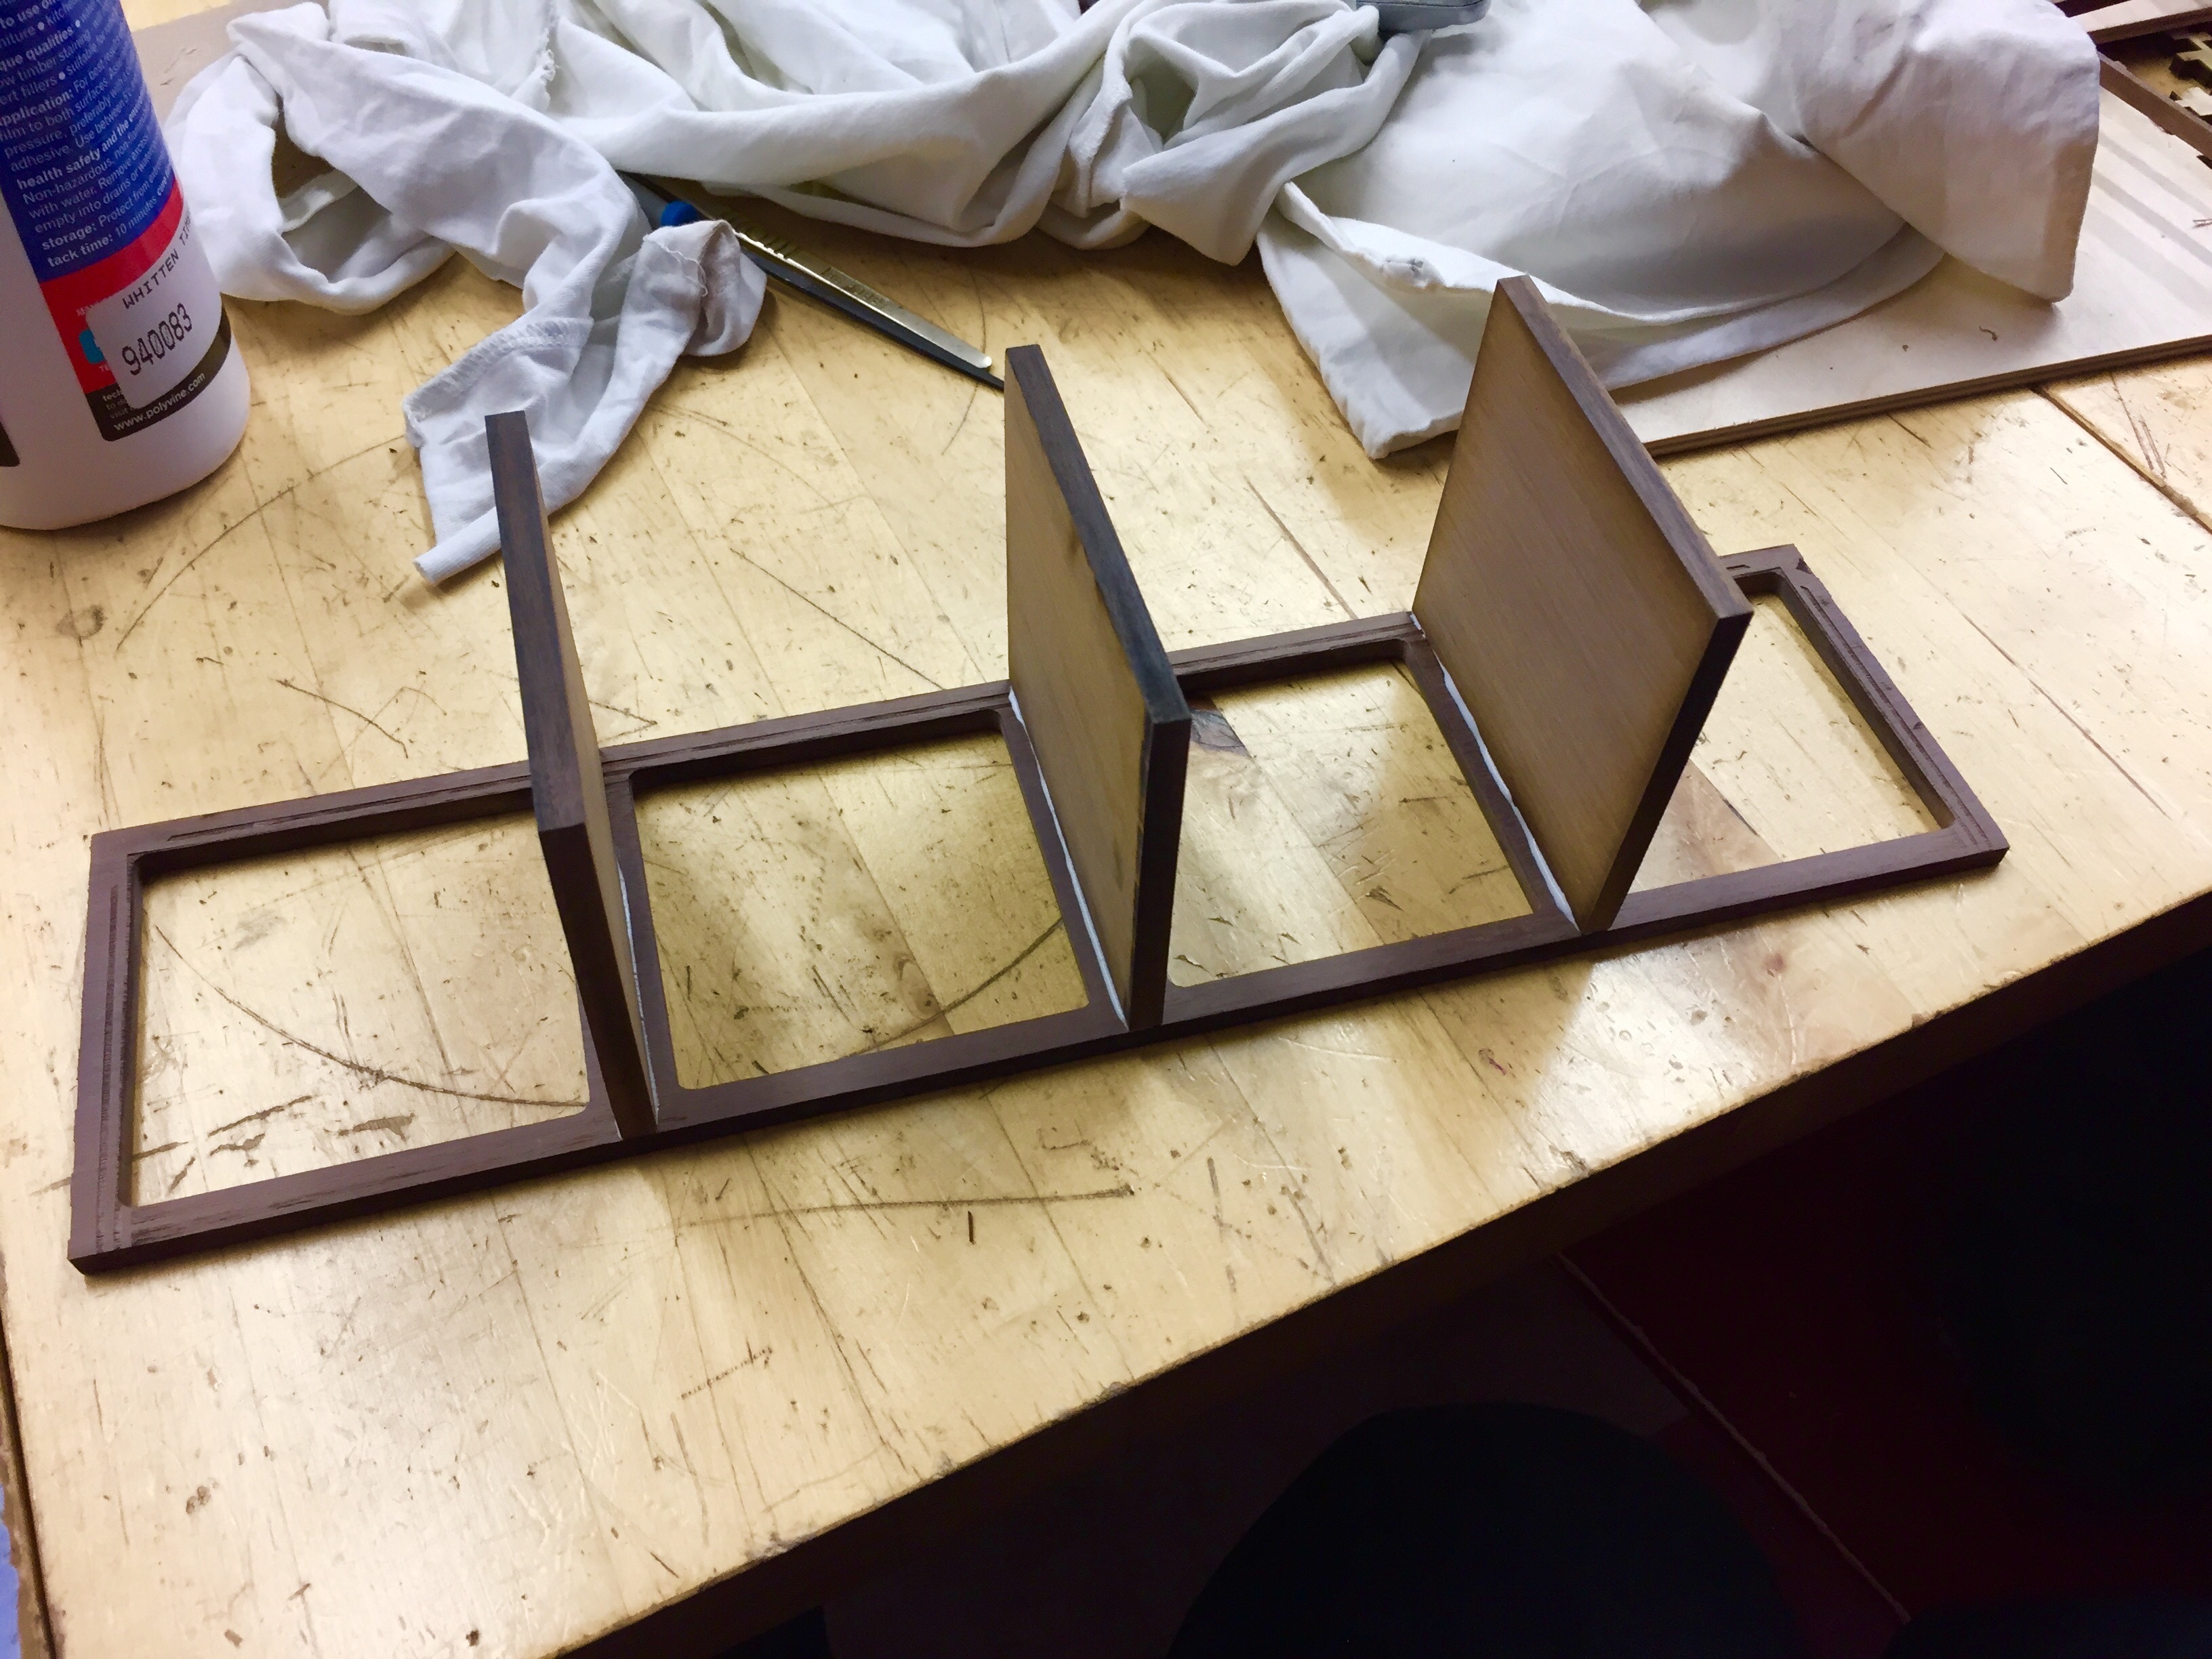
I put all the exterior pieces together without glue at first to check the fit - you can see that the teeth of the finger joint are slightly longer than needed, to allow sanding off of the charred wood on the ends:

Then came a big exercise in clamping/gluing which I felt my way through inexpertly:

Finally glued and then sanded all over again:
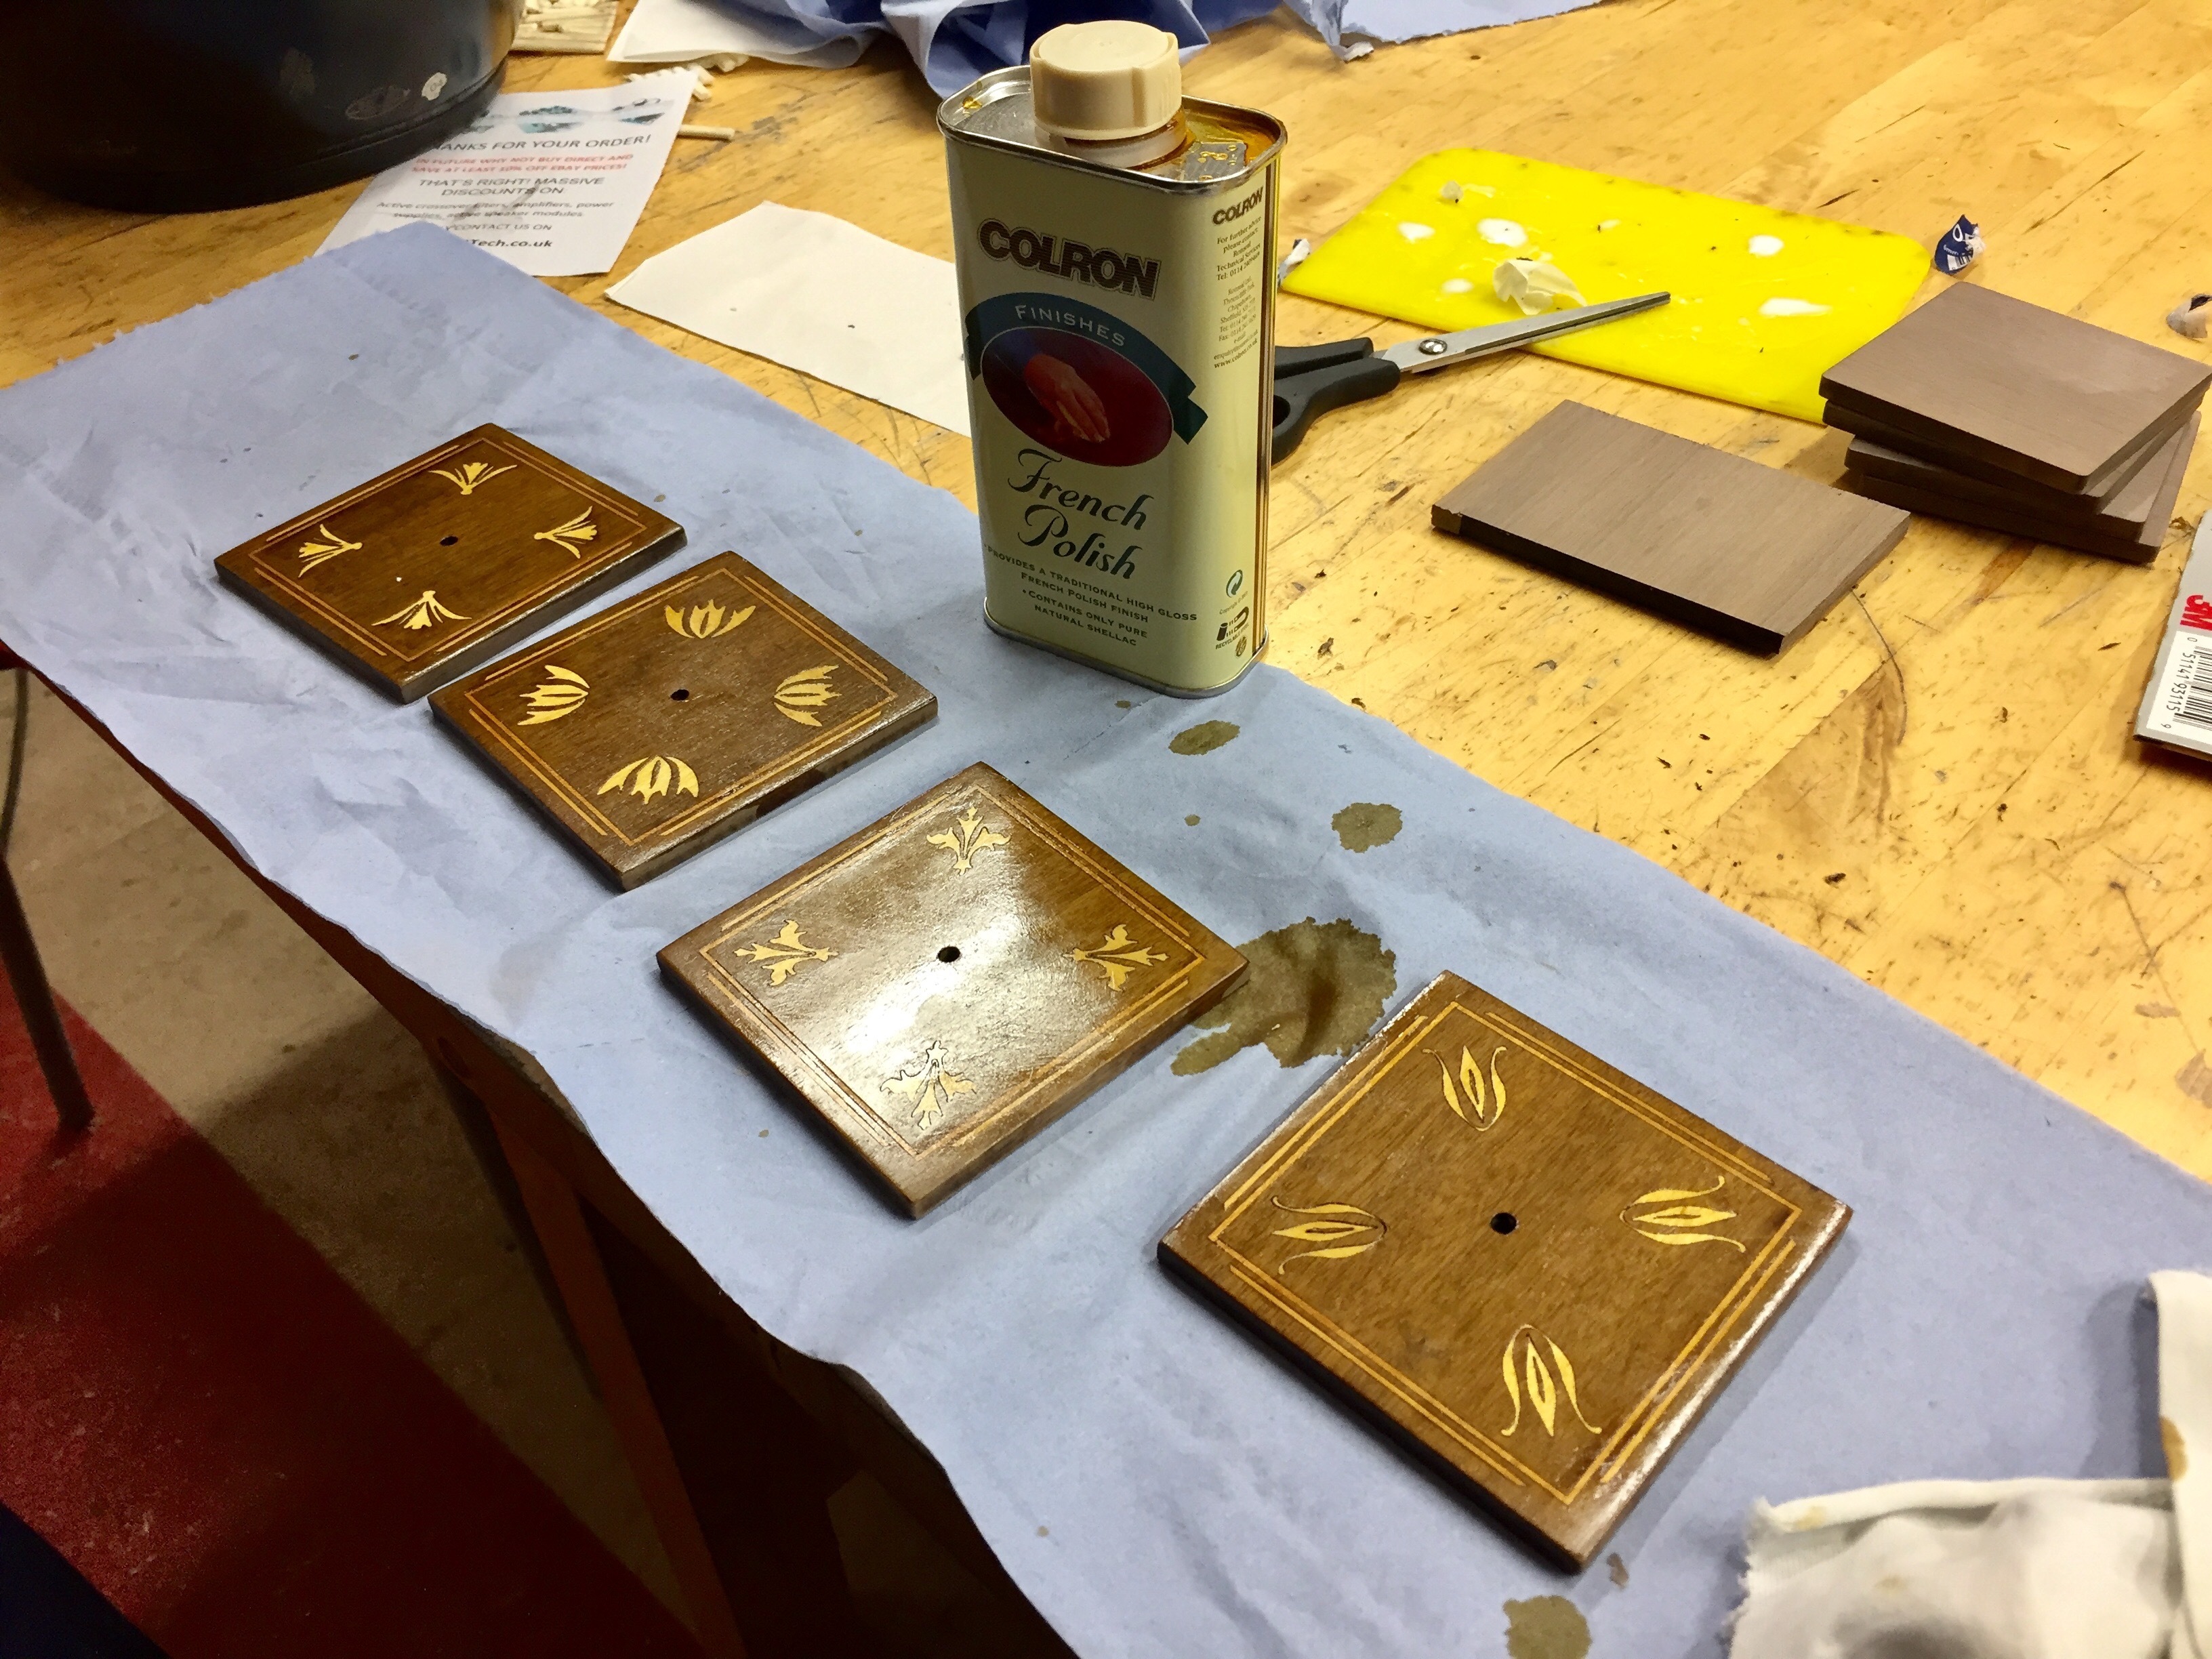
Finishing
Then comes the french polish. Lids first, pictured here after the first couple of layers:

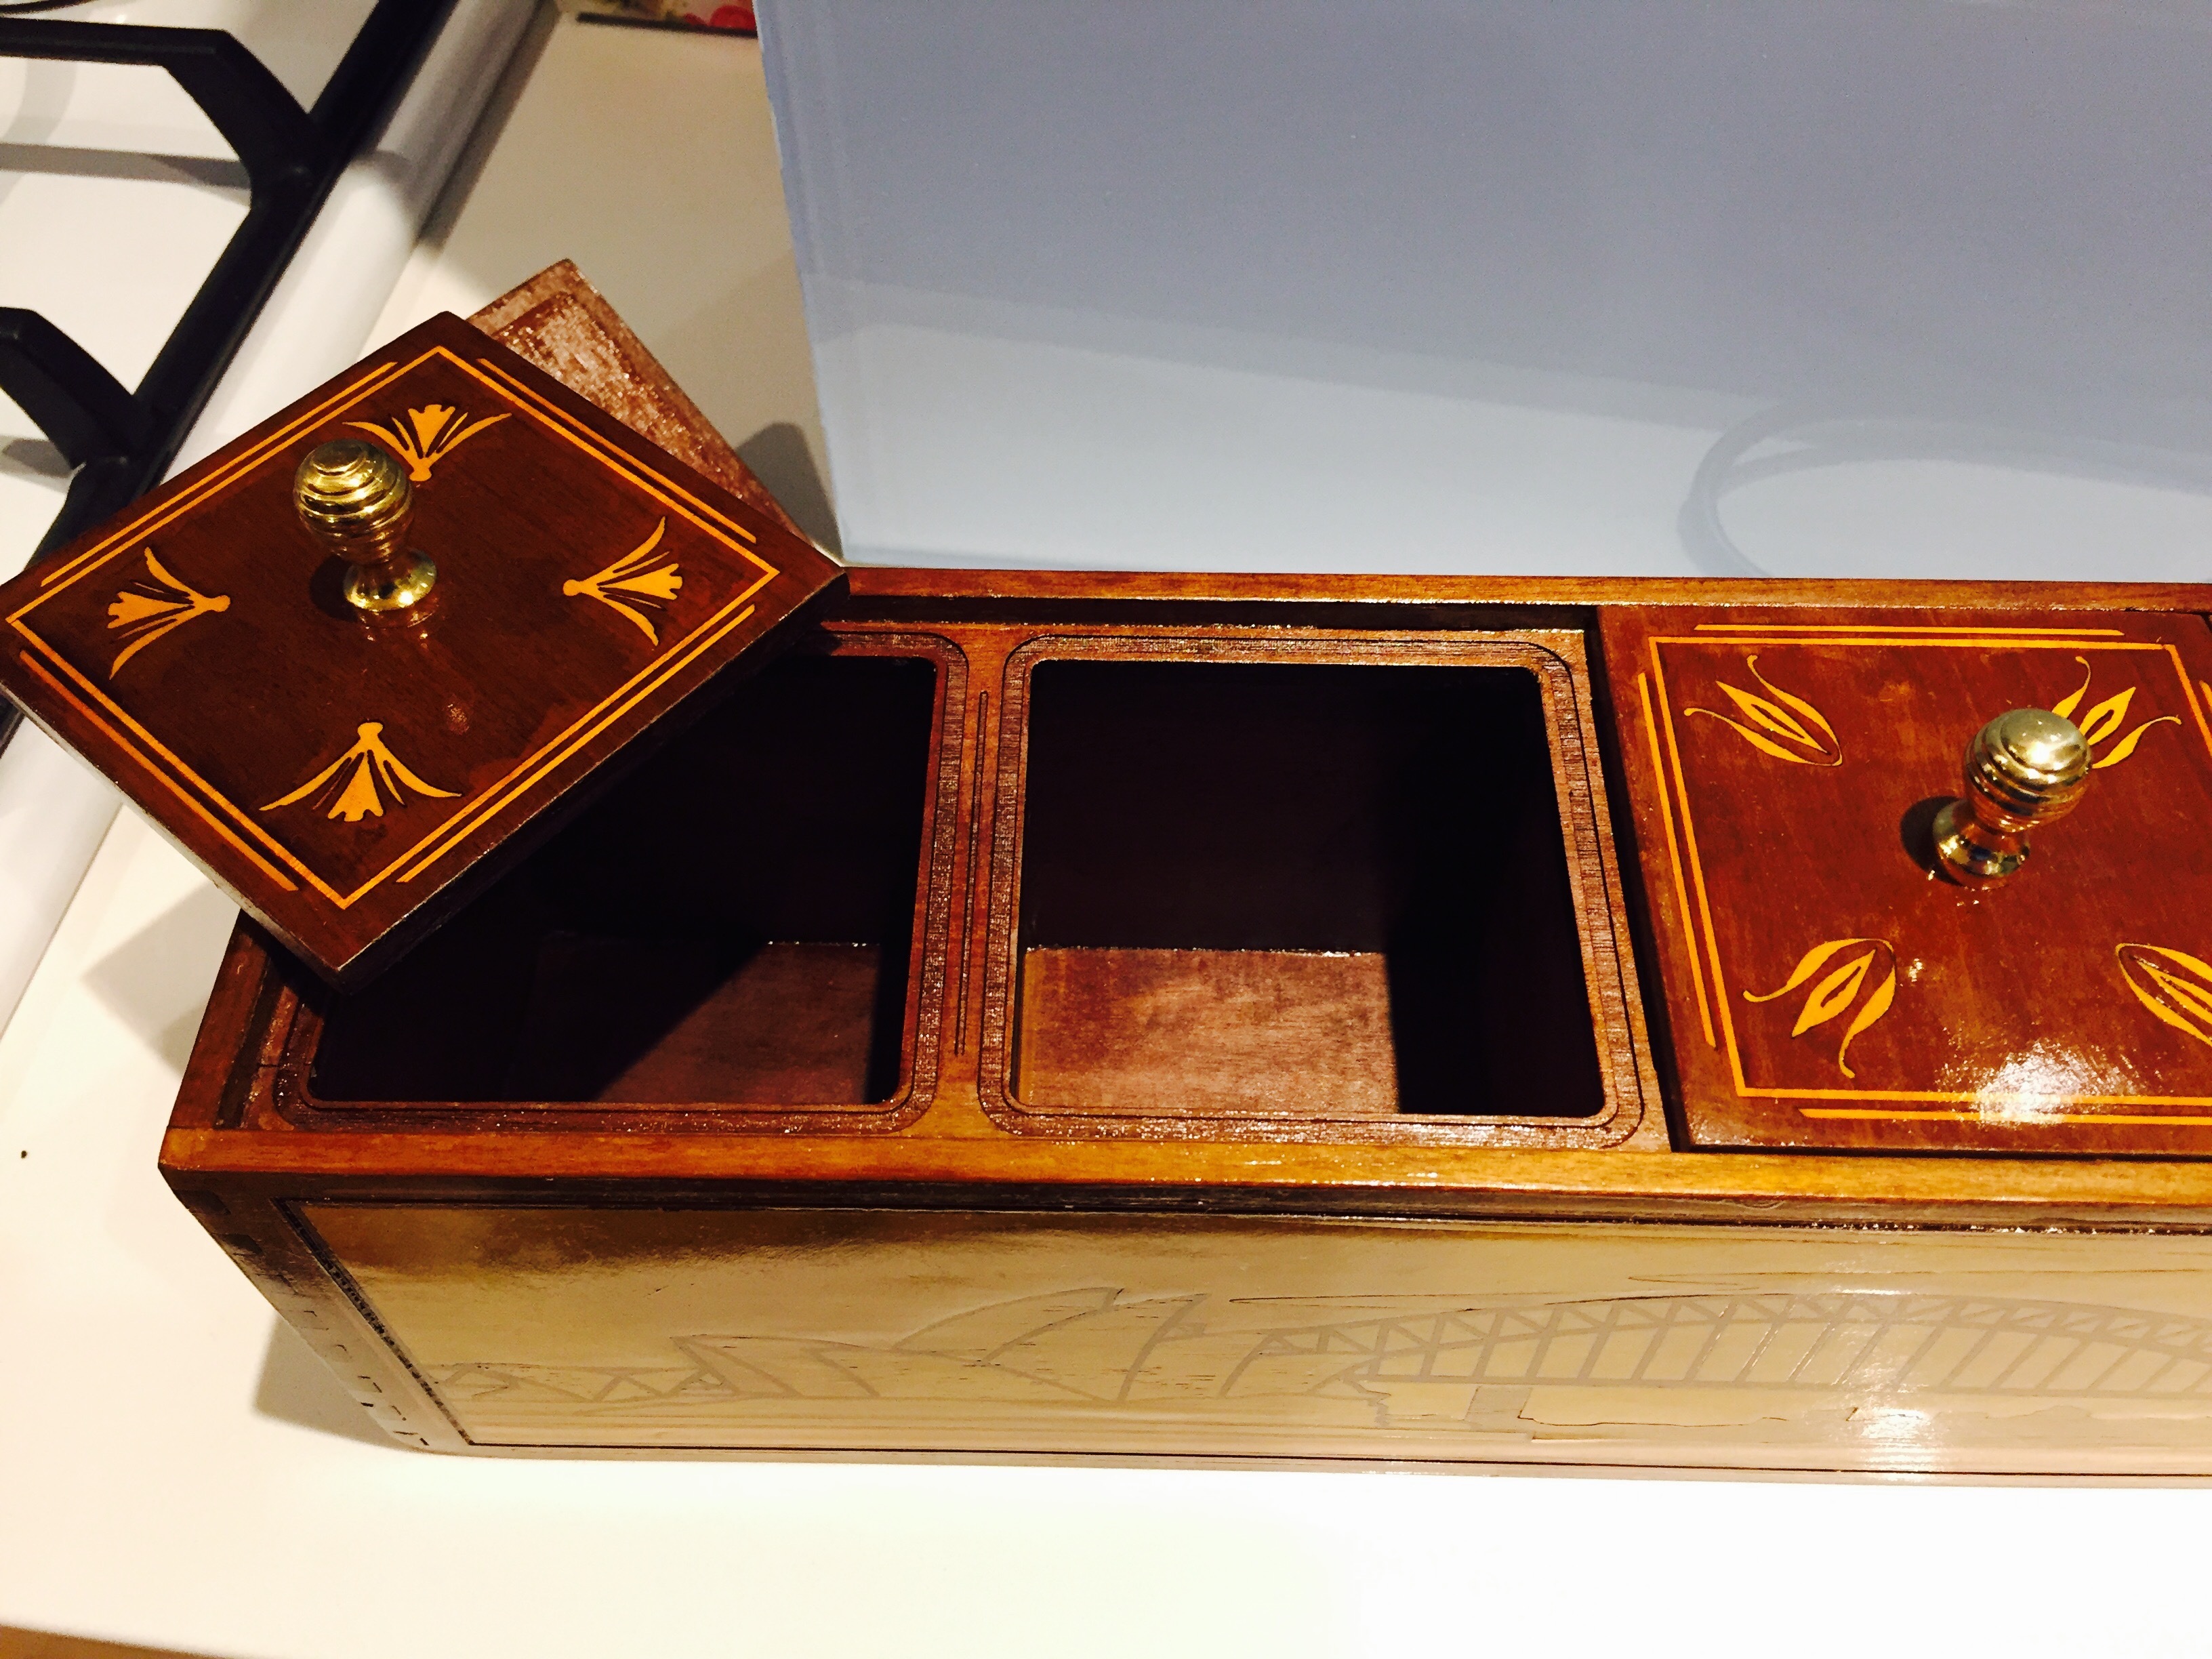
I then screwed in some brass knobs I bought online. Here’s the finished box plus lids after the first few coats of polish:

I had to let it dry at this point so I could transport it home for the remaining coats. Once there, I kept going for coat after coat until I could coat no more.
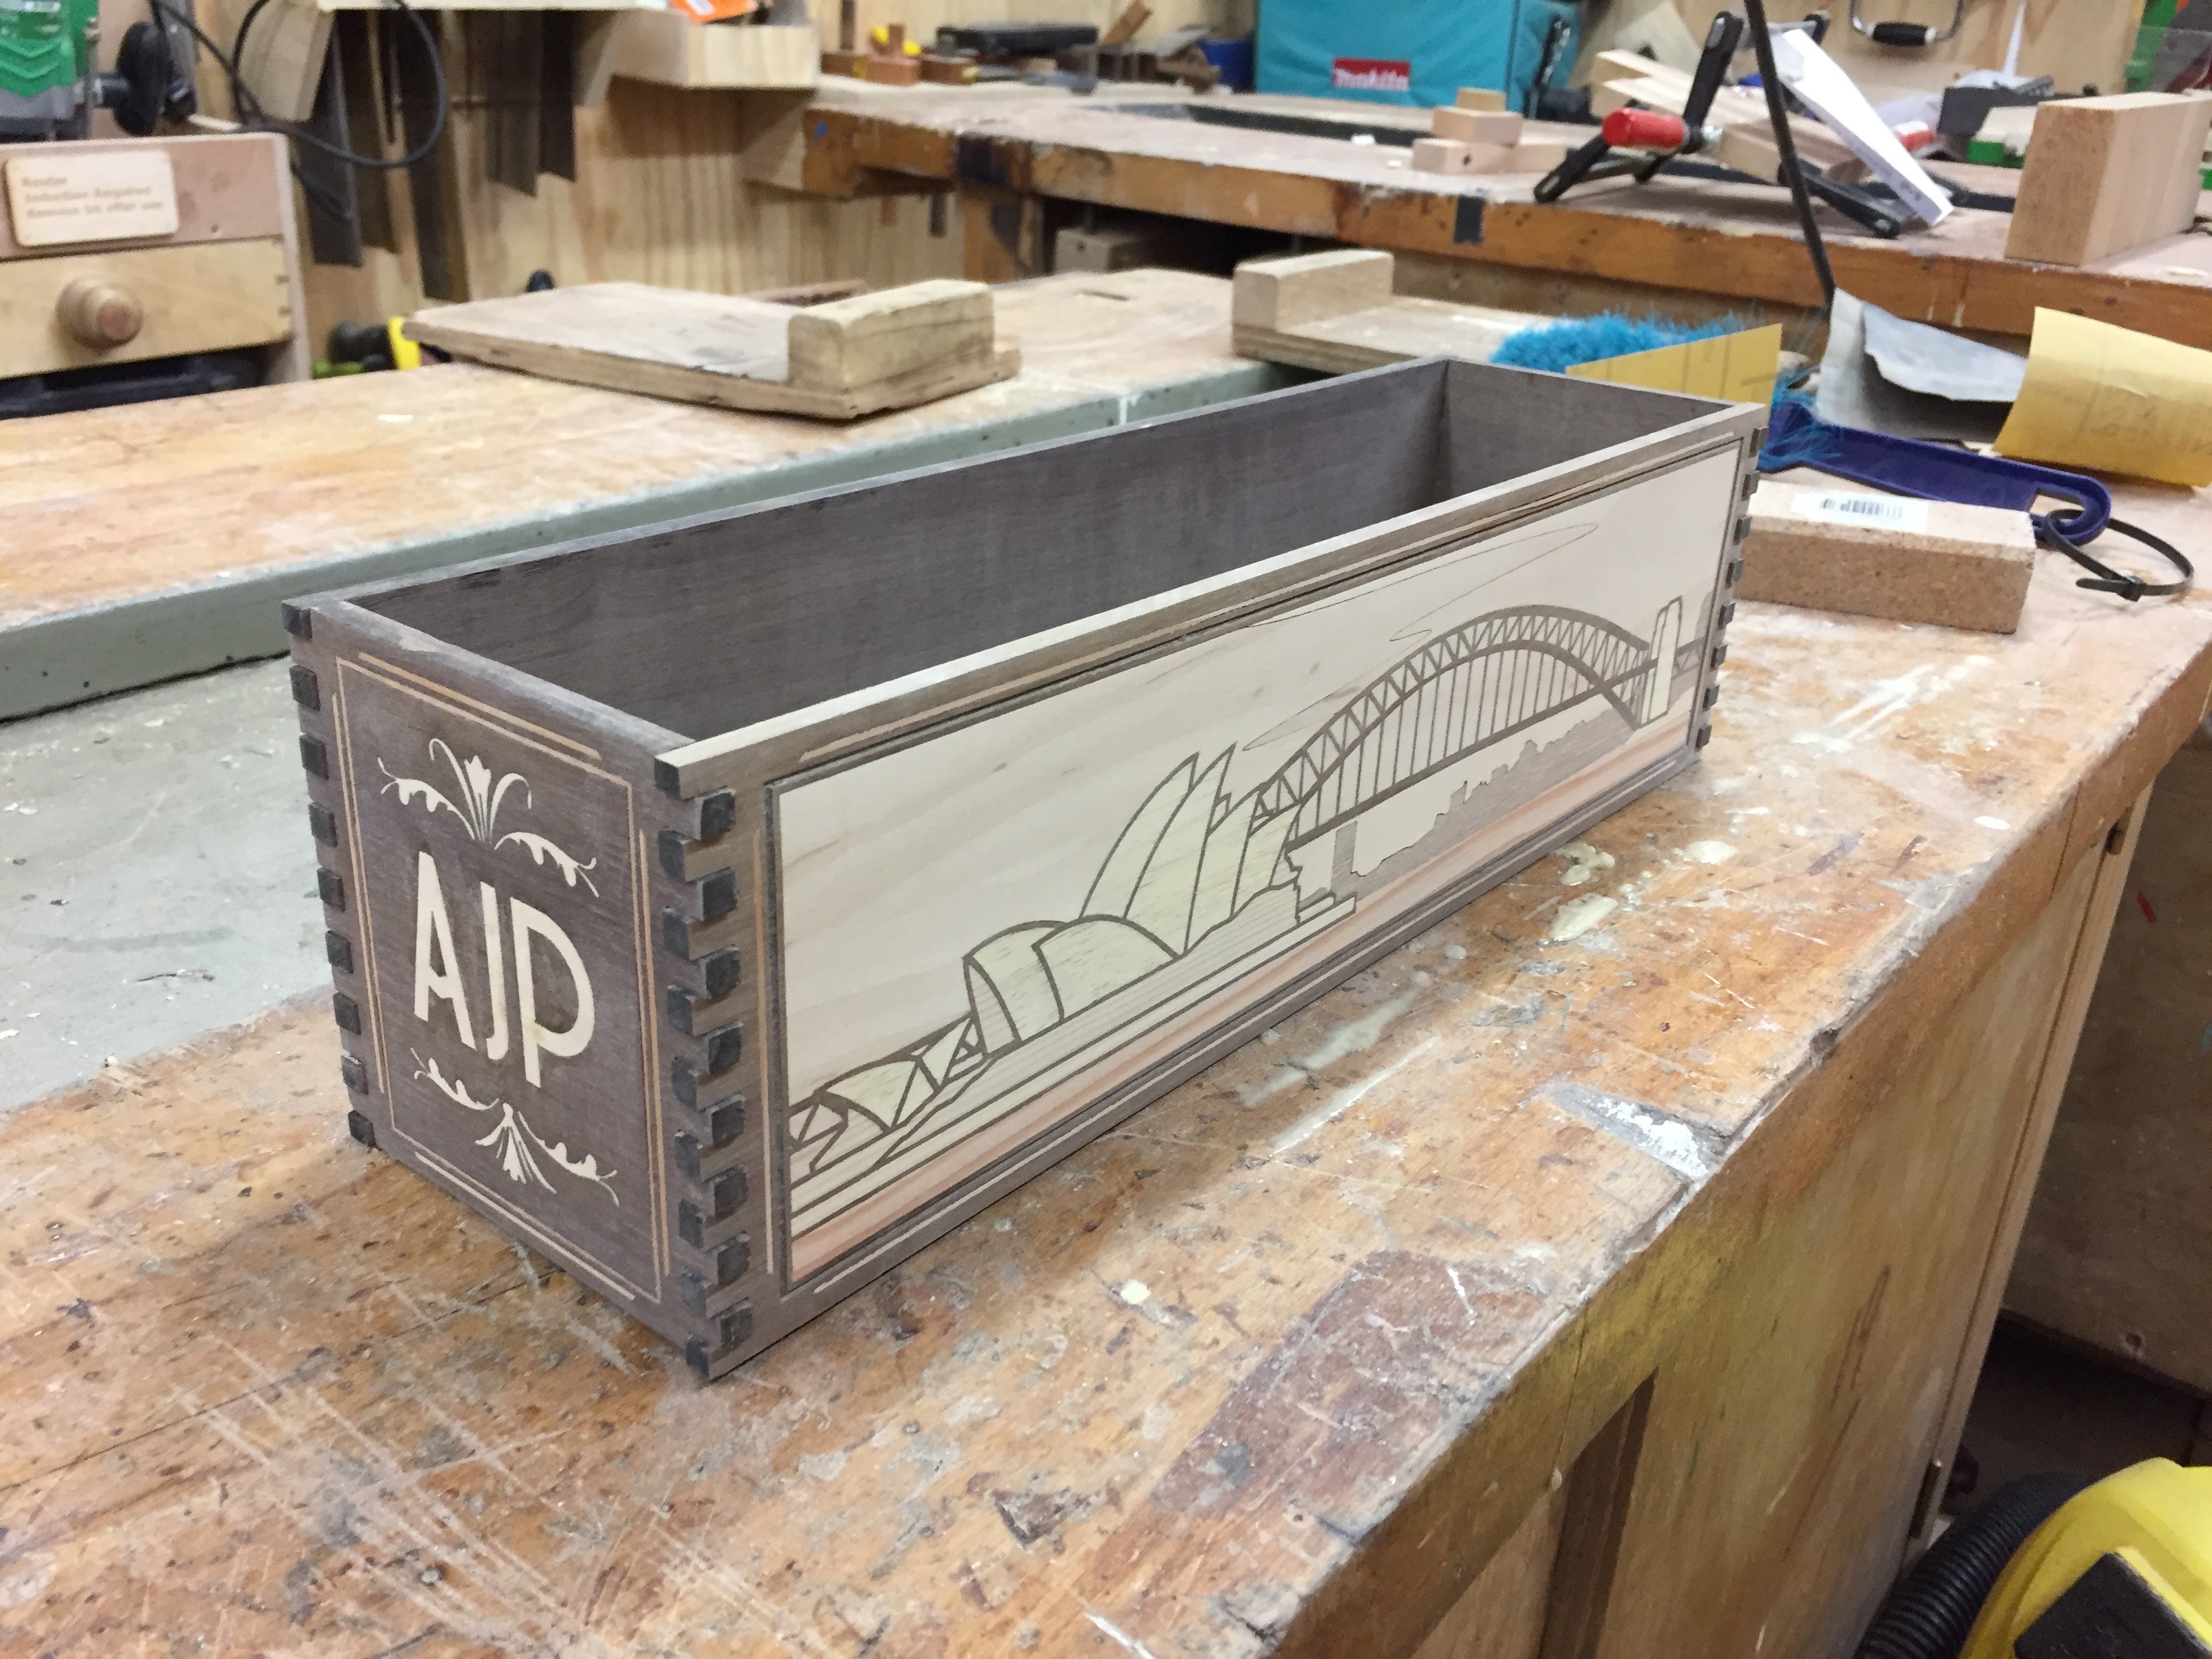
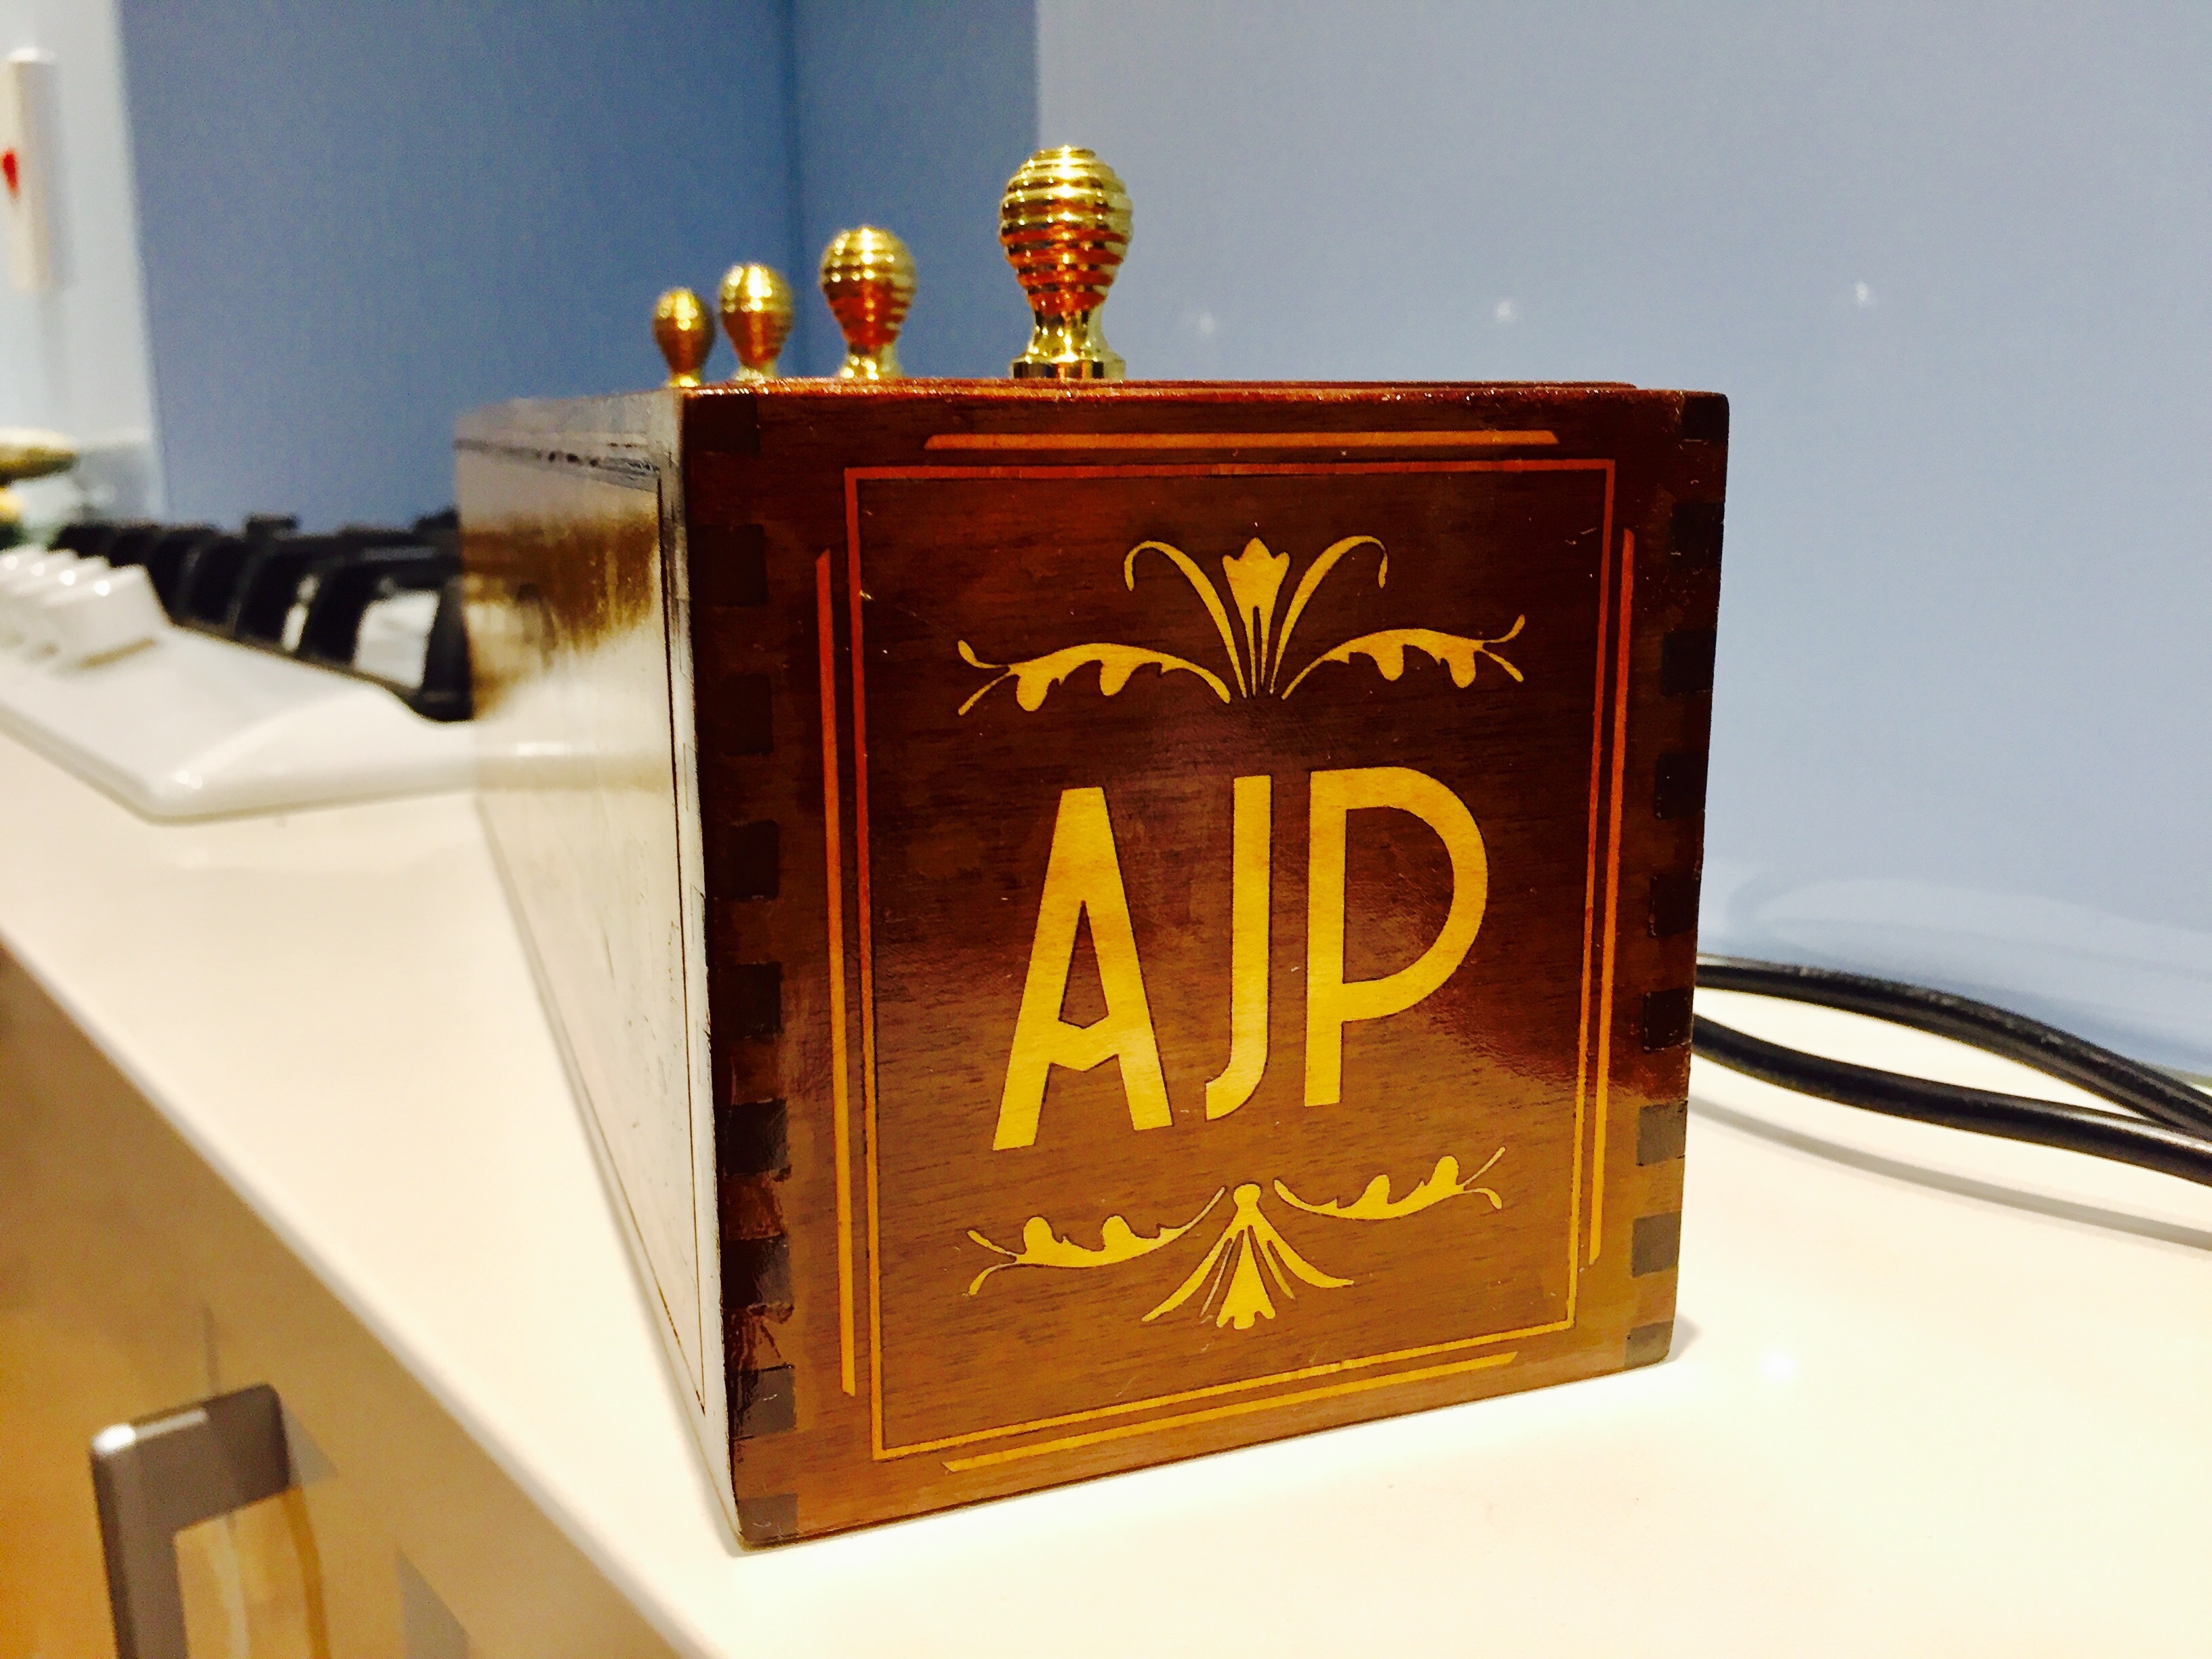
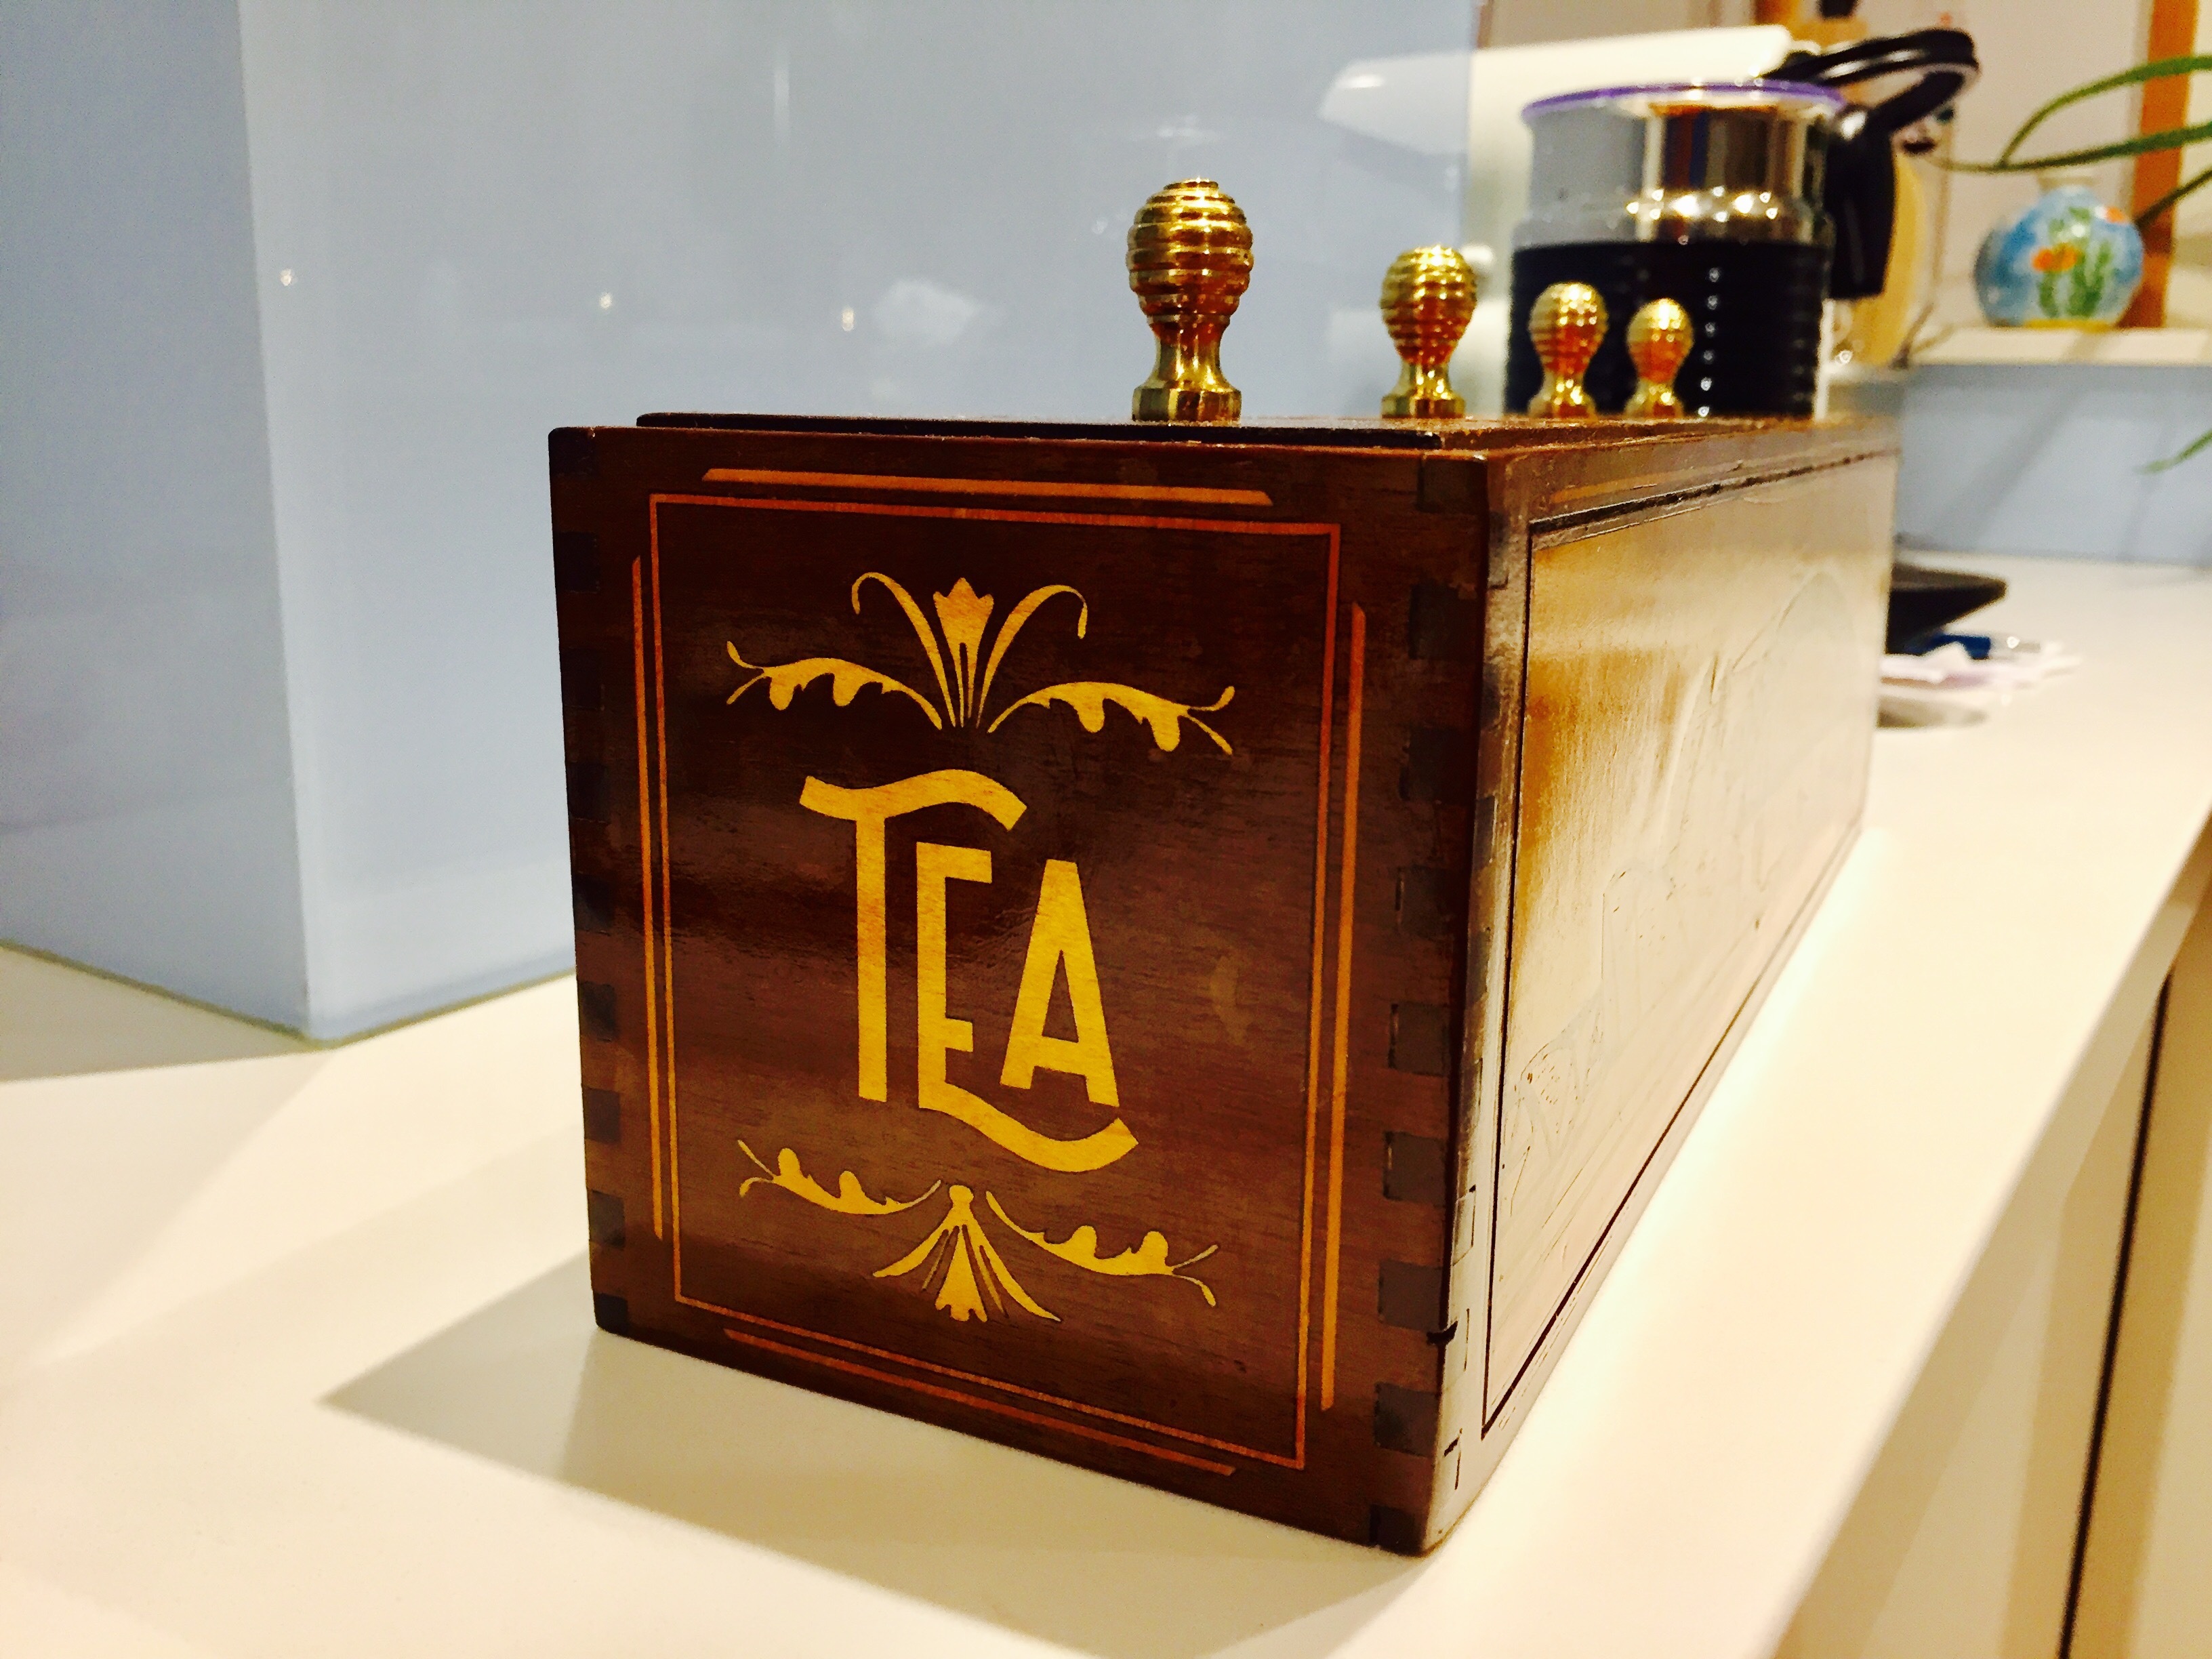
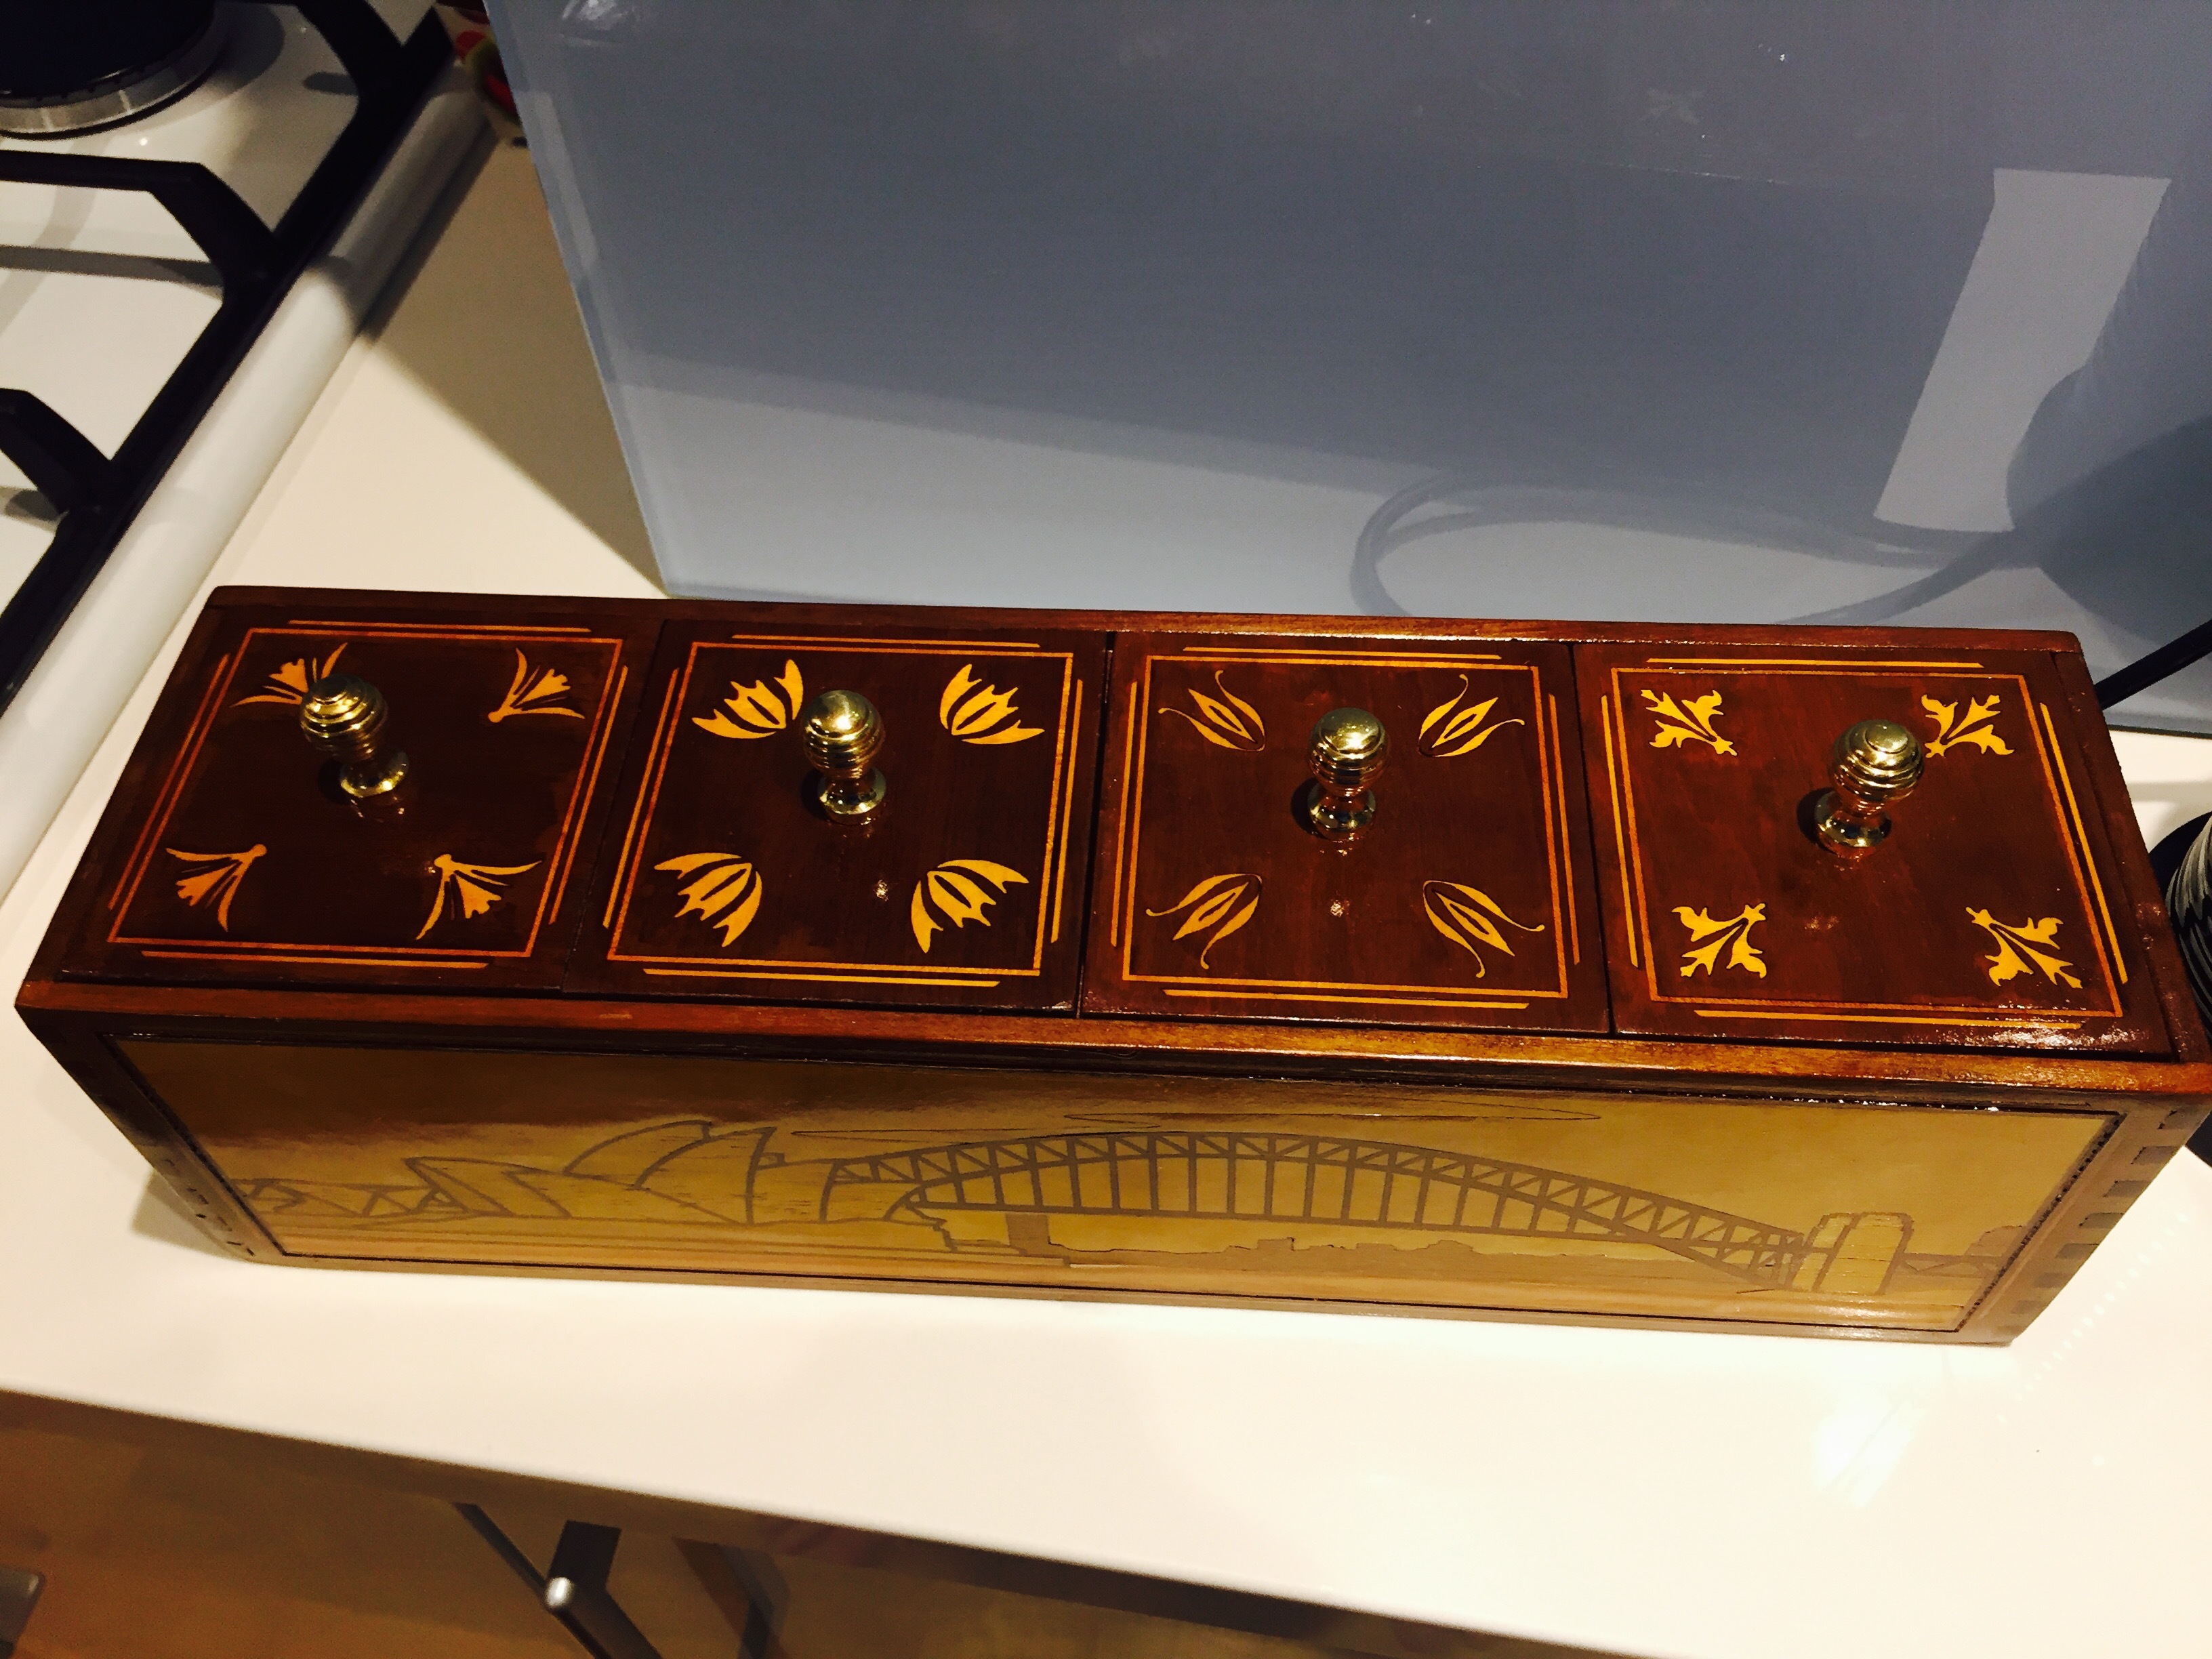
The finished box
This is the result, the finished box:

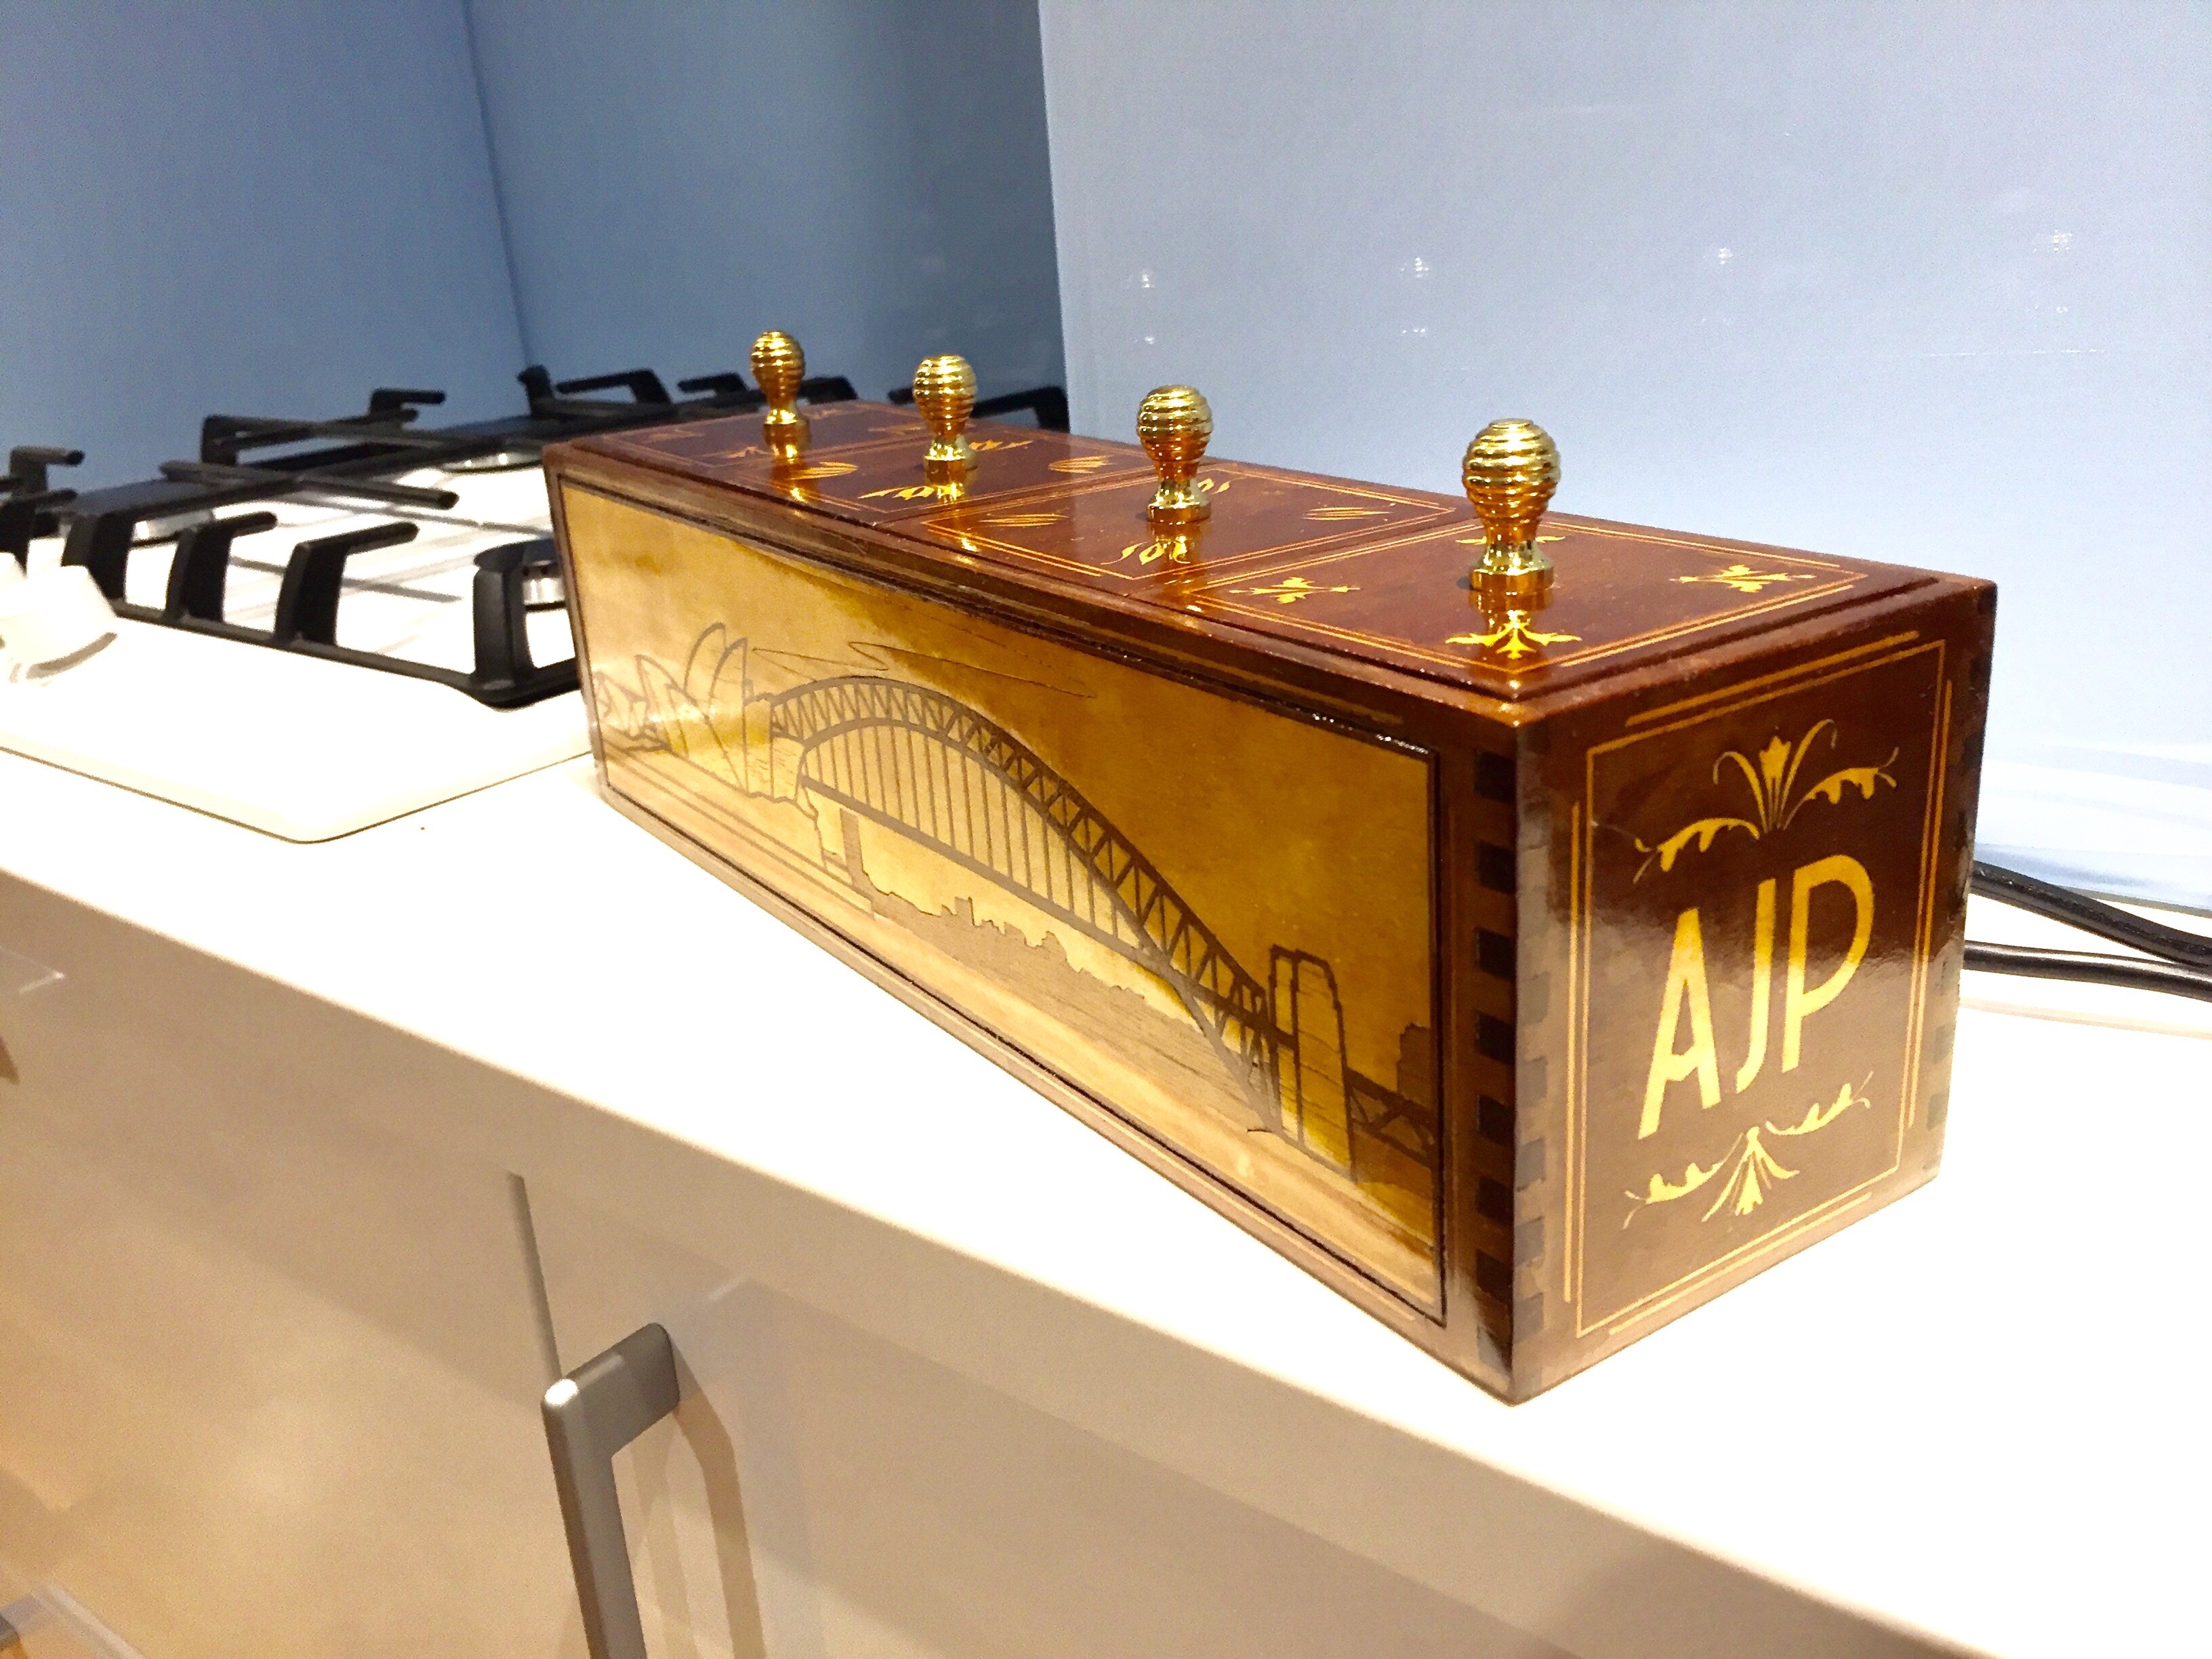
Phew! Happy to answer any questions/take any advice on this make. It was definitely a big learning experience, my most challenging project to date, but as someone with virtually no actual woodworking experience it was satisfying to get a good result (even if its cheating!).

33 Likes

Wow! Awesome mate! great job

1 Like

Epic!

Love the look of this. Very good work.

Will definitely be tapping your knowledge at some point as there’s some decorative work I’d like to do that could be made better using your techniques.

Fantastic. Keep it up!

1 Like

That turned out well

1 Like

Very classy indeed!

1 Like

One for the blog for Tortec to see? :wink: if OP doesn’t mind of course.

1 Like

It’s an amazing piece of work! I possibly should have said that first, possibly assumed it was a ‘went without saying’ kind of thing…

1 Like

Thanks all for your comments! @pip Yes I’d be happy for it to be blogged…

awesome!

1 Like

Beautiful! really nice work :slight_smile:

1 Like

Fantastic work! I love how clean and polished this turned out. the overall design is very striking! :slight_smile:

Well done - lovely little project. I saw the little test stars at the space and while back and was curious.
I think I might try this technique for an upcoming box instead of just engraving - I love the end result.

This is stunning. I love how you used the wood grain and untouched walnut to get the effect of water and distance in the front landscape. Did you do a very thin layer of engraving on the rest of the walnut to make it darker? And then sand until it was all level? And how did you do the sanding? It must have needed a very light touch to not mess it up at that point.

If you ever wanted to do a laser marquetry workshop I bet you would have loads of takers!

@smorgasbord - Hey, was wondering if I could pick your brains as to the settings you used for the Trotec? Specifically what power/speed/material you used to carve out the recesses for the veneer to sit in? Would like to make a decorative picture frame using this technique, so knowing a rough starting point for the settings would be a bonus.

Cheers.

1 Like

First attempt at laser marquetry.
I wanted to add a simple scissor design to the top of a box for a Christmas present.
The box is 6mm walnut.

The veneer was from a mixed bag of scap around 0.6mm thickness. I chose a black and a gray wood.

Design in Adobe Illustrator by getting it to trace and image found online.

Engraved it onto the walnut with the following settings:
power 100, speed 80, 1000 ppi, 2 passes

In testing, the above settings allowed the veneer to stand a little proud of the surrounding wood.

To compensate for the kerf I used AI’s offset path tool. In menu object/path/offset.
Using the miter corner option and 0.05mm offset. This ‘enlarges’ the design to make it flush with the hole.

Cutting the veneers:
Power 80, speed 1.80, 1000 hz, 1 pass

The following shows 3 pieces with two different wood veneer. It’s snug but could probably be a little tighter. The laser leaves a black outline on the veneer which looks will be sanded off.

I used jointers mate as i couldn’t find any regular woodglue , stuck some plastic film on and pressed it between two flat pieces of wood in the vice for 20 mins.
After drying, it looked terrible but with some long winded sanding, it scrubbed up ok.

And then a quick rub with some mineral oil brings out the contrast …

I probably could have sanded some more but this veneer was very friable and cracked very easily so I didn’t want to push it.
Great technique. And a promising first attempt. I will continue to experiment…

4 Likes

Having tried again today, I think kerf compensation of 0.06 produced better results.

Thanks for putting the settings up. Looks great. Can’t wait to dabble :slight_smile: