(ABANDONED) The Tone : A small omnidirectional speaker with LEDs

Yes, it has a pretentious name.

I like the concept of a tower which houses a small omnidirectional speaker(s), which has LEDs on the top which can indicate things, and is reminiscent of a multi-stage rocket (like the Amazon Echo). But I’d like to build something which I have full control over, and with the kind of aesthetic and set of functionality that I decide, not our Corporate Overlords. Also, it might be a nice thing we can add to the Kiosk to enhance the experience!

Here’s my initial concept:

(NB: missing some stages due to space constraints!)

Although I’m not planning on selling these, I want to aim for a reasonable price point for the finished product so that I have some constraints to work to. If it would cost more than £100 to buy as a finished product, that’s too much I feel. £75 seems like a good aim for something like this. Clearly, it’s going to cost me more to make it than that, so I’ll only take into account materials and estimate the cost of processes at scale.

The exterior cosmetics of it, I want to be made of wood. Preferably a light, softwood like birch or maybe pine. Lightly finished, no thick laquers or varnishes so it’s got a natural look to it - but has a layer of something so it’s easy to clean and is waterproof.

In terms of electronics, there are two subsystems -

  1. Playing out the audio and controlling the LEDs
  2. Additional cleverness that could be executed by an embedded Linux board (like a Pi).

These two subsystems would be connected via USB, for ease of integration.

It’d all fit inside a tube, with a ring of addressable LEDs around the top and a nice fabric grill around where the speaker’s sound is reflected out. (I should do a drawing of it assembled

Audio and LED subsystem

This is to be constructed using a Teensy 3.6 for it’s brain (hands down my favourite microcontroller platform at the moment). The Teensy has a proper USB HID interface, which allows it to present itself as a composite device with Audio, Serial and/or MIDI endpoints. You can then use it’s audio libraries to pipe the audio it recieves via USB to the I2S outputs.

The I2S needs to then be converted from digital to analogue before being amplified.

Individually addressable LEDs are desirable, thus WS2812 strips make sense - there are the libraries available to drive them and so on.

To mock this up, I’ve grabbed a Teensy 3.6, a cheap 3" 5W 4 ohm speaker, and an Adafruit MAX98357A breakout to go from I2S to power amplified output - all from Pimoroni. And it totally works:

Note the temporary enclosure for the speaker - a cup which happens to be about the right size :slight_smile:

There are some things to work on though. I’m fairly sure the USB power bus doesn’t have enough capacity to drive the power amp - I’m fairly sure it’s going to be drawing above 500mA at times. So it may need either a power hub, power injector, or external power supply (I’d rather avoid that if possible!).

For the final product, I’ll design the PCB with the amplifier etc on it with a socket for the Teensy to plug into - this PCB will also have the appropriate mounting points to put it into the enclosure. So I’ll need to source all the parts for this, rather than relying on breakout boards (because what’s the fun otherwise?).

LEDs

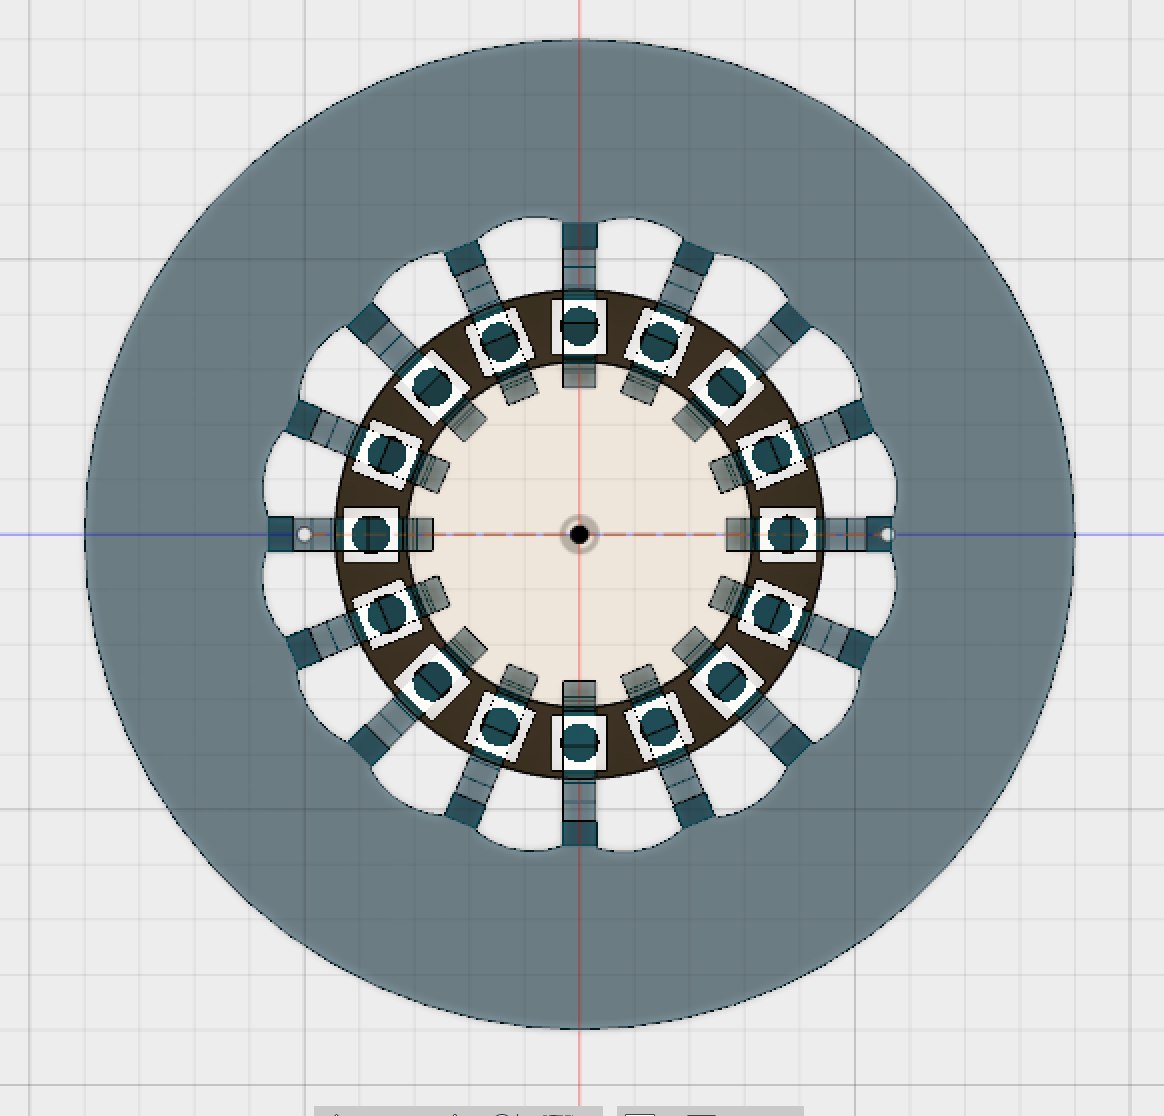
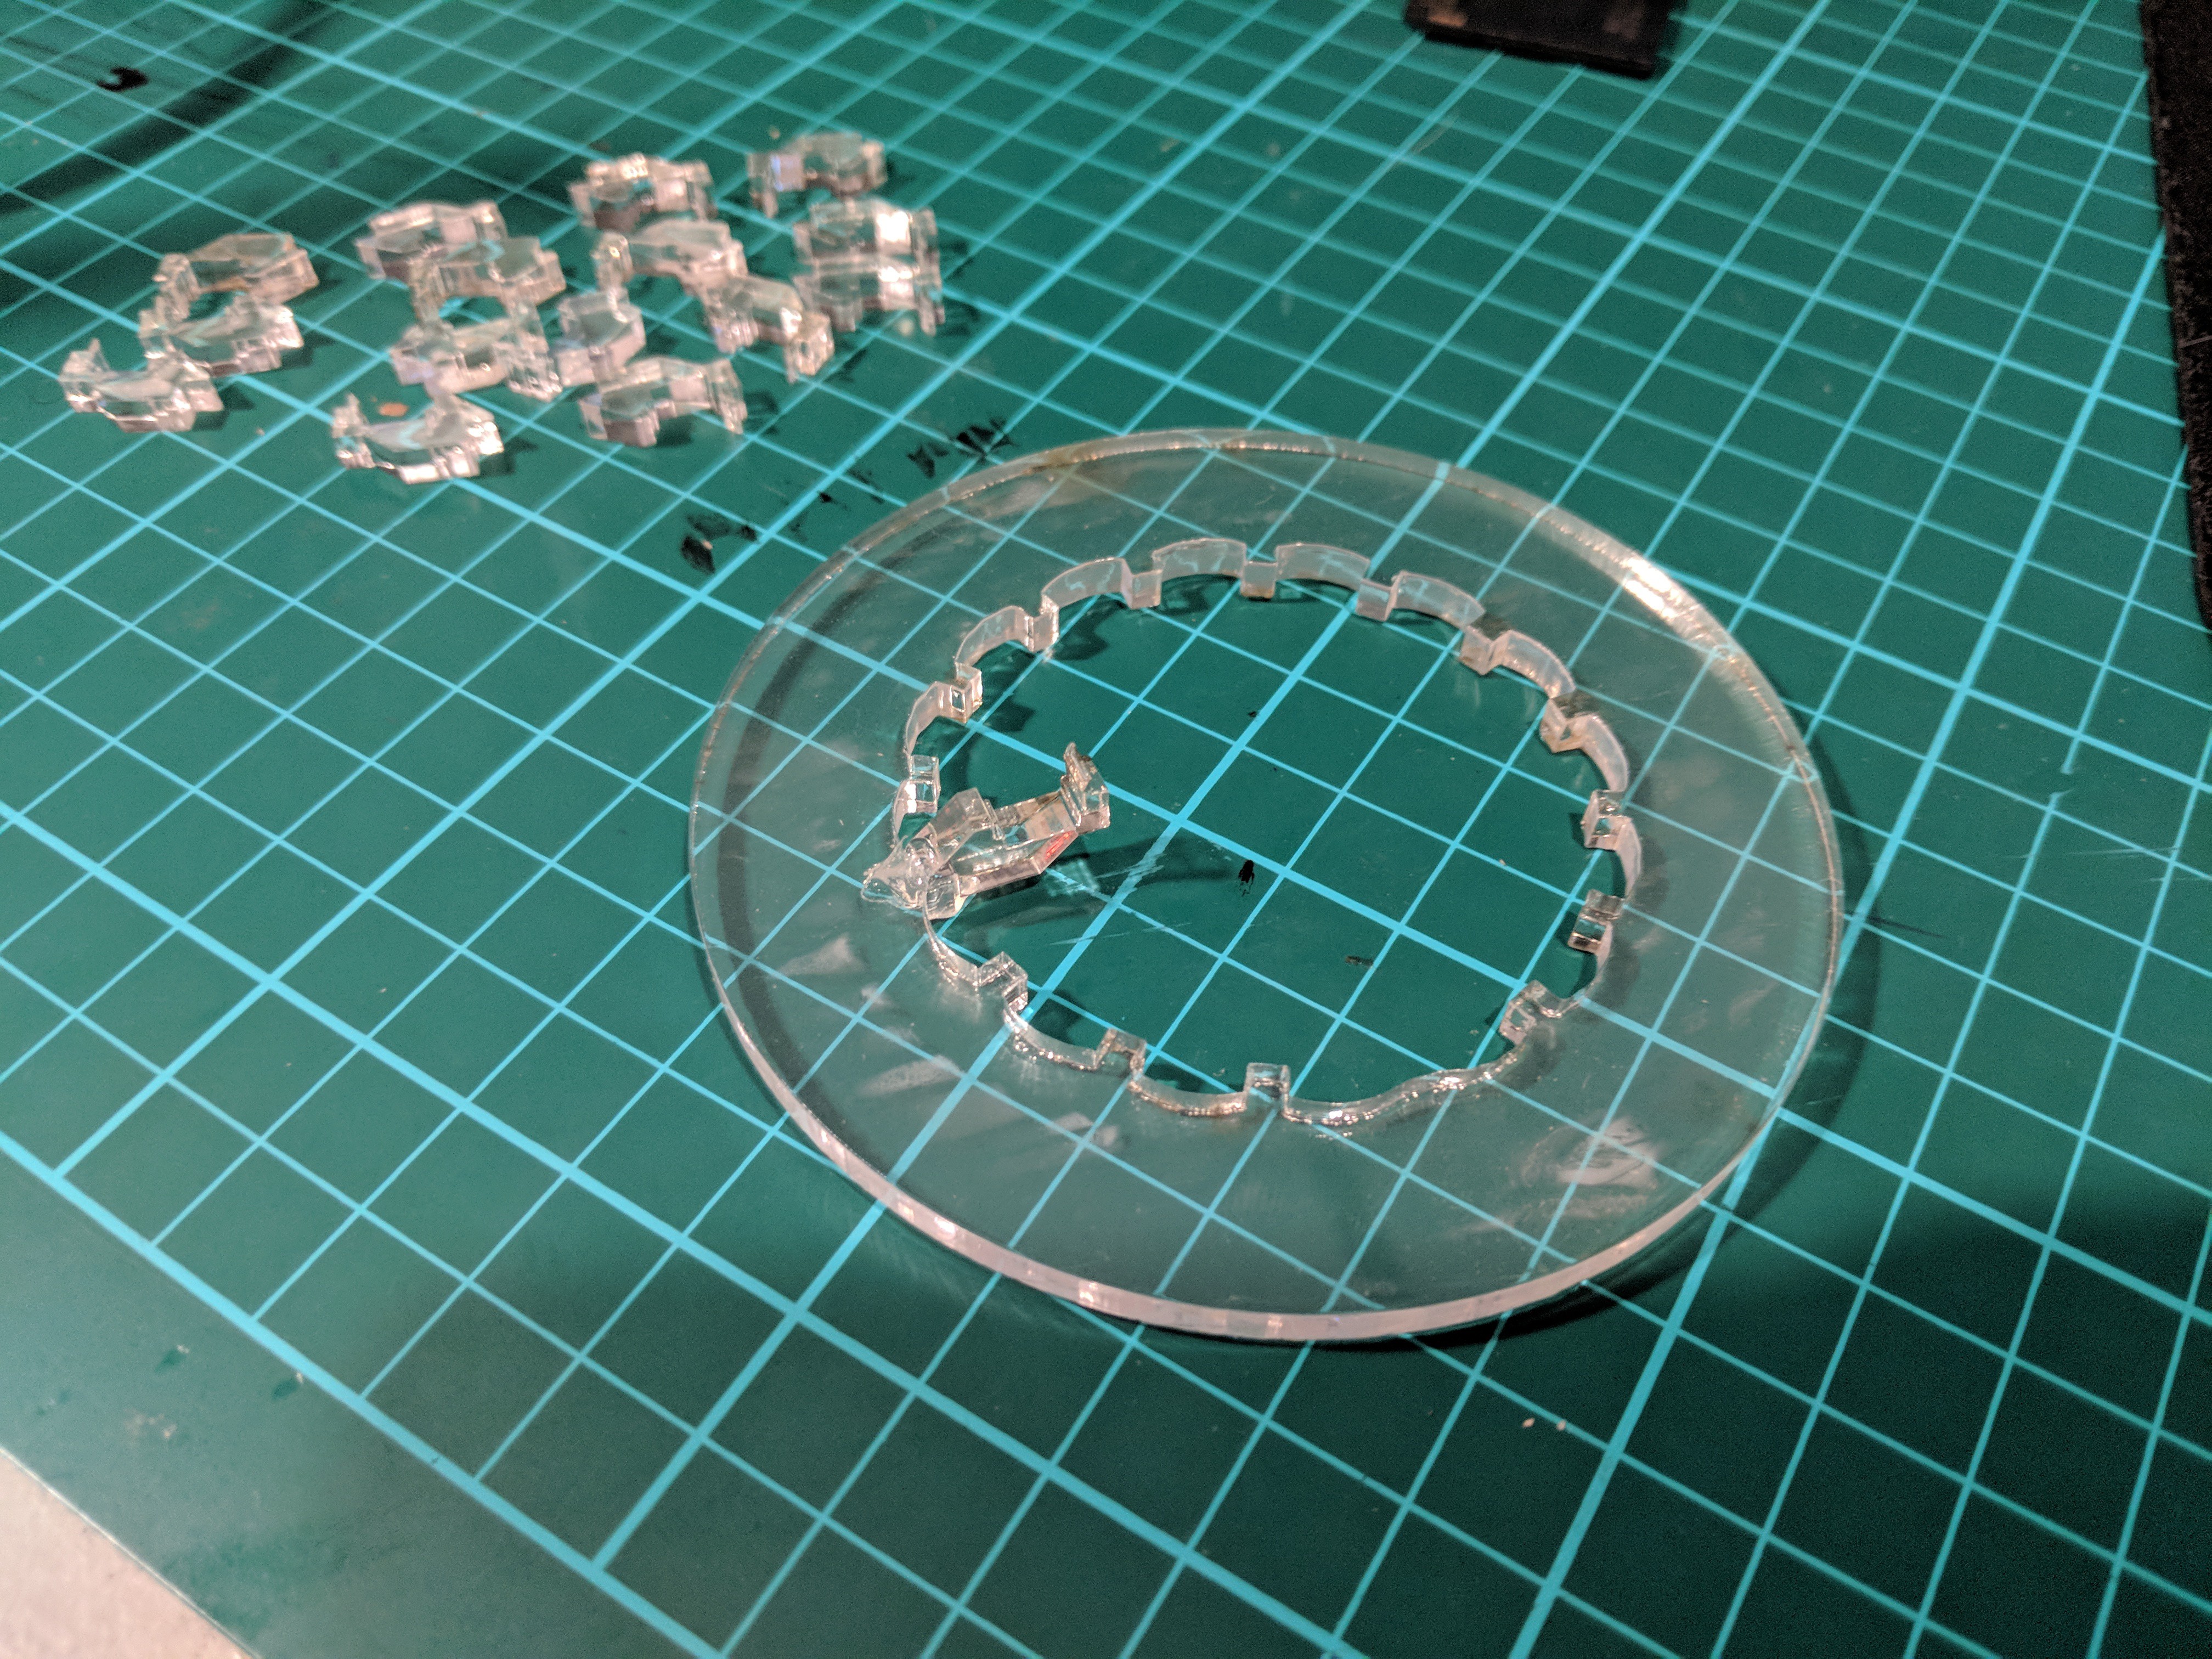
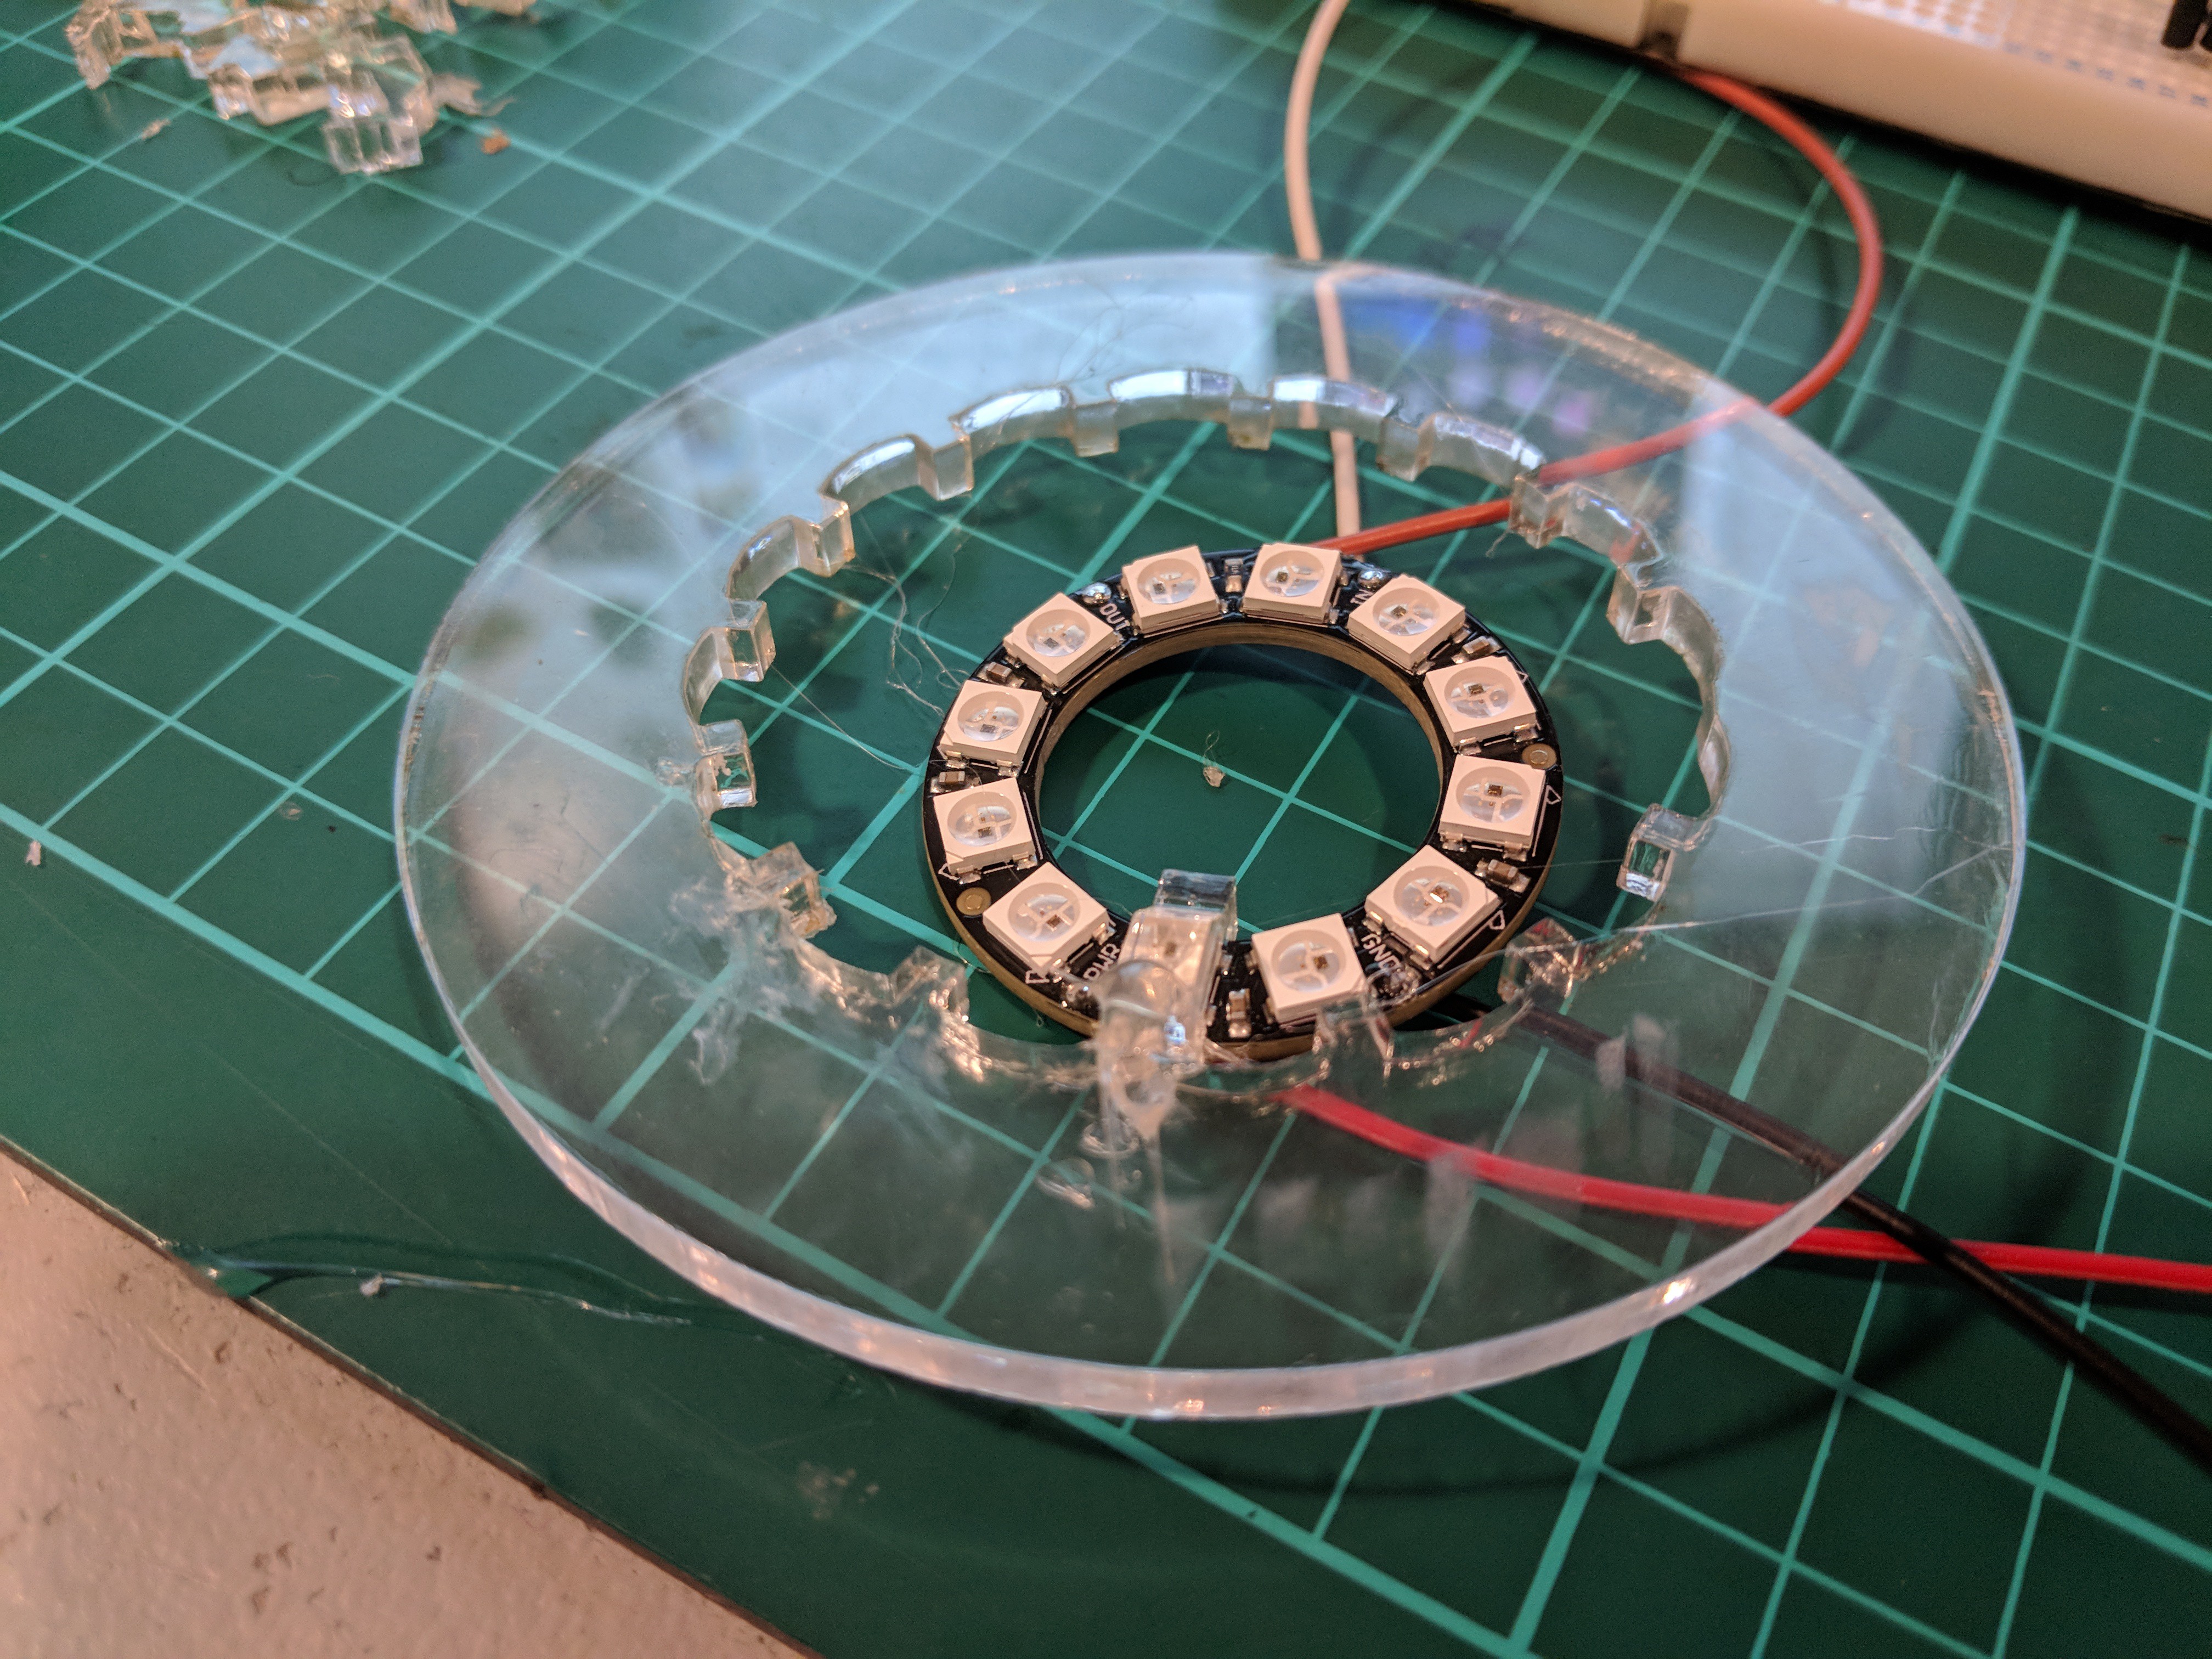
I’ve got myself a little Neopixel ring to play with, since the form factor is nice and portable (unlike a floppy strip of LEDs). Unfortunately, it requires 5V, and the Teensy is 3.3V only, so I’ll need to sort out a level shifter for that.

Speaker and Enclosure

Looking around for a decent 2.5"-3" driver is tricky. I think 10-20W is probably a good target for power rating, and should be enough to fill a room that’s not horrifically noisy - and I want the diameter to be around 4" so a 2.5-3" driver would probably suit. I’d like to to have some reasonable bass response, so you can listen to music with it.

Pimoroni have one, I’ve also ordered a 15W 3" driver from from Aliexpress which looks promising (should arrive in a few weeks). Here’s an image showing the “Demensions” o.O

Unfortunately, neither of these drivers have a free air resonance measurement in their datasheet, so I can’t easily decide whether it should be a sealed or ported enclosure without testing them first. It’ll probably want to be ported … but I want some maths to back me up !

I’ve begun creating an enclosure for the speaker to fit into in Fusion 360 - if it’s going to be ported, in order to fit it into the enclosure it’ll probably end up being a weird, fiddly and complicated shape which will probably benefit from 3D printing.

By making the speaker enclosure a separate entity to the rest of the enclosure which I can bolt into it, I don’t need to worry about keeping everything sealed, and I know that the speaker will be a functional unit with the sonic characteristics I’m looking for.

Next things…

Whilst I’m waiting for the driver to come from China, I’ll probably make a start on the reflector assembly that’ll go above the speaker to spread out the sound waves. I’m sure there’s some maths involved in how the shape of those work, but from what I can tell most people seem to make something vaguely cone or hemisphere shaped and see what happens.

Also, once I’ve found a level shifter I’ll try getting the Teensy to drive my Neopixels and implement the serial interface to control them and do some fun animations.

I might also investigate how to build the exterior enclosure - which might mean I need to wait to do a Lathe induction if I go down that route.

Also, here is my BOM: https://docs.google.com/spreadsheets/d/10E8cVxWxUOpcTuknsz4ZDiX9PR2p9ibq59gNOT-QBHI/edit?usp=sharing

And here is is on Hackaday.io
https://hackaday.io/project/33749-the-tone-omnidirectional-desktop-speaker

1 Like

Very cool! Interested to see how this turns out!

That sounds really cool. Were you thinking about making it voice controlled?

I recently did a project with a Christmas tree, a chain of WS281-something leds and a photon. I think I used a 74AHCT125 to get 5V for the leds.

You may be aware but since you mentioned raspberry pi, why not connect your amplifier directly to the I2S on the pi?

The pi can also drive the leds reliably with the use of a smart kernel feature. Choose your library carefully and you’re good. Ask me if you’re unsure. You’ll still have to level shift though.

It could be voice controlled potentially, although I’m not thinking too hard about microphones as of yet, since that seems like an extra layer of complexity I don’t need right now!

I could use the I2S on a Pi - in fact I could run the entire thing from a Pi, but I’d quite like it to work as a normal sound card so I can plug it into any computer I like. I like the idea of making the brains interchangeable - having everything go over USB seems like a good way of doing that!

(EDIT: although, I’ve just found out that the Pi Zero gadget mode supports USB audio … hmmm!)

I recently did some surgery to my Google Home Mini (adding a line-out) and the layout is very similar to yours, but the main board is above the reflector. I think this is a better way round, because you 've got space behind the LED ring anyway, and it gives you some distance between the speaker drive coil and the board to reduce interference.

That’s interesting - I figured having the board at the bottom meant that I wouldn’t have to route cables up it, but actually maybe it could make it more compact…

…and then you could hang it.

Since the most important part of a speaker is of course the RGB lighting…

I’ve always been interested in how light pipes work, so I thought, why not, lets try making one ourselves. Practically speaking, I’m mostly limited to making something that can be laser cut - 3D printing won’t give me the internal optical clarity I need, and I don’t have a degassing chamber to make resin casting be as clear as I’d like.

I decided that rather than mucking about trying to find just the right WS2812b LEDs and making a circular PCB up, just for testing out the idea, I’d grab a Neopixel Ring from Pimoroni. The LEDs will be facing upwards, not outwards, so I’ll have to figure out a way to redirect the light where I want it to go.

I set about designing the ring in Fusion 360


Oof, that transparent material makes my brains hurt slightly…

This cross section should help explain what’s going on here

So there are two types of pieces (not that that’s obvious from the cross section), the ring and the riser. The LEDs face upwards, and the riser has a 45 degree angle over the LED which should (hopefully) reflect most of the light towards the outside of the ring. The risers (of which there are 16) then connect to the ring with little spoke type things in the middle.


The shape of the riser made me think for quite a while. I intended to make sure the 45 degree cut was going to be located in exactly the right place so that it would reflect the maximum amount of light towards the edges. I also wanted the riser to clip over the PCB for the Neopixel so that it’d all stay in one piece.

I’m not sure if that 45 degree is in the right place to be honest!

So, I lased this out of some LED Endlighting Acrylic from Plexiglas - with the idea that it may spread the light out more pleasantly. If I’m honest, probably didn’t make a great deal of difference as I think the main feature of that is the built in diffuser it has around the edges. It did seem to have some slightly weird blowout smoke stains on it… might have something to do with the extra magic diffusing stuff inside the sheet itself. Next time, normal acrylic I think.

To test the concept, I tried placing the risers in about the right place and hot gluing them. Messy as heck, but I didn’t want to commit to anything too exciting like Acrifix if this was a duff idea.

This was insanely fiddley. But nevertheless, I gave it a go. At this point, I realised that I had designed this for a 16 LED Neopixel ring, but what I in fact had was a 12 Neopixel ring. Balls.

Well, no matter - this is just a proof of concept after all. Let’s see what it looks like with lighting!

Ooooo, prettyyyy…

Interestingly quite a lot of light from the other LEDs was making it out just being reflected by the paper. But it gave a bit more of an overall effect than distinct areas of colour.

Next steps - either get a 16 LED Neopixel, or redesign it to work with 12, also make the risers less fiddley and redesign the clips so they go over both sides of the PCB not just the inside. It may also be a good idea to create some kind of jig so that when I do make it for real I can be a bit more sensible with the gluing than trying to hold it all together with my fingers whilst it dries!

1 Like

Why don’t you use an LED strip facing outwards? There’s loads of SK6812 strip which is compatible with Neopixel library

Because what’s the fun in that?

(seriously though: that was my first thought, but then I was curious to see if I could do it with a flat board that I could potentially put other stuff on, rather than a flexible PCB wrapped around the outside)

We did have one donated to the space a little while ago…

great project!

ooooo… is it functional?

(trying to find evidence of it on discourse - being able to cast the light pipes would be the ideal solution as I could 3d print a master and make a silicon mould from that, probably)

It was on loan, and should be somewhere in Messy. Check if it has an RA, as ever.

Link: Vacuum chamber

Awesome!

Doesn’t look like it has a RA.

Mediumly happy to do one, but probably need a bit of help from someone?

Its under the Screen Printing table and has a 1" thick perspex lid - be careful, its a beast and can create almost a complete vacuum.

Joe or I would be happy to show you how its works as @joeatkin2 and I got it working when it was donated. we created a vacuum that was good enough to boil cold water…

Courty

1 Like